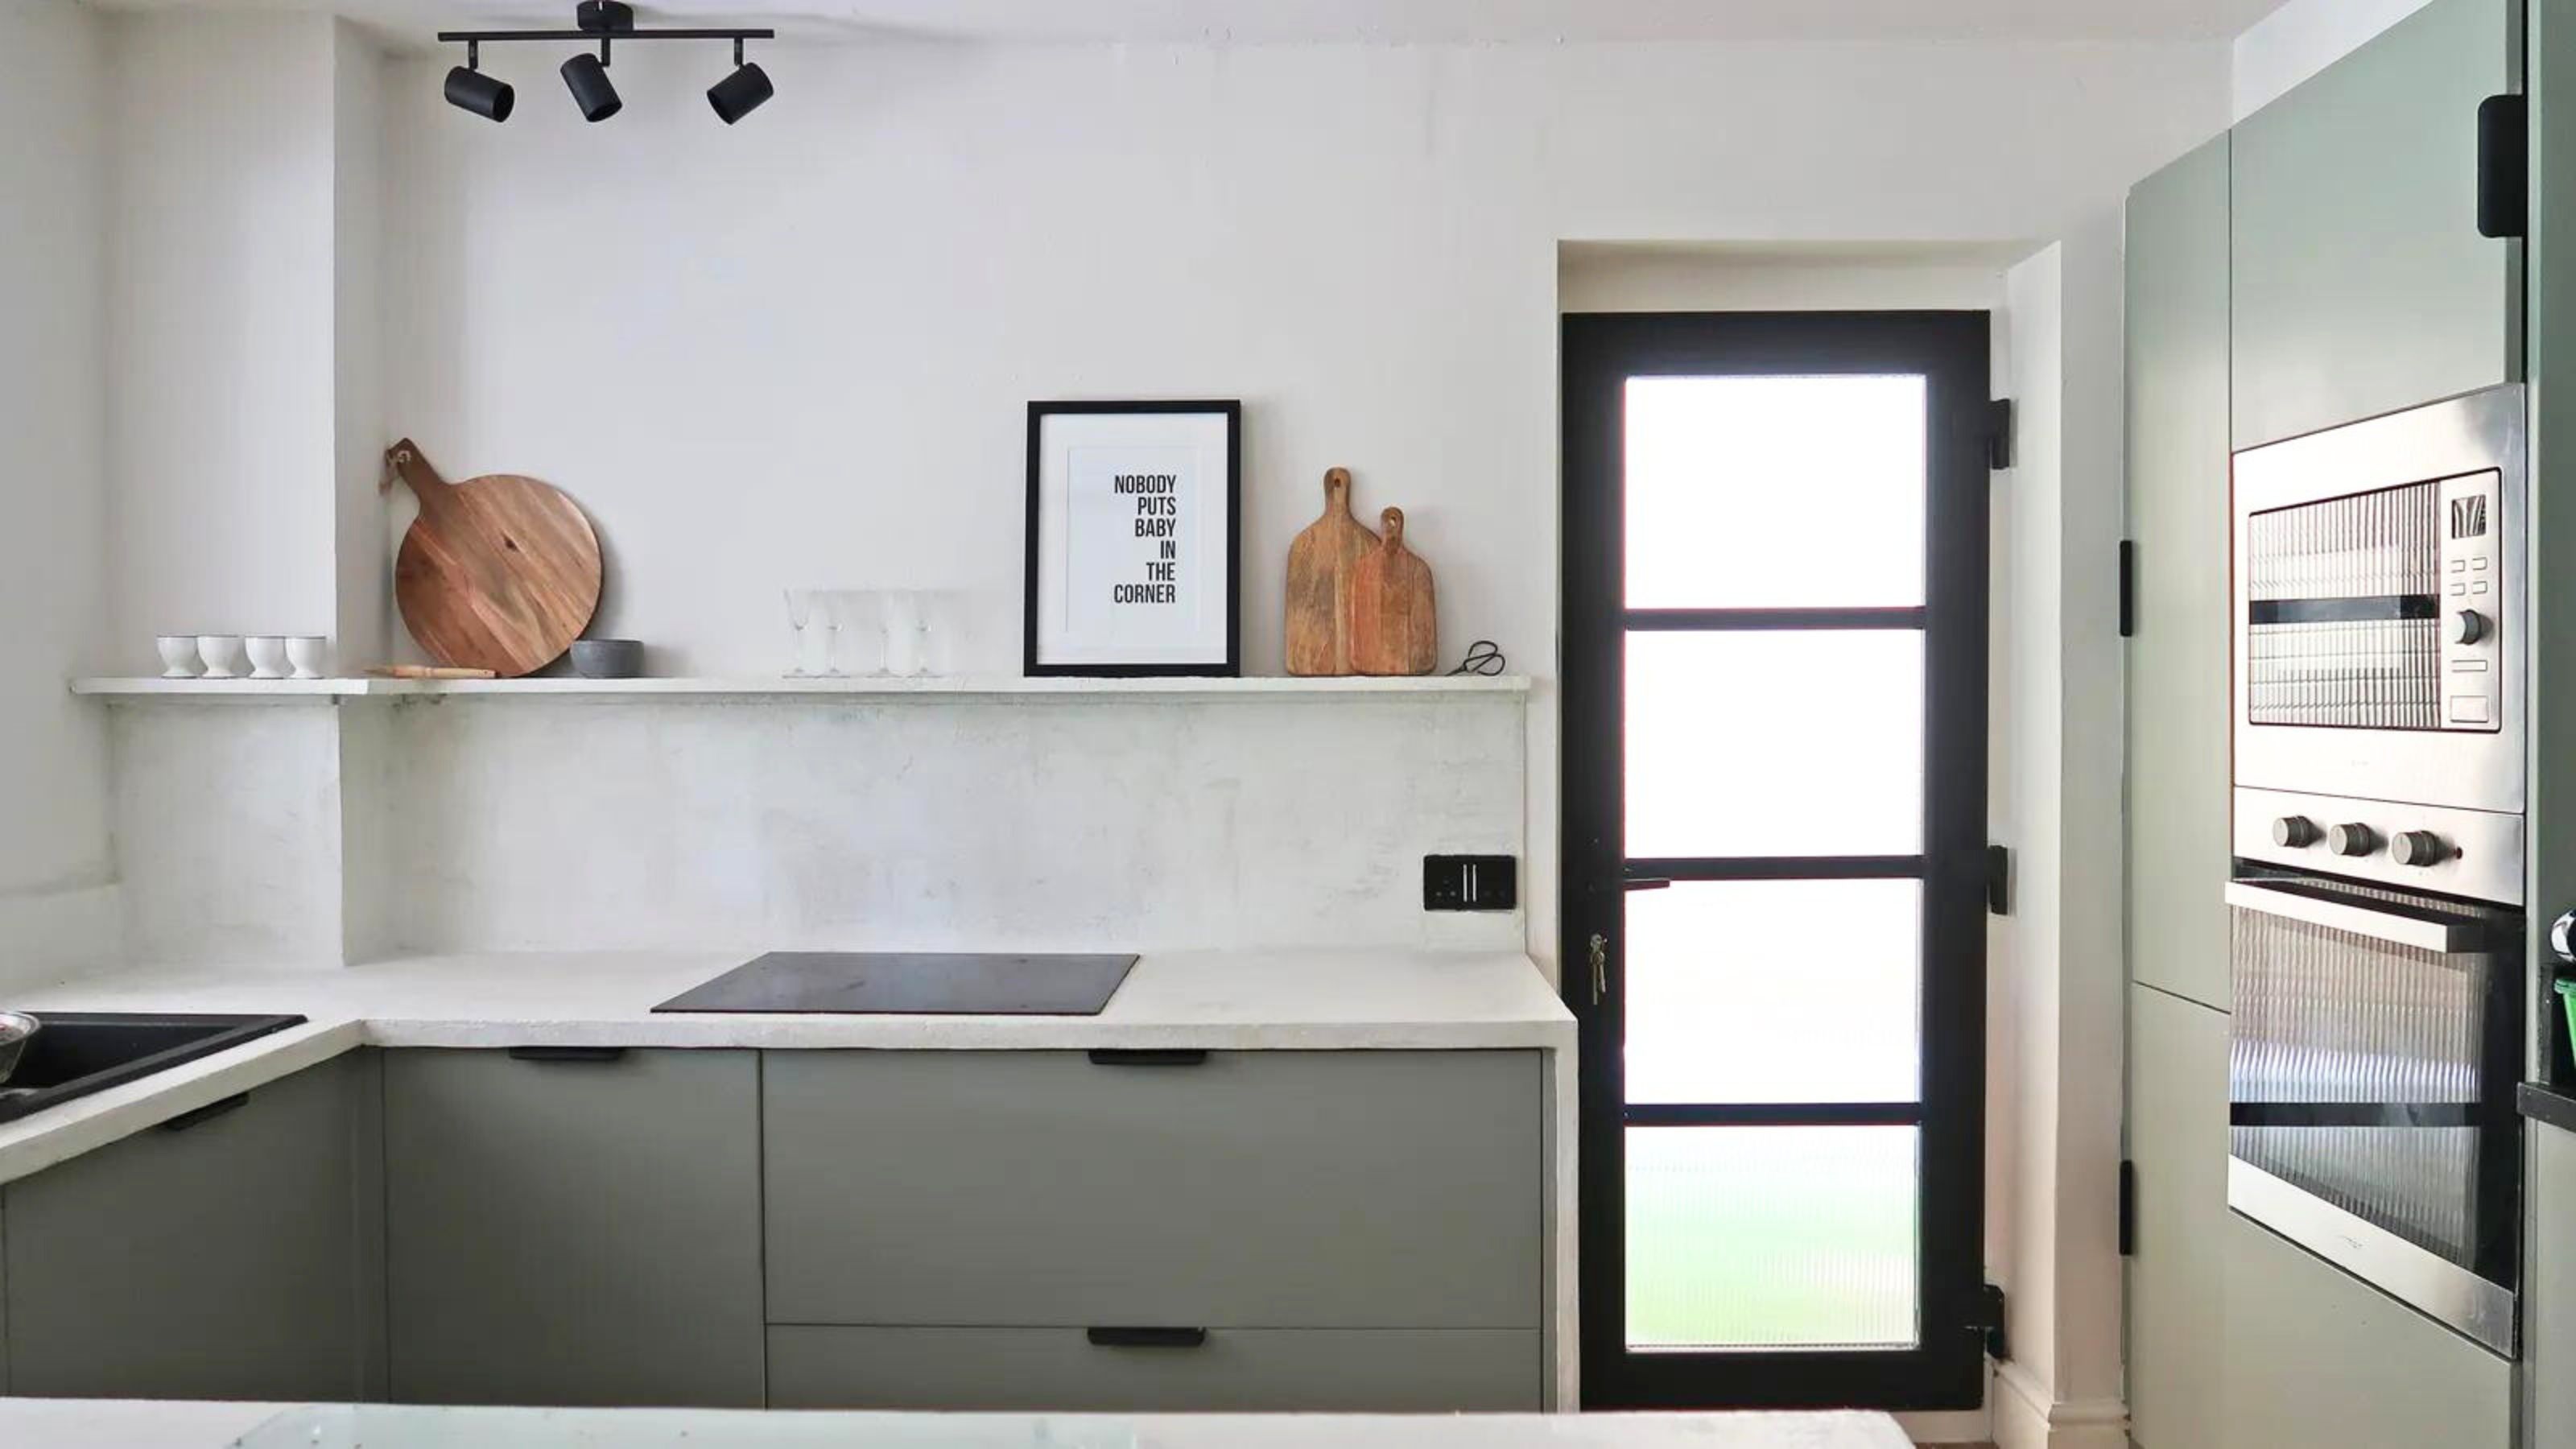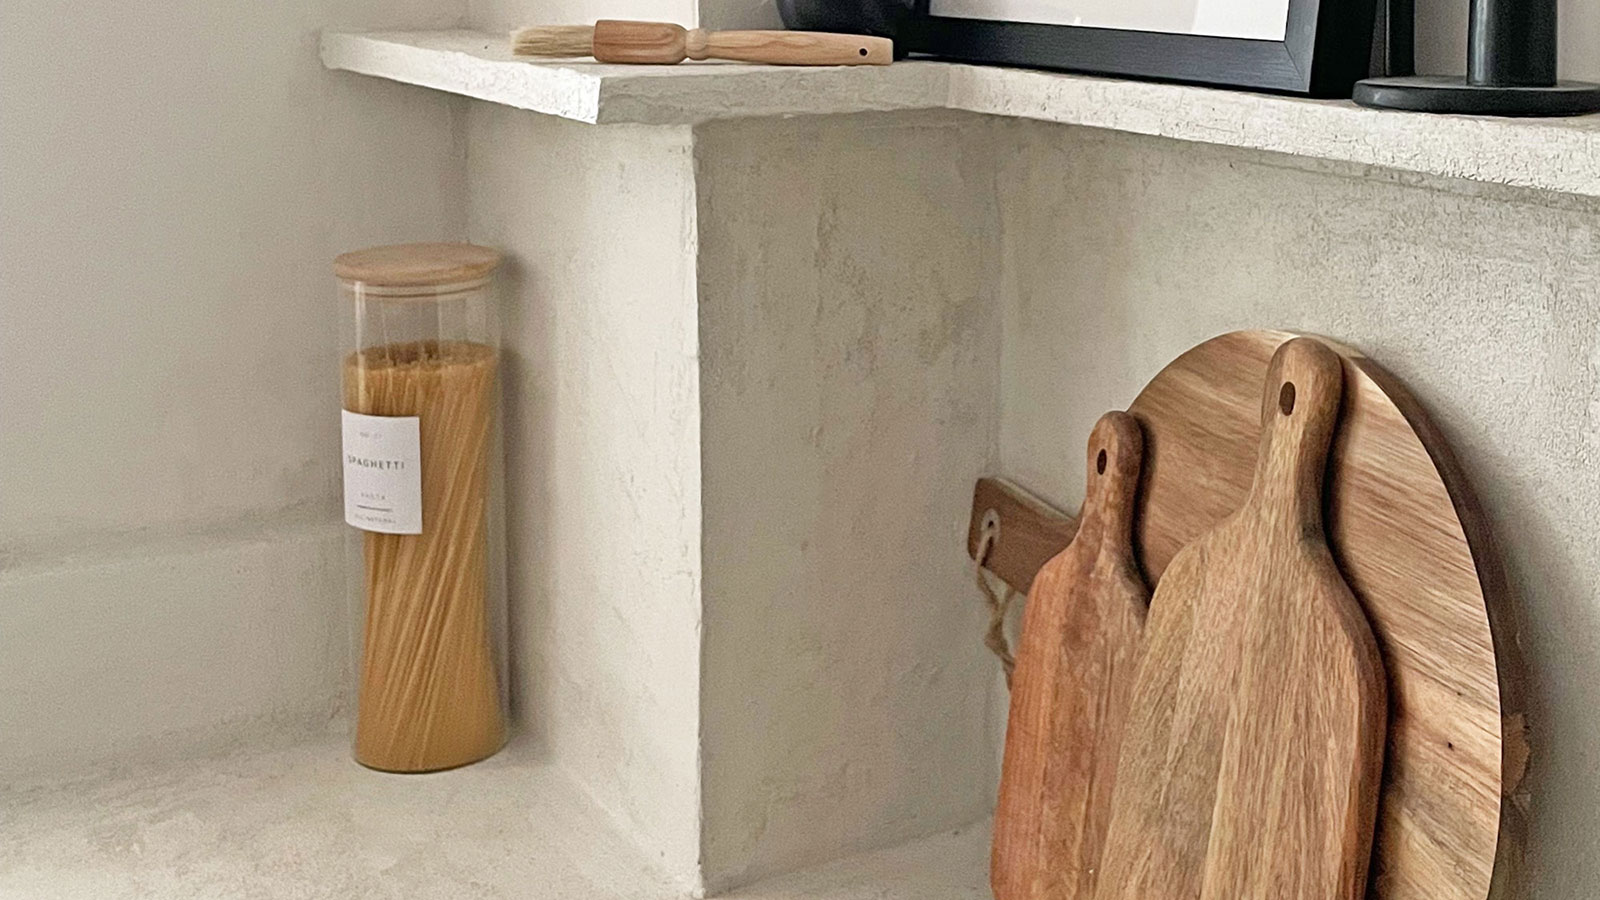
Finding ways to use microcement in the home is relatively new, but you can expect to see it everywhere pretty soon, on walls, in shower enclosures, and even on kitchen cabinets.
We've found some of the best microcement home projects we've seen around from those that have resulted in the complete transformation of an entire room, to smaller-scale examples that still pack a serious style punch.
One of the best things about it is how useable it is – you can even use it for microcementing kitchen cabinets, for example. With little guidance and practice, most enthusiastic and willing homeowners should have no trouble getting to grips with it.
Our favorite ways to use microcement
First things first, what exactly is microcement? If you're planning on using micocement on kitchen worktops or other surfaces, you'll need to get in the know.
"Microcement, also known as micro-topping or micro-concrete, is a trendy decorative coating composed of cement and polymers," explains DIY and home interiors writer Claire Douglas.
"Microcement is a decorative coating made of cement, water-based resins, additives, and mineral pigments that may be applied to a variety of vertical and horizontal surfaces," explains Matthew Drake, founder of The Decora Company.
"This building material stands out because it can be layered directly over a variety of materials, including plaster, marble, terrazzo, floor tiles, and plasterboard. A quick refurbishment of spaces is possible with little effort and a thickness of only 3mm."
Microcement can often be bought as a kit, containing everything you need for a particular project, but it is also possible to buy it in separate bags which are brilliant for bigger projects.

Matthew Drake is founder and director of Decora Art & Colour. He has decades of experience in building and decoration. The Decora Company stock a whole range of decorative plaster products and paints and also provide customers with online tutorials in their use.
1. Microcement vase
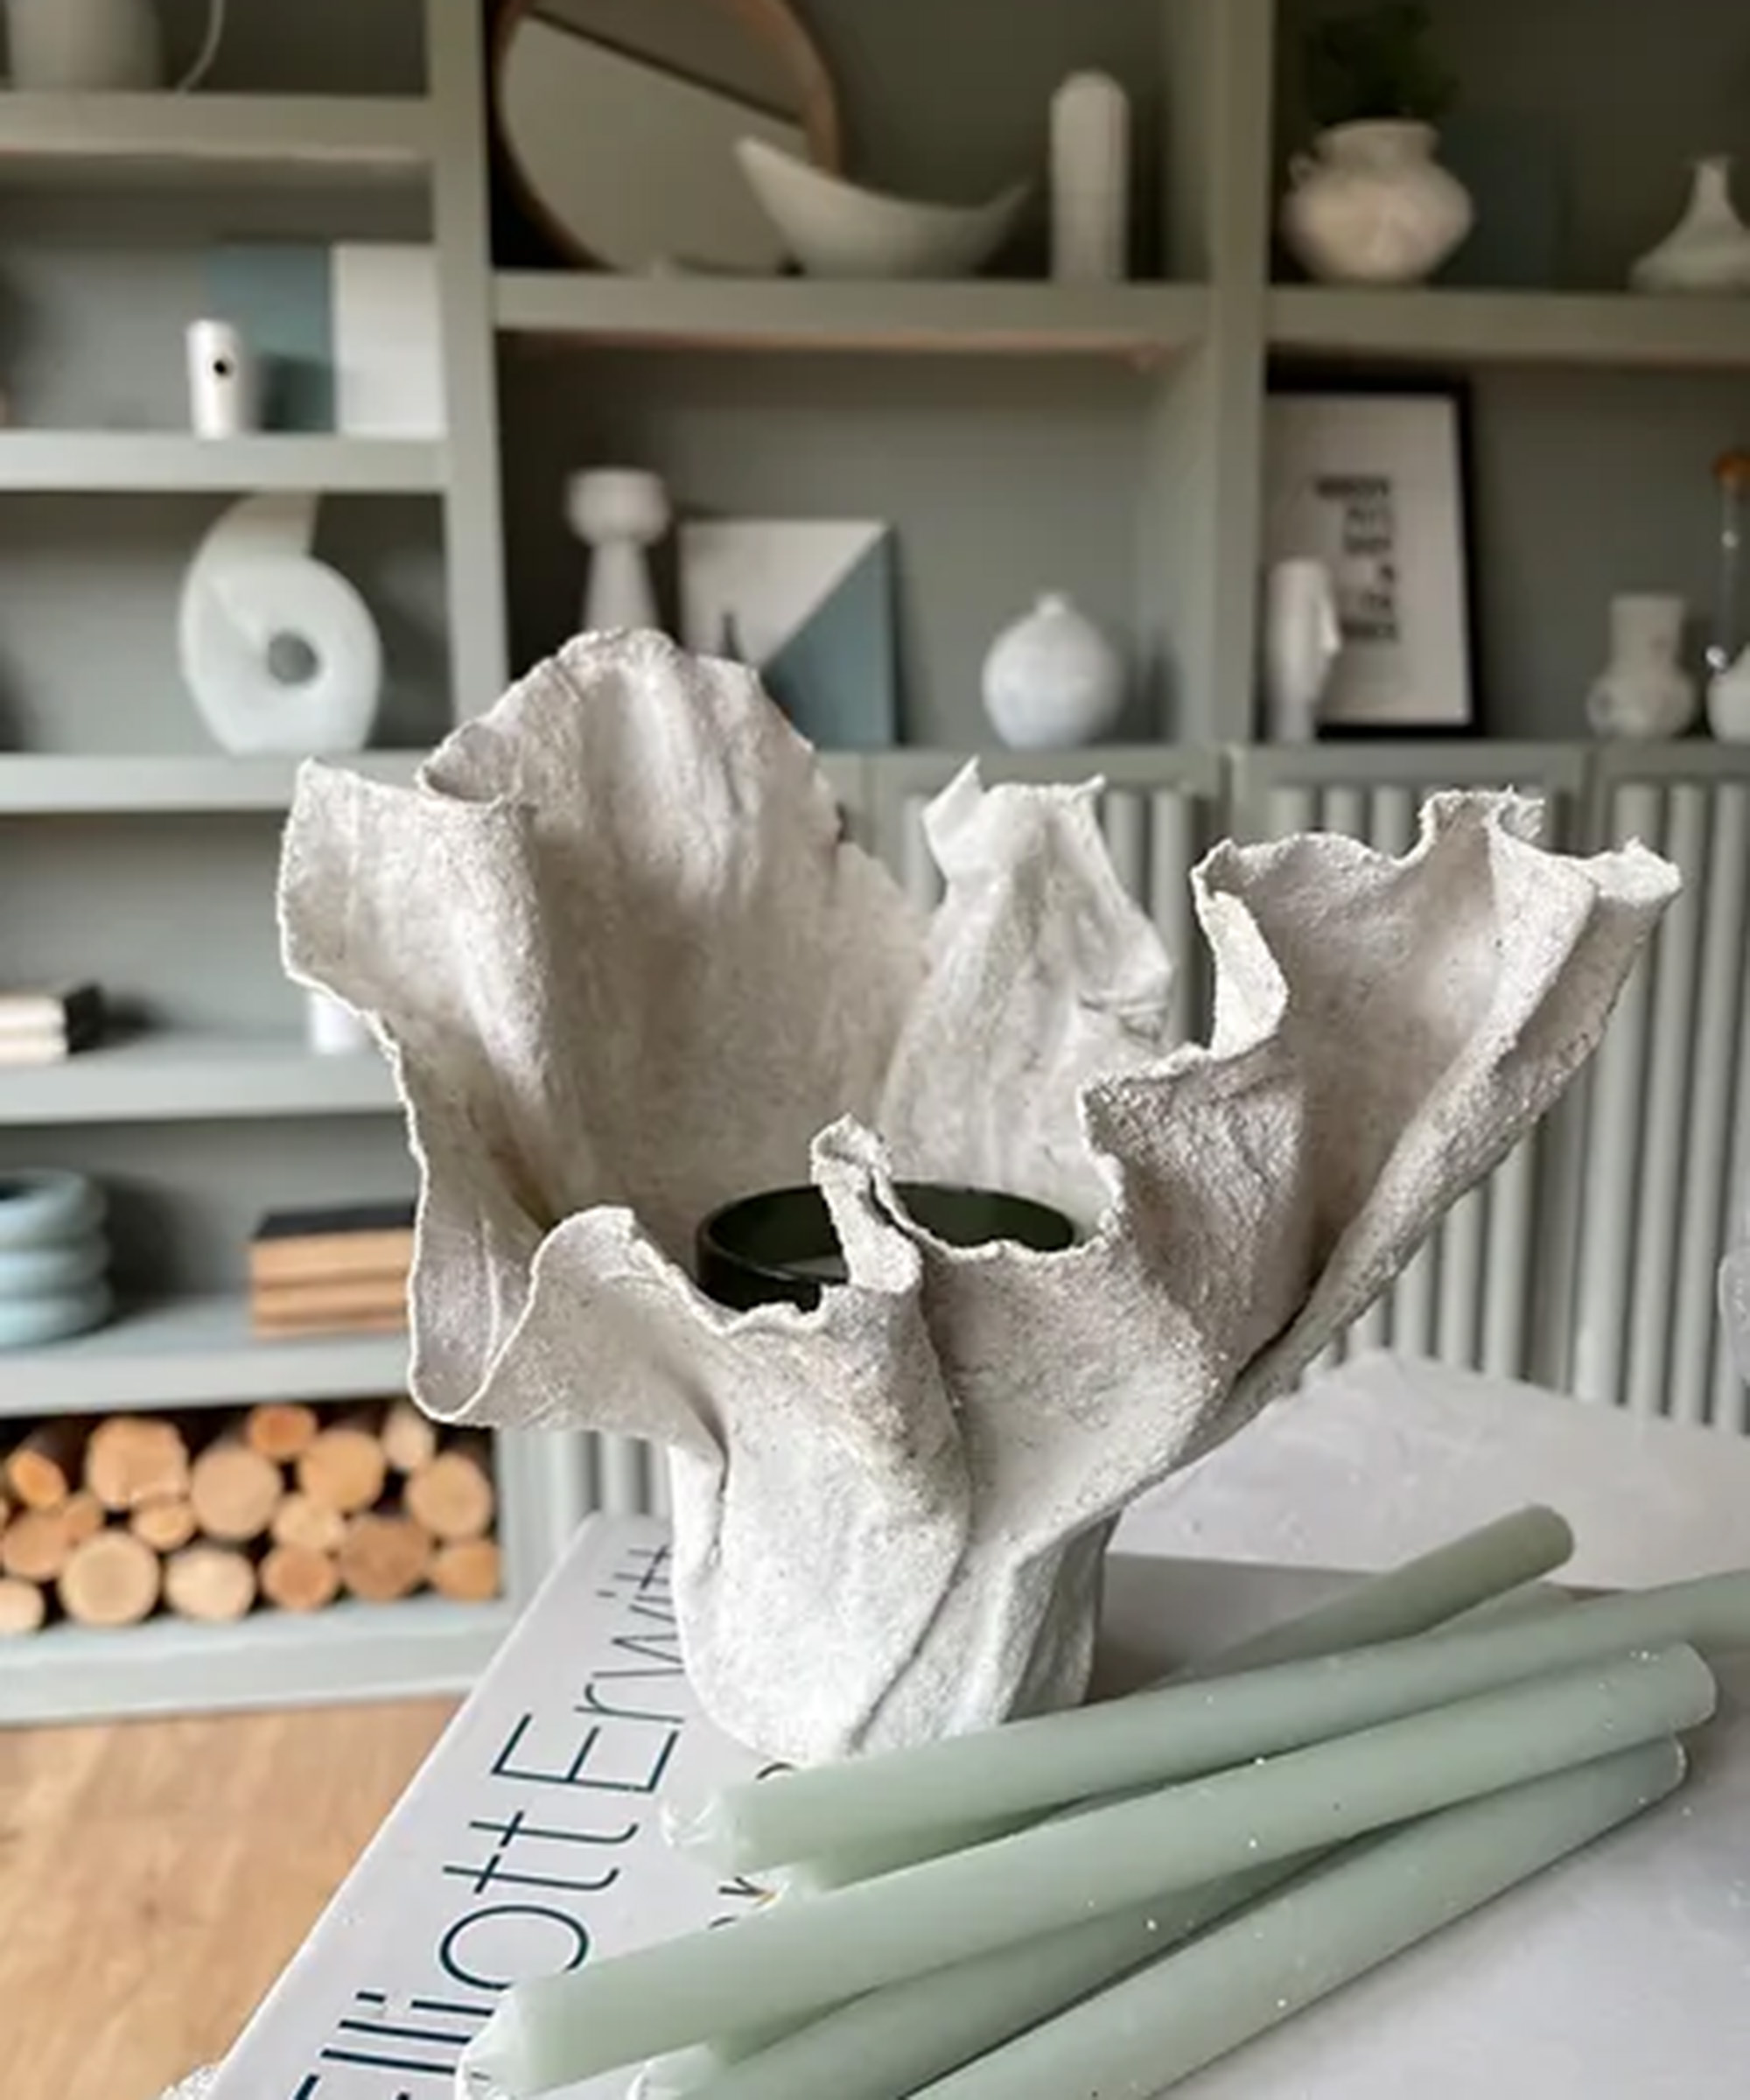
Let's start small and achievable with a DIY vase – this is a great project to help you get started using microcement.
"After finishing my most recent project, I had a bit of microcement left over, so I started experimenting to see if I could make some pots with the rest of the kit and some old cloth napkins," explains Claire. "You can improvise a lot with this DIY project – just use any fabric you have going spare."
Claire used a microcement kit for the job and you will also need a vase or pot to use as a mold, as well as fabric. Before beginning, cover your chosen object with plastic wrap to protect it. We love the shape of the CYS EXCEL Clear Glass 3D Flower with Ruffle Rim from Amazon.
Having mixed up your microcement, according to the manufacturer's instructions, soak your cloth in the mixture and then place it over your chosen object, smoothing and folding it as you go until you are happy with the effect.
"Using a paintbrush, layer up more of the microcement mixture onto the neatly arranged fabric," explains Claire.
Once the first coat is dry, you should apply a layer of primer then start on your second coat of microcement. When this next layer is fully dry you can carefully slip the object you used as a mold out, before layering more microcement onto the inside of your new vessel.
Finally, you can either leave your new creation in its organic state or paint it in a shade of your choice.

Claire Douglas is a DIY and home interiors writer and content creator specialising in affordable room transformations, creative DIY projects, upcycling and money-saving home improvement tutorials. She recently launched an online course for beginners who want to learn DIY and home styling.
2. Kitchen countertop
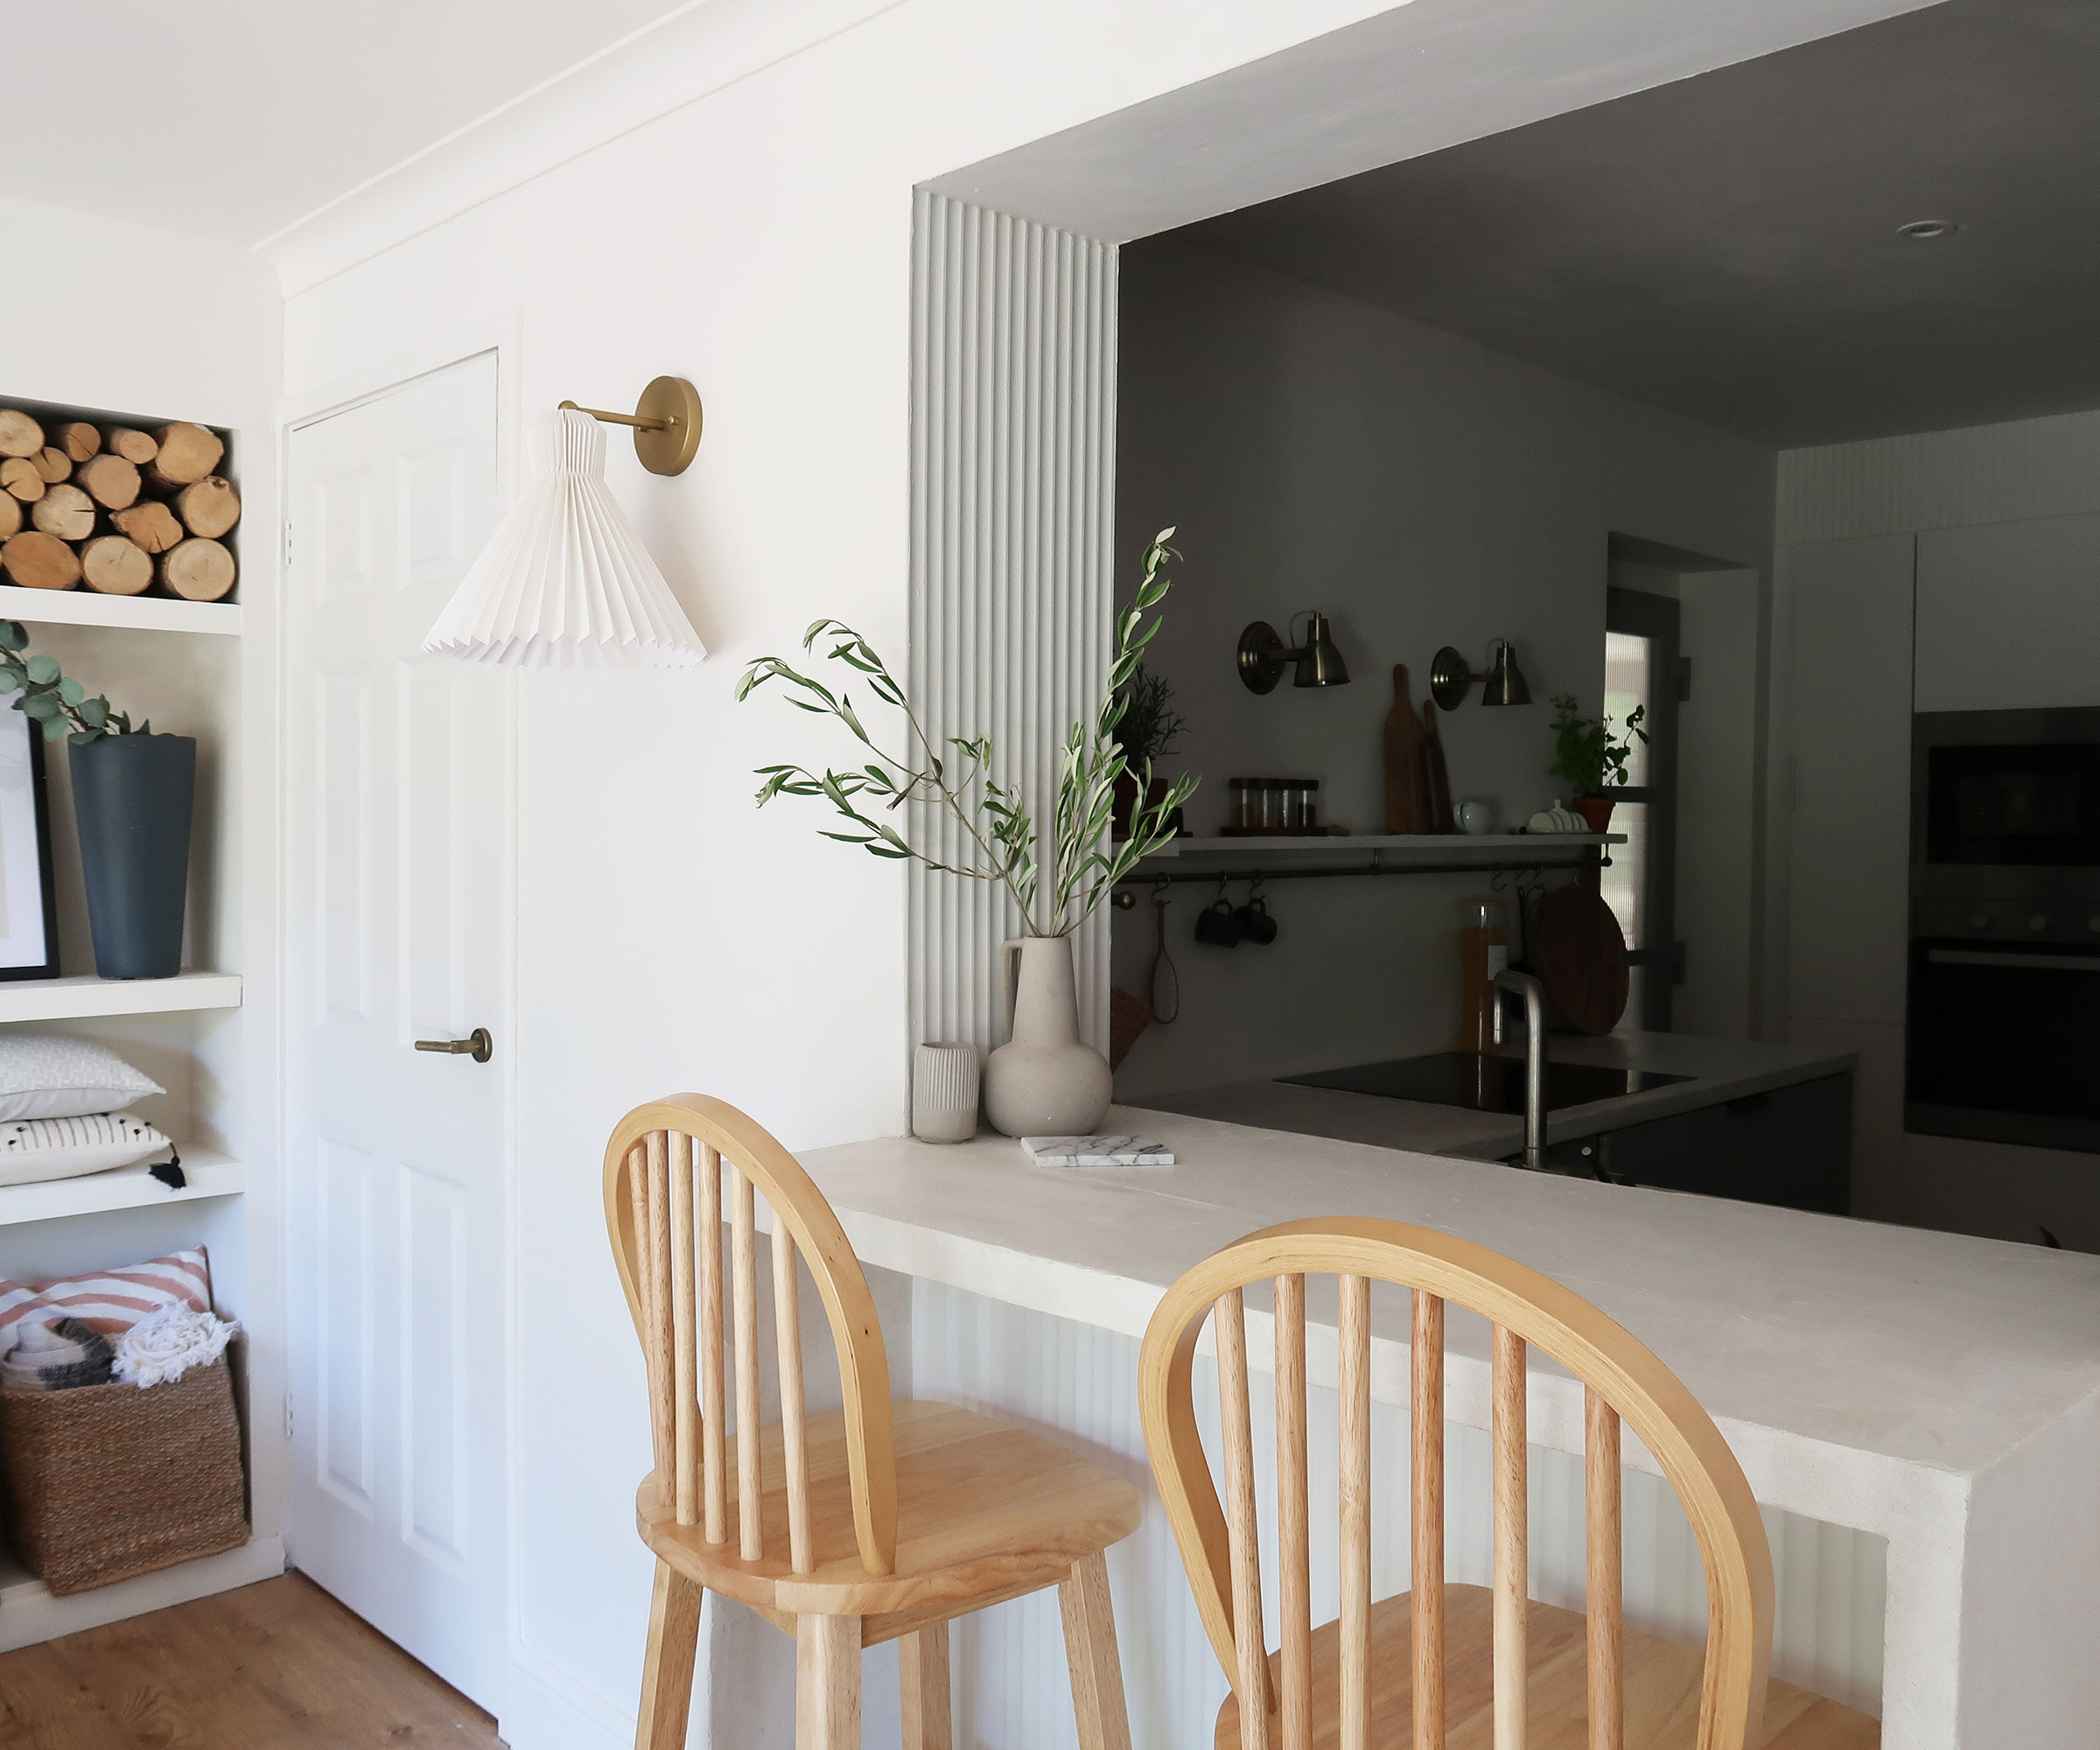
While you might not feel confident microcementing kitchen countertops, it can result in some stunning effects.
Maybe you have a tired-looking tile counter surface and have been looking into painting countertops, or perhaps you have had a go at building a breakfast bar or island yourself and are wondering how to finish it off – whatever you are starting with, microcement is a brilliant way to finish it, plus it can be layered up to hide all kinds of joins.
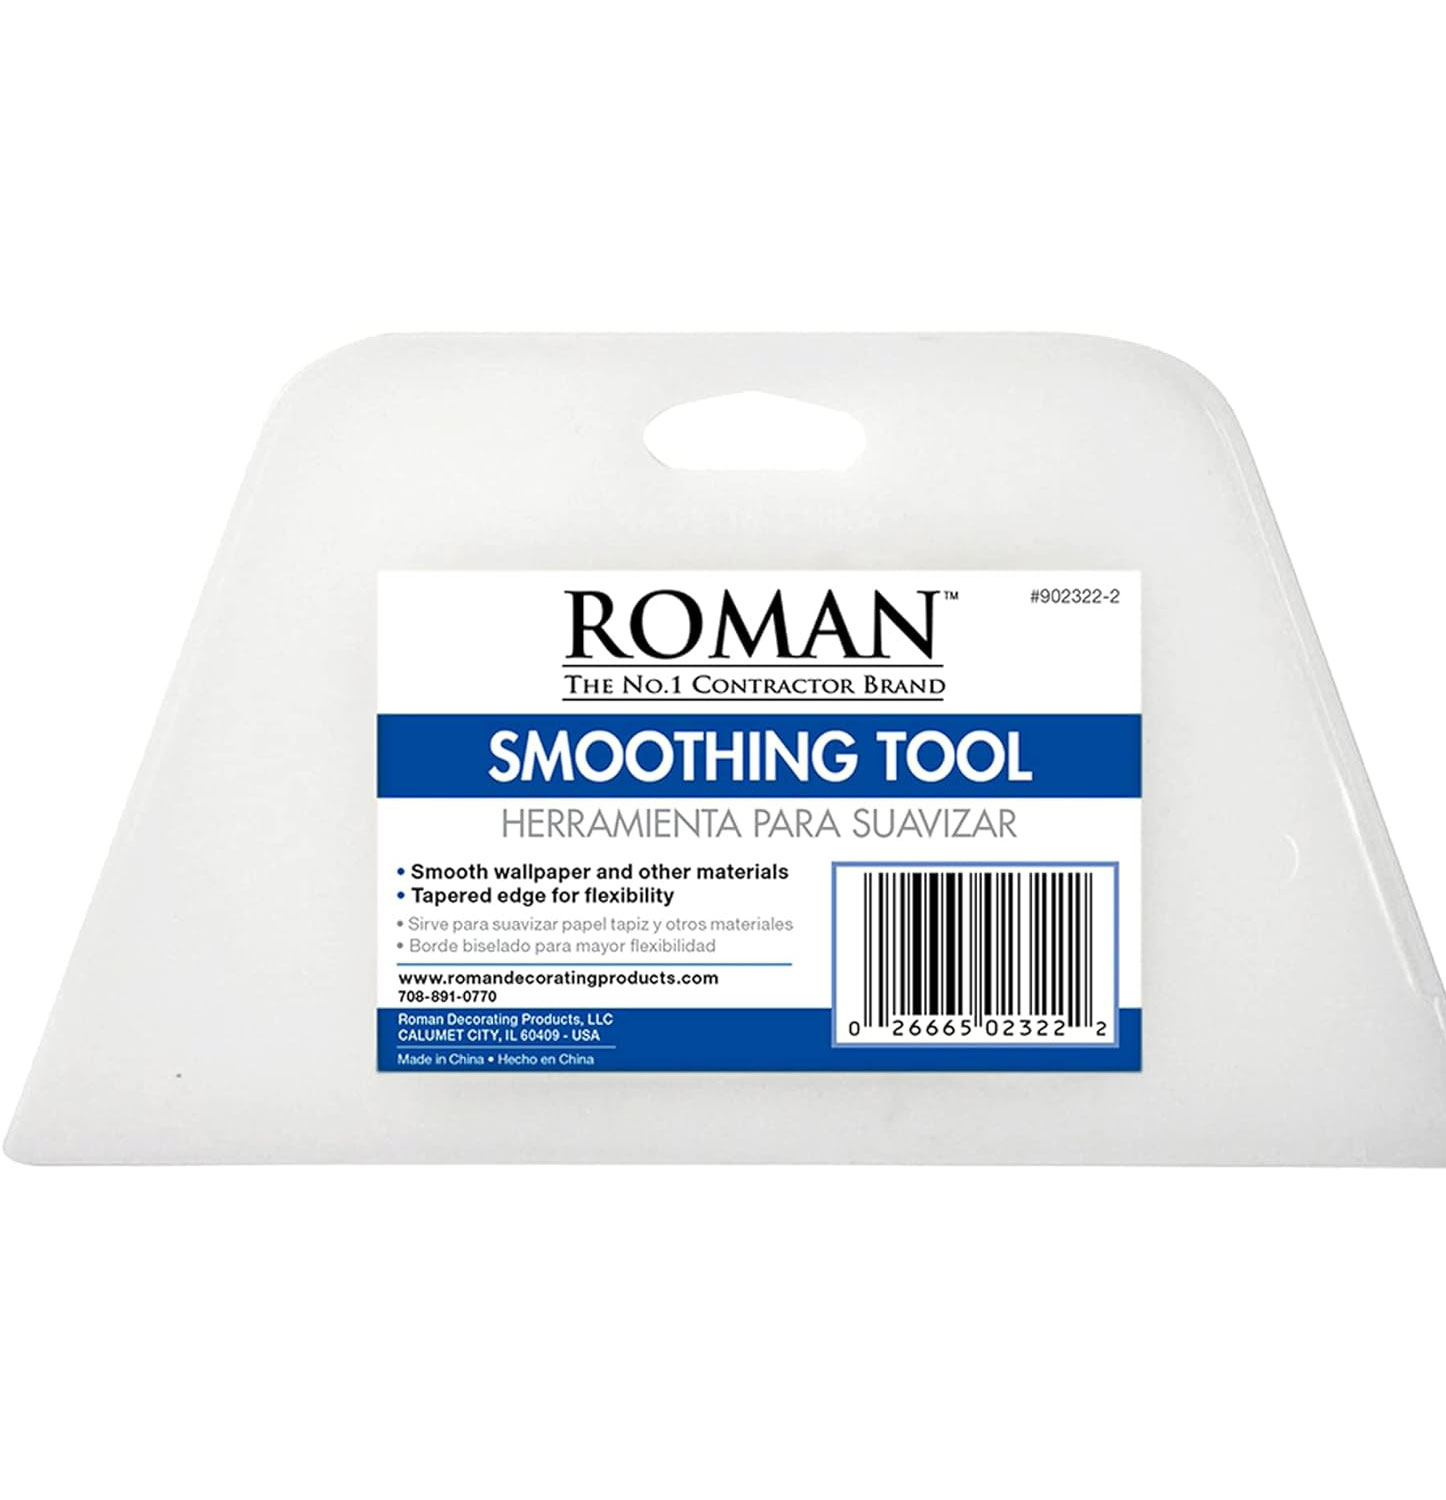
You will need to prime your surface first using a specialist microcement primer and a foam roller. This will help with adhesion. Next, make up your microcement before pouring it onto your countertop and smoothing it out. Most kits will come complete with smoothing and finishing tools, but if you are not using a kit, try ROMAN’s Wallpaper Smoothing Tool from Amazon which would do the job well.
"It's better to apply the microcement from the top down, that way if you get any drips or spillages they won't fall onto areas you've already perfected," advises Claire Douglas who carried out this project herself. "Microcementing can get quite messy, so I recommend covering the floor with cardboard or sheets."
It looks best if you continue your microcement finish down the sides of your counter too, but make sure the top and sides are dry before you attempt to finish off the smaller, more fiddly, front edge of the counter.
A second coat will be required before you sand the whole thing and neaten up the edges. Finally, be sure to seal your finished surface so that it is stain-resistant.
3. A luxurious shower enclosure
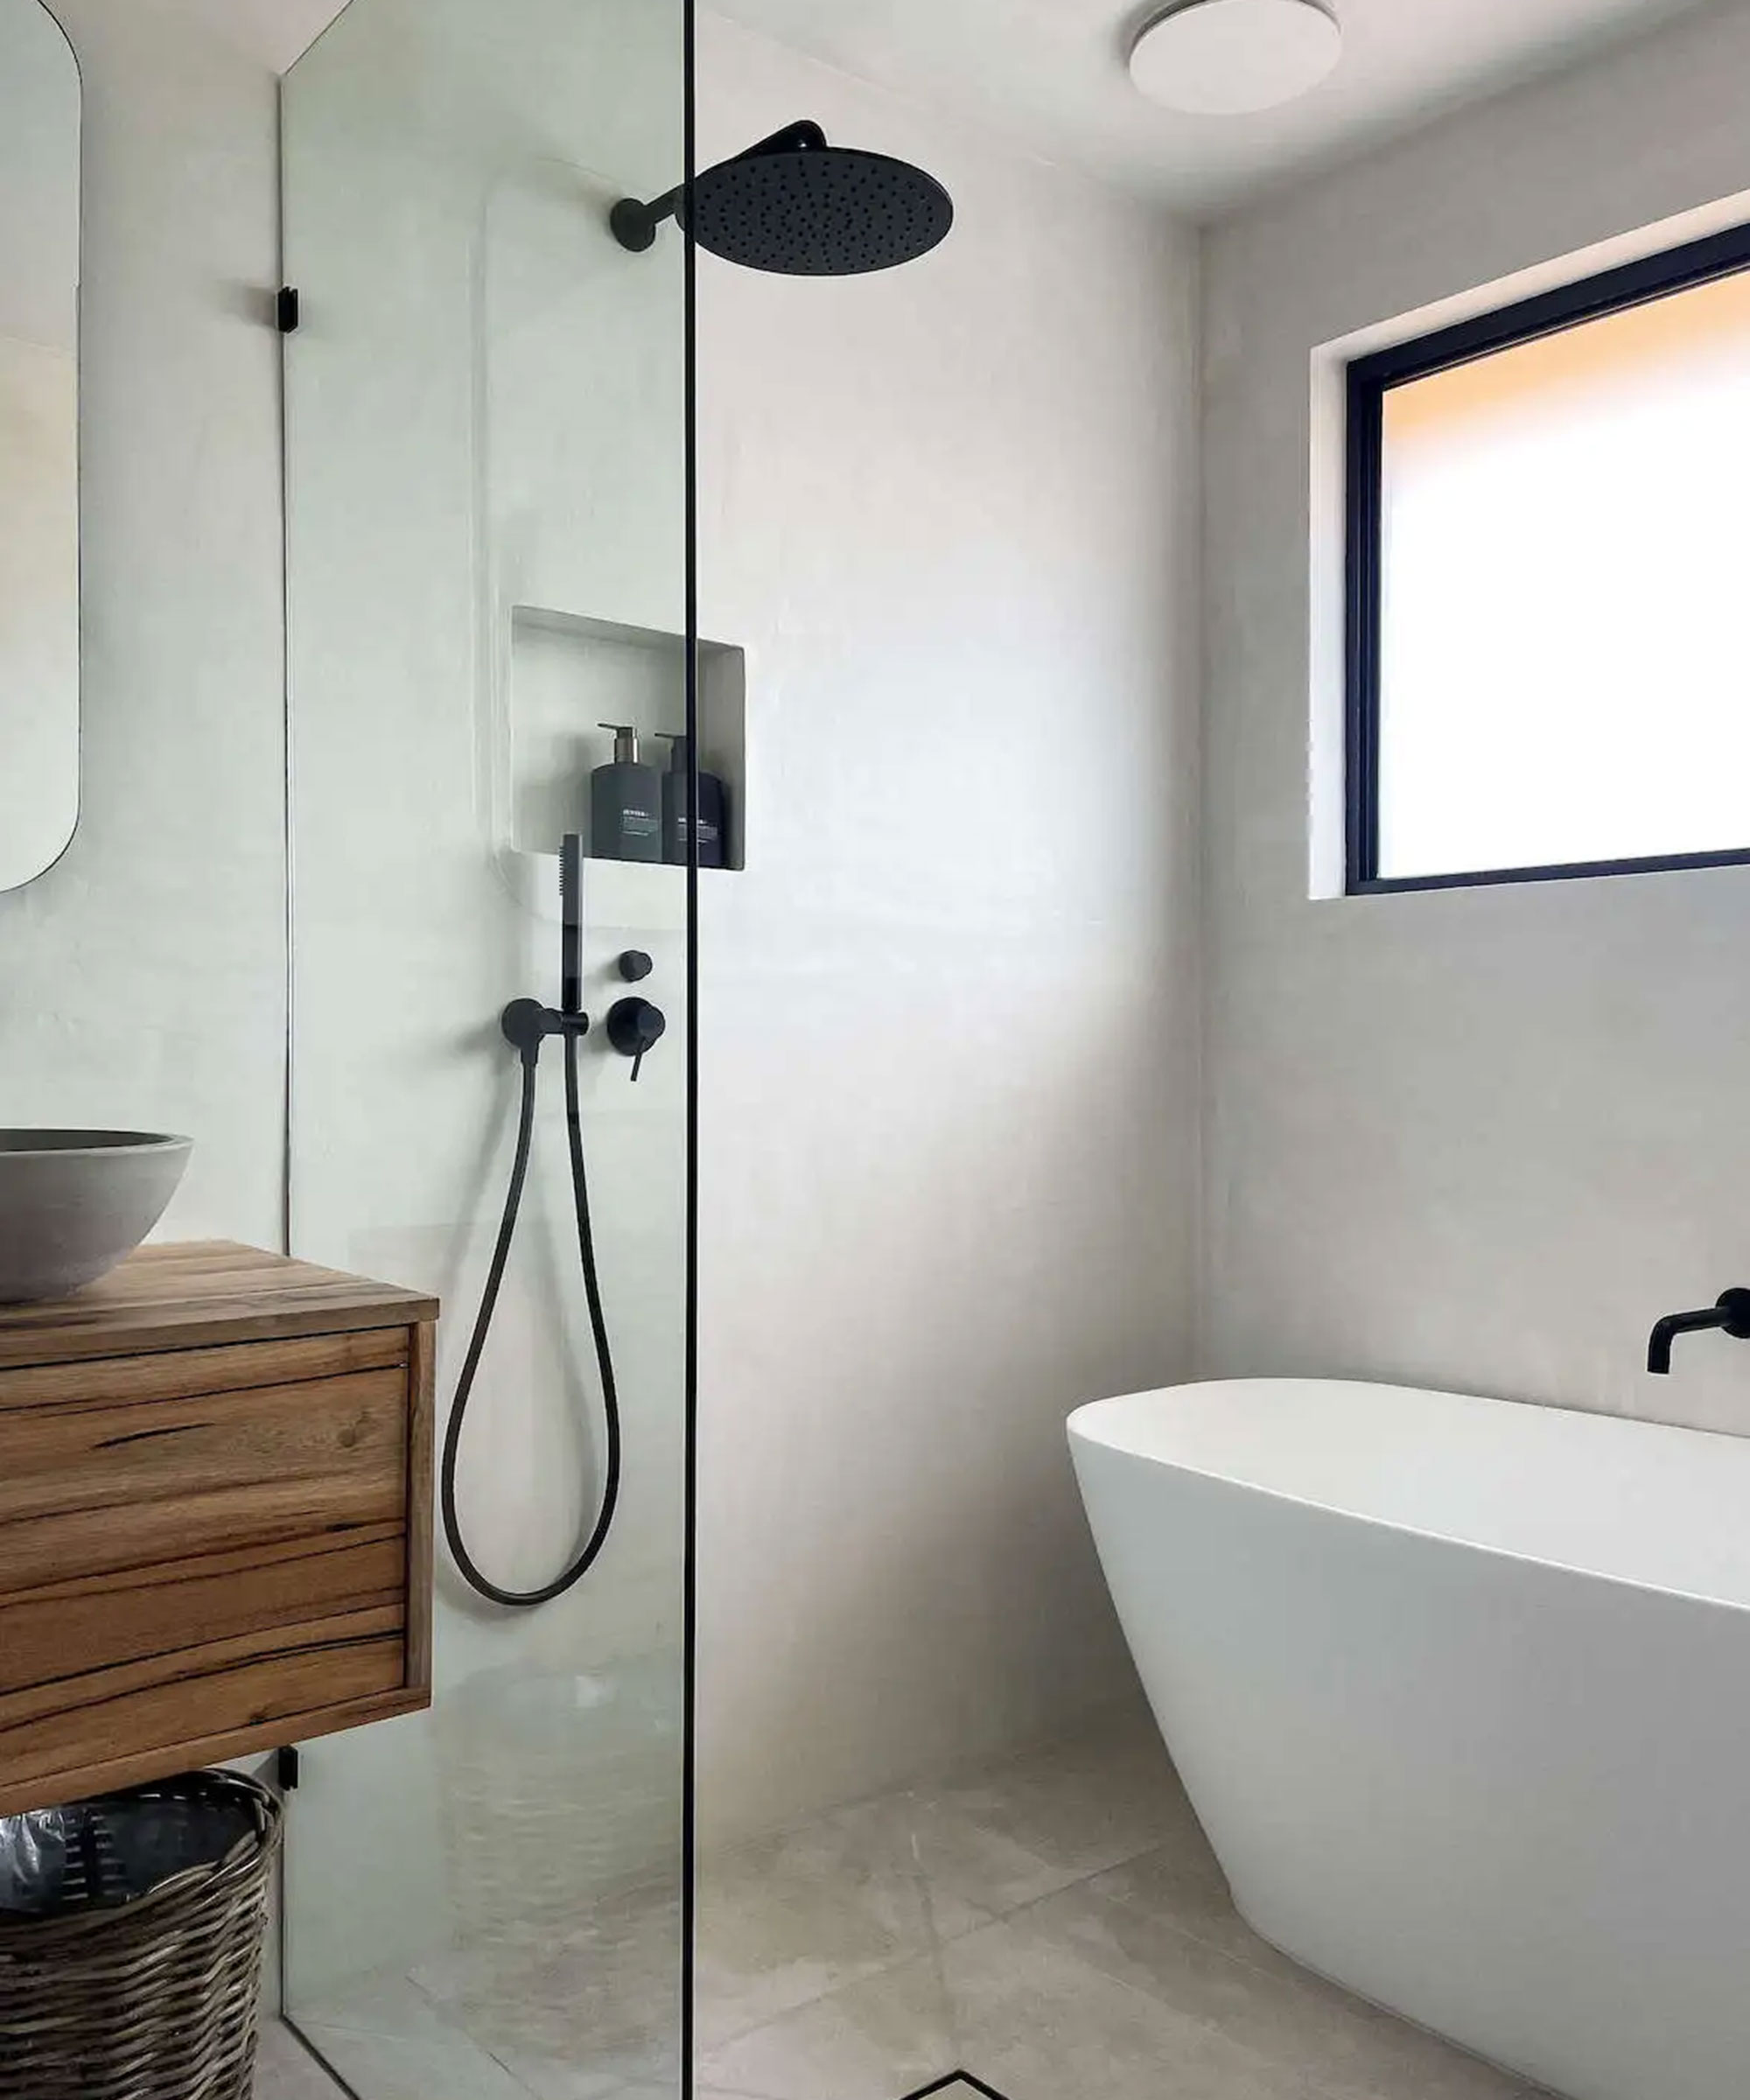
There are many beautiful ways of finishing off a shower enclosure that goes beyond shower tile ideas or waterproof panels – but microcementing a shower can really add warmth and texture that can be hard to achieve with other materials.
You should be aware that it can be hard for DIYers to get as perfect a finish on the walls as the pros. Like plastering, this is a job that takes practice and skill. That said, if you are happy with something a little more rustic, then this is a project worth having a go at.
"If you are applying microcement to a wet area, it’s essential that you properly waterproof the space first to avoid any issues down the line," advises Kellie Reidy, author of January Revival Home Renovation + Interior Styling, who renovated her bathroom, including the showering area, in microcement. "Pay particular attention to any corners and joins, as these are the most common places for leaks.
"We chose to use a gray waterproofing agent to reduce the chance of it altering the color of our microcement," continues Kellie. "We recommend you avoid using any silicone-based gap fillers, as the primer may not stick."
"Once you have completed your waterproofing, you will need to apply a coat of high-quality white paint primer to all surfaces you plan to coat with microcement." Try INSL-X Stix Acrylic Waterborne Bonding Primer from Amazon.
Just as when microcementing any surface, there are a number of options when it comes to the types of products you can use. Most DIYers find that kits containing all the necessary materials and tools offer the easiest route. In the case of shower enclosures, there are many designed specifically for wet areas that will result in a completely waterproof finish.
4. Boring shelf upgrade
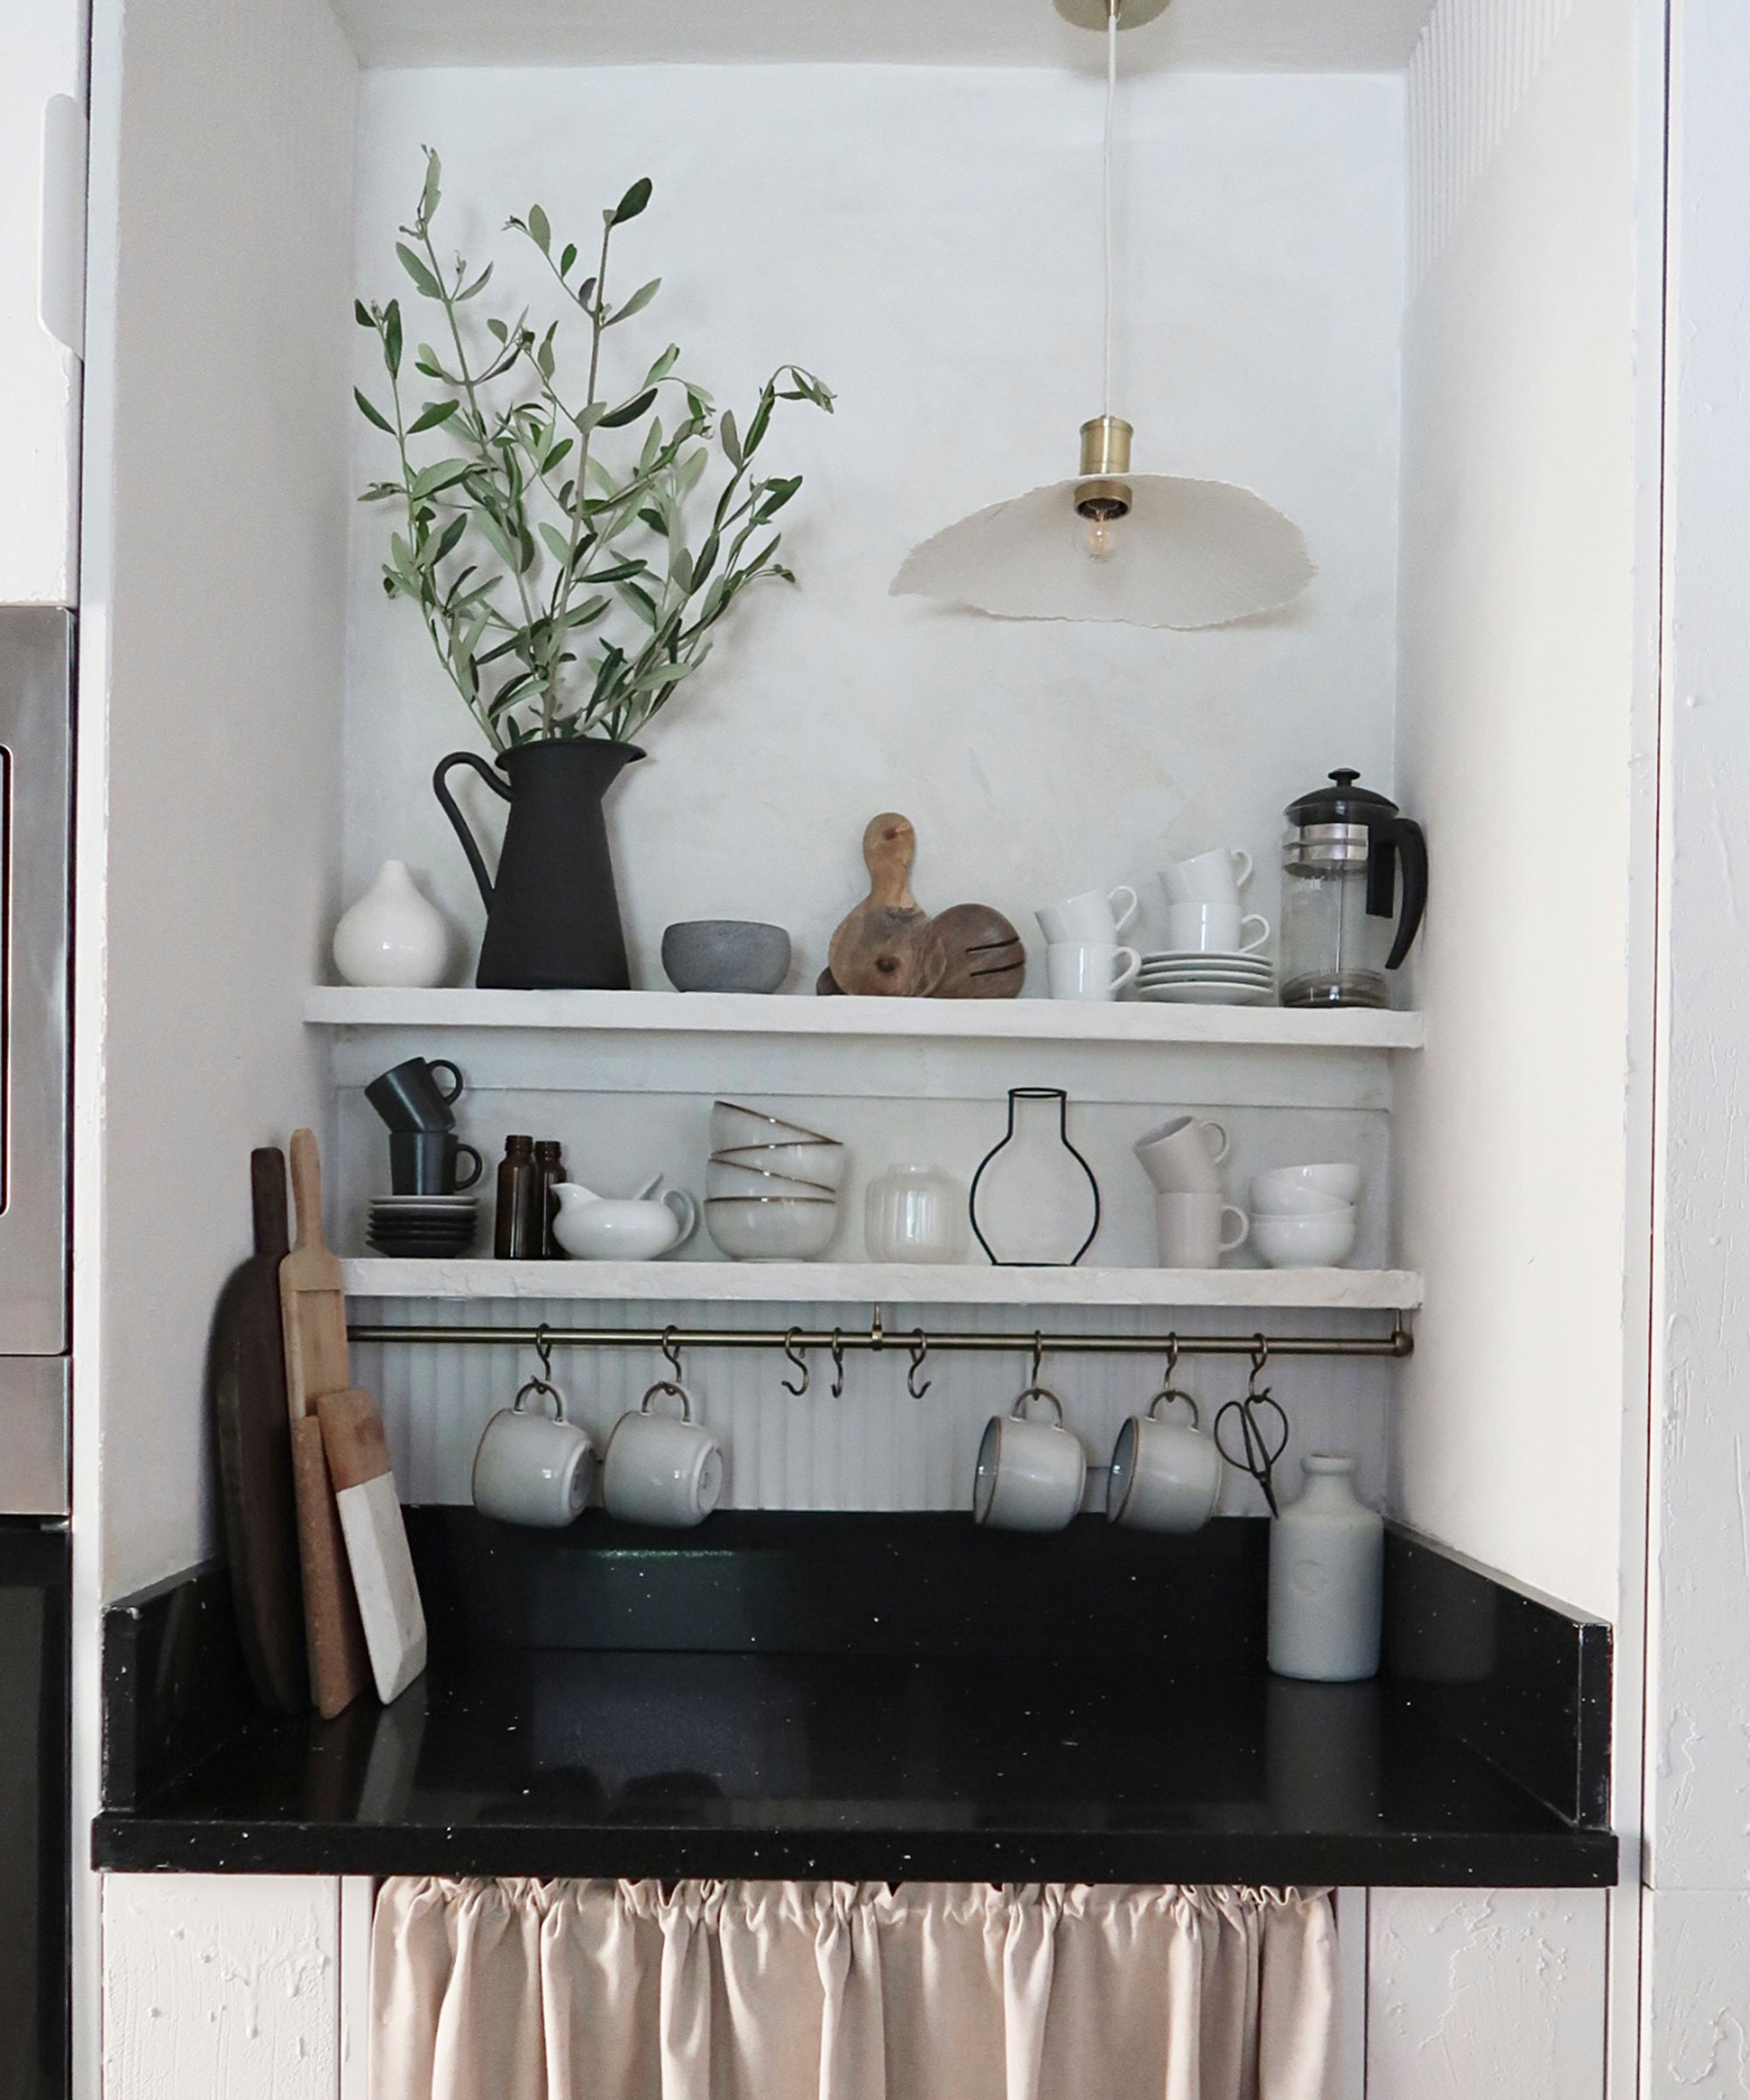
Microcement is a brilliant way to totally transform both standard fixtures and fittings, such as off-the-shelf pieces of furniture, as well as to upcycle old items in need of sprucing up.
If you are after some unique kitchen storage ideas, consider buying plain wall shelves and giving them a total makeover with microcement.
Stylist Claire Douglas did just that with a set of MOSSLANDA IKEA shelves, using them to create a one-off coffee station in her kitchen.
"As usual, this was a project being completed on a shoestring budget," says Claire. "I’m a huge fan of the texture and depth that microcement adds to a surface and regularly incorporate it into my interior schemes.
"I primed the surface using the primer included in the microcement kit and a roller before applying the first layer of mixed microcement thinly with my skimming spreader. I applied two layers of microcement (priming in between) on both the shelves and the wall behind as well as the sides of the nook (the adjacent cabinets). I didn't sand at all as I wanted the texture, but you could sand to make a smooth finish if you wish. You should seal the microcement because it is porous until this point and can absorb dirt and moisture."
5. Finish off boxing out
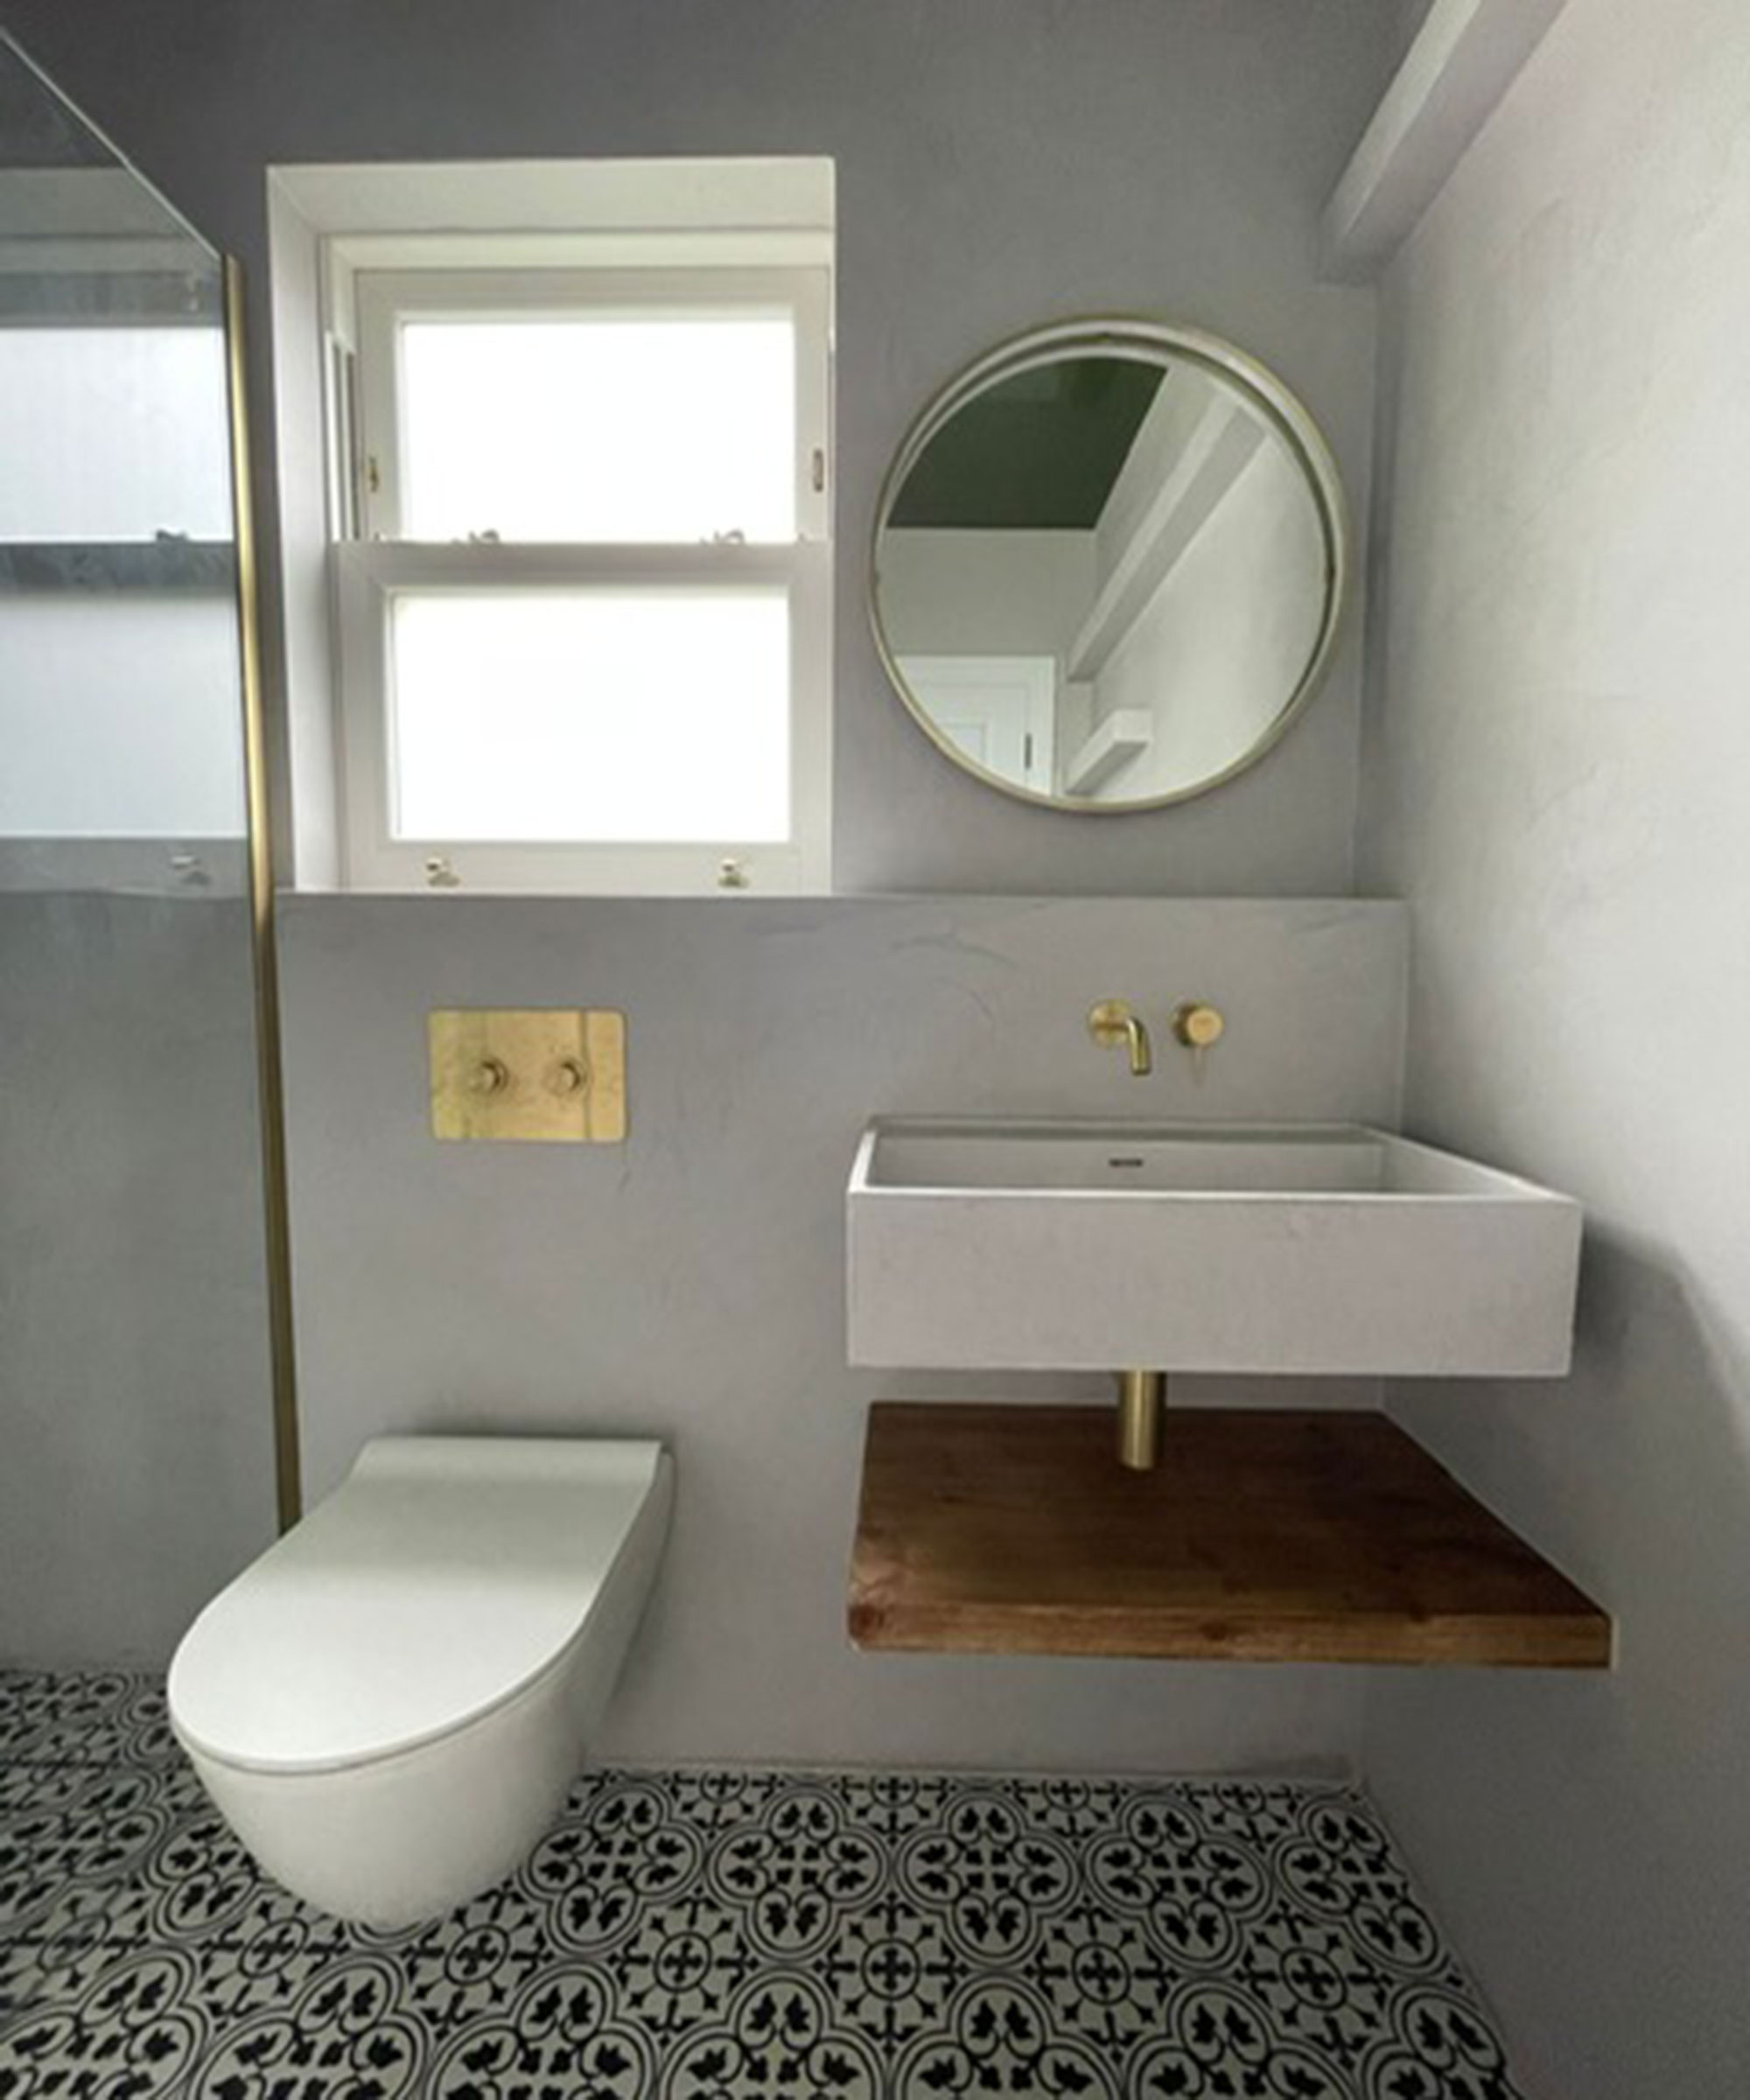
Wondering how to finish off the stud work housing the plumbing for your wall-hung toilet or bathroom sink or for modern small bathroom ideas to help make a space feel bigger? Microcement could just be the thing you are after.
This minimalist bathroom, by Southern Home Interiors, has a beautifully cohesive look thanks to the fresh pale grey microcement finish that has been used for the walls, stud work, and bathroom sink.
If you are worried about an entire microcement finish looking too clinical, include warmer elements such as rich timber finishes and brushed brass or bronze, as has been done here.
The HOMLUX Bath Hardware Set from Target features a towel bar, toilet paper holder, and towel ring and comes in a beautiful brass finish.
6. Housing for appliances
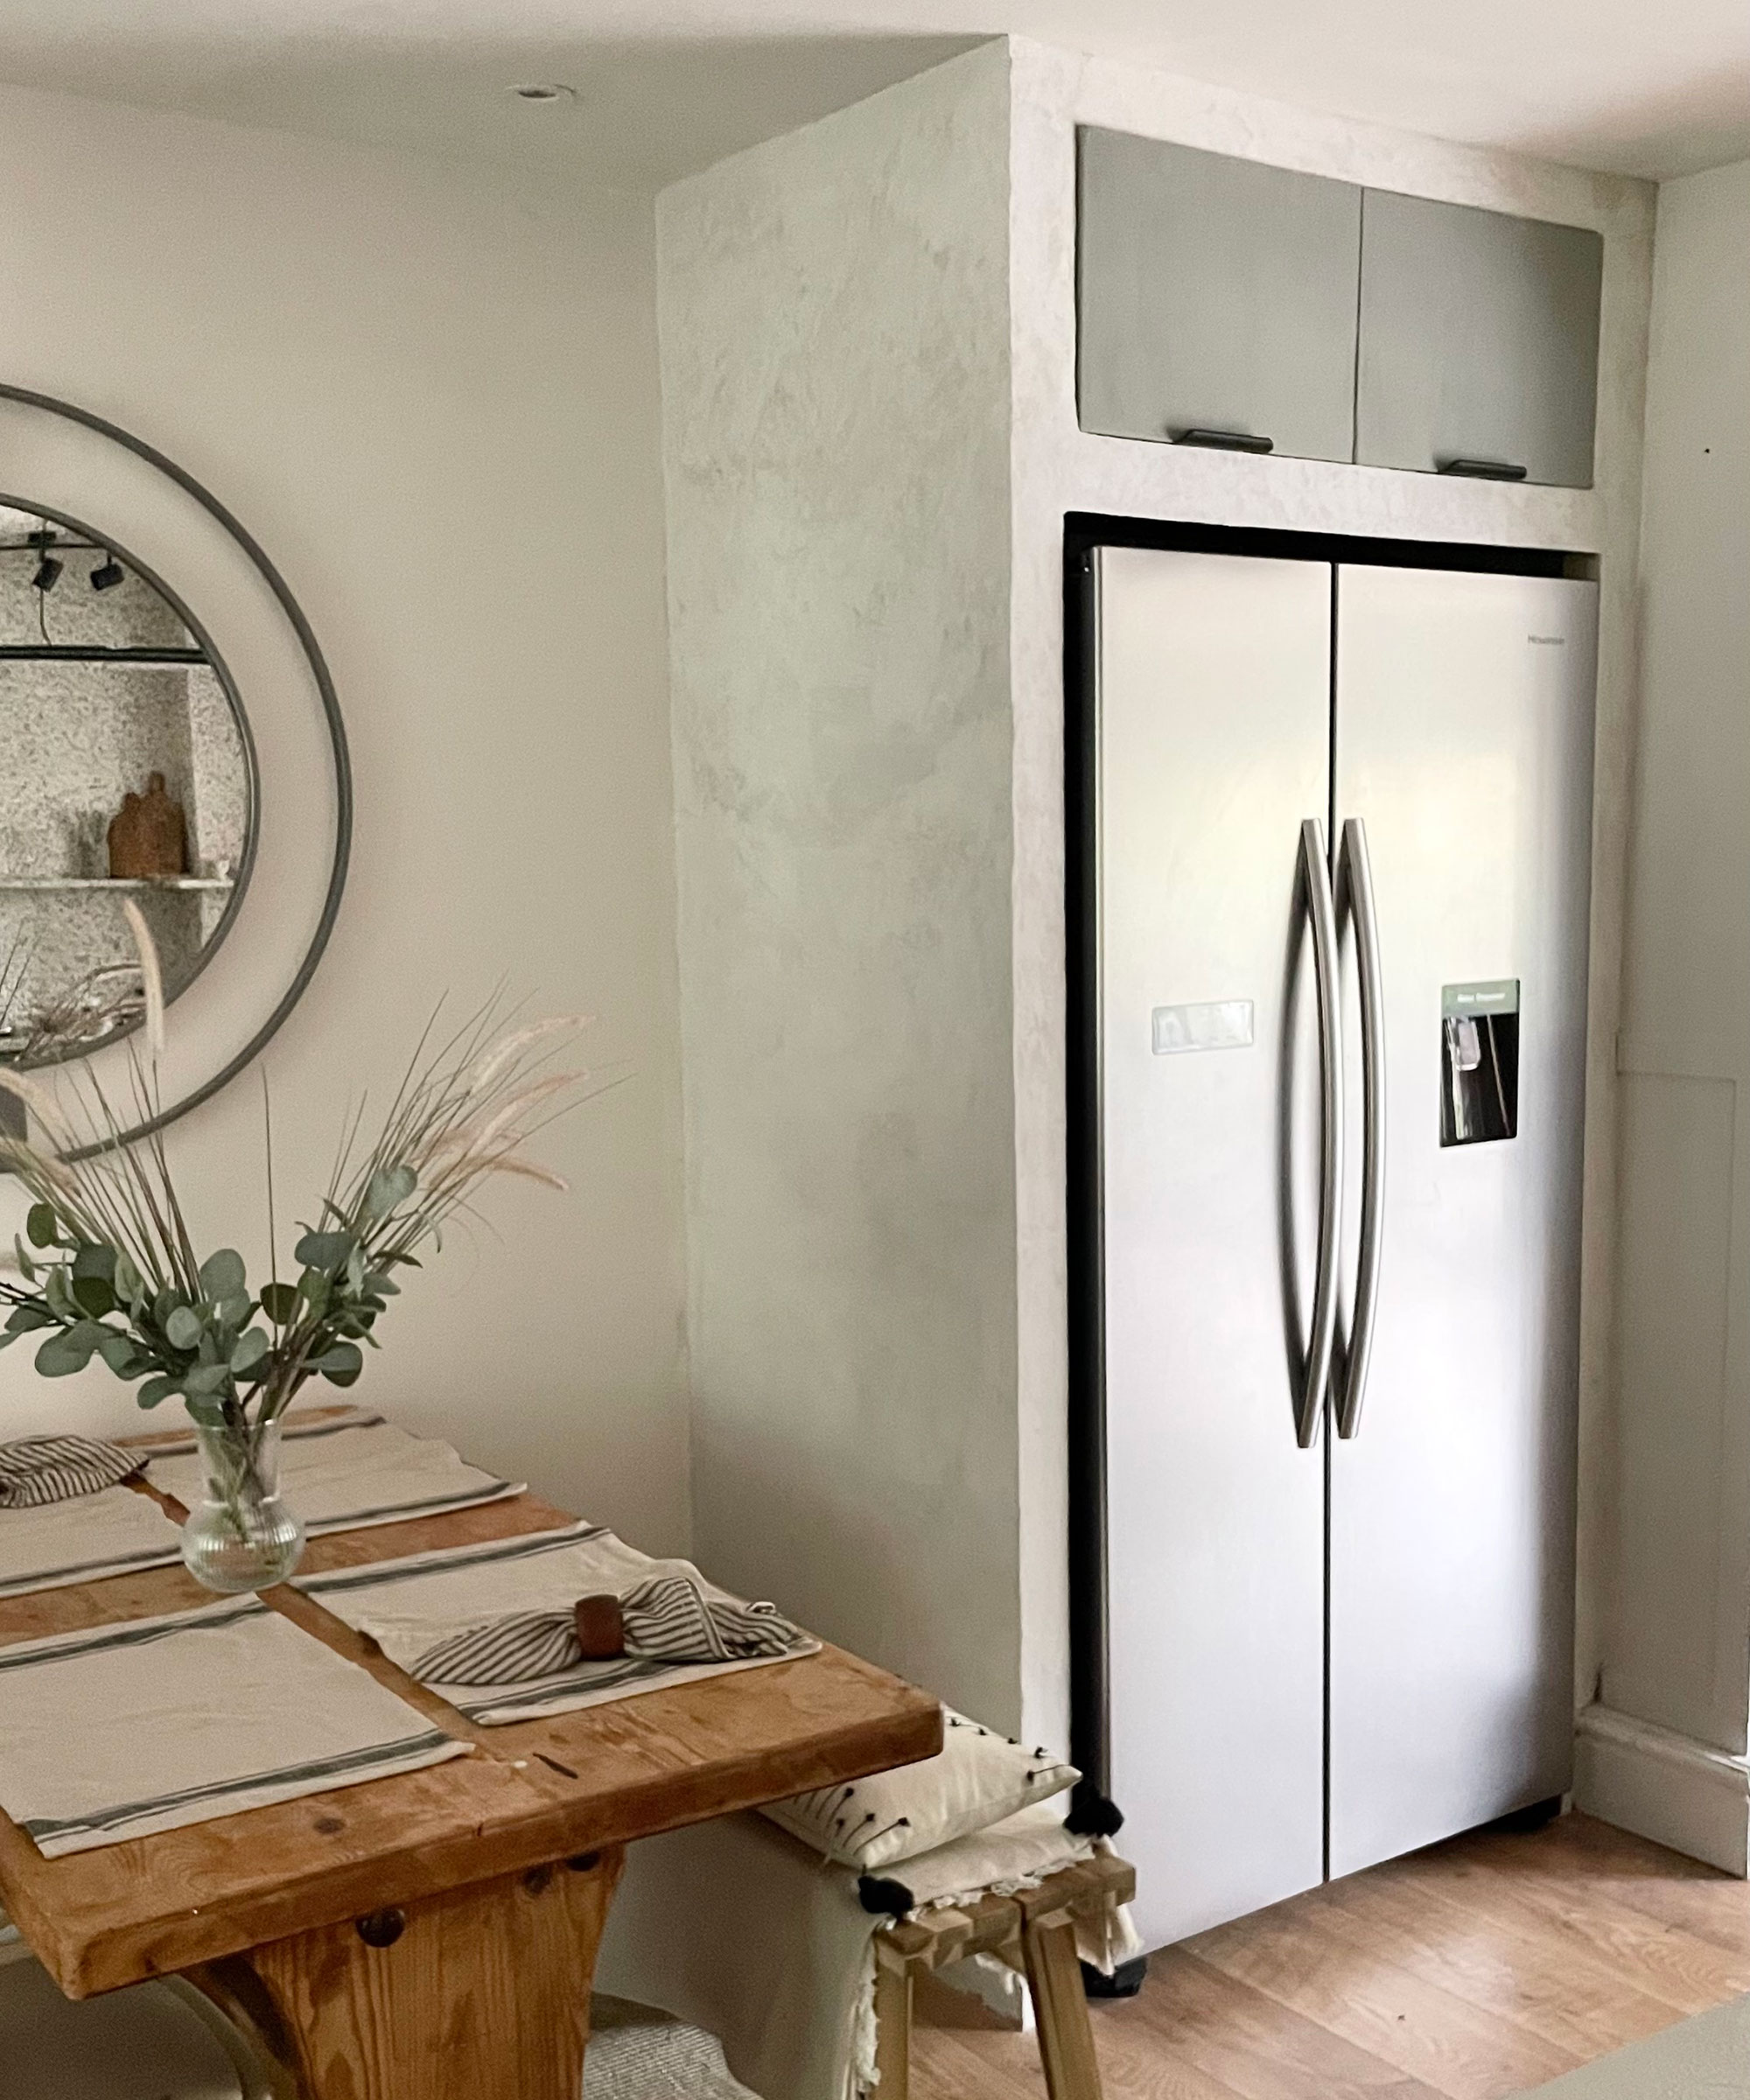
Looking for an alternative to kitchen cabinetry to house your appliances? This is one of those small kitchen upgrades that will have a big impact and lend an individual finish to your kitchen, plus it is great for anyone trying to keep costs down.
Claire opted to build her freestanding refrigerator into a microcement-finished unit she constructed herself and the results are stunning. She built a timber frame big enough to take the appliance, before cladding it in MDF.
"I glued the edges where the MDF sheets met to ensure that no moisture would be able to get in and cause the frame to separate later on," explains Claire. "I also did this where there were any joins or imperfections in the frame.
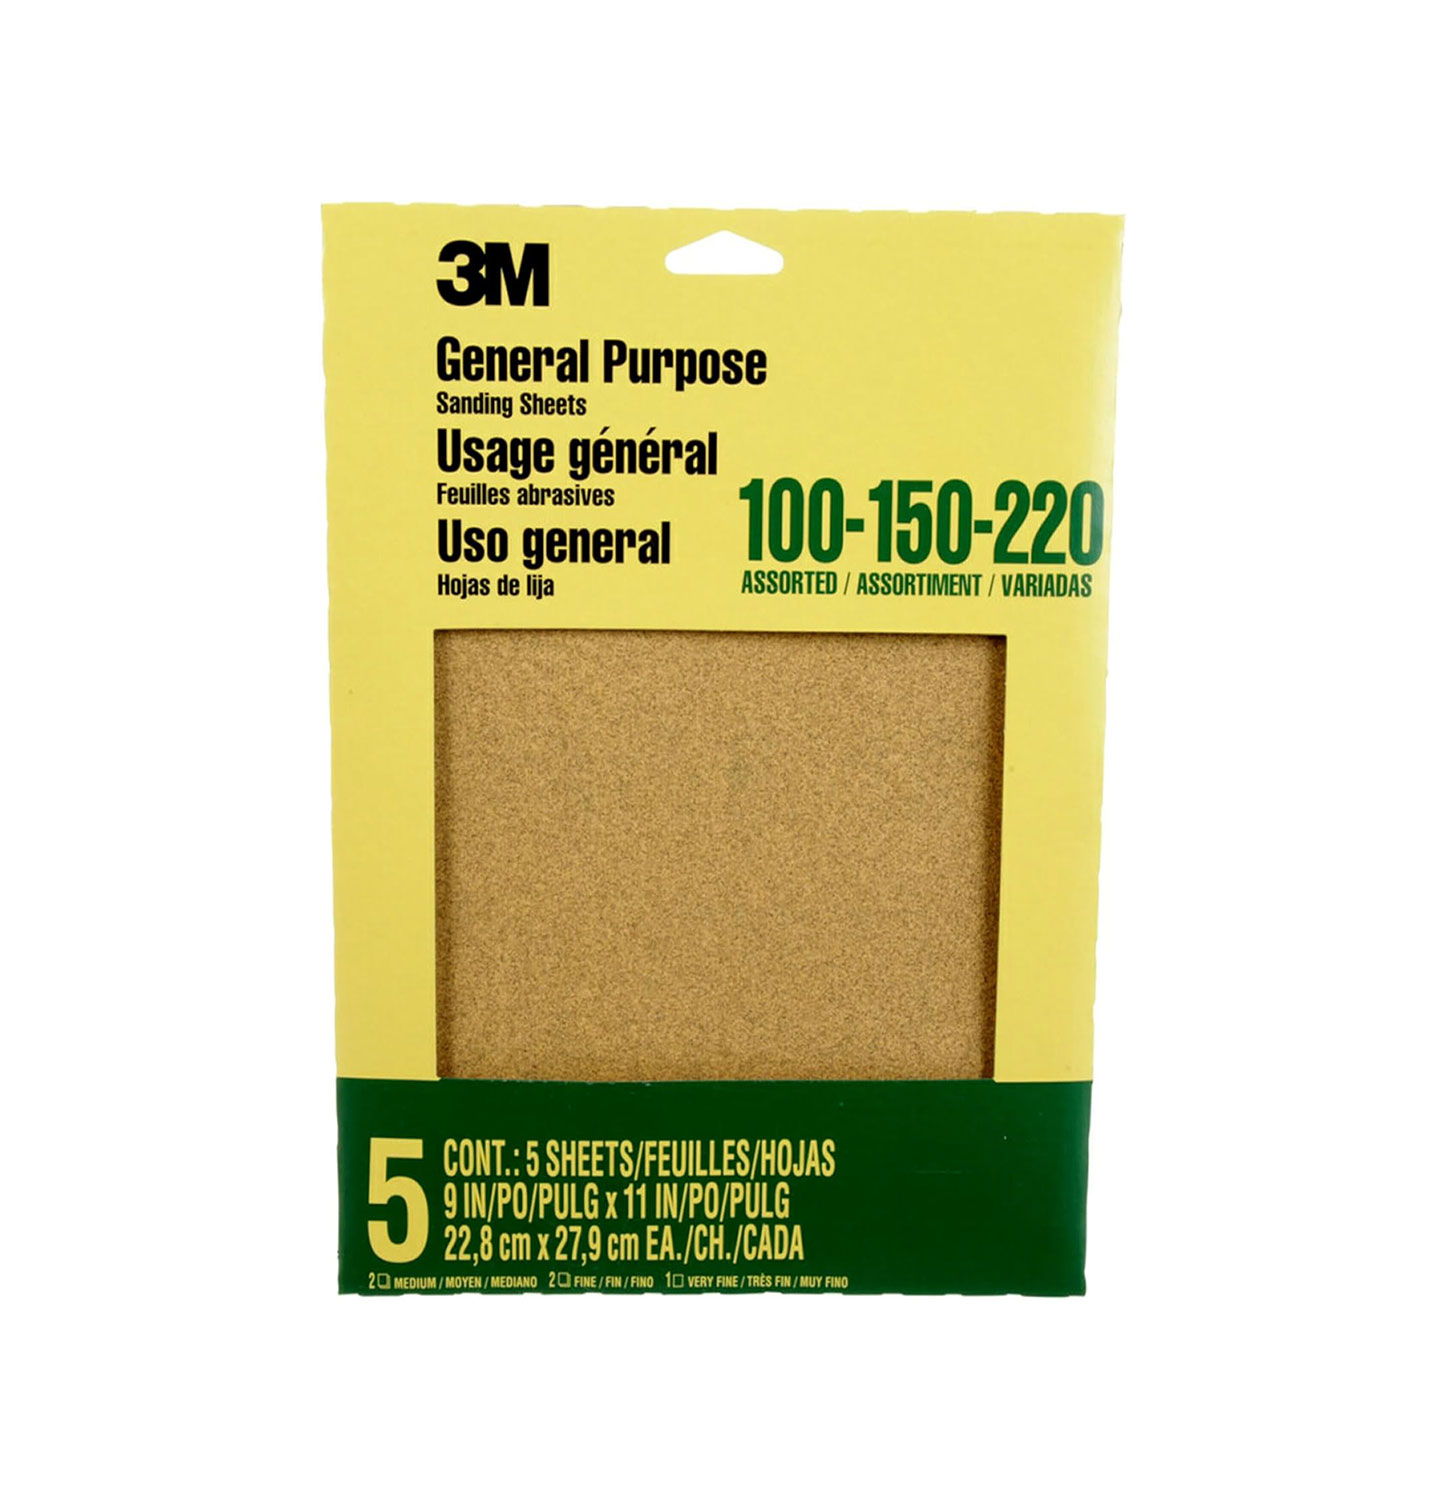
"Once the glue had dried, I sanded it lightly to ensure the surface was smooth, then primed the whole unit." It would be worth investing in a pack of sanding sheets of various grits, such as the 3M Aluminum Oxide Sandpaper from Amazon.
Claire then applied two coats of microcement – leaving 24 hours between coats – using the spreader that had been recommended by the manufacturer.
7. Homemade planter
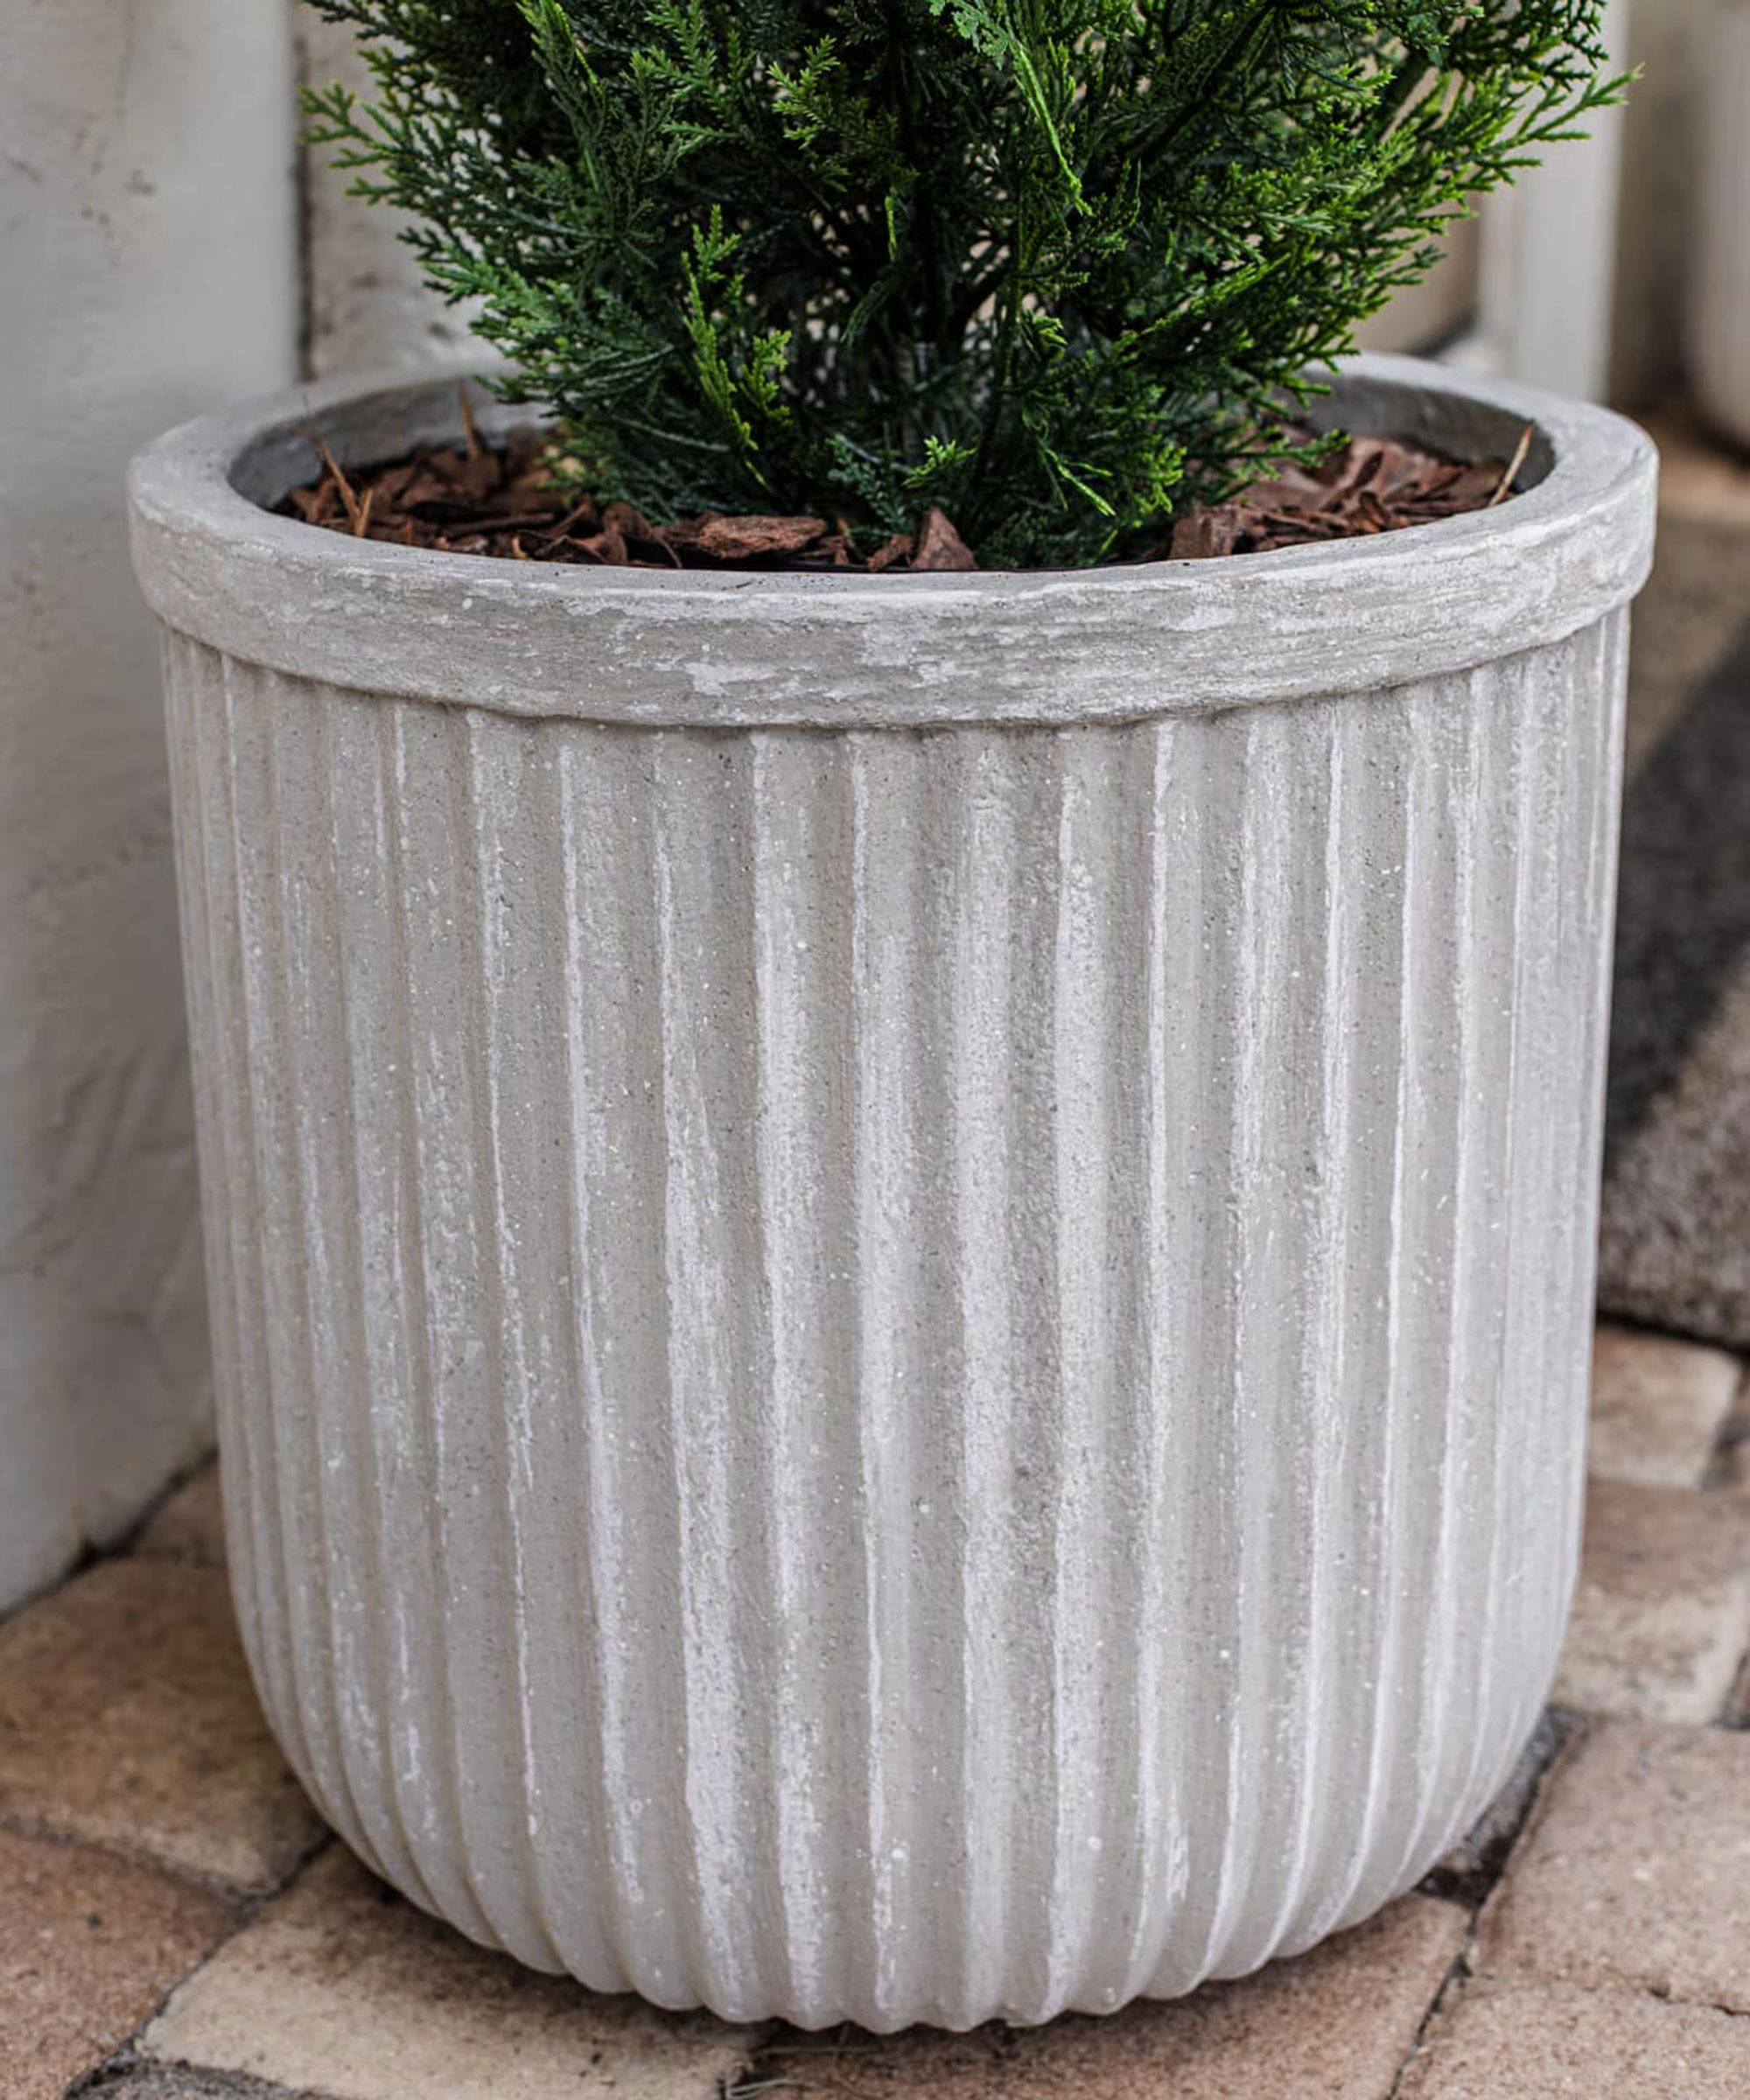
This DIY alternative planter idea project would make the ideal gift, although you may well be tempted to keep it yourself once you see the results.
You first need to find a planter, pot or bowl that you love the shape of and it is a good idea to first apply a waterproof membrane before microcementing.
"If you have some already, it’s worth taking a few minutes to apply it, but it’s on the pricey side so I don’t think I’d buy it just for this project," advises DIY expert Jenna LeBlanc, of Jenna Sue Design Co. who completed the above project.
If you are using a powdered microcement, you want to mix in water until you have a consistency a little like pancake batter – this will allow you to brush it onto your planter easily.
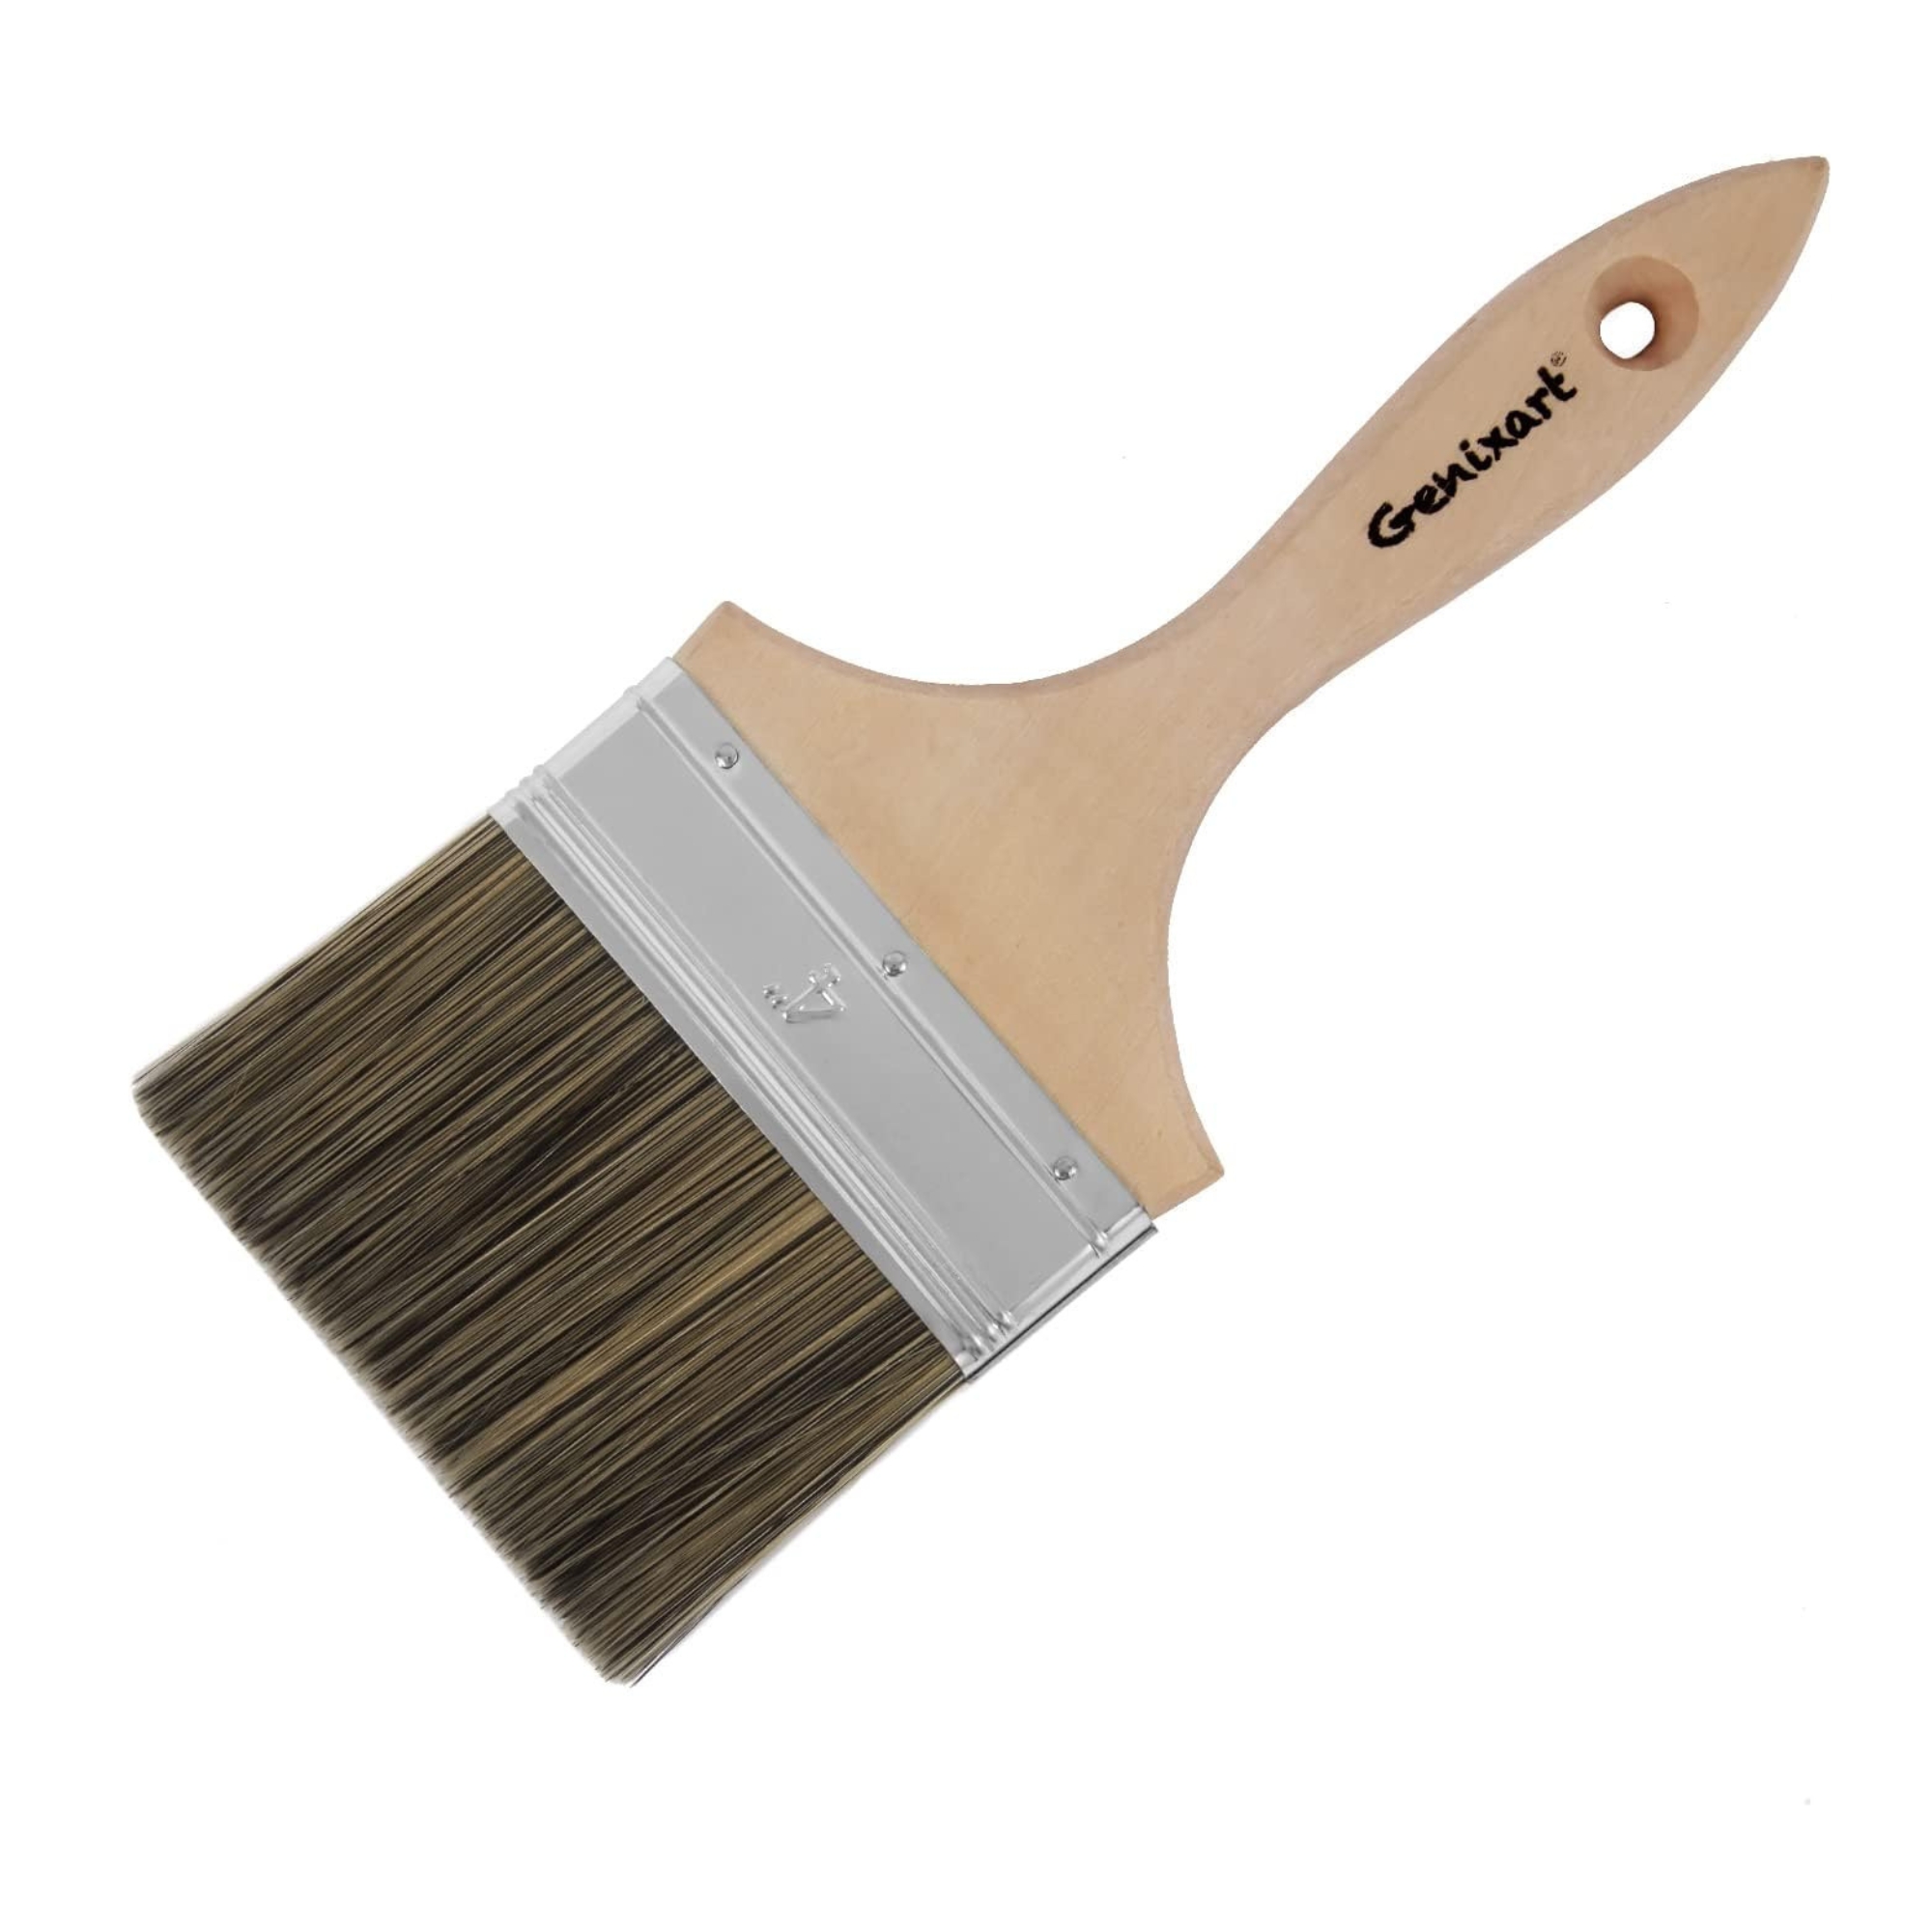
"Untinted microcement dries off-white, and I wanted a light gray cement color, so I mixed in a splash of blank latex paint," explains Jenna. "I used a large masonry brush to apply it (which I later realized was overkill). The microcement went on easily, but it didn’t cover completely with such a large brush. After a couple of hours, the planter was dry enough for a second coat. This time, I used a small chip brush and it worked so much better!" Try the Project Source 2-in Natural Bristle Flat Paint Brush from Lowes.
In some cases, two coats will be enough, but you might find you need three depending on the consistency of your mix. Once dry, give the pot a light sand and paint or limewash, according to the look you are after.

Jenna LeBlanc has been designing homes and carrying out countless DIY projects since 2008. She has completed many house renovations and is currently in the process of finishing off her latest project, Hacienda Hideaway.
8. Feature wall
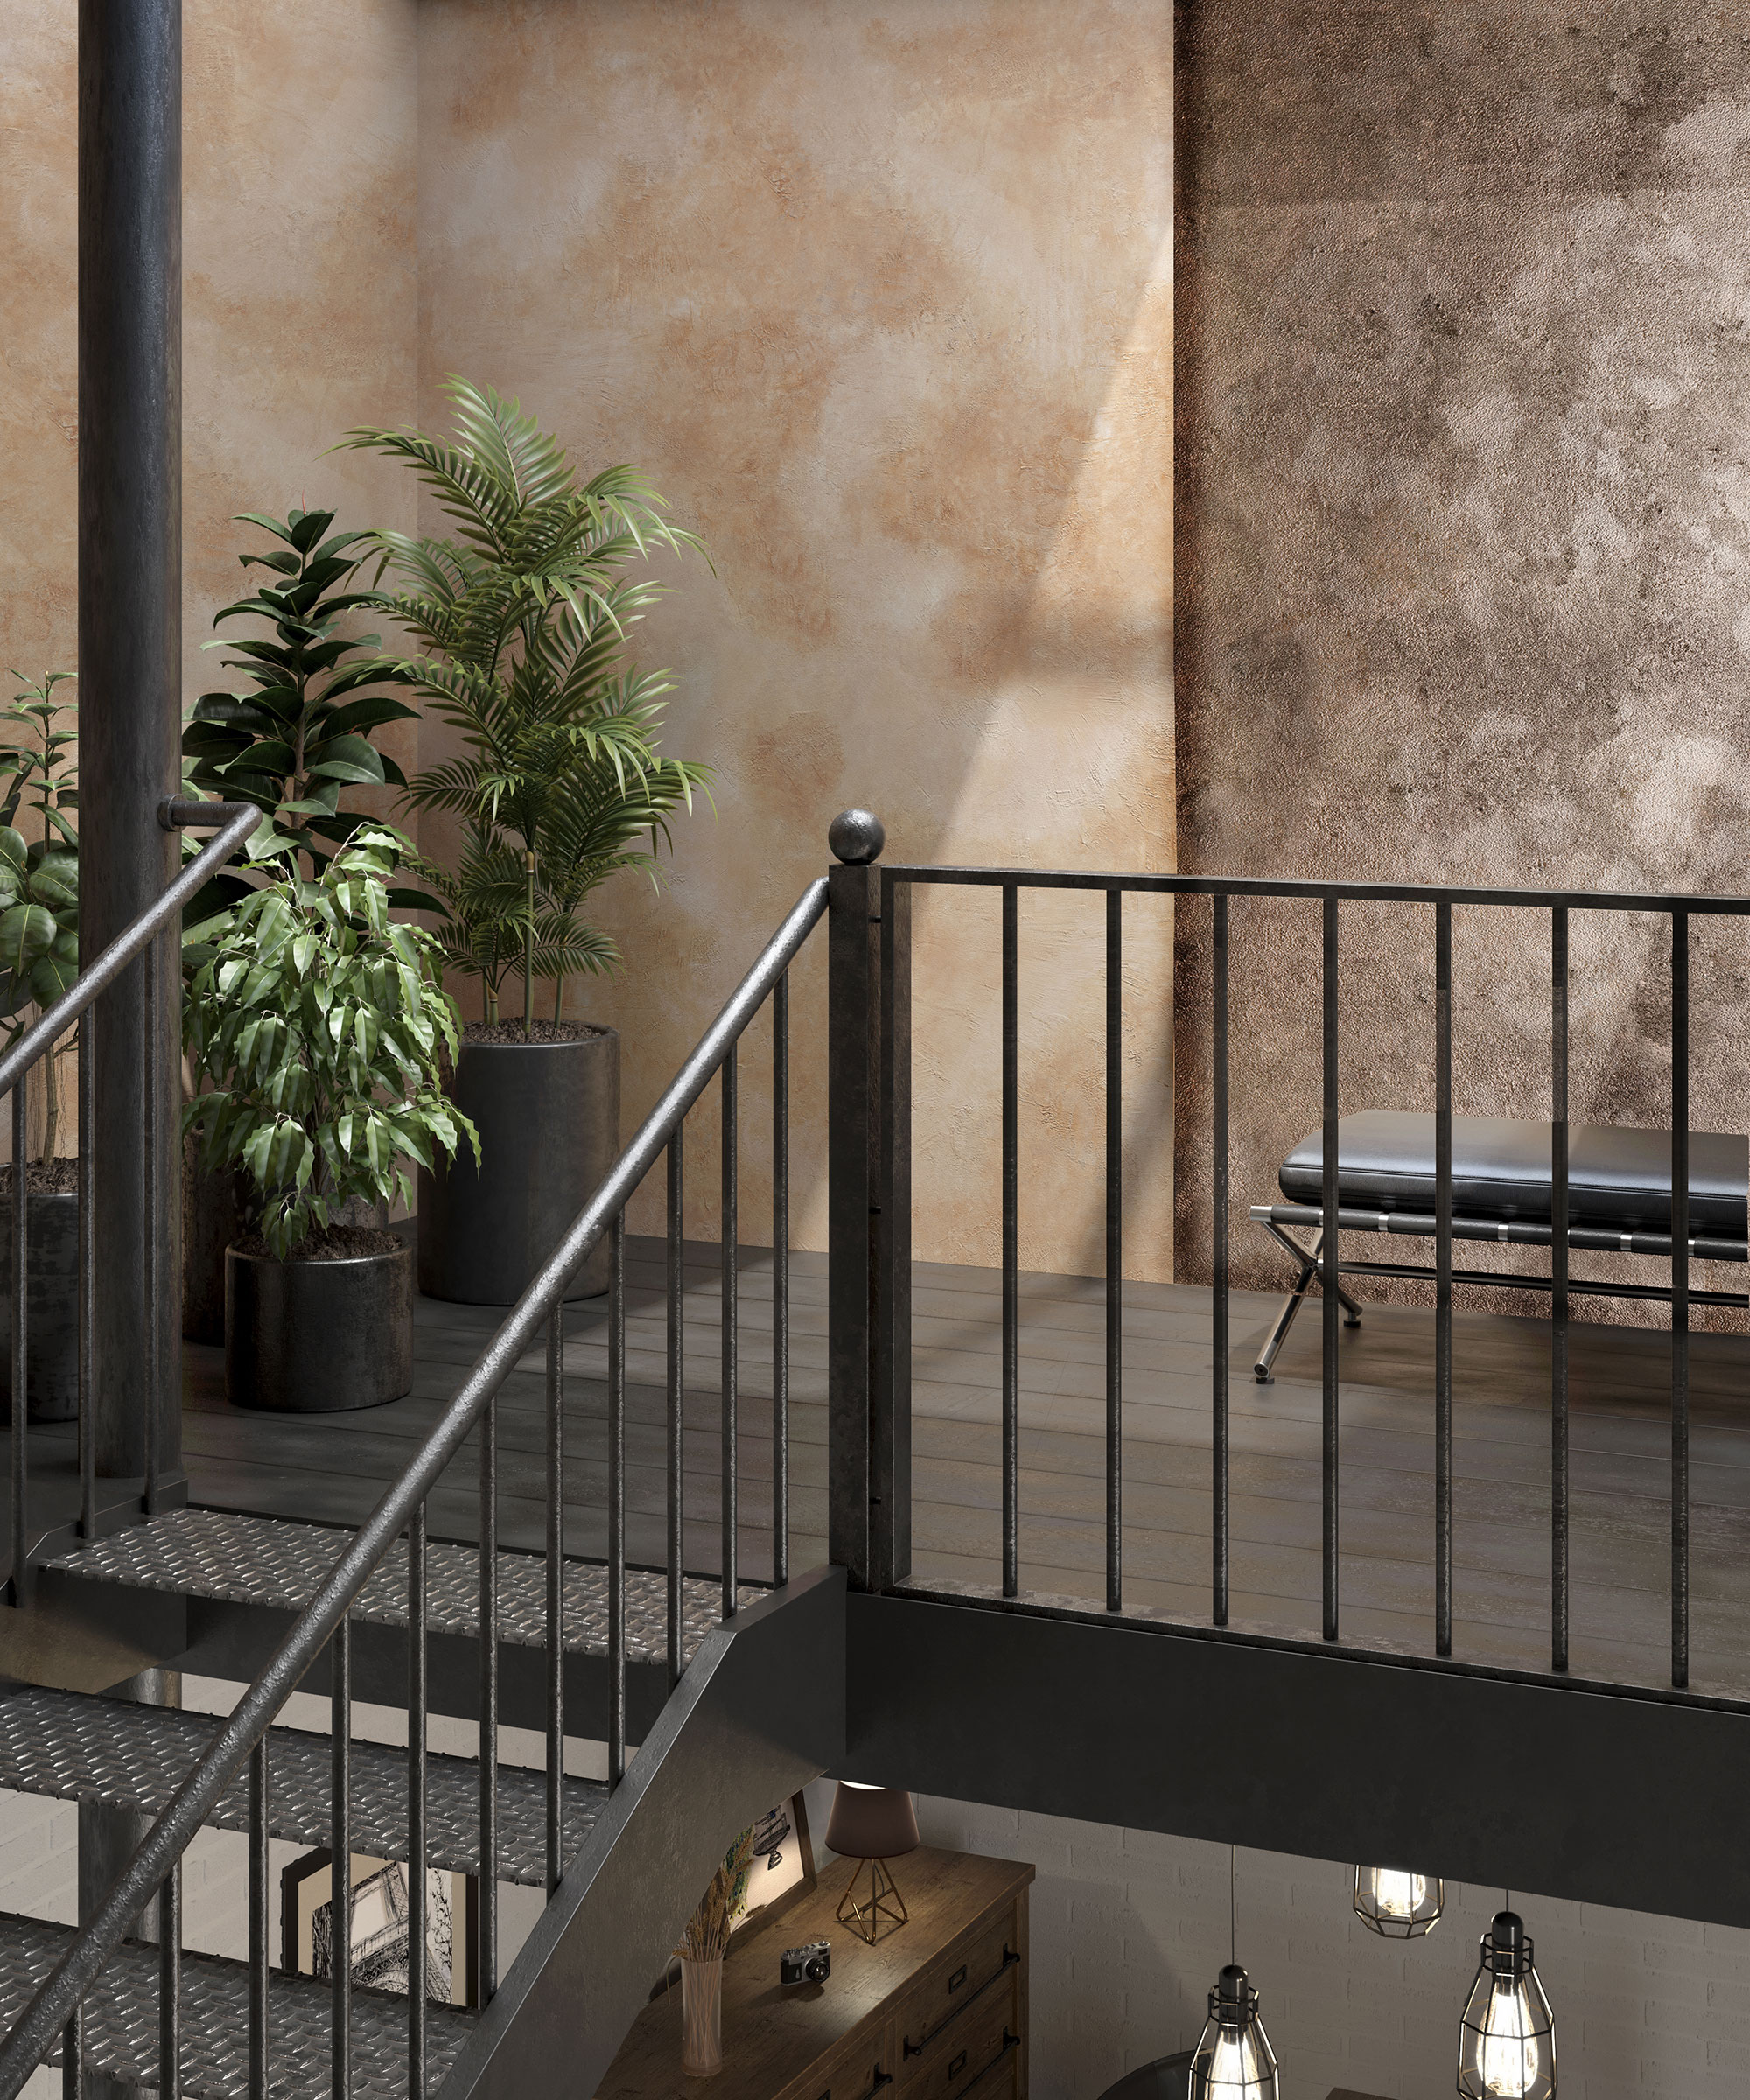
One of the quickest ways to update any decor scheme or to add character and individuality to a bland new space is to utilize some creative feature wall ideas.
There are lots of different ways you can do this. Some people simply choose to give one wall a new lick of paint, opting for a bold color that sits in contrast to the rest of the scheme. Other homeowners wallpaper one wall using a strong pattern or a mural design.
If you are on the lookout for something a little different, however, finishing off one wall with microcement will give you an instant focal point that will be full of texture and interest.
The wall here has been given a coating of the micro-cement system Continuo, available from The Decora Company.
"Generally this is a five-layer system that we sell as a kit," explains Matthew Drake. "This includes primer, two coats of the decorative micro-cement, and two coats of a polyurethane clear coat. The micro-cement and the clear coat both come as A/B components where the B component is mixed in as the hardener. Generally, the microcement system can be used anywhere indoors."
9. Easy backsplash
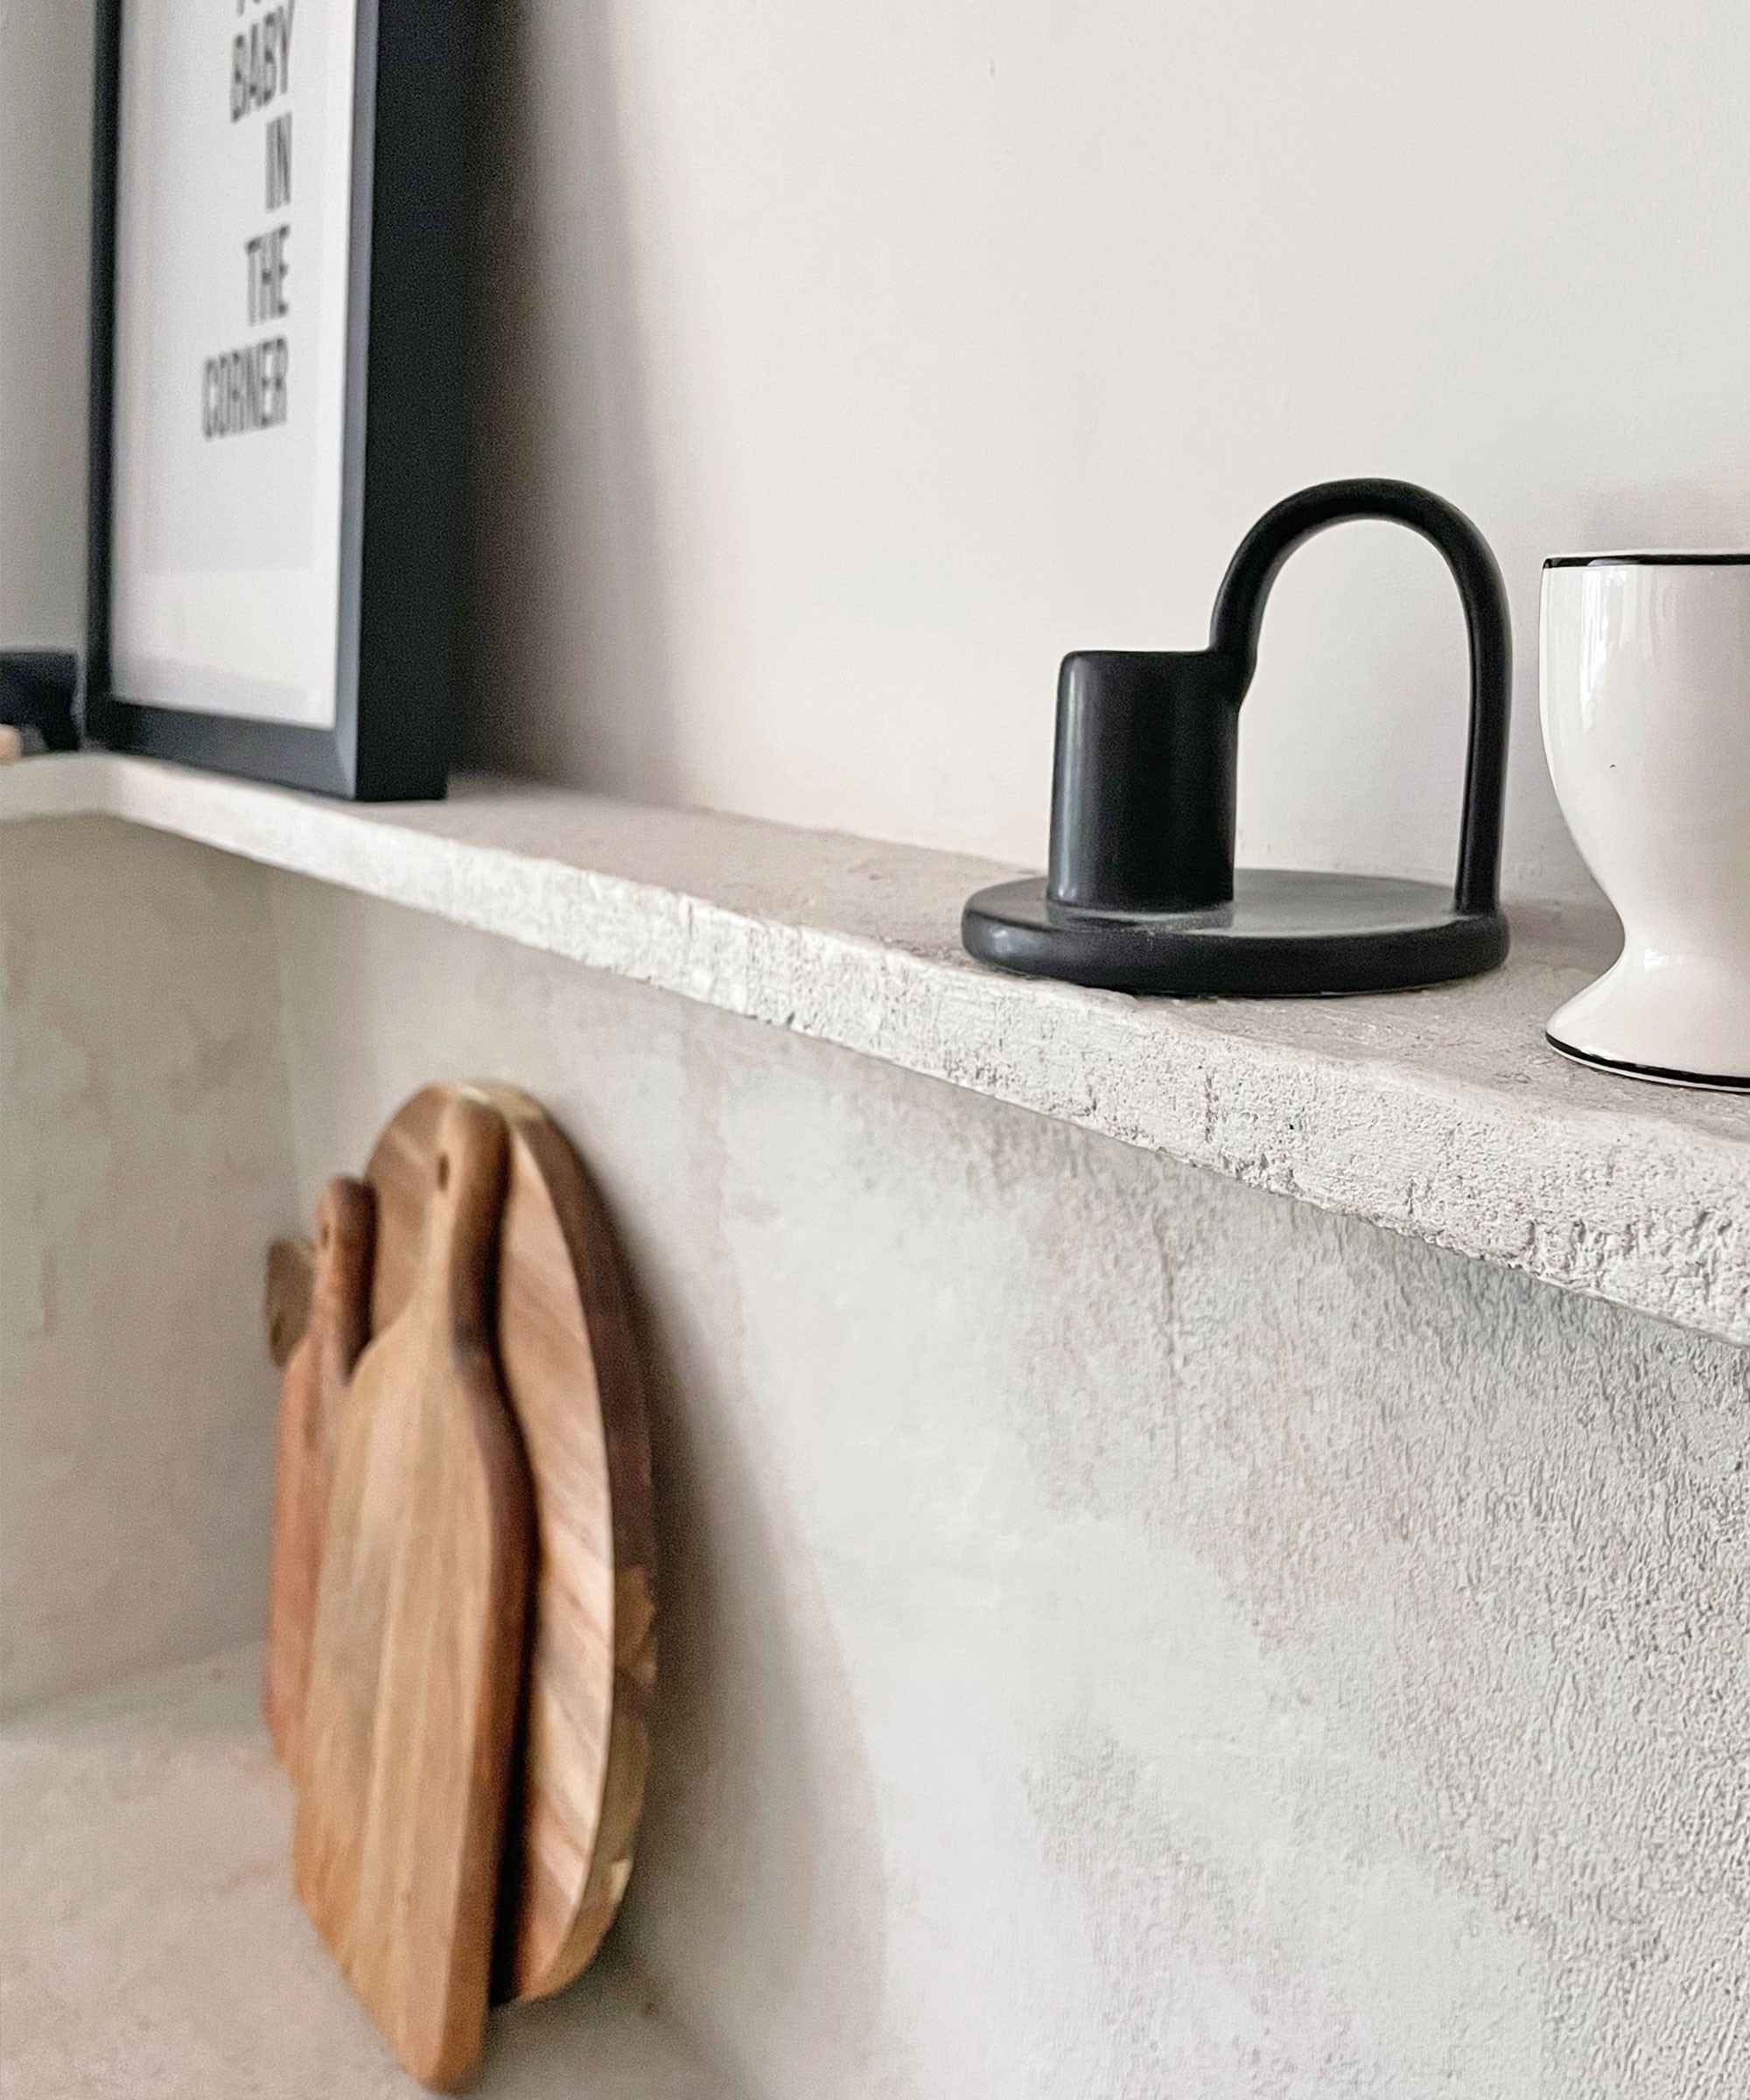
Stuck for affordable and stylish kitchen backsplash ideas? While tile, metal sheets, glass, and even vinyl wallpaper are all interesting options, it really is worthwhile taking note of what DIYers up and down the country are doing right now to give their kitchens an ultra-unique look by microcementing backsplashes.
In order to tie all the elements of her kitchen together, Claire Douglas chose not only to finish her countertops using microcement but took things a step further by using it for her backsplash as well as the ledge that protruded out from the wall.
Soften the finished look off with wooden kitchen accessories such as this beautiful Architec Sheesham Wood Gourmet Cutting Board from Walmart.
10. Outdoor furniture
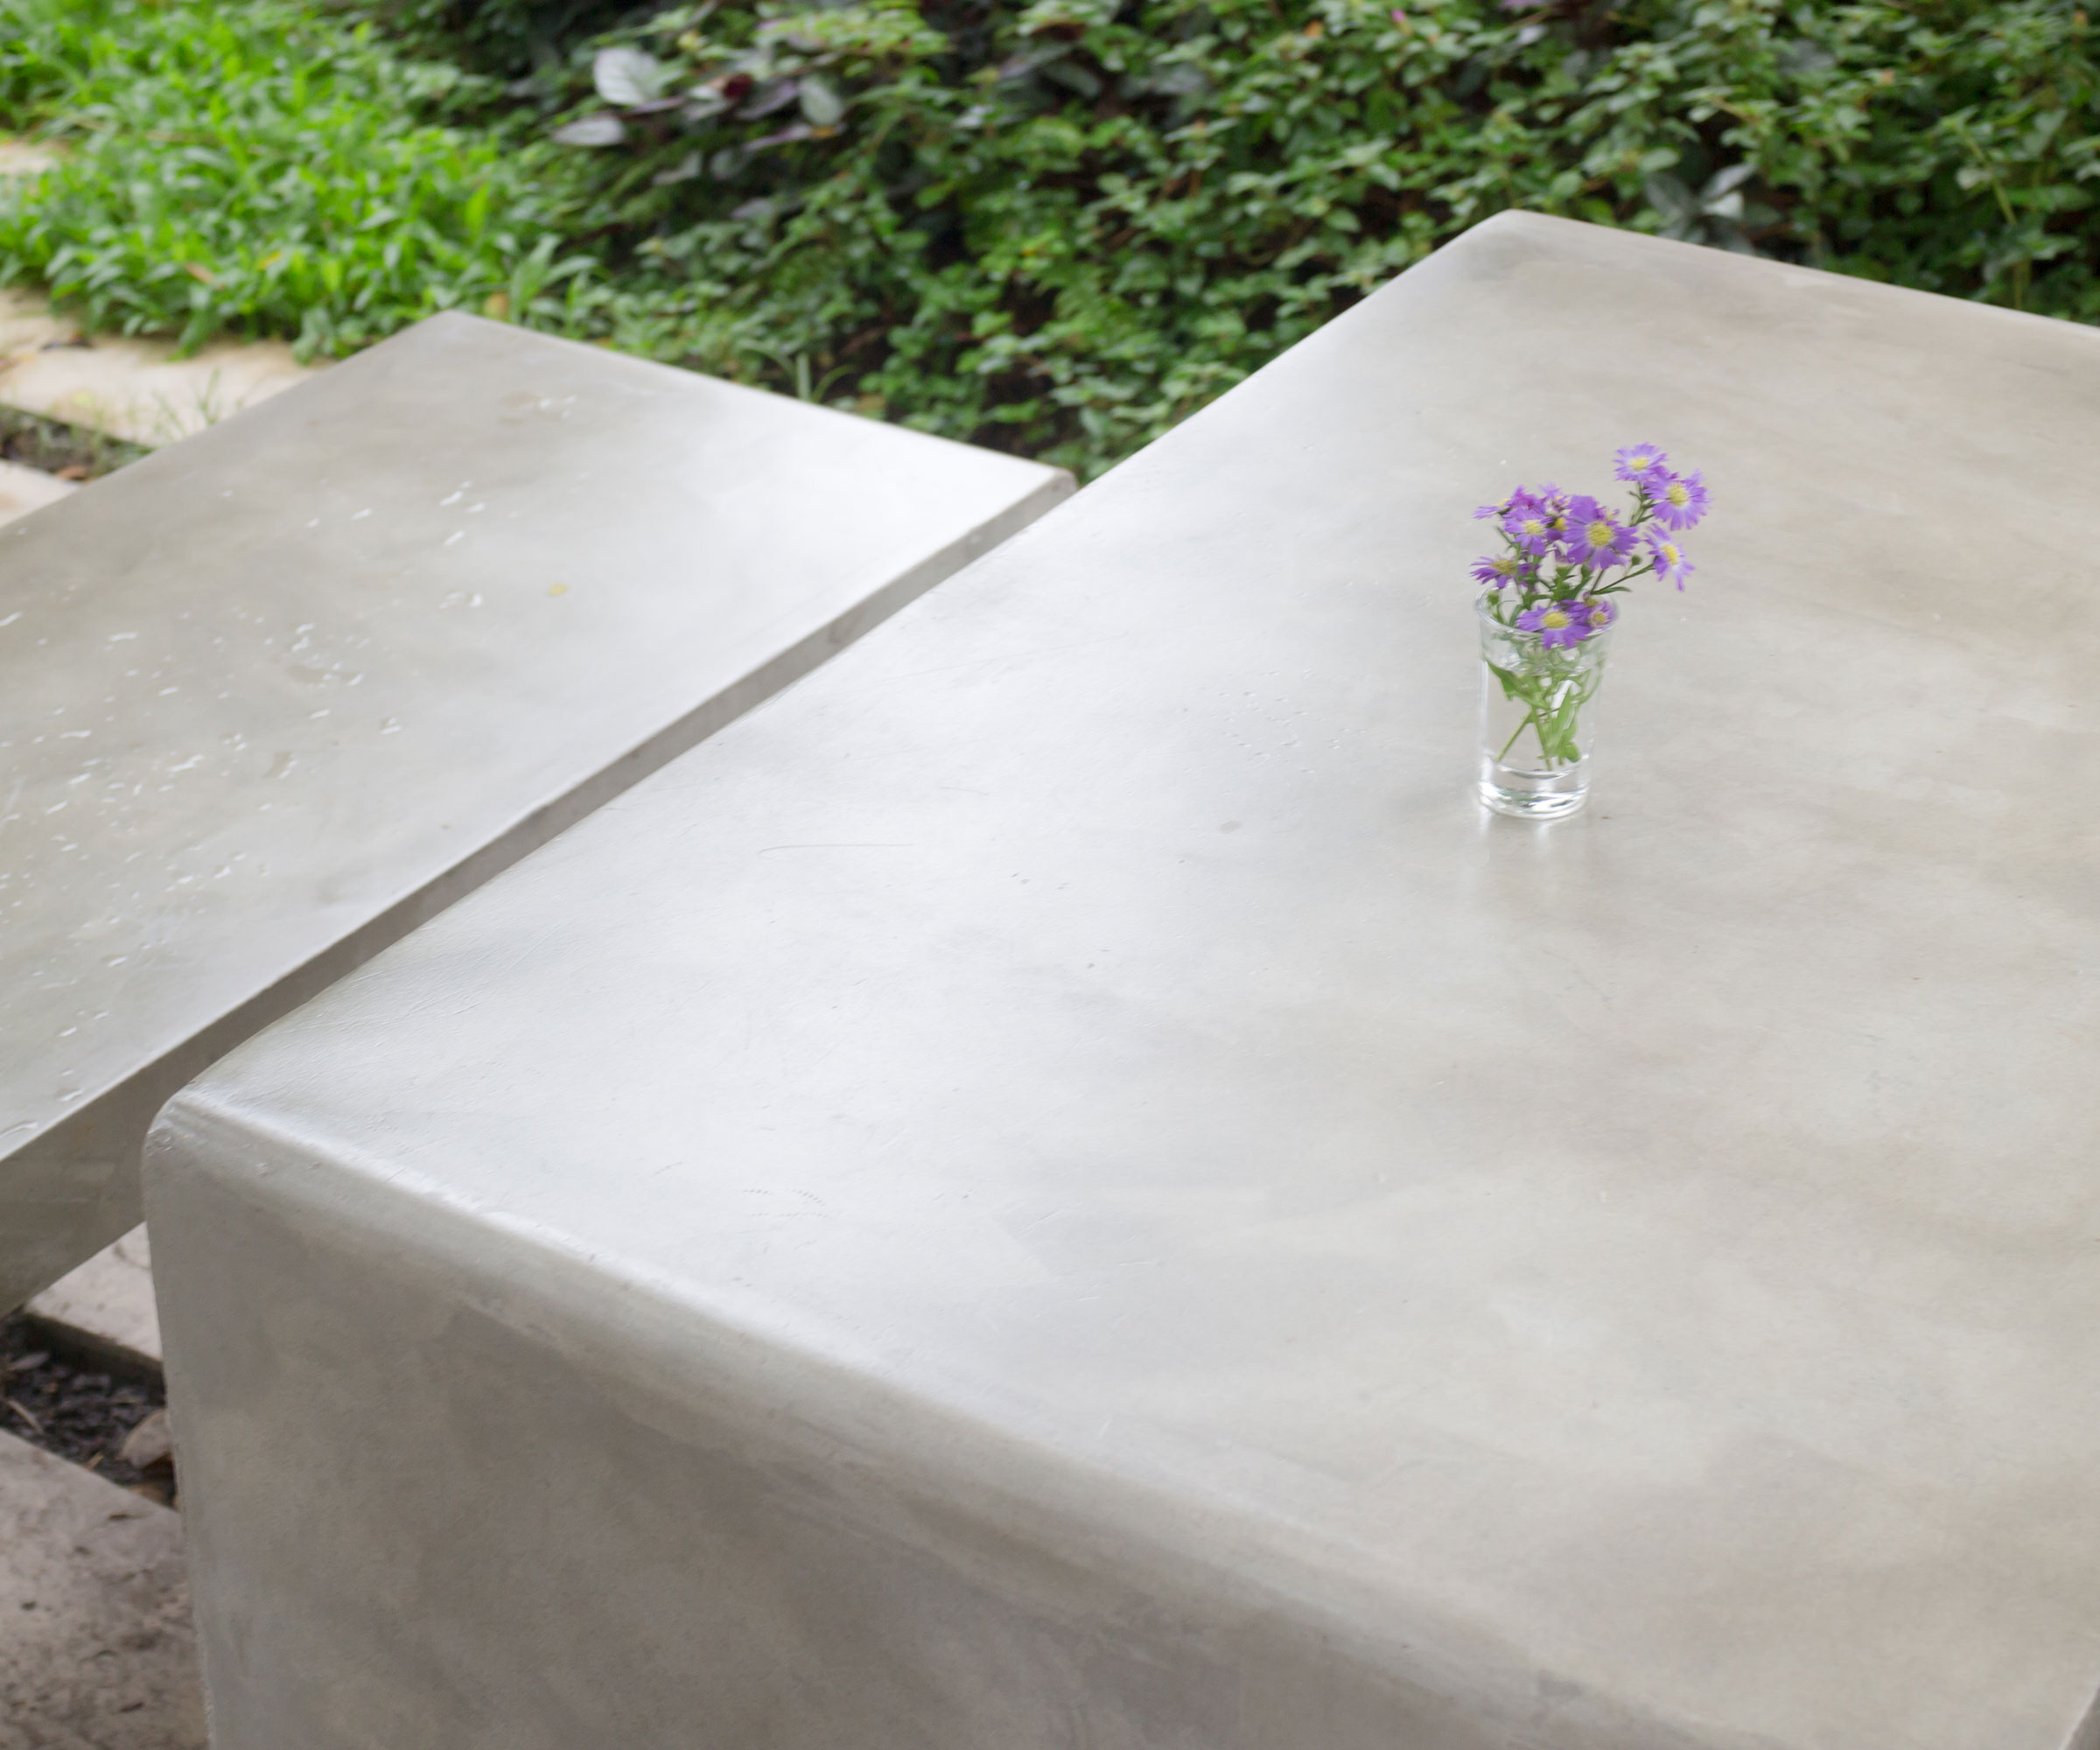
If you have some patio furniture that has seen better days, microcementing it could just transform your set — and this is a perfect way to make a patio look expensive on a budget.
You need to ensure that the microcementing kit you buy for the task is suitable for exterior use as this will mean it is weatherproof and UV-stable. Most suppliers will recommend that you finish your microcement off with a PU coating – check whether this is included in any kits you buy as you may need to purchase it separately.
You also need to be sure to follow the manufacturer's instructions really carefully as this is a project that is going to need to be particularly durable if you want it to stand the test of time.
For a nice smooth finish, use a concrete finishing tool like the MARSHALLTOWN Cast Magnesium Hand Float Amazon.
DIY microcementing essentials
Price: $6.66
This handy chip brush is ideal for applying microcement to more detailed surfaces, such as textured planters or vases. It can also be used with glues, adhesives, and paint removers.
Price: $5
A brilliant standby for all kinds of DIY projects, including microcementing. This pack contains an assortment of sheets perfect for general use and for achieving a range of finishes.
Price: $3.48
This handy little smoothing tool would be perfect for getting a nice even finish on the surface of your microcement, plus it is comfortable to hold for long periods of time.
Microcement is a great material for bathroom makeovers, as well as for lots of easy DIY projects. Consider using it alongside other small budget bathroom ideas for a total transformation that won't cost the earth.
Join our newsletter
Get small space home decor ideas, celeb inspiration, DIY tips and more, straight to your inbox!
