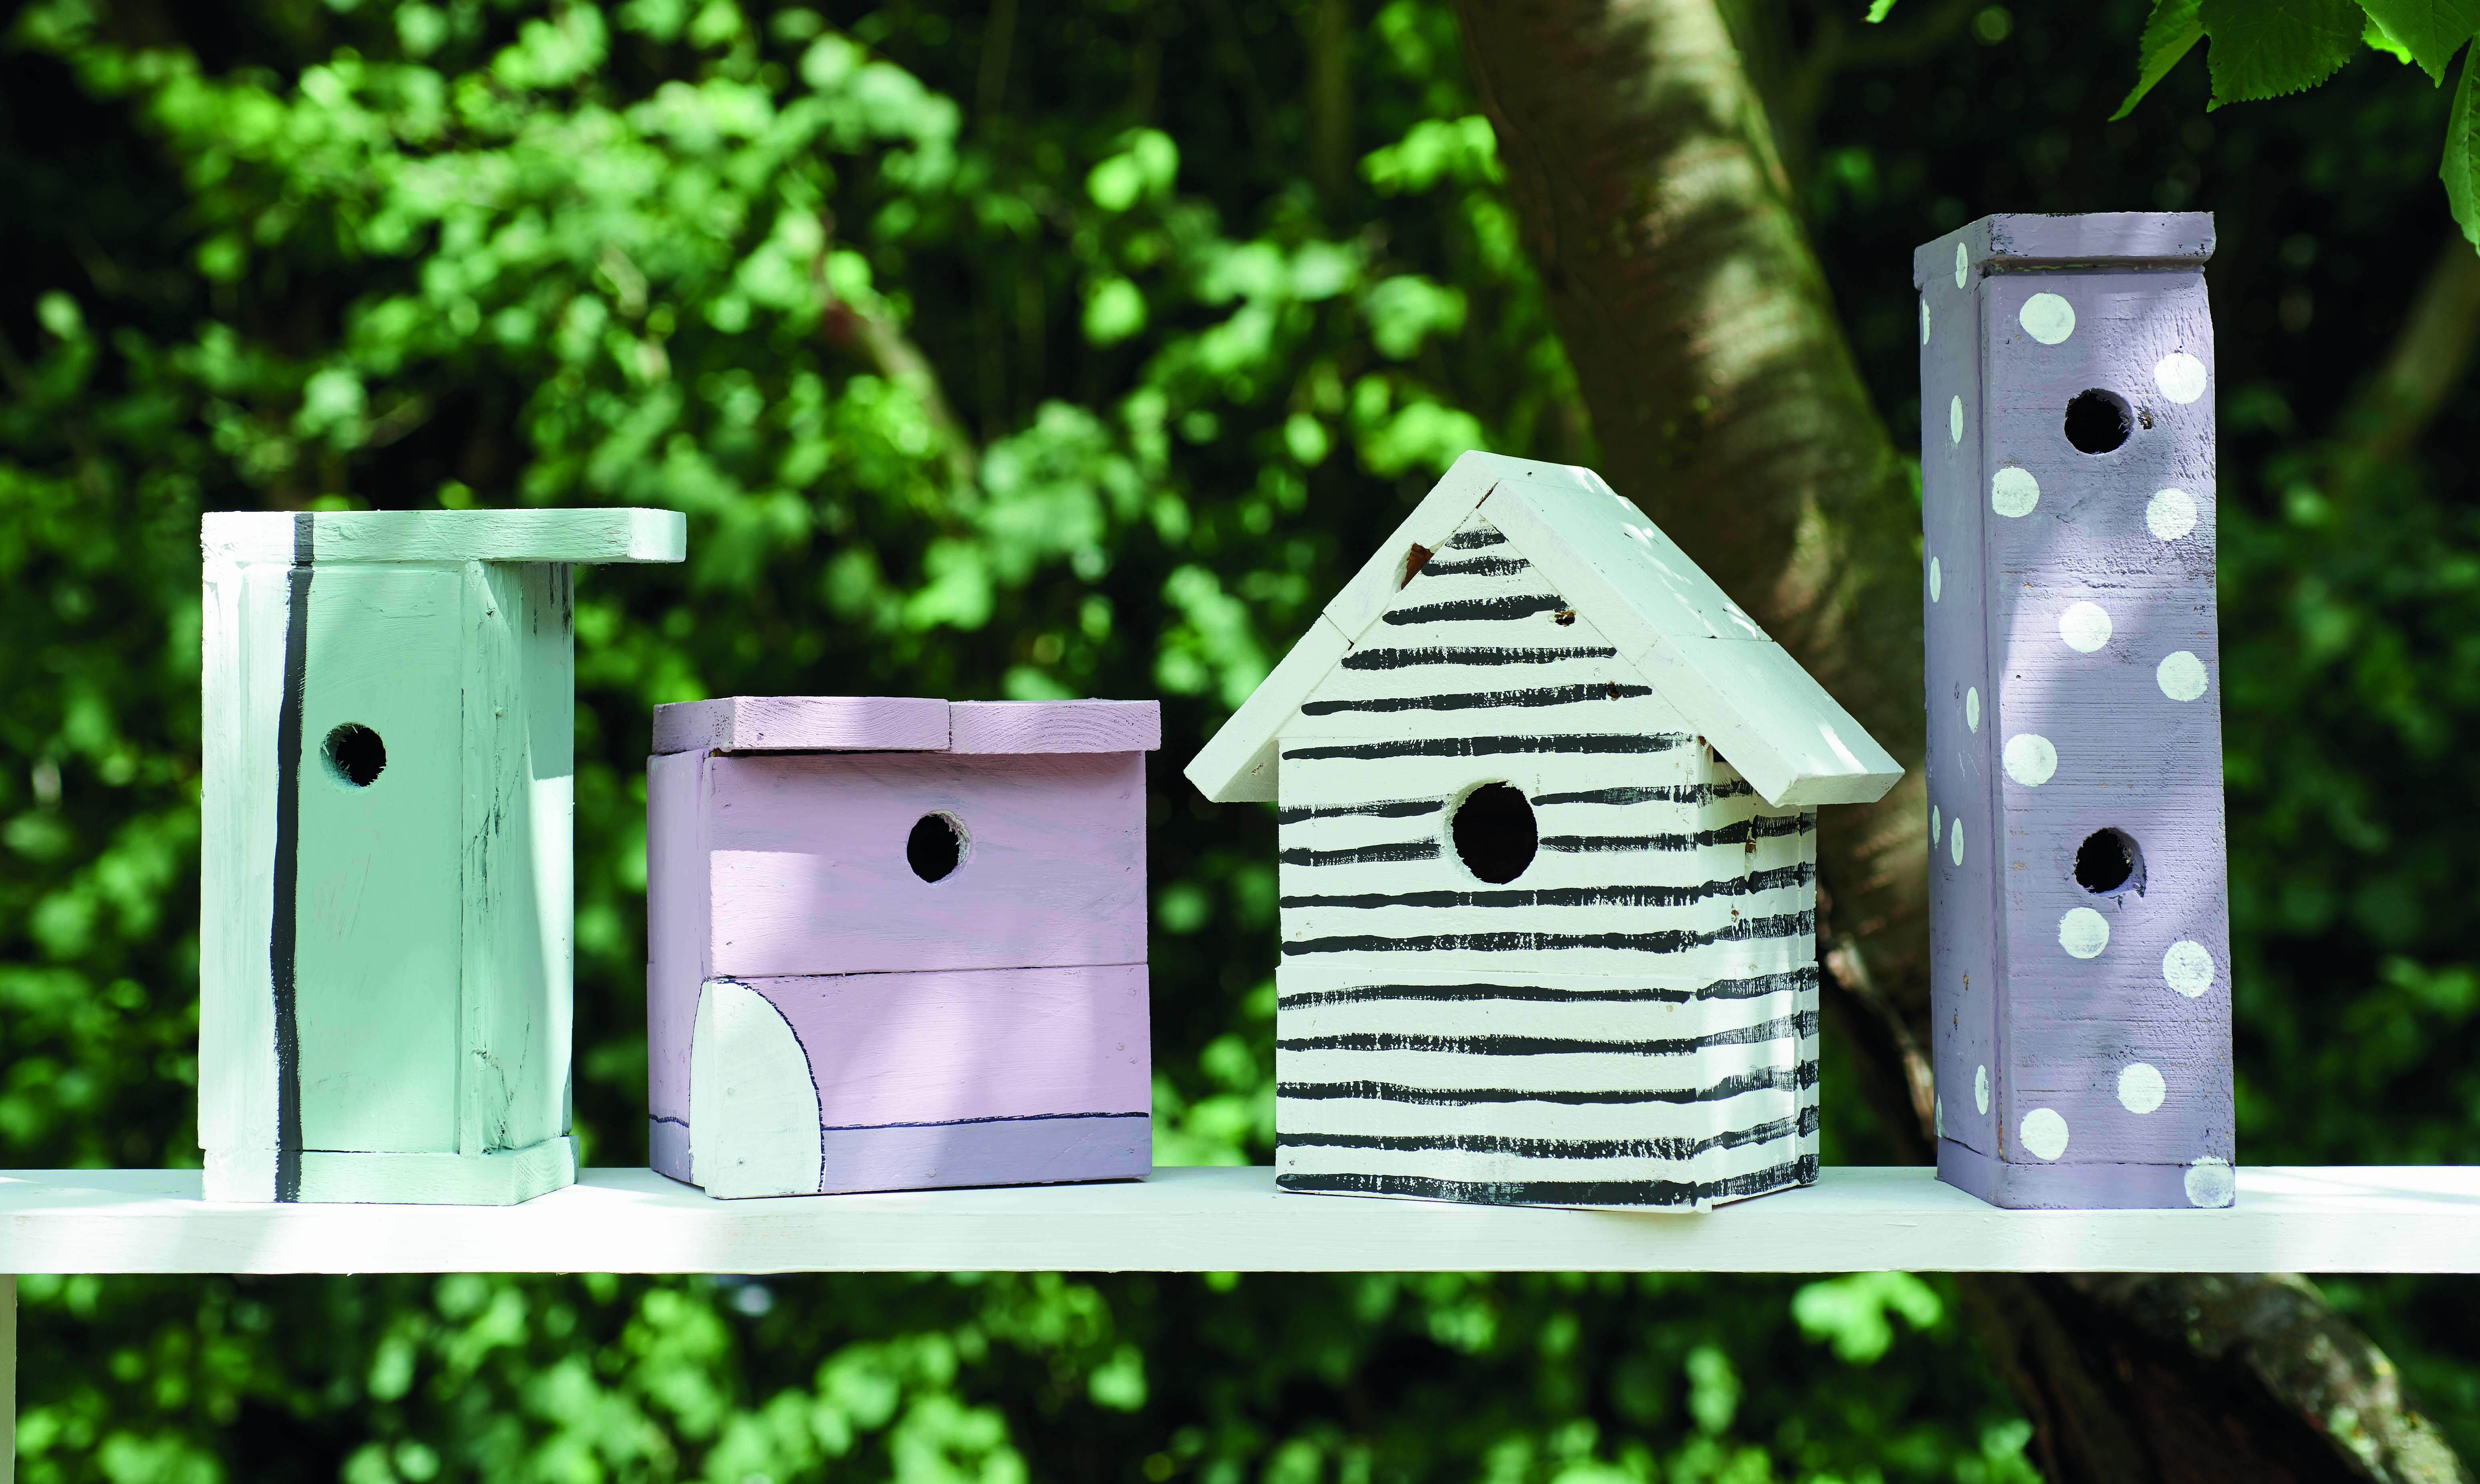

In this guide, we show you how to build a birdhouse, the easy way. But why have just one birdhouse when you can have a whole village? These birdhouses are all variations of the pink basic birdhouse, all of which we'll give you instructions for, below. They've all been created using very rough pallet planks with lots of wonky angles to add character to these little builds.
If you are looking for more crafts or DIY projects you can do this weekend, just head over to our hub page. Find out how to make pallet furniture in our easy step by step, too.
- No time to make? Here's our pick of the best birdhouses to buy
- The best bird feeders to encourage and support wildlife
You will need:
Find more pallet projects
This project was taken from Pallet Wood Projects for Outdoor Spaces by Hester van Overbeek, available on Amazon.
- Reclaimed pallet wood planks
- Measuring tape
- Hand saw
- Palm sander or sandpaper
- Drill driver with 2mm wood drill piece
- Paddle drill bits, 25mm or 35mm or 38mm
- Wood glue
- 25mm nails and hammer
- Paint and paintbrush
- Black Sharpie (optional)
- Matt outdoor varnish
- Filler
- Masking tape
- Pencil
How to make the pink birdhouse
The pink birdhouse is the most basic of the four houses. It is one plank deep and two planks wide.
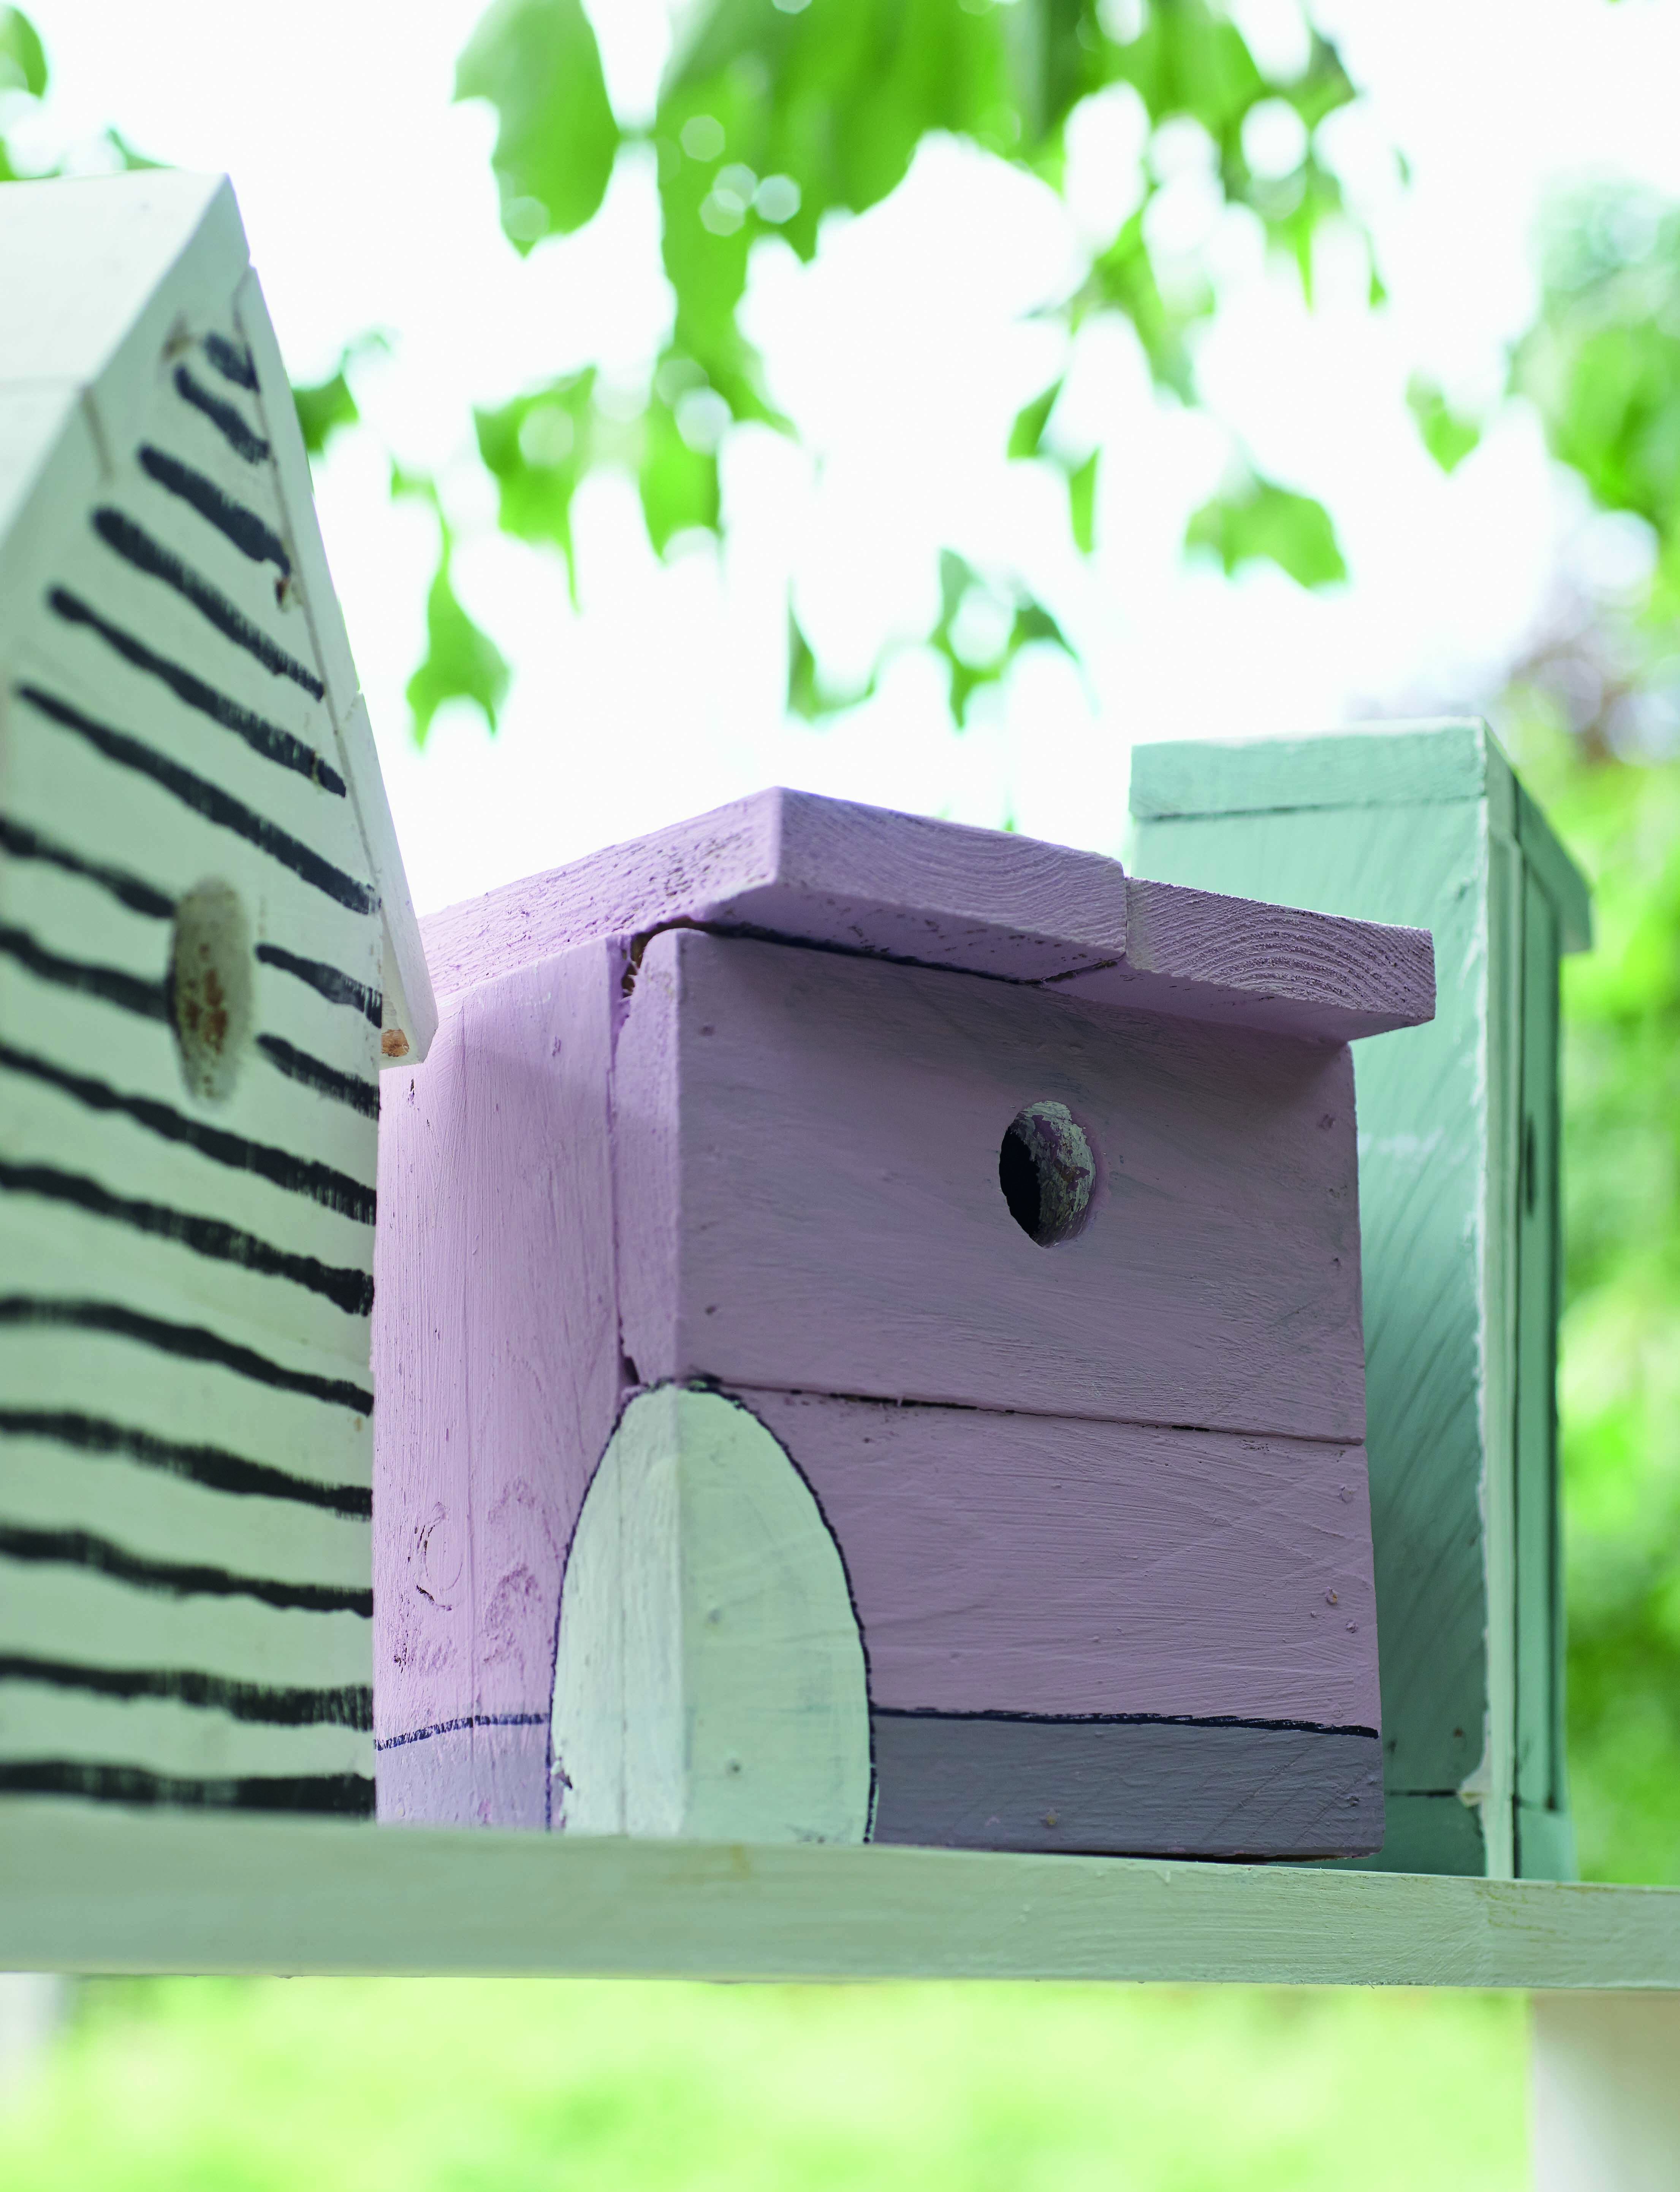
1. Measure your plank width – ours is 7.5cm – and cut two pieces of 15cm for the sides, four pieces of 16cm for the front and back, and two pieces of 14cm for the roof. Sand all the cut edges.
2. Lay out your birdhouse pieces – two pieces flat for the back, two sides, and topped with the two pieces for the front. For the base, measure the internal dimensions of your house and cut a plank to fit inside. Ours is 12.5cm x 7.5cm.
3. In one of the front planks, drill an entry hole using the paddle drill bit – the ideal entry hole is 38mm, but it can vary slightly.

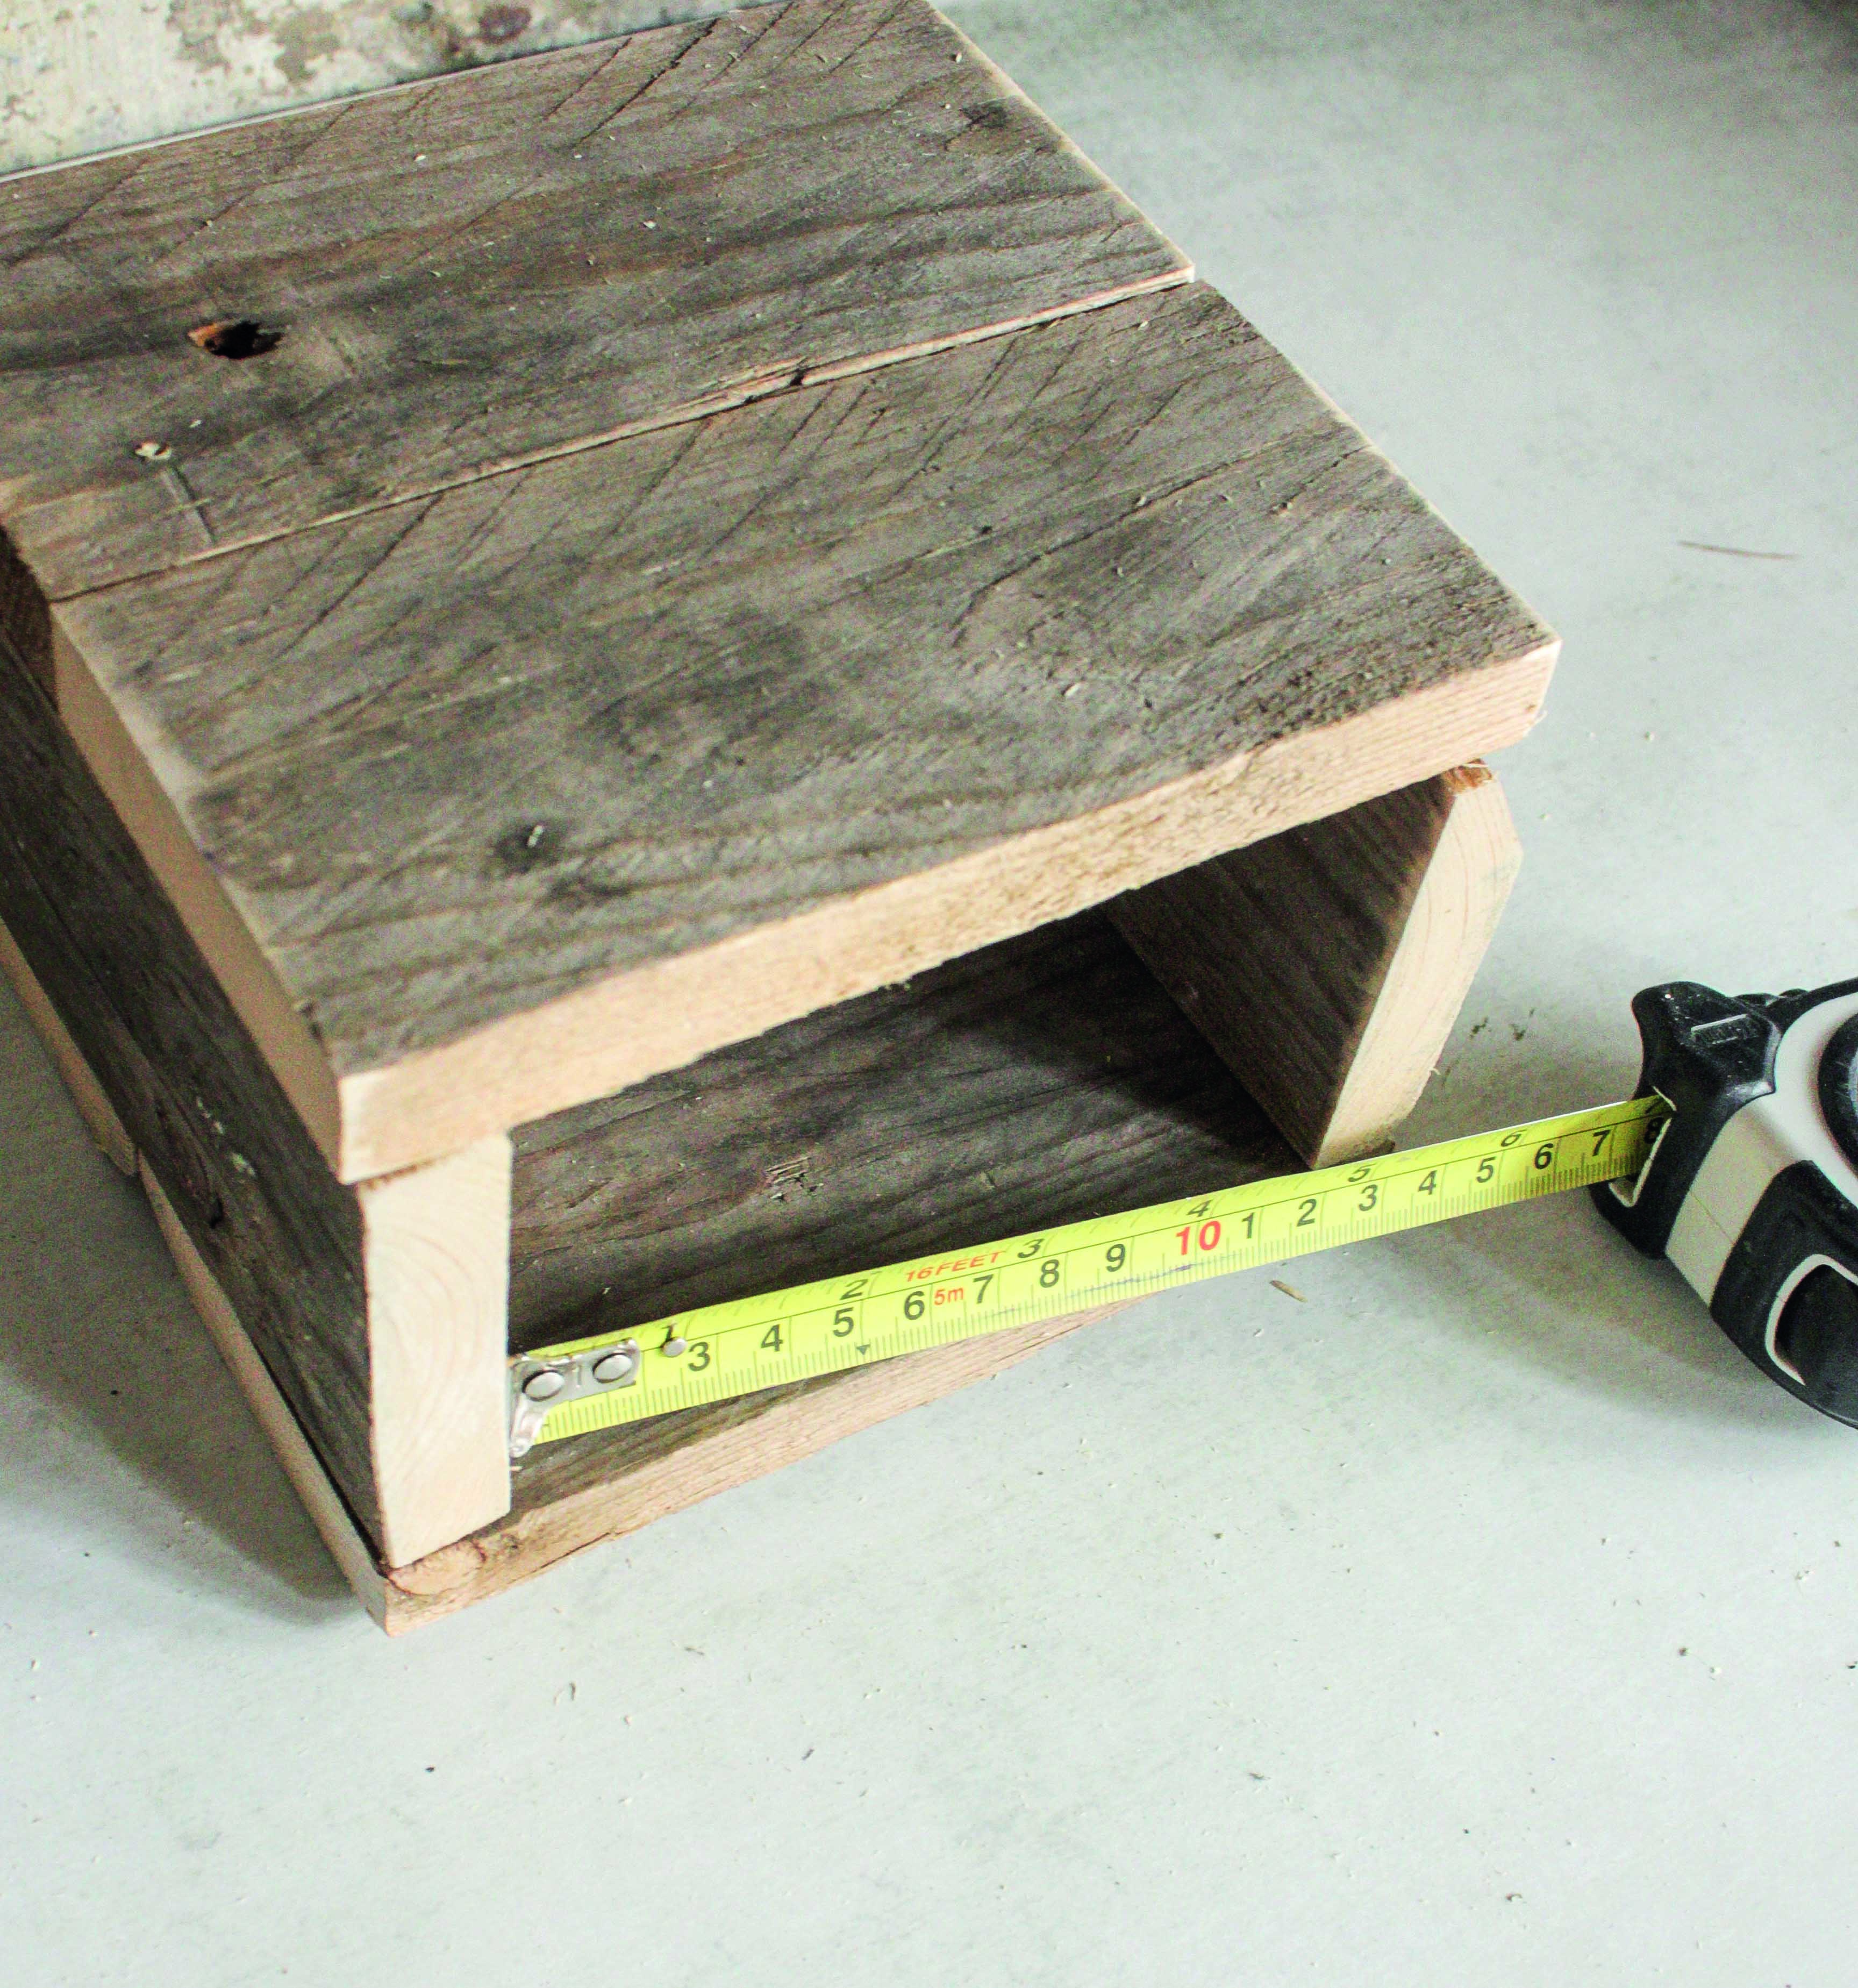
4. In the front and back planks, pre-drill the holes for the nails with the 2mm drill bit to prevent the wood splitting. You need three per side, 1cm in from the edges.
5. Apply wood glue to the short sides of the base and attach the side pieces. Apply more glue and stick the front and back pieces in place, then nail together through the pre-drilled holes.
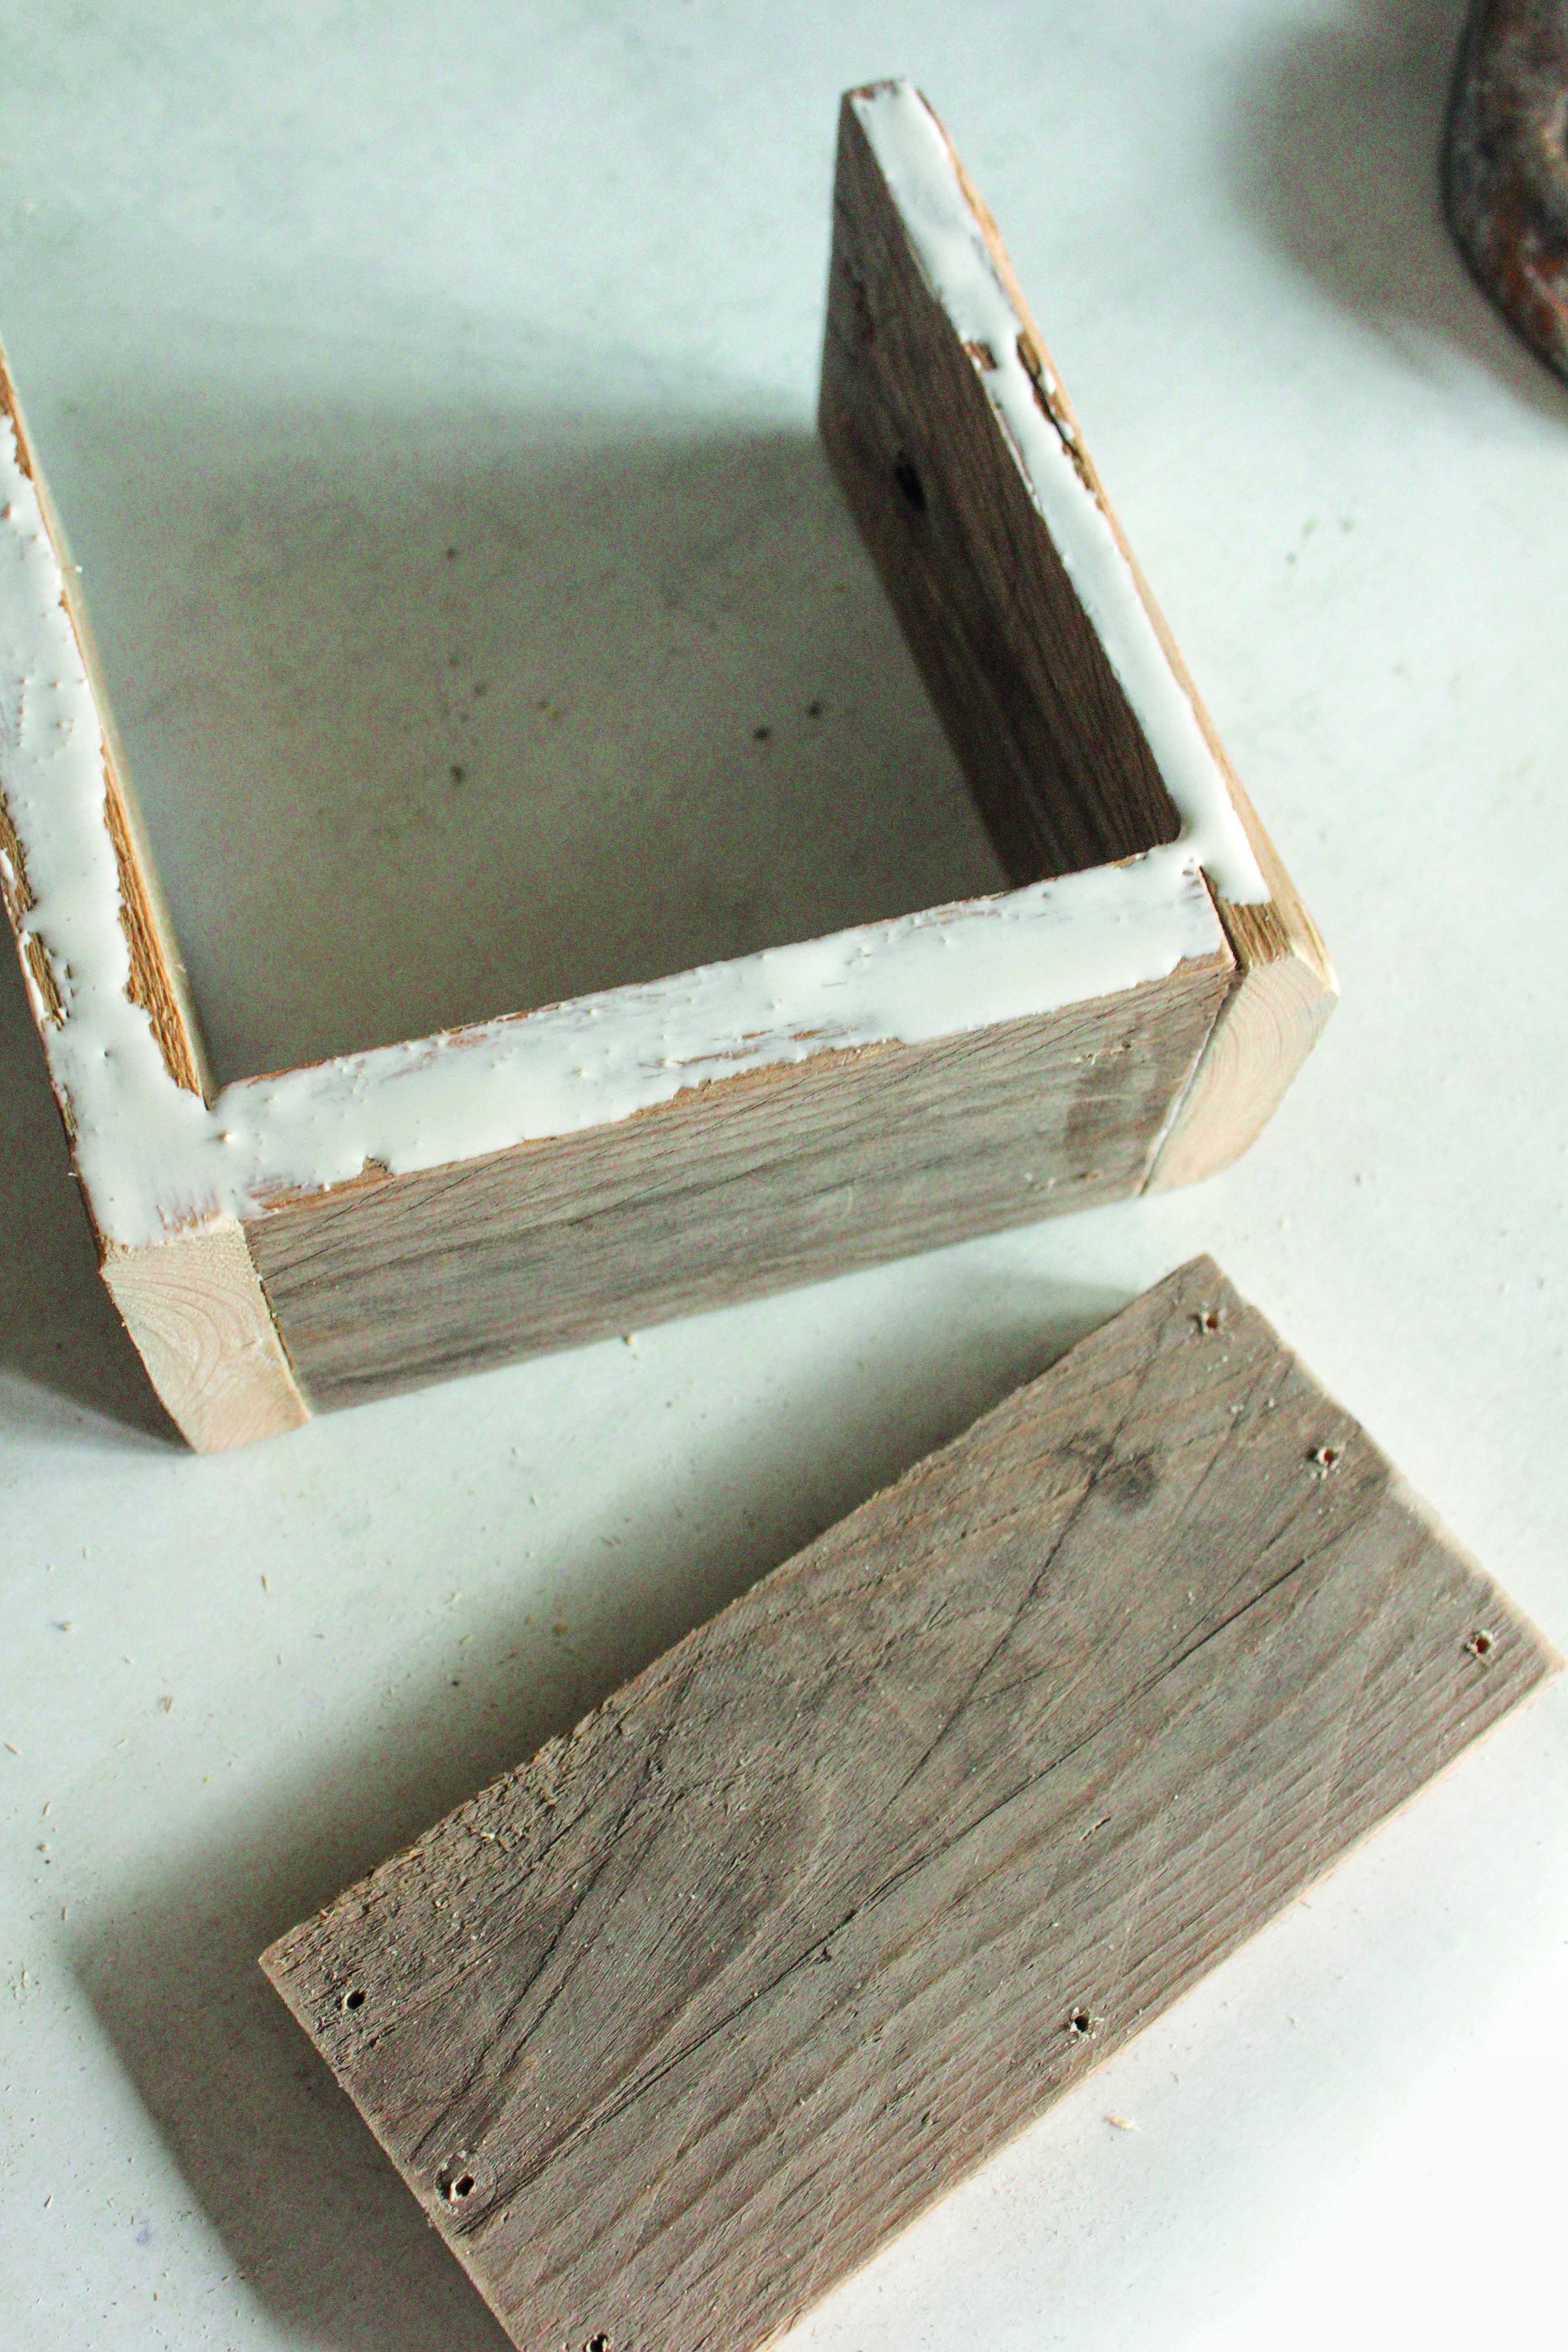
6. Glue and nail the base in place, pre-drilling the nail holes and making sure the entry hole is in the upper part of the house. Glue and nail the roof in place, with the overhang above the entry hole.
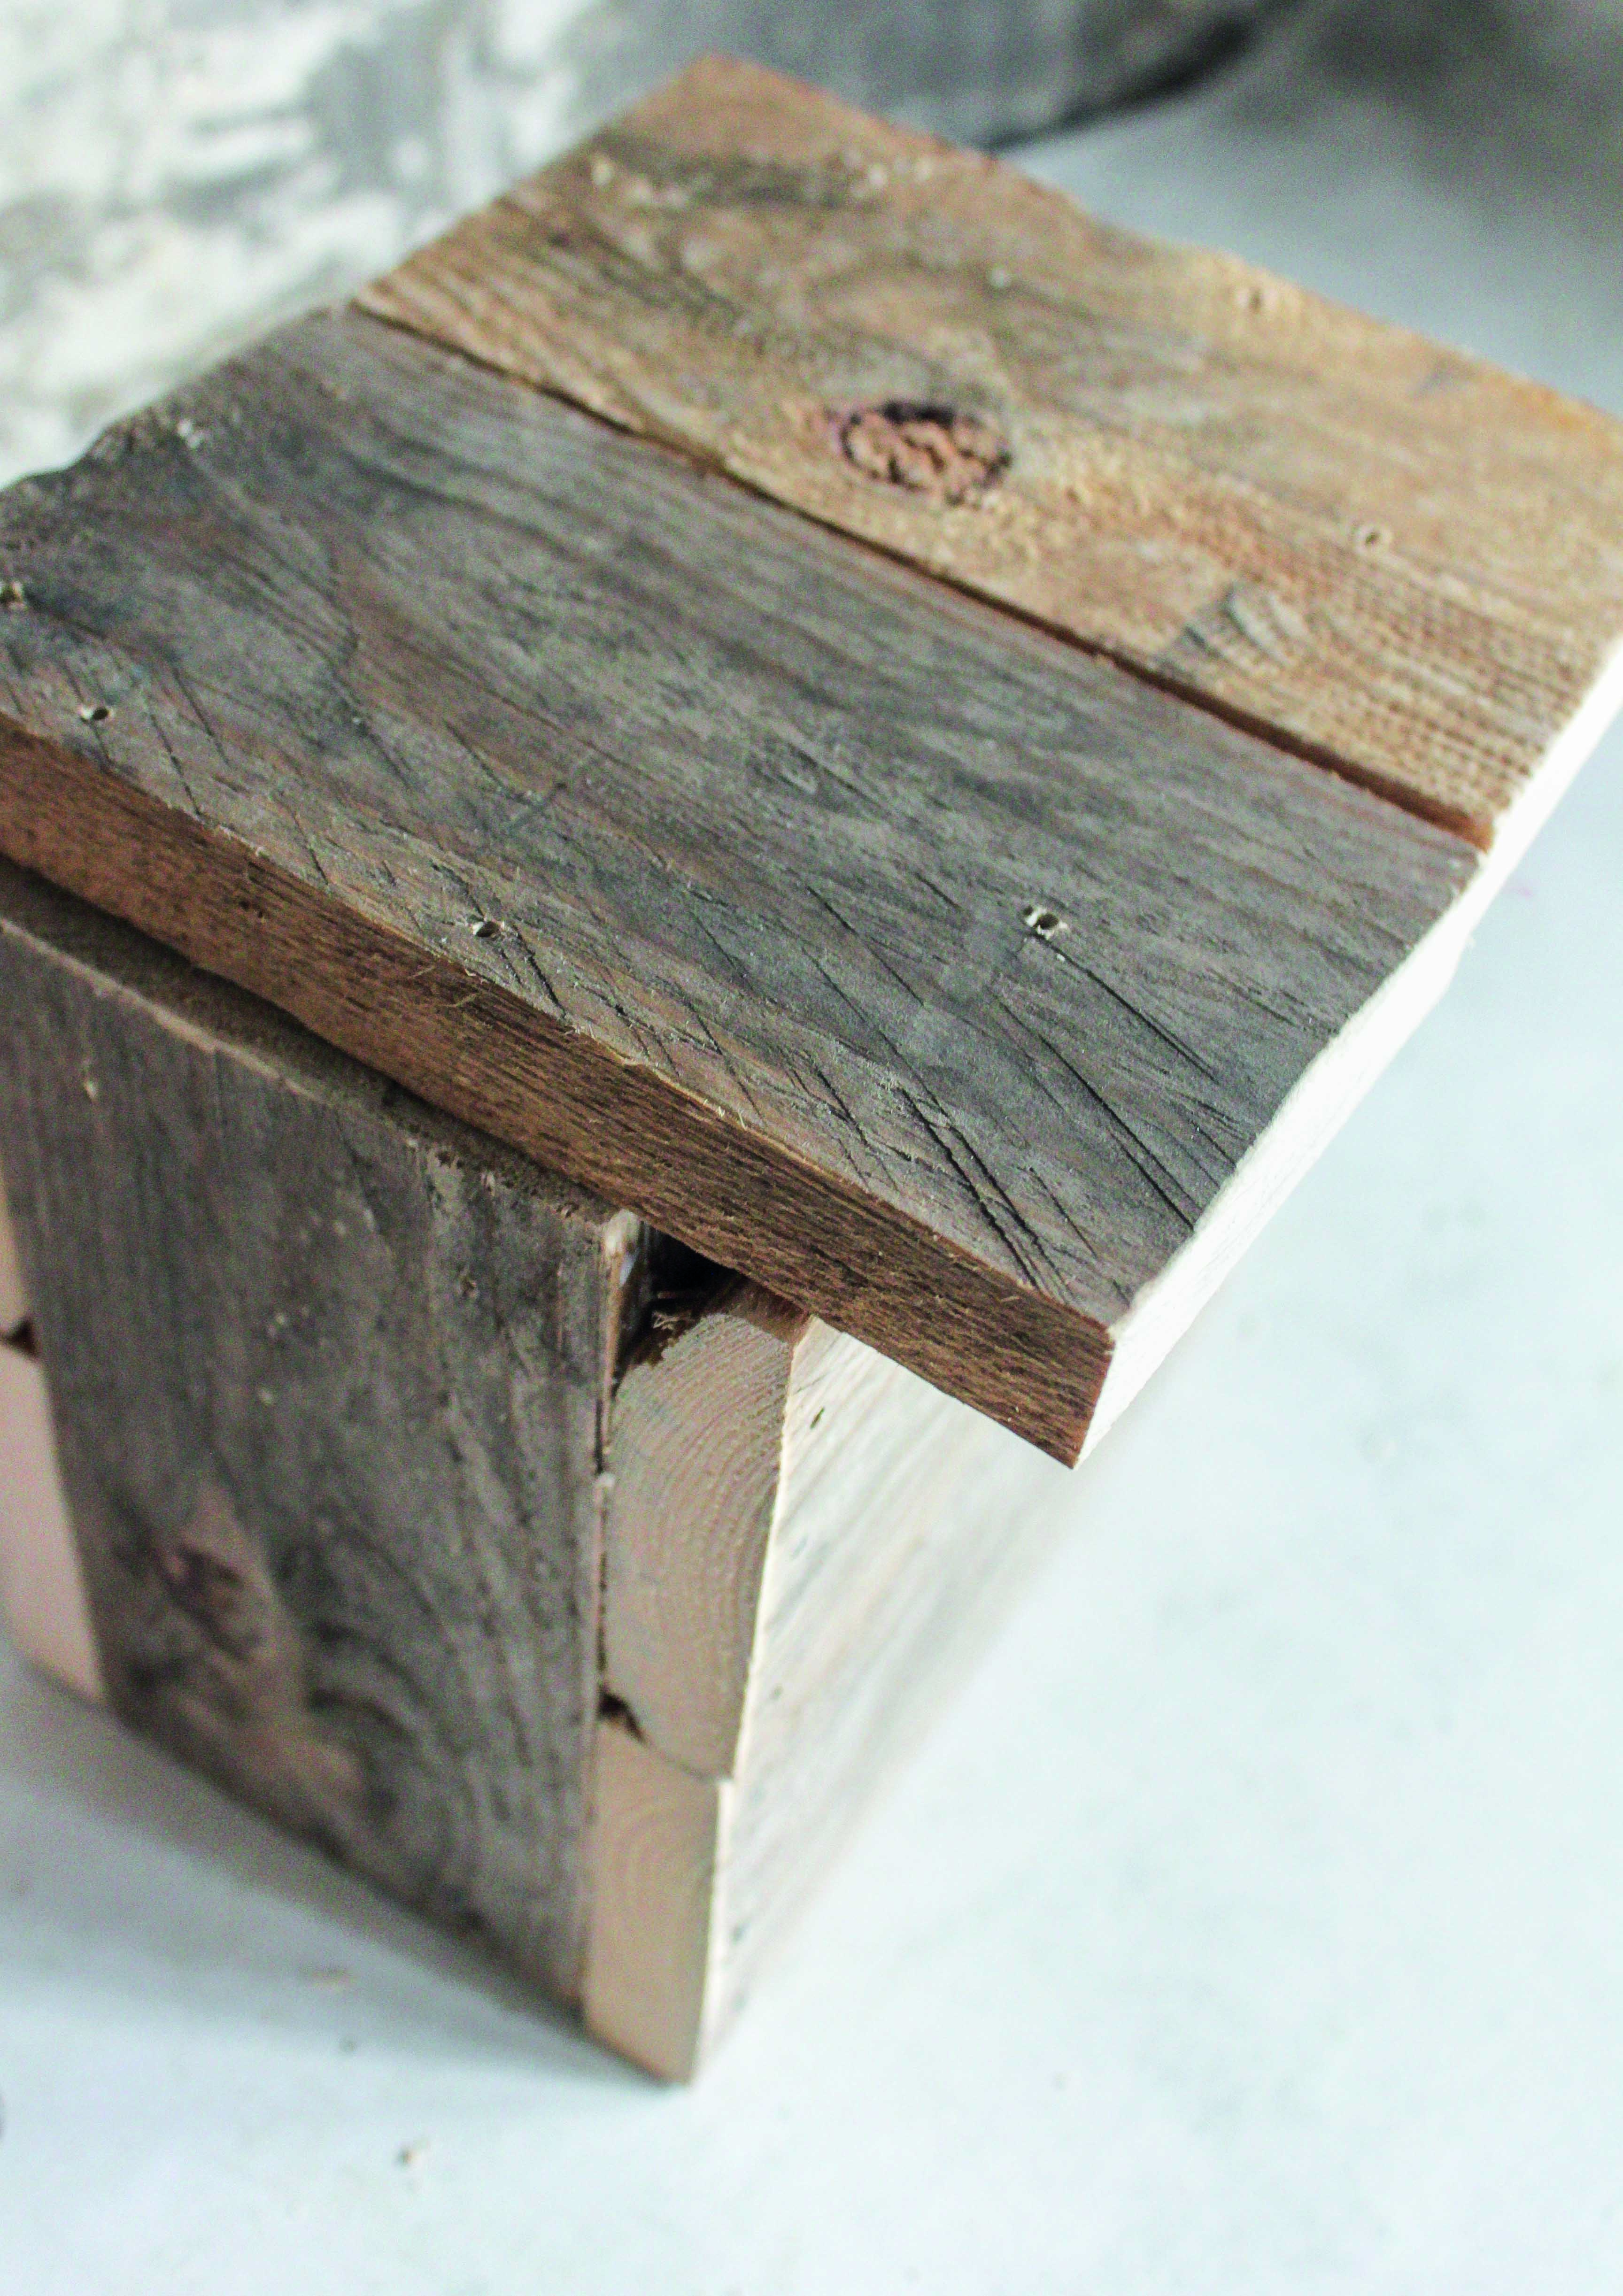
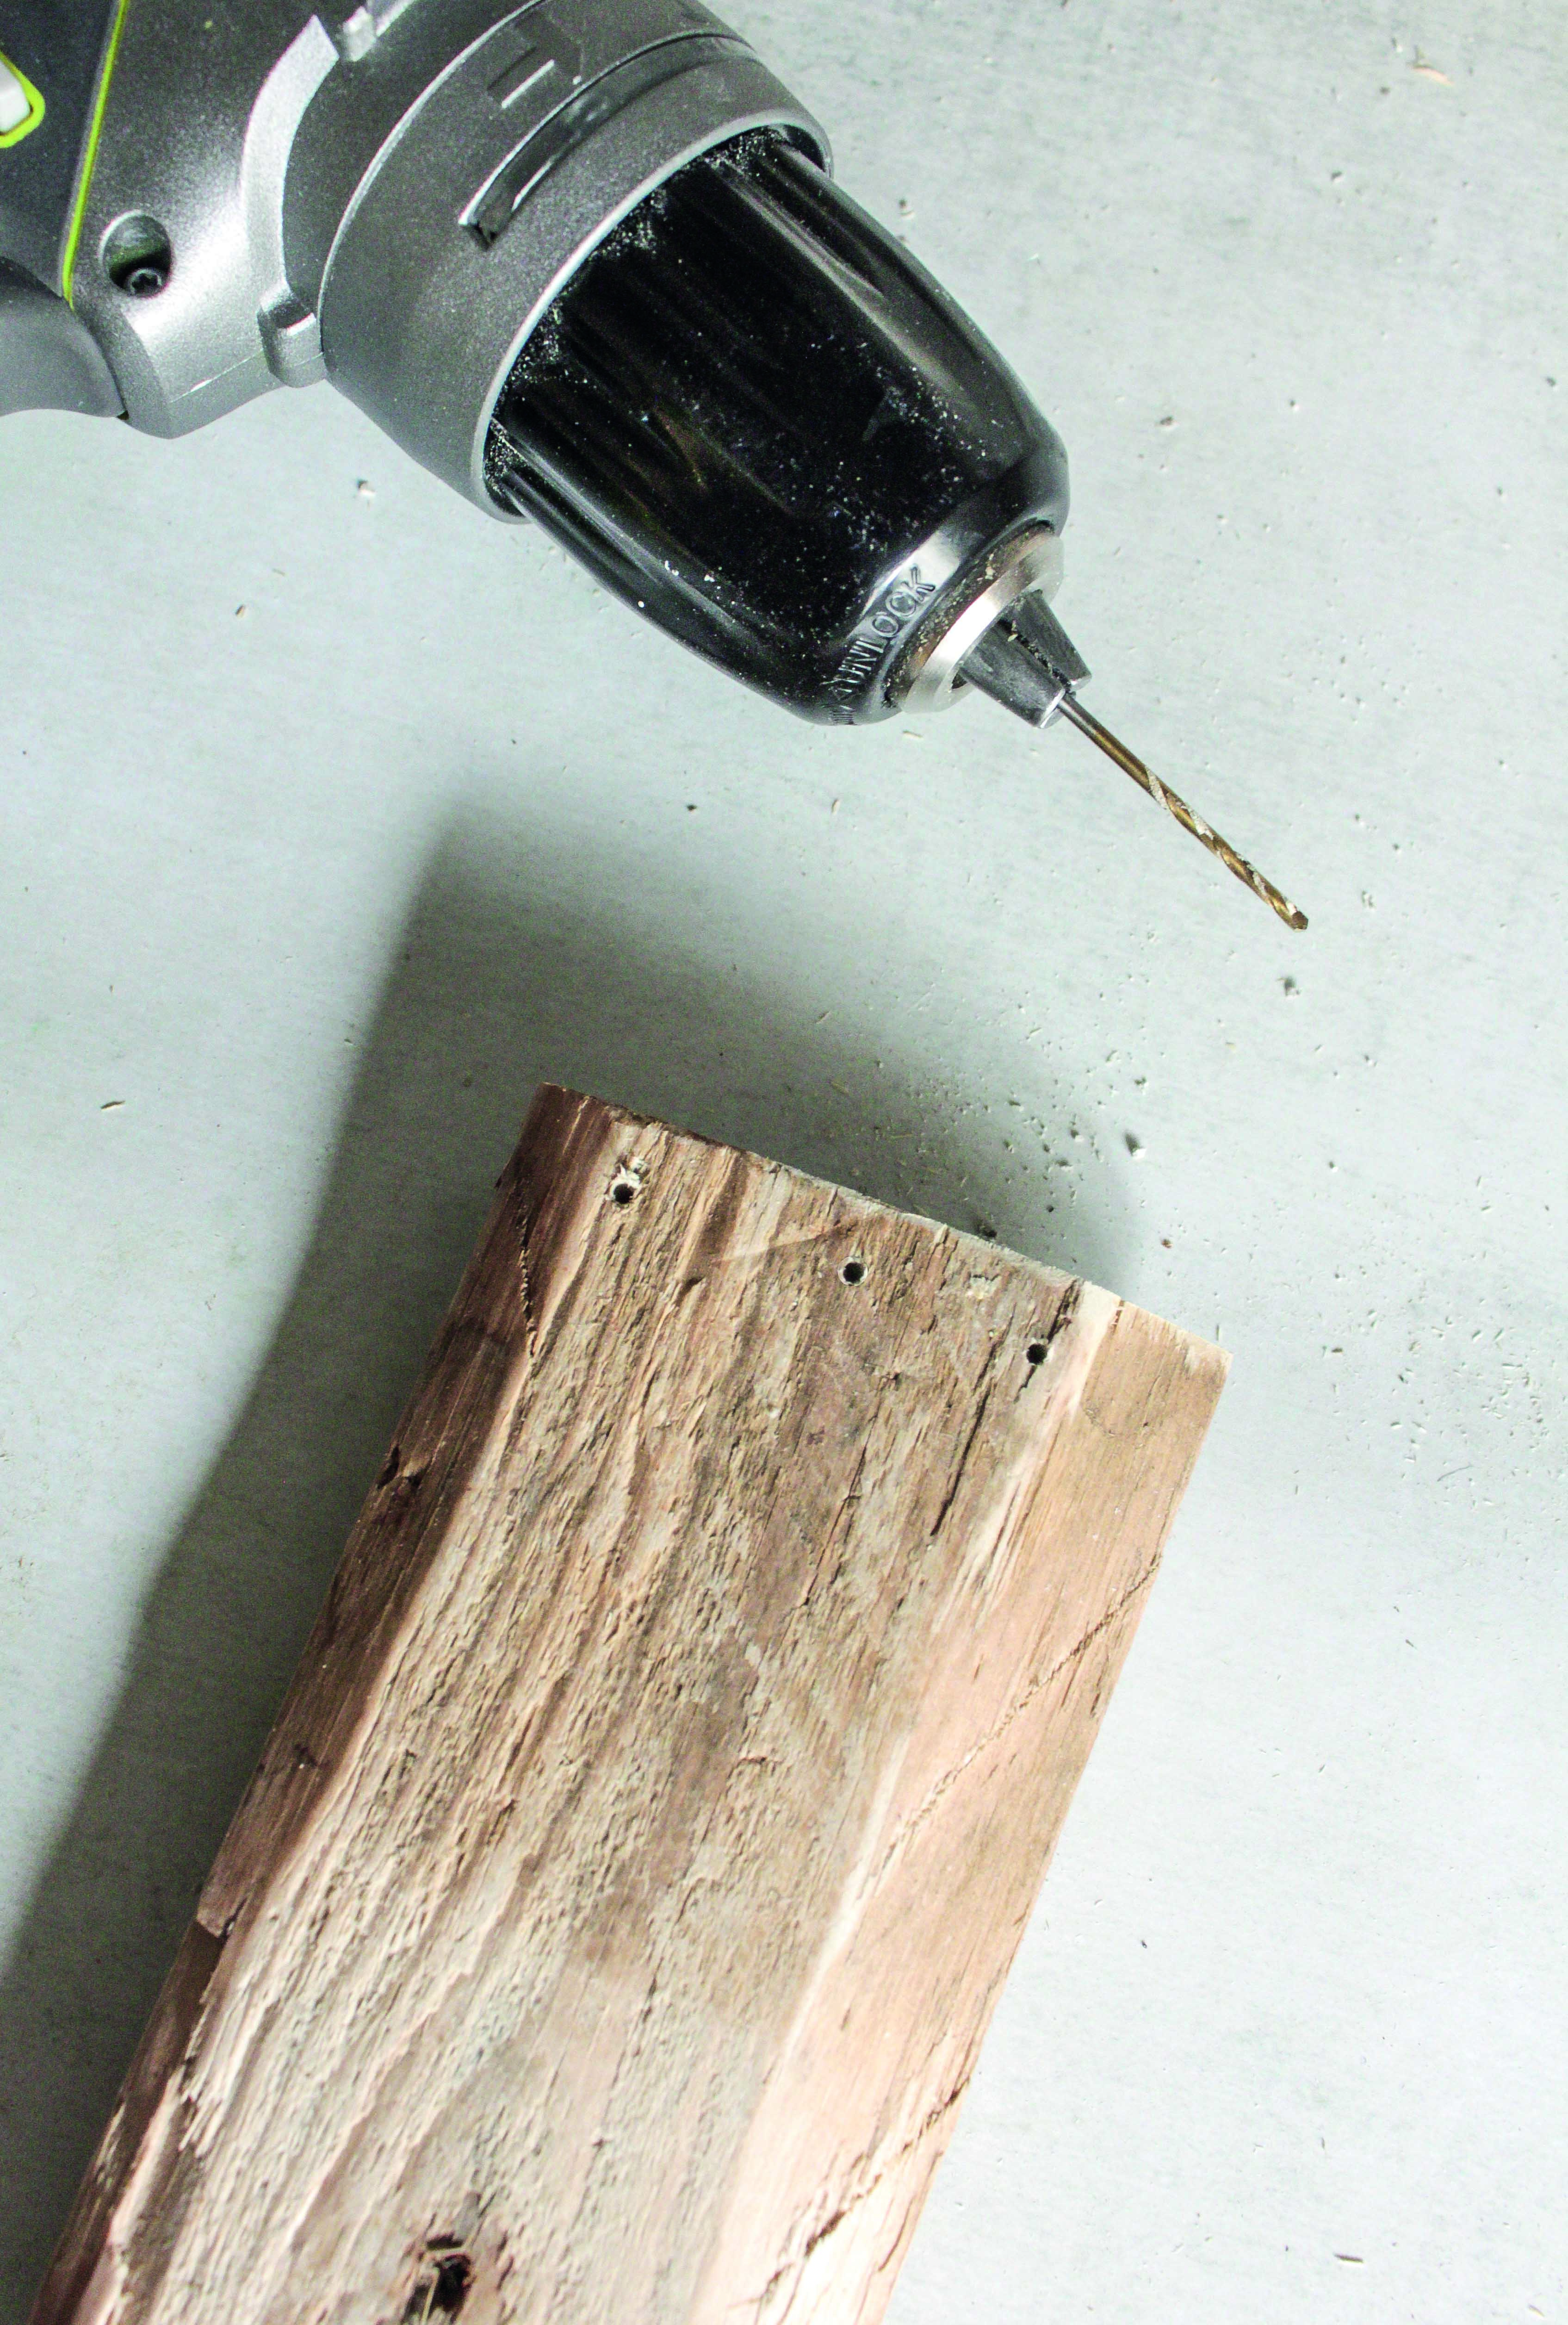
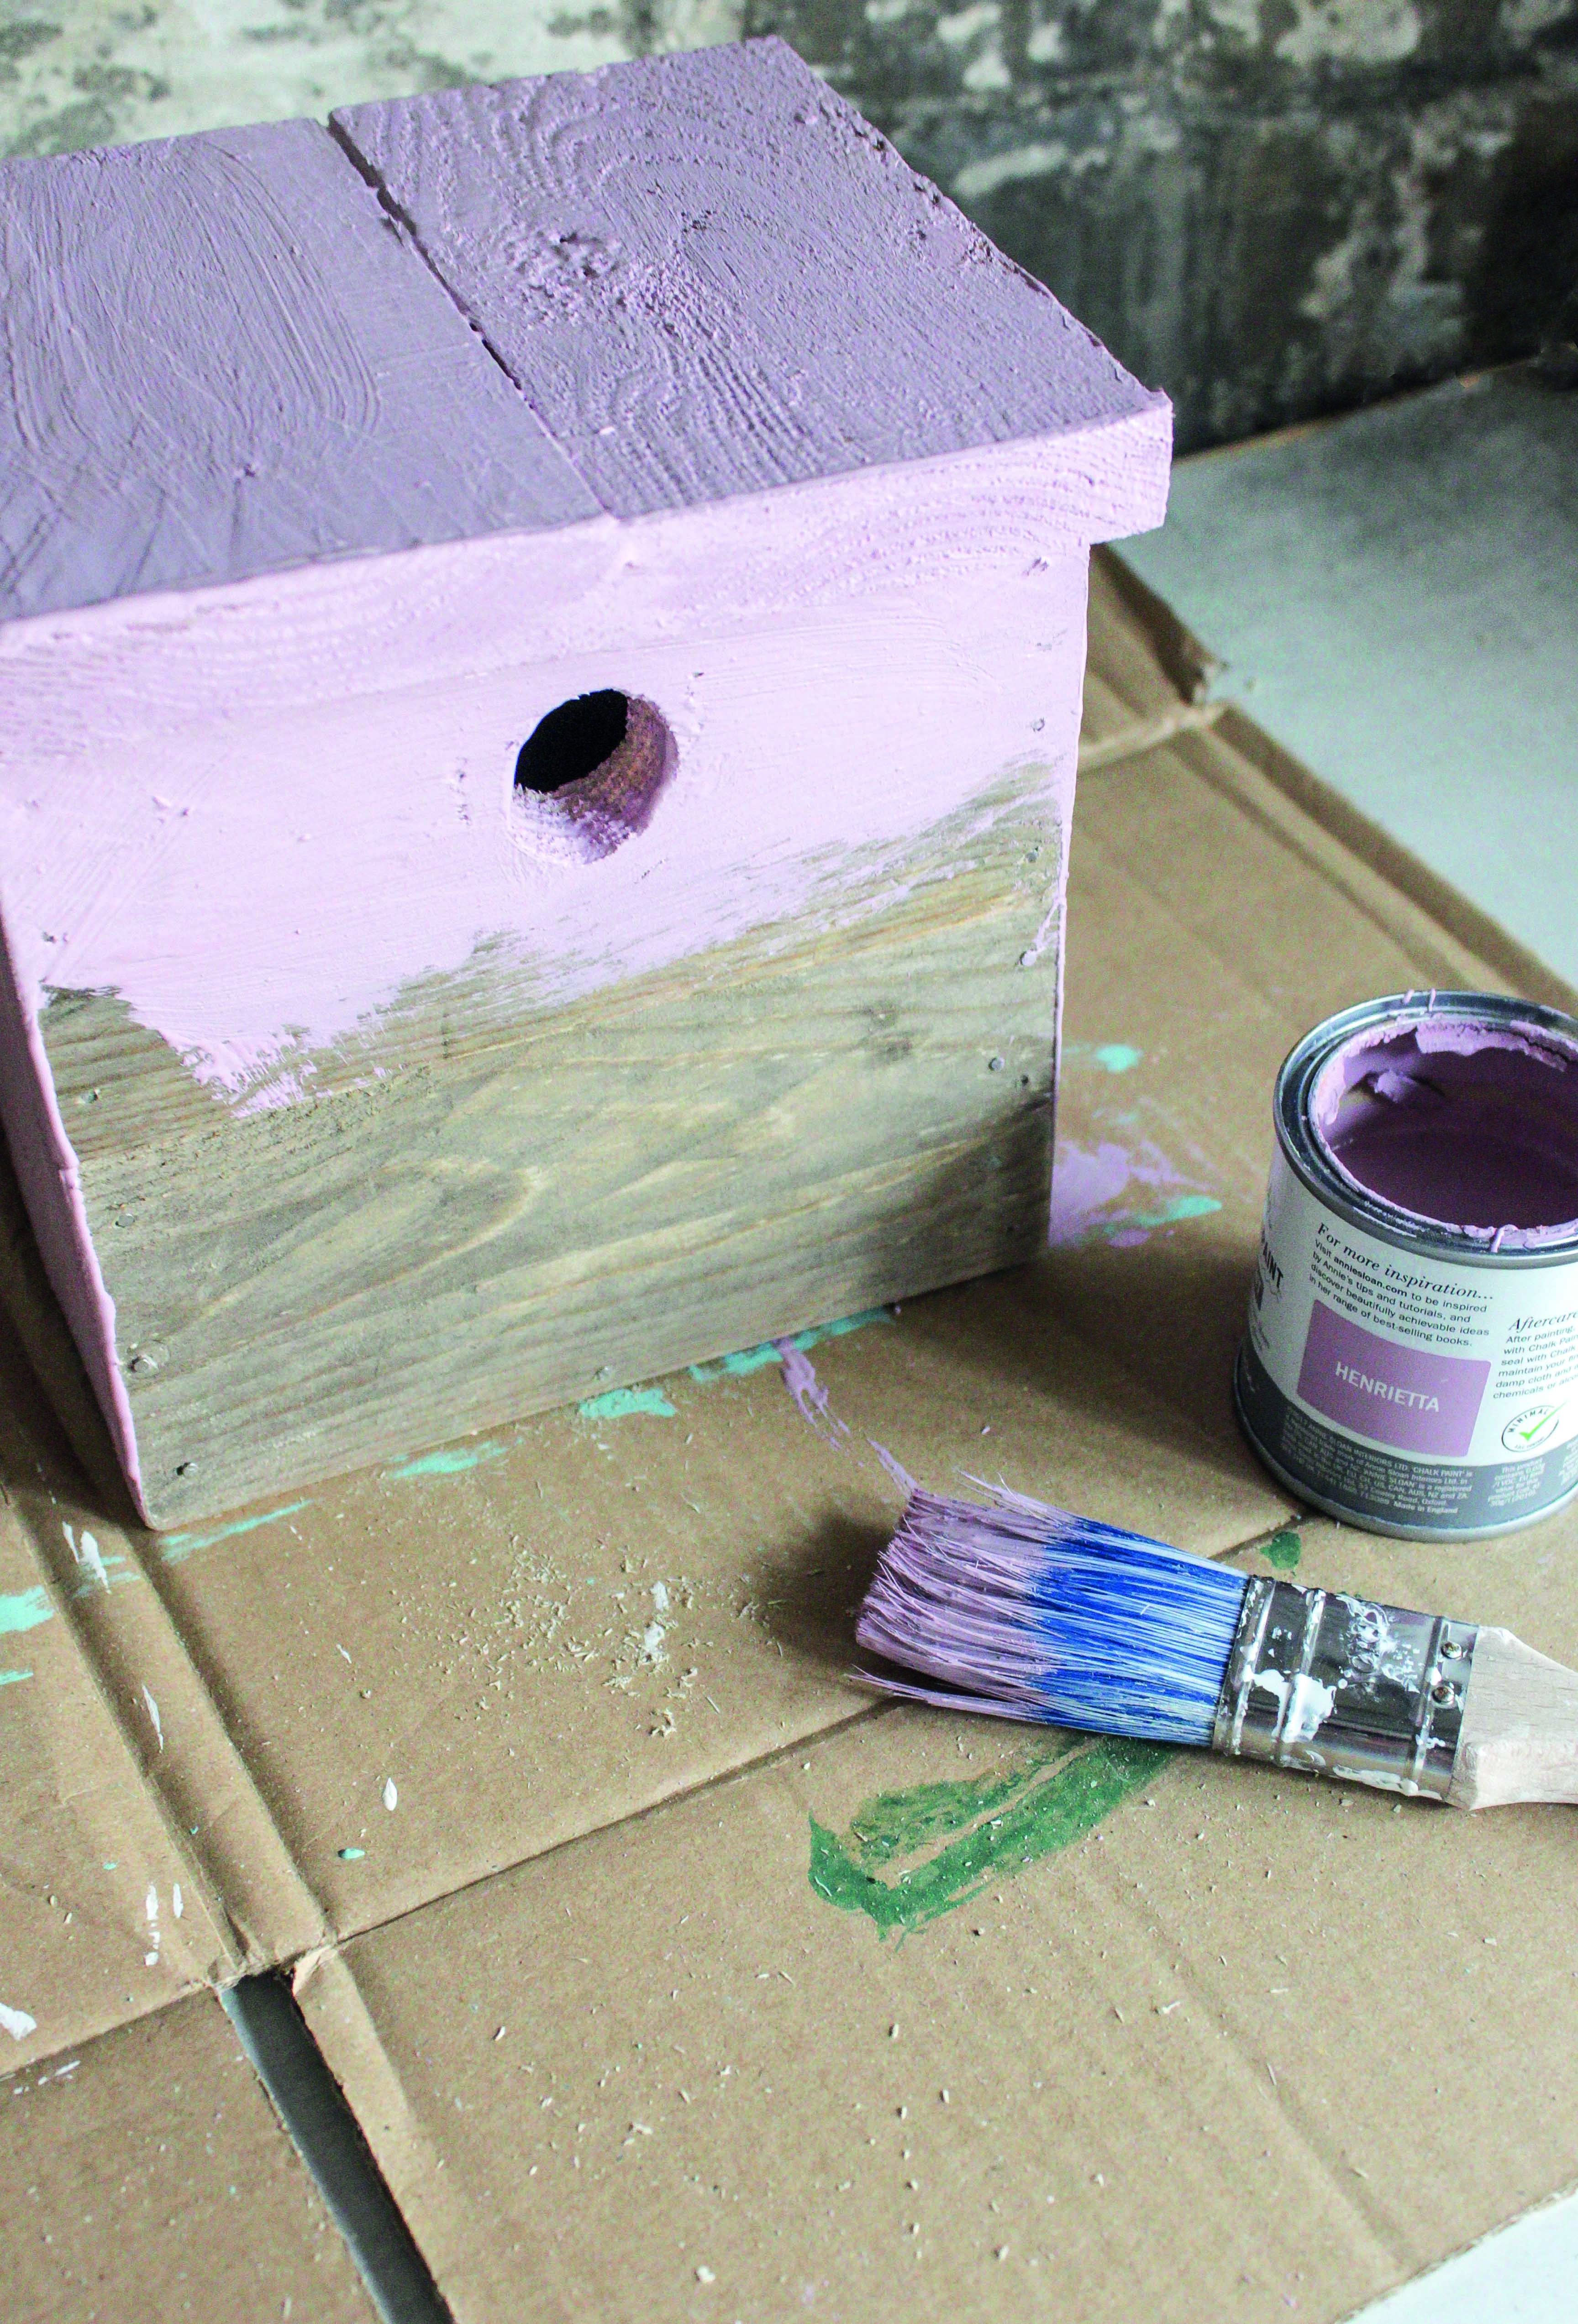
7. Sand the birdhouse to smooth all the edges. Paint your house – we used Annie Sloan Chalk Paint in Henrietta. When dry, add details in other paint colors or using a black Sharpie, then apply a matt outdoor varnish.
How to make the tall townhouse birdhouse
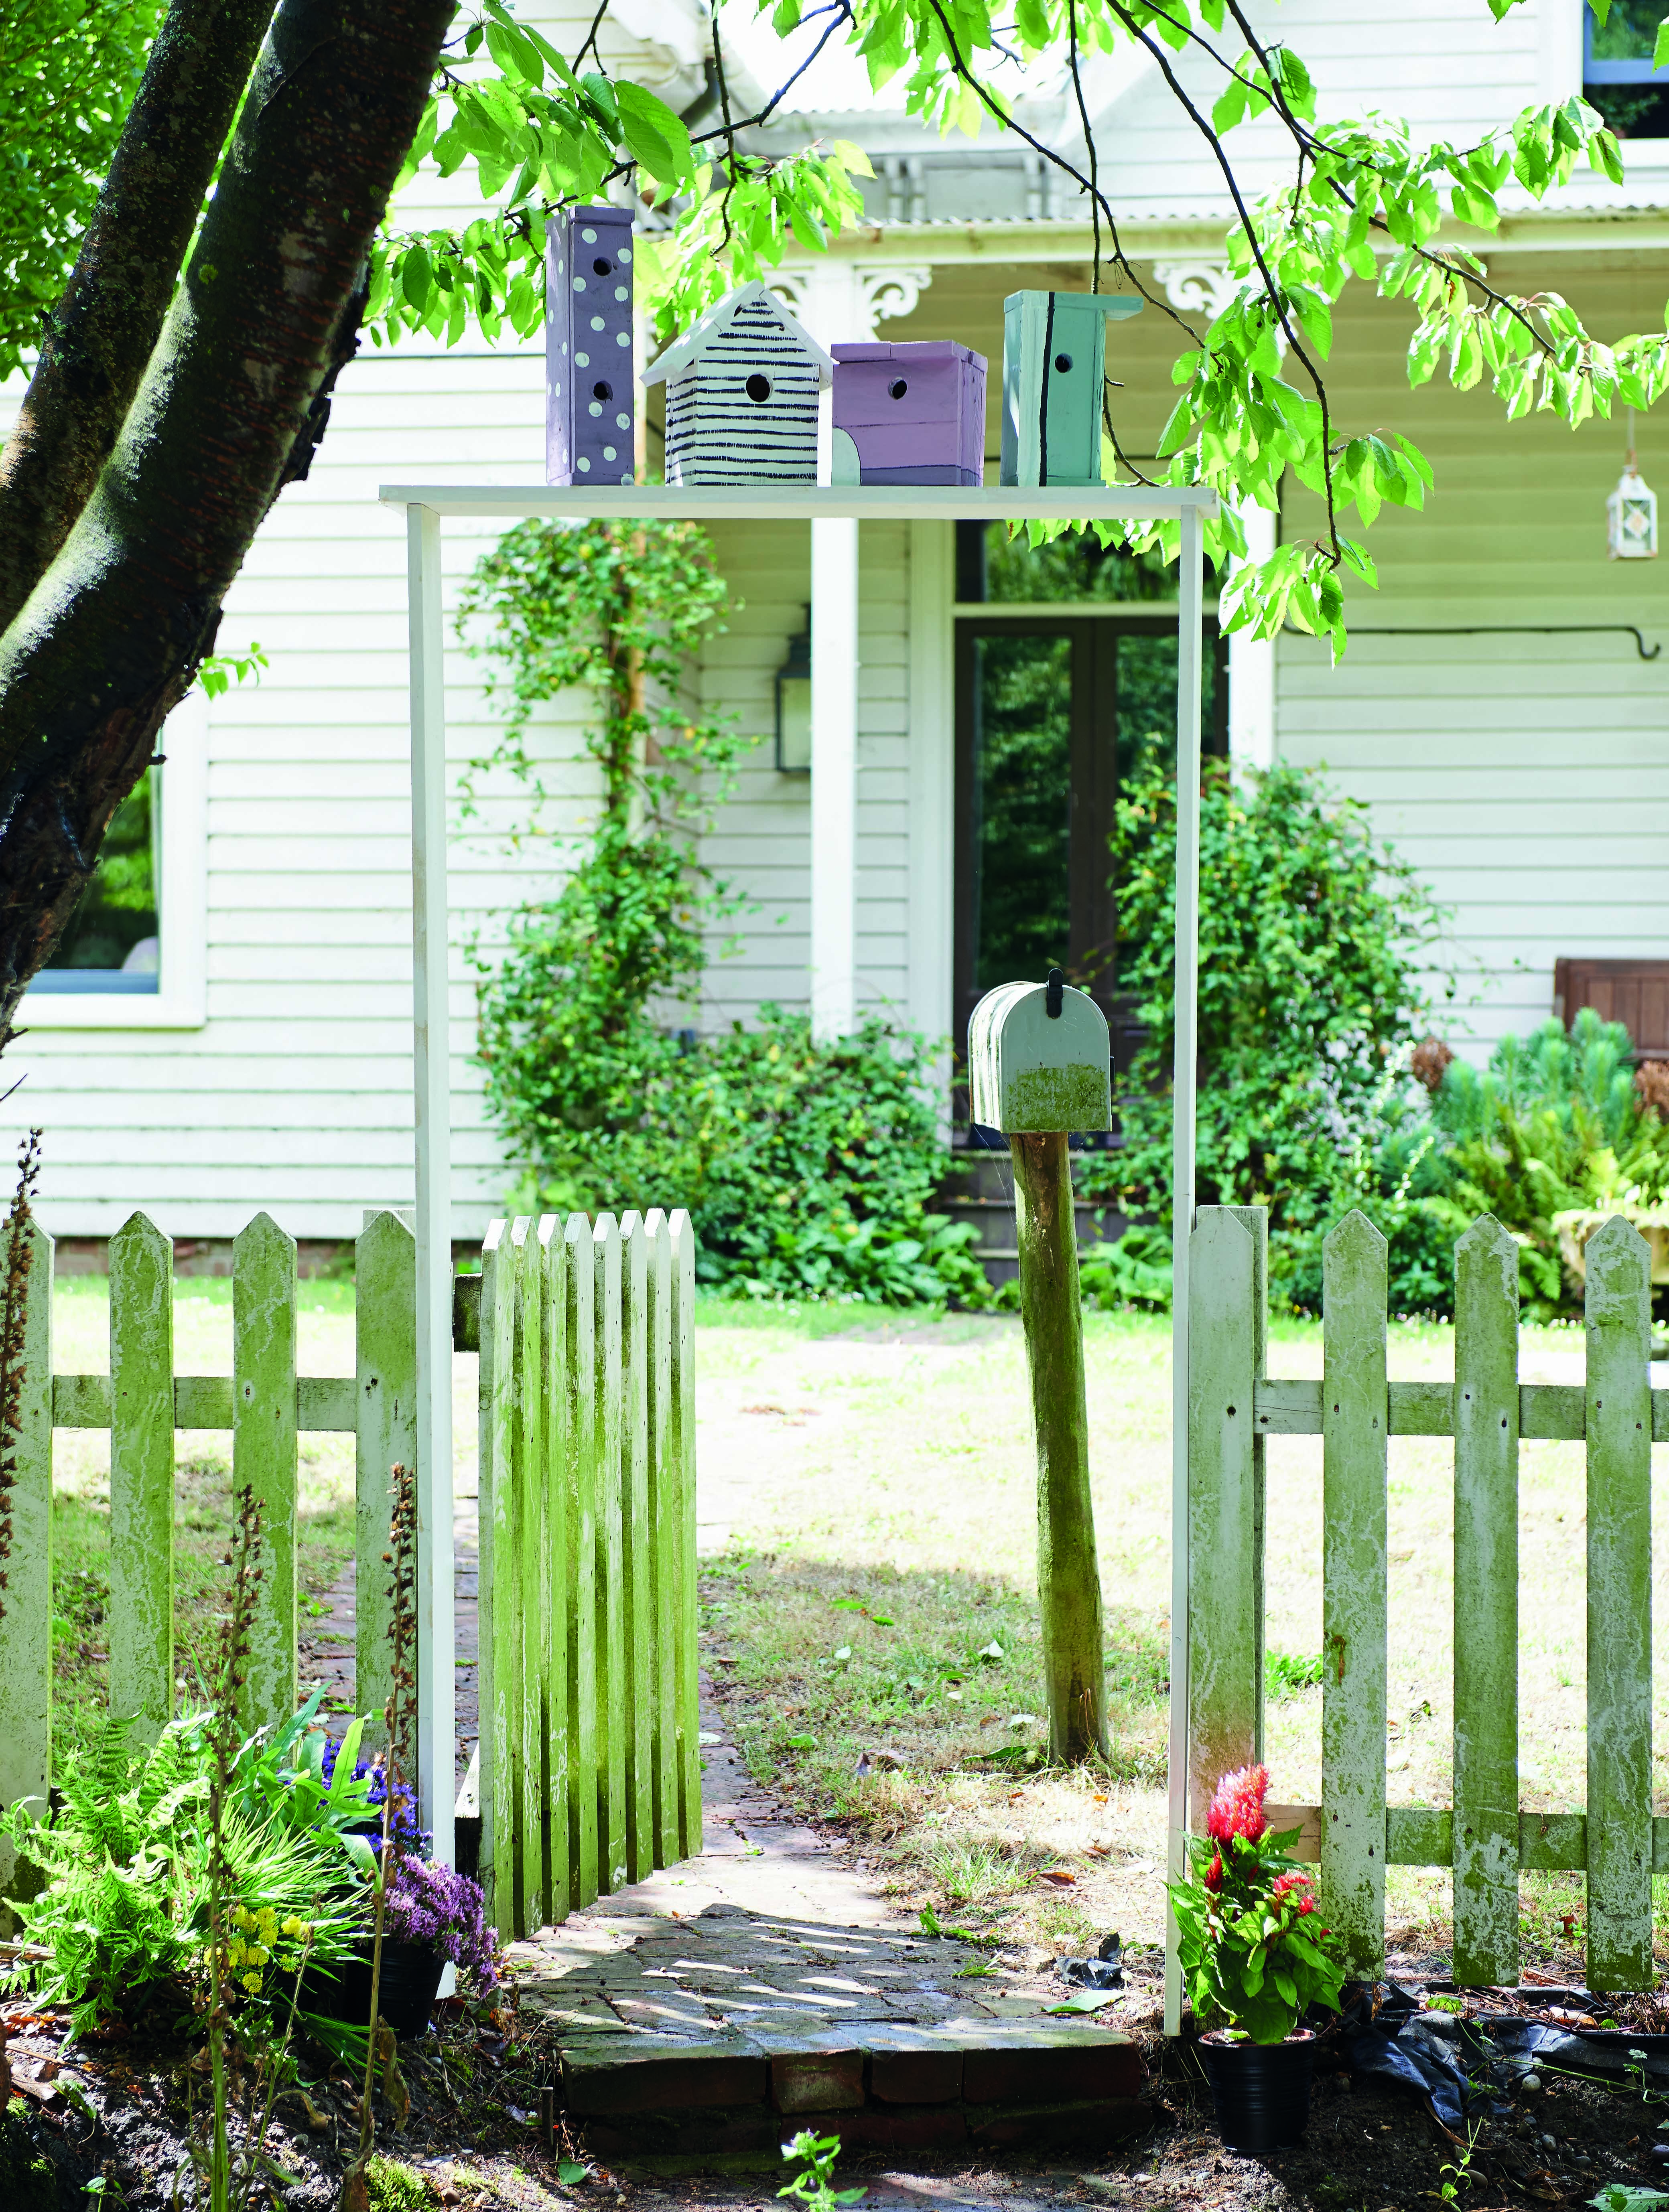
1. Cut four 30cm planks for the sides, front, and back, one 11cm plank for the base, one 11cm plank for the roof, and one 5cm x 7cm piece of plank for the middle floor. Screw the middle floor to the middle of the two sides.
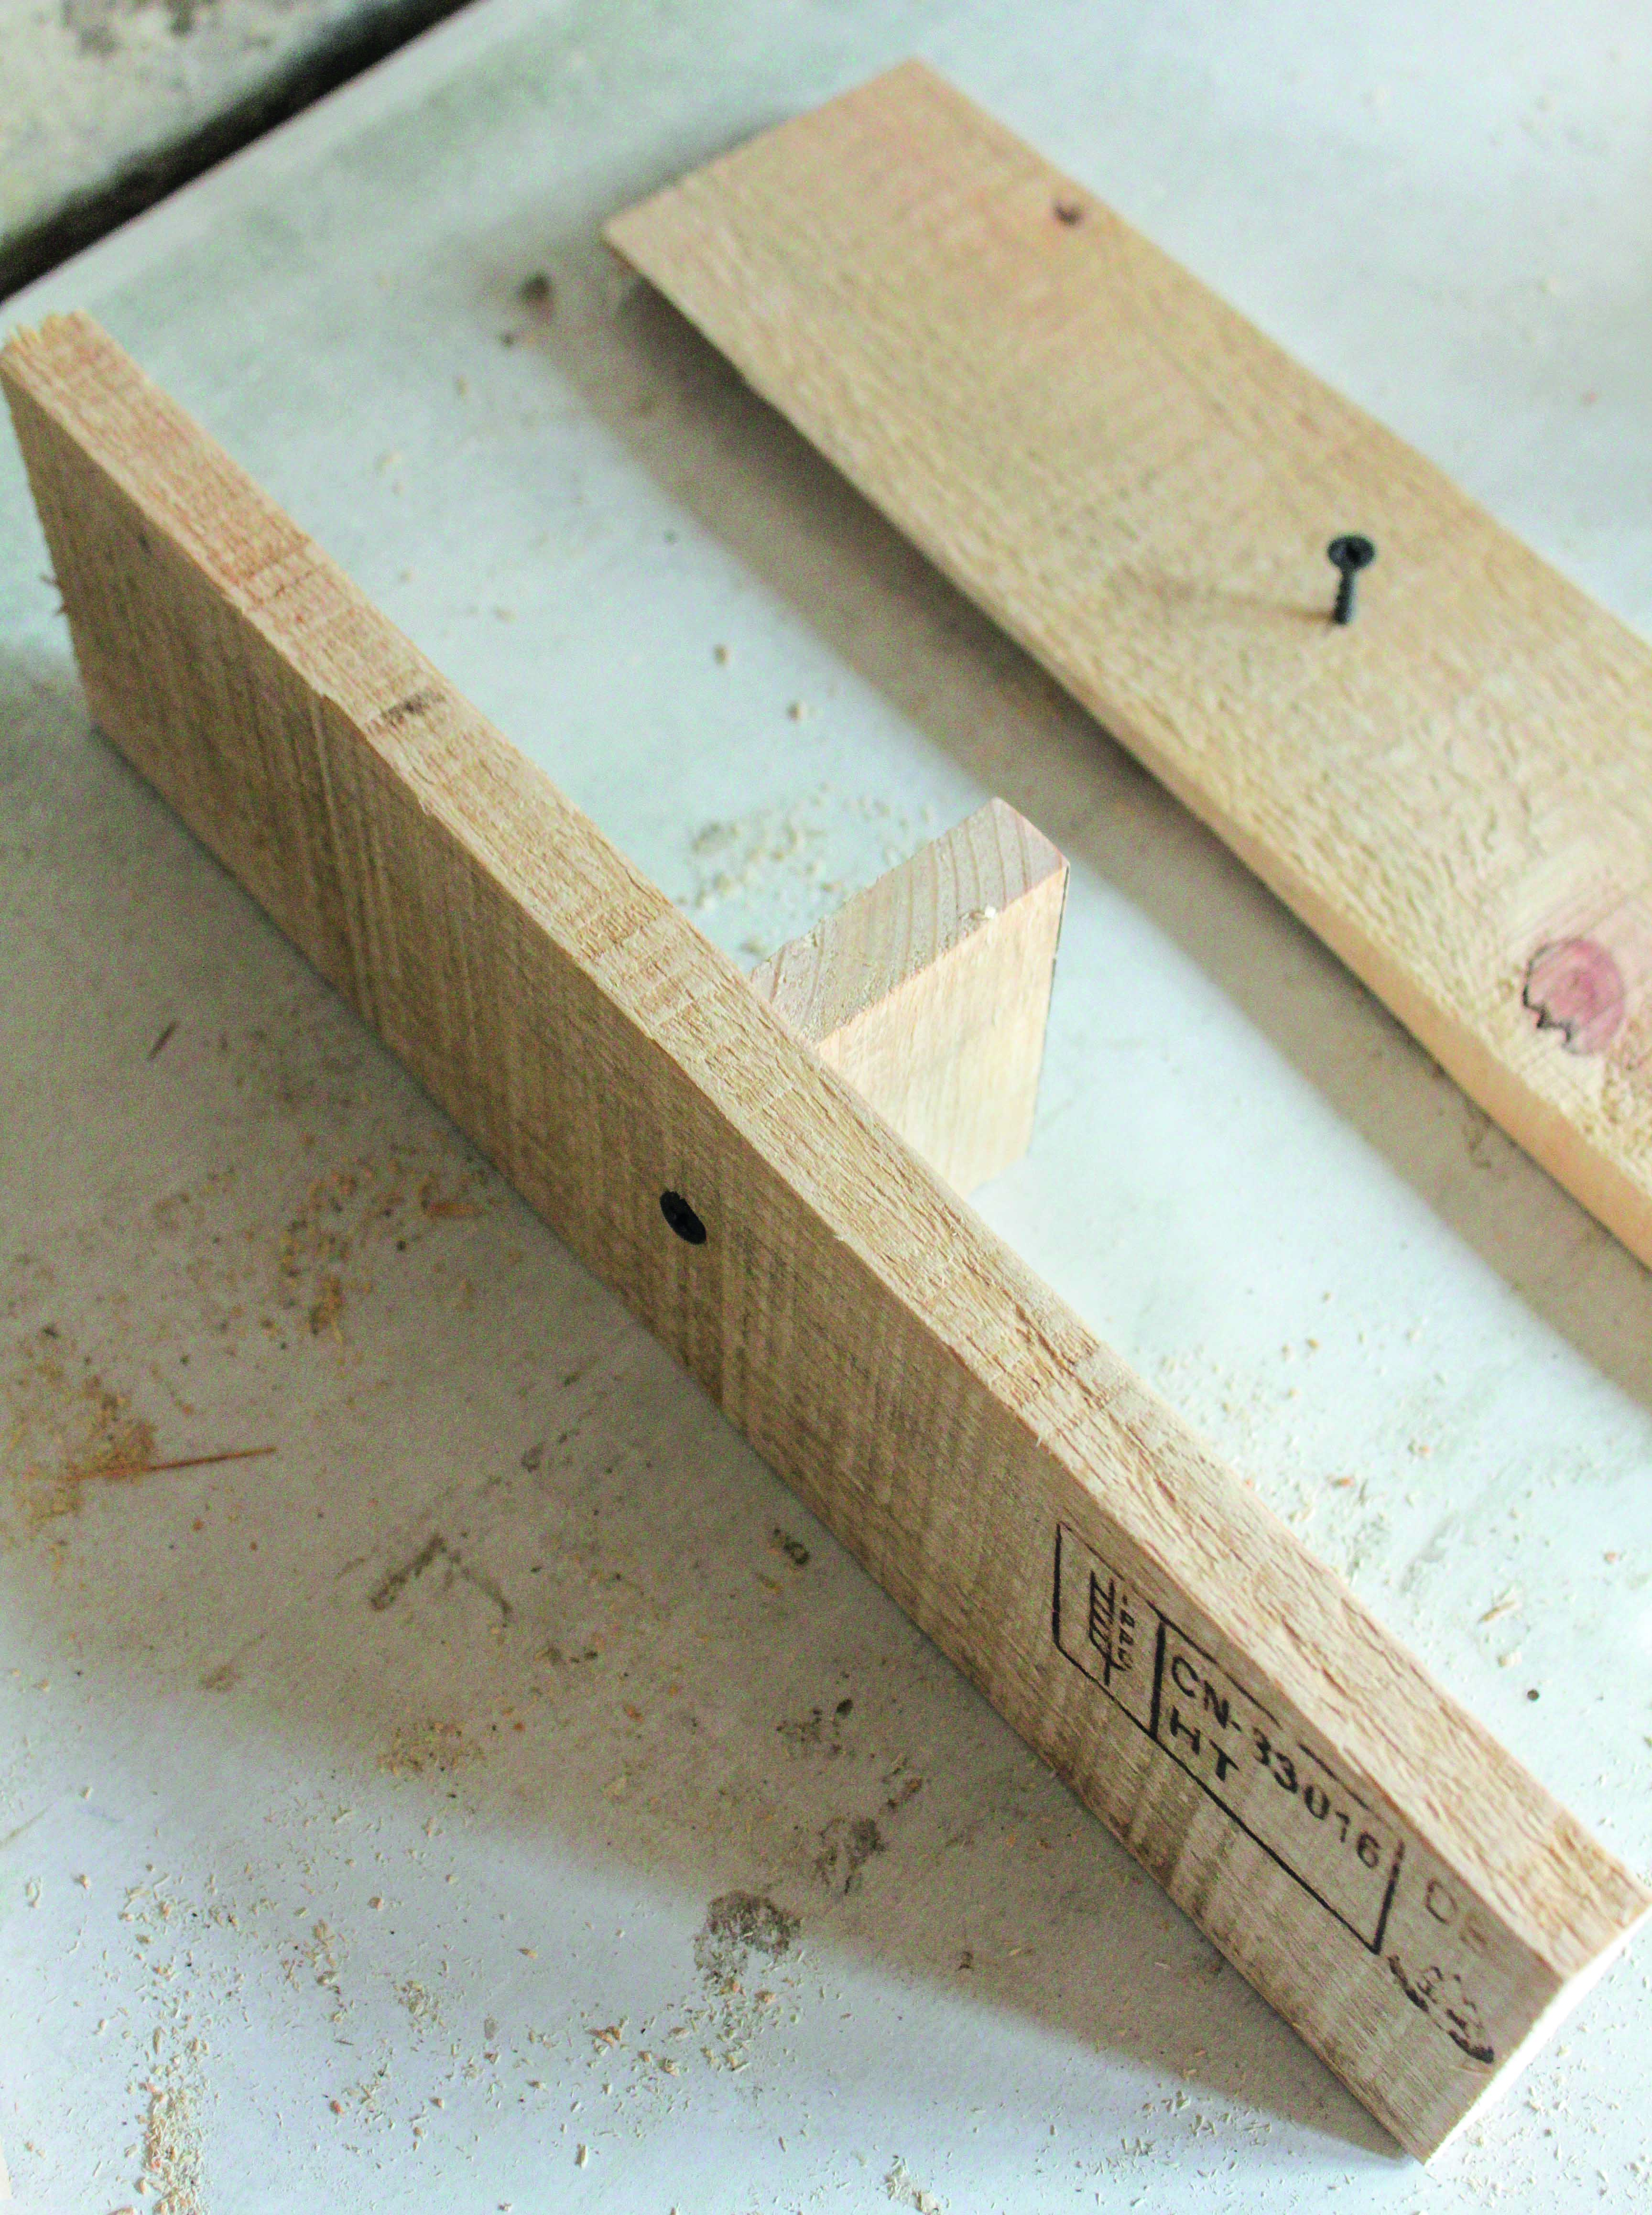
2. Glue and nail together following the instructions for the basic house. The front piece has two slightly smaller entry holes of 2.5cm as this house will attract smaller birds.
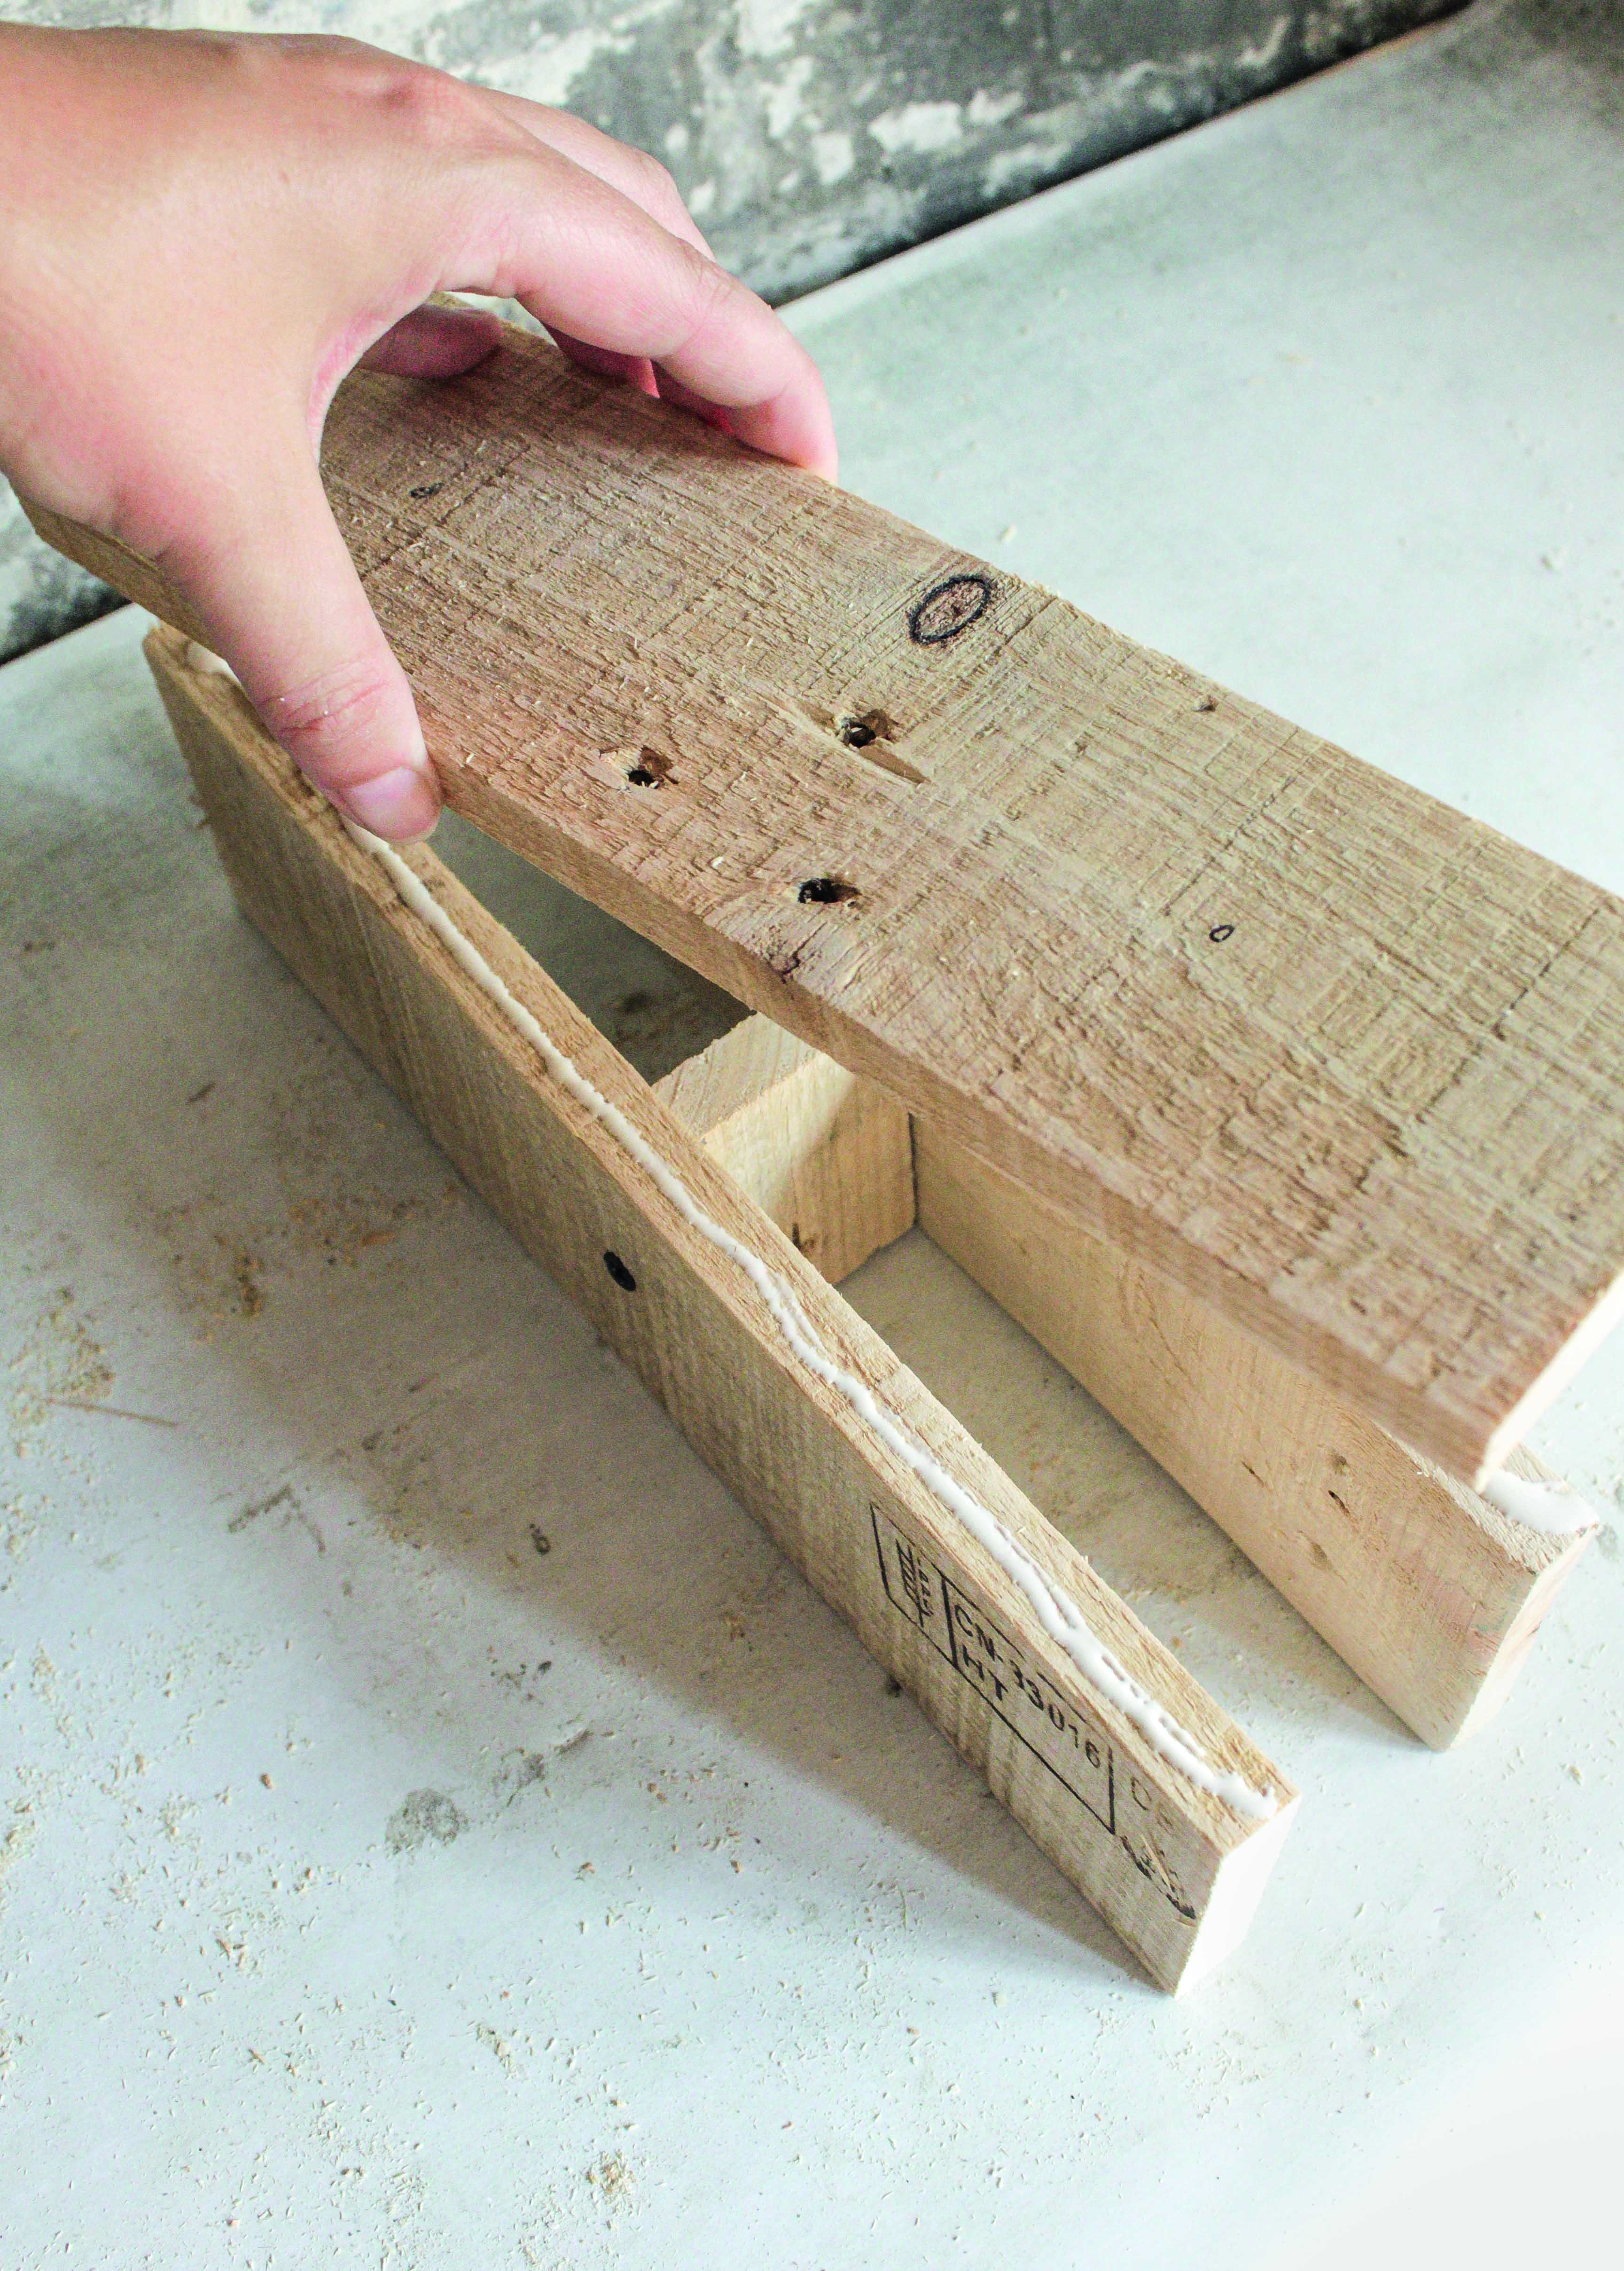
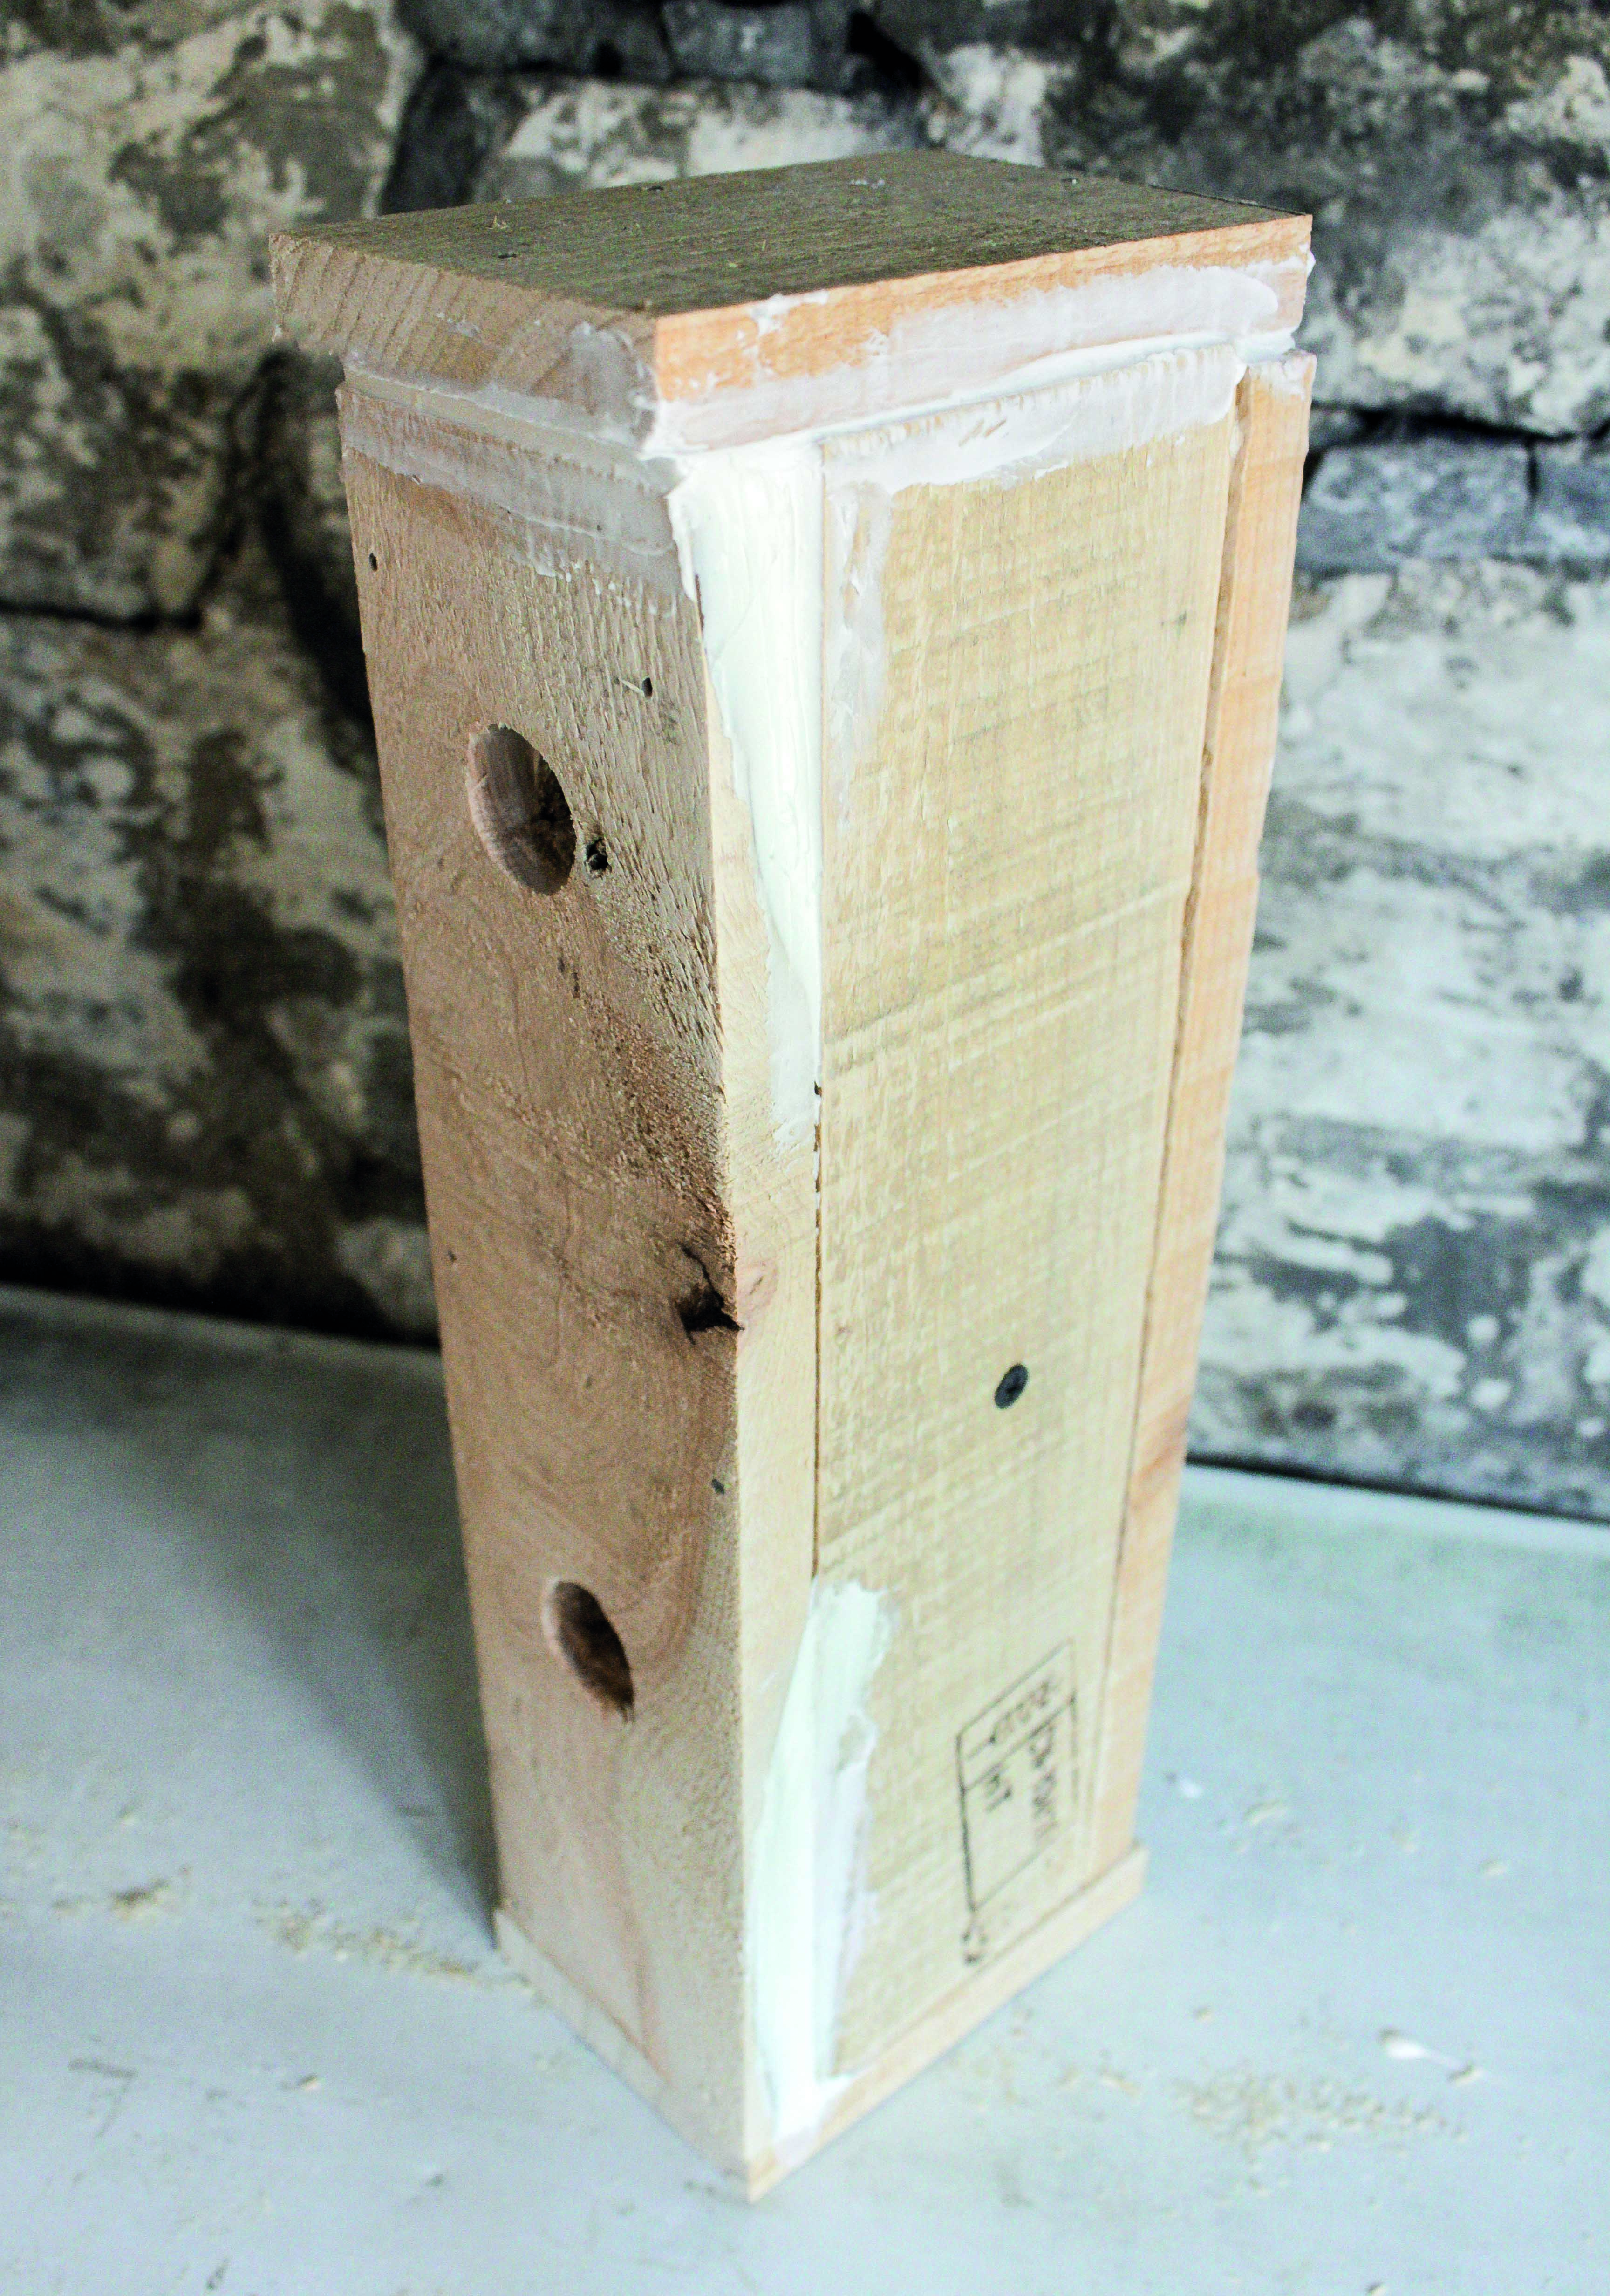
3. If your wood is very wonky and you have large holes, you can fill them with filler before sanding and painting the house. We painted this house in Annie Sloan Chalk Paint® in Emile with dots in Pure.
How to make the pitched roof birdhouse
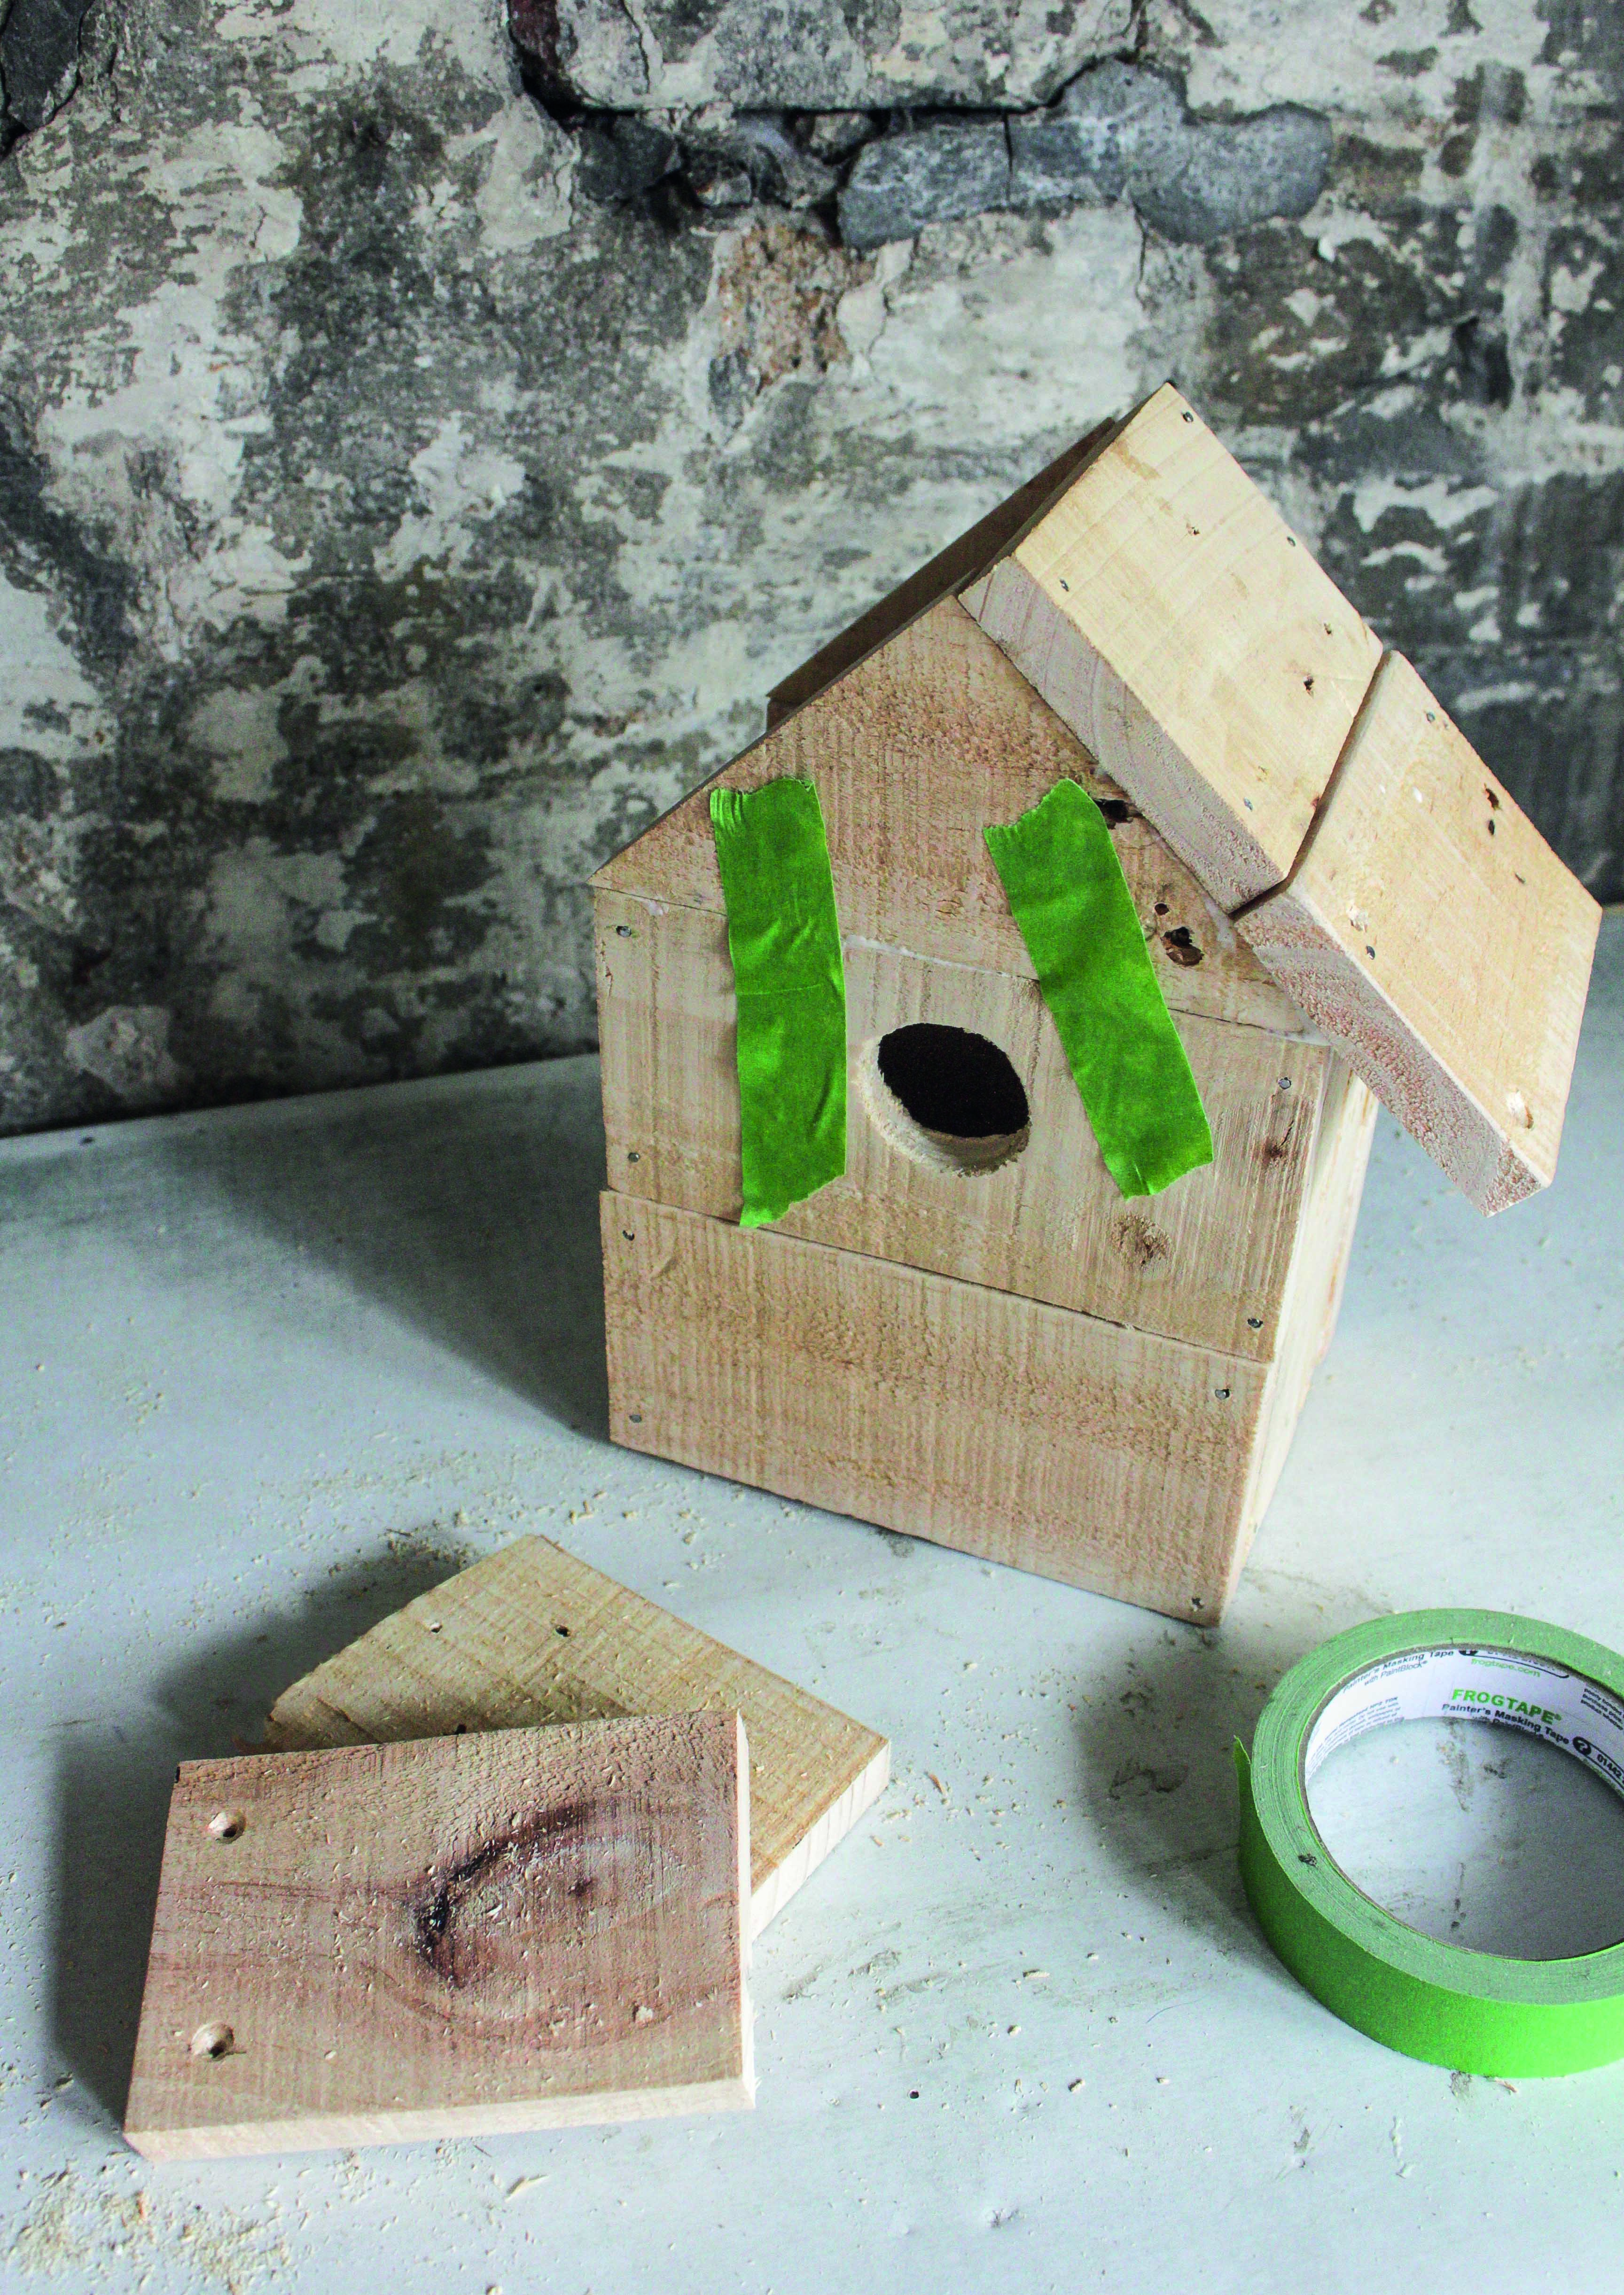
1. You need two extra triangles for this house. Cut two 15cm planks for the sides, six 16cm planks for the front and back, three 11.5cm planks and one 10cm plank for the roof, and one 12.5cm plank for the base. To make the triangles, take two of the 16cm side planks, mark the midpoint on one long side, and draw cutting lines to the corners.
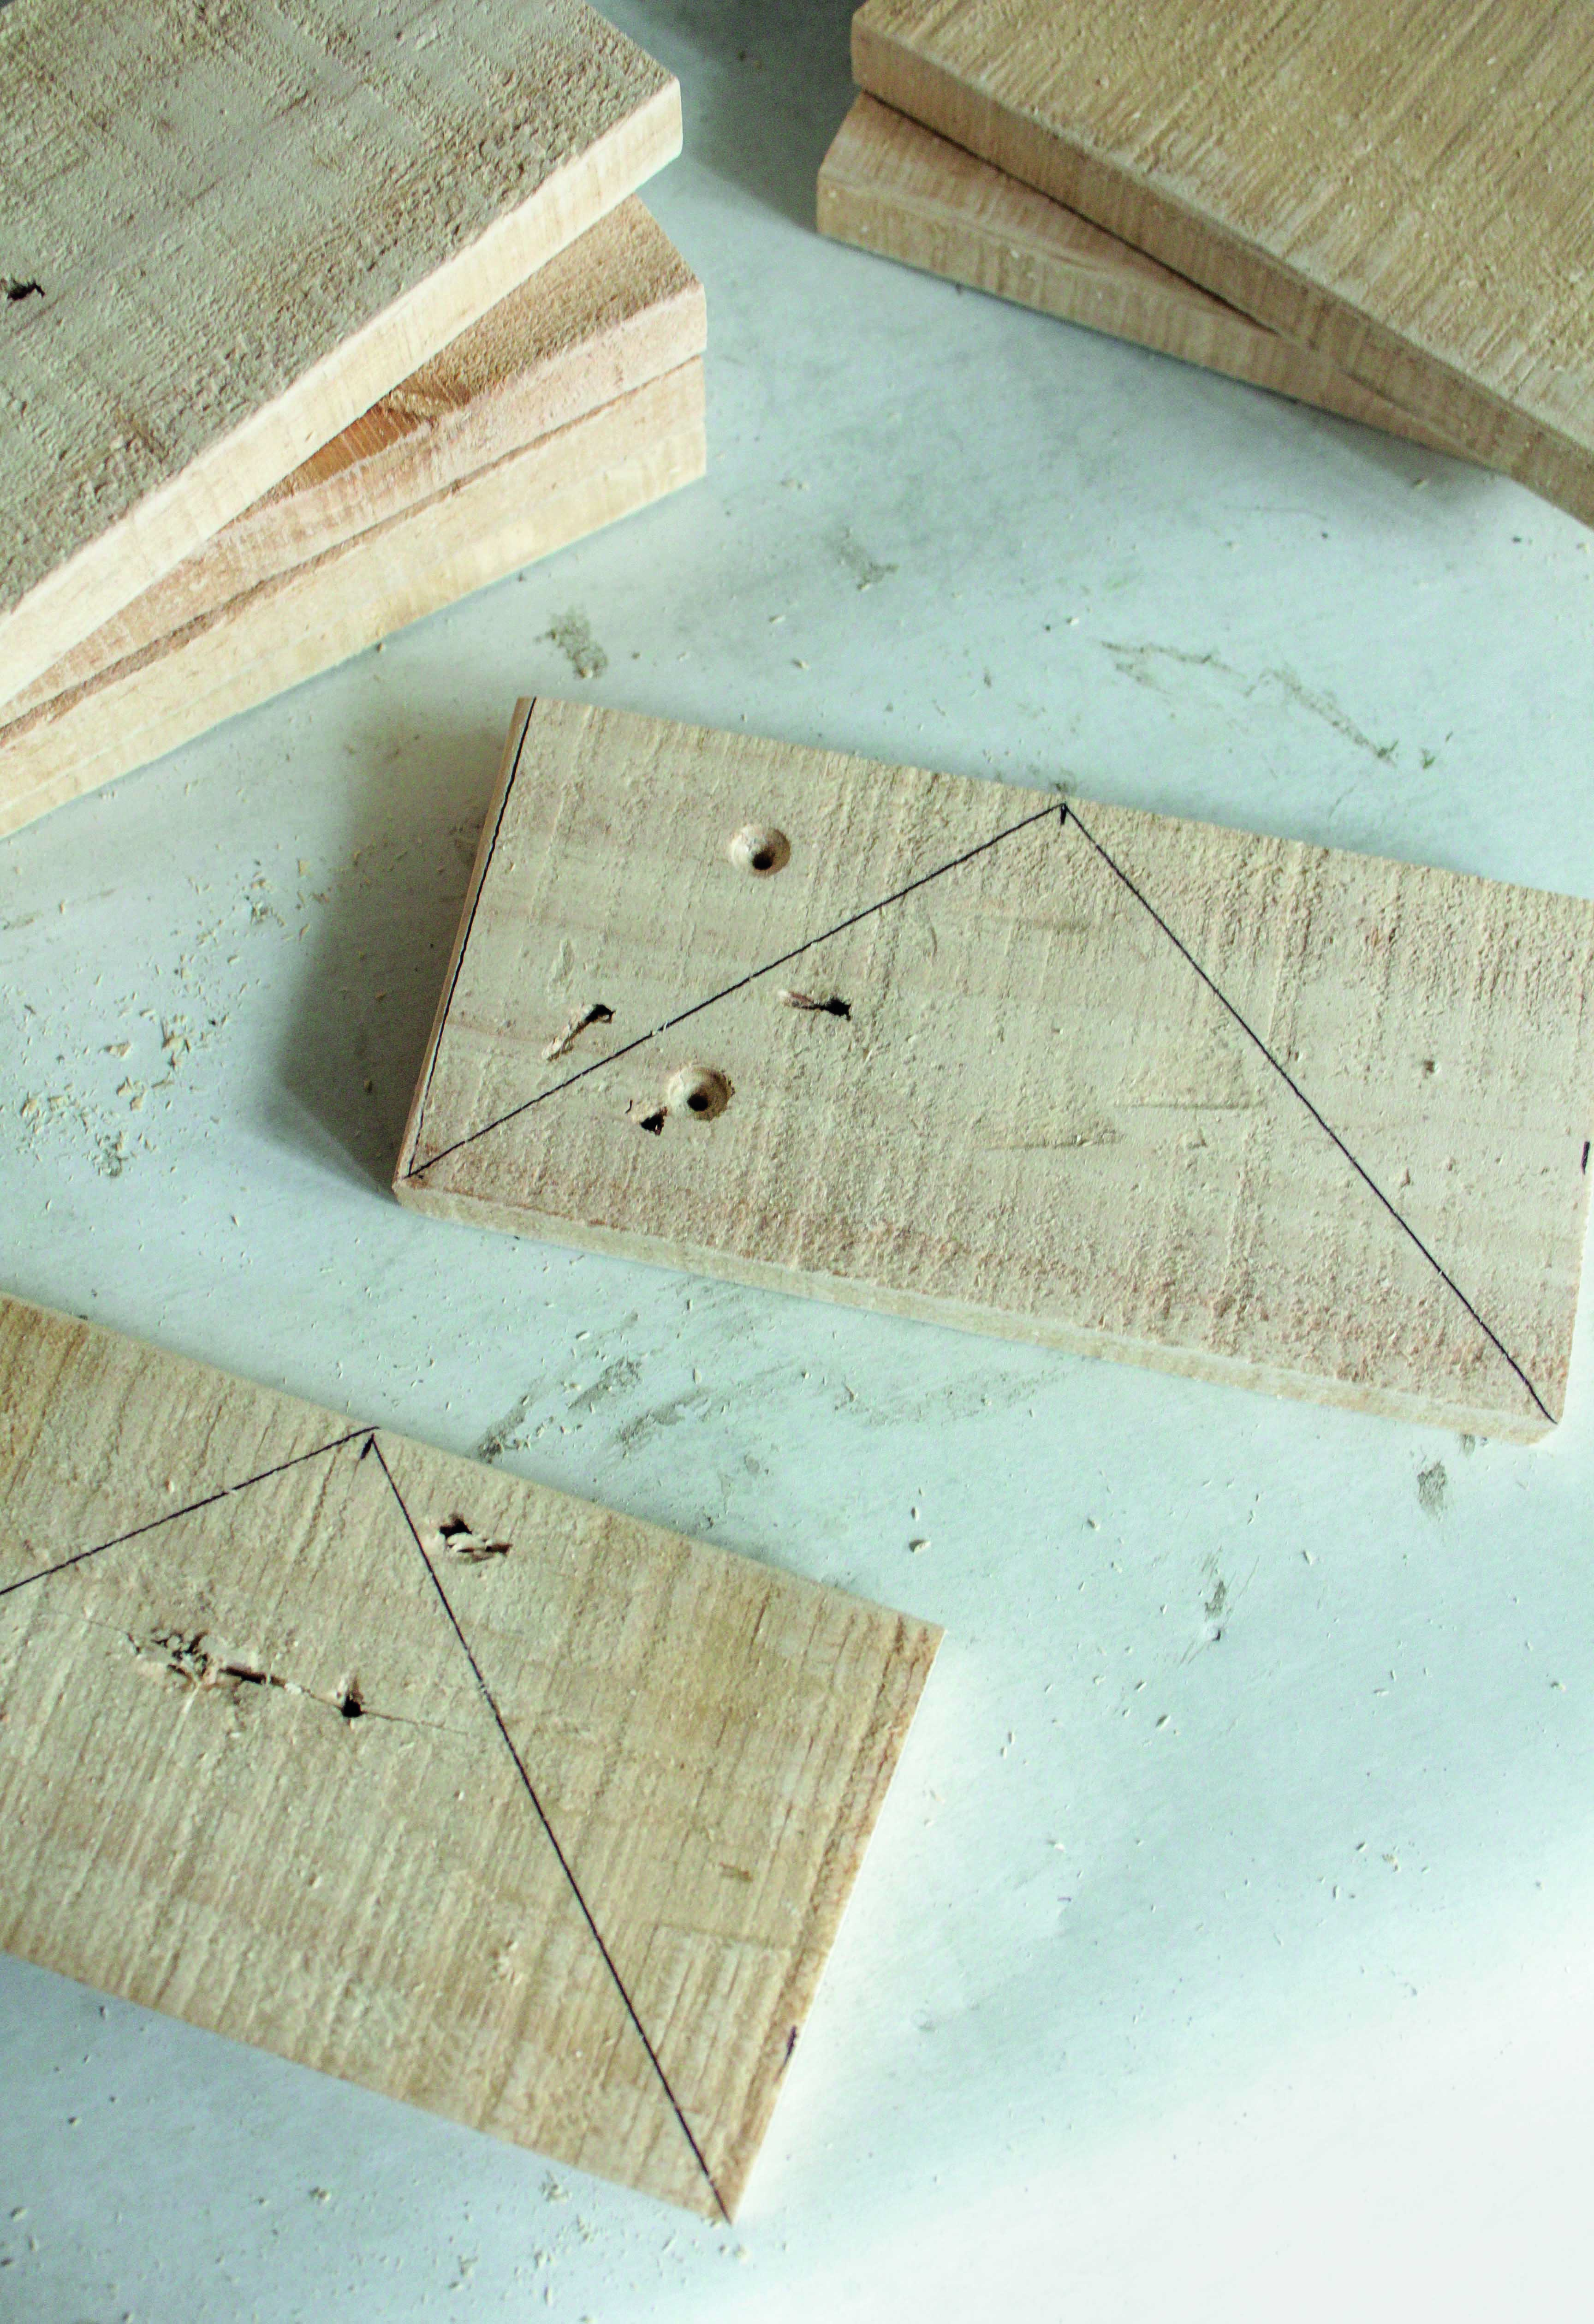
2. Glue and nail together following the instructions for the basic house. However, you won’t be able to nail the triangle to the other front piece so just use glue and hold in place with masking tape until the glue is dry. One roof slat is 1.5cm shorter –position this piece in line with the right angle of the triangle so you have an overlap at the apex of the roof. This means the overhang on the sides will be the same. We painted this house in Annie Sloan Chalk Paint® in Graphite and Pure.
How to make the blue Mid-century birdhouse
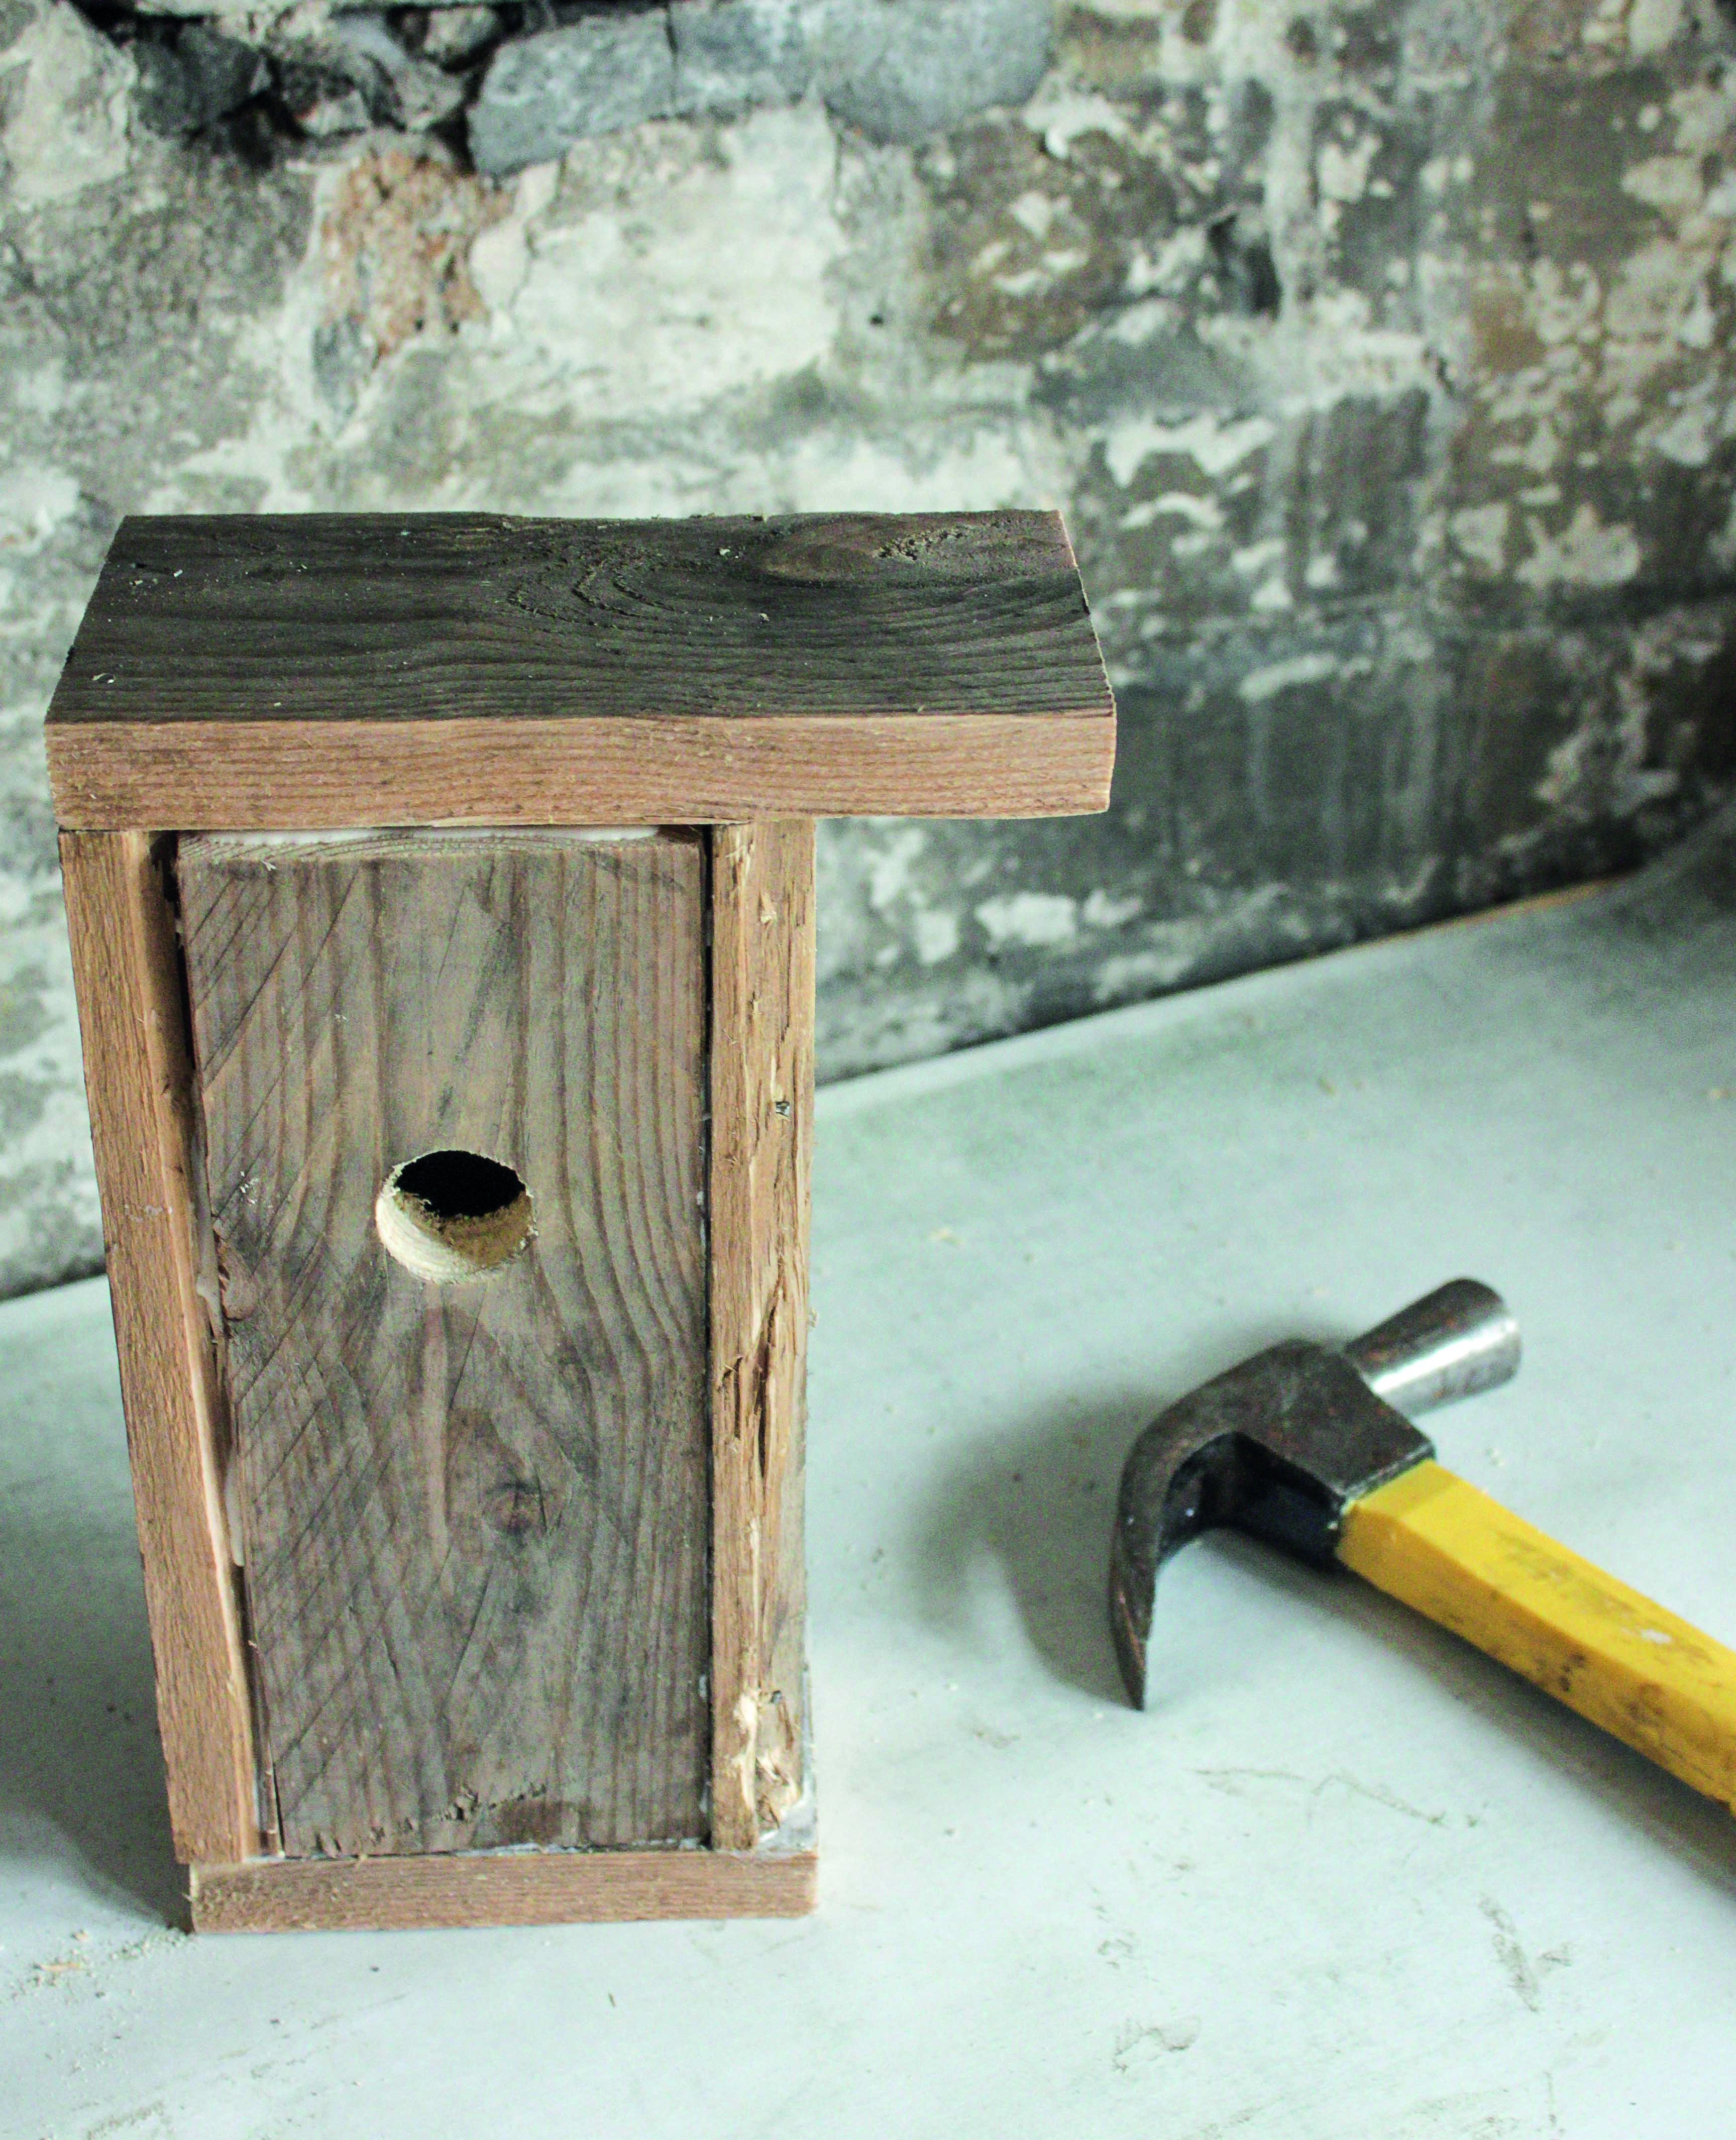
1. For this house you need four 20cm planks for the sides, front, and back, one 11cm plank for the base, and one 15cm plank for the roof. Glue and nail together following the instructions for the basic house but with an asymmetric roof overhanging at one side, rather than at the front. We painted this house in Annie Sloan Chalk Paint® in Duck Egg Blue, with details added in Pure and Graphite.
More craft projects to try this weekend:
- How to make a hanging planter
- DIY alternative planter ideas (they're very pretty)
Join our newsletter
Get small space home decor ideas, celeb inspiration, DIY tips and more, straight to your inbox!
Hebe joined the Real Homes team in early 2018 as Staff Writer before moving to the Livingetc team in 2021 where she took on a role as Digital Editor. She loves boho and 70's style and is a big fan of Instagram as a source of interiors inspiration. When she isn't writing about interiors, she is renovating her own spaces – be it wallpapering a hallway, painting kitchen cupboards or converting a van.
-
 How to make compost — 8 easy steps gardening pros always use
Learn how to make compost at home in seven easy steps, whether you have a bin or want to create a compost heap. We've asked pros for their top tips
By Eve Smallman Published
-
 Planting ornamental grasses — the best types experts love and how to grow them
We've got you covered on planting ornamental grasses, speaking to experts about what ones to grow, how to grow them, and factors to consider
By Eve Smallman Last updated
-
 "Grotty" terrace is transformed with French flair and Ibiza vibes in the garden
Esther Pillans' tired-looking Victorian terraced house was given a makeover with a touch of Parisian chic
By Ellen Finch Published
-
 How to make a DIY hummingbird feeder using a glass jelly jar
This charming DIY hummingbird feeder is perfect for backyards and apartment balconies alike! Complete with homemade nectar, you can have this project done in under an hour.
By Dori Turner Published
-
 5 DIY above-ground pool deck ideas on a budget
These above-ground pool deck ideas on a budget will add character and class to your outdoor space
By Becks Shepherd Published
-
 Painting garden furniture: follow our step-by-step guide
Painting garden furniture is an easy, affordable way to brighten up your outside space. Here's how to do it
By Laura Crombie Published
-
 How to paint Ikea outdoor SKARPÖ chairs: from white to Champagne pink
UK DIY blogger Jo Lemos shares how to paint the iconic IKEA SKARPÖ chairs for a budget yet bougie yard upgrade
By Jo Lemos Published
-
 22 DIY alternative planter ideas: easy designs to dress up your porch or patio
We guarantee you won't see these DIY alternative planter ideas in your local home improvement store
By Hebe Hatton Published