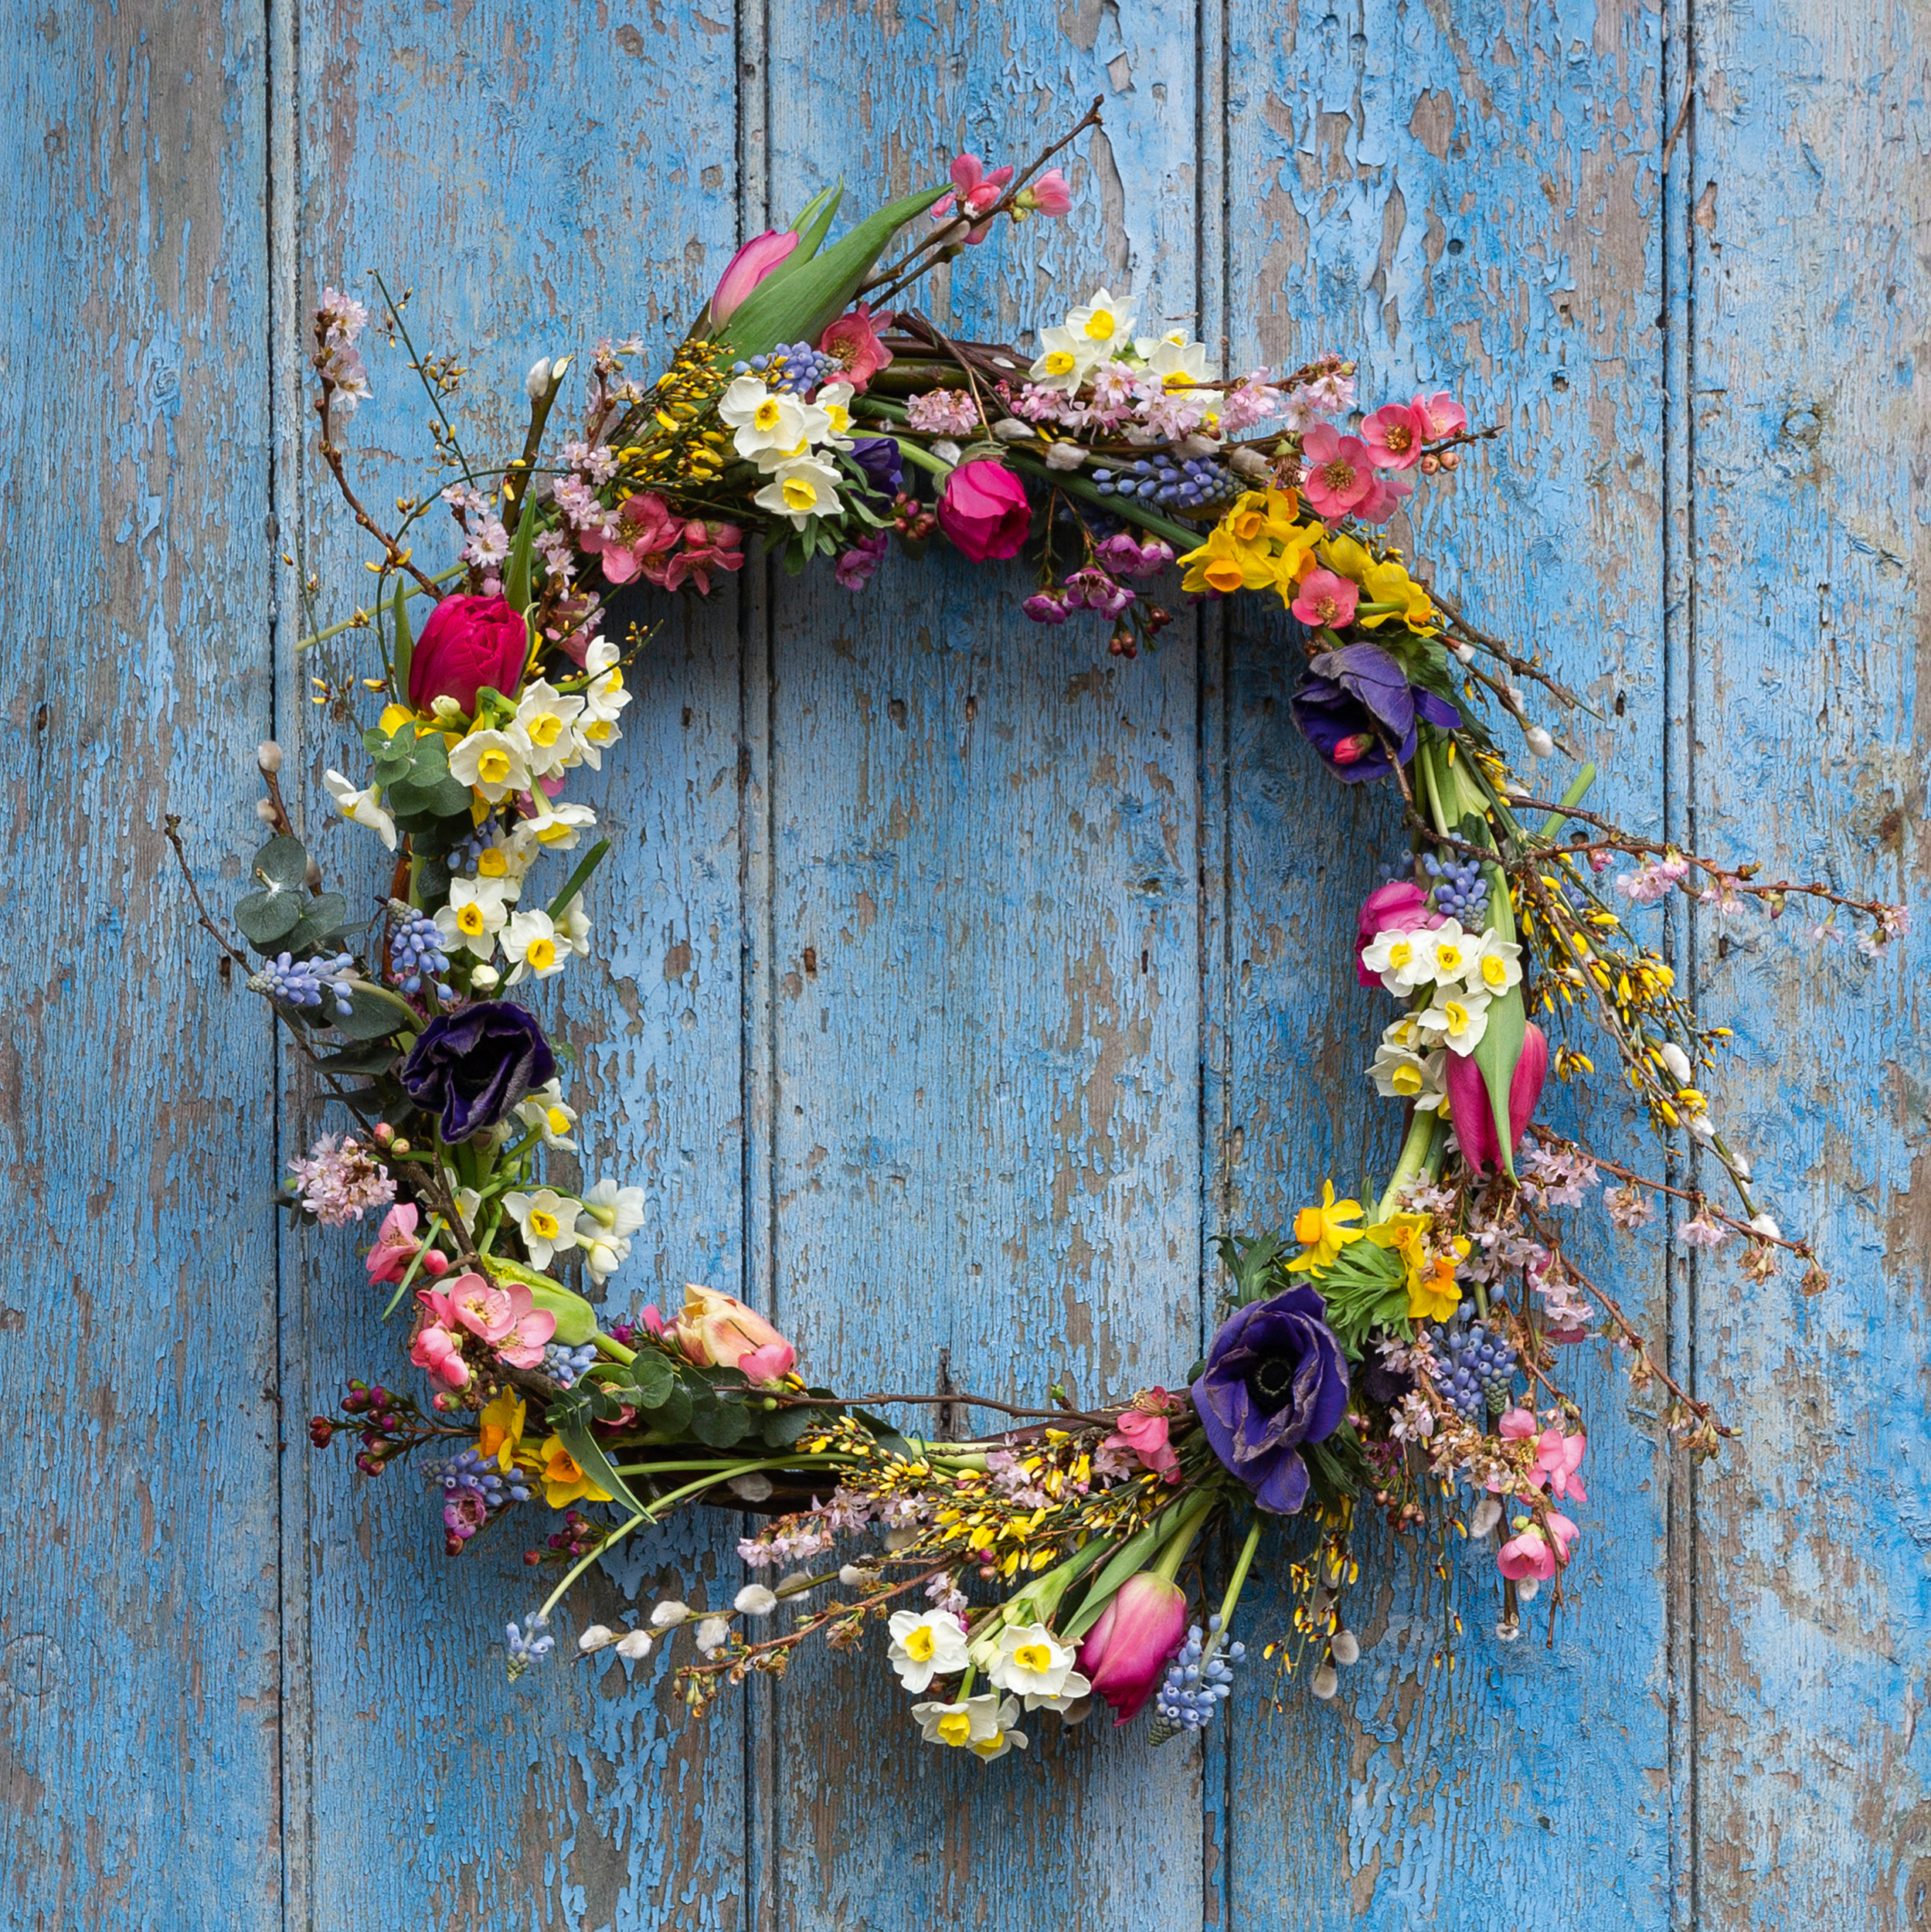
Fancy a weekend project? Find out how to make a spring wreath that you can adapt to suit the season in this easy step-by-step guide. This one has been crafted for us by florist Emma Hutchinson.
A spectacular way to welcome friends and family for a celebration, the wreath is also the perfect project for beginners – and while it's used spring flowers, you can adapt it to your colour scheme and to what's available in your garden or from the florist.
Emma is passionate about sustainability, preferring where possible to use environmentally friendly alternatives to non-biodegradable floristry foam. Showcasing her favourite blooms in this spring wreath, from foraged blossom to prized fringed tulips, it is made using natural willow rather than an oasis ring, and can be created with flowers from the garden as a greener alternative.
The posy technique Emma has used breaks the wreath design down into manageable chunks so that you’re not faced with trying to tackle a large arrangement from scratch. Use our simple step-by-step guide to make this spring wreath with ease over the weekend.
And once you're done, take a look at all our craft projects.
YOU WILL NEED:
- 4 lengths of willow, 2m long
- 14 sprigs of pussy willow (around 15cm)
- 10 sprigs of mixed blossom
- 10 sprigs of eucalyptus baby blue
- 10 sprigs of genista or forsythia
- 10 sprigs of pink wax flower
- 9 narcissi
- 8 muscari
- 5 double pink tulips
- 5 yellow fringed tulips
- 3 blue anemones
- Floristry wire
- Secateurs/sharp scissors
STEP one: Bend the willow
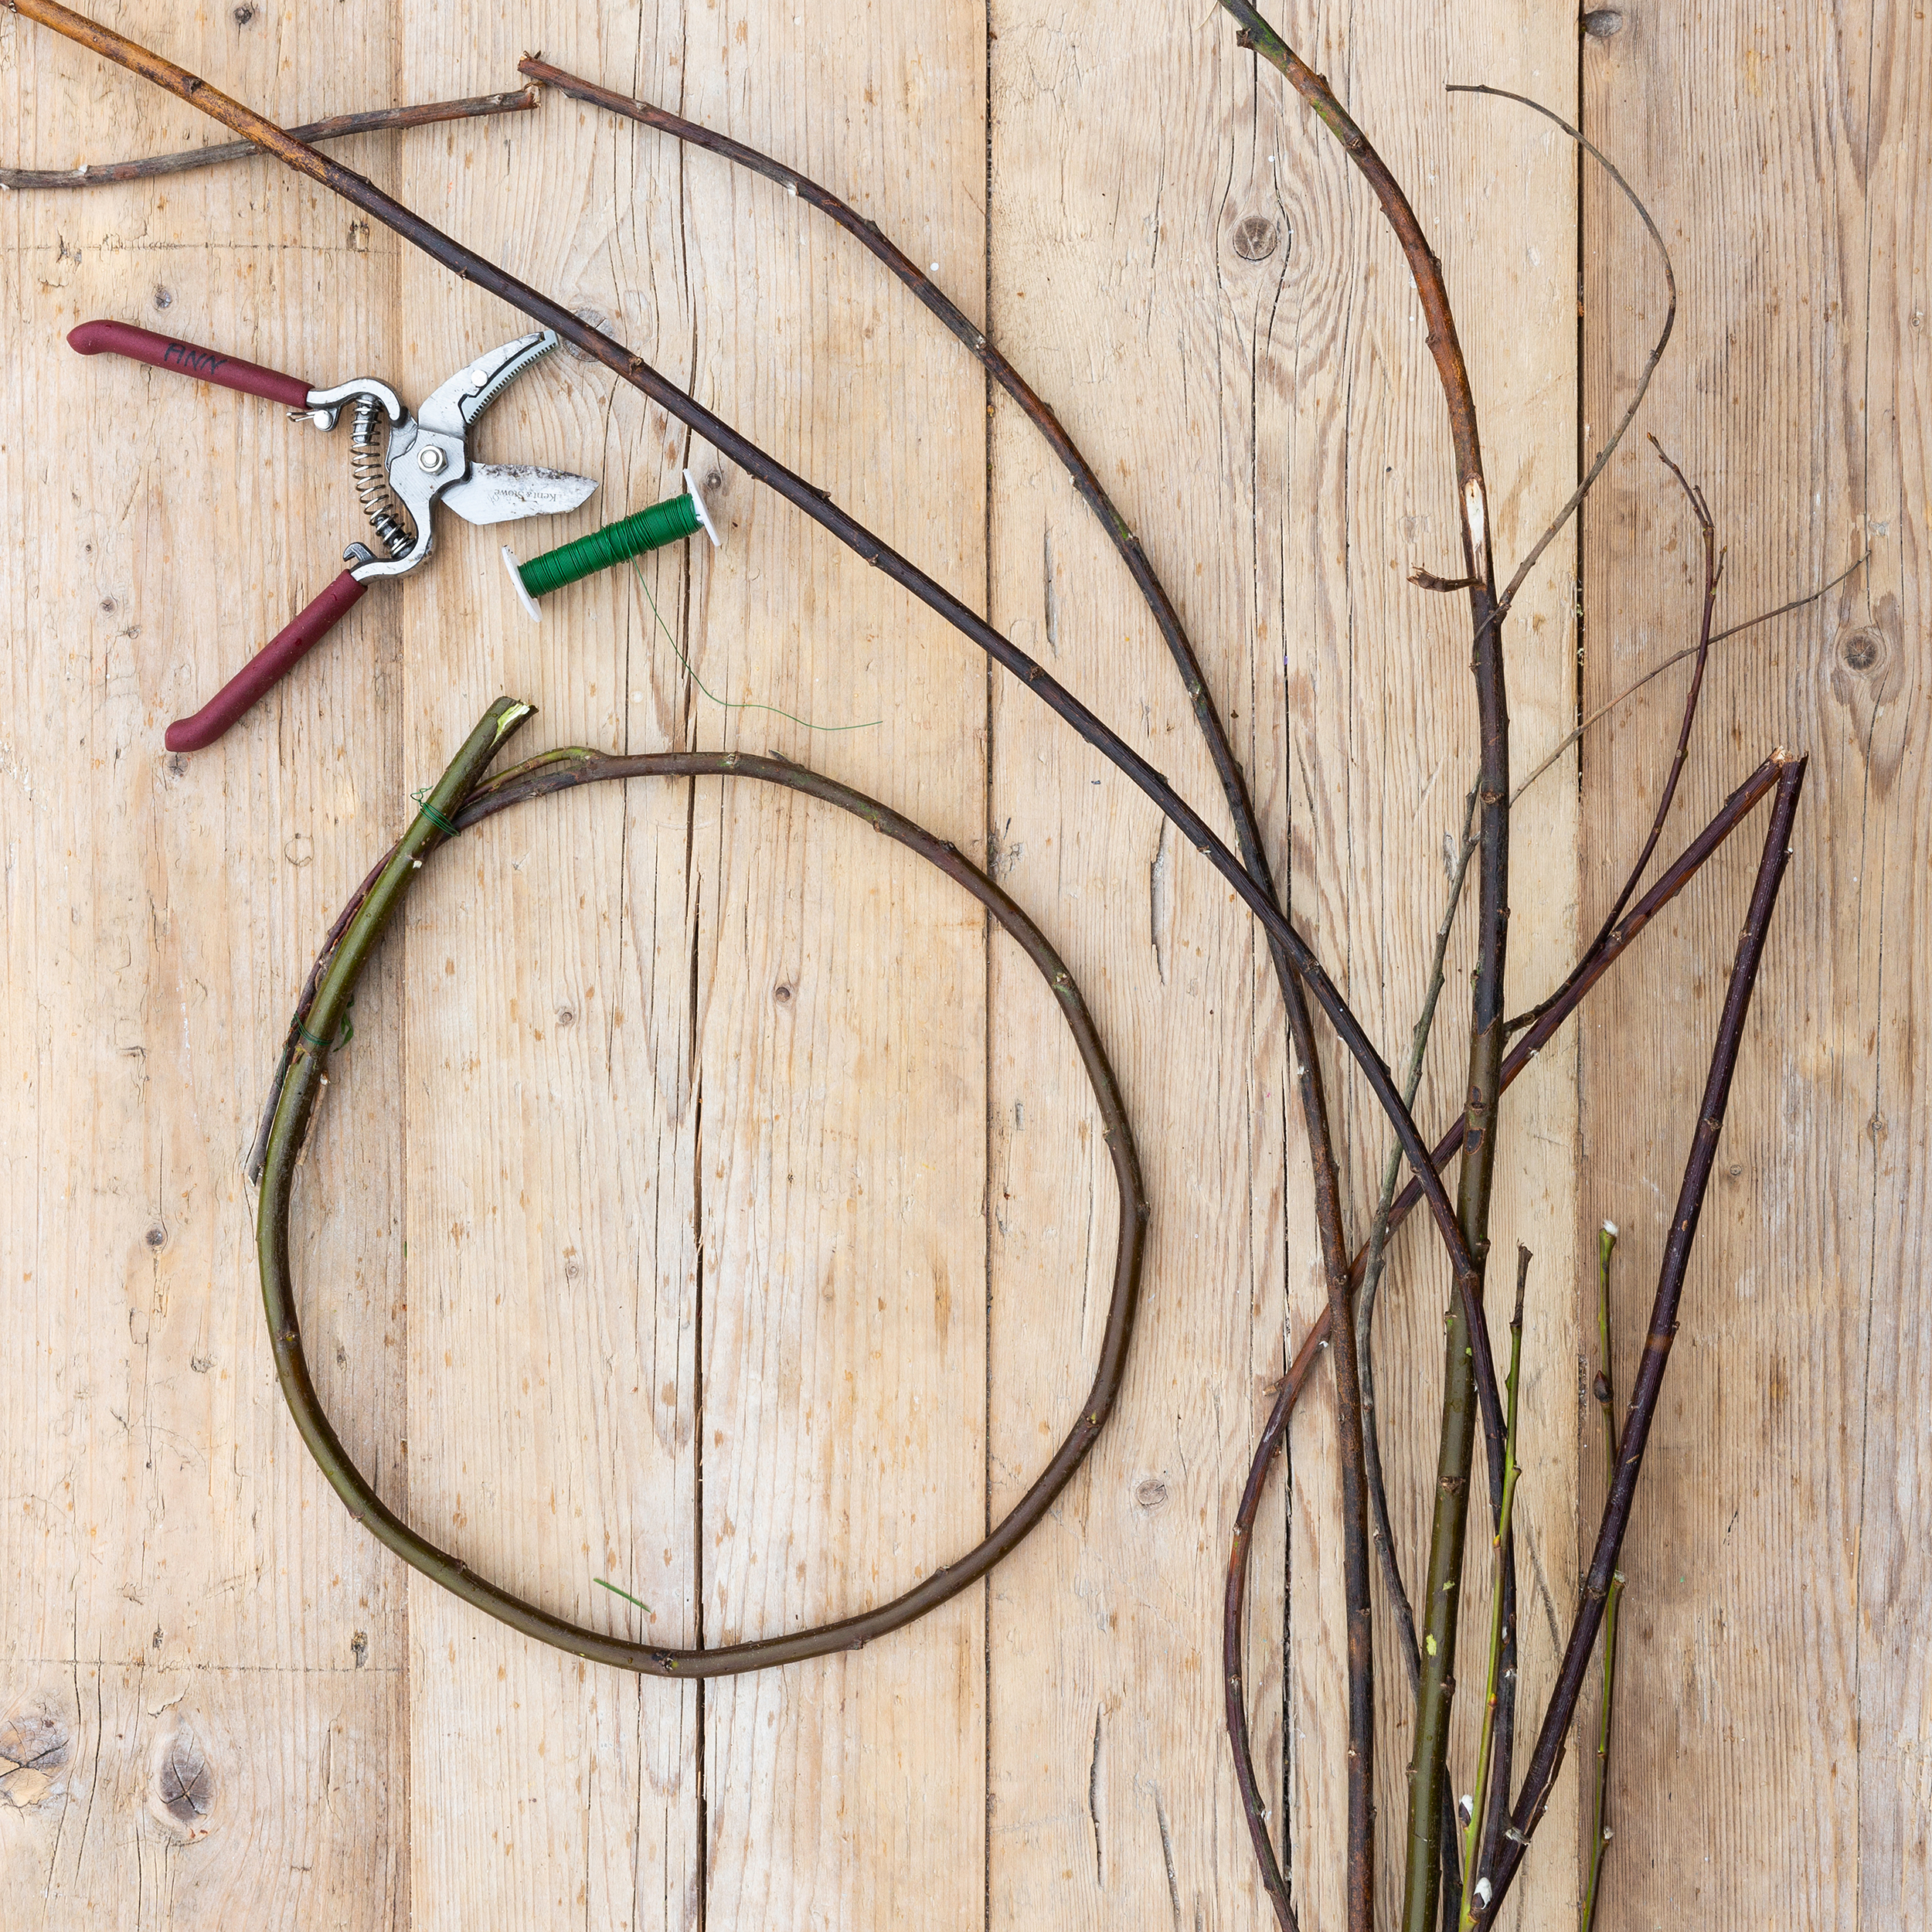
To make the willow wreath, take a length of willow and manipulate it gently into a rough circle shape, securing the ends by tucking them under each other or with a few wraps of floristry wire.
STEP two: Add willow lengths to the wreath
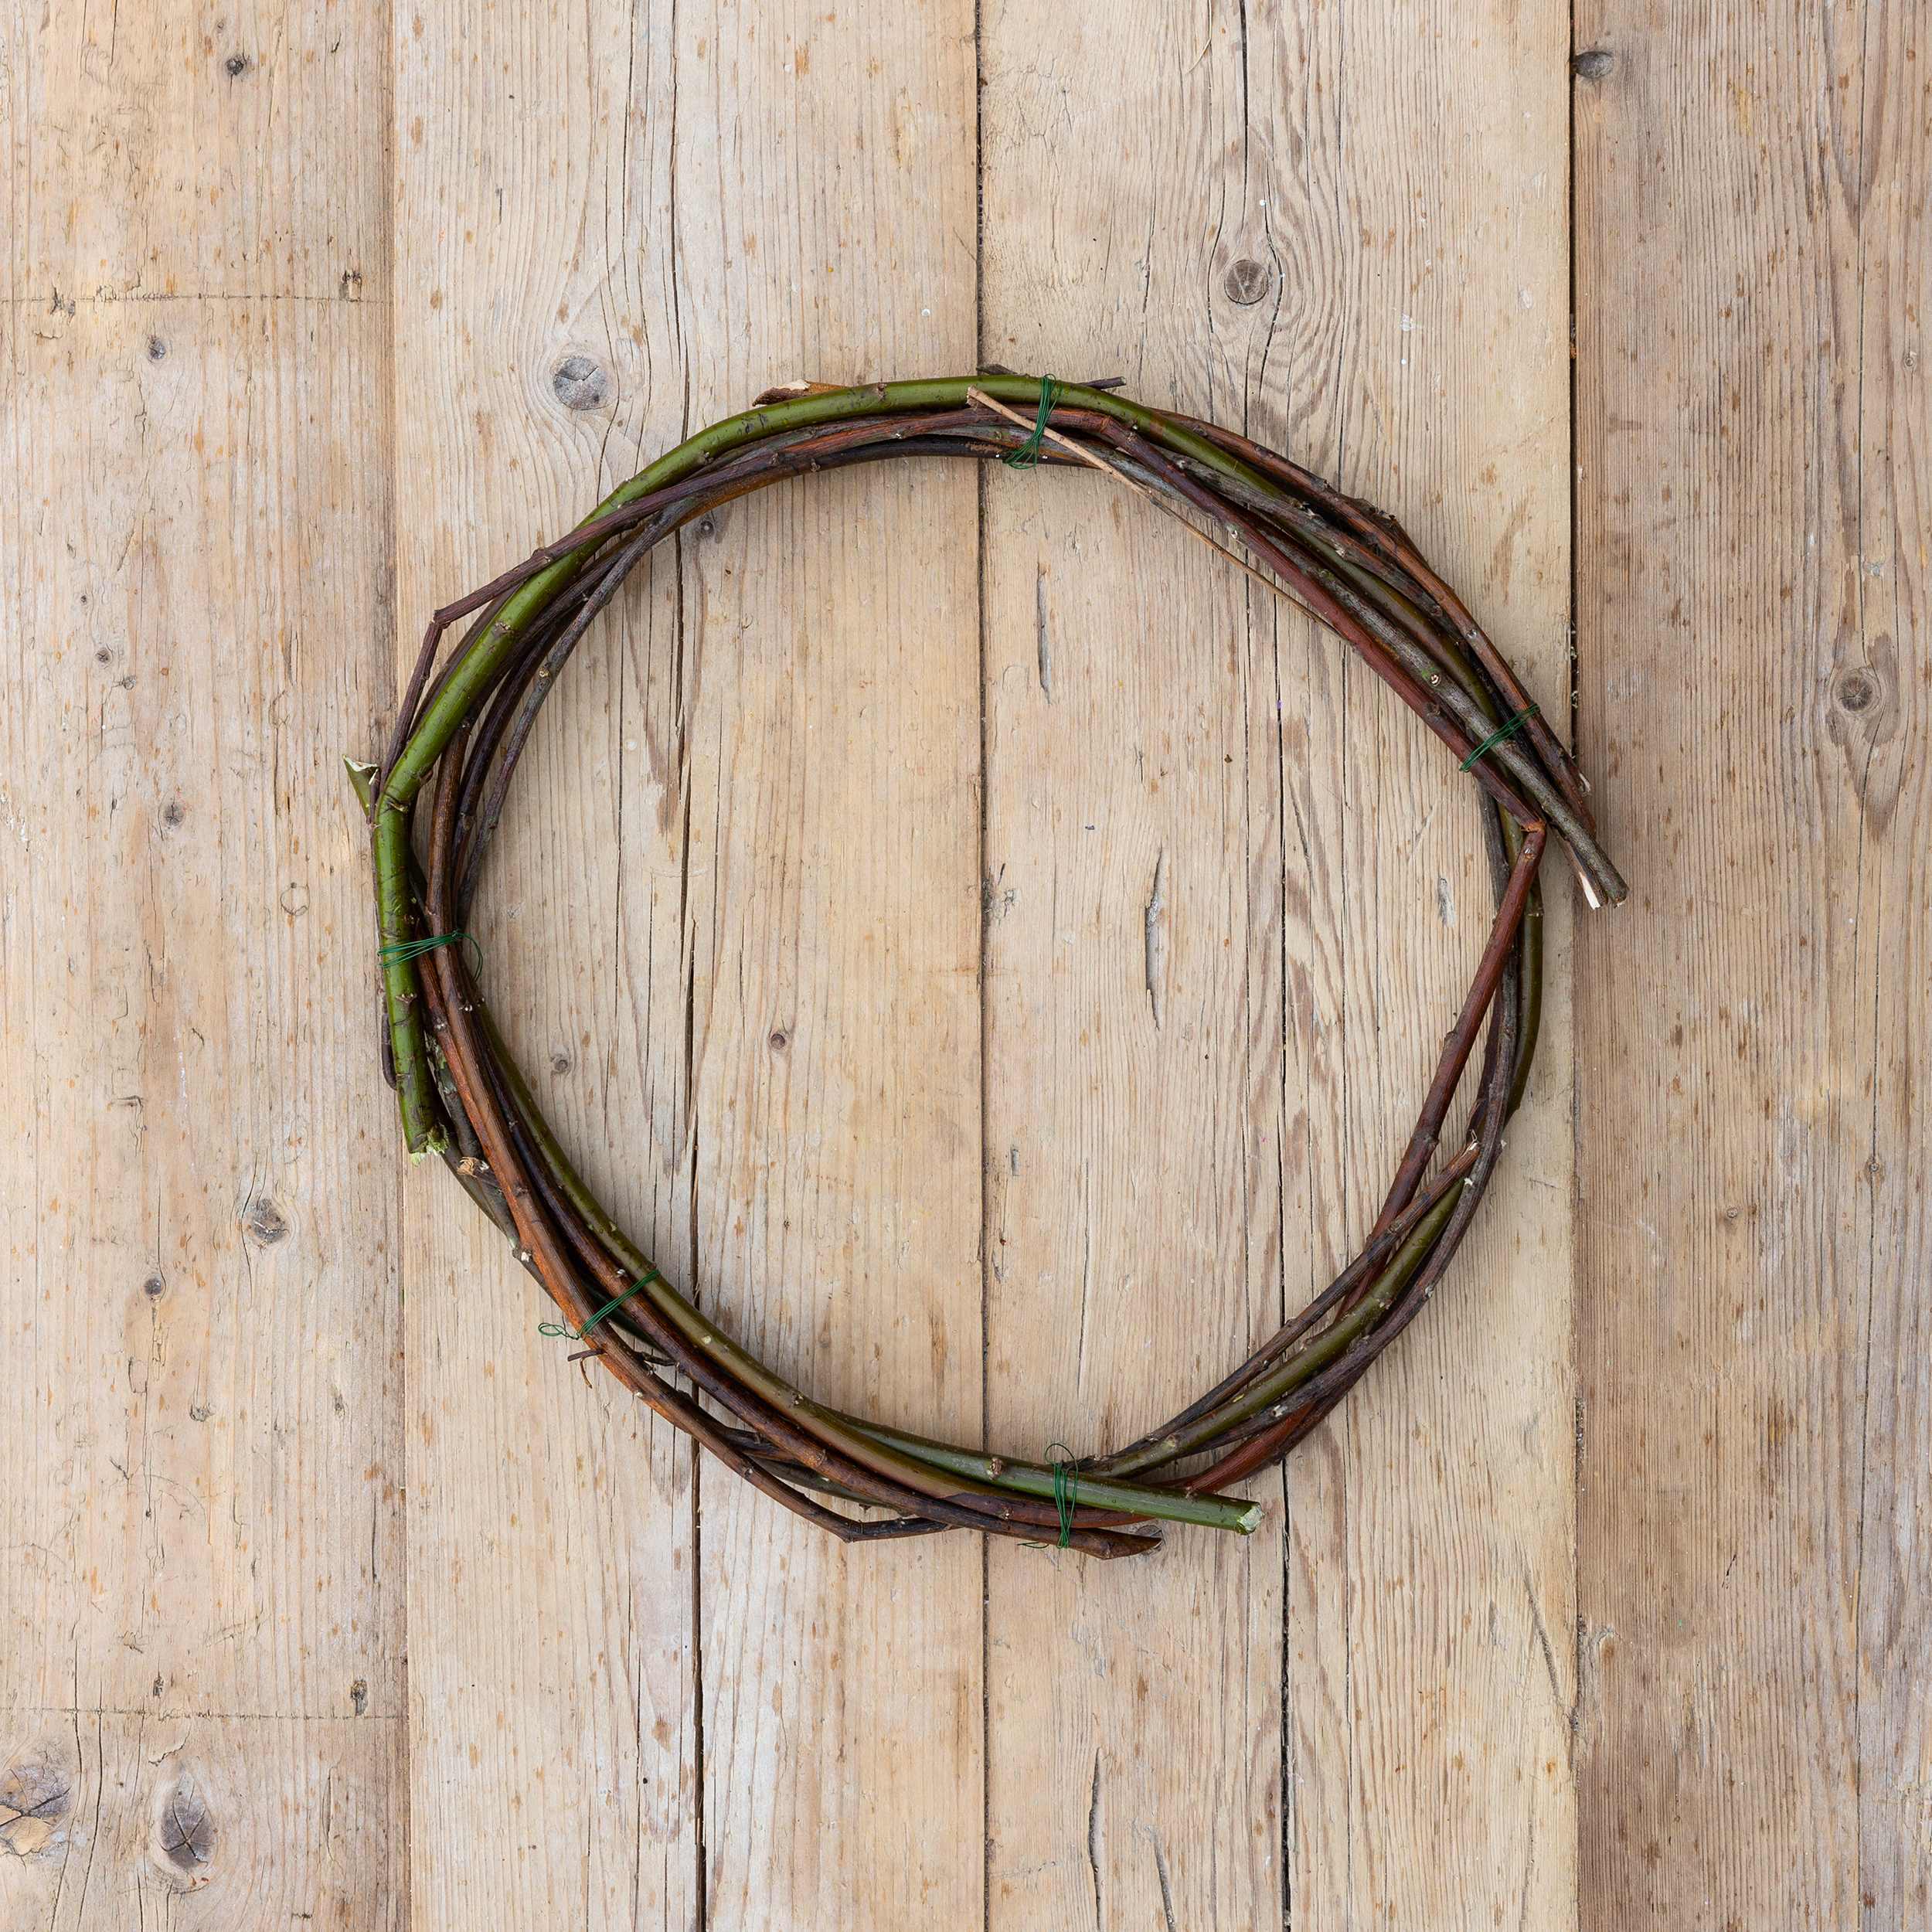
Continue adding willow lengths to the wreath structure by weaving around the frame, securing with floristry wire at intervals if necessary. Trim any protruding ends with secateurs.
Join our newsletter
Get small space home decor ideas, celeb inspiration, DIY tips and more, straight to your inbox!
STEP three: start decorating the wreath
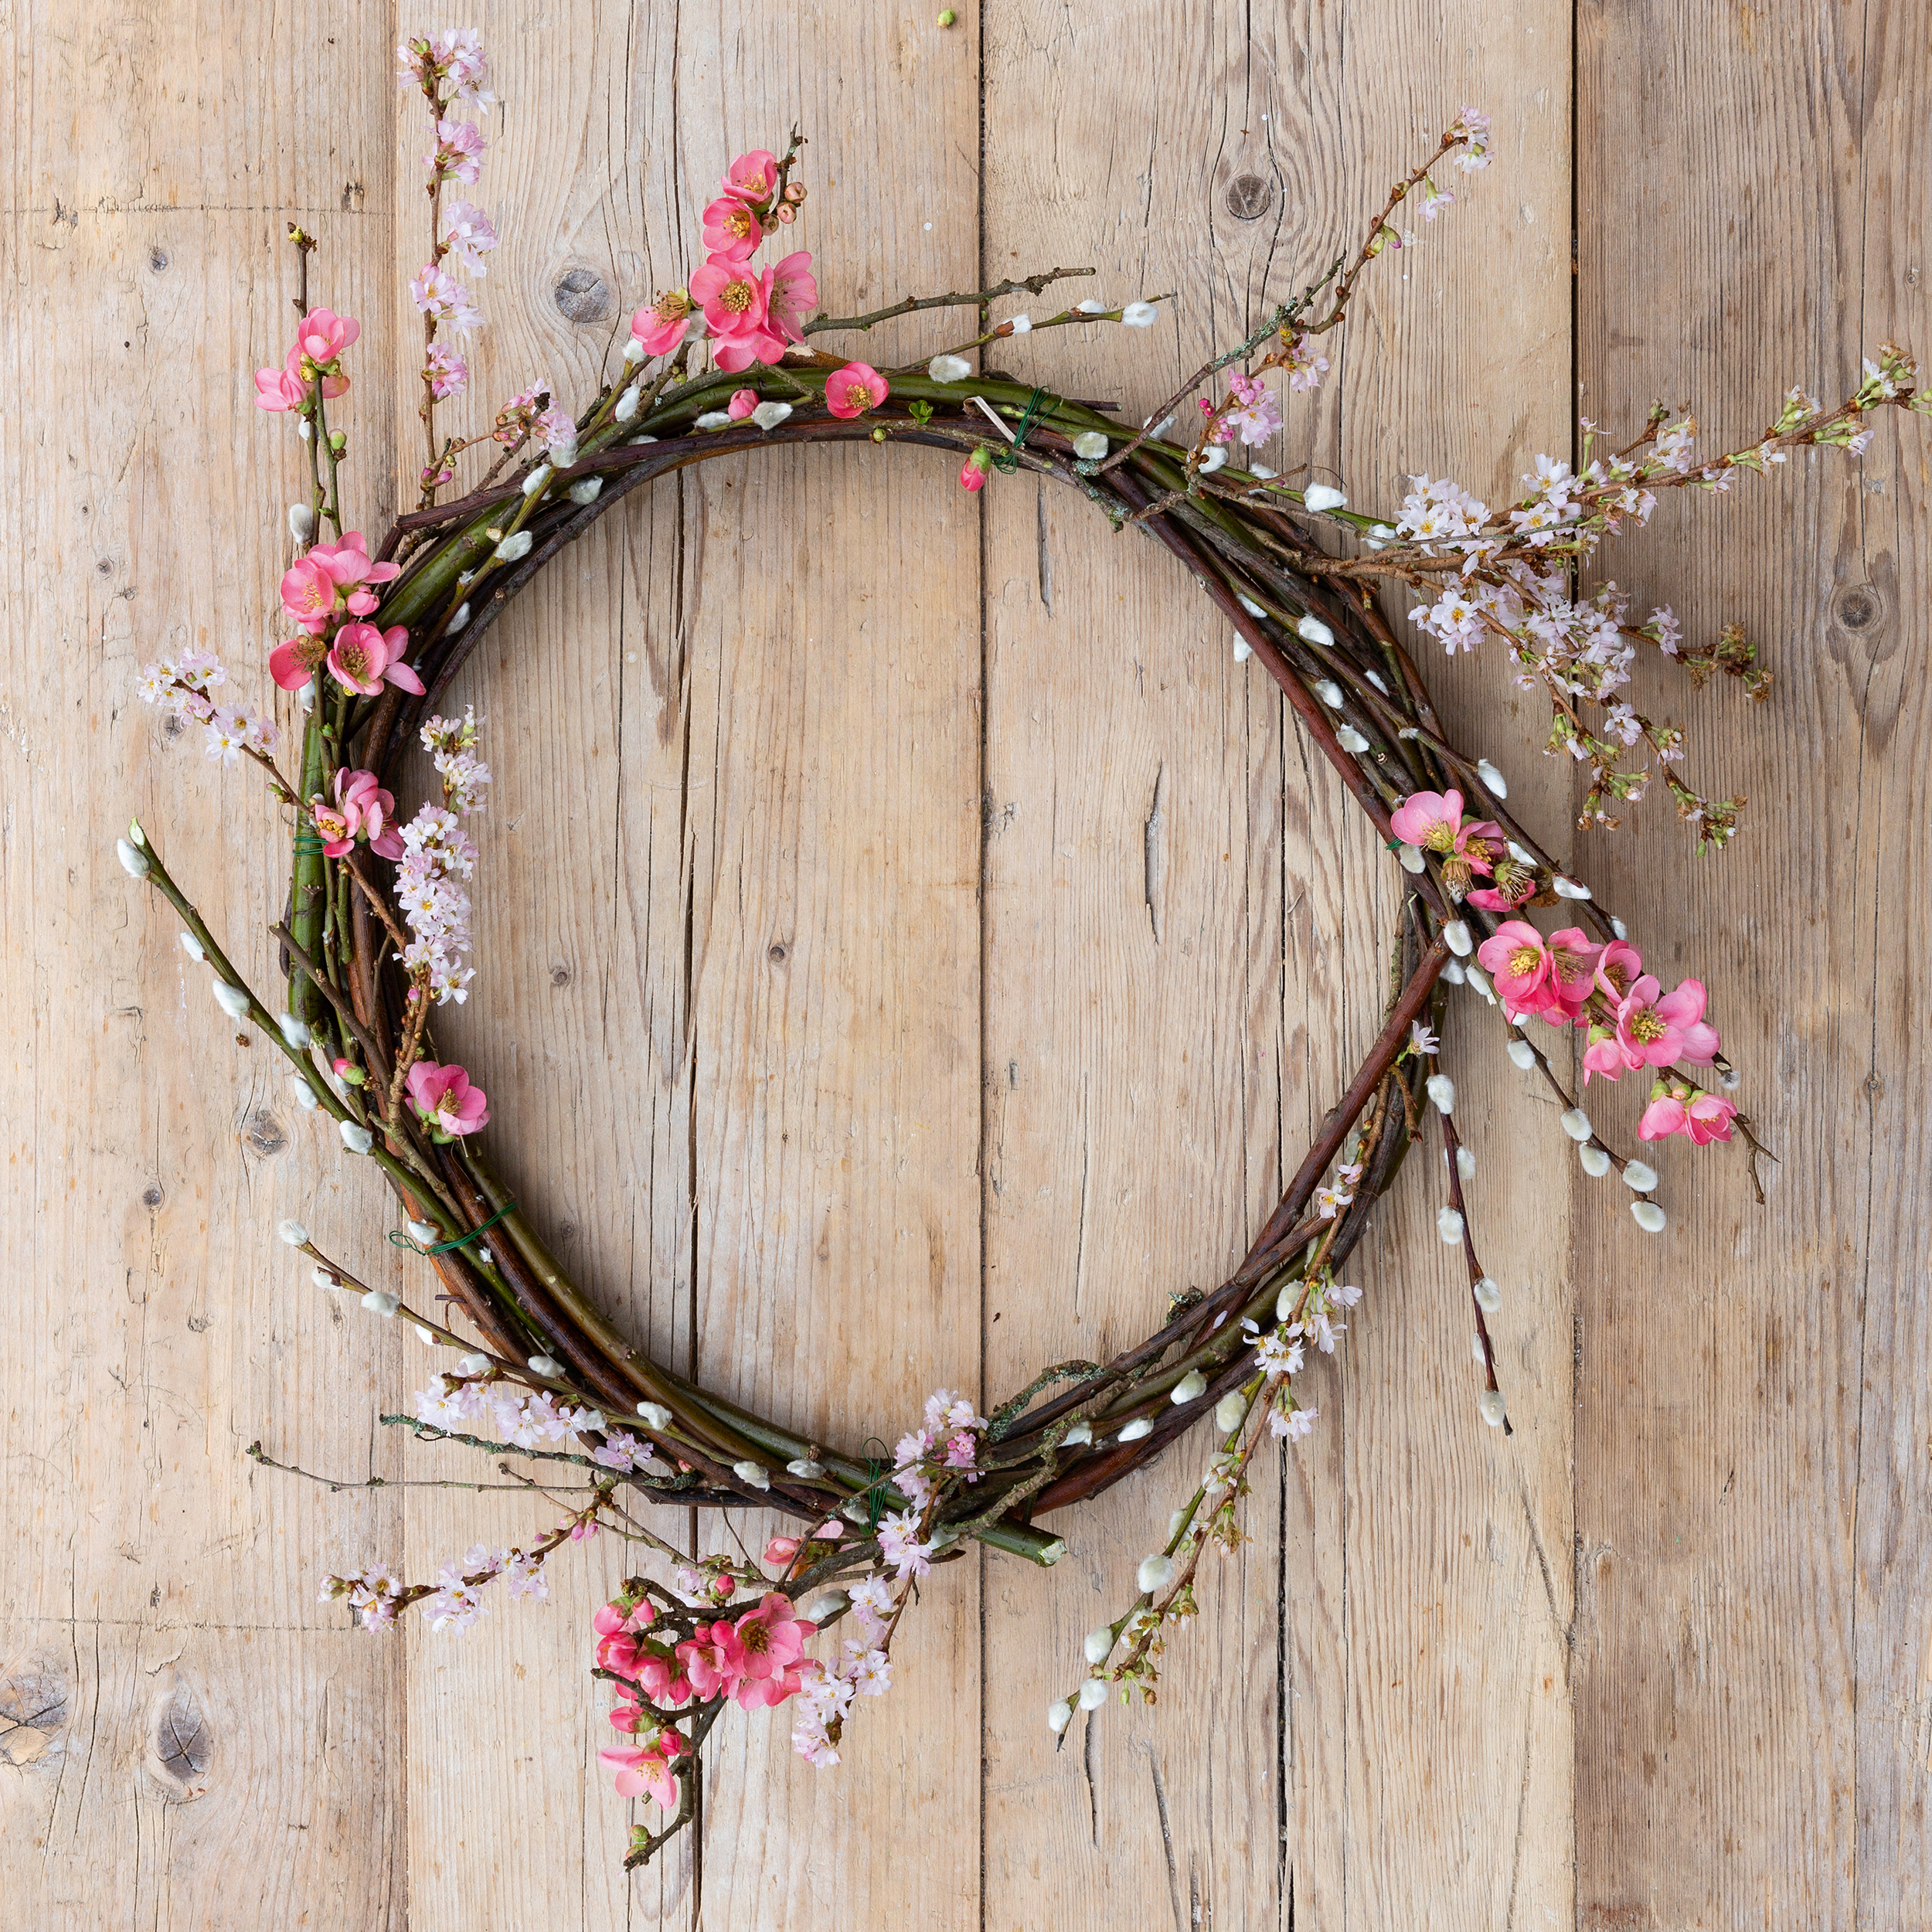
Start decorating your wreath by adding in the pussy willow and blossom sprigs at equal intervals. Angle them in the same direction and tuck them into the woven willow to secure.
STEP four: begin making posies
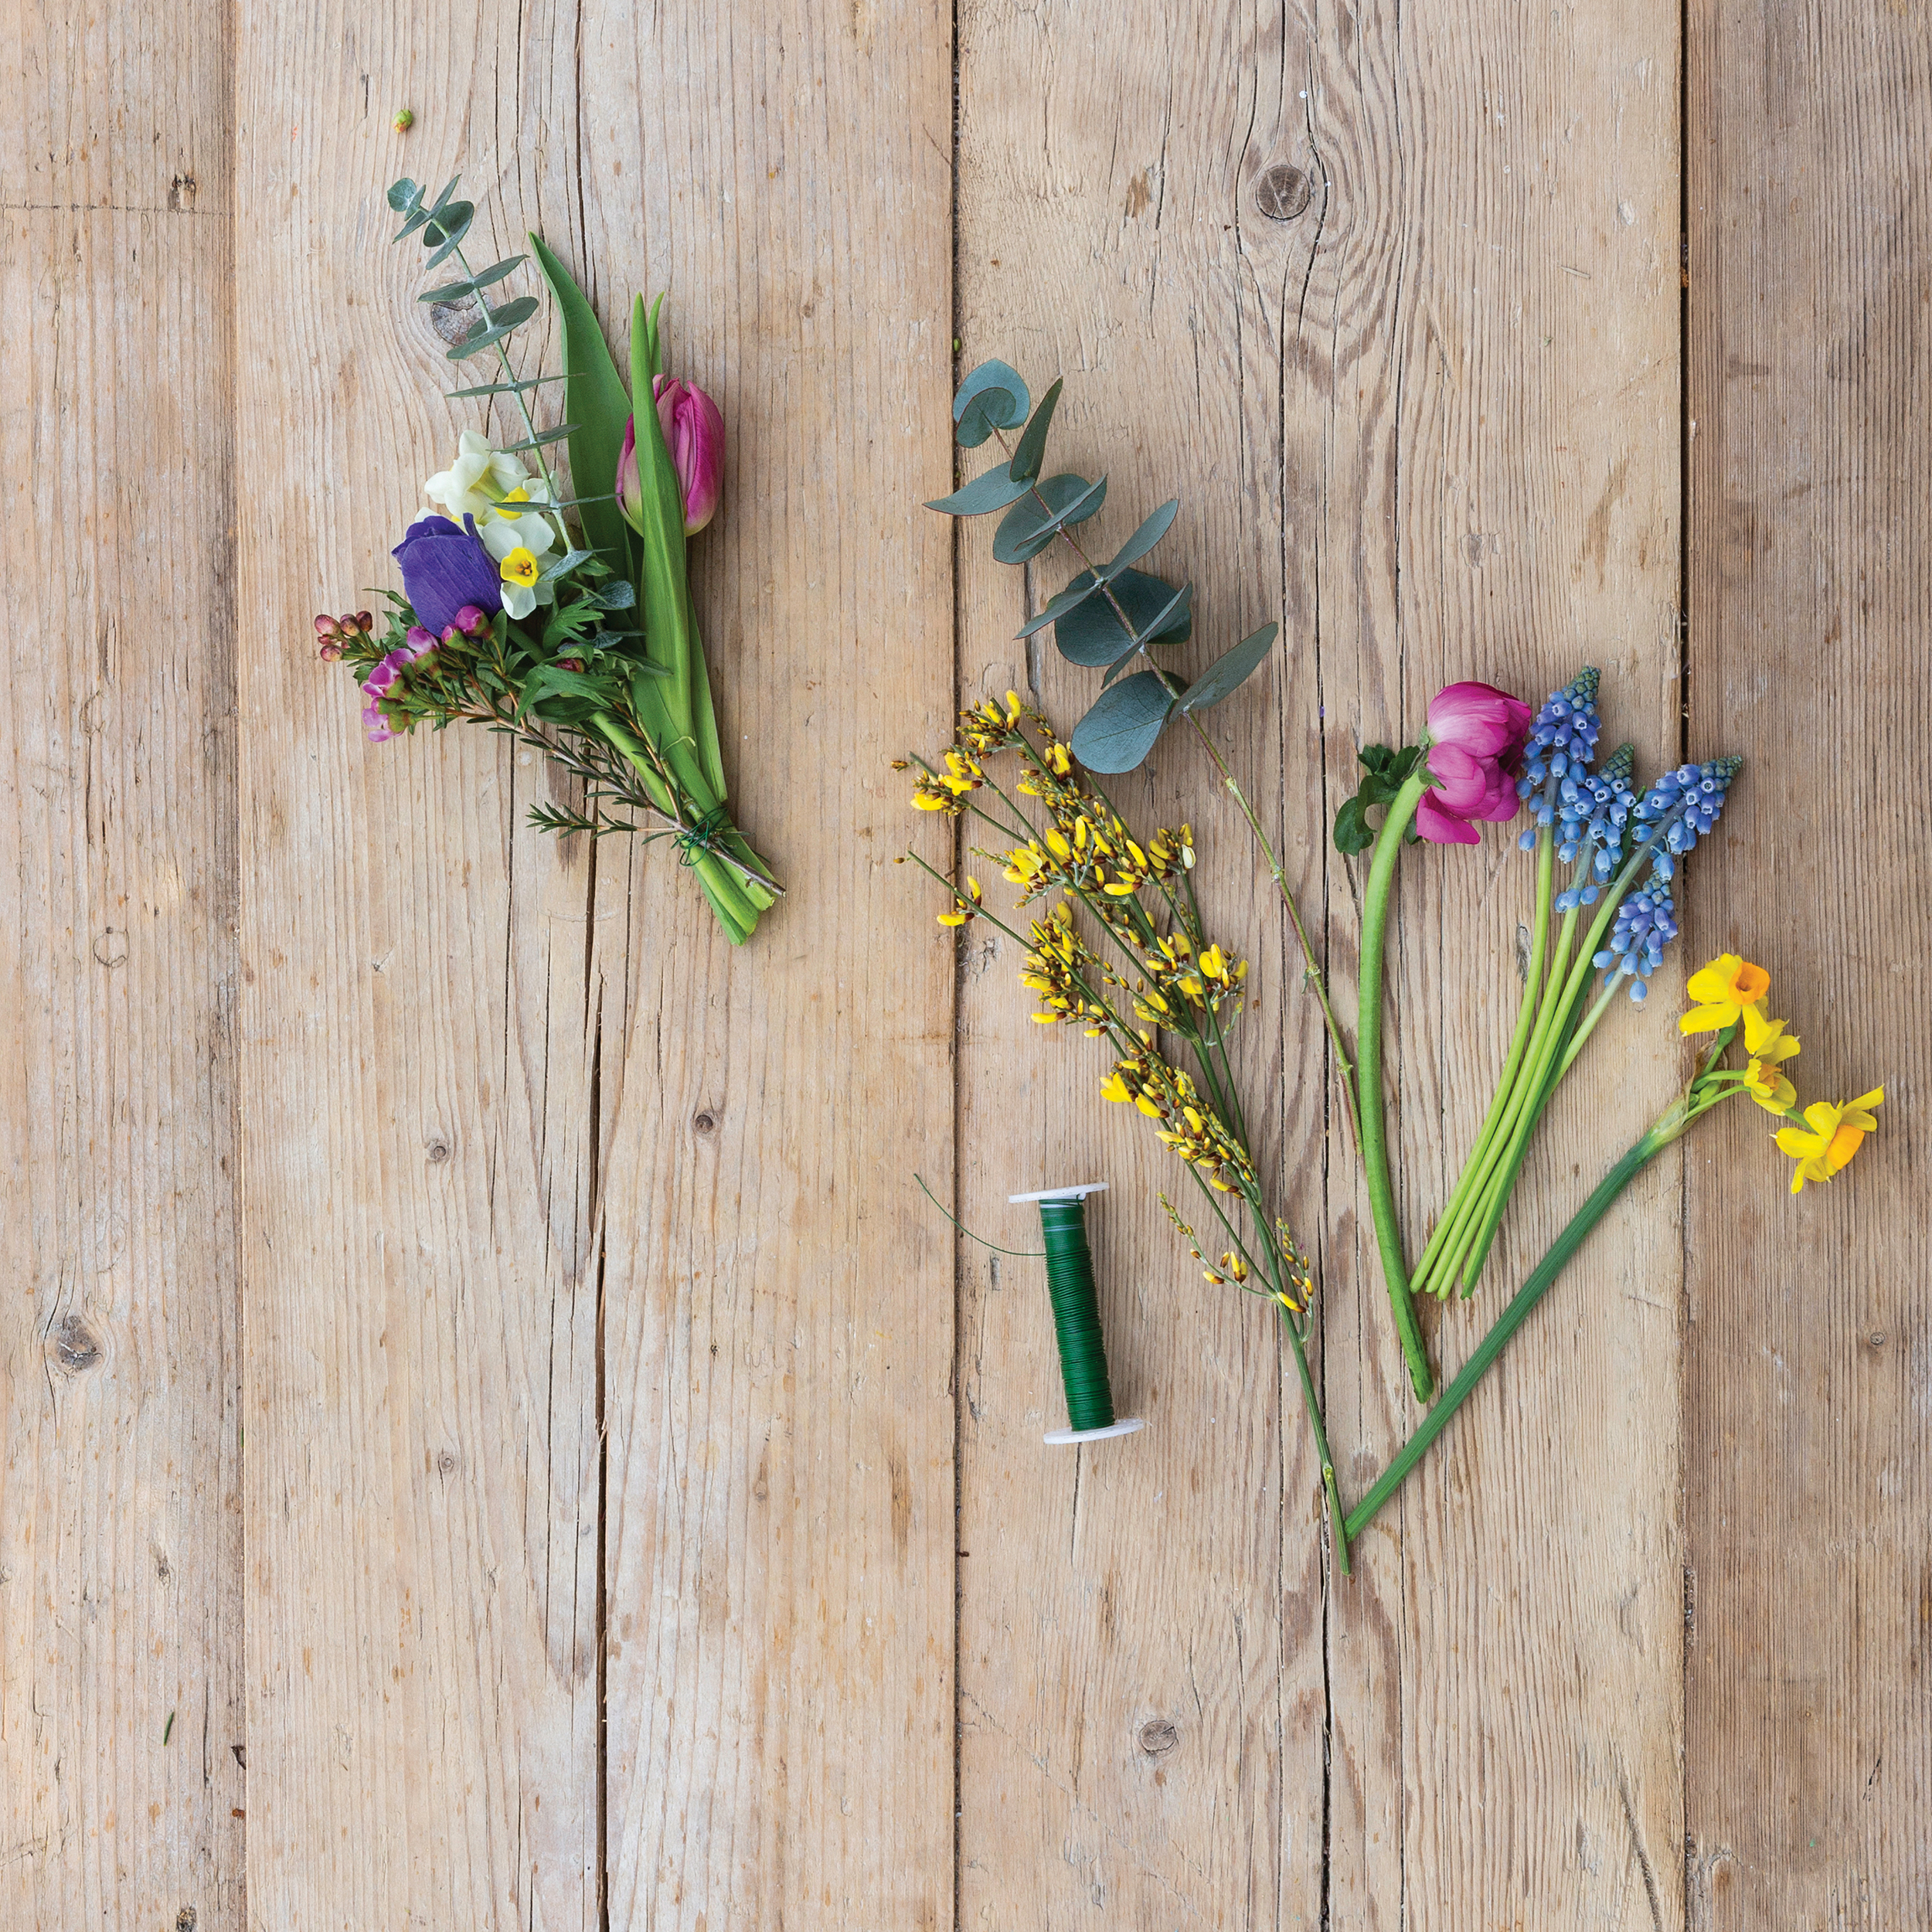
To add the main floral features, first make up individual posies of around three to five different flowers (about 10cm to 15cm long). Take a sprig of greenery and a filler flower (eg, wax flower) as your base, then add in a couple of key flowers and bind together with floristry wire.
STEP five: continue making posies
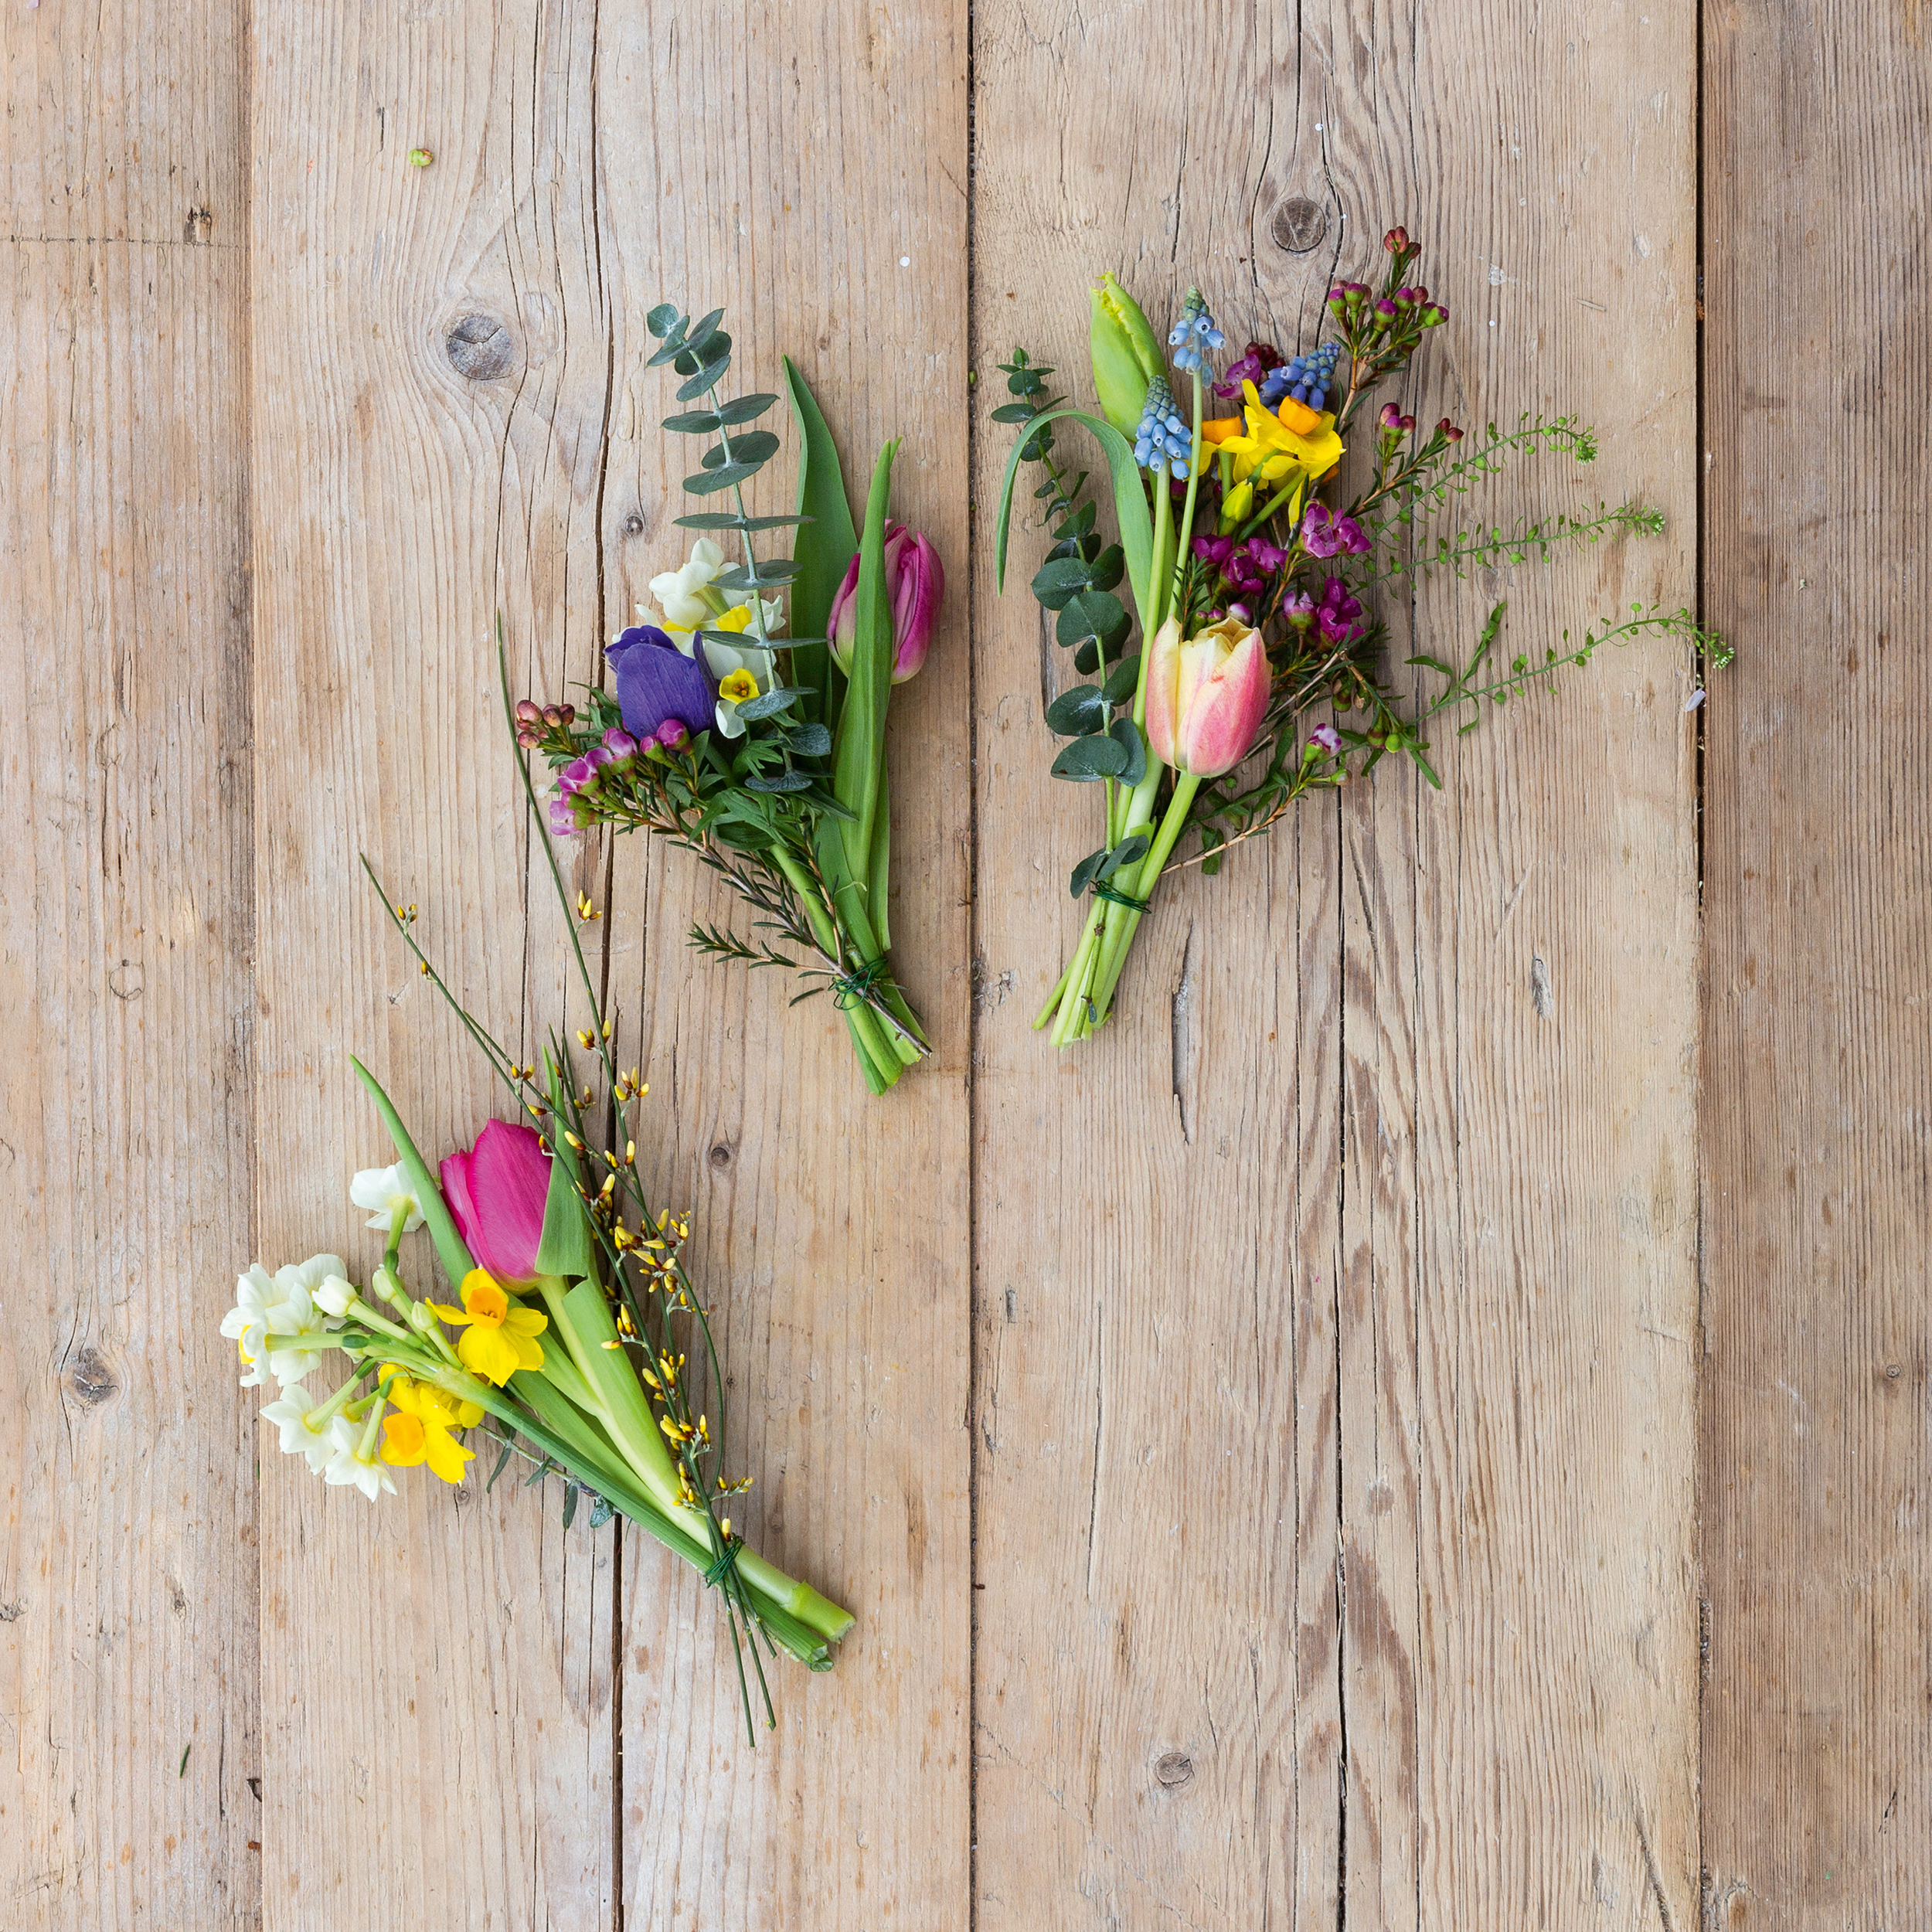
Repeat step four until you have around 10 posies. Mixing up the flowers in each posy will help add rustic charm to the finished wreath.
STEP six: Fix the posies to the wreath
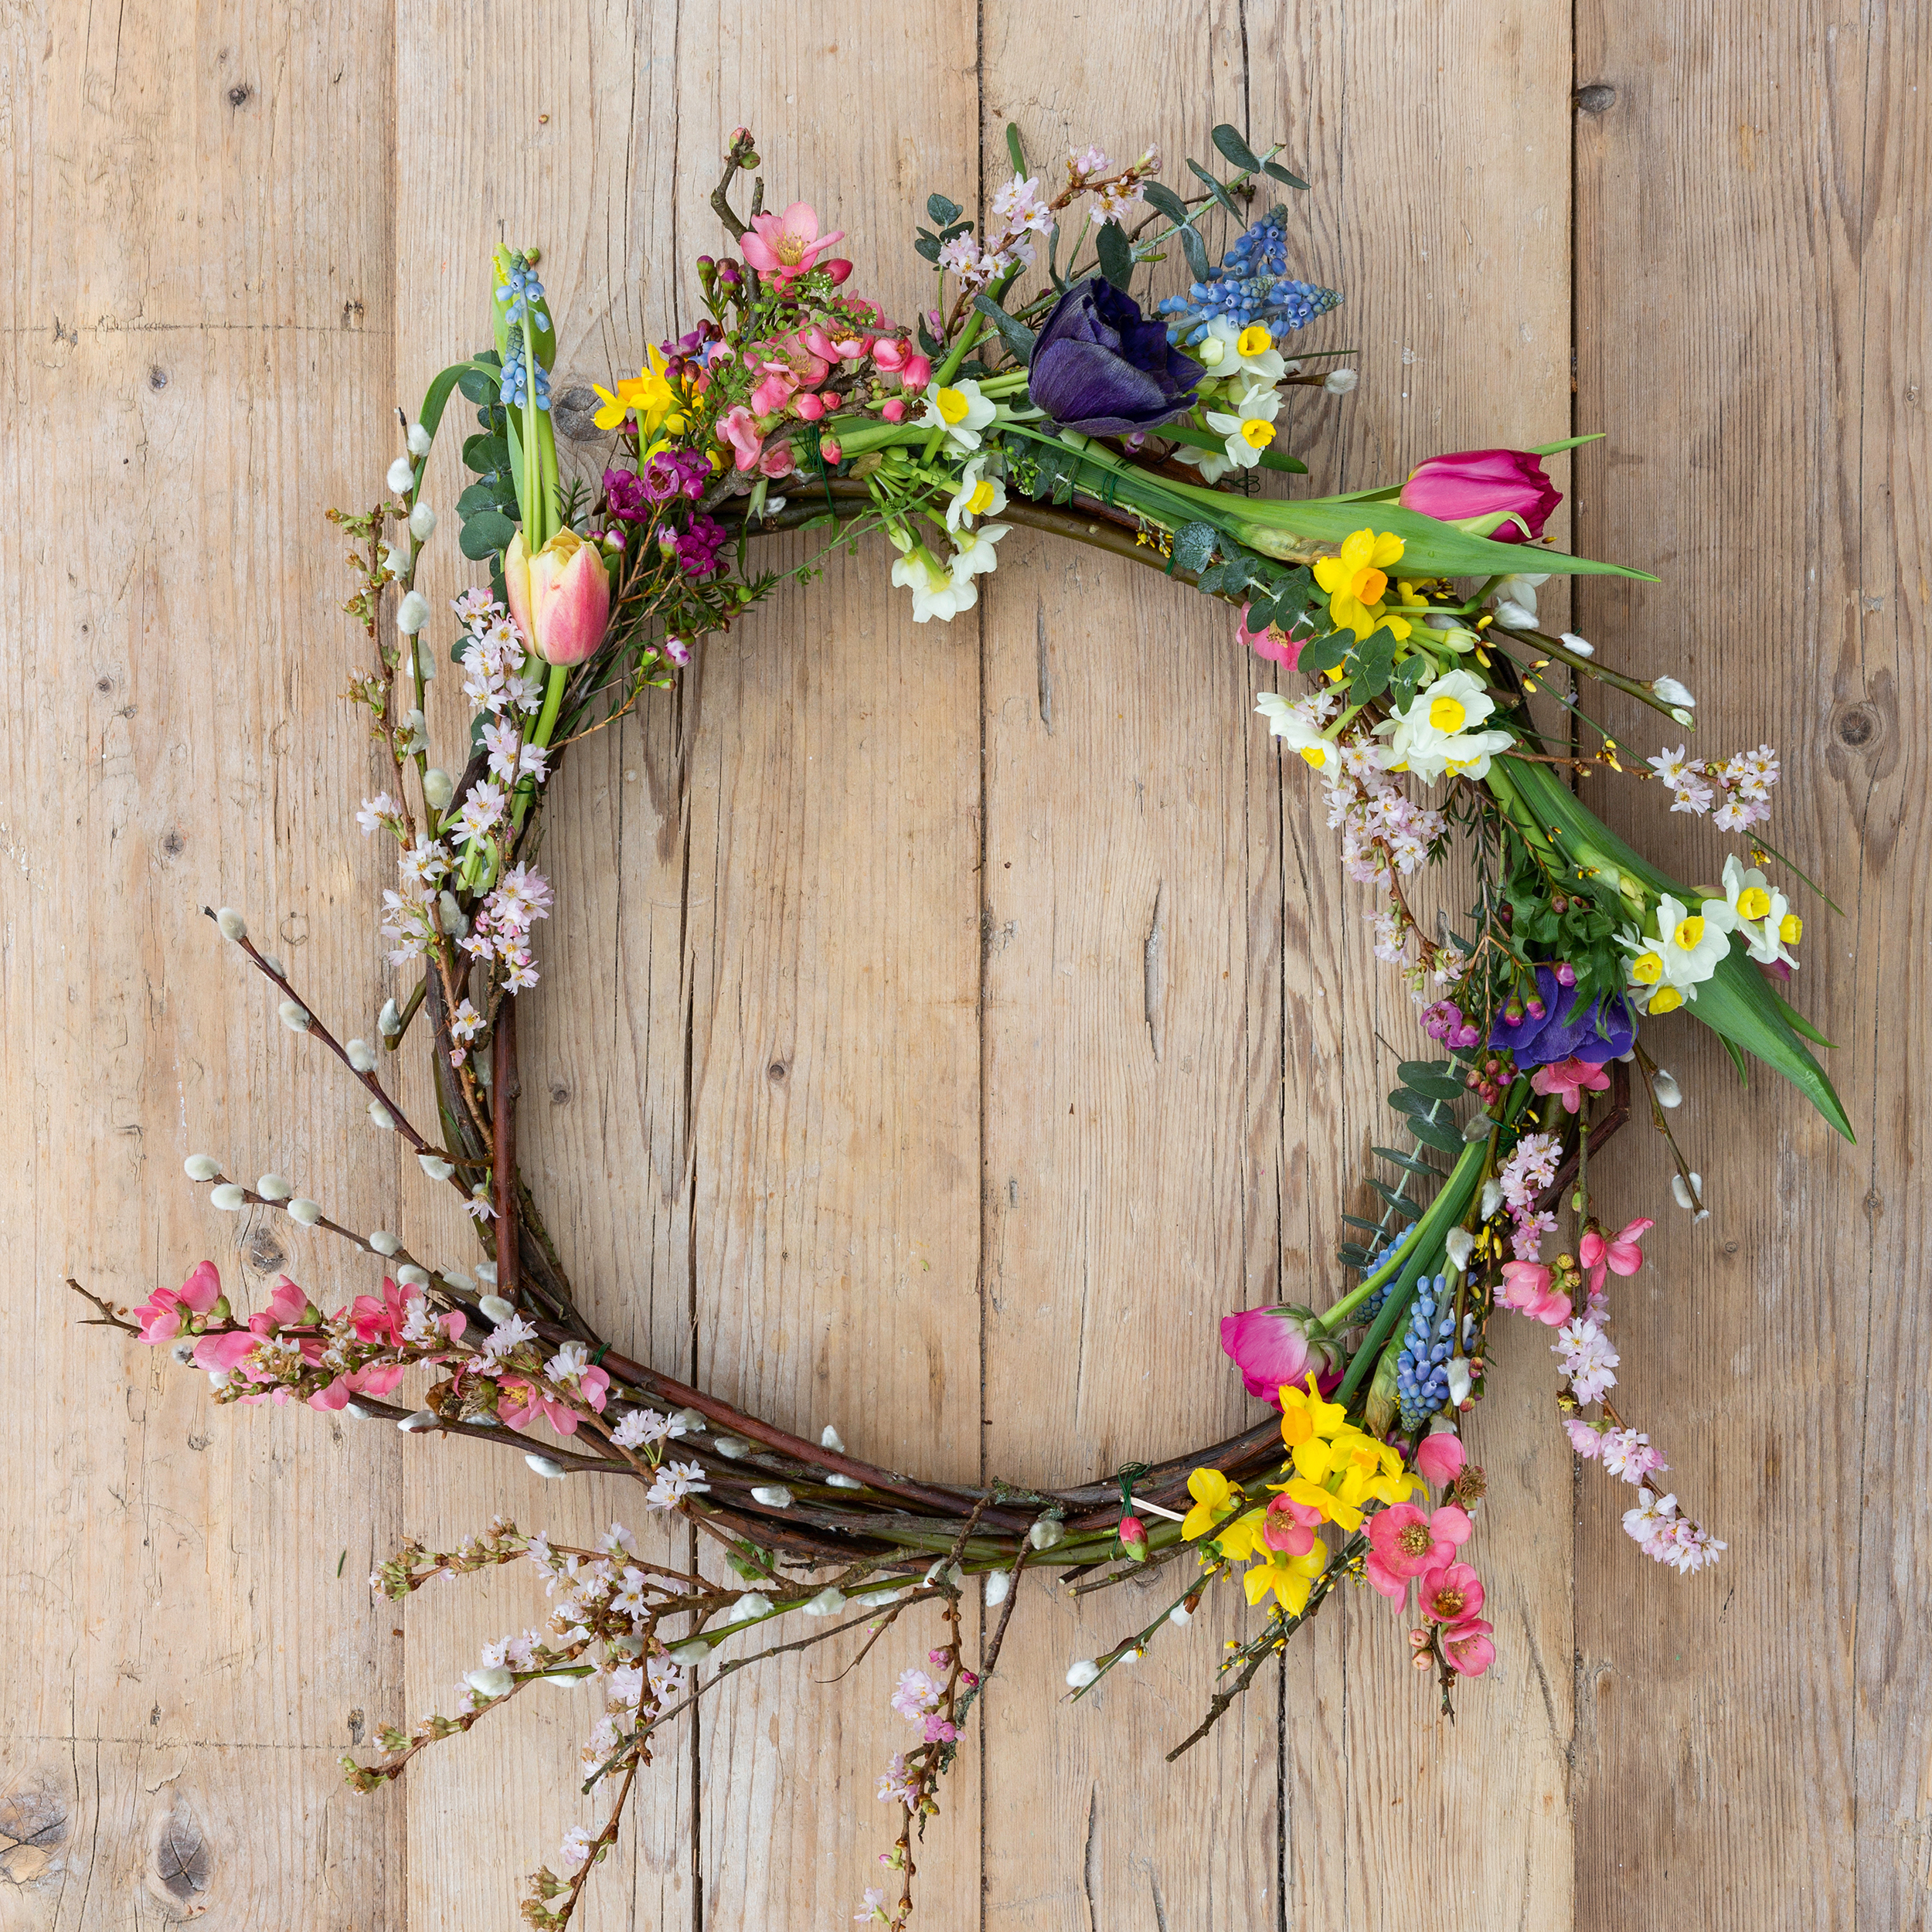
Lay the first posy onto the wreath and secure with a few binds of wire. Continue this process, laying each posy in the same direction, until the wreath is covered. Angle the posies slightly outwards and ensure that the flower heads of each new posy cover the stems of the last for a full effect.
Step seven: finish the floral wreath
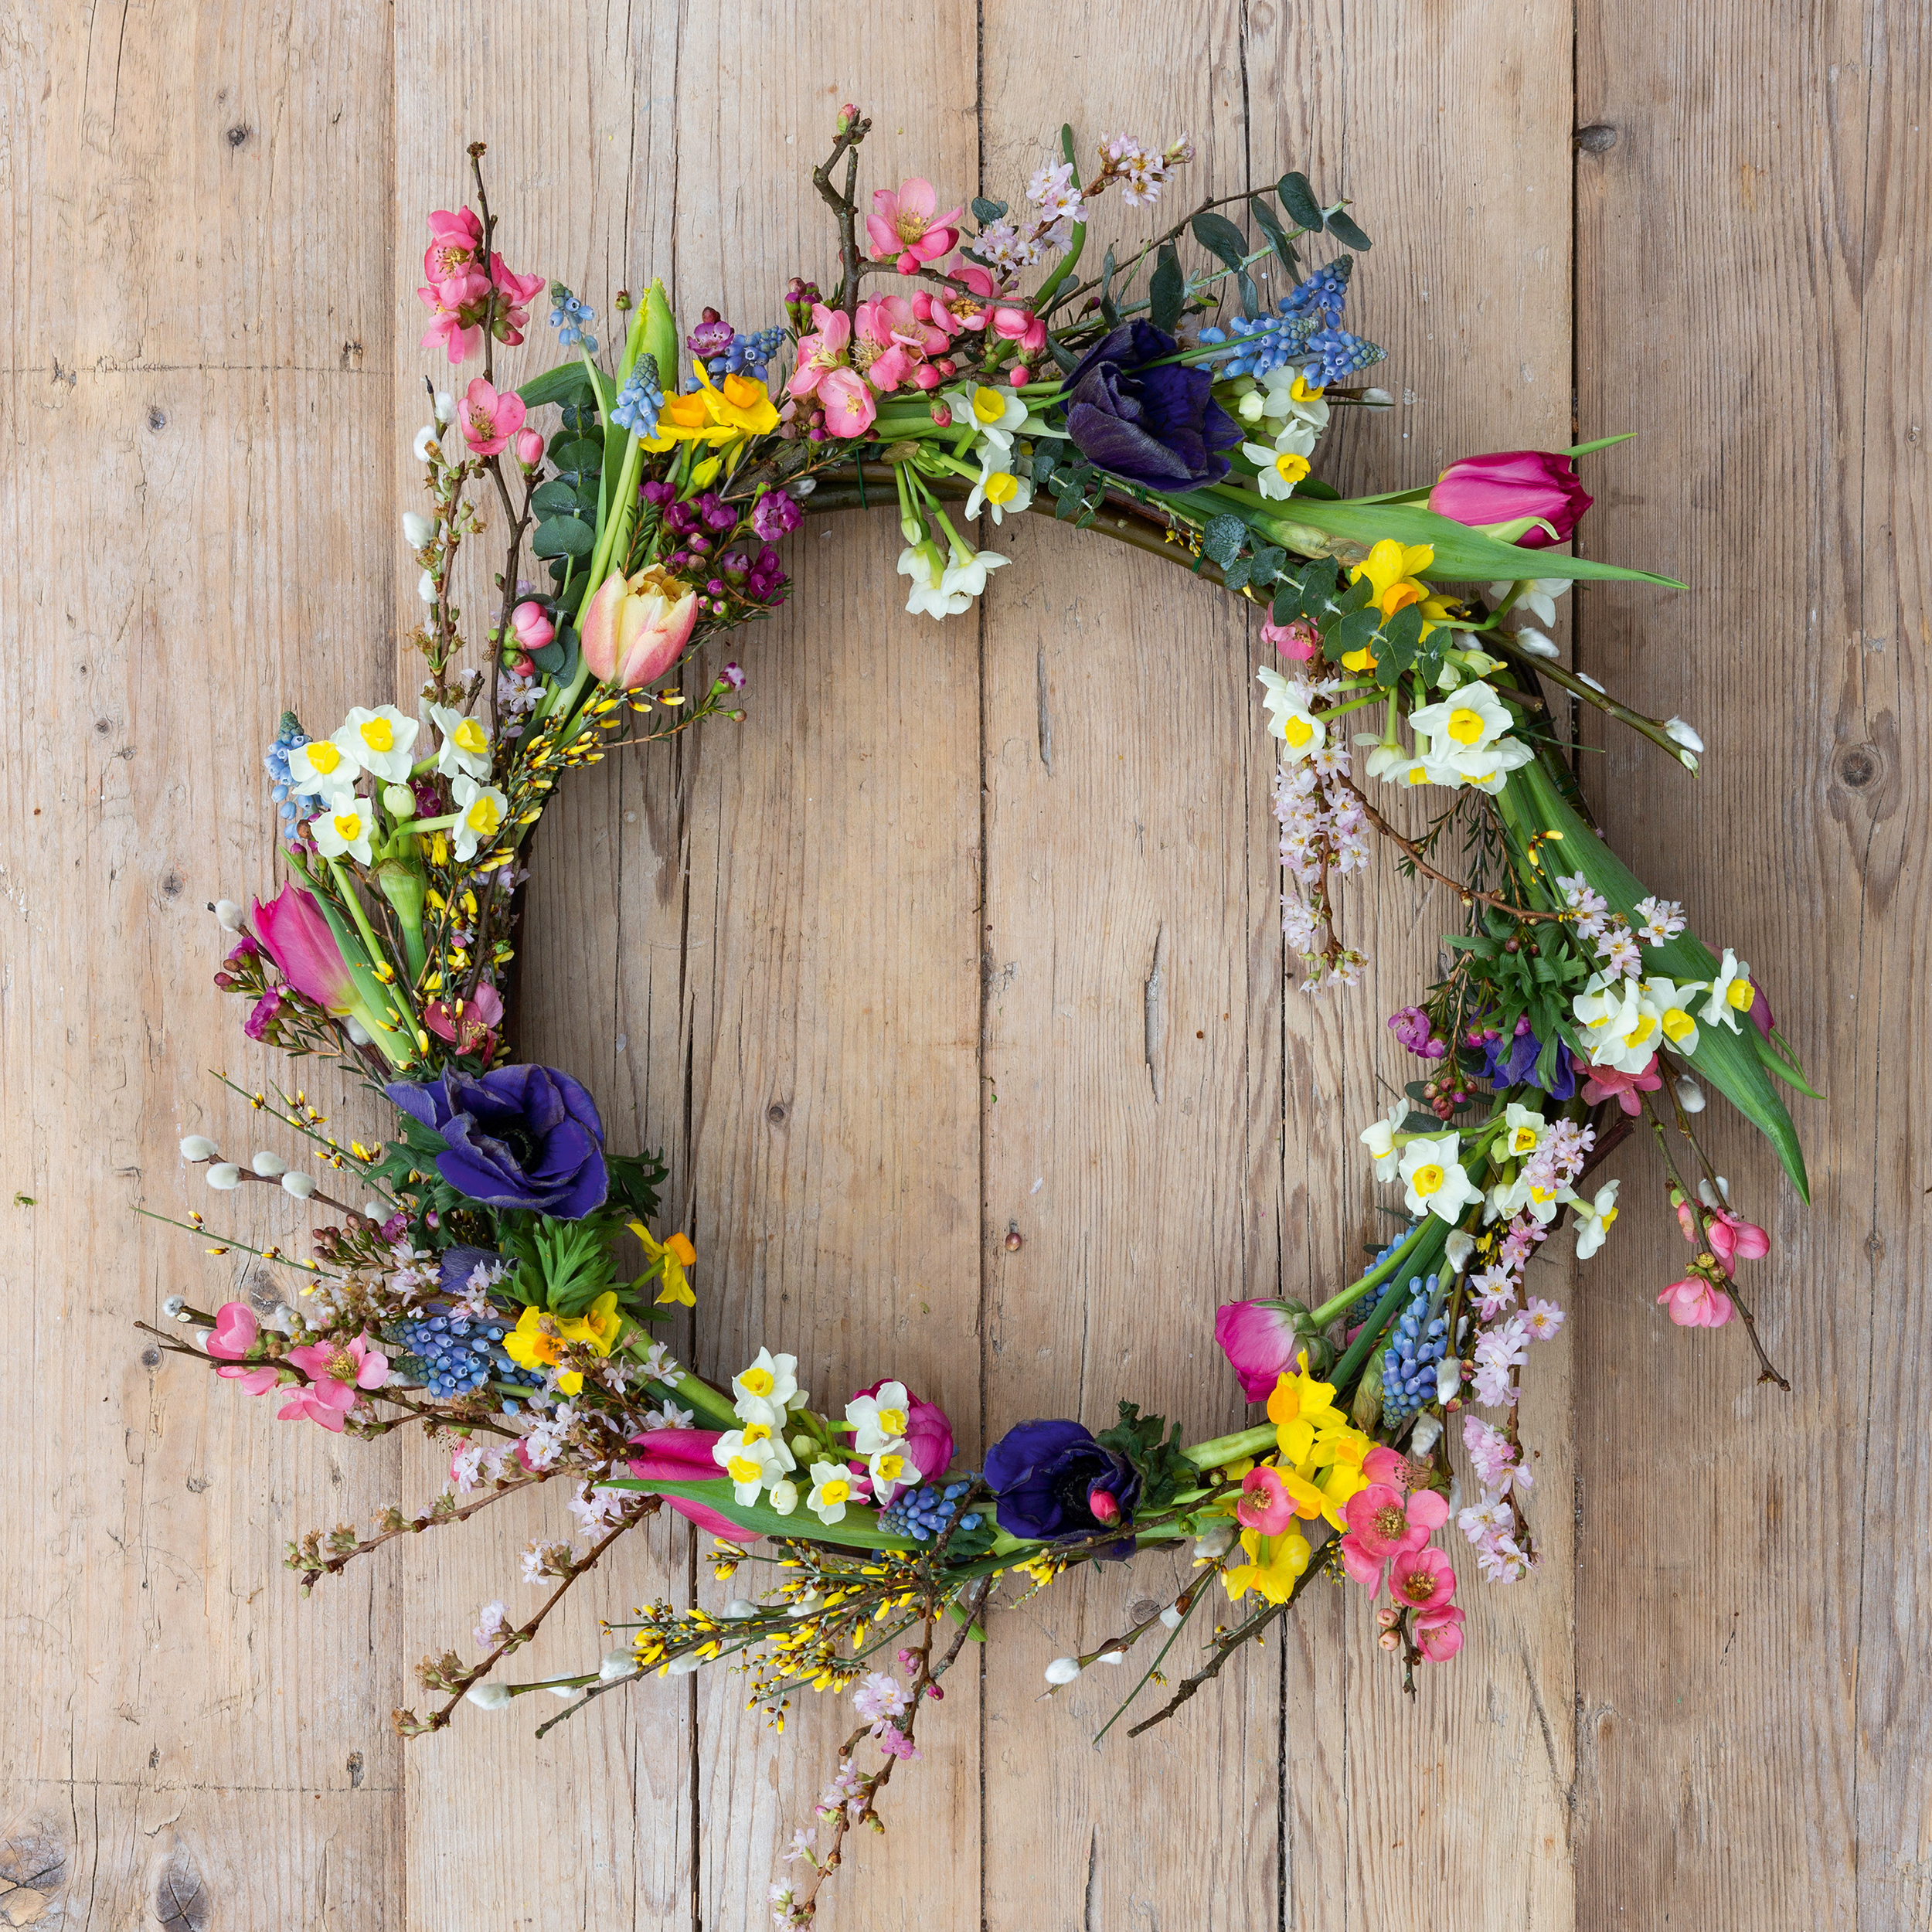
Finally spritz with water and hang!
MORE FROM PERIOD LIVING
Period Living is the UK's best-selling period homes magazine. Get inspiration, ideas and advice straight to your door every month with a subscription.
EMMA'S FLORISTRY TIPS
1. A fresh flower wreath has a limited life; to extend it, try adding in wet moss to the willow ring. Alternatively, certain flowers will last longer outside water than others, so if you want a wreath that will last longer stick to using just pussy willow, wax flowers, craspedia, roses and evergreen foliage.
2. If you have trouble sourcing some of the flowers listed you can use flowers, foliage
and herbs from your garden, including forsythia, daffodils, blossom, rosemary and laurel, etc. Supermarkets will have tulips and narcissi at this time of year, but it’s always good to support your local florist and buy a few special flowers, like yellow ball craspedia and pink wax flowers.
3. Tulips are my favourite flower for making spring arrangements look special; the colours are endless and I love the range of varieties from double and fringed to parrot. They’re always changing and have a wonderful wildness. If you push a pin through the stem to make a small hole under the head then they shouldn’t drop.
4. Giving your cut flowers the best start when you bring them home will always prolong their life. Strip all the leaves off the stems and trim them at an angle (this means the water absorbed goes straight to the flower head and not the leaves). Let them have a good drink in deep, lukewarm water, adding a splash of bleach, sugar and a squeeze of lemon - this reduces the bacteria in the water and feeds the flower. Keep out of sunlight, away from heat and nowhere near the fruit bowl!
5. If using spring bulbs in the wreath such as hyacinths, muscari, or narcissi, rest the bulb part on a piece of moss on the wreath and use wire to secure. Keep well watered.
About Emma Hutchinson
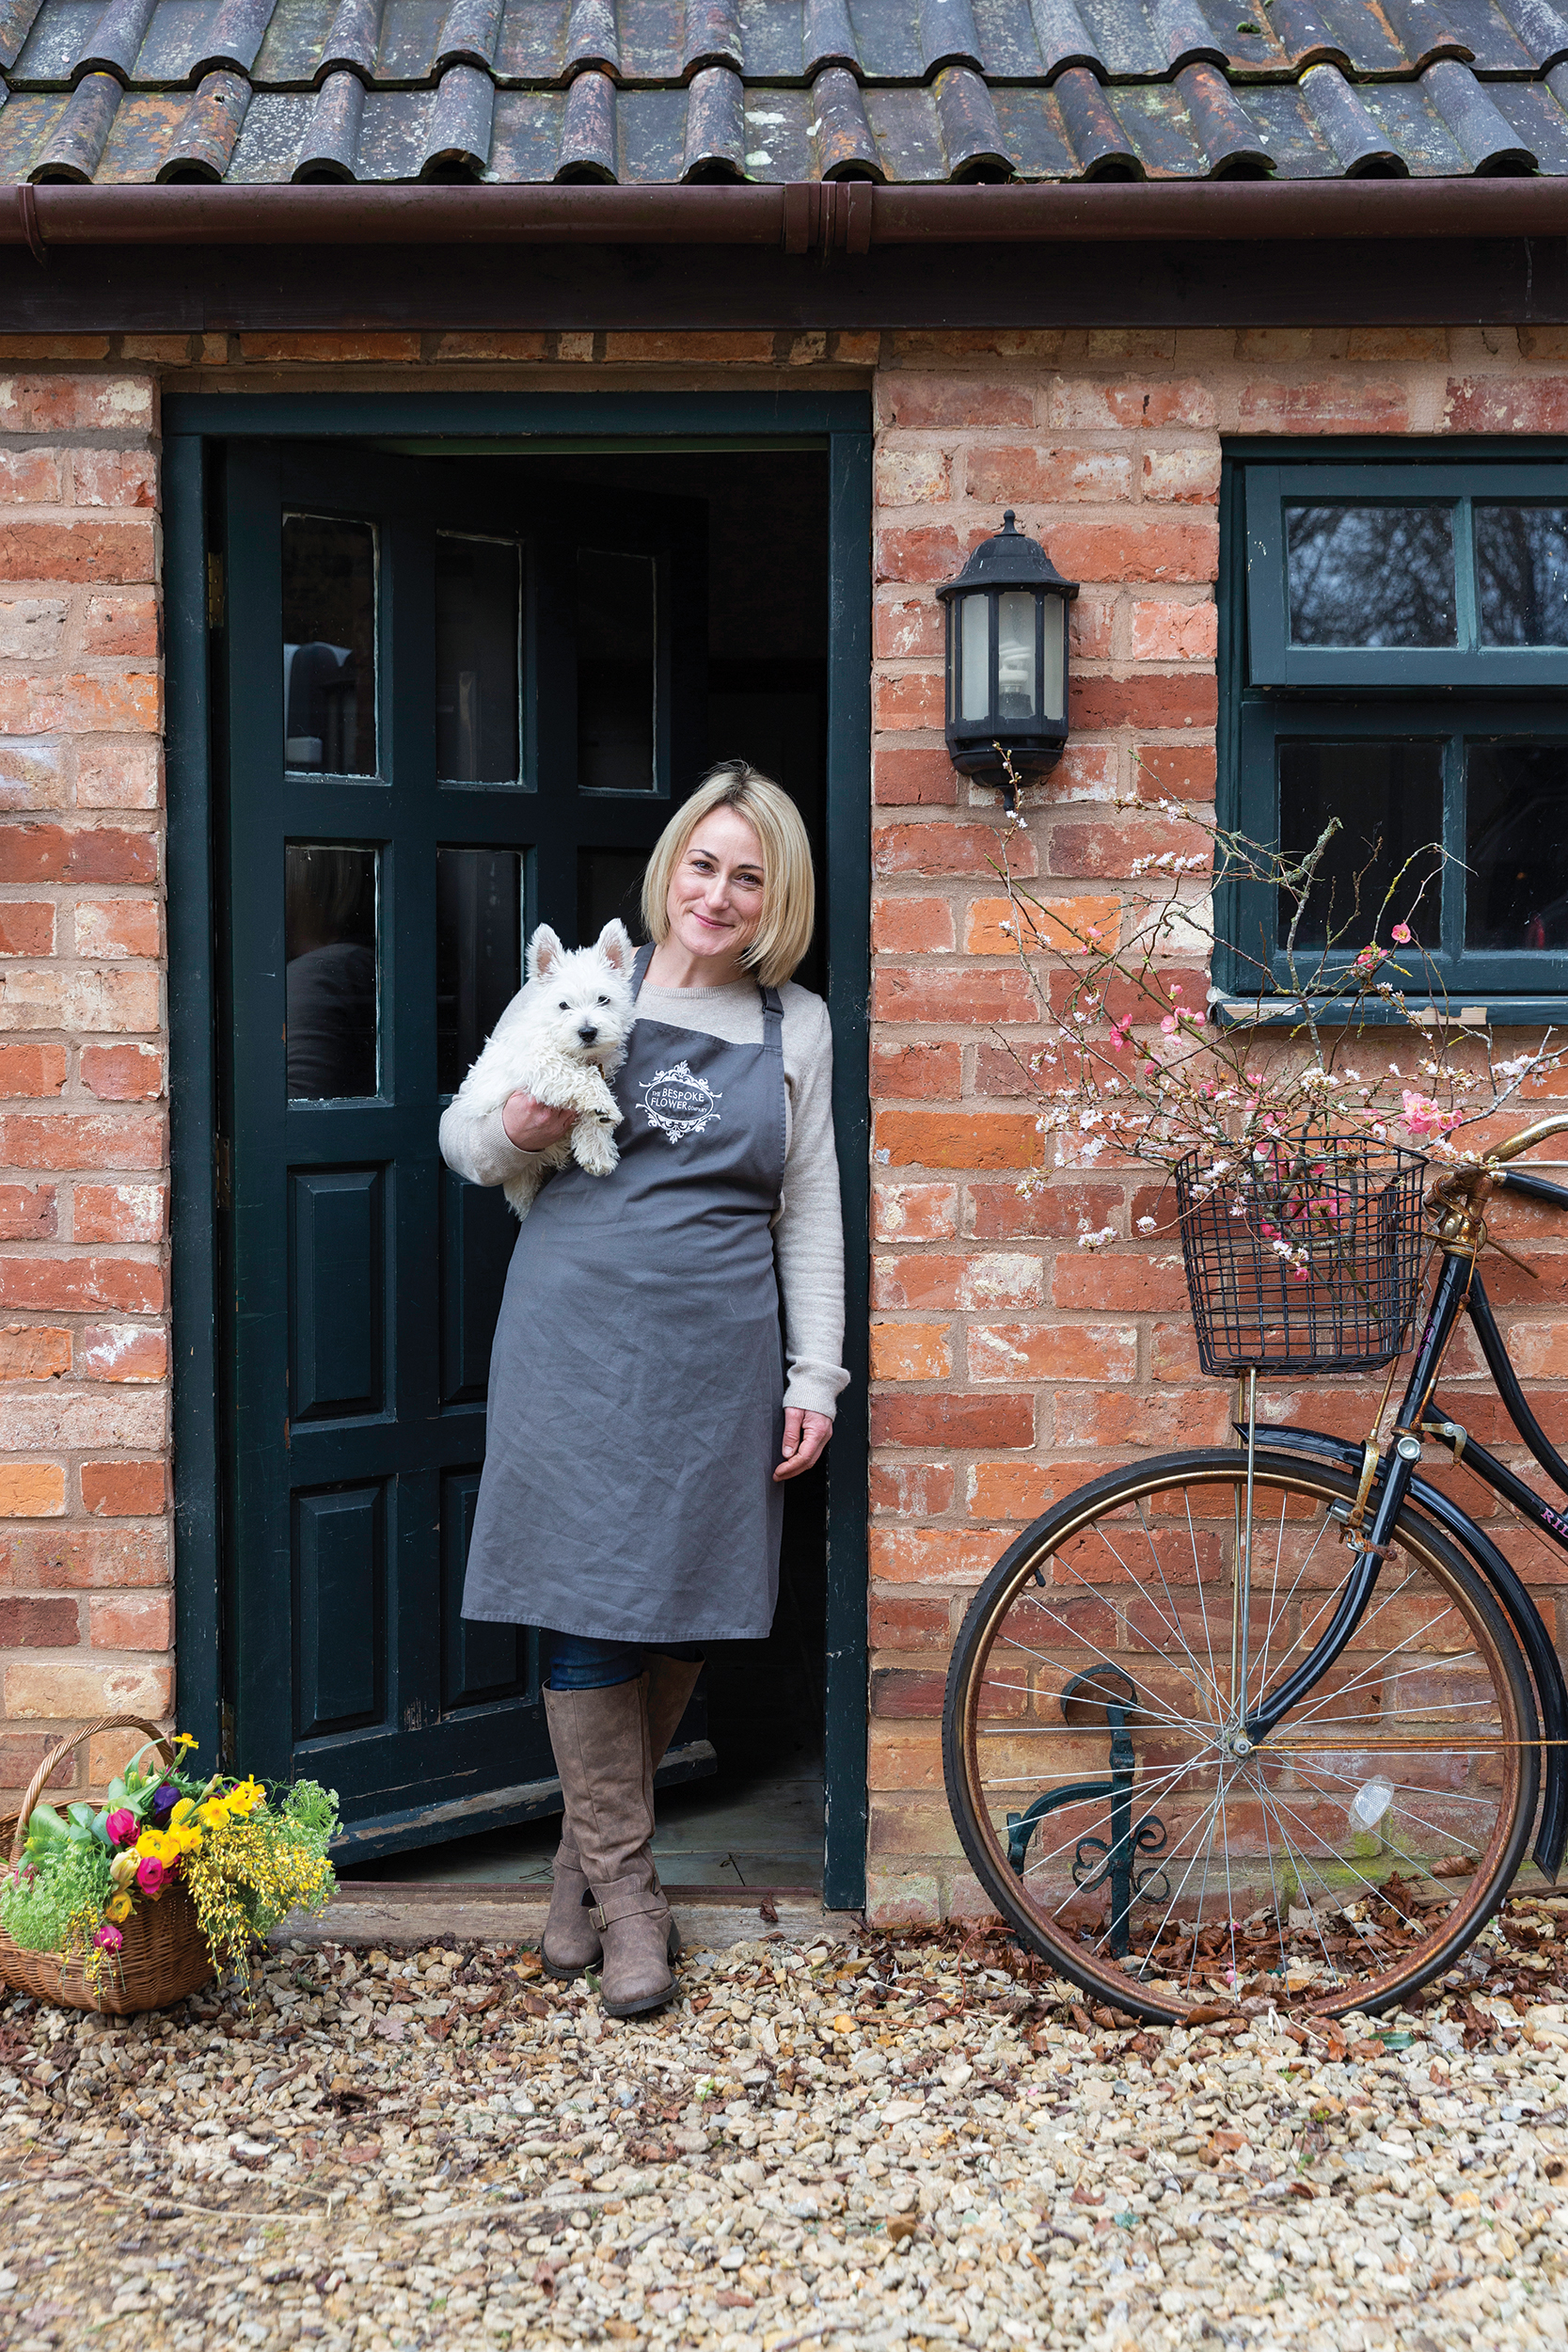
As a working mother of three with a career that requires constantly working ahead of season, it’s not often that florist Emma Hutchinson gets a moment to herself, but amid the madness of planning summer weddings, she always tries to take time to savour the delights of spring. Luckily, as her workshop is nestled in the Cotswolds’ picturesque Stroud valleys, she’s perfectly placed to connect with nature.
‘Having lived in South America for two years, I returned to England with a revived appreciation of its seasons; I love to watch them change and I like to reflect this in my floristry,’ she says. Indeed, her style is relaxed and wild, but don’t be fooled – lots of time is spent carefully planning flower combinations, taking into consideration complementary tones, textures and shapes.
More pretty craft projects:
-
 This bright and colorful house serves perfect holiday inspiration
See how this couple transformed their new build home into a super cute and modern space. Packed with personality, it serves perfect holiday inspiration.
By Amelia Smith Published
-
 This renovated home has ALL the Christmas feels, filled with sparkle and joy
With her passion for interiors stemming from all things Christmassy, Vikki Savage is enjoying creating a family home with future celebrations in mind
By Amelia Smith Published
-
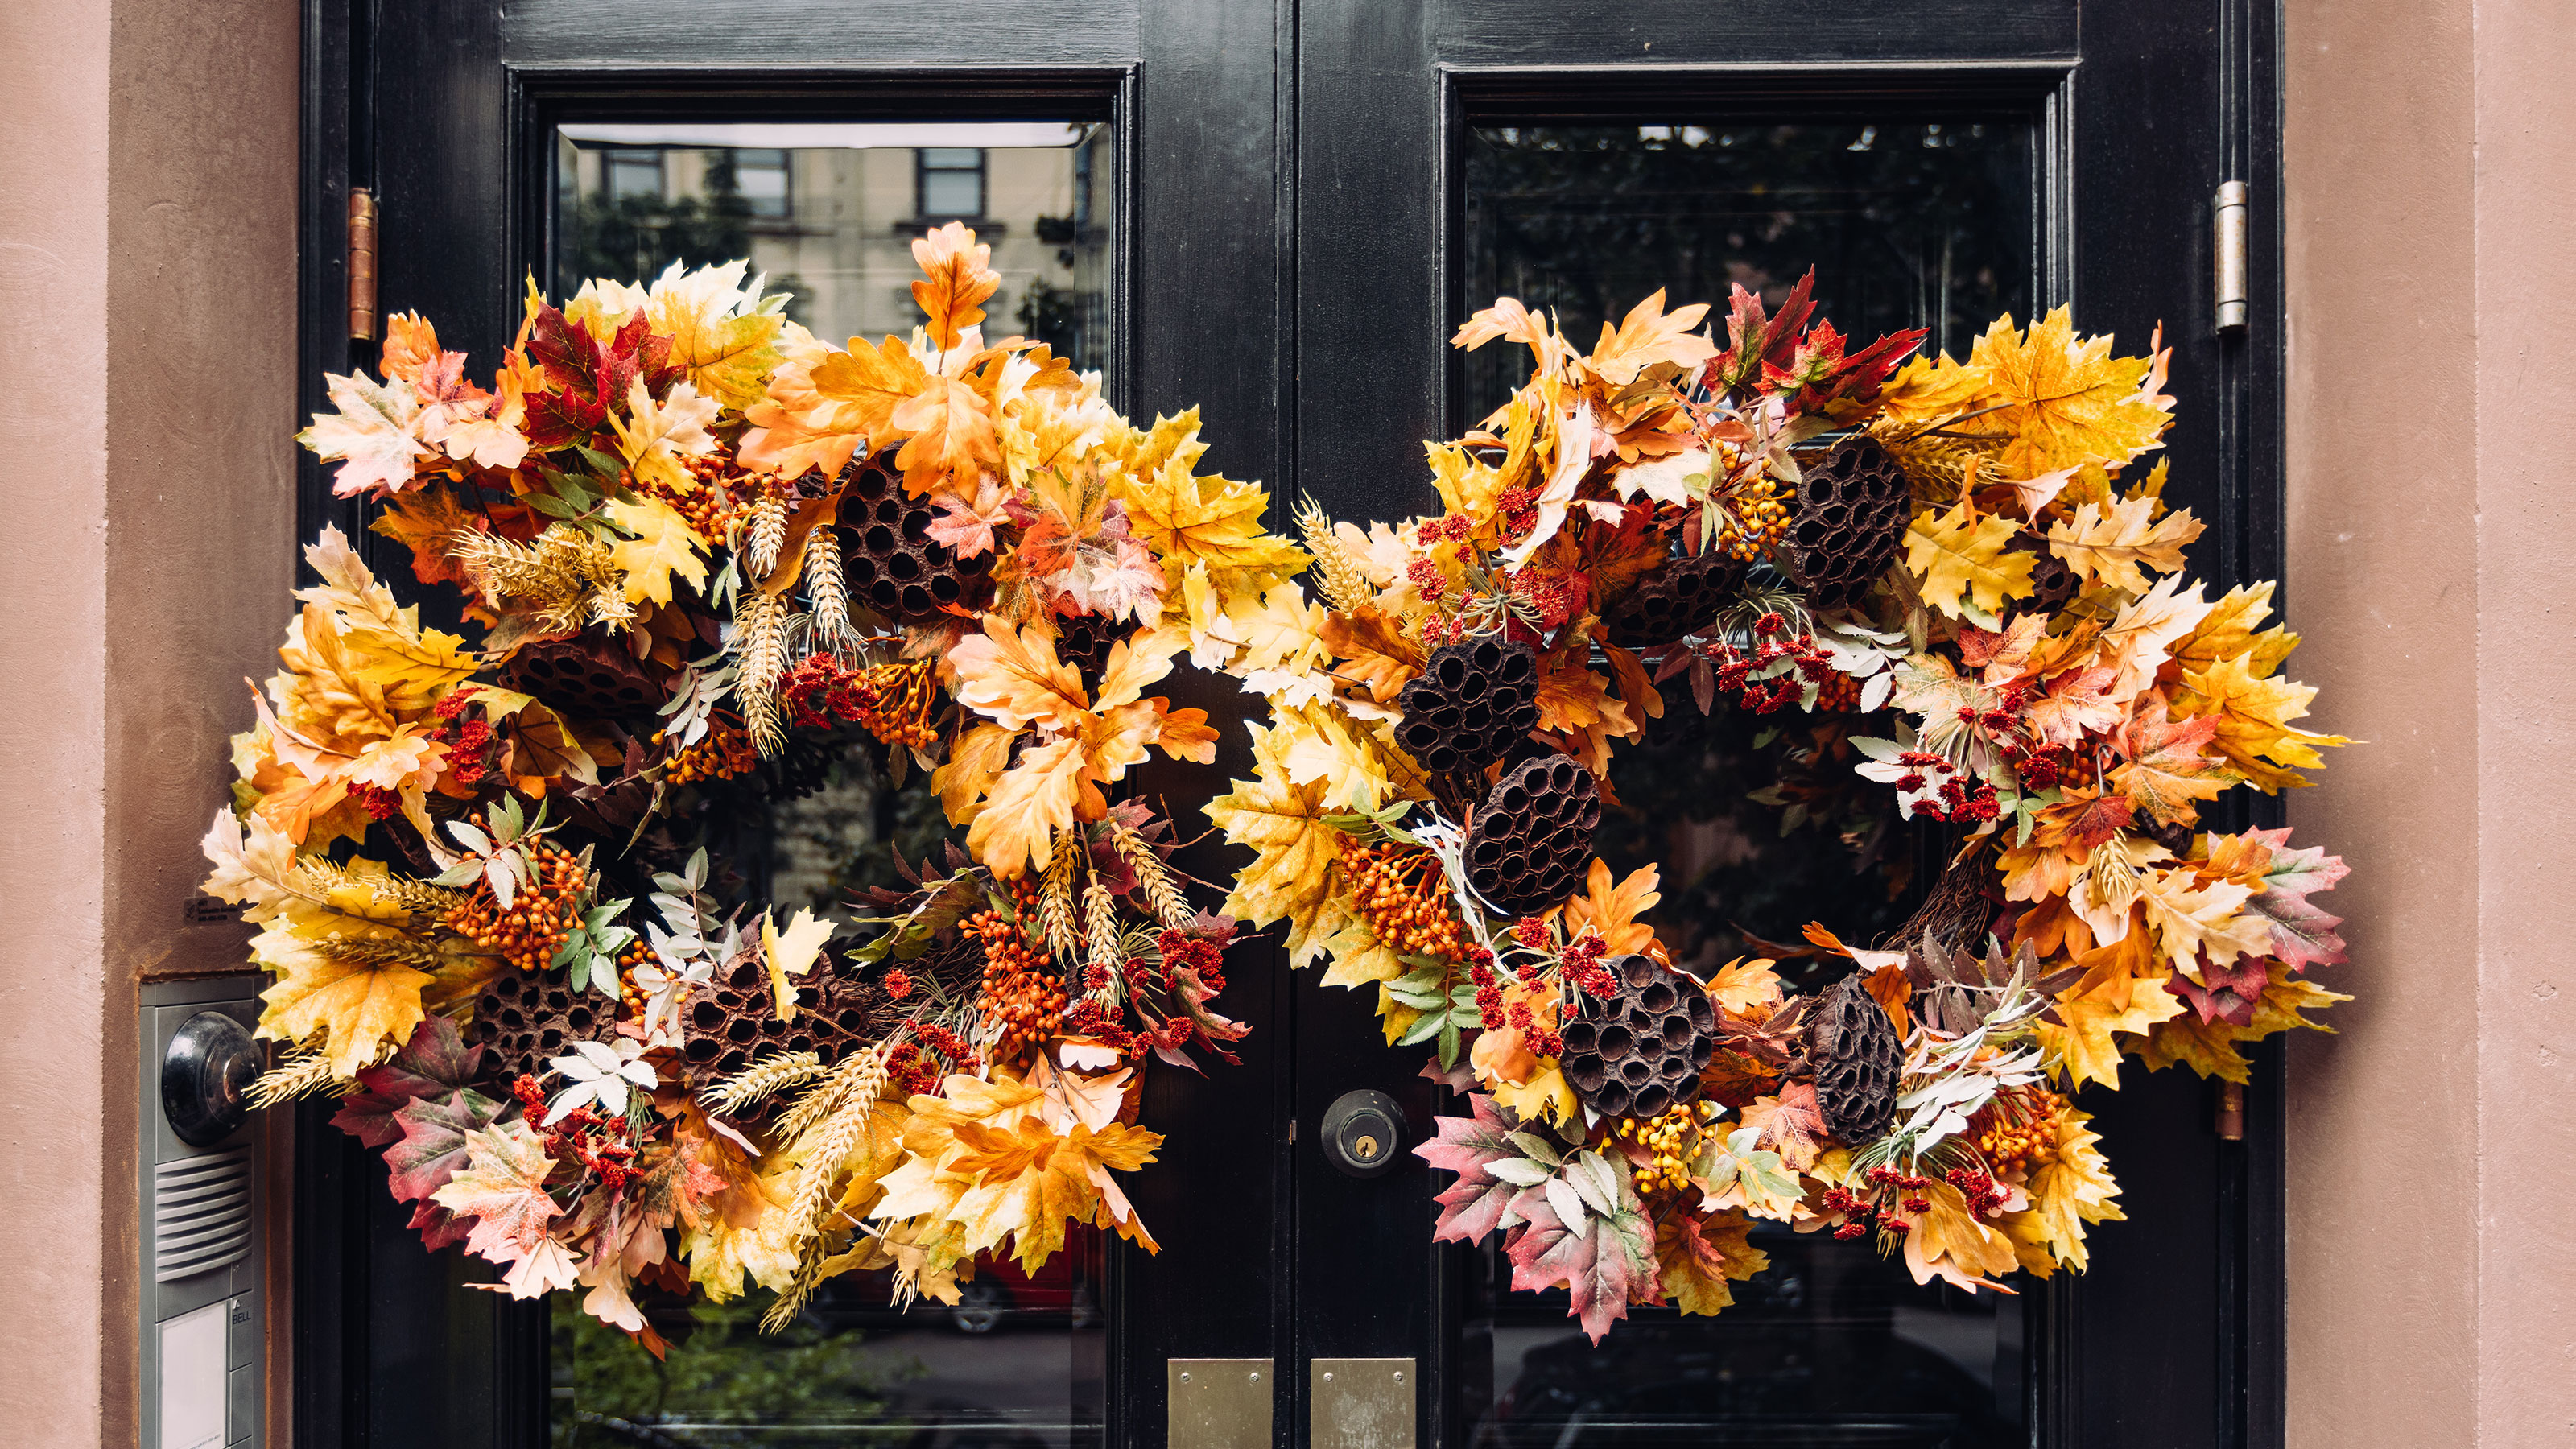 8 DIY fall wreaths: beautiful, budget-friendly crafts to embrace the season
Full of autumnal colors and textures, these DIY fall wreaths are easy to craft and perfect to hang inside or out.
By Hebe Hatton Published
-
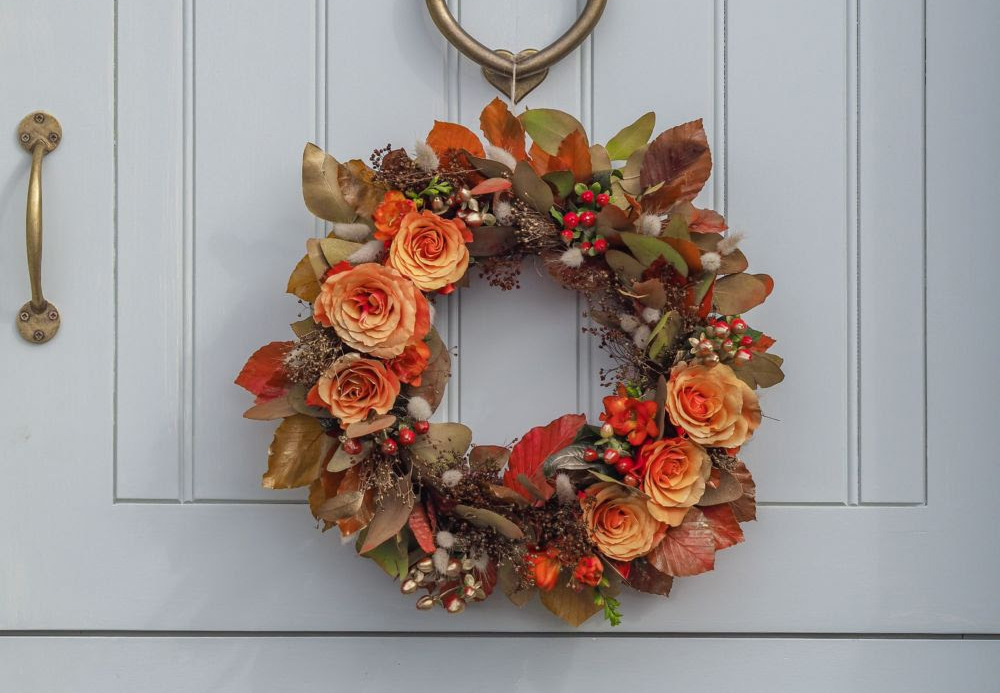 How to make a classic floral fall wreath
This DIY classic floral fall wreath is super easy to make at home with just a few supplies.
By Hebe Hatton Published
-
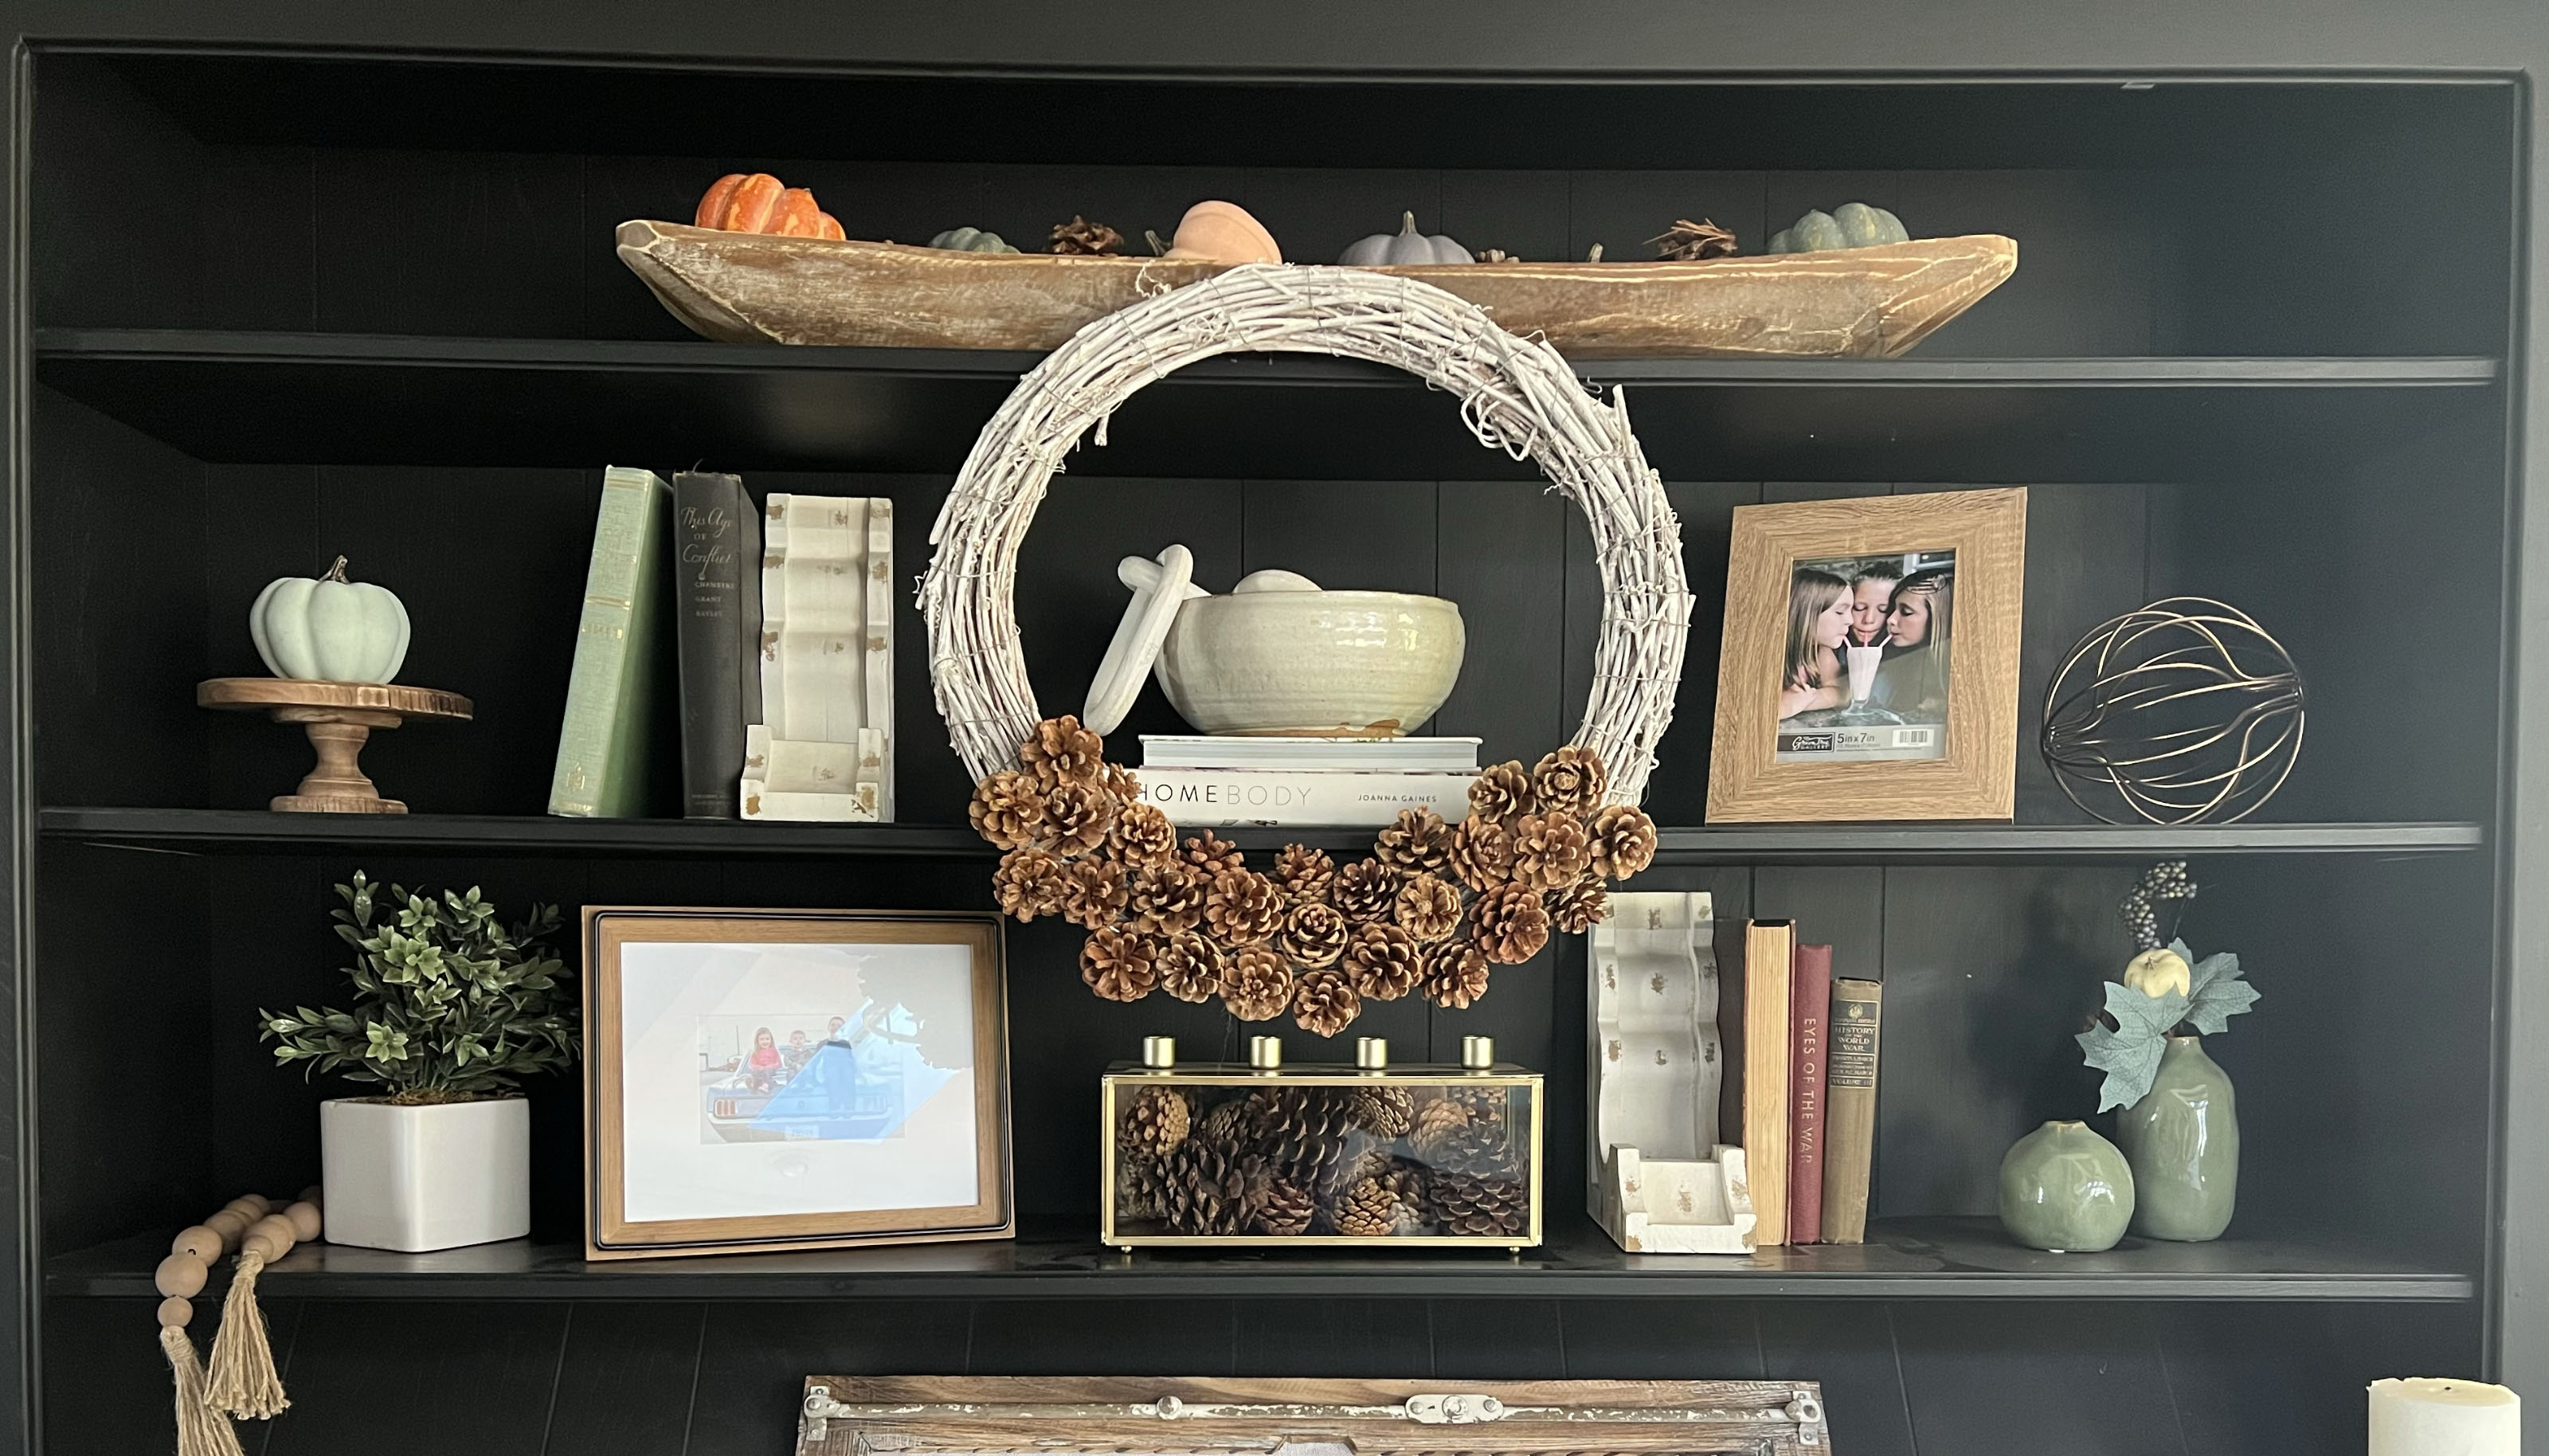 The 30-minute pinecone wreath DIY: a simple, budget-friendly, seasonal craft
For around $15 you can make this beautiful DIY pinecone wreath for fall. It'll take about 30 minutes with just a few supplies...
By Dori Turner Published
-
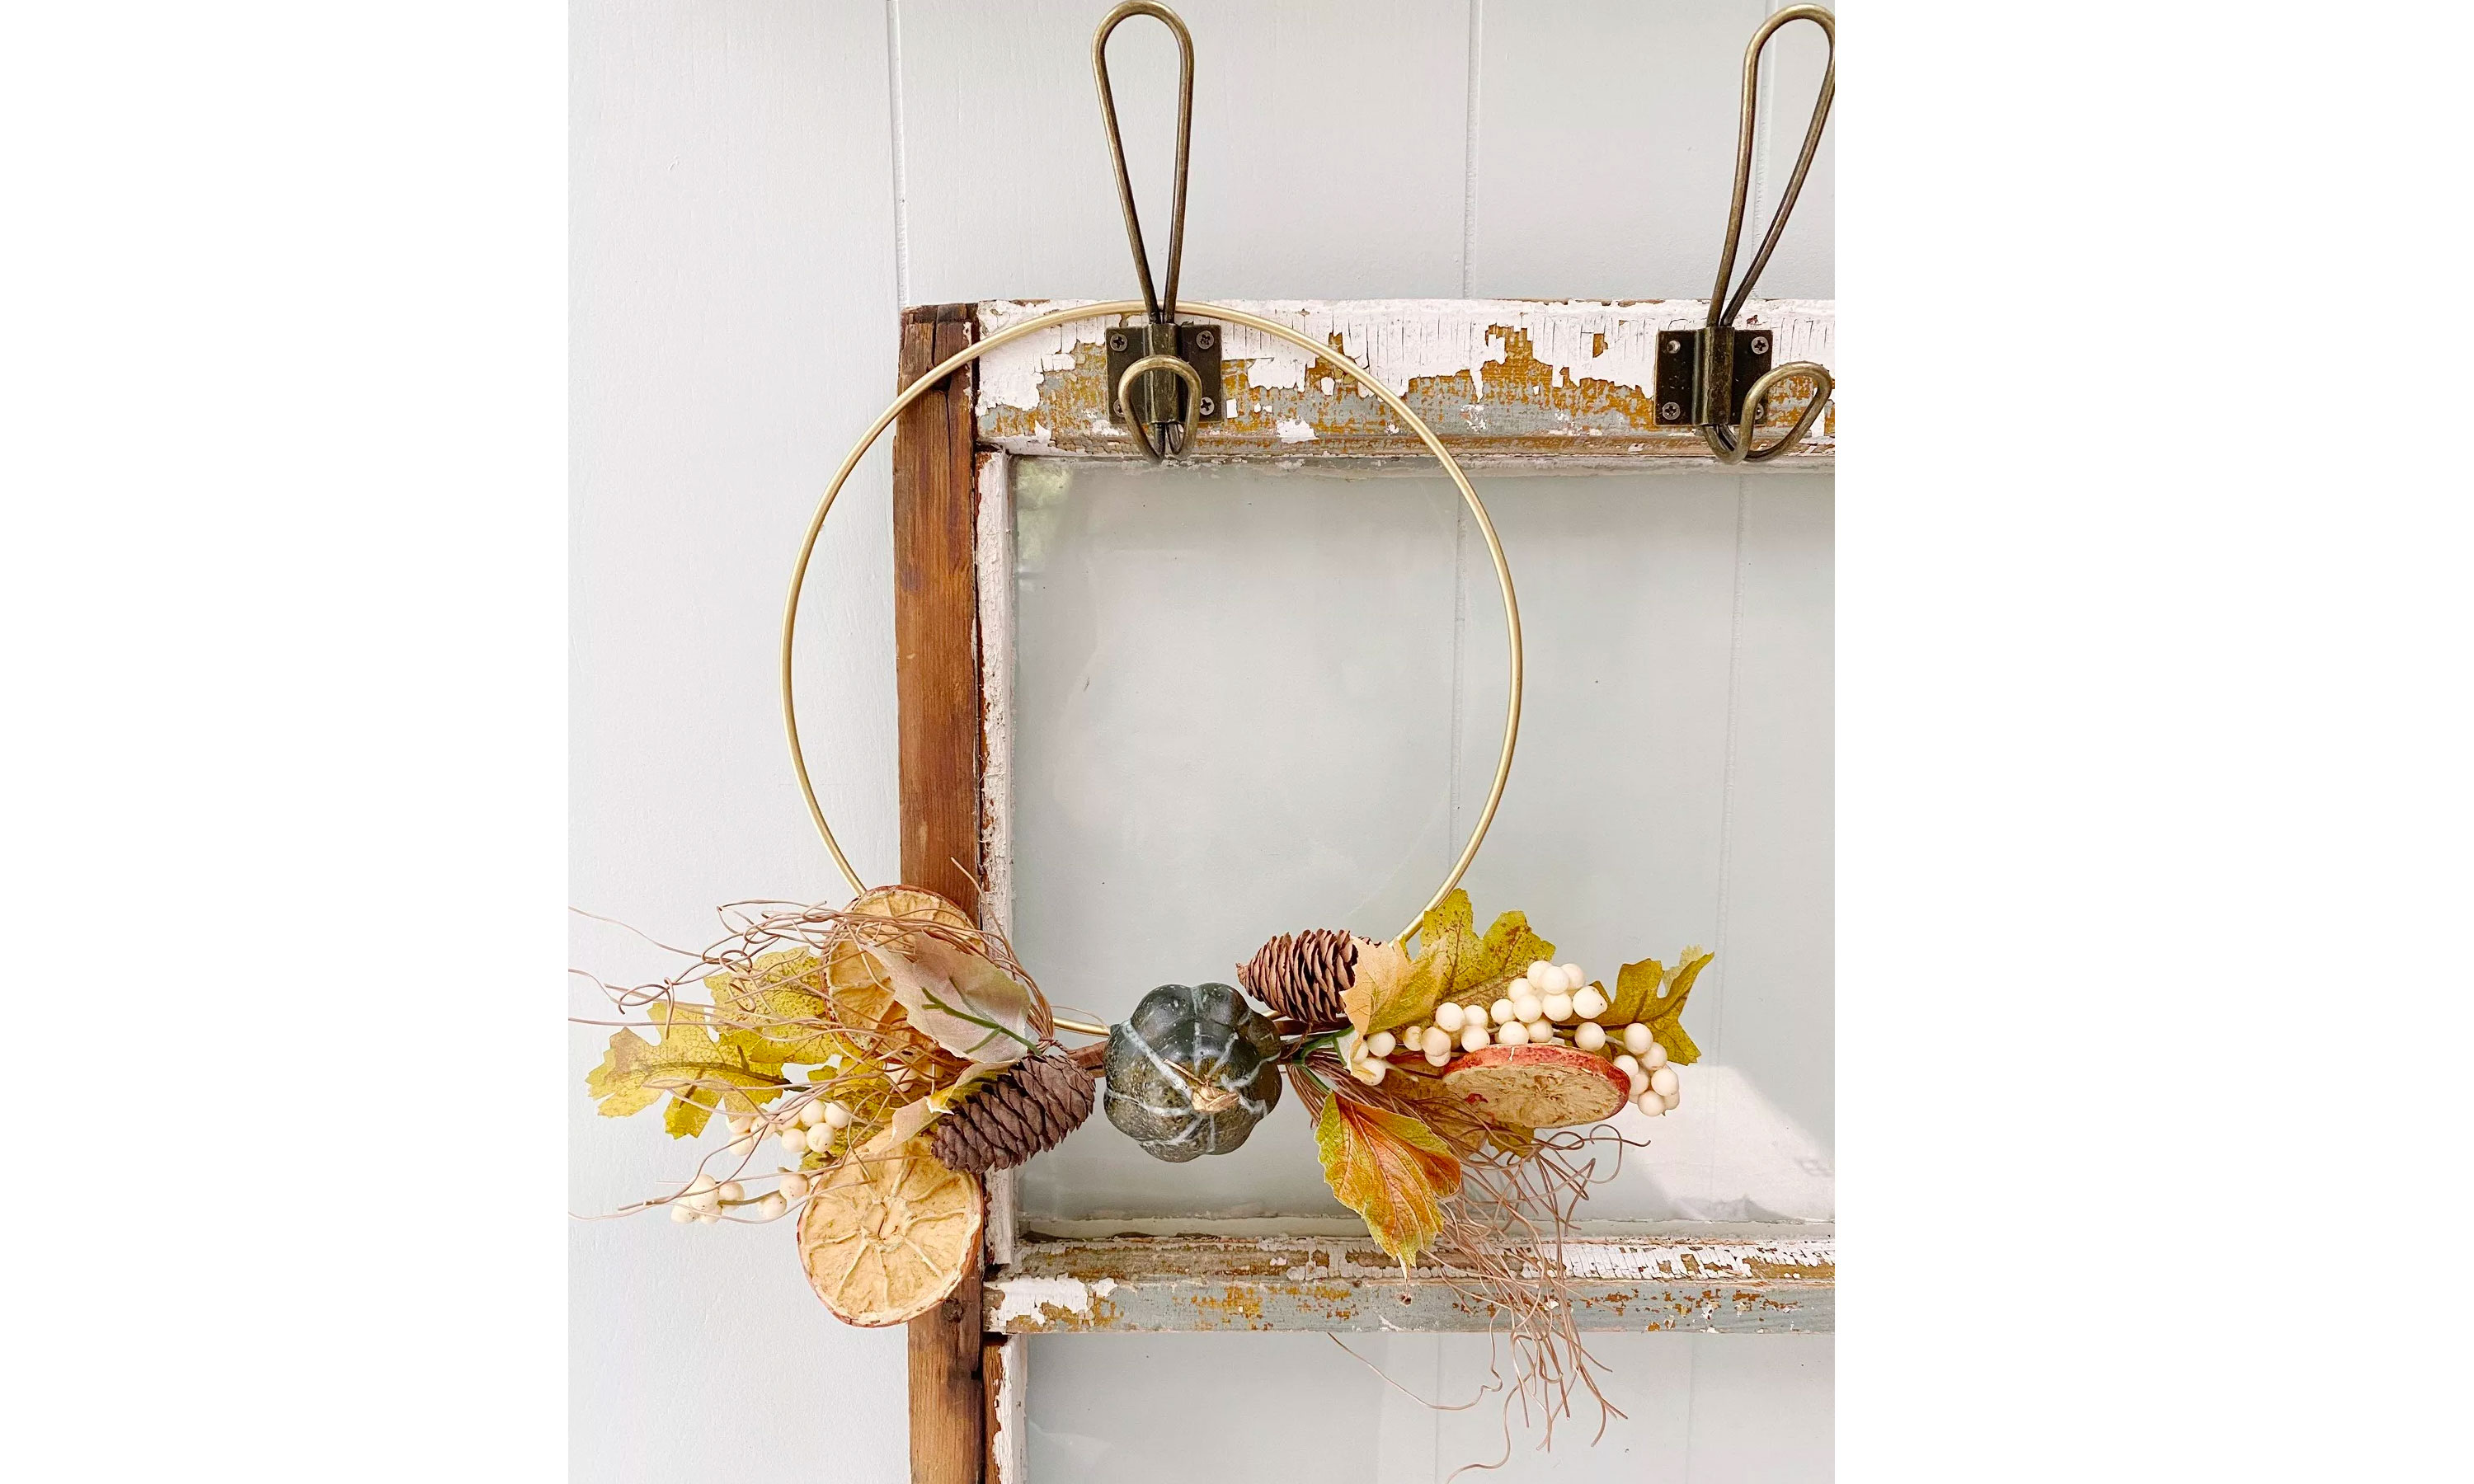 How to make a simple fall gold hoop wreath
This DIY simple fall gold hoop wreath ticks all the boxes for an elegant seasonal craft, that's easy and inexpensive to make!
By Dori Turner Published
-
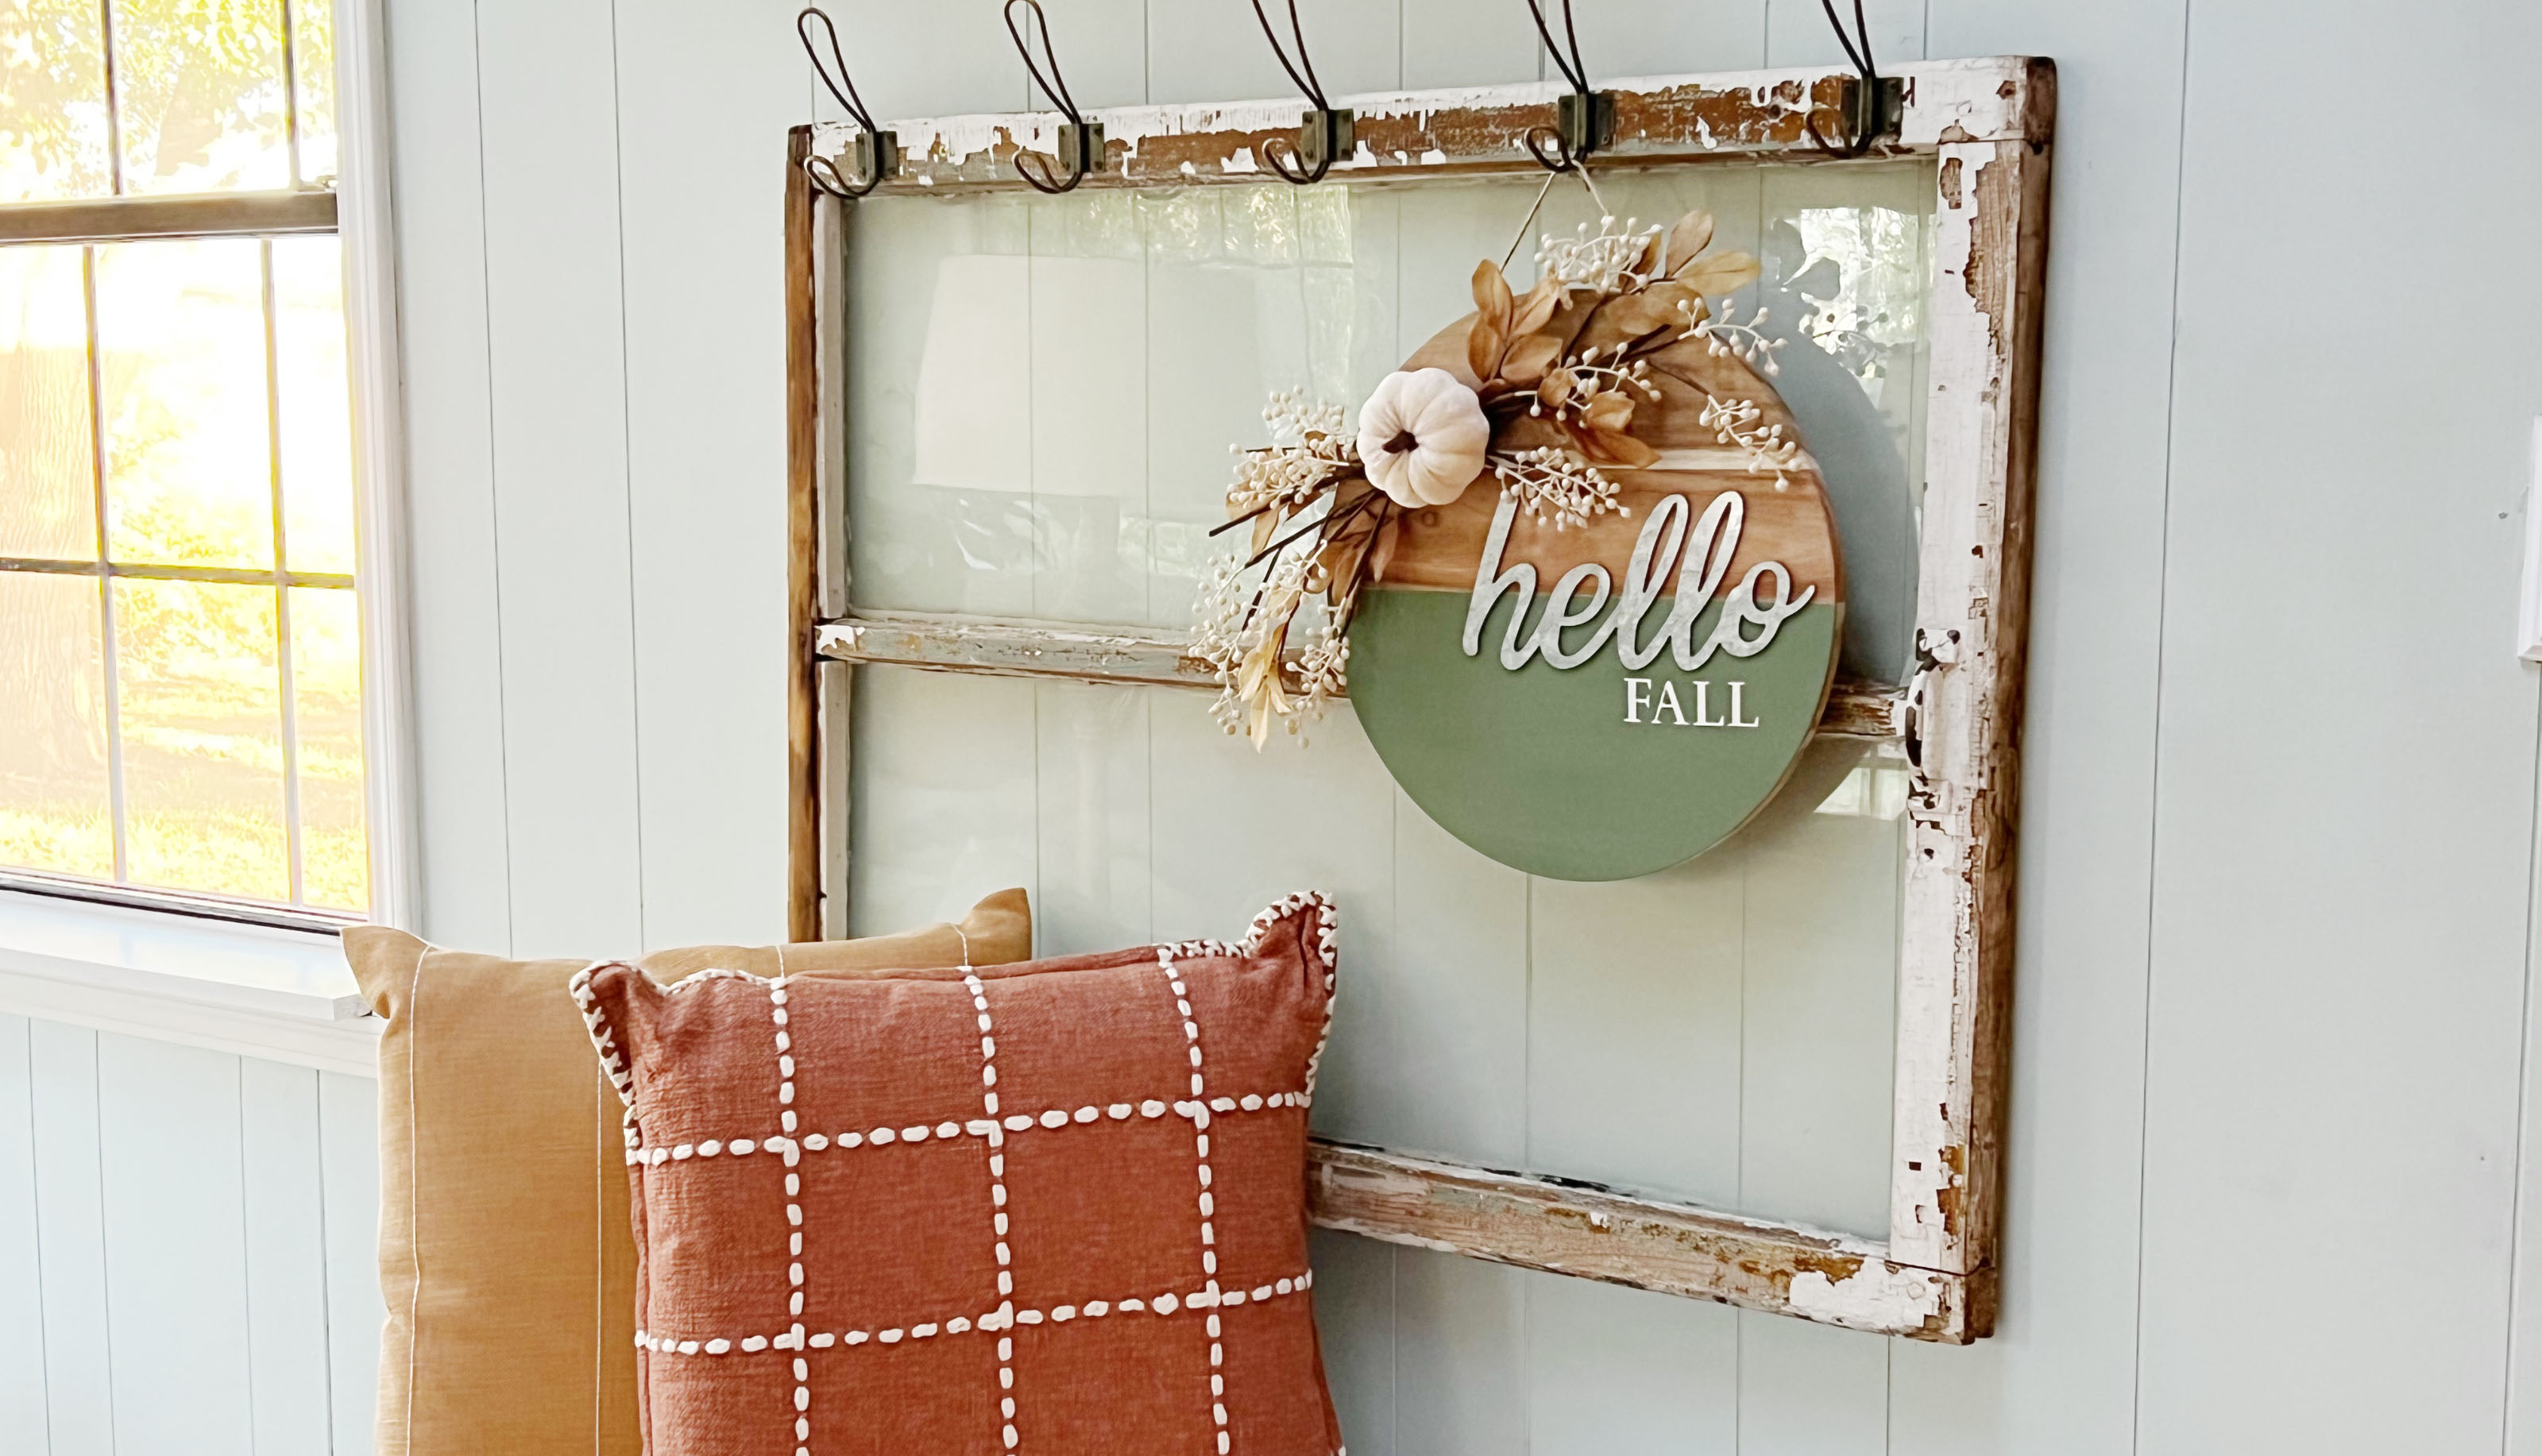 How to make a rustic wood fall wreath: A 3-step craft
This rustic wood fall wreath is a unique alternative to the traditional autumnal decor staple. You can customize it to fit your needs by choosing different stains or colors, phrases, and florals!
By Dori Turner Last updated
-
 Best Christmas hampers – 10 festive feasting gifts to suit everyone
Christmas hampers are the perfect festive gifts for loved ones. Whether you're shopping for a chocoholic or a cheese lover, there’s a hamper out there to suit
By Cynthia Lawrence Published