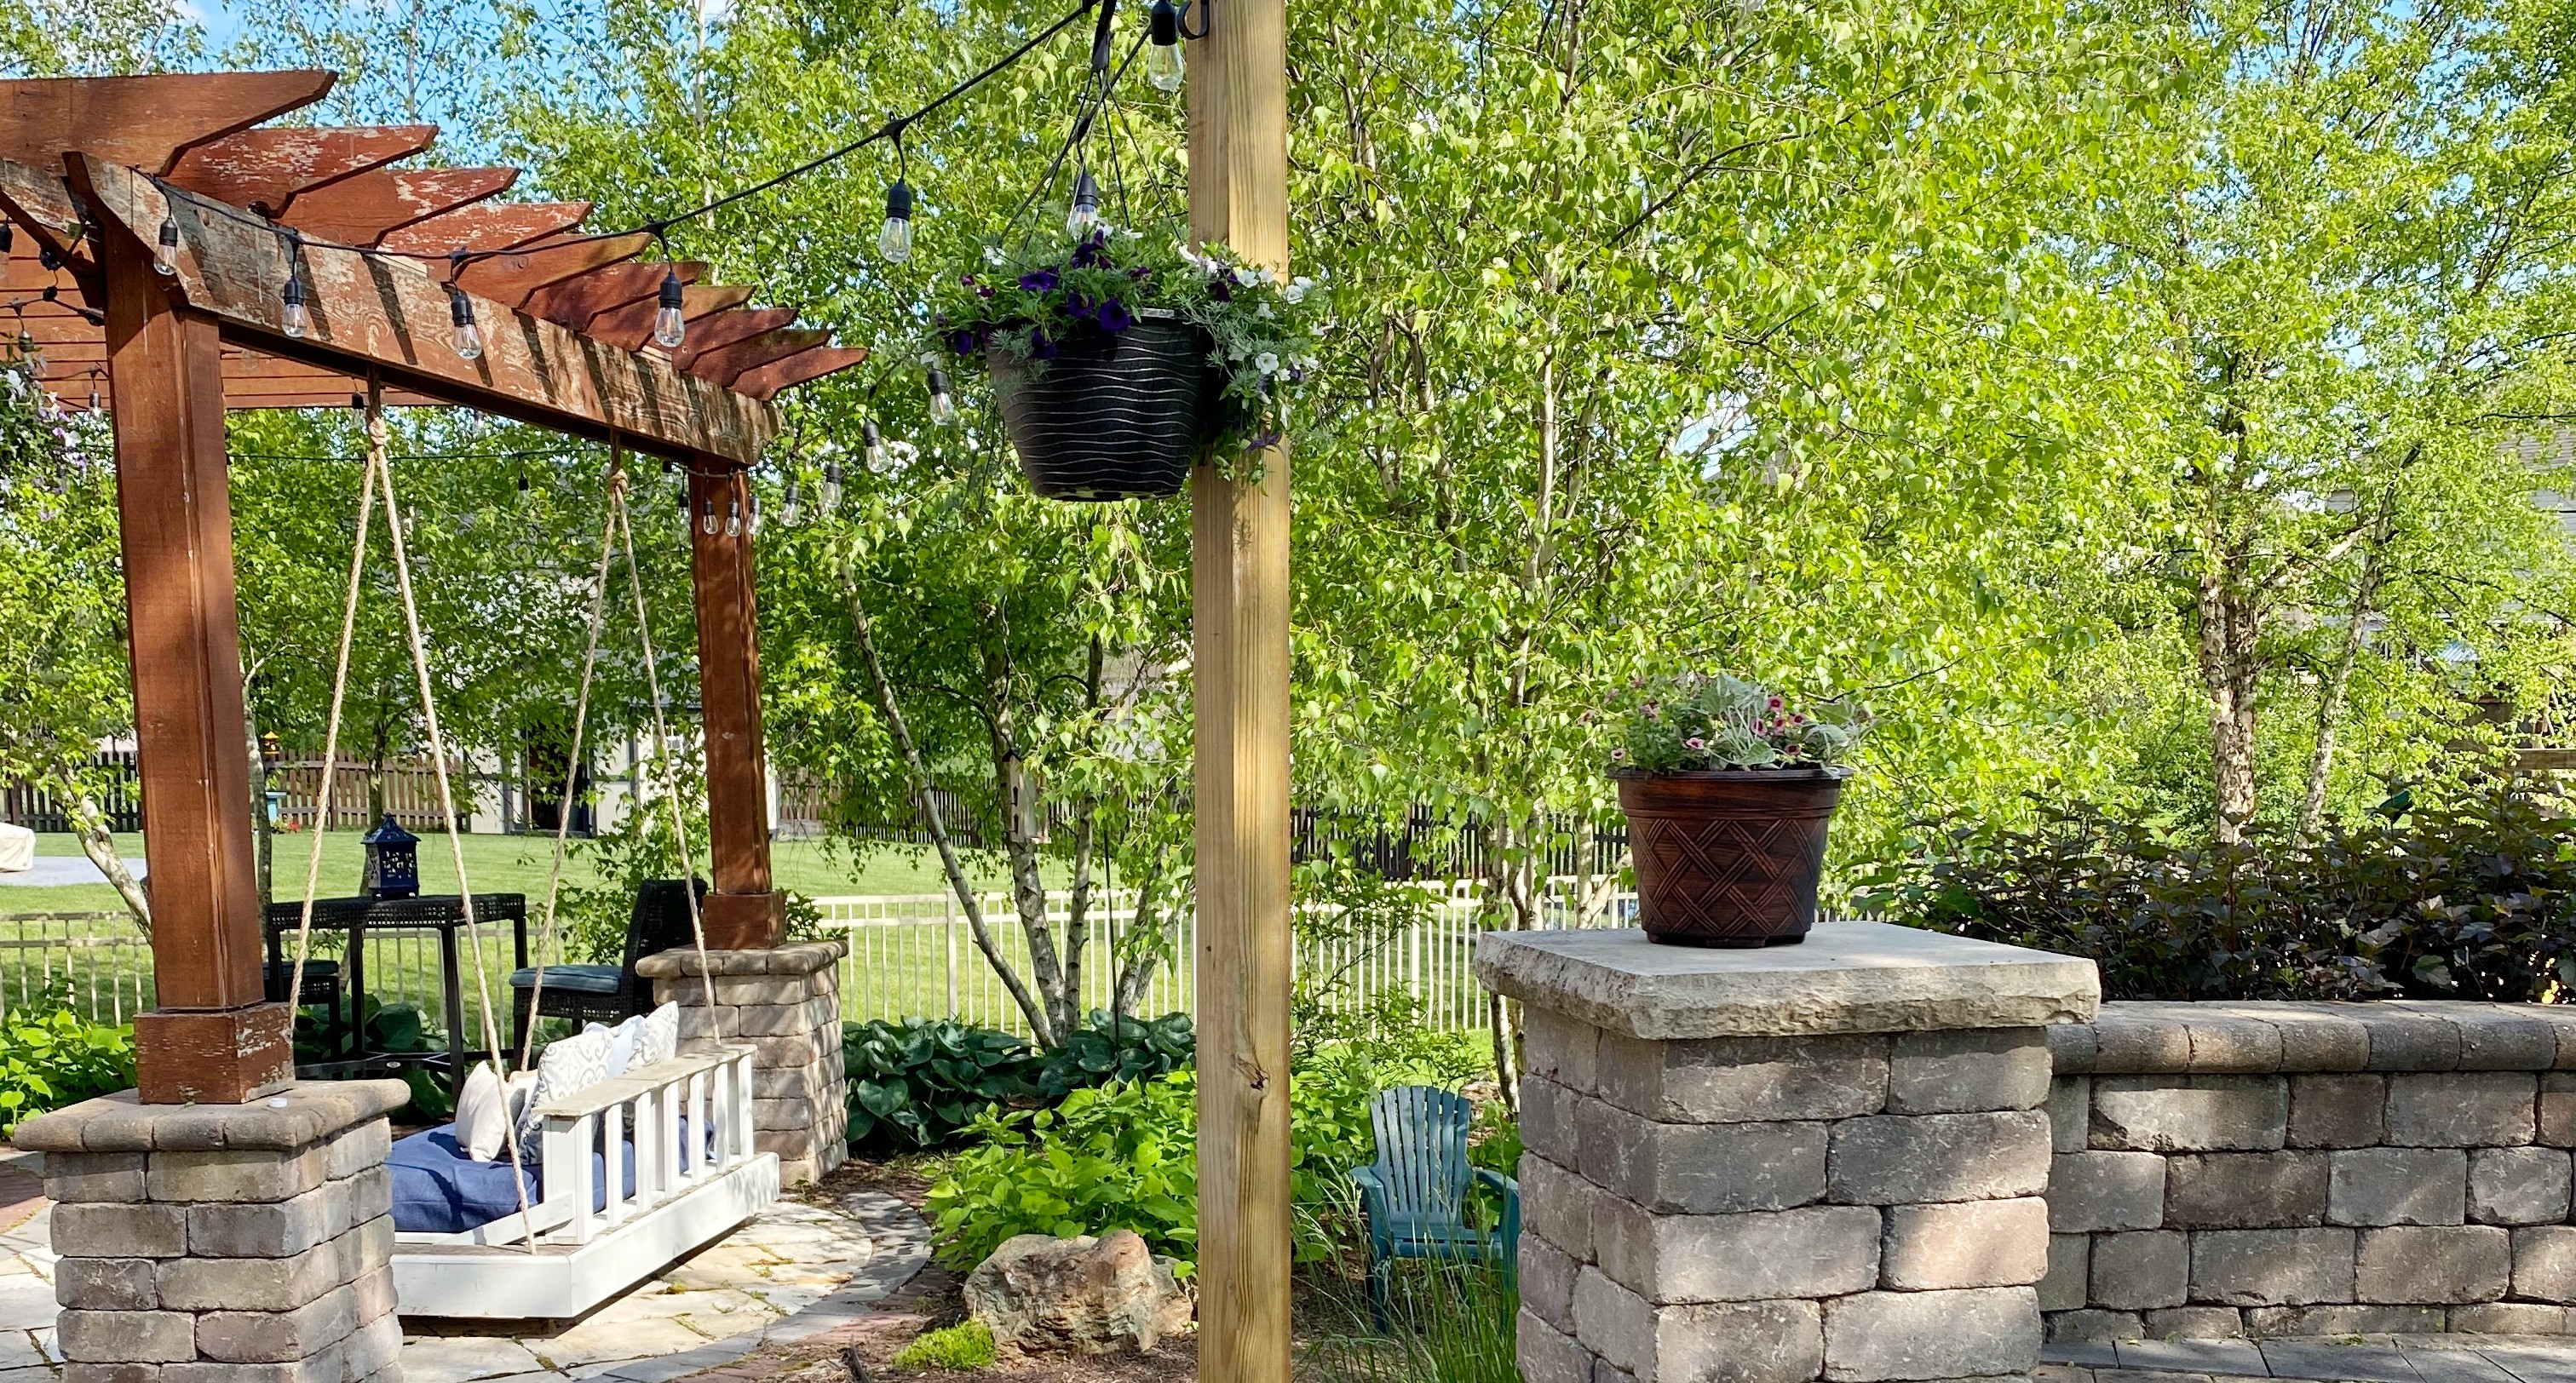
It seems that spring has officially sprung, and if you are anything like I am, you have patio life on your mind. Picture this: you're eating outside at a restaurant … maybe there are lights strung above your head, and beautiful flowers in view. Sounds lovely, right? Wouldn’t it be nice if you could get that same feeling right in the comfort of your own backyard? Well, I'm here to tell you that you absolutely can, and it isn’t nearly as difficult as you might imagine!
I love a good DIY, and a DIY that I can enjoy outside on our patio is even better! There is just something about the ambiance of flowers and patio lights, so who wouldn’t love a combination of the two? Enter, this wine barrel planter project. It doubles as both a planter, and an anchor spot for patio string lights, so it's basically all you need to give your outdoor space a facelift this year.
- Keep reading: 15 backyard ideas for a space you'll love all summer long
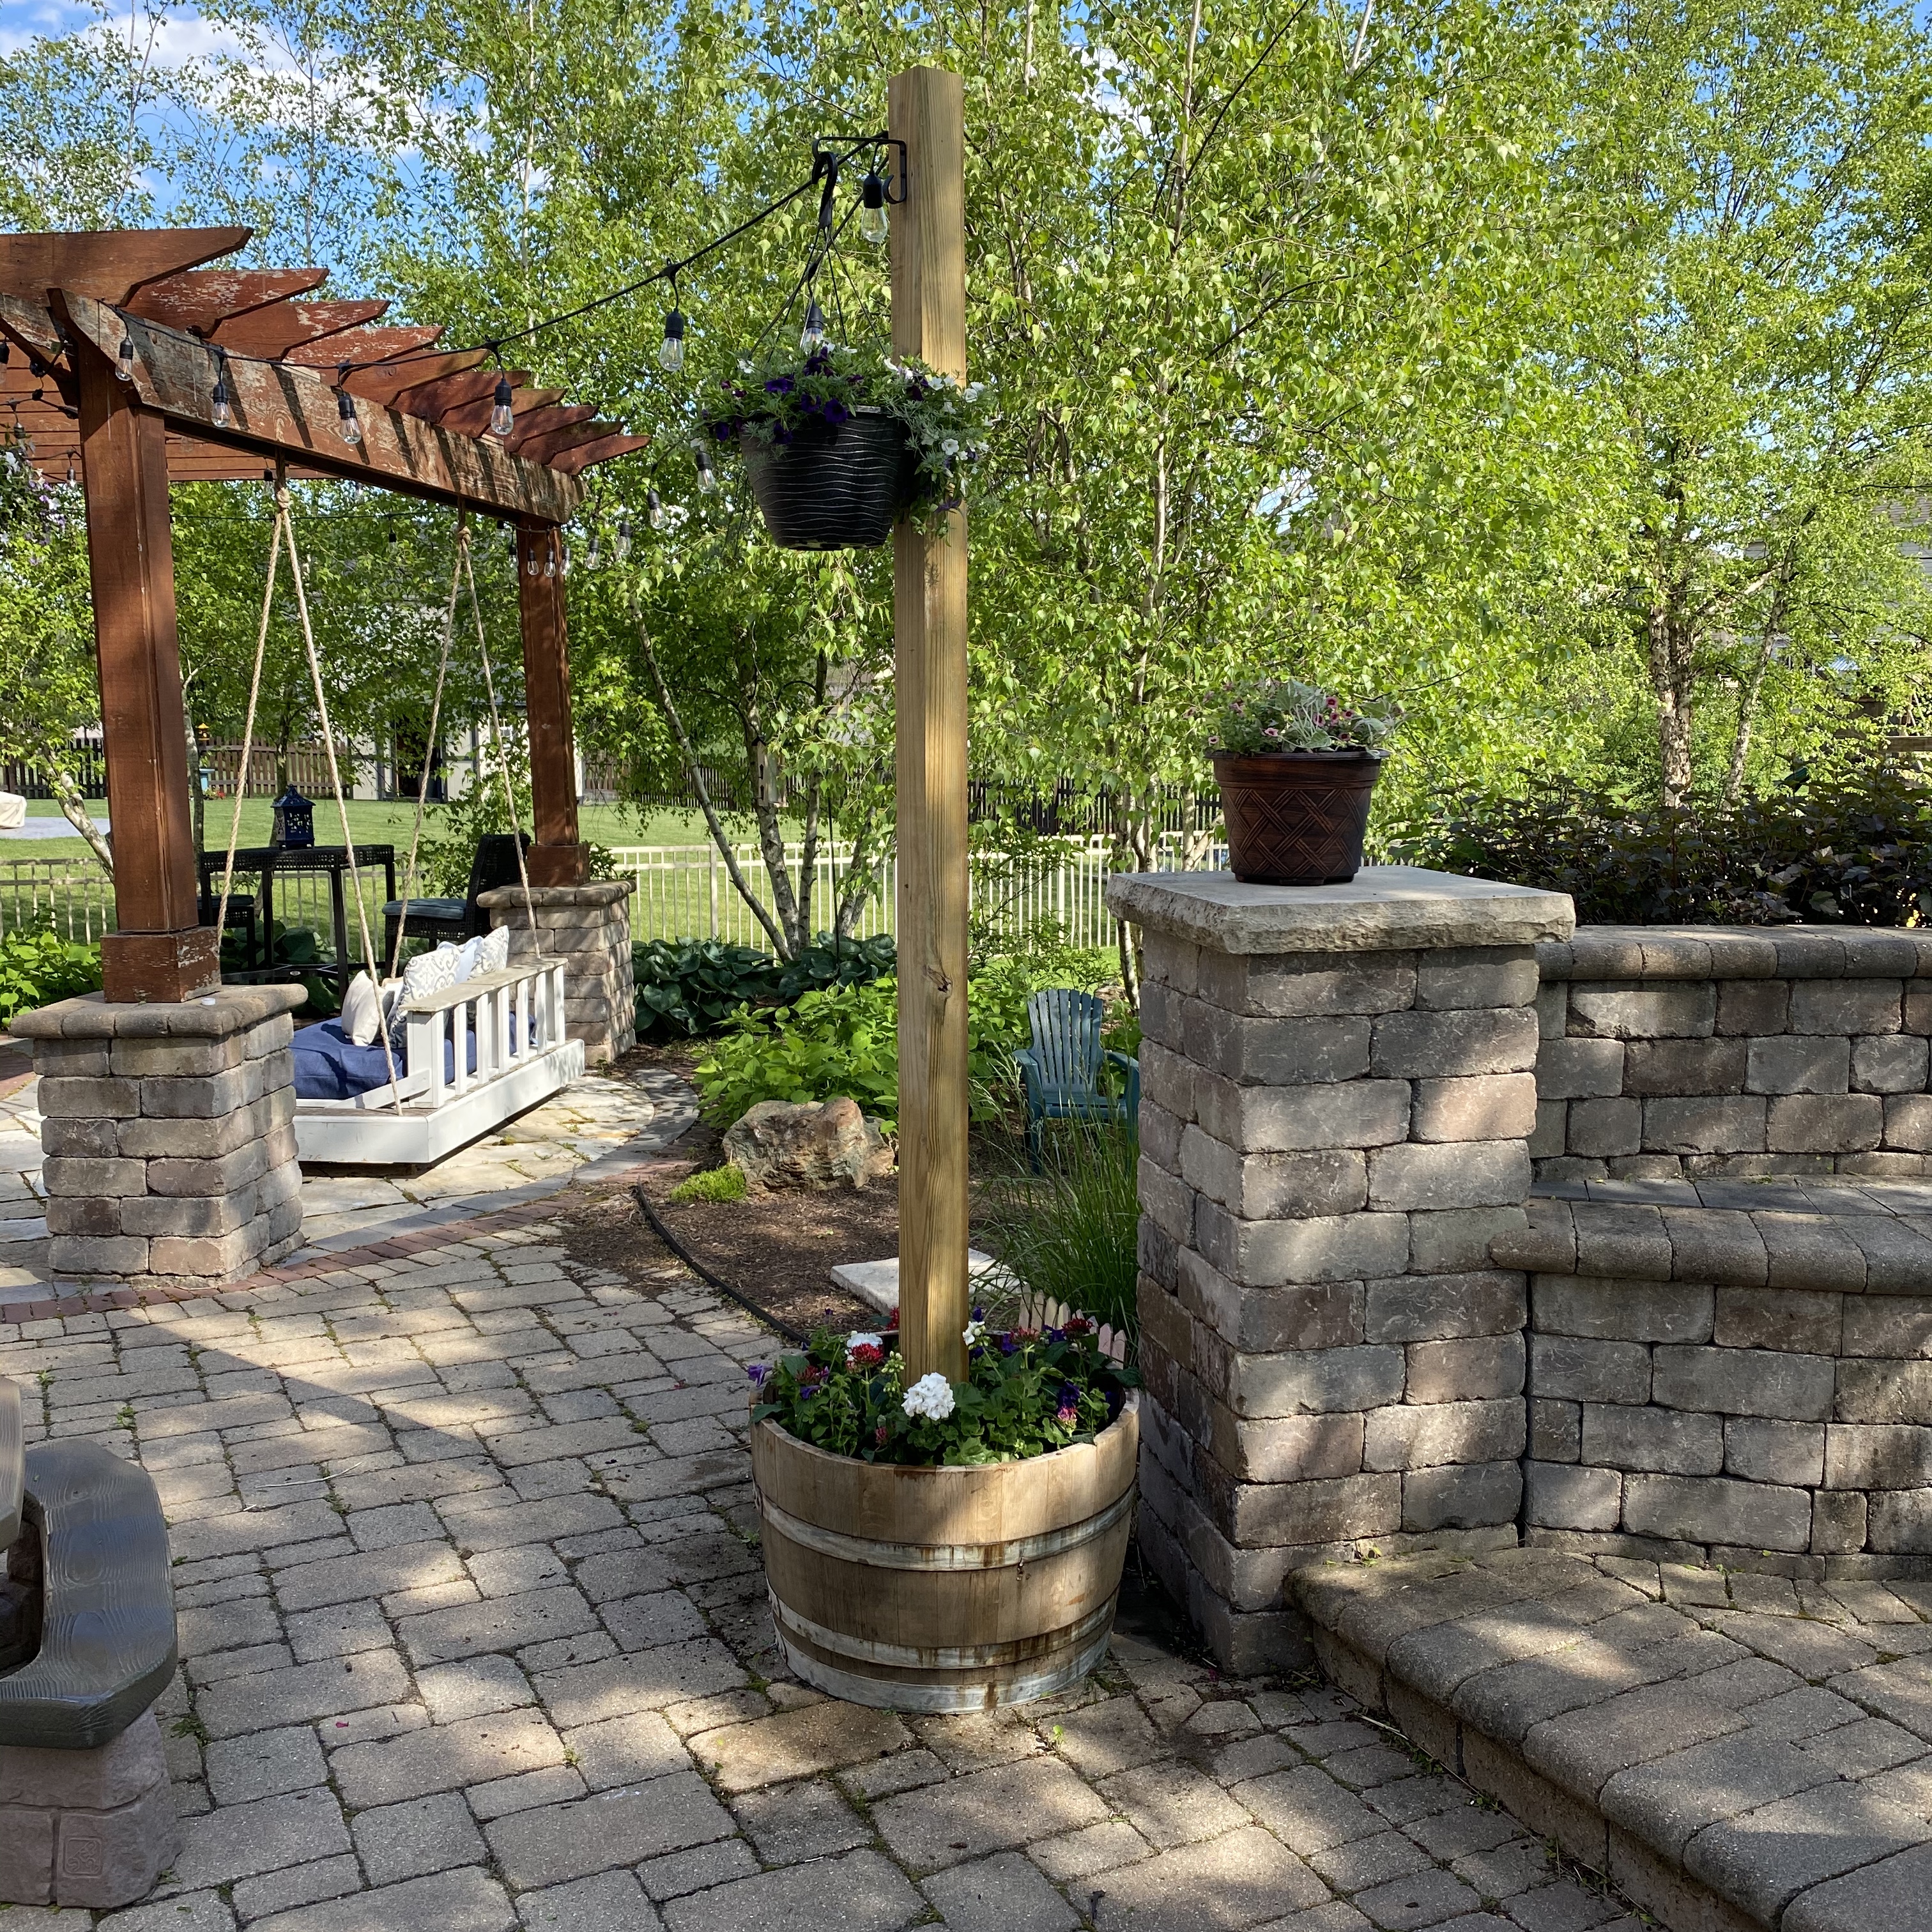
A wine barrel planter is a great way to add style to your patio, and even a novice DIYer would be able to complete this one with ease, I promise! Before you begin, this patio idea requires a couple of key ingredients:
- Wine barrel (I got mine online, but a lot of times restaurants are looking to get rid of them too)
- Mixable cement
- Treated 4x4 board (mine is 8.5 ft long) *a treated post will ensure that your wood will be able to brave the elements outside without rotting
- Mixing paddle for drill (optional)
- L-brackets
- Hanging planter hook (optional)
My first recommendation is that you do the project where the planter will end up permanently, because once completed, this planter is HEAVY. So, if you’d like your wine barrel planter to reside on your back patio, I suggest doing the project on the back patio. I learned this the hard way and had to move the completed planter from our garage to our back patio. As you can imagine, it was a sight to be seen.
Now, back to the project. As mentioned above, I chose 8.5 feet for the height of my 4x4. This can be personalized for your own preference, but I thought that 8.5 ft. was a good height. Once this project is complete, your 4x4 will be held up by the cement, but in the meantime, it helps to secure it to the bottom of the barrel with your L brackets. Using a level, make sure it is standing up straight, and use screws to secure.
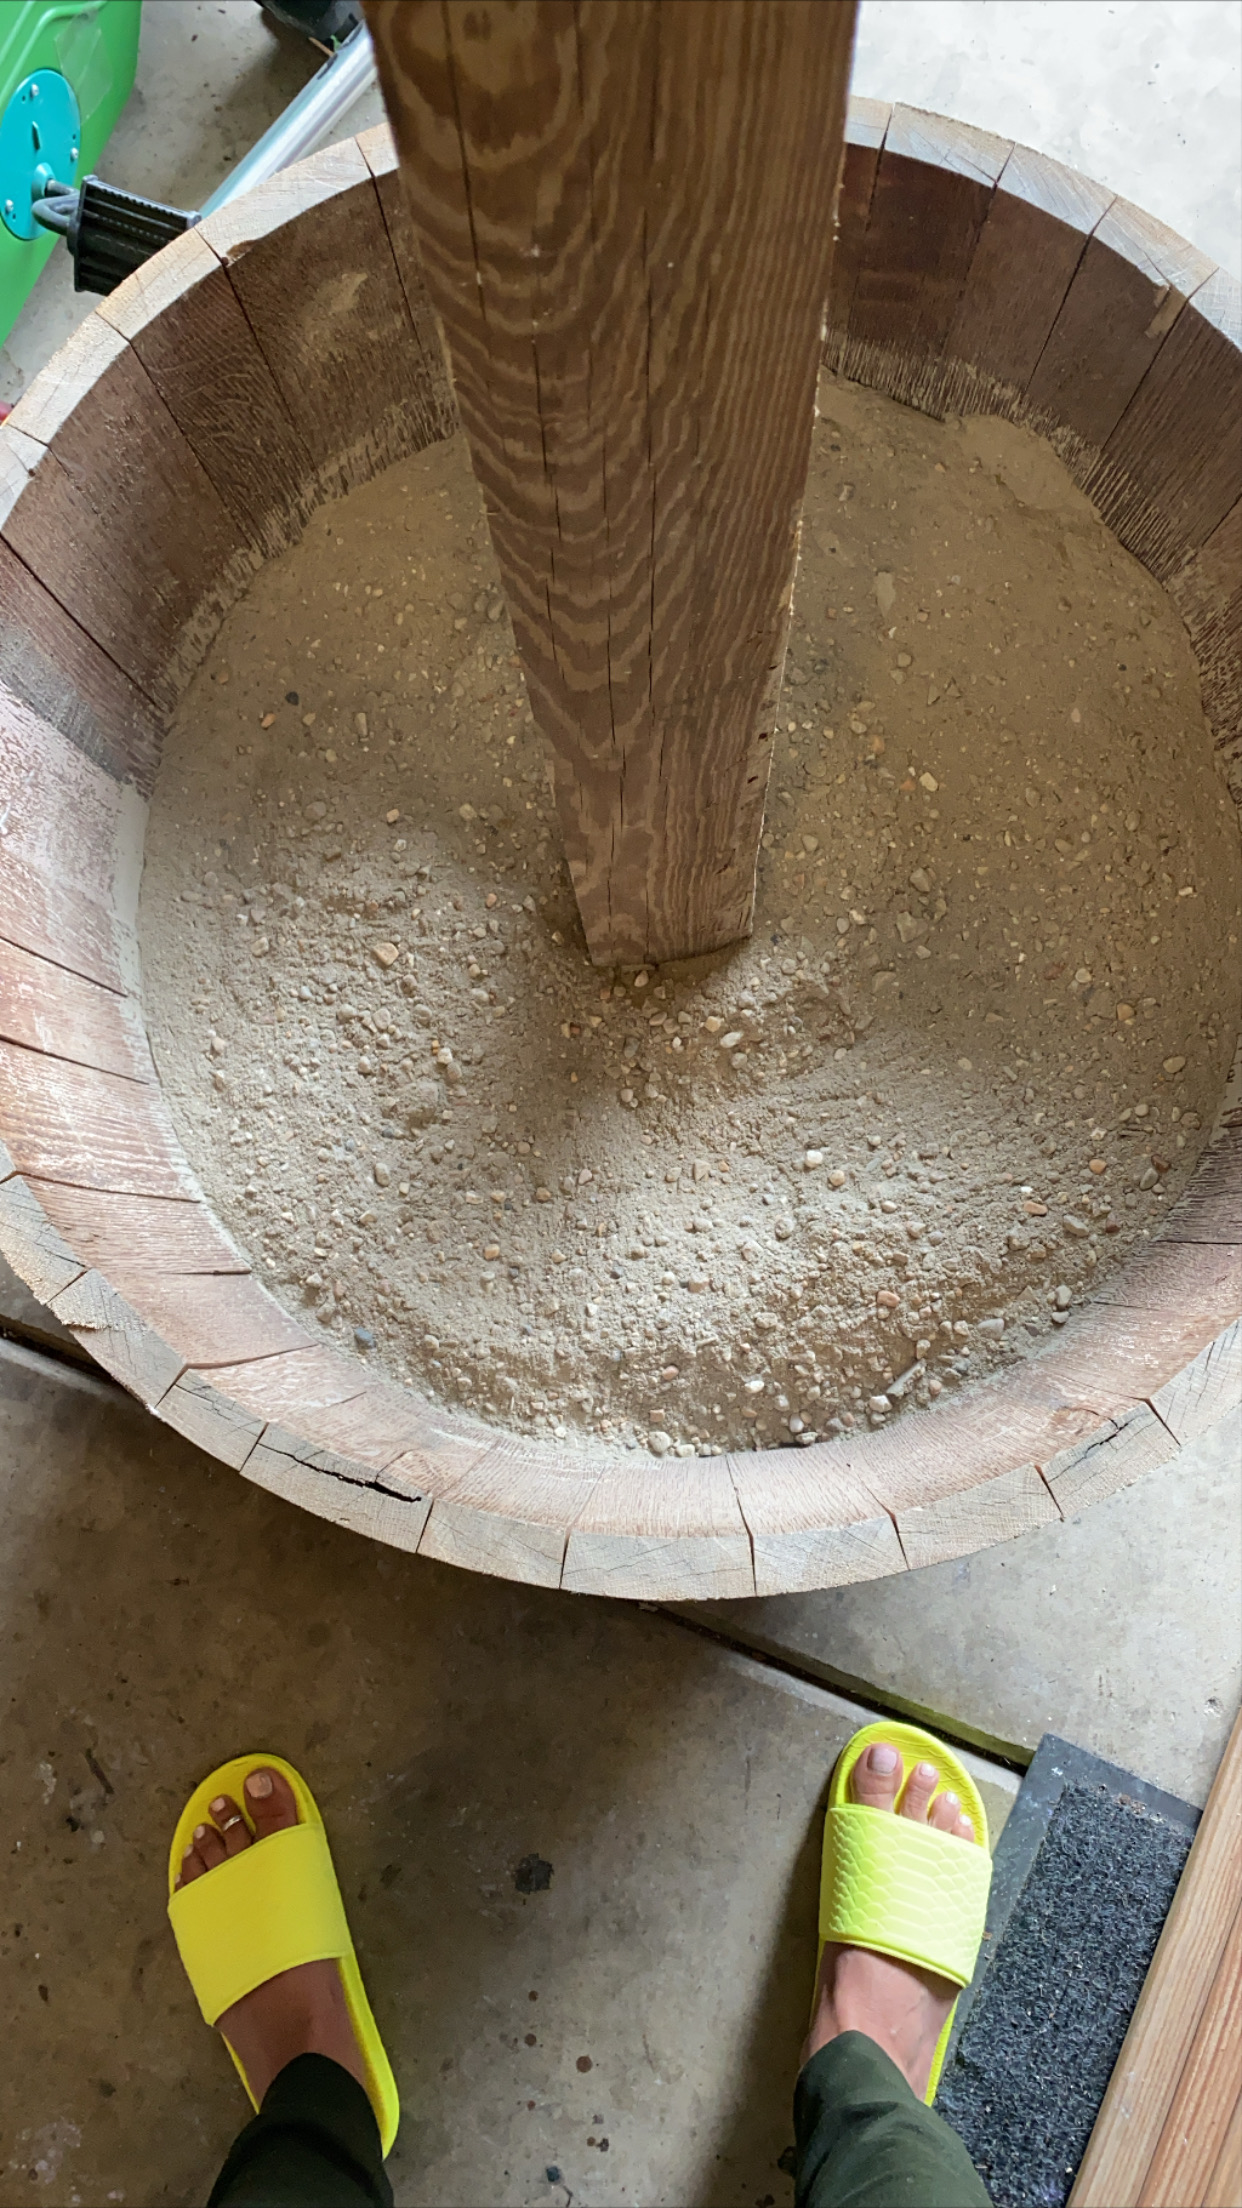
Once your post is standing tall, you can move on to the cement, which, in my opinion, is the best part. This part intimidated me at first, but I found that it was a lot easier than I expected. The bag of concrete that you buy will tell you exactly how much space it will fill, so be sure to plan accordingly. We used two bags in ours. The bag will also have directions for mixing, and so just follow according to the brand of cement that you choose.
I found that pouring a bit of dry cement, adding water, mixing, and repeating as necessary, worked really well. In the end, I found that a consistency similar to that of brownie batter was what I was looking for. Be careful to add the water slowly, because adding more water is easy, but running to the store to get more concrete is not! Once mixed, and mixed, and mixed some more, you will want to let your cement cure. I waited a full 48 hours, as was recommended by the cement brand that I used.
Join our newsletter
Get small space home decor ideas, celeb inspiration, DIY tips and more, straight to your inbox!
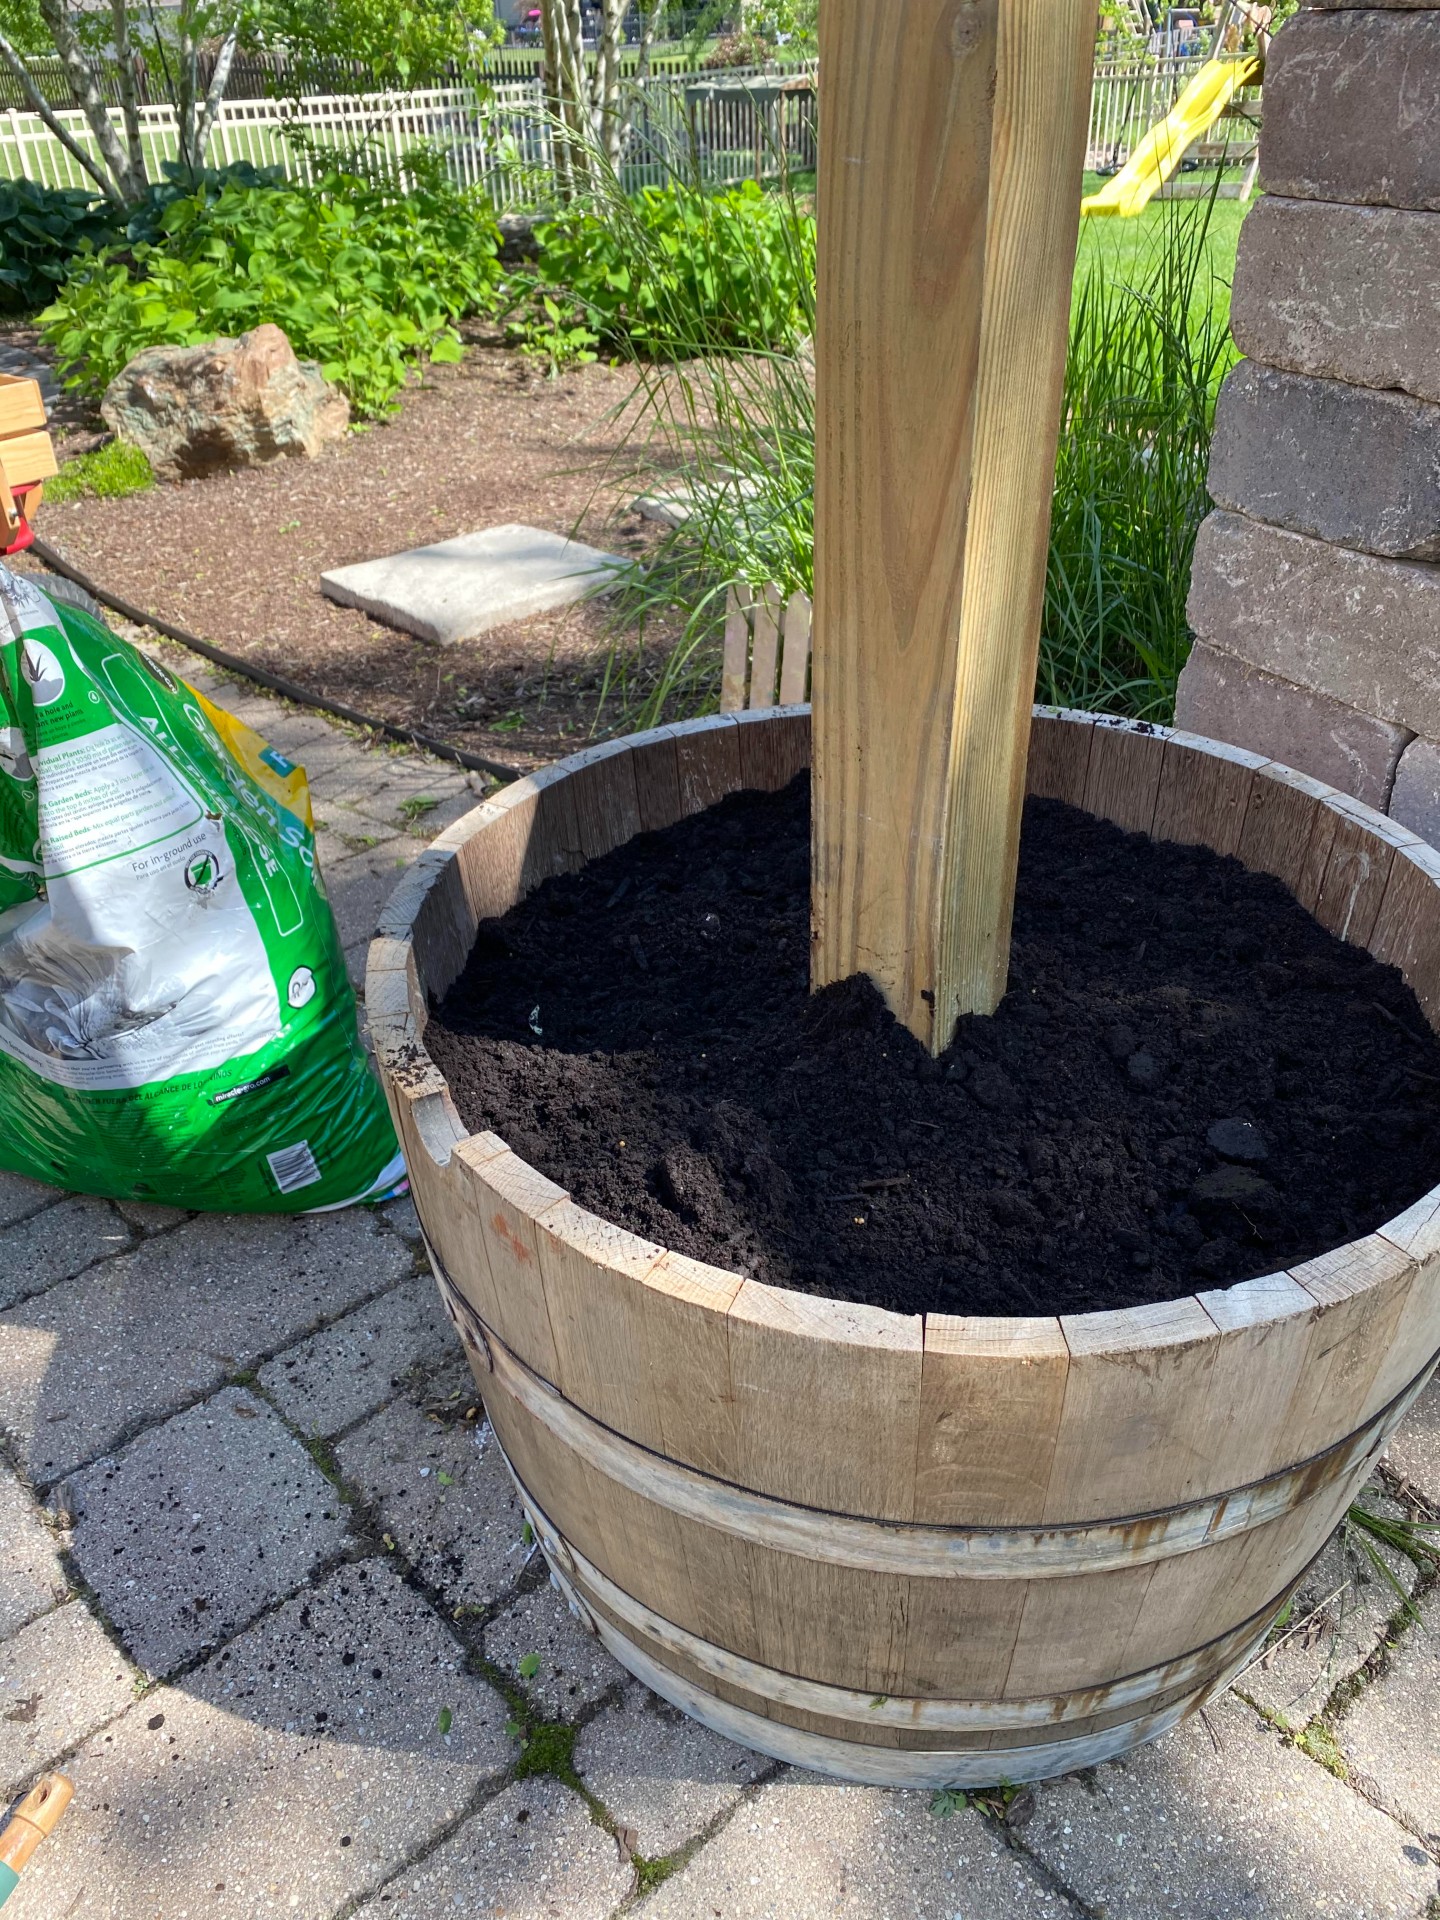
So now you have a post in a wine barrel, but let’s make it pretty! In order to make this into a planter, you will want to drill a few holes around the planter so that your soil can drain properly.
- Keep reading: Container gardening for small spaces
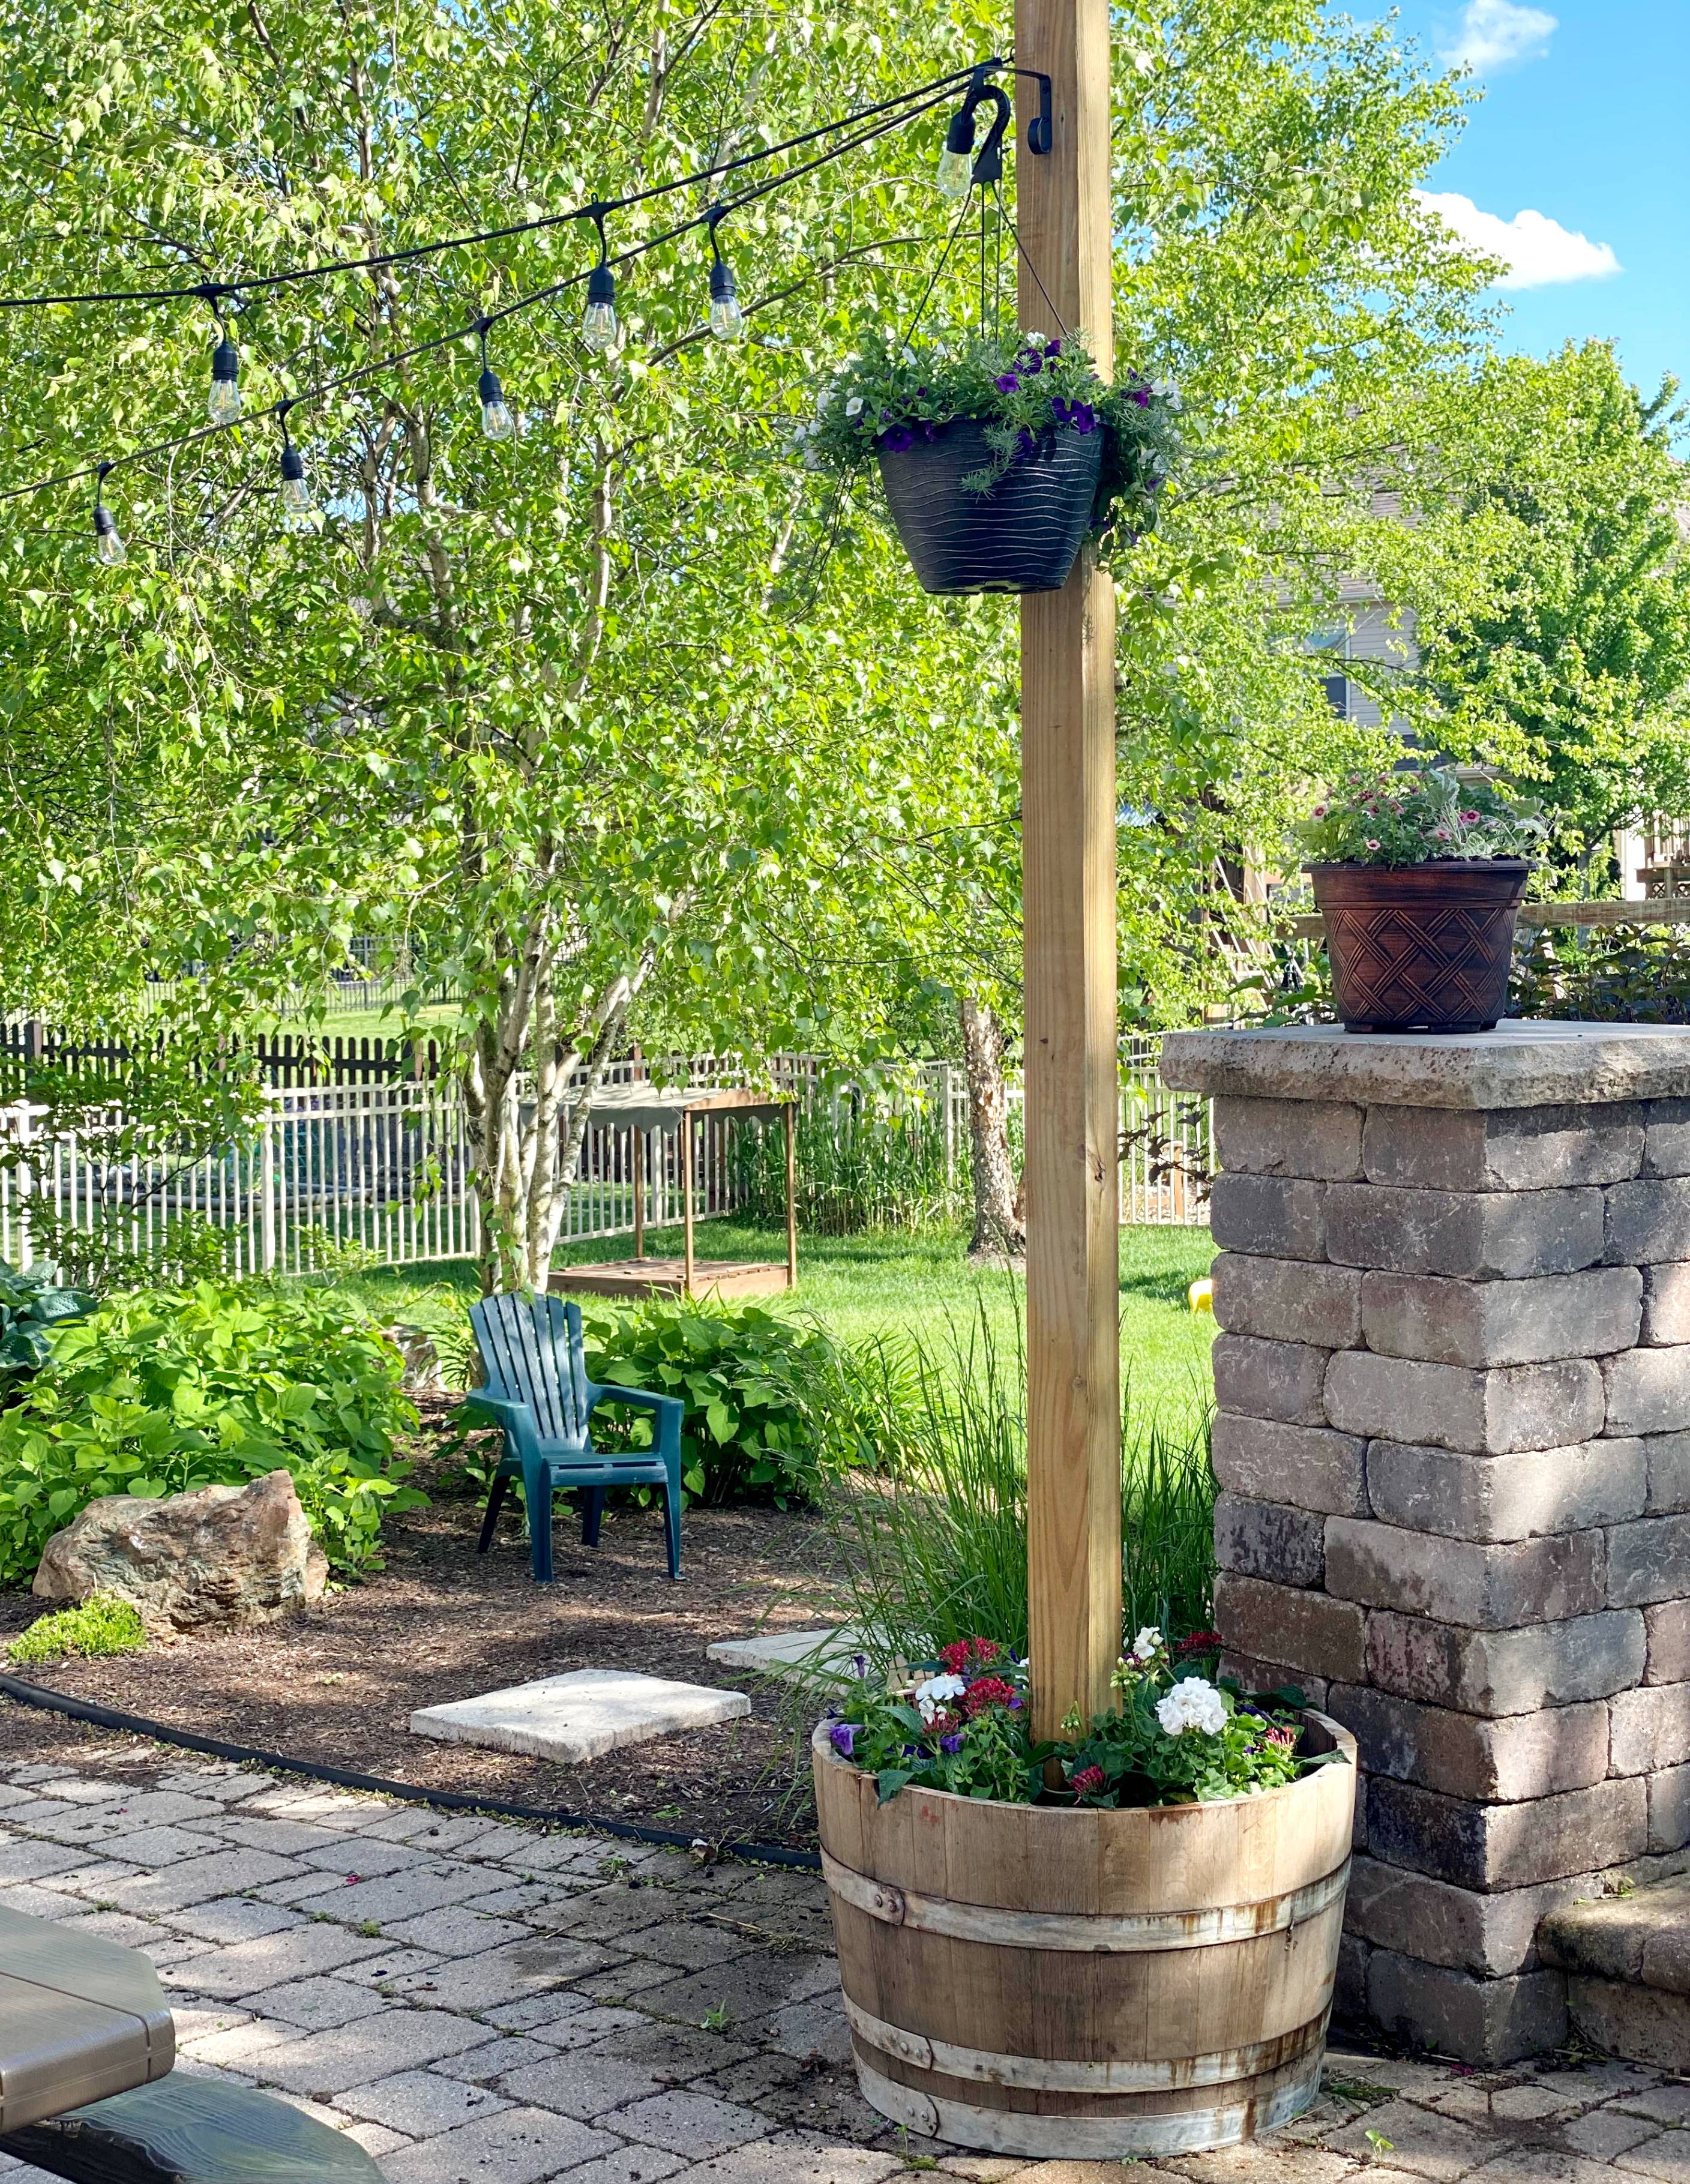
After that, it is really as easy as filling with potting mix, choosing your favorite flowers, and planting! We also added a hanging planter hook and a hook for outdoor lights to ours. I can’t tell you how much I love this addition to our patio. It makes me feel like we are at a restaurant when we sit out there, but at the same time, it reminds me that there really is no place like home.
About Liz Hartmann
Liz Hartmann is part of Real Homes' Real Expert panel. She's a DIYer and lover of all things home décor. She can be found on social media @misslizdidit.
-
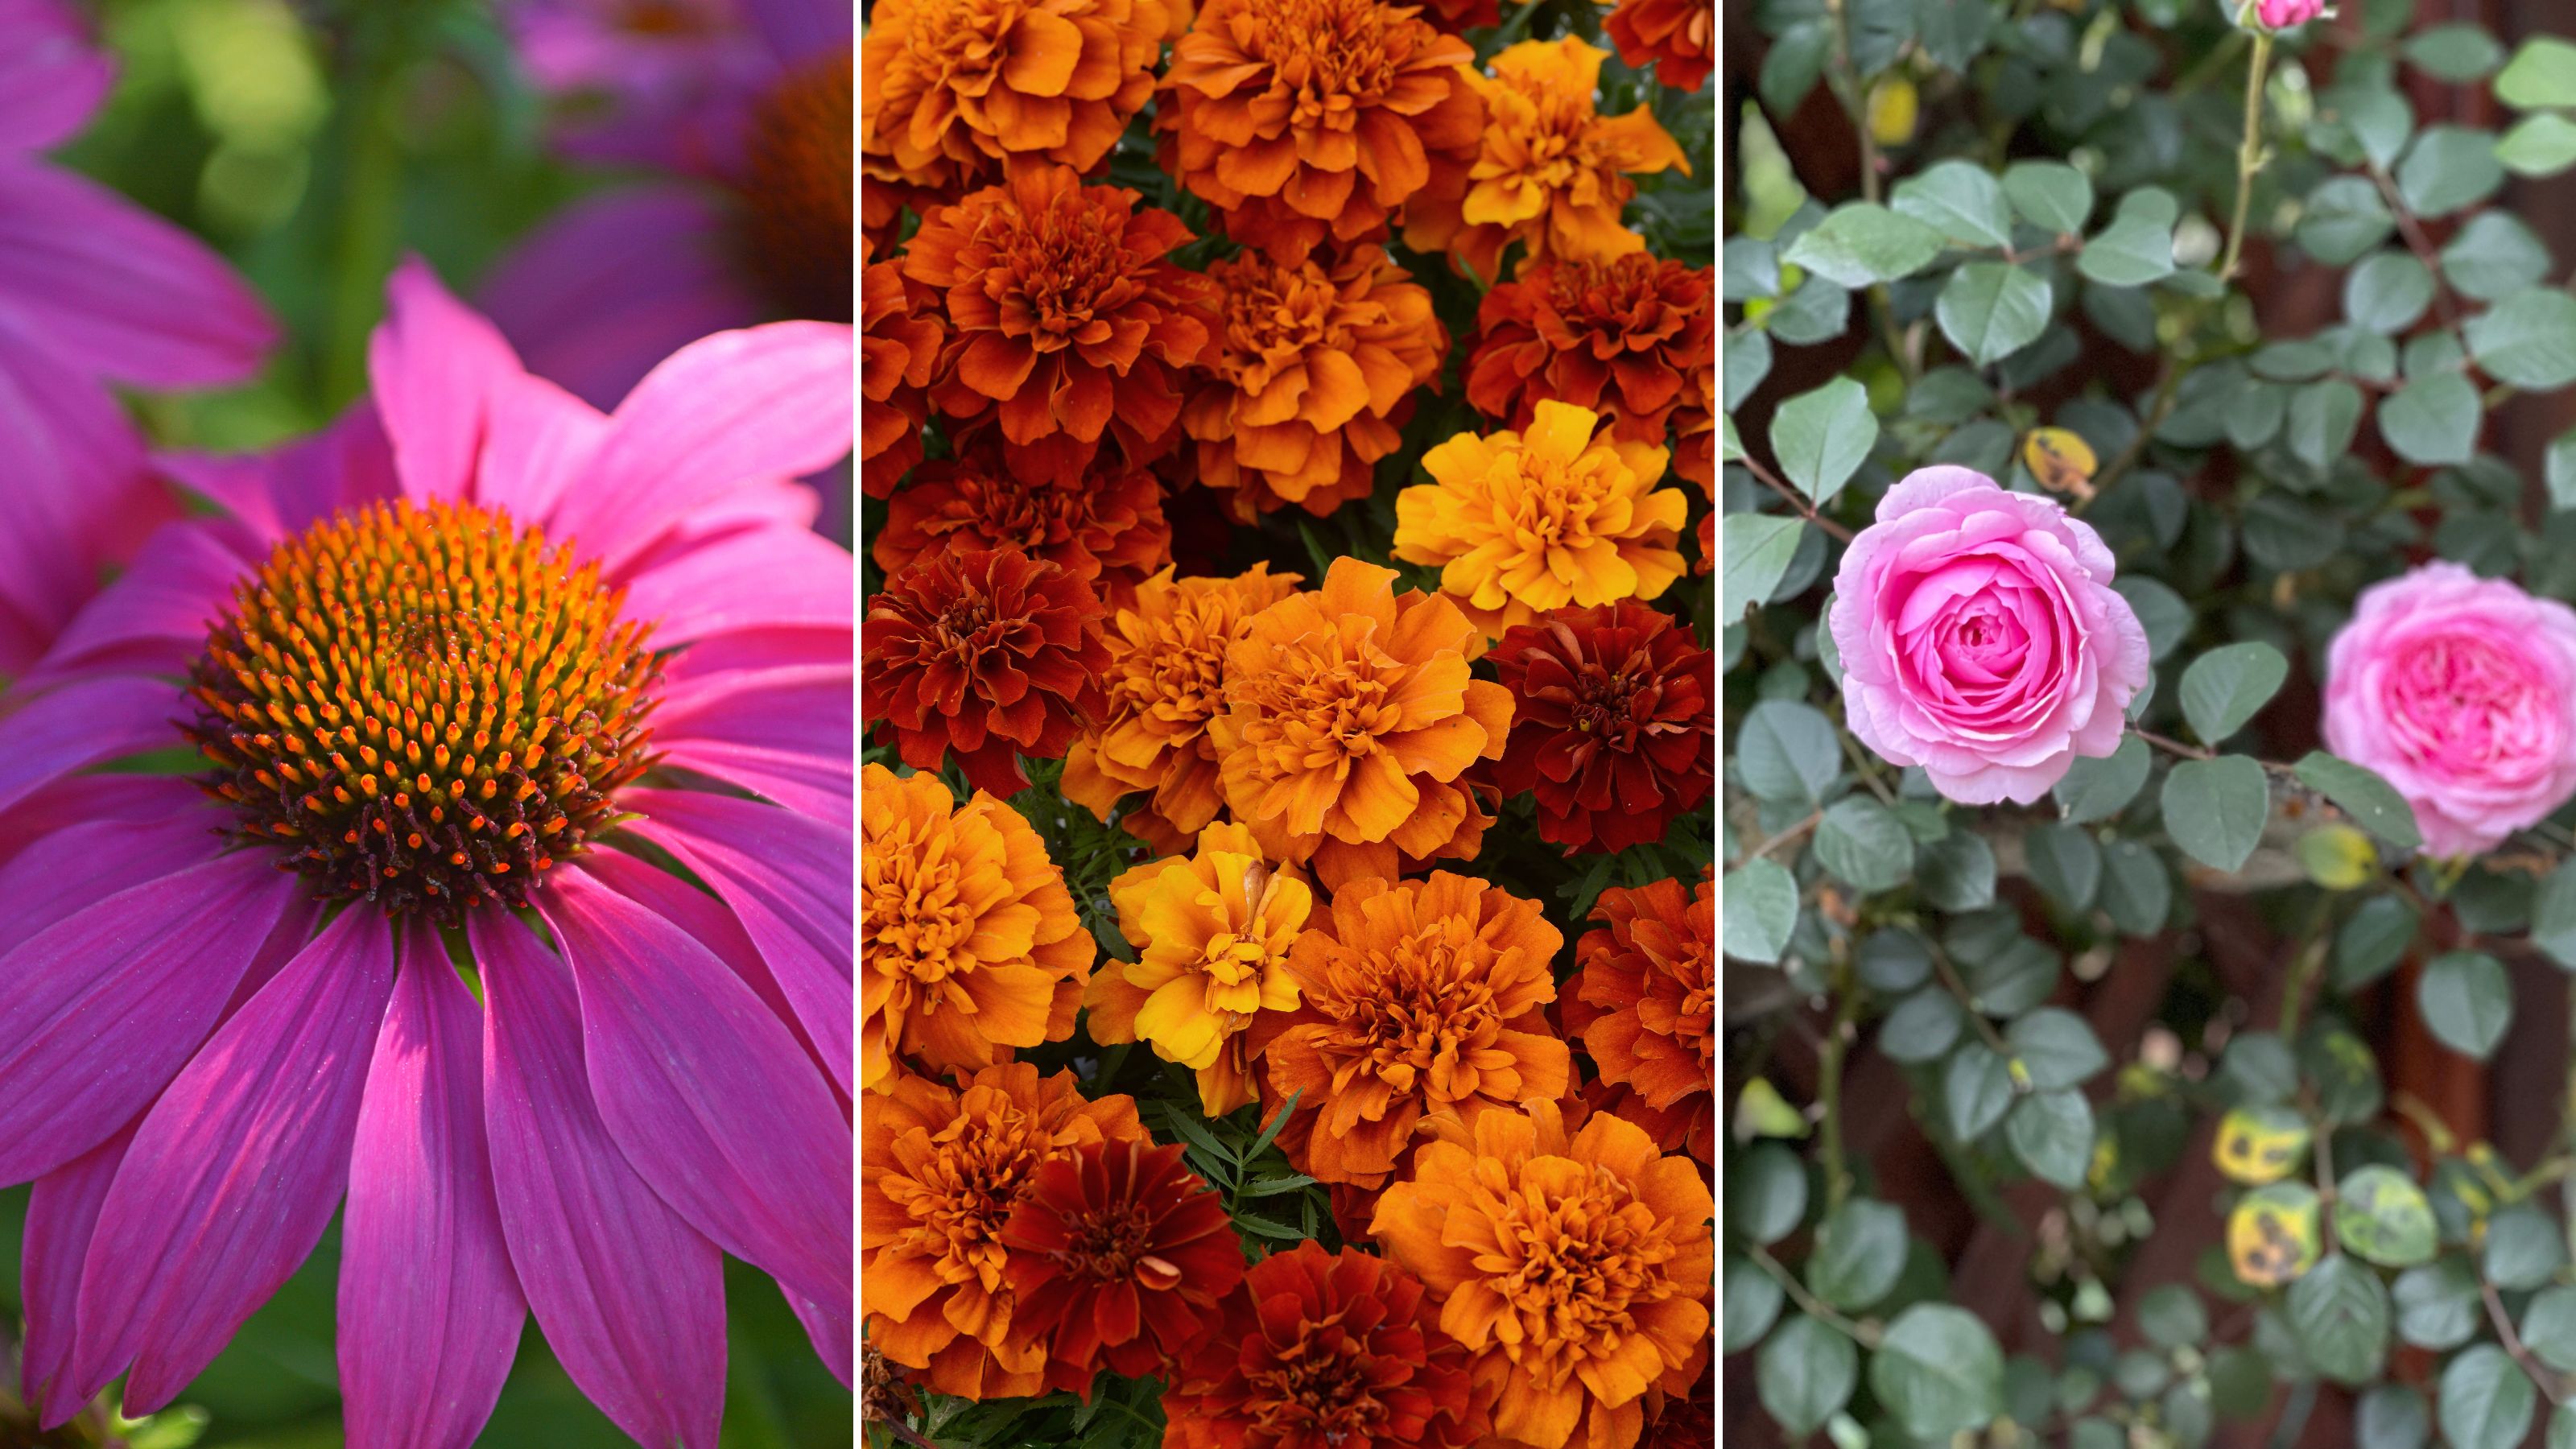 The 7 flowers to plant in August, according to gardening gurus
Knowing what flowers to plant in August isn't always so clear-cut. But that's why we called in help from pro planters — here's what they said to pot.
By Becks Shepherd Published
-
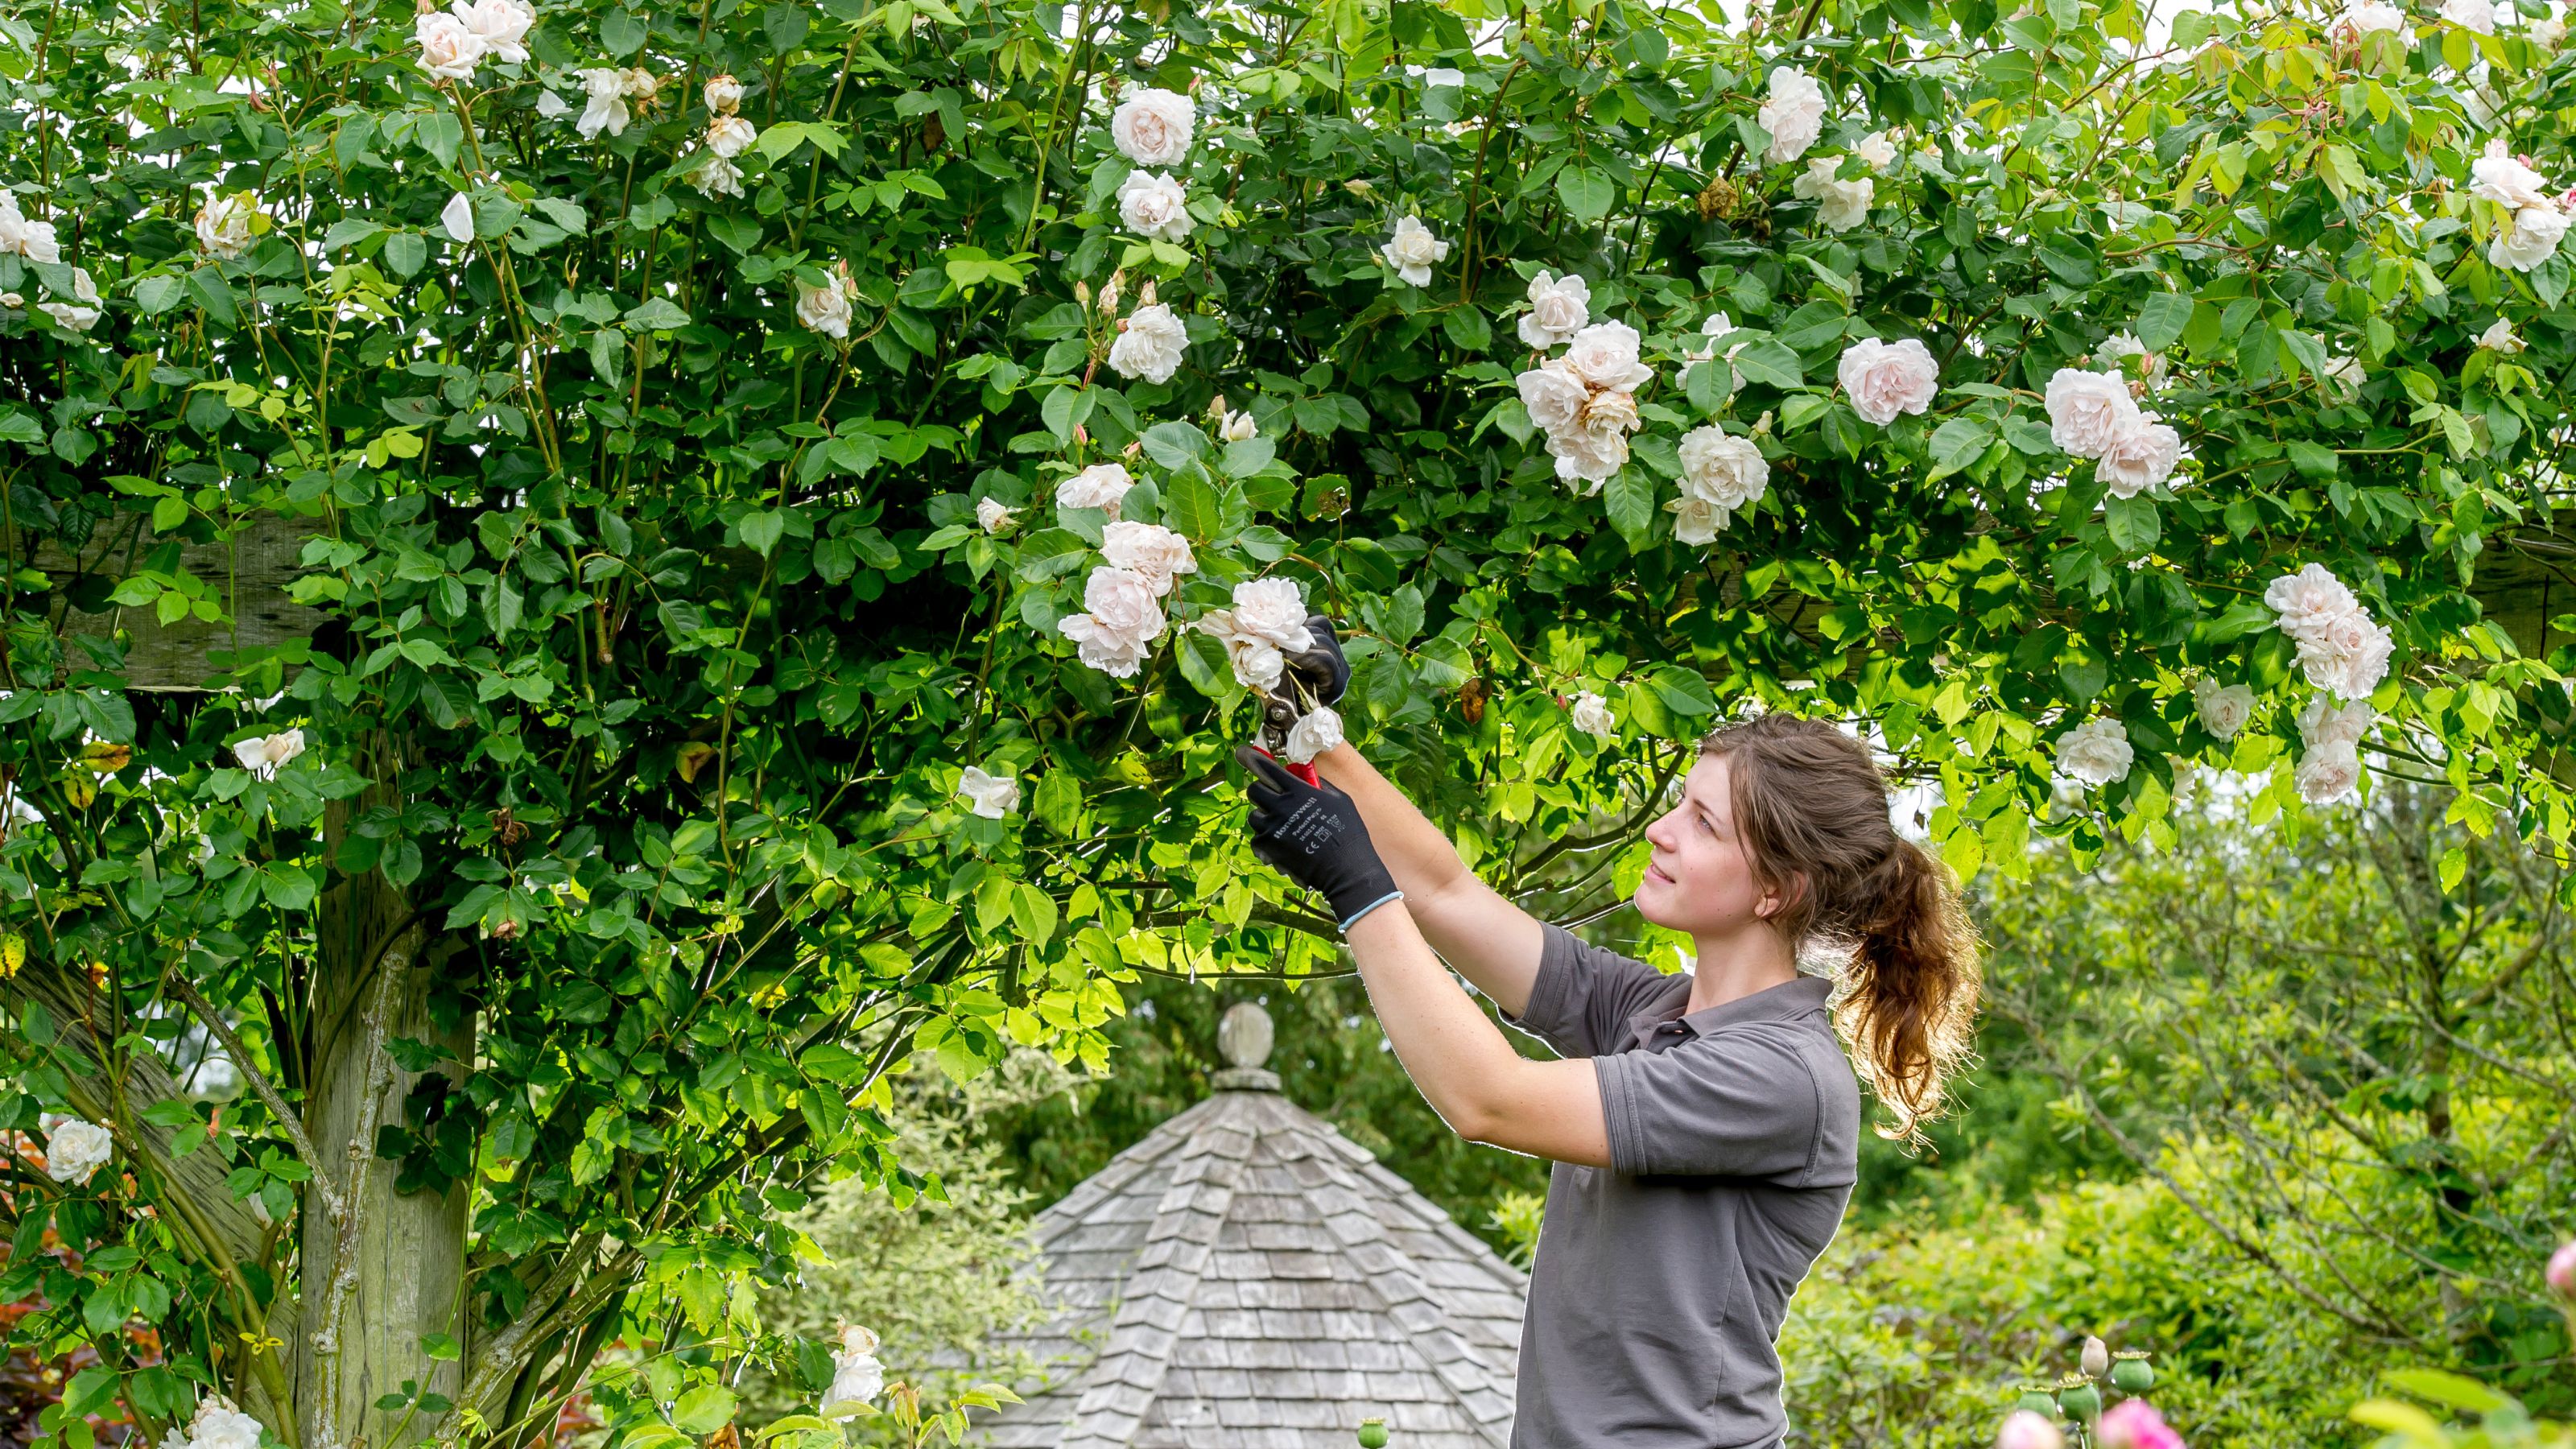 The 7 plants to prune in August — and the 2 pieces of greenery you shouldn't touch
Wondering what plants to prune in August? We asked a gardening expert for their top tips plus info on what pieces of greenery to avoid pruning this month
By Becks Shepherd Published
-
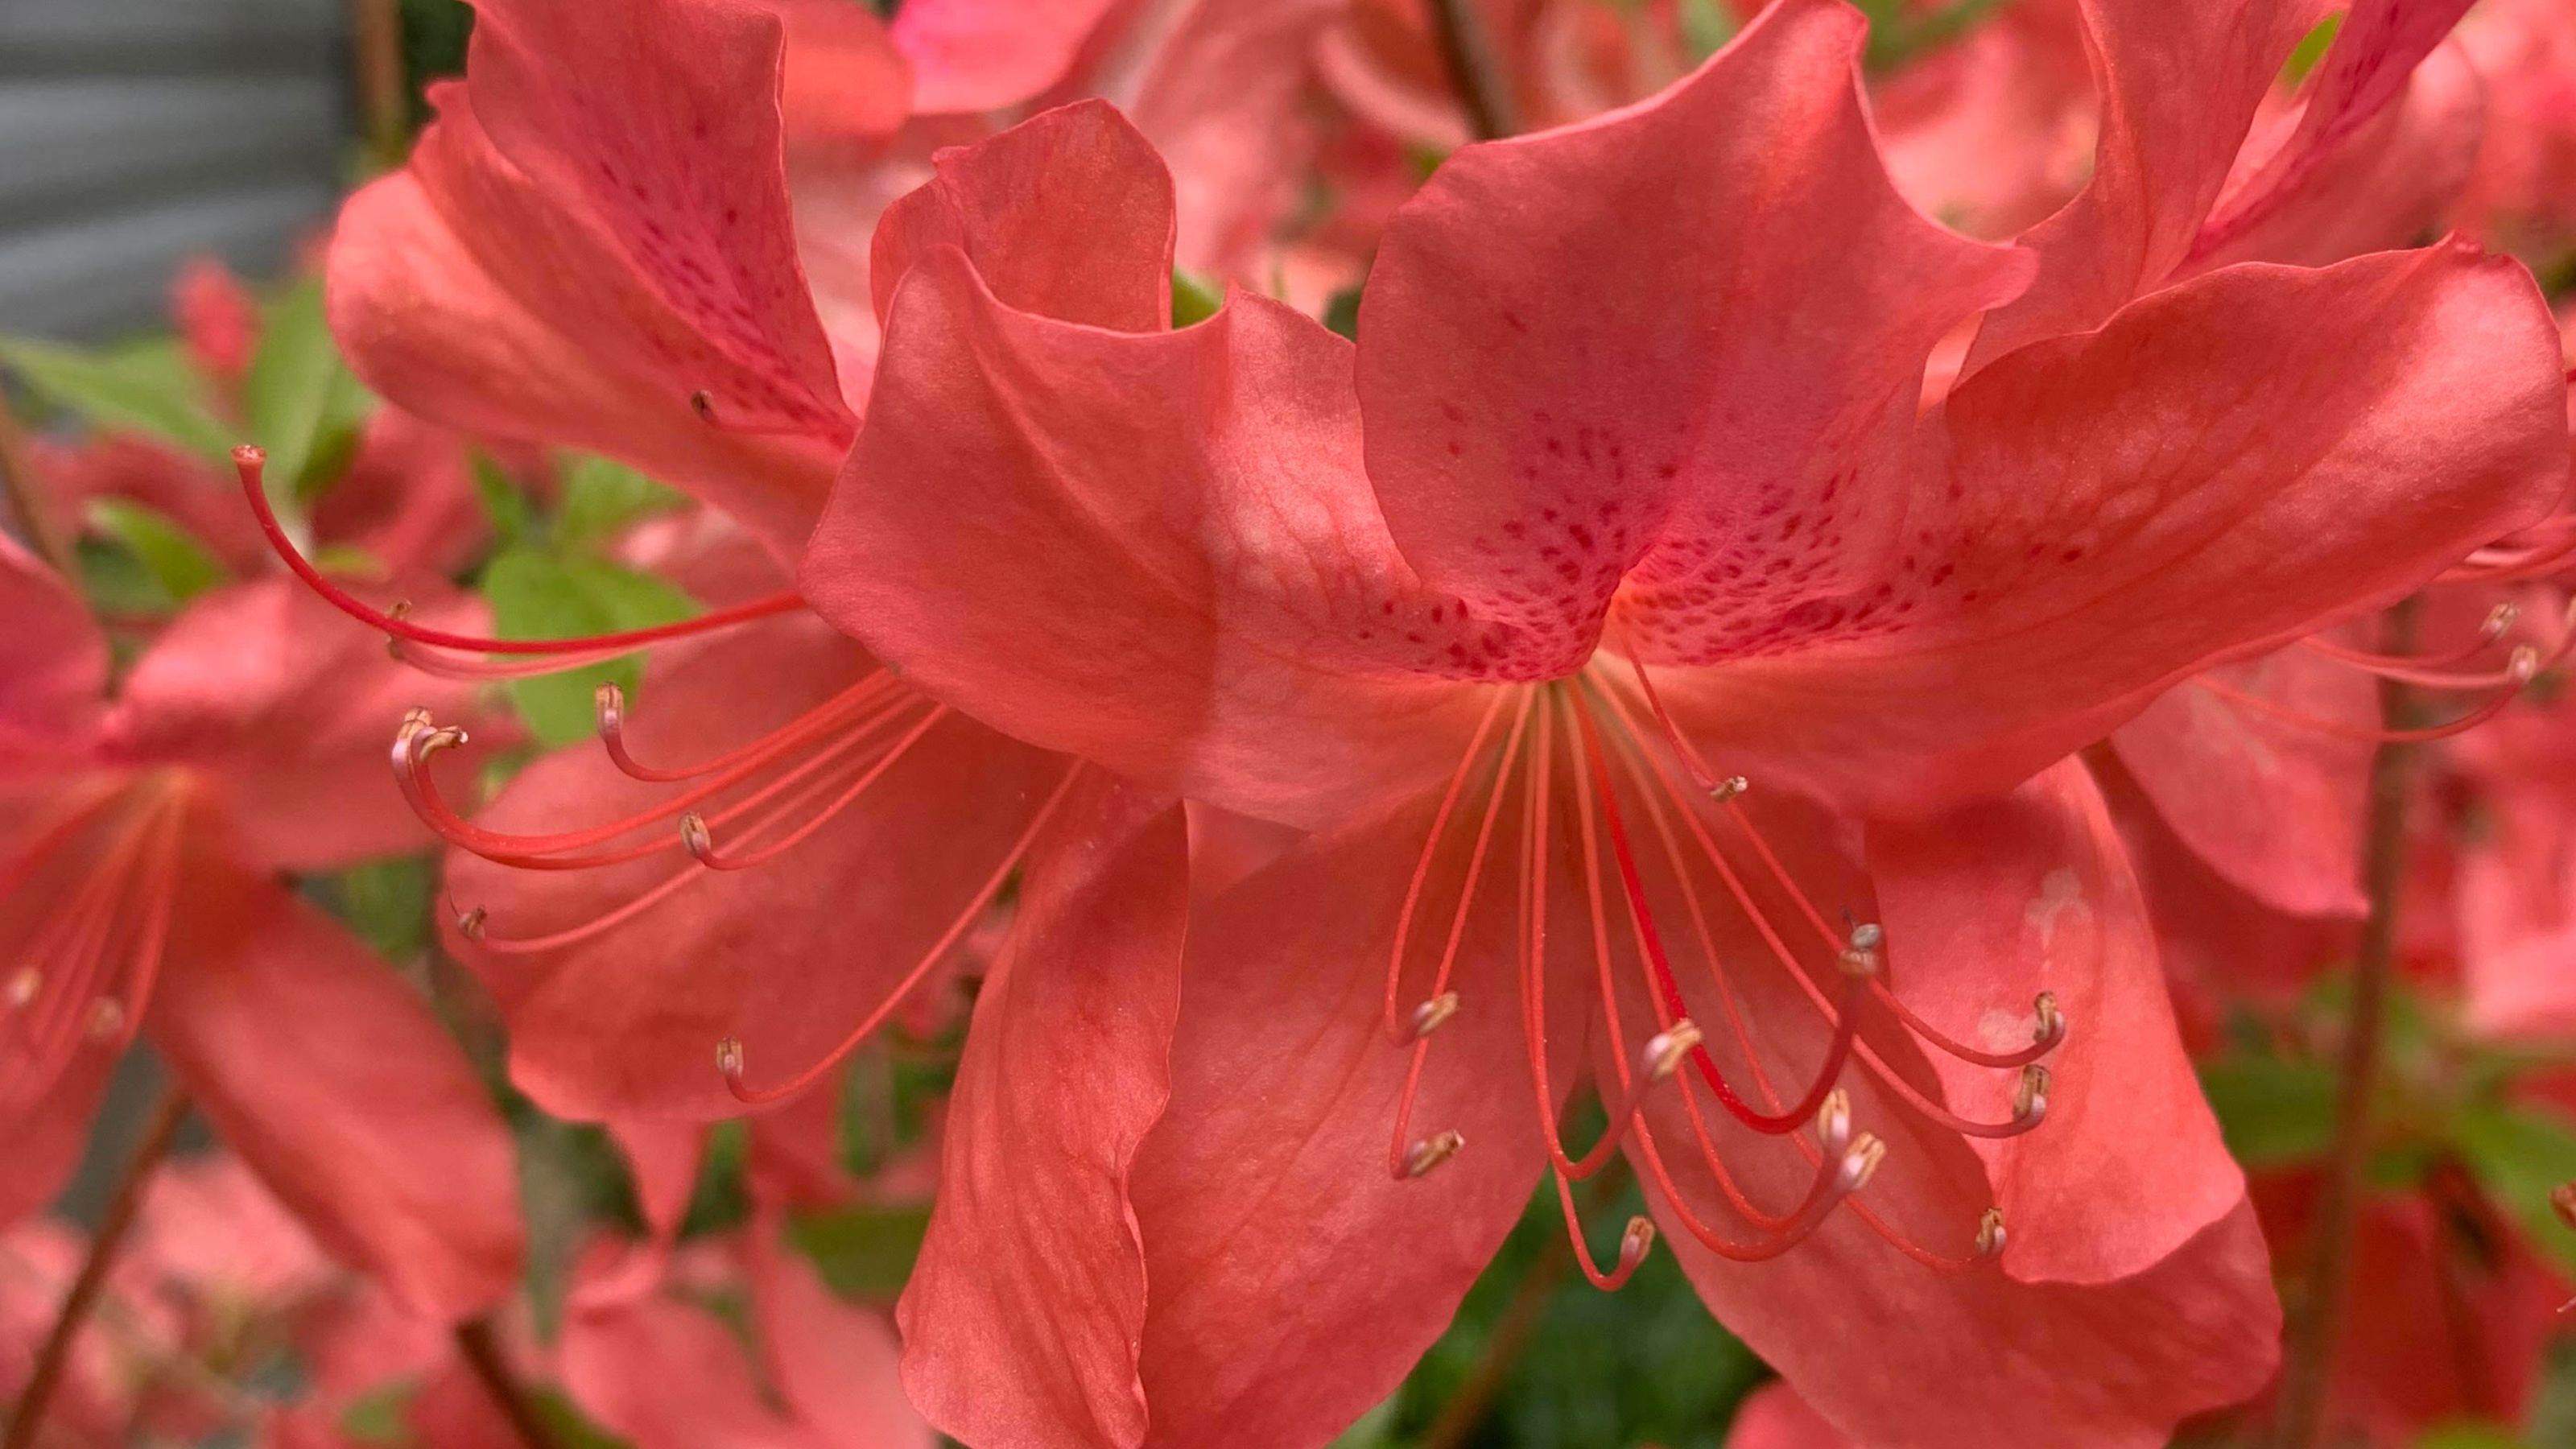 Do you need to deadhead azaleas? Top tips for pruning these flowering shrubs
Wondering whether you need to deadhead azaleas? We asked a gardening expert for their top tips for looking after these blooms
By Becks Shepherd Published
-
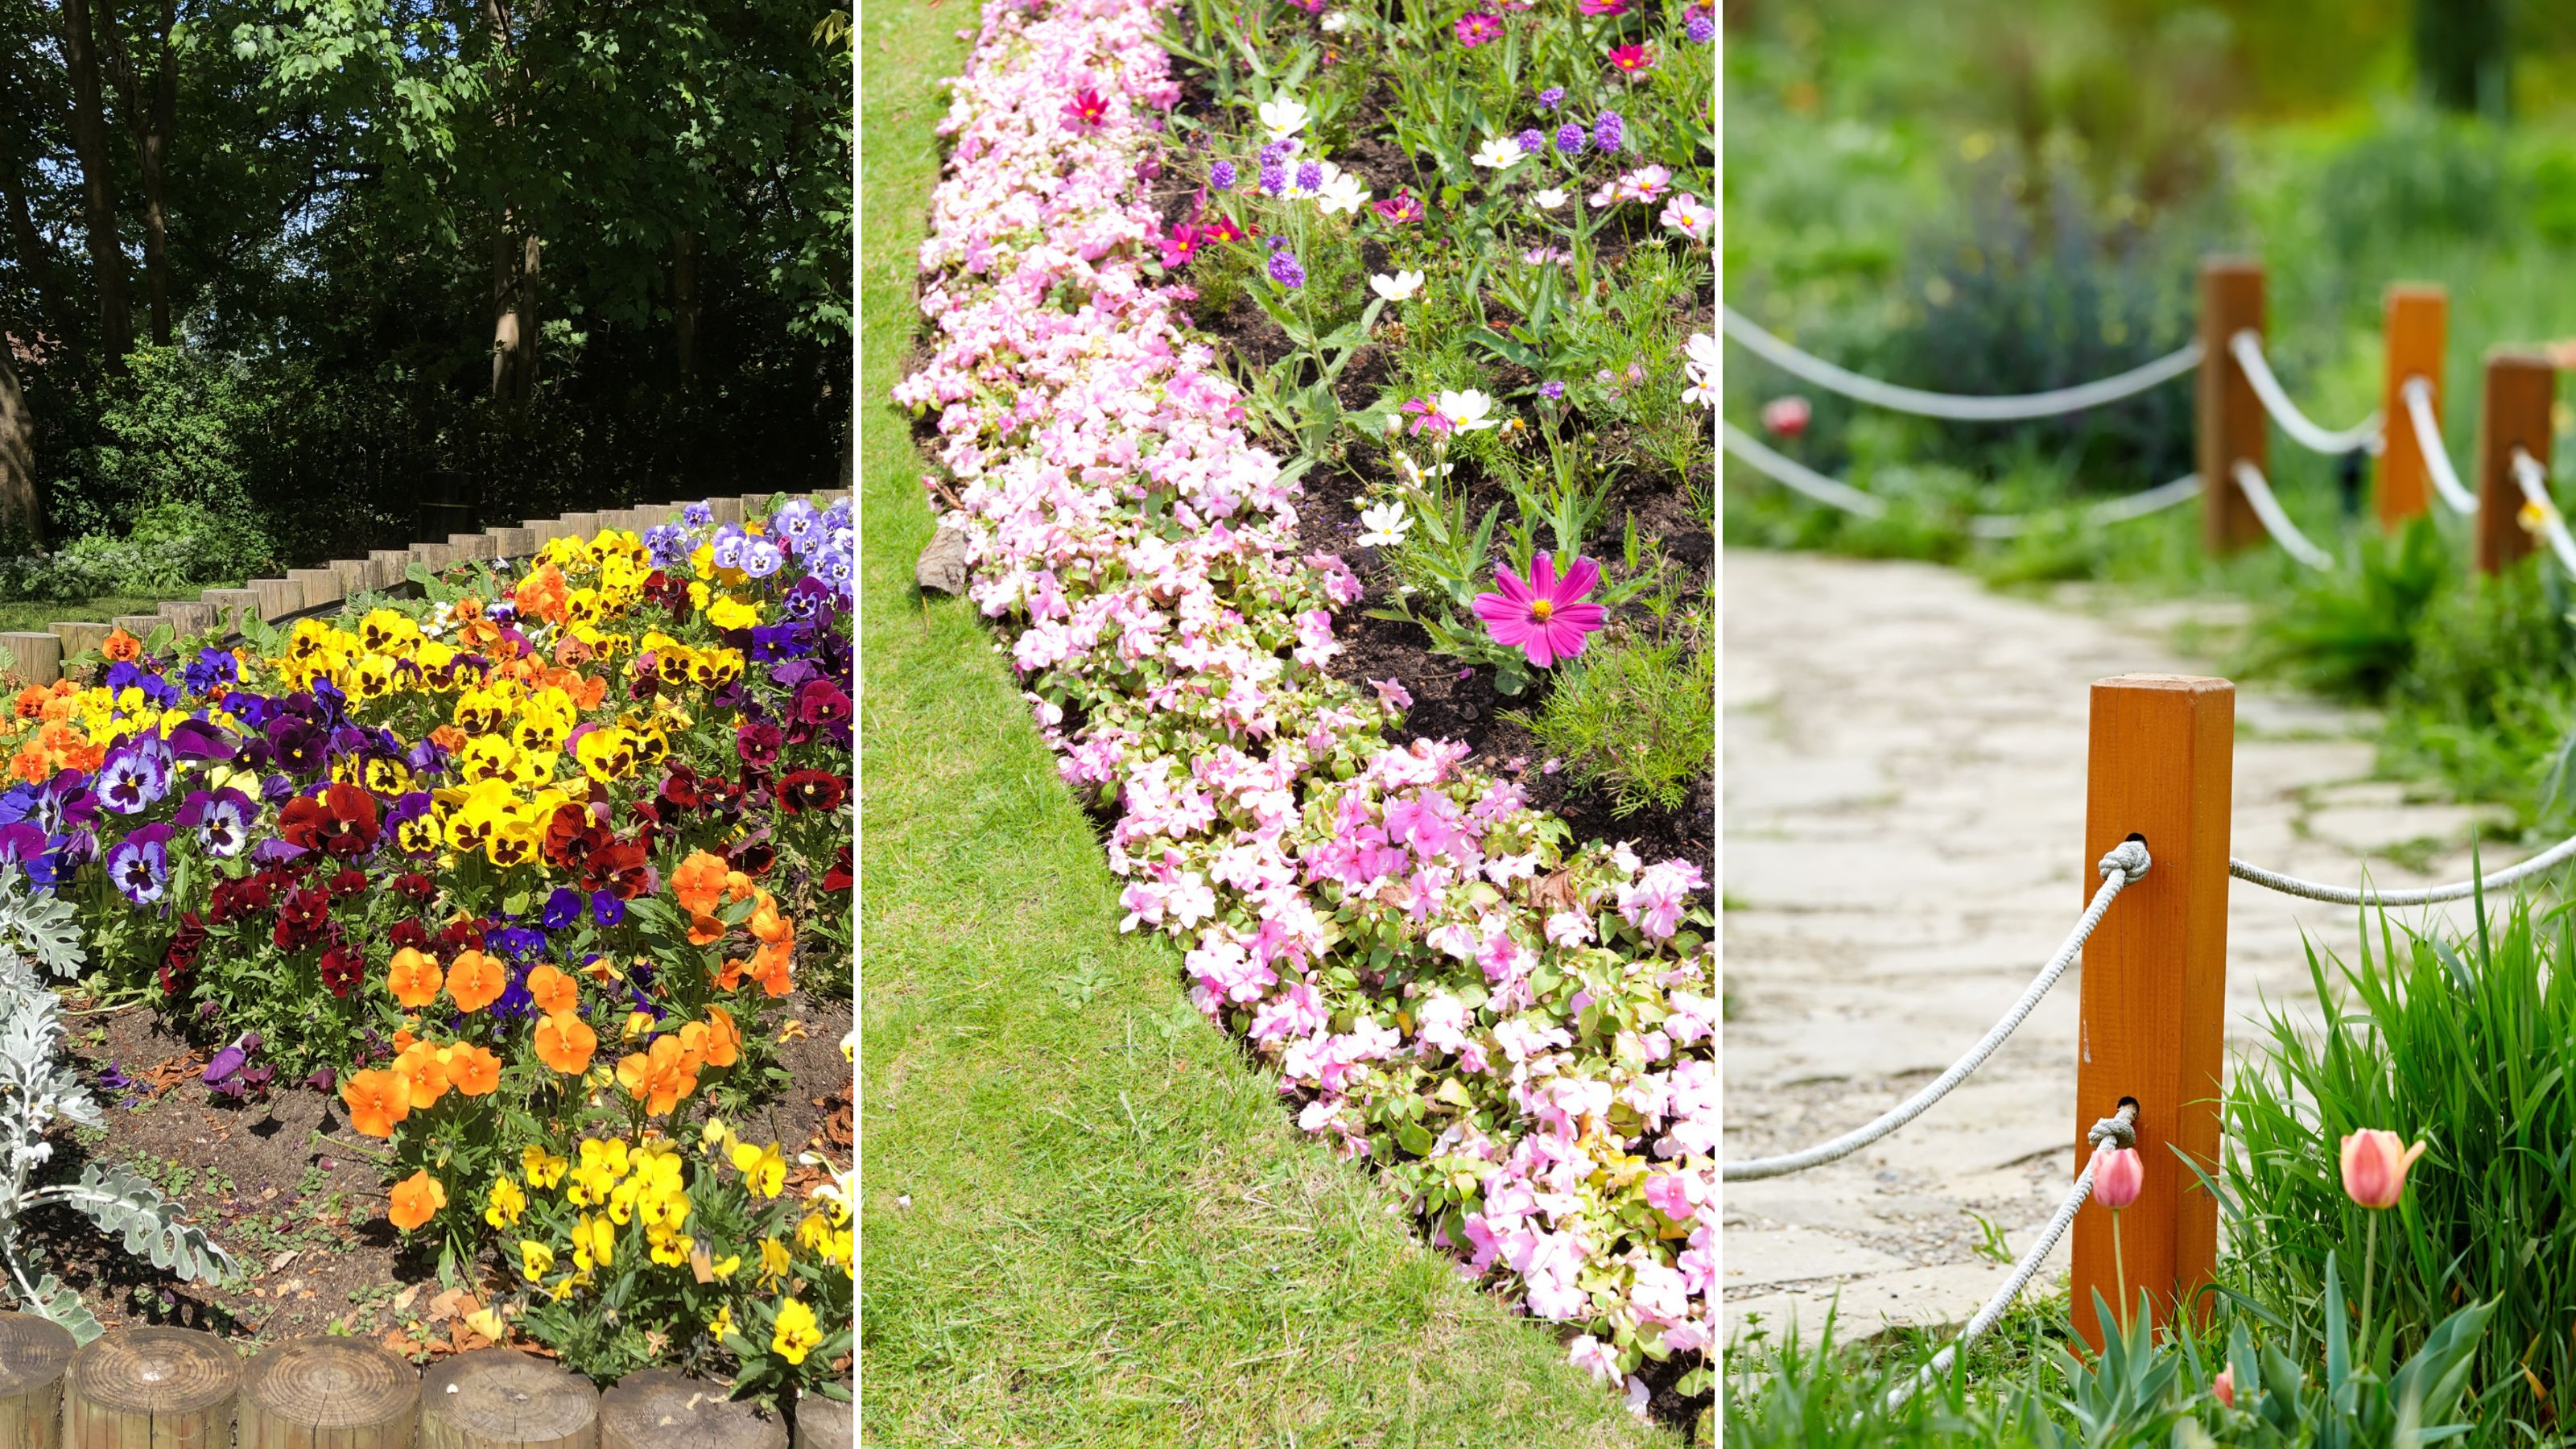 14 lawn edging ideas that will add definition and style to your backyard
Want to neaten up your lawn with lawn edging ideas? From fresh flowers to laidback bricks, we've scouted out materials and styles that look brilliant
By Eve Smallman Published
-
 Which houseplants are toxic to dogs? Vet experts pinpoint problem plants and solutions
Wondering Which houseplants are toxic to dogs? We spoke to vets about the problematic leafy greens, what they trigger in dogs, and how to find a solution
By Danielle Valente Published
-
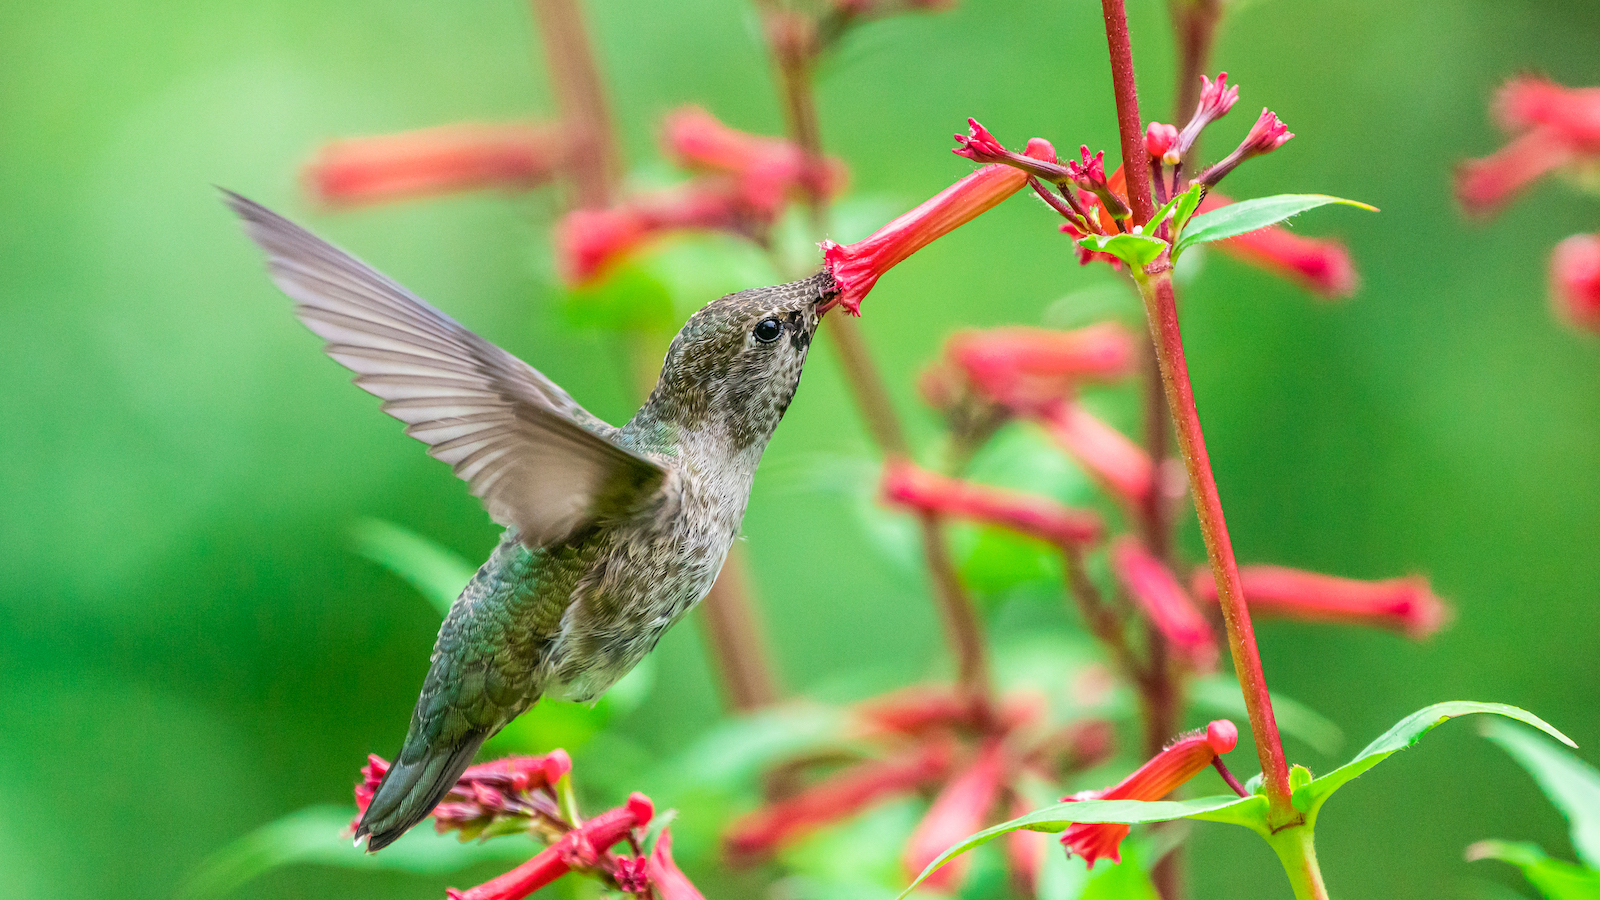 How to attract hummingbirds to your backyard, according to ornithologists
Trying to figure out How to attract hummingbirds to your backyard? These ornithologist-backed tips will guarantee you visitors in no time
By Danielle Valente Published
-
 Does hydrangea bloom every year? Pros spill the dirt on the "garden favorite" and when to expect it
Wondering, "Does hydrangea bloom every year"? We asked the pros all about the garden favorite and how often to expect them — here's the dirt.
By Danielle Valente Published
-
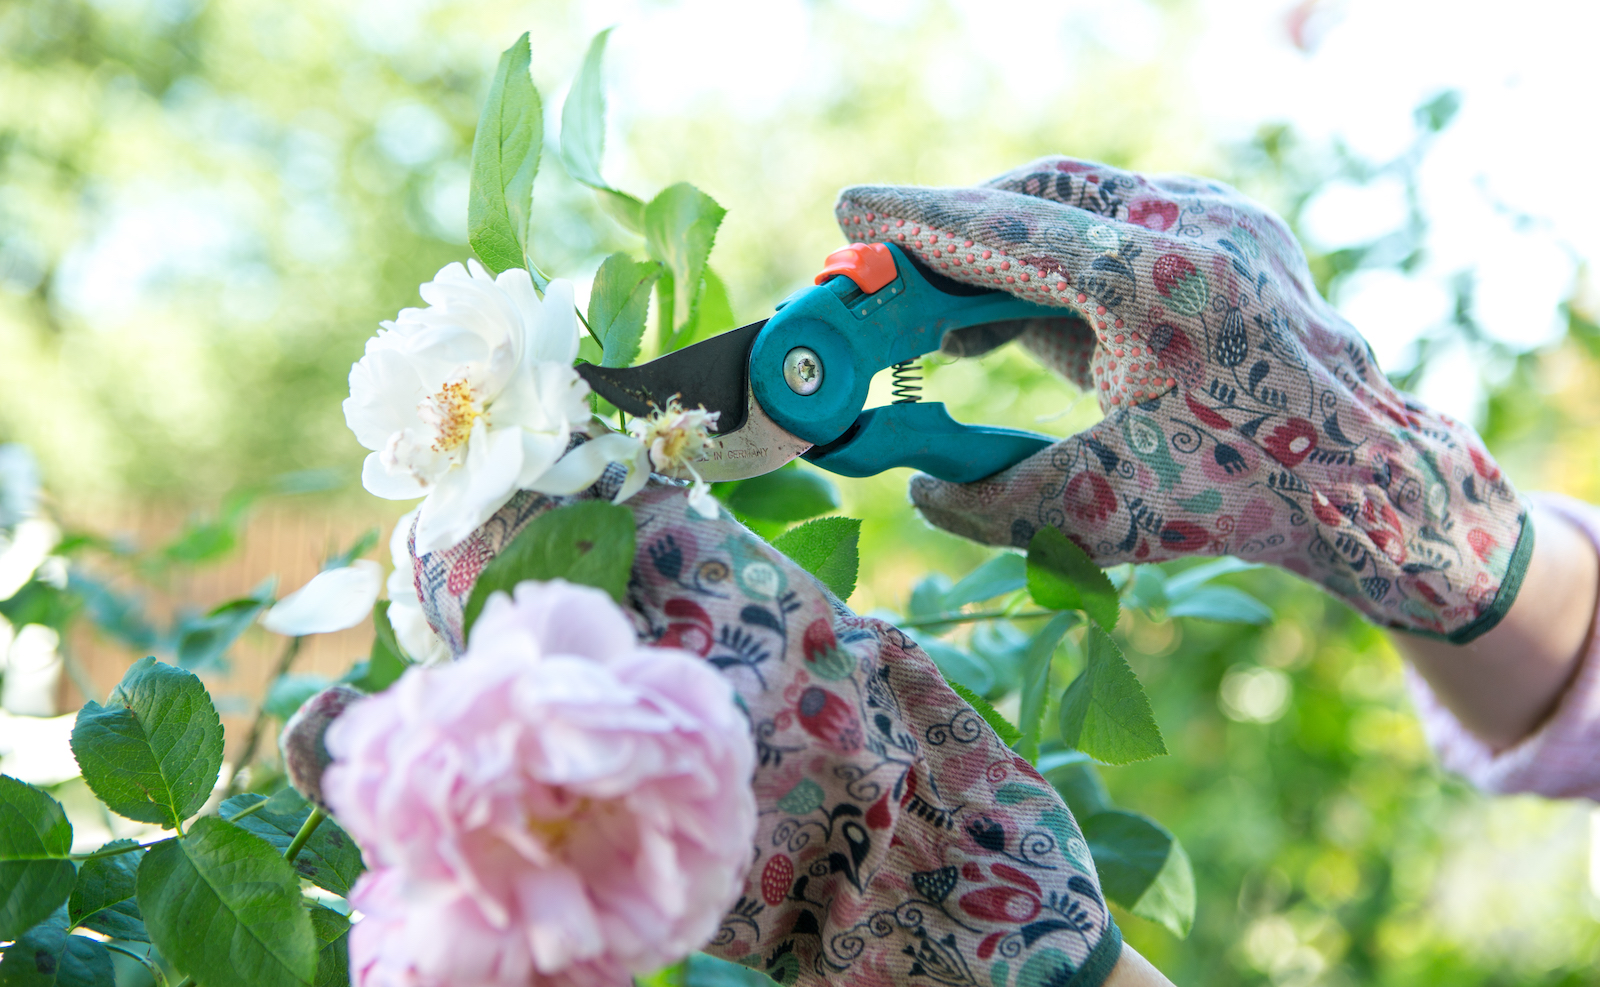 What to prune in spring — experts reveal how to get a lush, full garden
Curious what to prune in spring? We asked gardening experts for their top tips for a luscious, thriving garden
By Danielle Valente Published