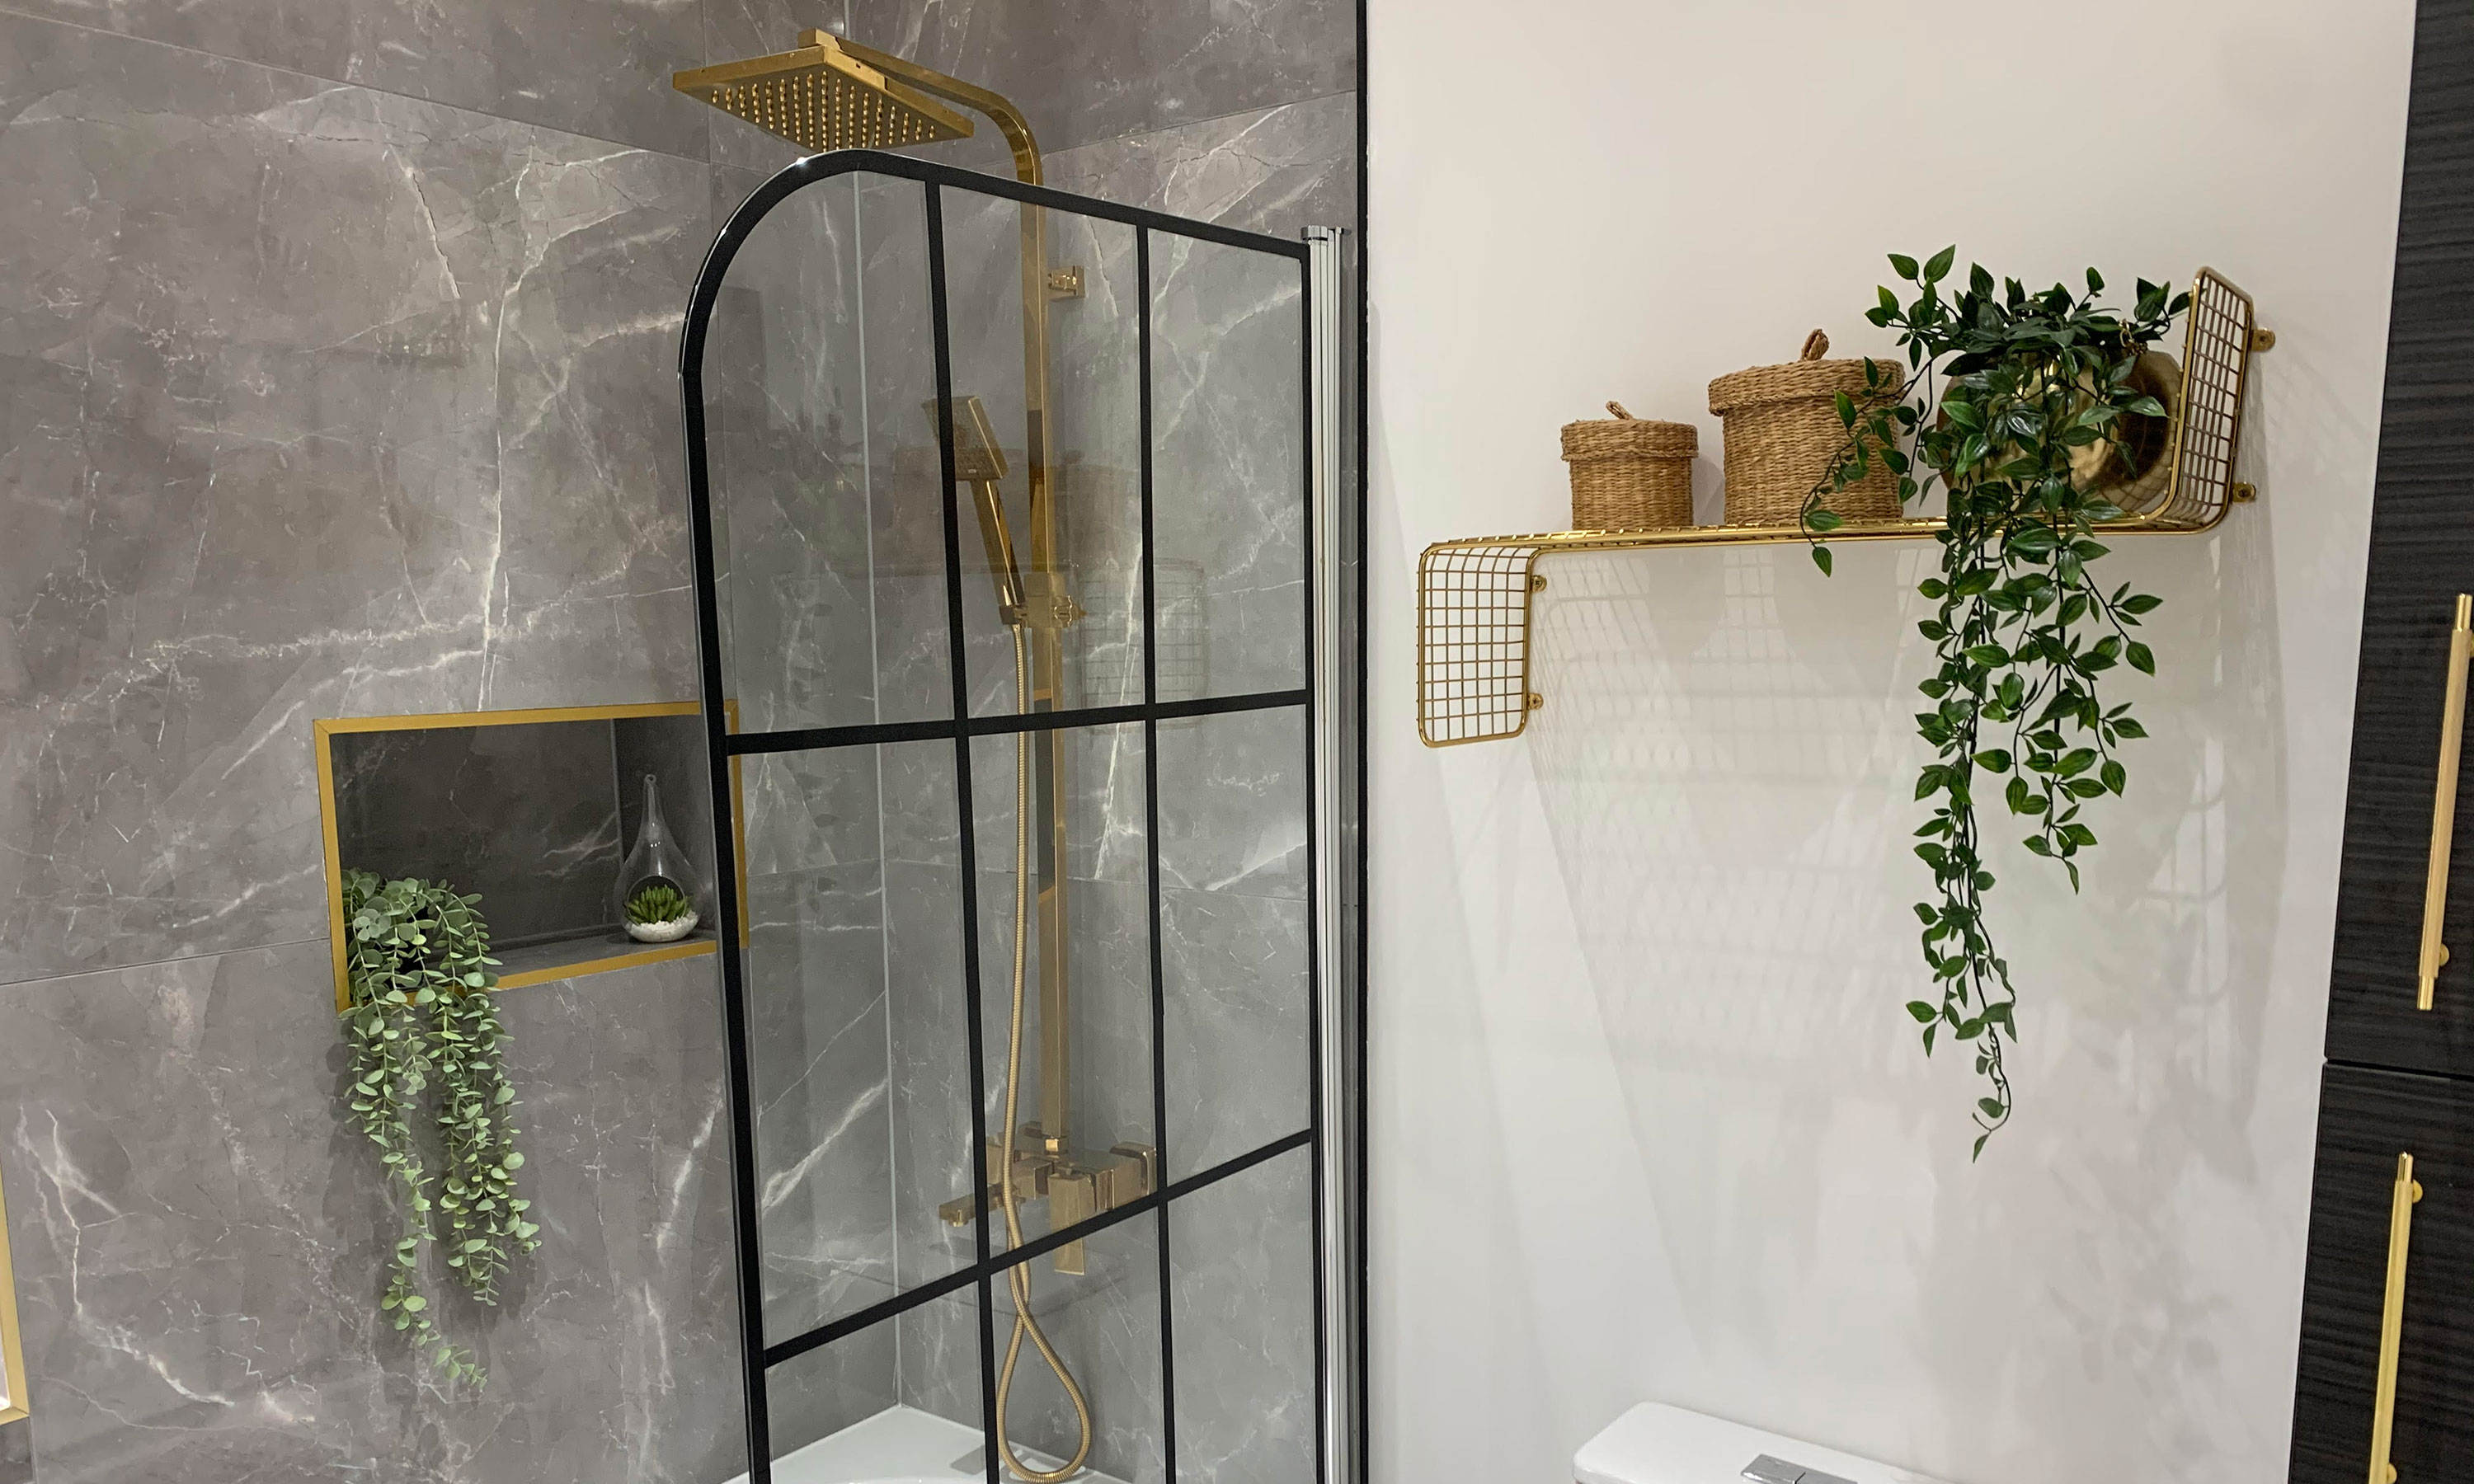

When we purchased our 1950s terraced house the bathroom wasn’t in the best state. Old fashioned wall to floor tiles, a random pipe running in the centre, vinyl flooring with carpet on top and just too much for the very small space! With just 2m by 2m space there was a poorly built in built cupboard, shower cubicle, bath, basin and toilet. It was cramped to say the least!
Here’s the old bathroom:
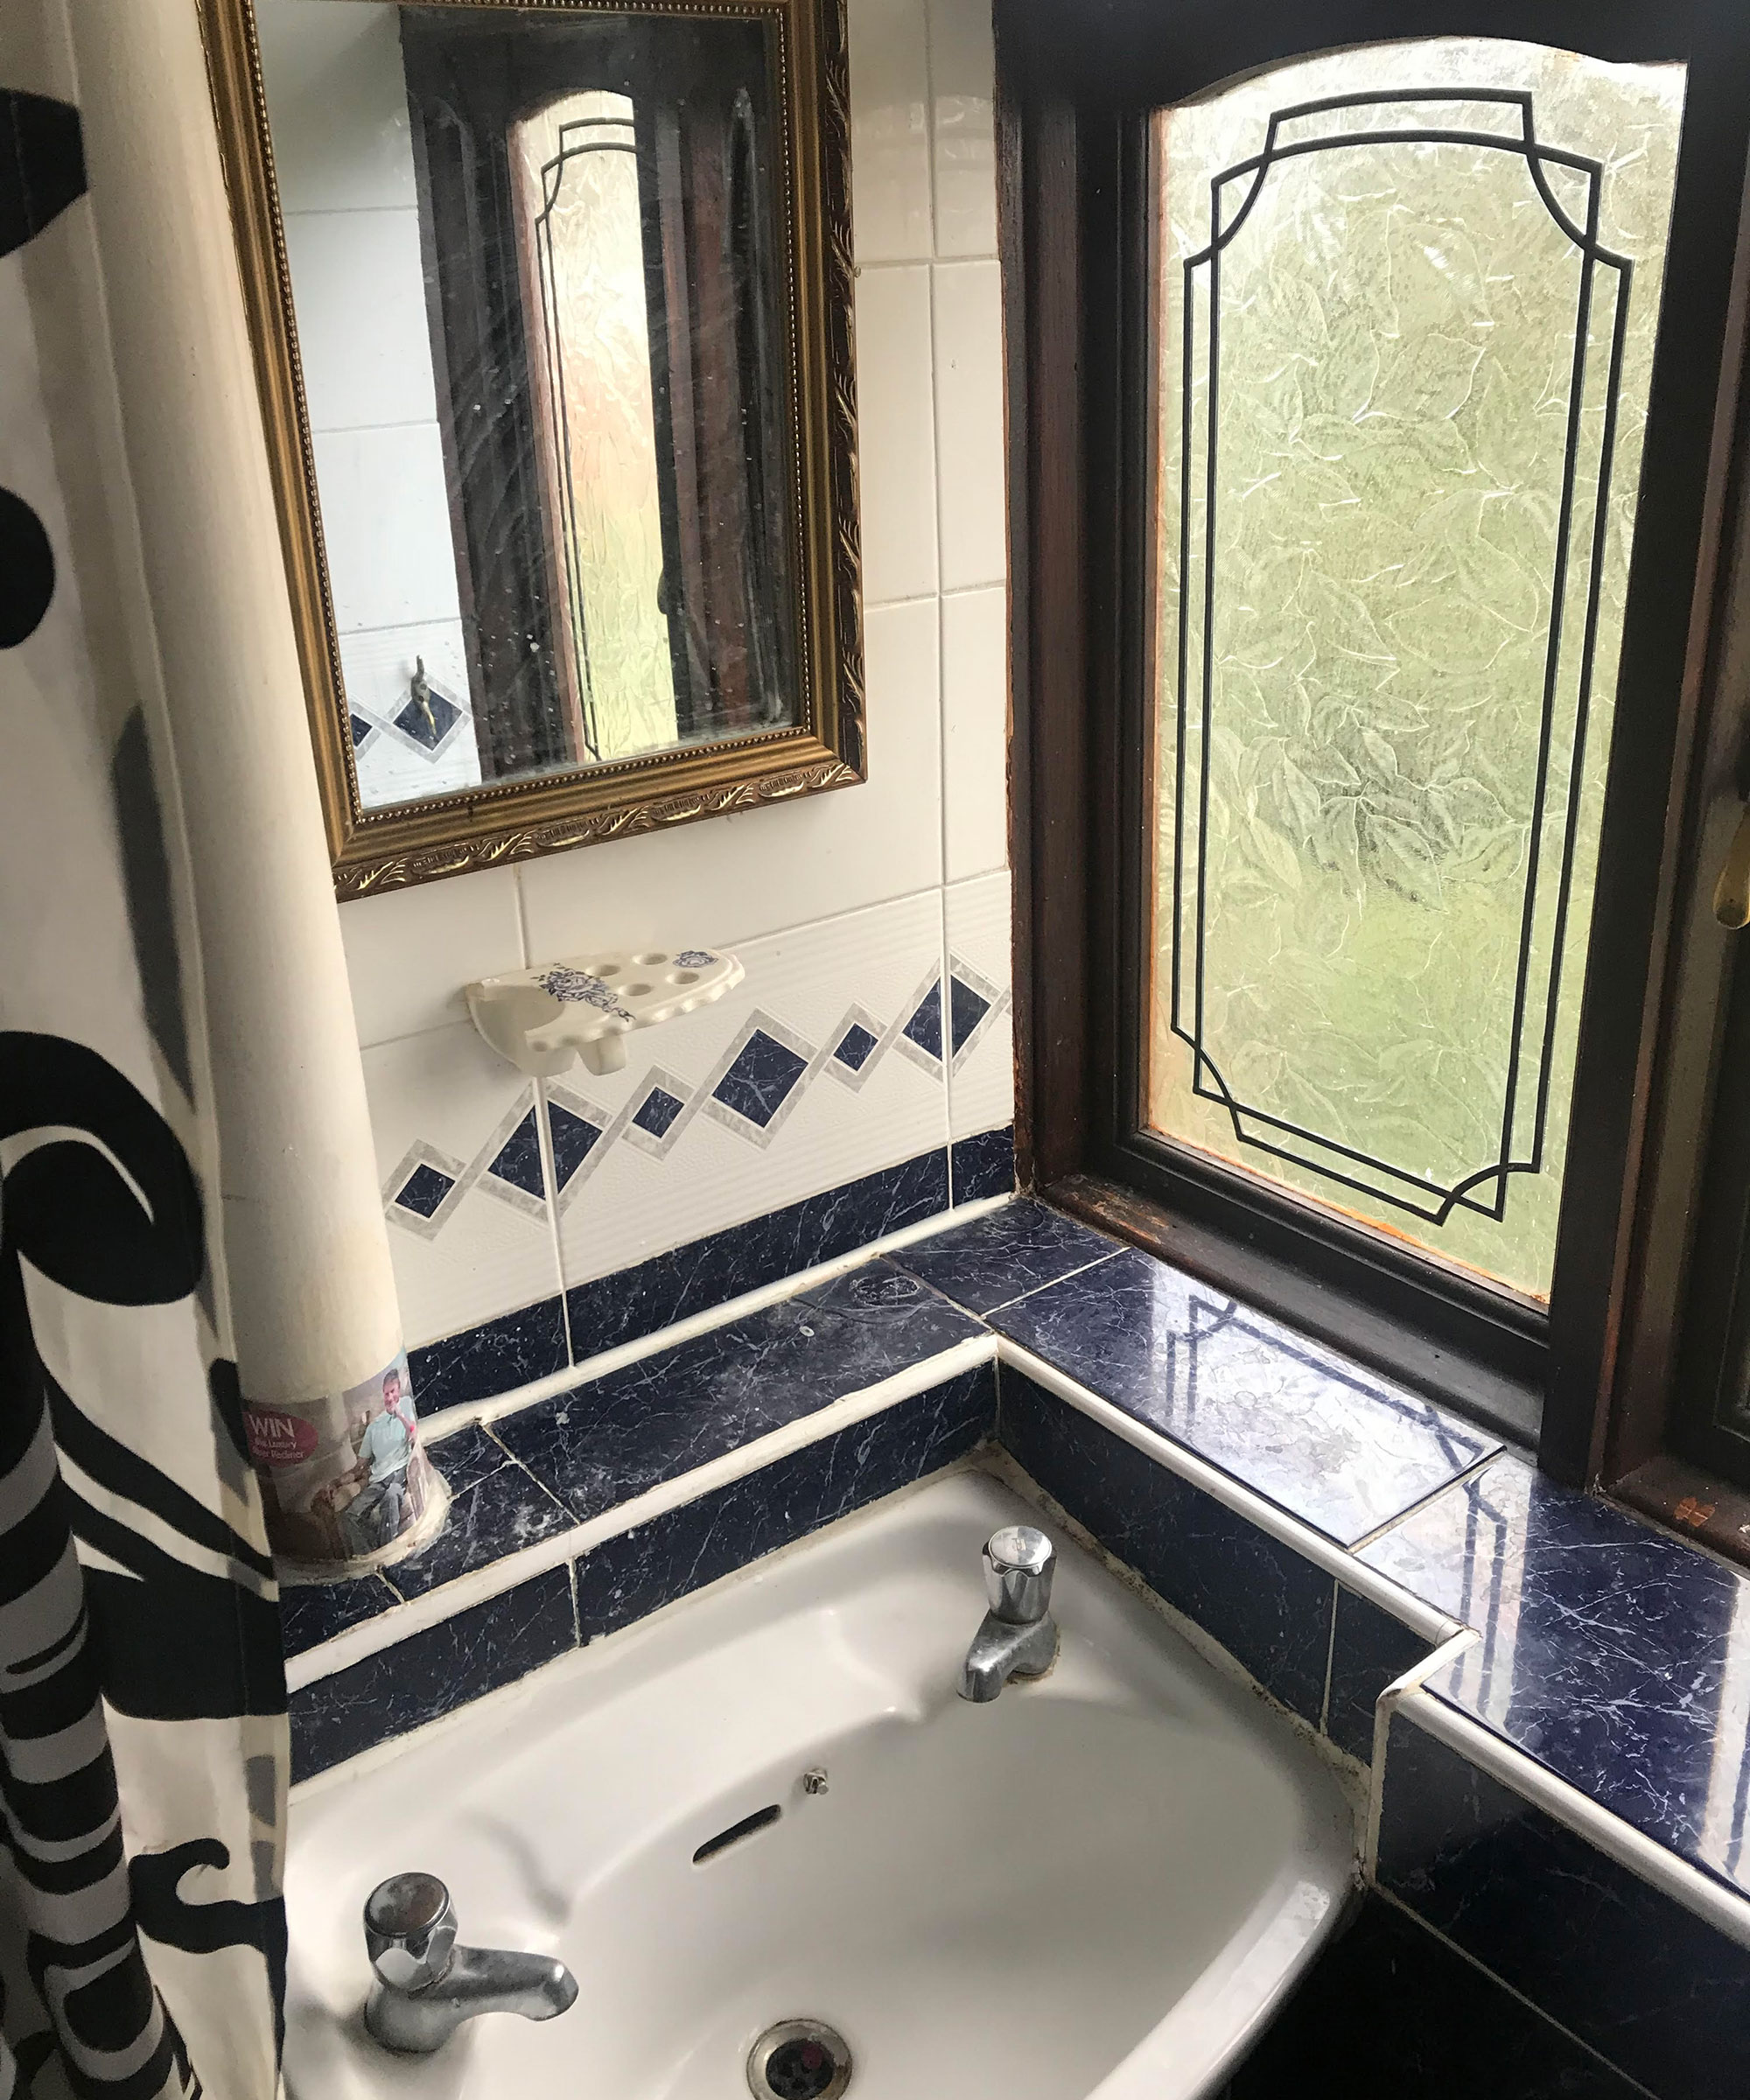
The initial plan was not to renovate the bathroom for a little while, because our renovation was progressing quite slowly. But in a last minute effort to make the house a home, we agreed to let the builder do a temporary renovation to make it suitable for use. Unfortunately, we ended up with a botched renovation: a basin sink that overlapped the bath, a shower cubicle that did not function, no shower screen and the worst part – no running hot water!
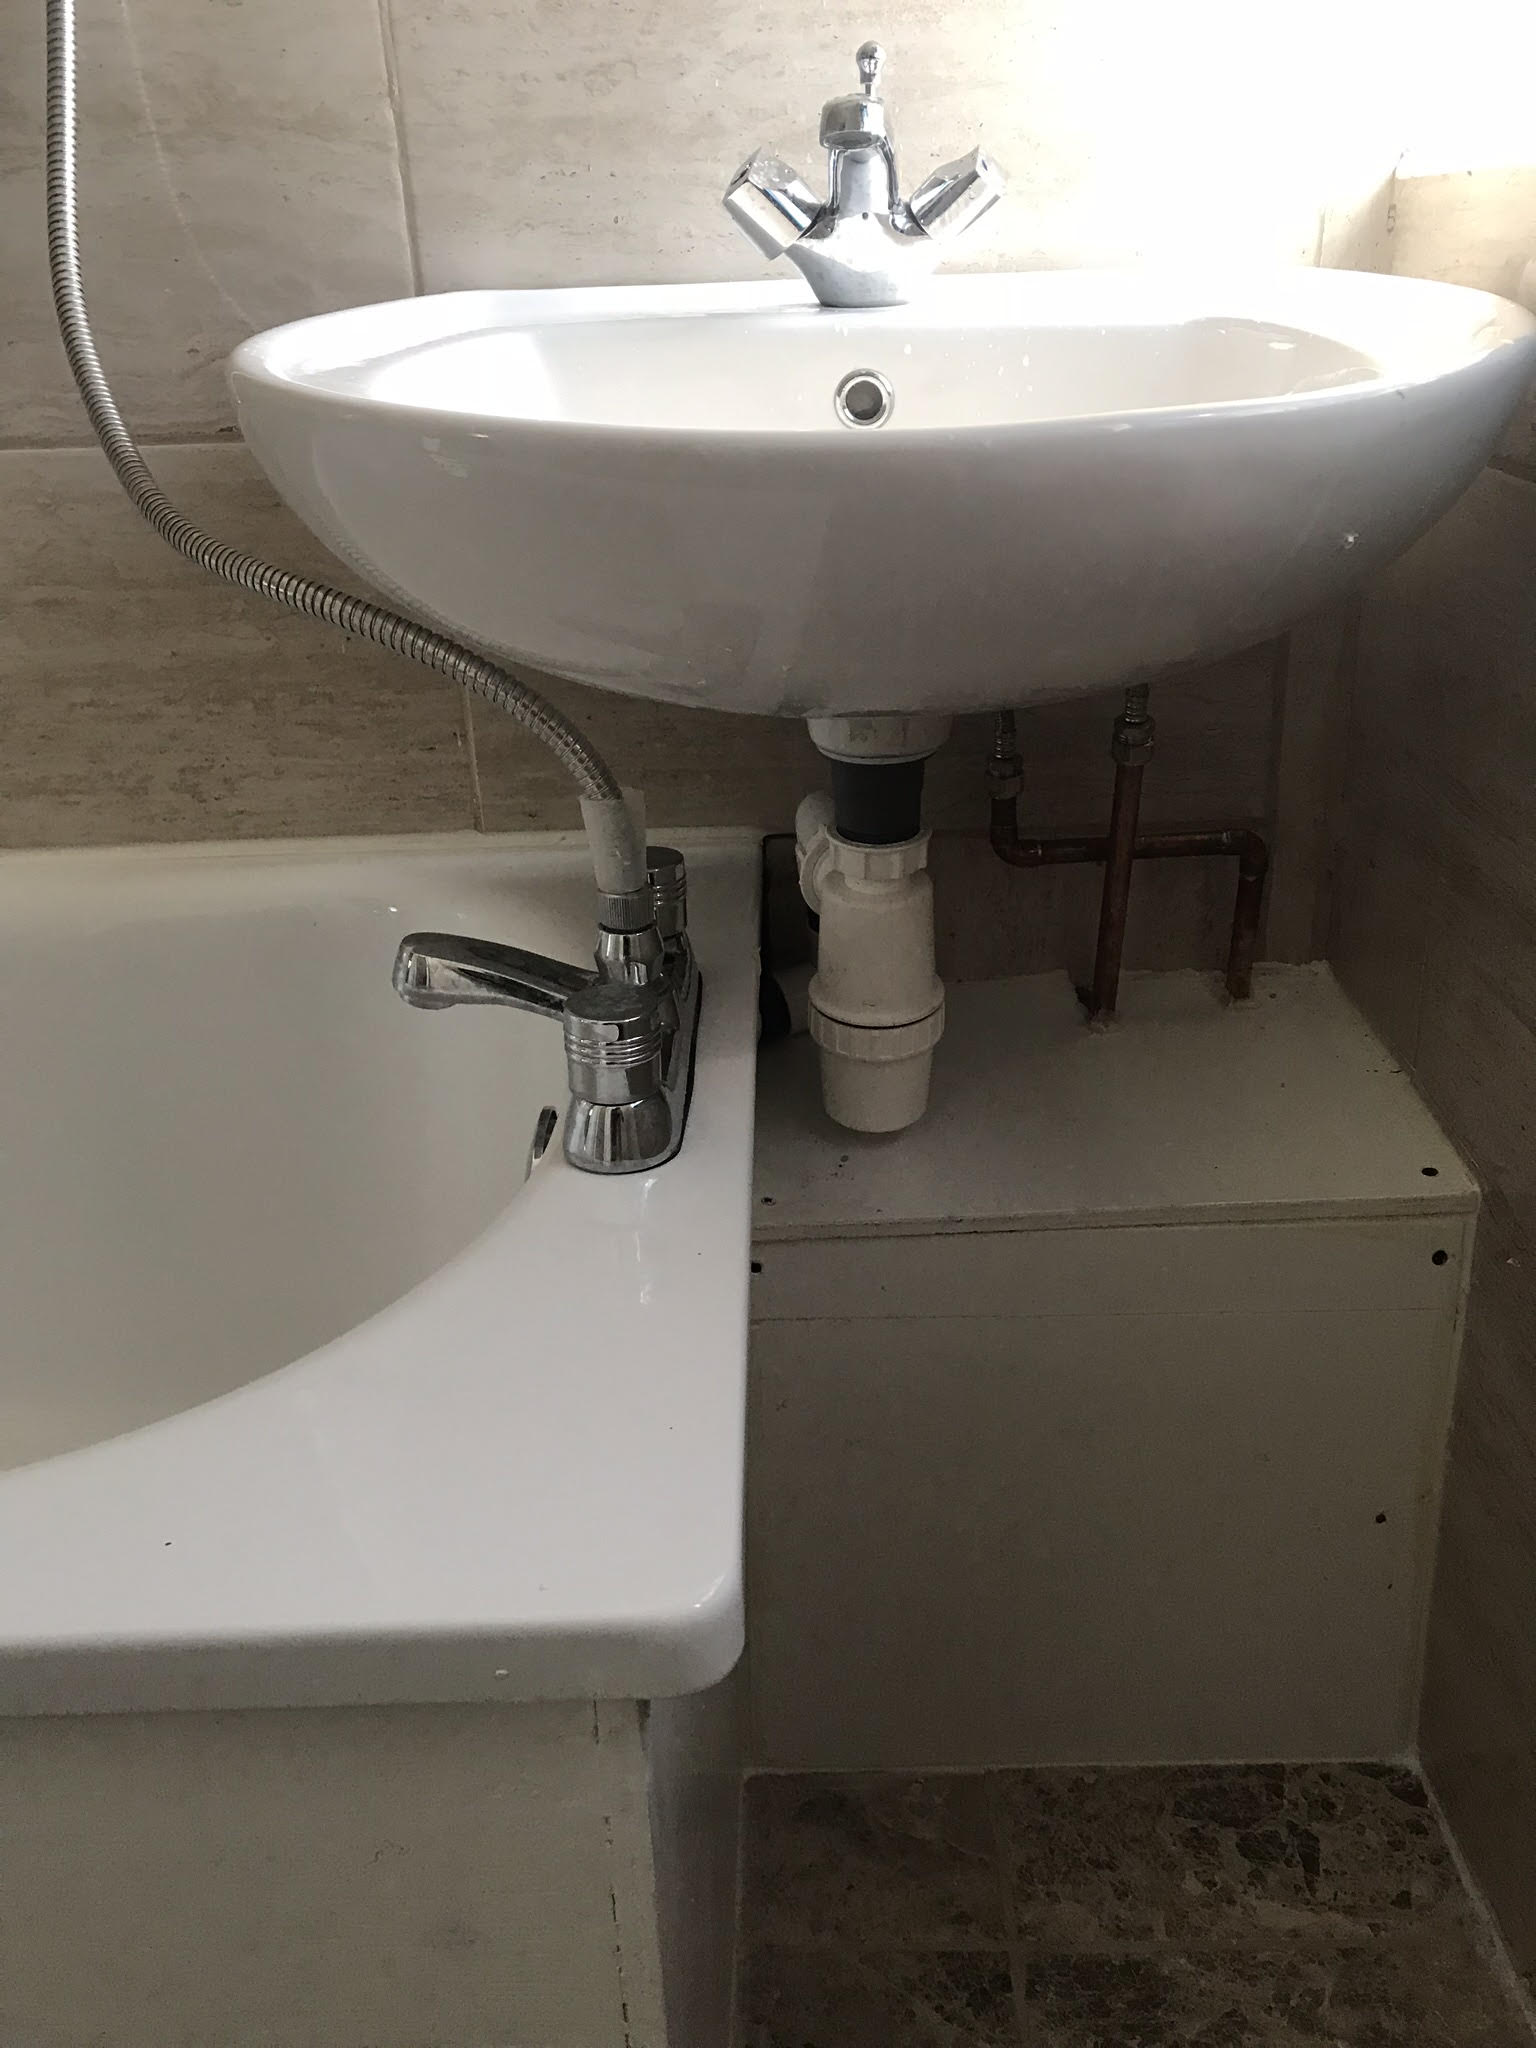
We had the water connected correctly, turned the bath around and the space was made bearable with some small decorative touches but we knew we would need to renovate it and re-plumb the whole space as soon as possible.
The new designs
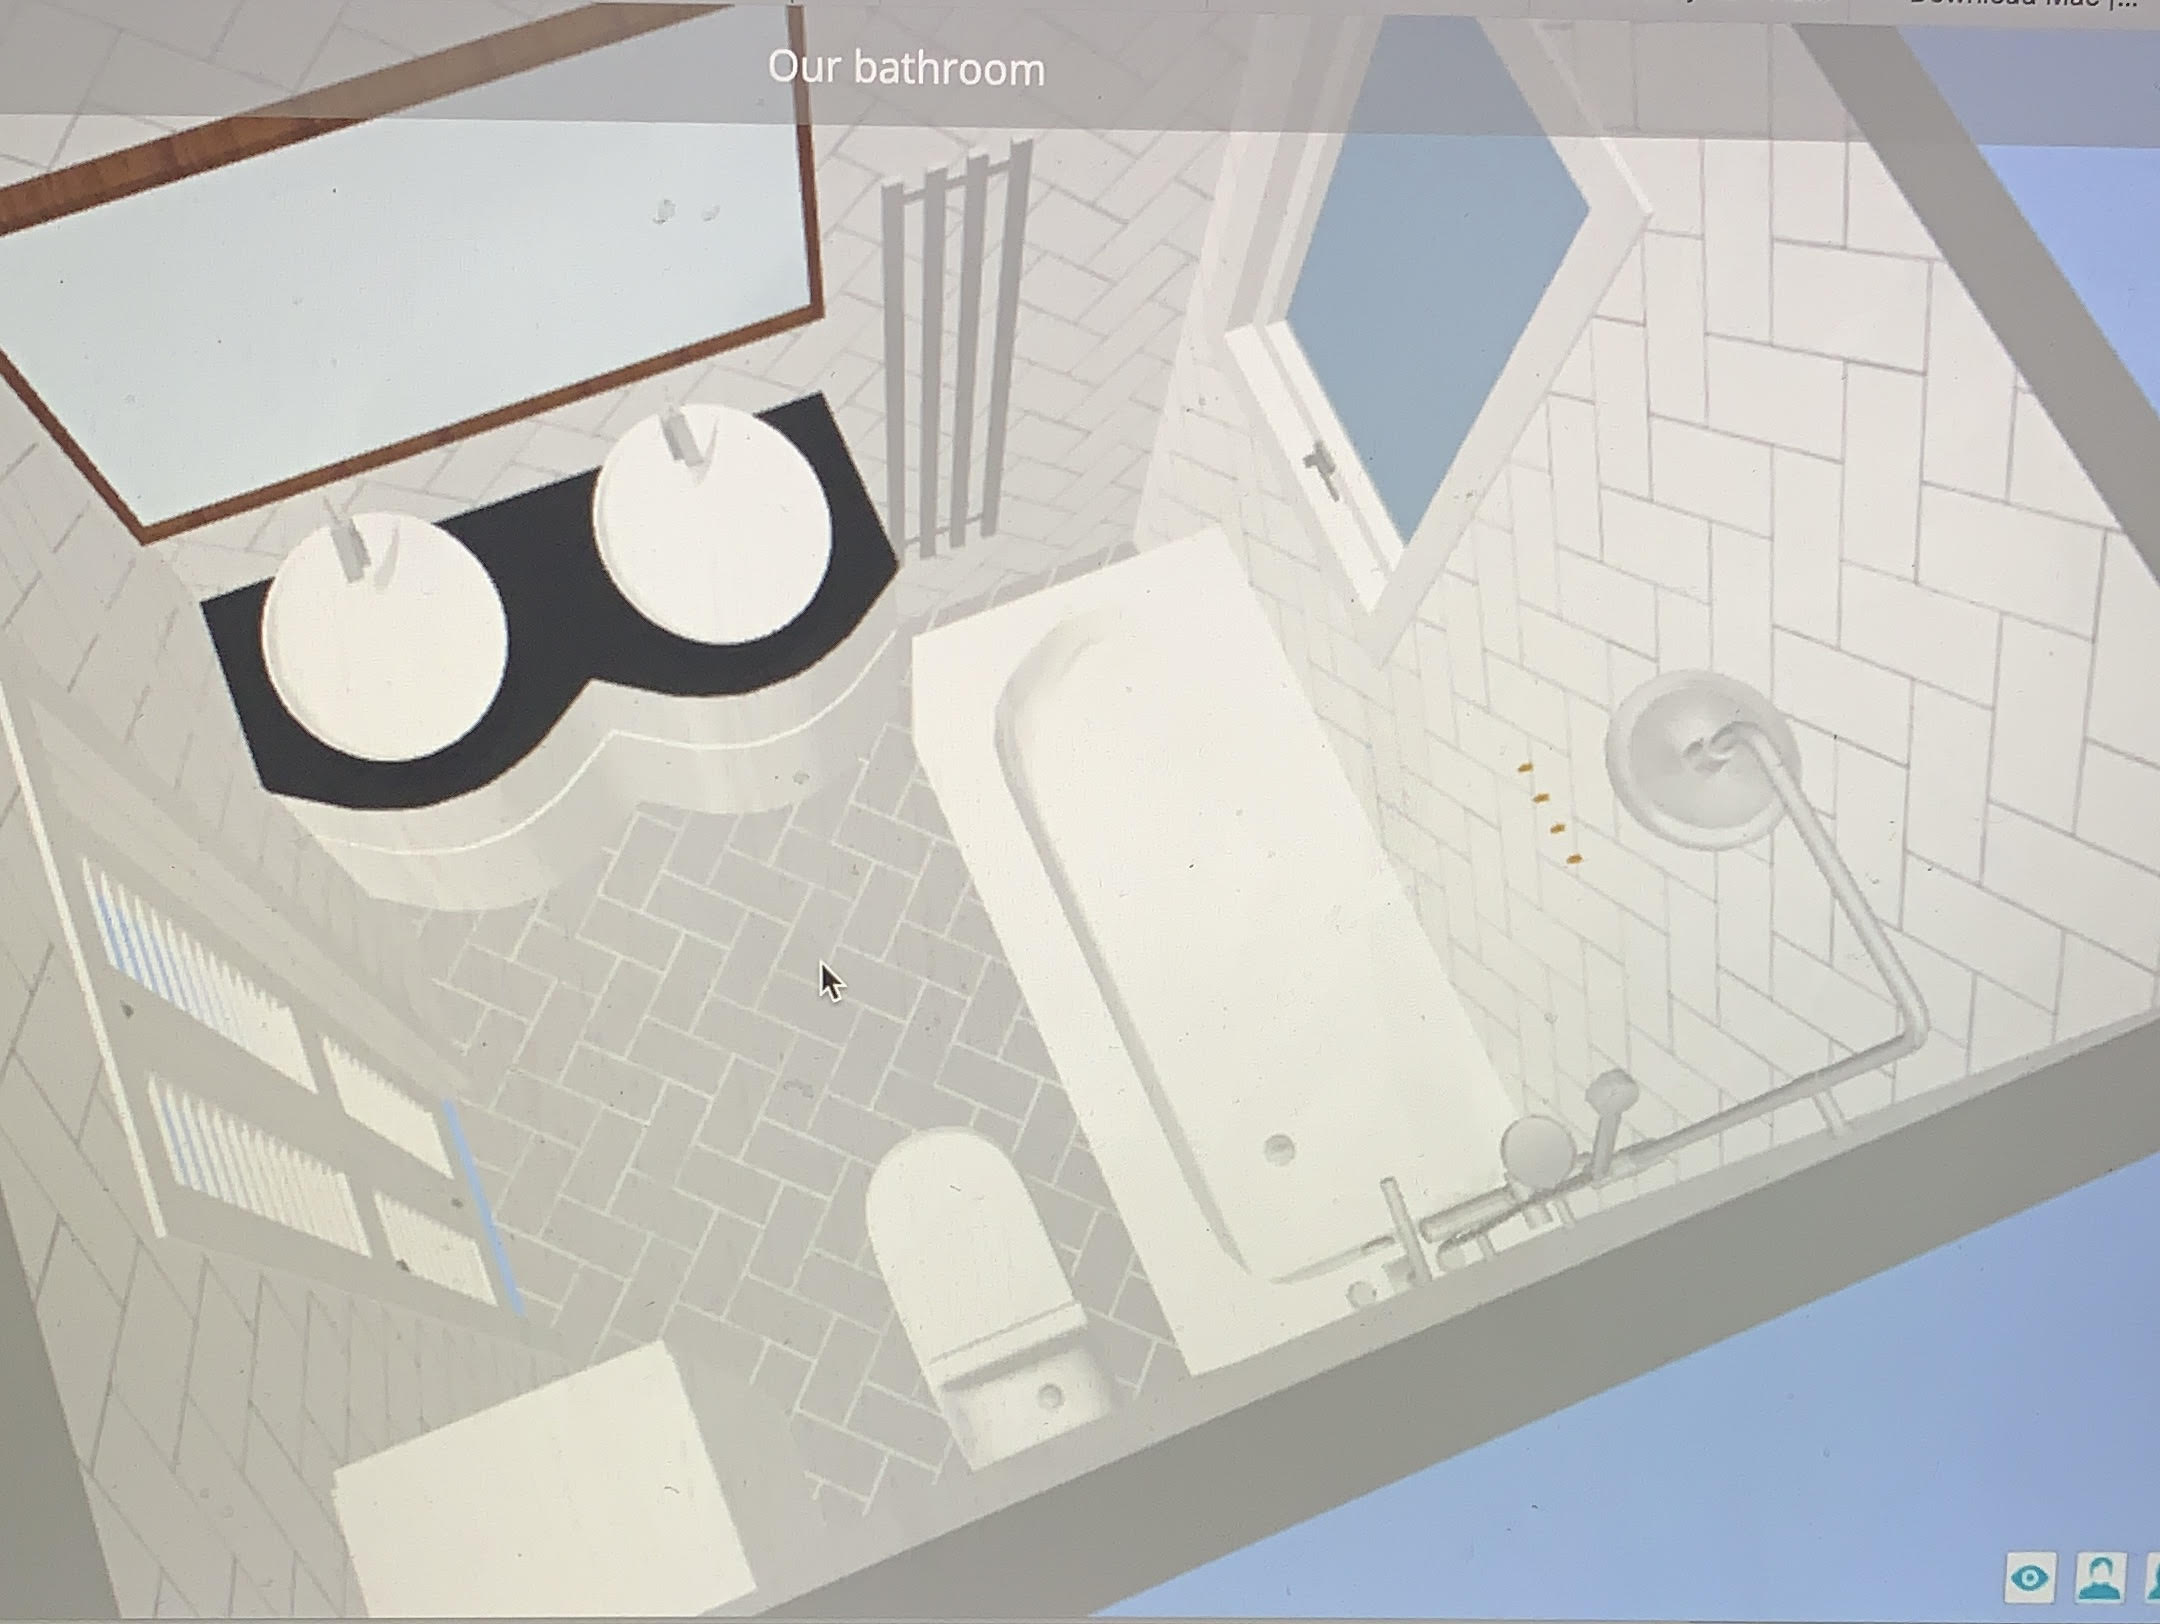
Getting the bathroom design right this time round was essential... I redesigned the whole space to make it both more practical given the small space and to make it feel bigger despite its small dimensions. I initially designed it with a double basin in mind, but as per the image, I soon realised that wasn’t practical for the space available so I gave in to a single countertop basin.
The former layout meant the bathroom took on more of a rectangle shape. There was minimal floor space between the large bath, in built cupboard and derelict shower cubicle. Just about a 200cm length and 60cm width!
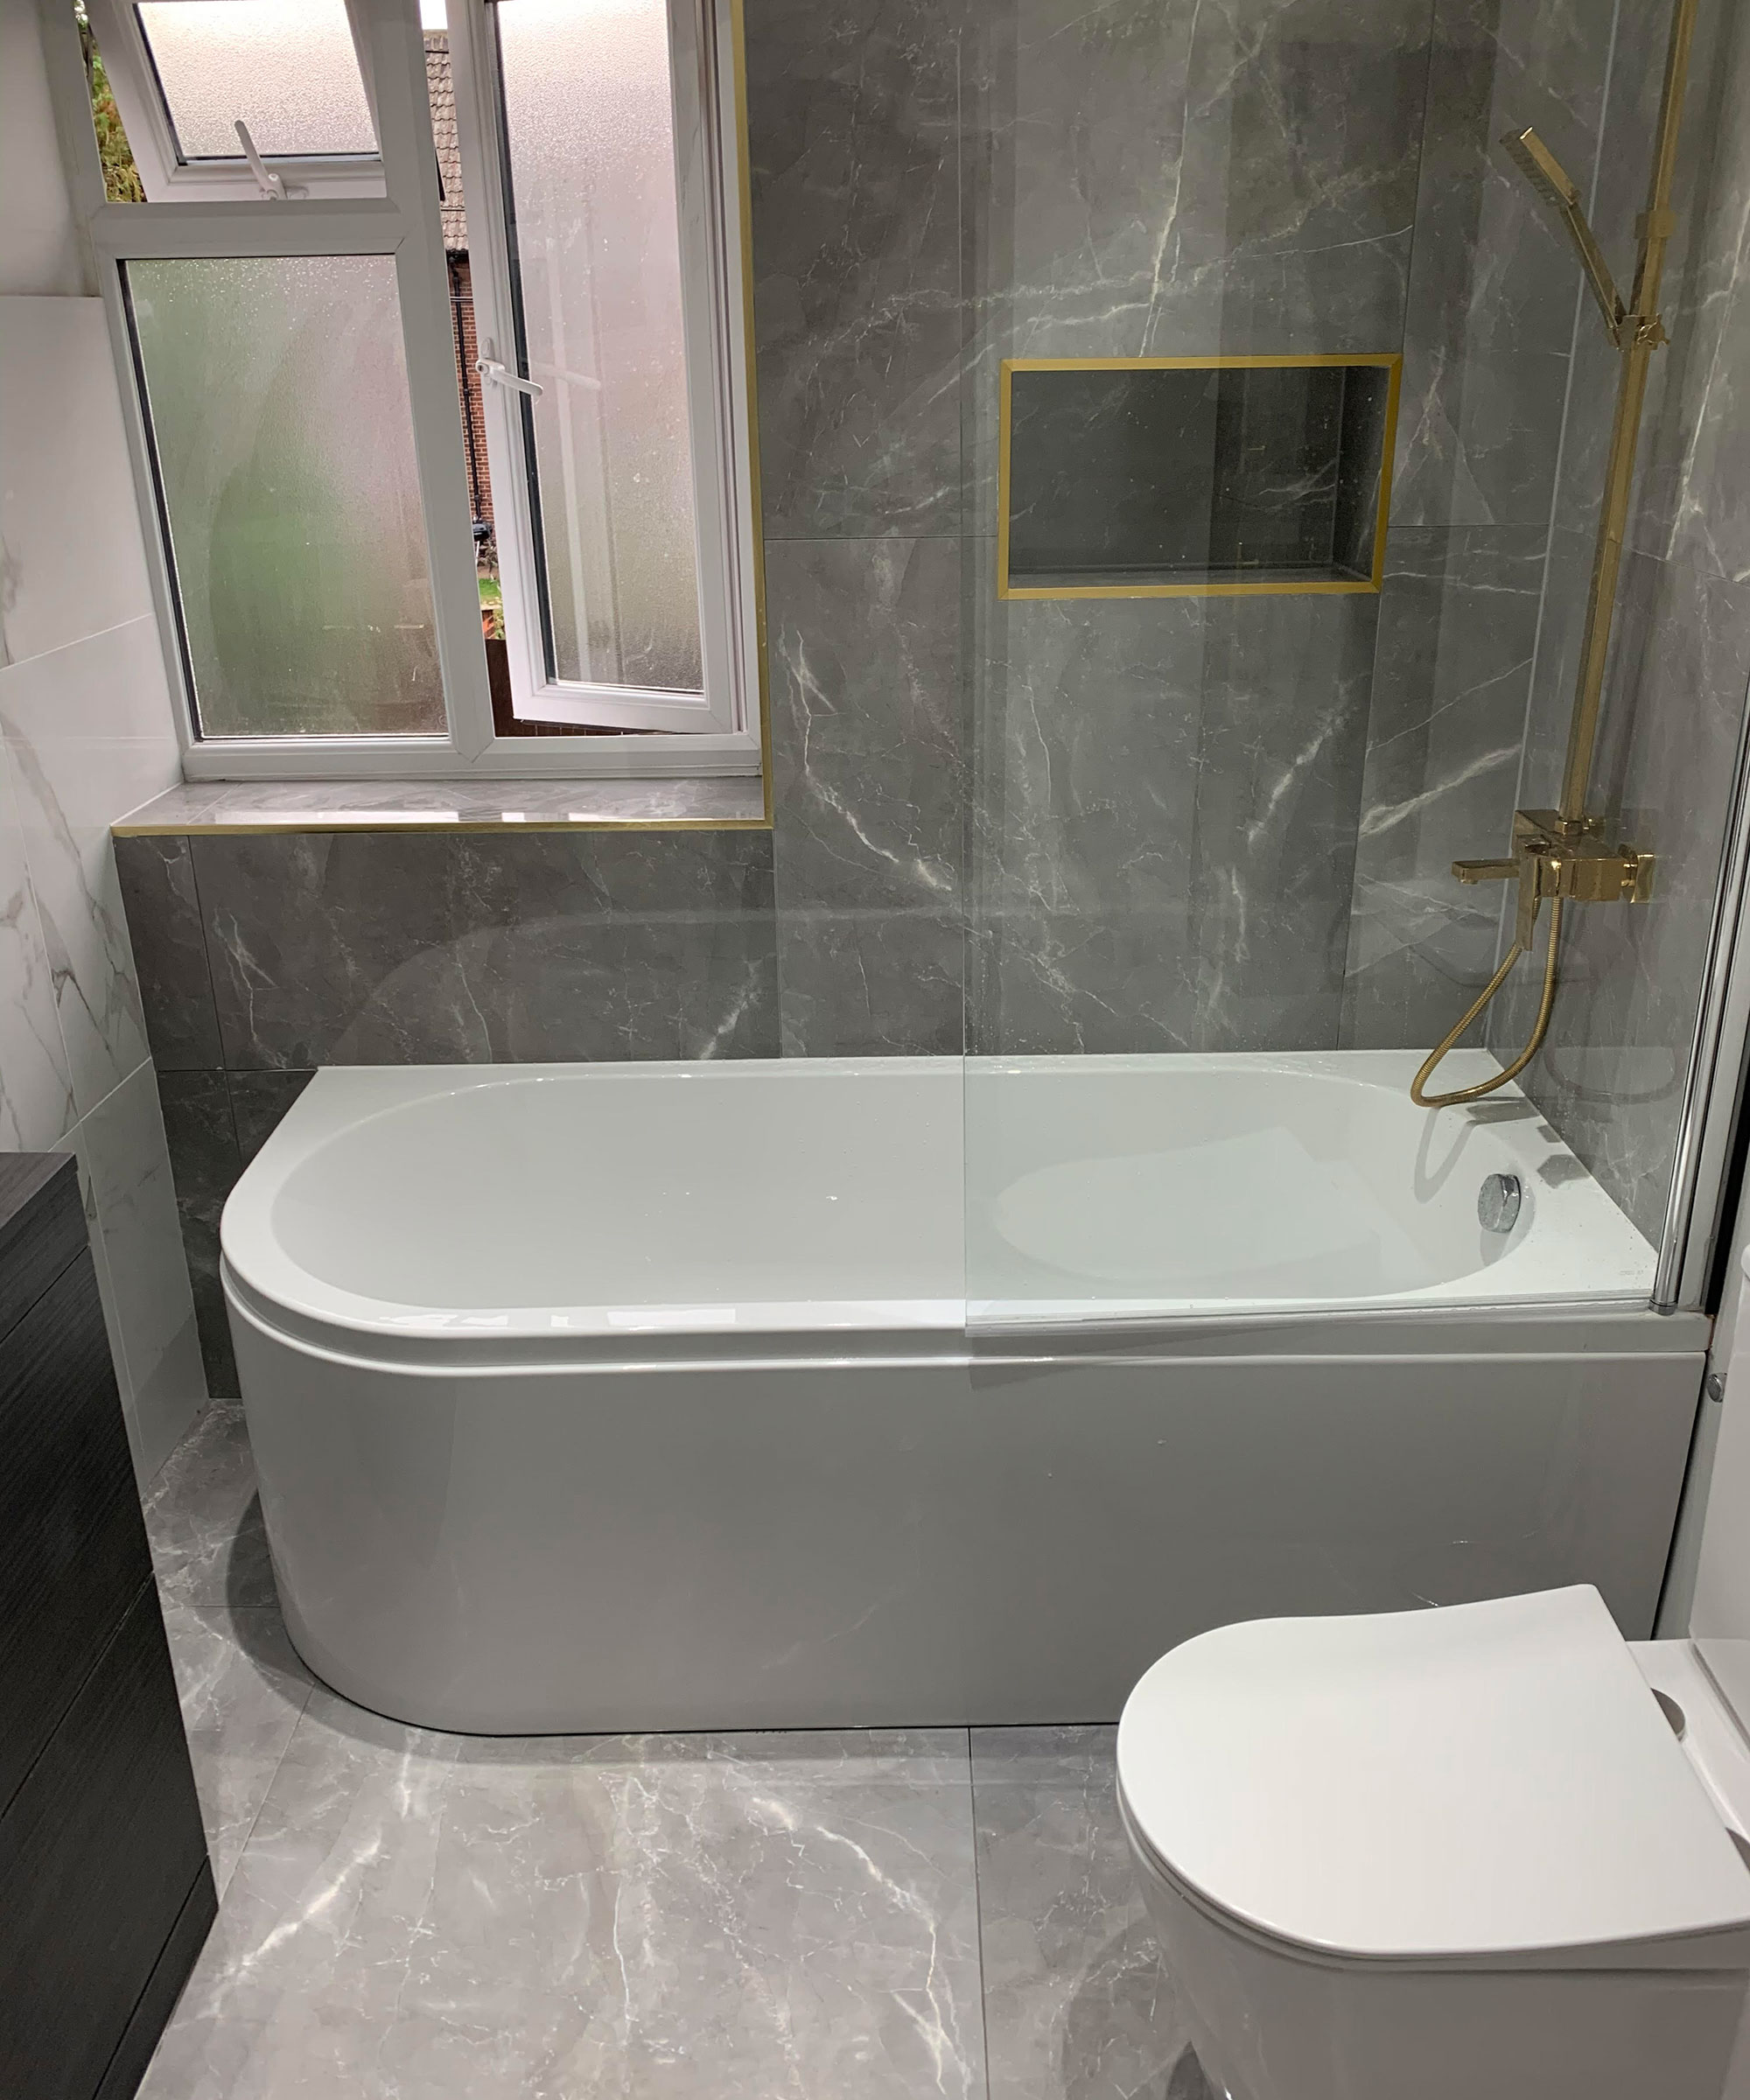
I decided that having the bath on the opposite wall to the door would immediately open the space up as the bathroom would fell wider without feeling shorter because the eye view would be at the wall of the bath, rather than the bath panel itself. I also wanted to incorporate a recess shelf for shower gels and soap as I find bath caddy’s somewhat unsightly. We also had just got brand new double glazed windows with white framing which also gave the space a wider appearance compared to the dark pine coloured timber windows we had before.
The result:

I selected every last detail of the space and sourced every detail online. The finished product was perfect.
Join our newsletter
Get small space home decor ideas, celeb inspiration, DIY tips and more, straight to your inbox!
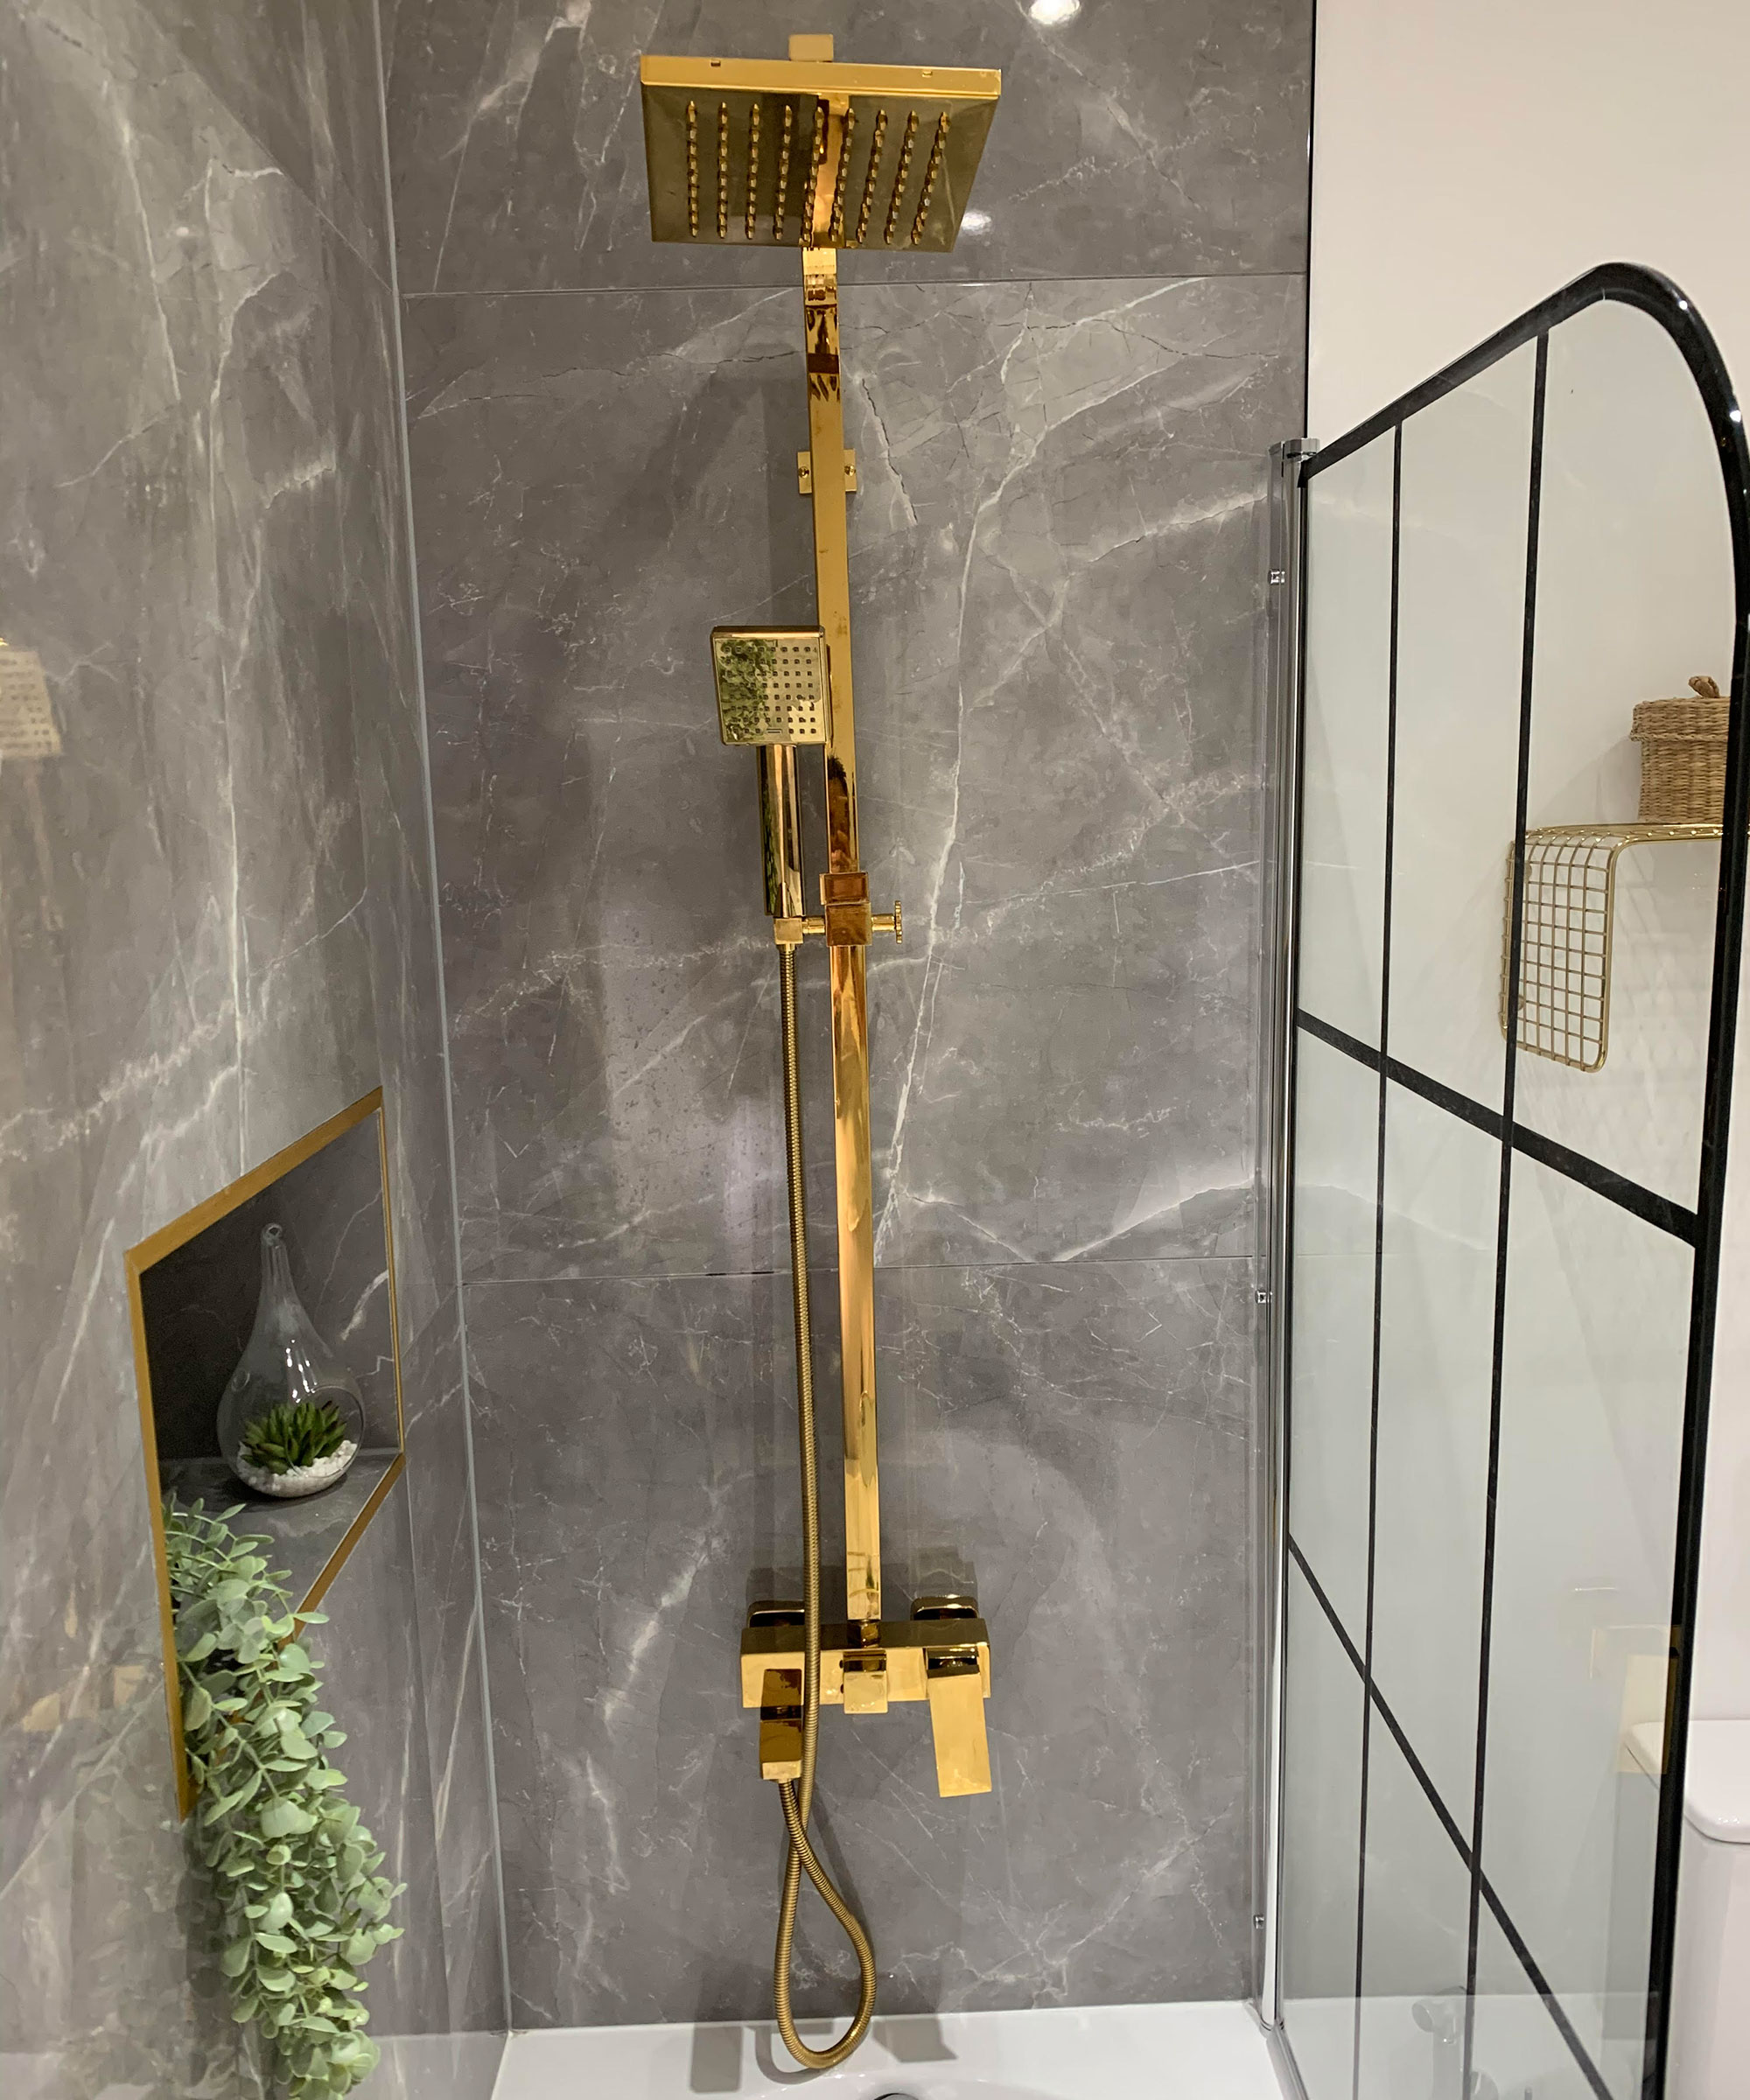
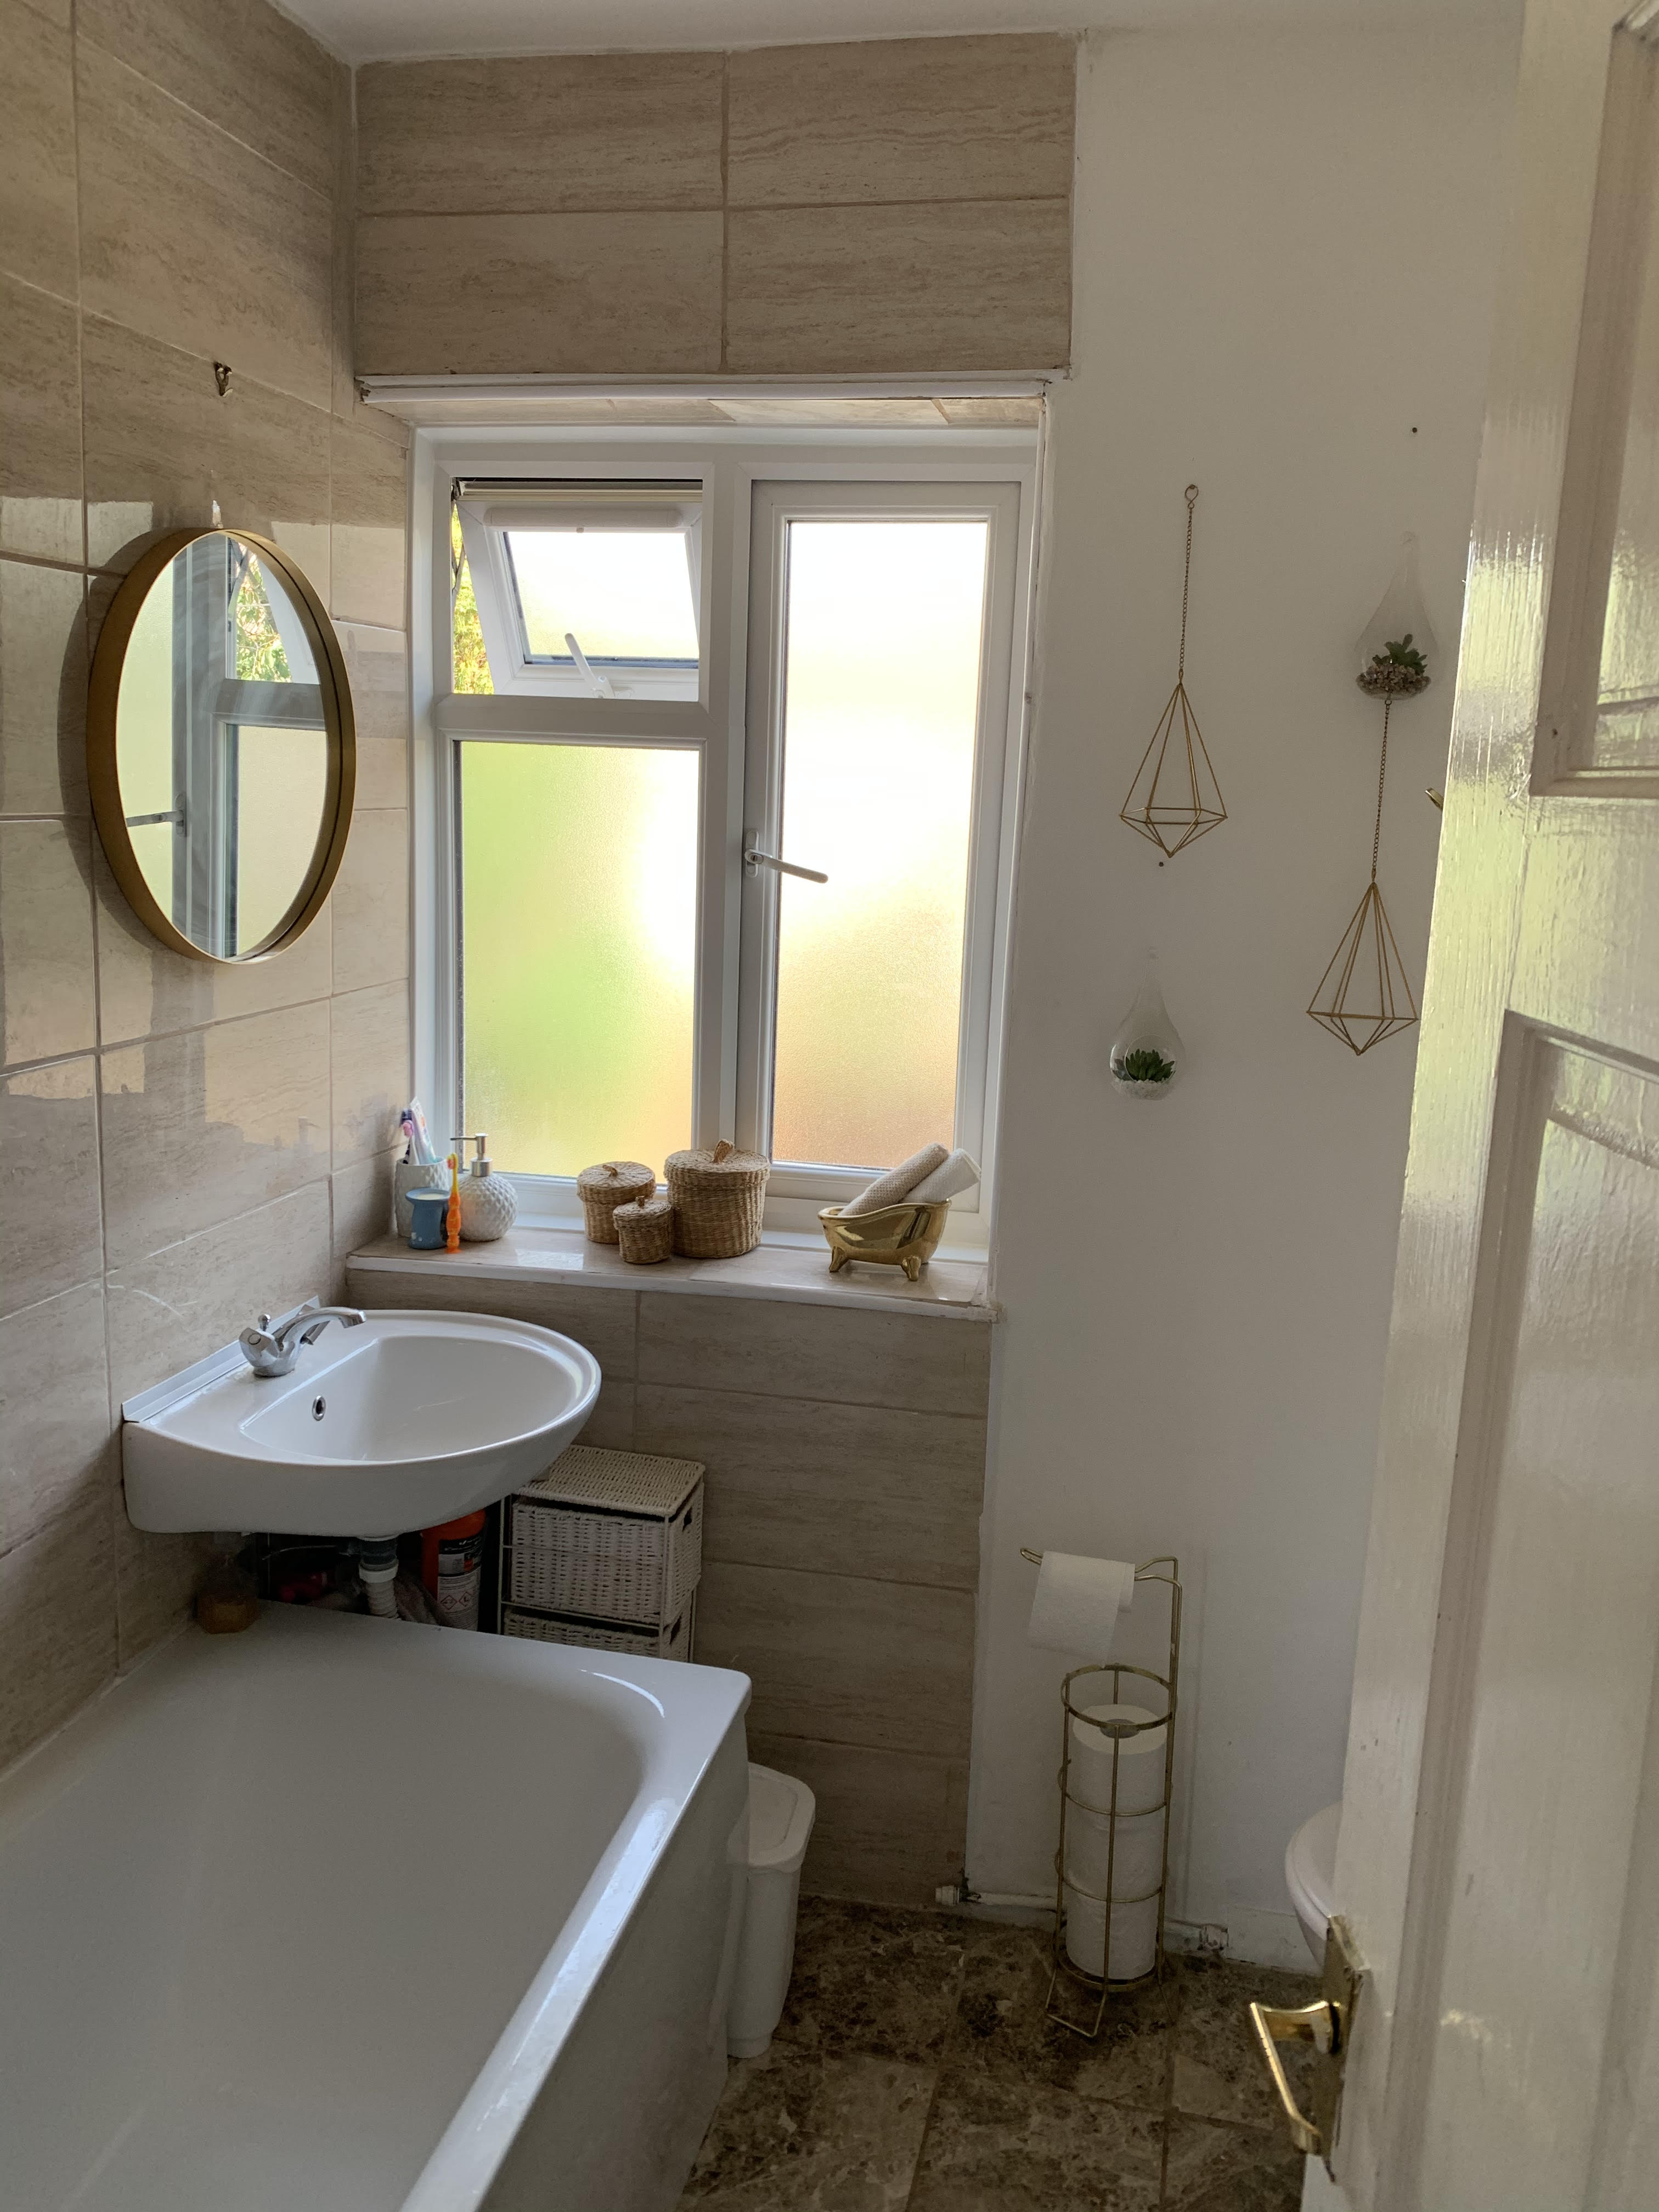
I chose 80cm wall and floor tiles in a marble effect. I chose two different marble tile colours and finishes. White tiles in a matt finish and grey marble tiles in a gloss finish.
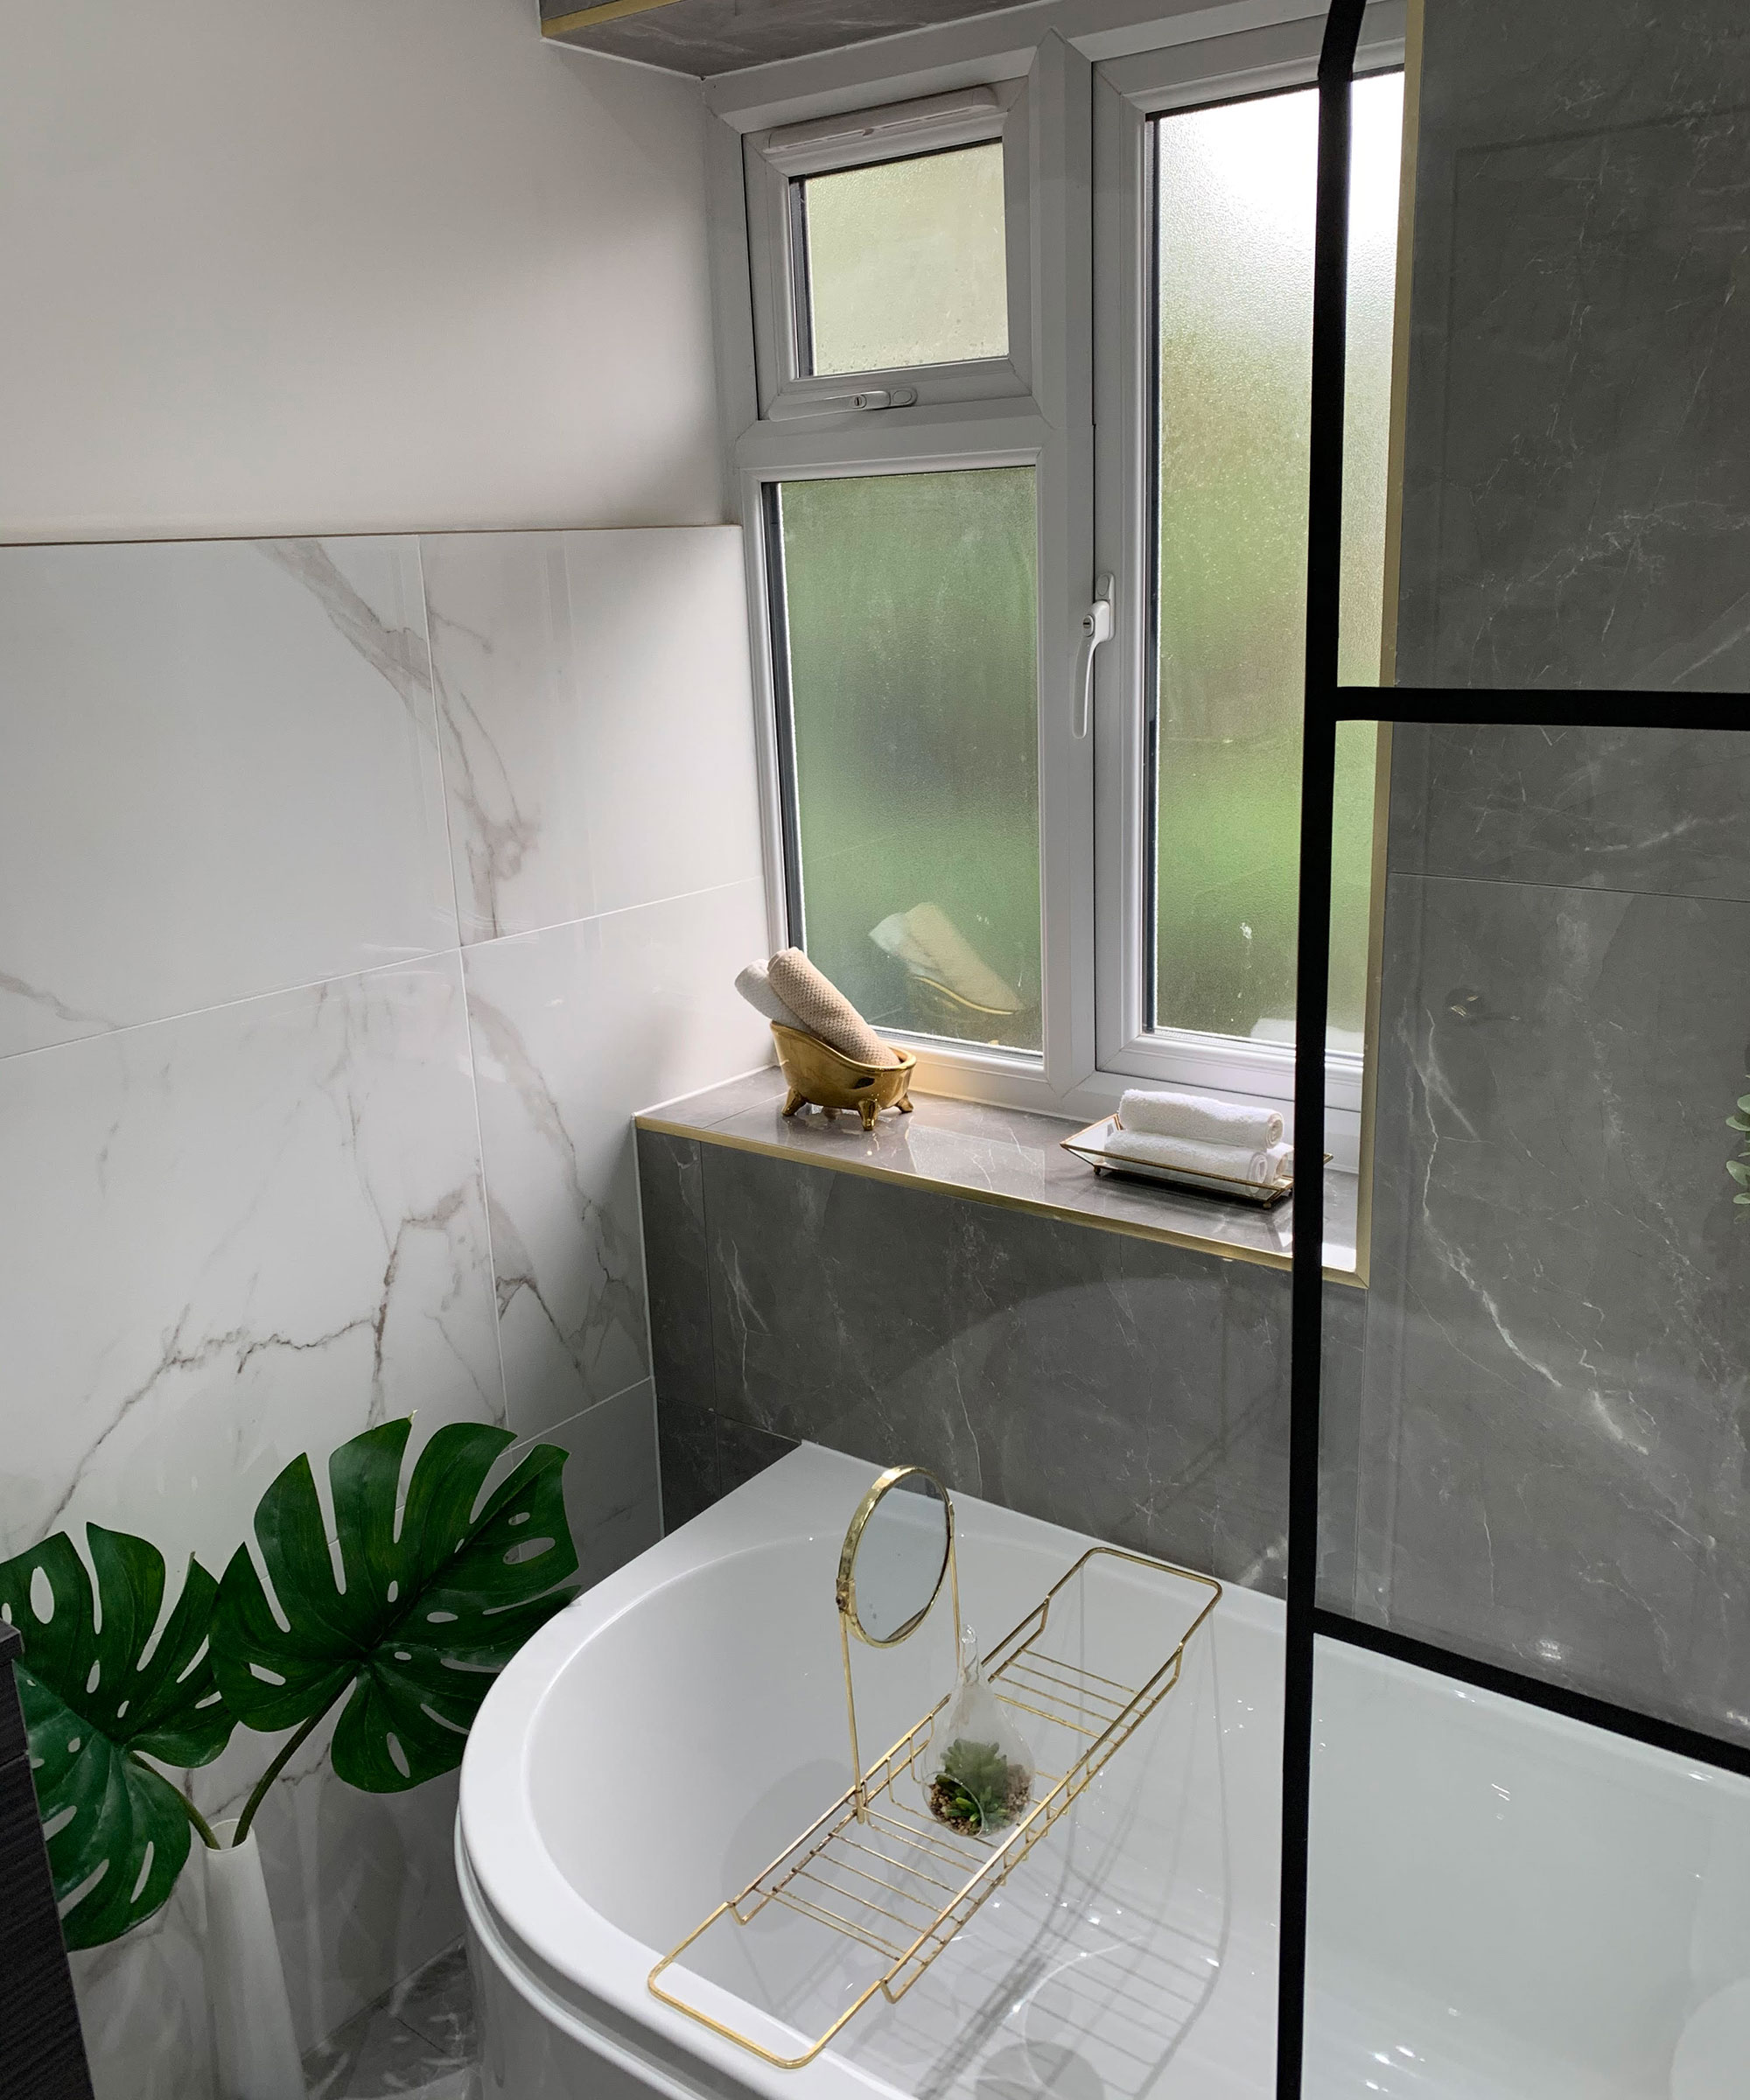
Gloss is great for reflecting light and creates a luxury finish. Matt creates a more contemporary bathroom look and works well with the gold accents. Talking of gold, I sourced a gold basin waterfall tap, shower and mixer tap, tile trim and other accessories.
Crittall-style shower hack
I also created a grid/crittall style effect on the otherwise clear shower screen by using electrical tape! A hack I had previously done on some mirrors.
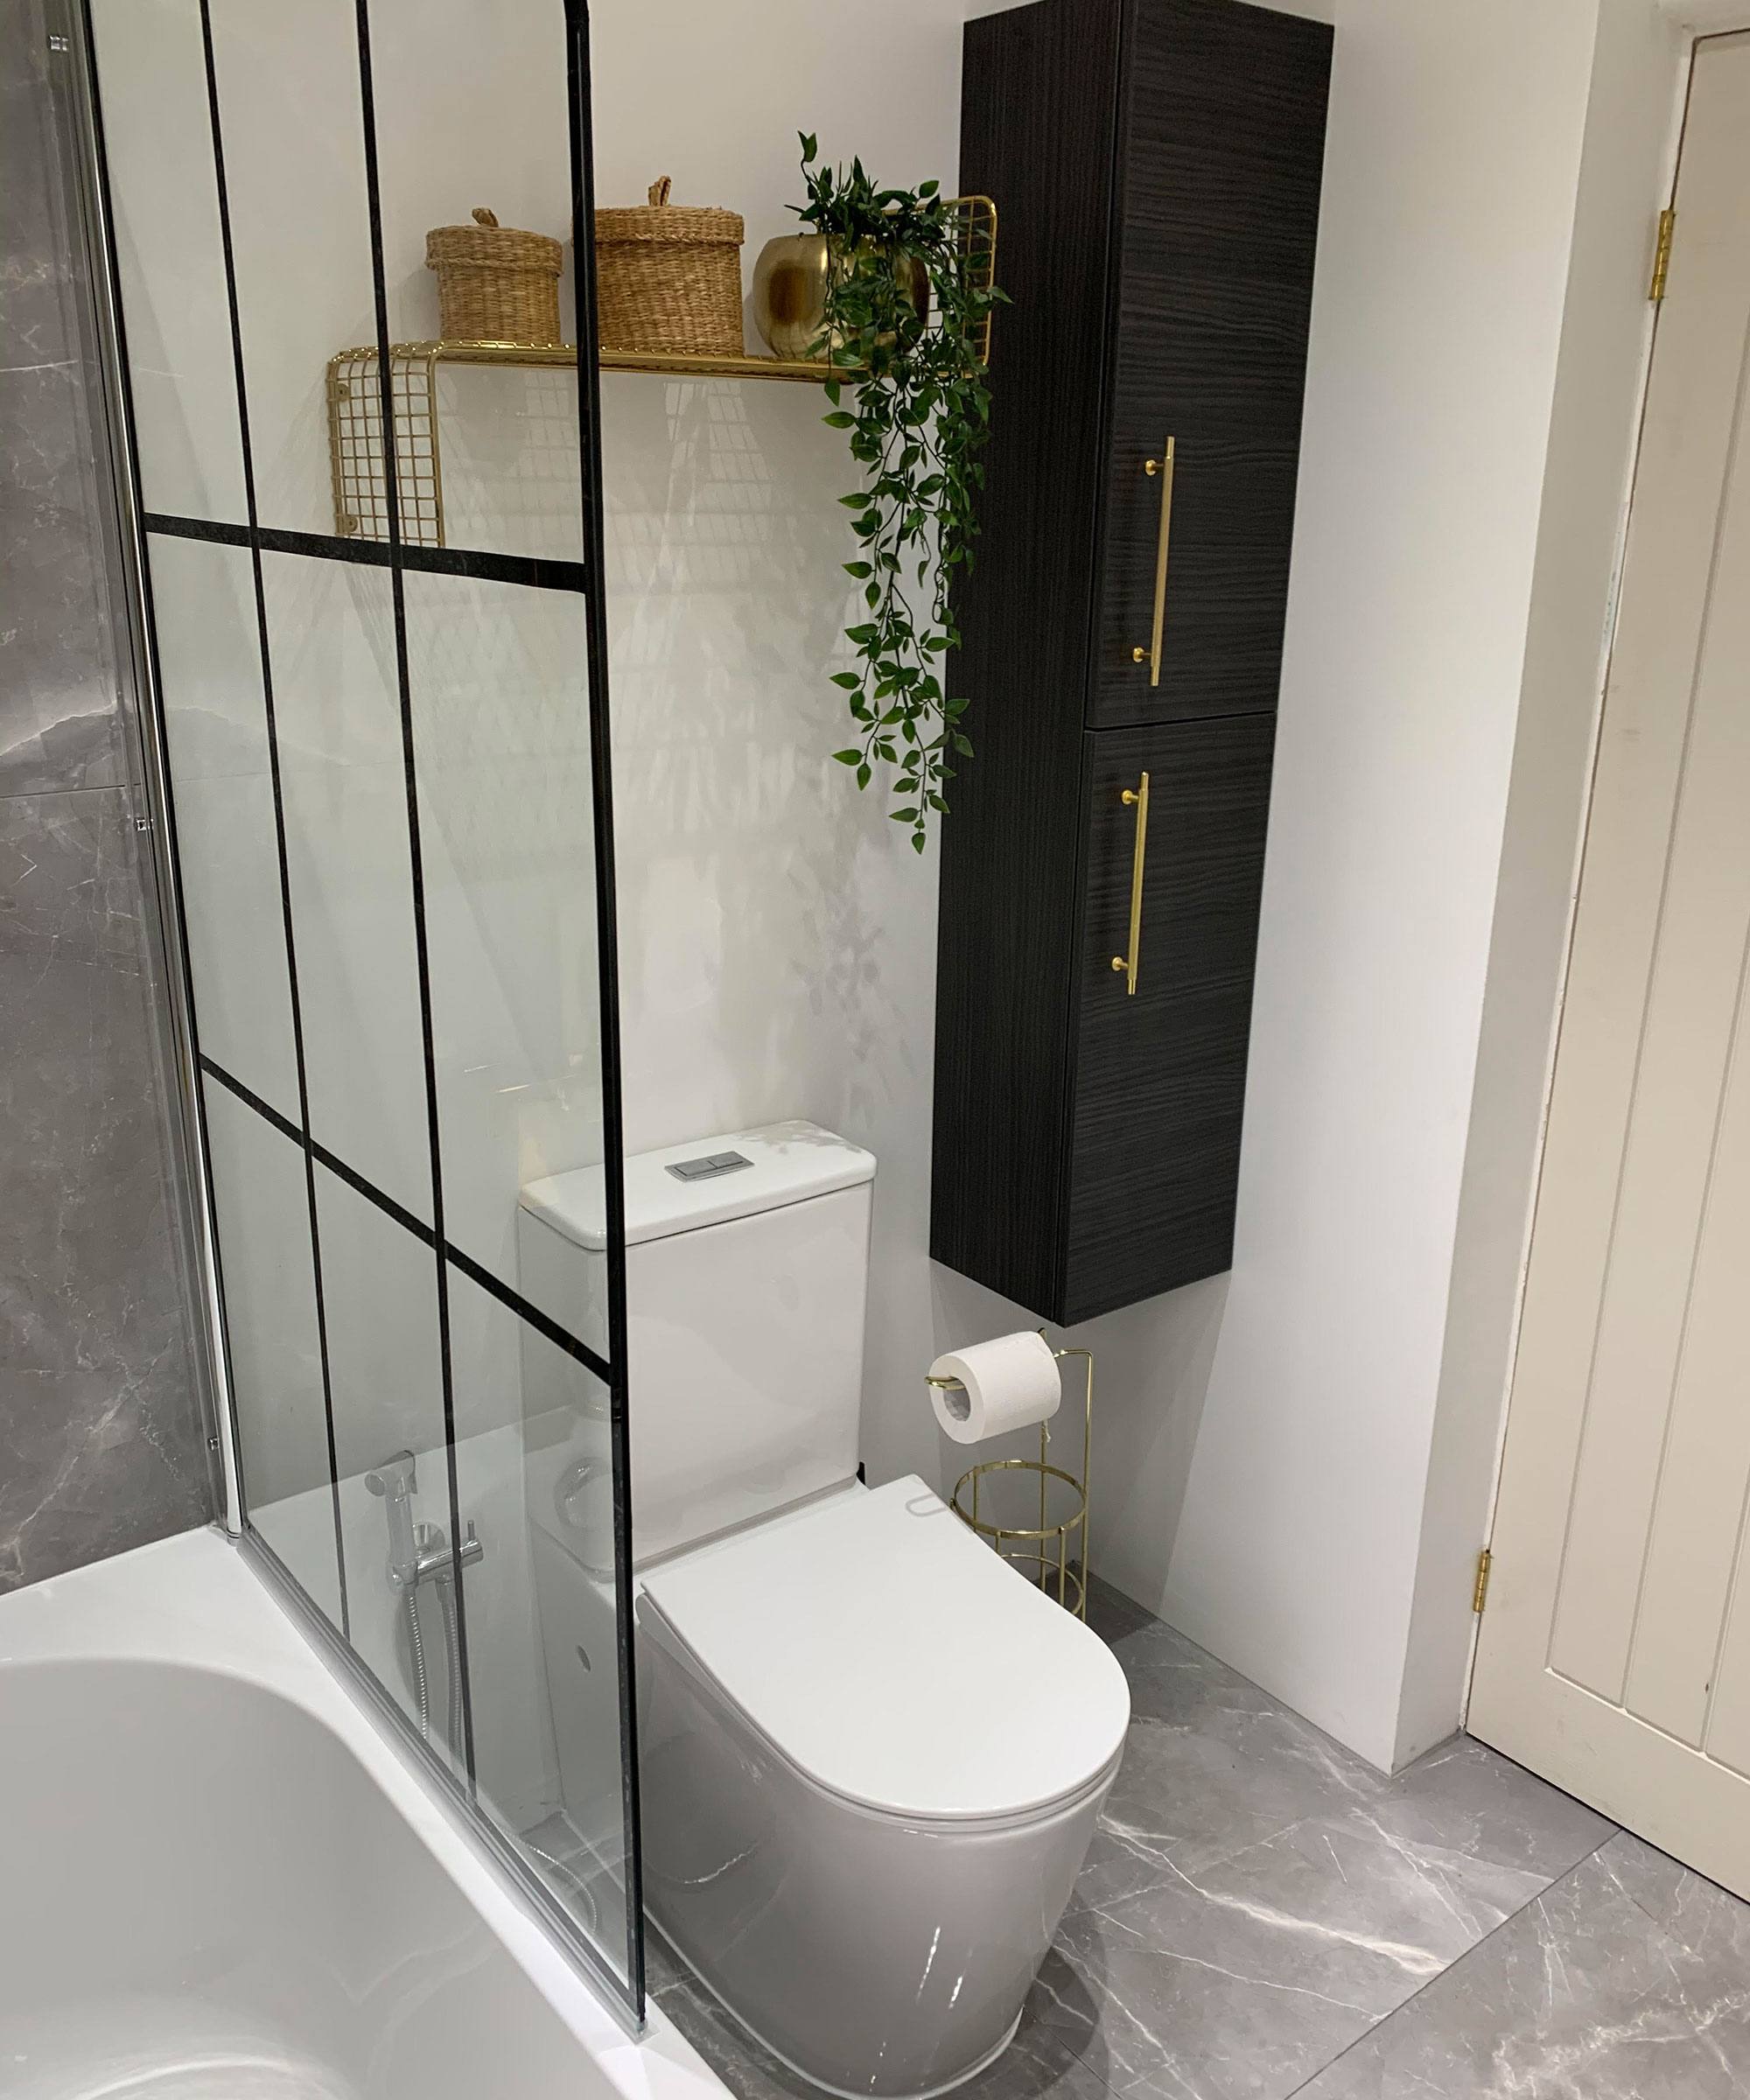
I also chose a curved end “space saving” bath to give the illusion of more space. It was also the closest I could get to a bath that somewhat resembled a curved free standing bath!
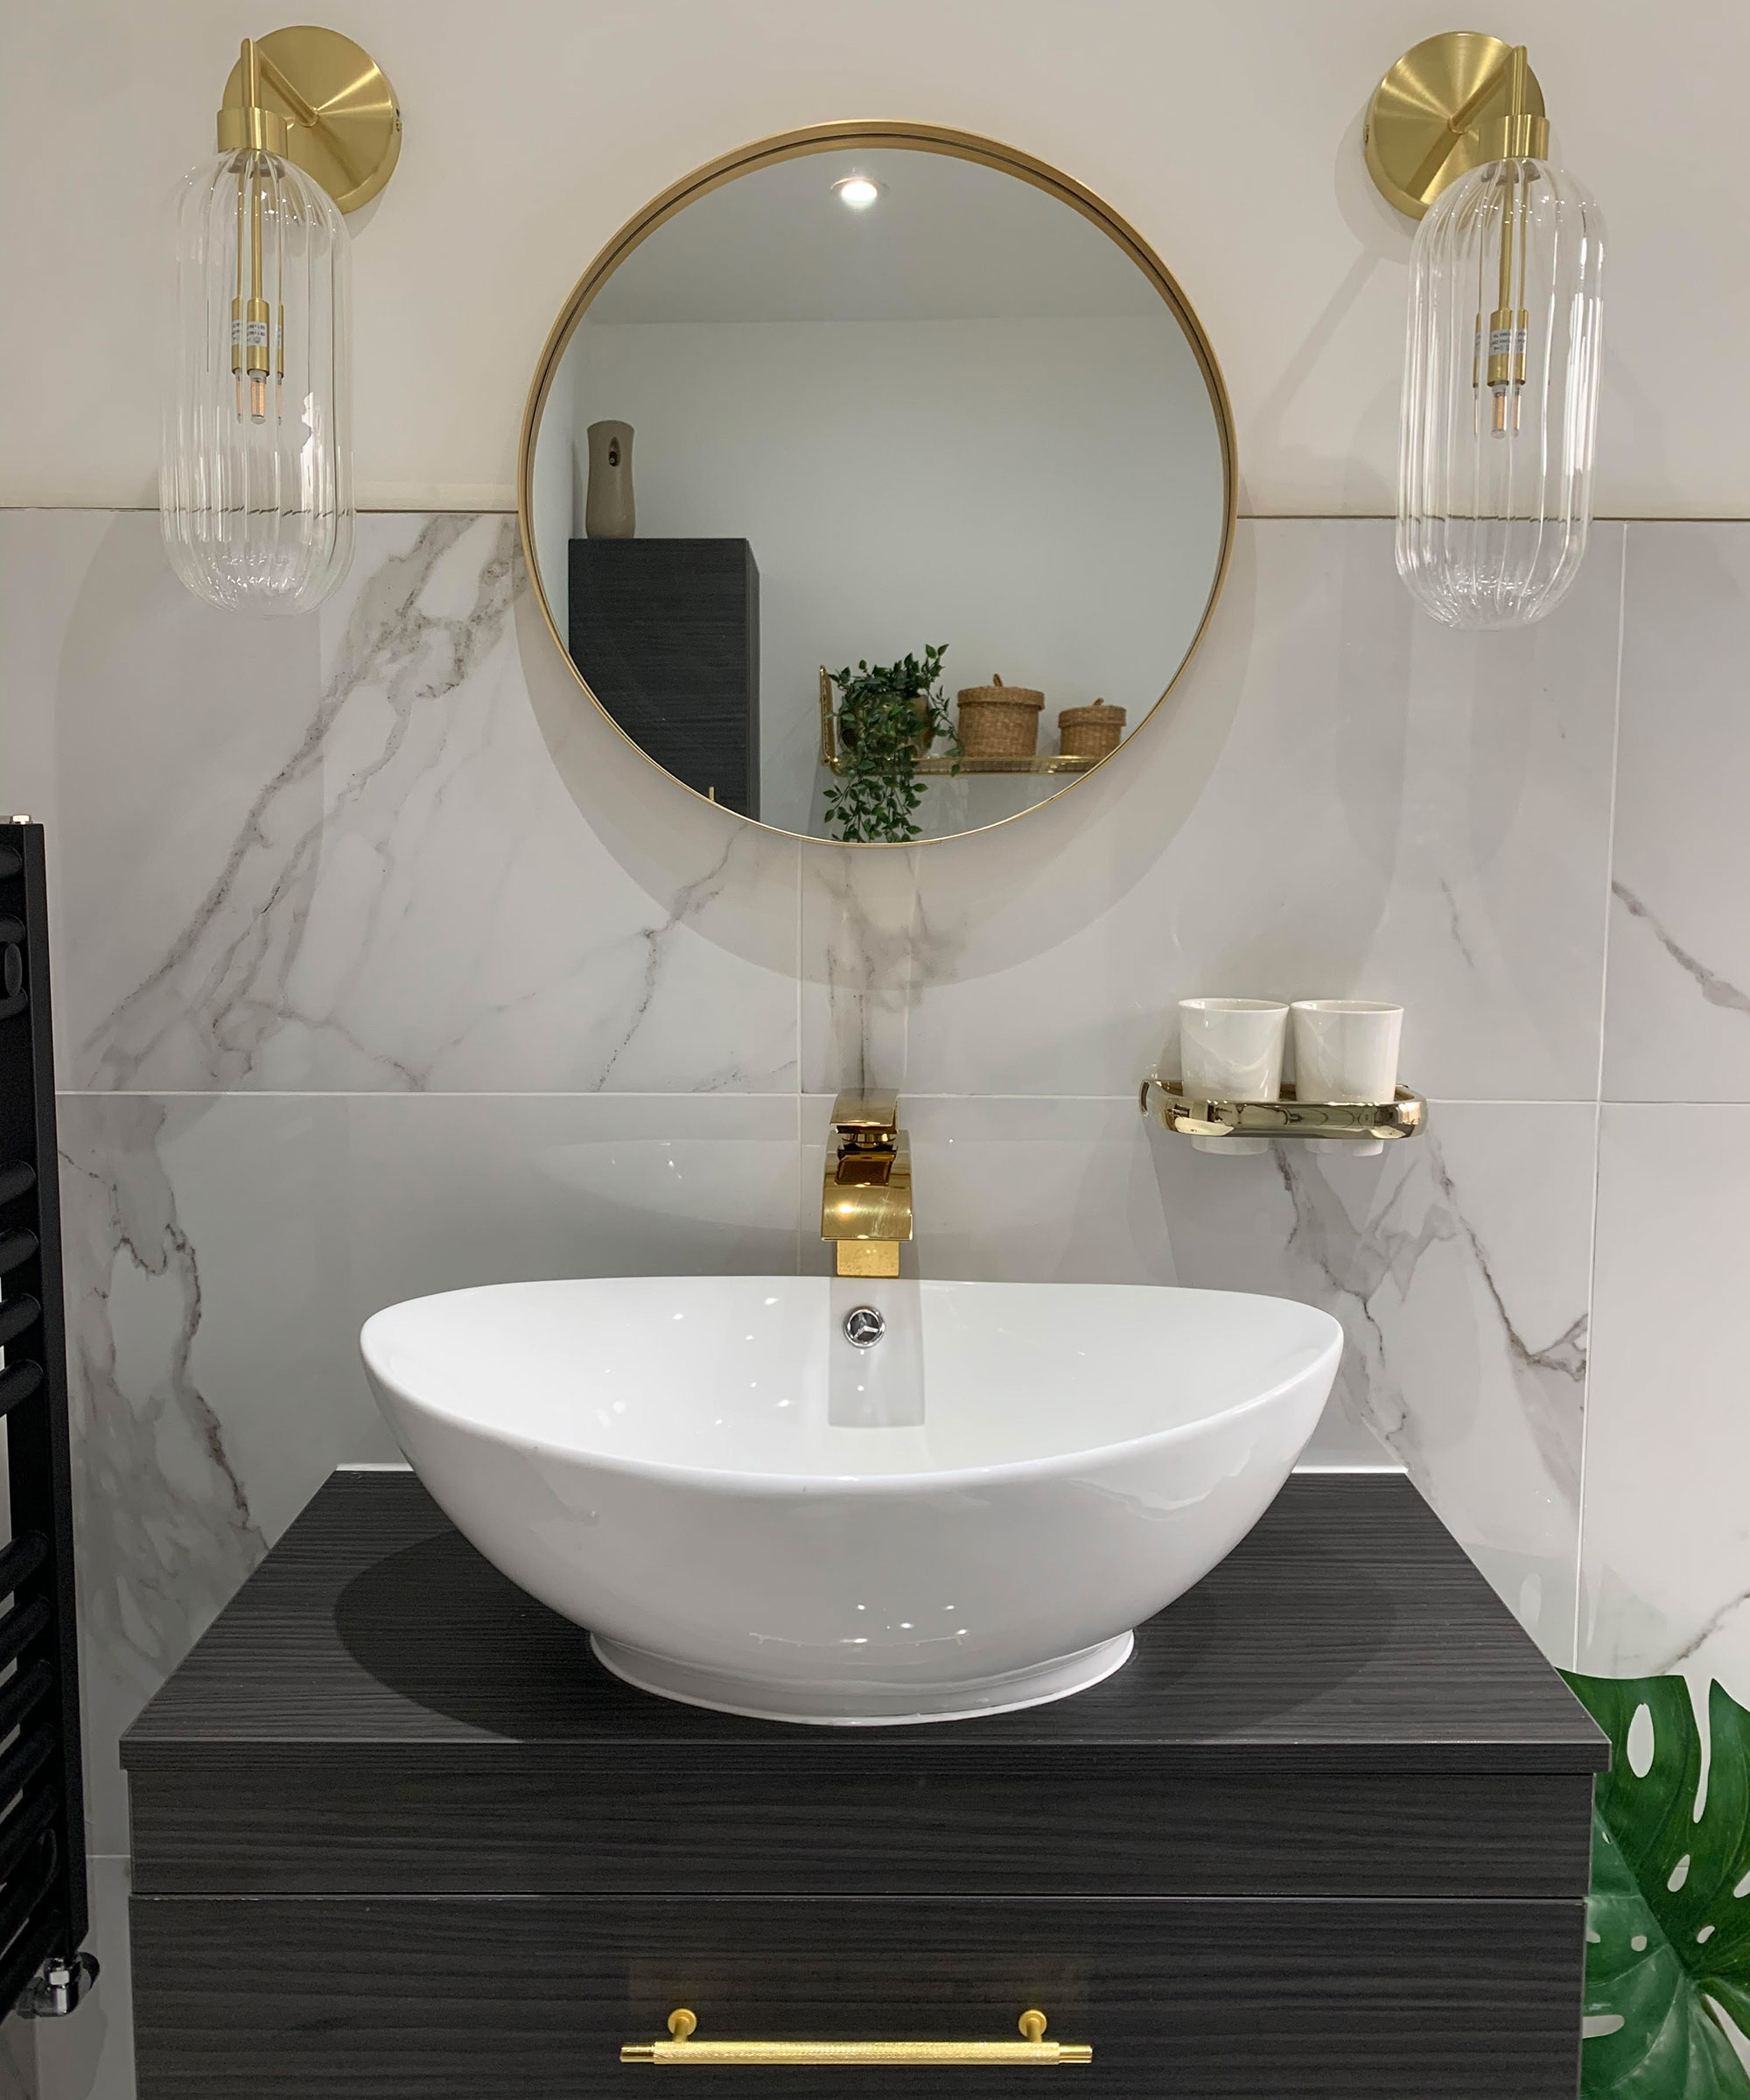
For furniture, a tall floor standing vanity unit provided ample bathroom storage for cleaning products and other items while also being the perfect countertop for a oval style basin.
Finally, a wall mounted cupboard provided additional storage while also allowing us to retain floor space for things like a step or potty!
I am so happy with how it turned out! Hotel vibes at home!
Real Costs: a breakdown of materials
- Bath with clear screen – £250 from Bathroom Mountain
- Tiles - Marmy (grey) and Place White marble tiles - £400 total (based on sqm of the space for floor and walls)
- Gold tile trim – various retailers £60
- Toilet – £150 on eBay
- Basin – £60 on eBay
- Gold shower – £70 Amazon
- Gold mixer tap – £40 Amazon
- Gold waste – £15 eBay
- Gold mirror – £30 B&M
- Vanity unit and wall hung cupboard – £400 Drench
- Gold wall shelf – £13 IKEA
- Gold mounted toothbrush holder and cups £30 – eBay
- Wall lights – £100 (£50 each) from Made
- Black radiator – £50 The Heating Boutique
Total cost: £6k
The total renovation cost £6k all in (including plumbing and labour). It would have been a lot more had I not sourced things like the basin and shower from Amazon and eBay.
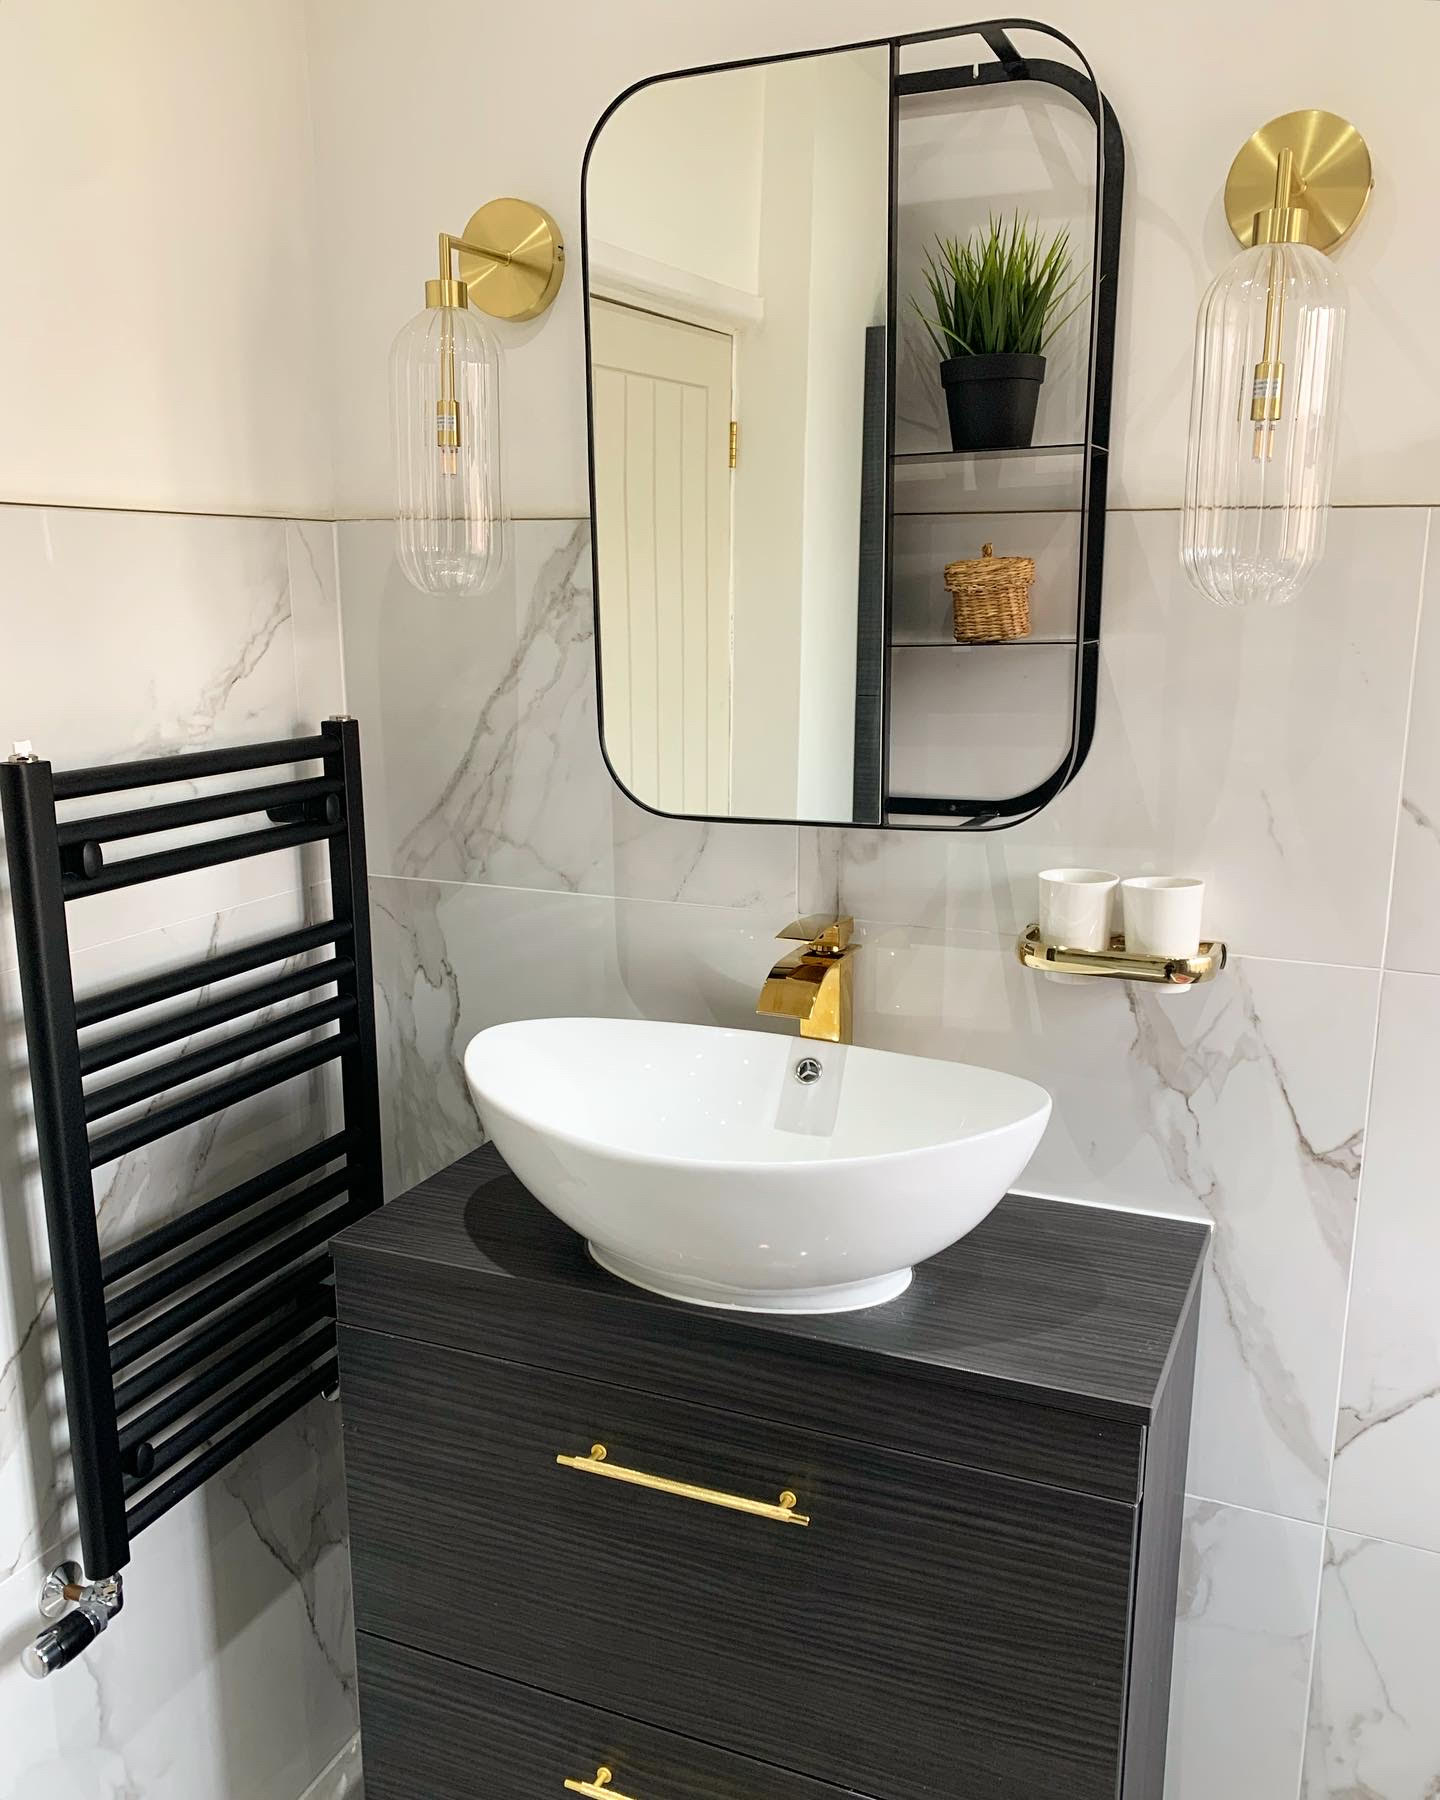
The cherry on top was when we were later gifted this black mirror from Made worth £120...
Alimah-Shadia Sitta is part of Real Homes' Real Experts panel. She's a UK-based investment banker, designer and DIYer and shares her favourite tips, projects, and ideas with us twice a month.
-
 A $200 fluted panel transformed my drab kitchen in just one weekend
How to install a fluted kitchen panel: A speedy and achievable DIY tutorial even for DIY novices
By Claire Douglas Published
-
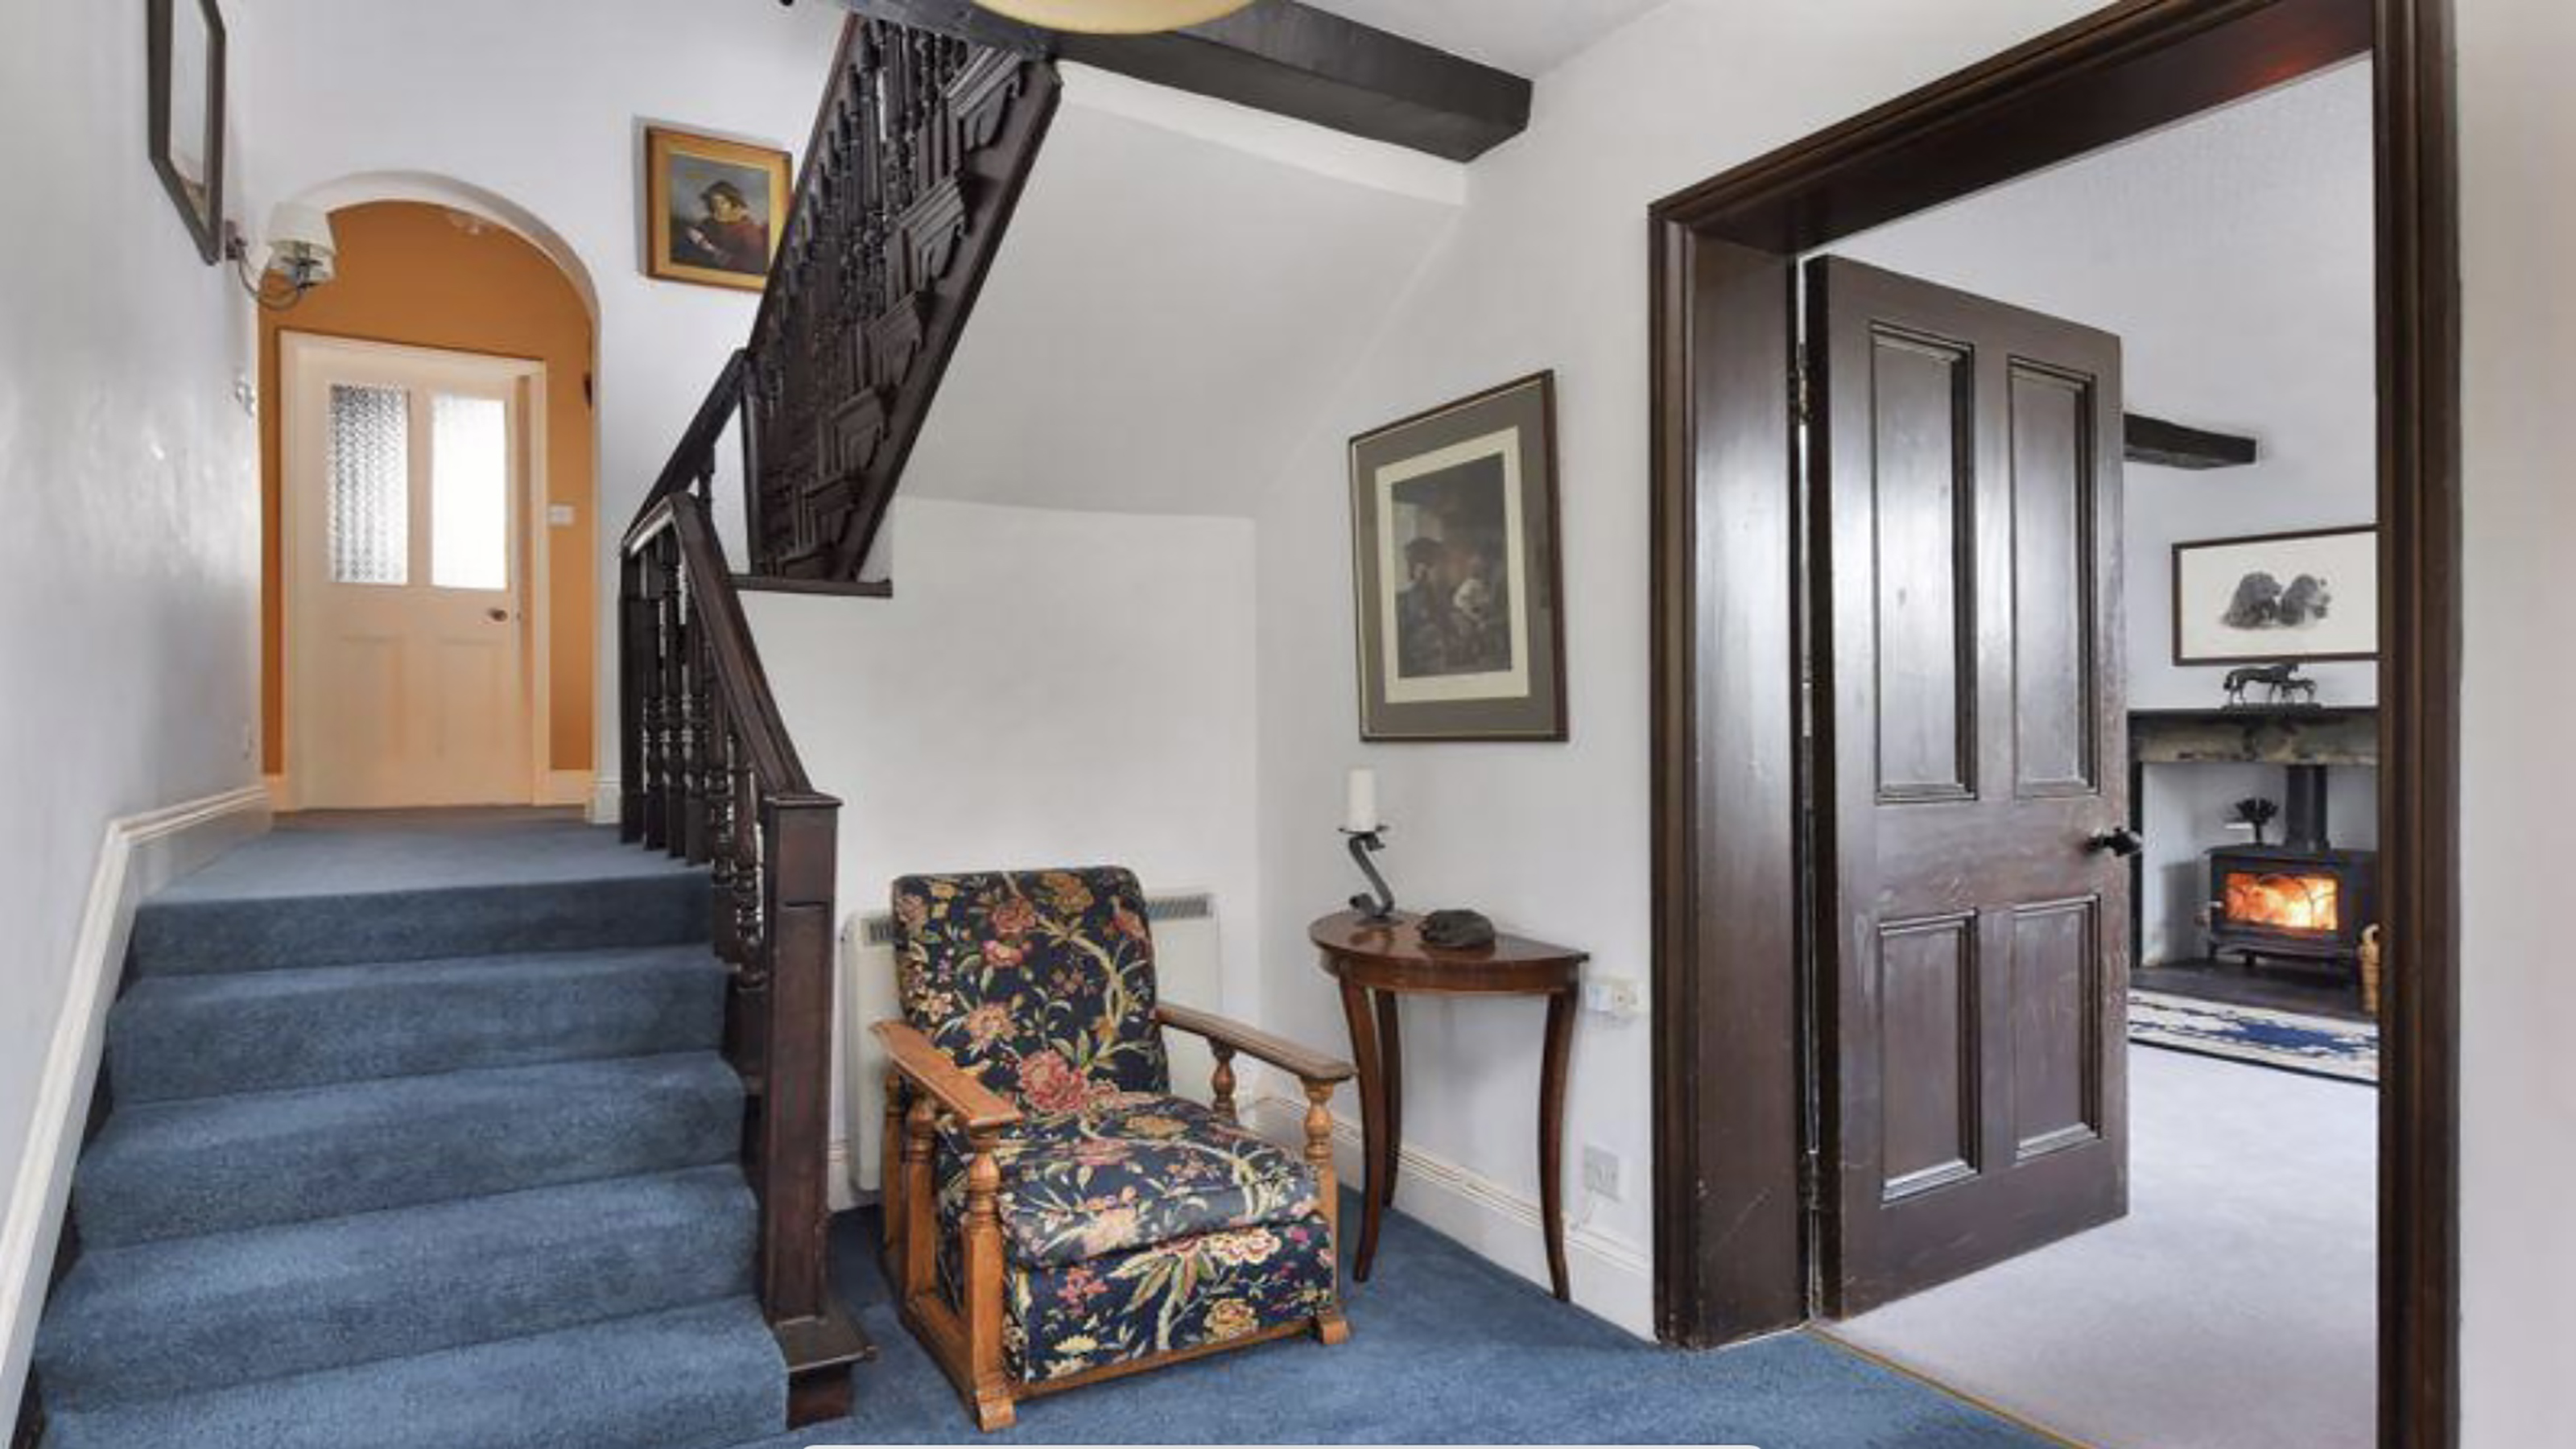 How to replace a broken staircase spindle in 30 minutes flat
A missing or broken spindle on a staircase is not only unsightly, but it can be a real hazard. This is how to fix it in a few quick steps.
By Kate Sandhu Published
-
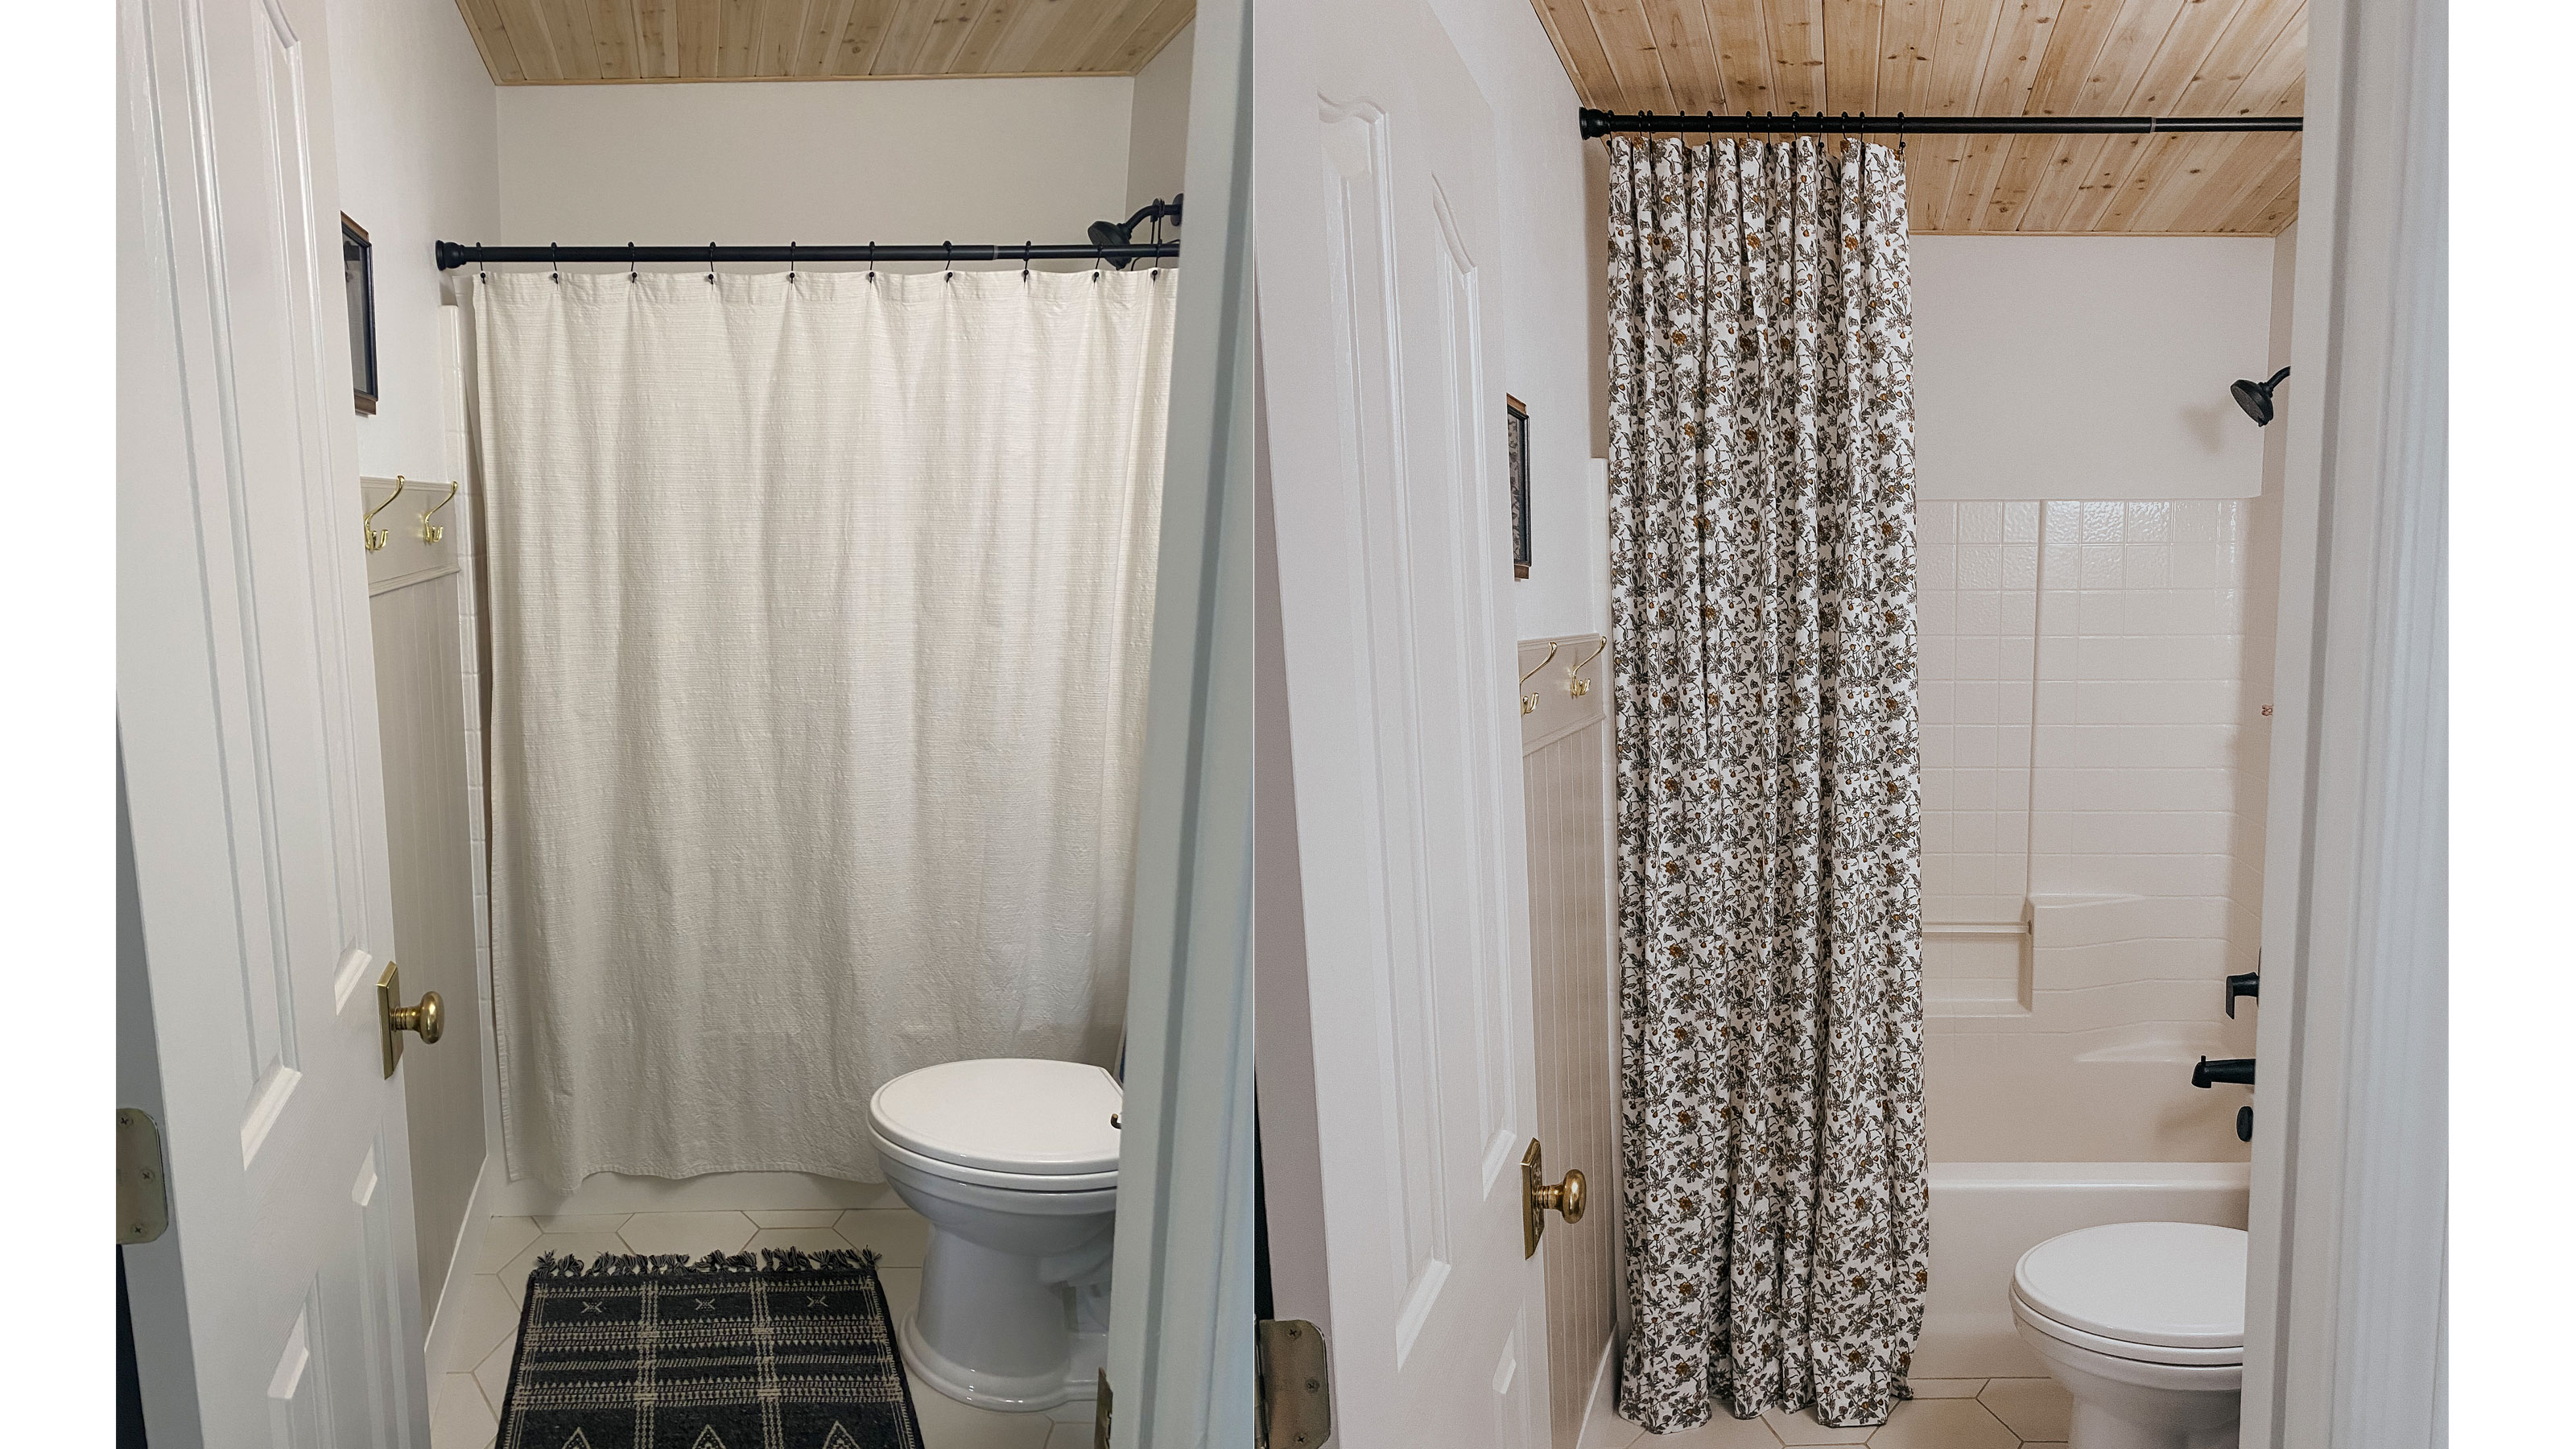 I DIYed a long shower curtain using a flat bed sheet: it's the dramatic vibe our bathroom needed
I couldn't find the extra-long patterned shower curtain I'd envisioned since forever, so I made one myself for a dramatic finish
By Brooke Waite Published
-
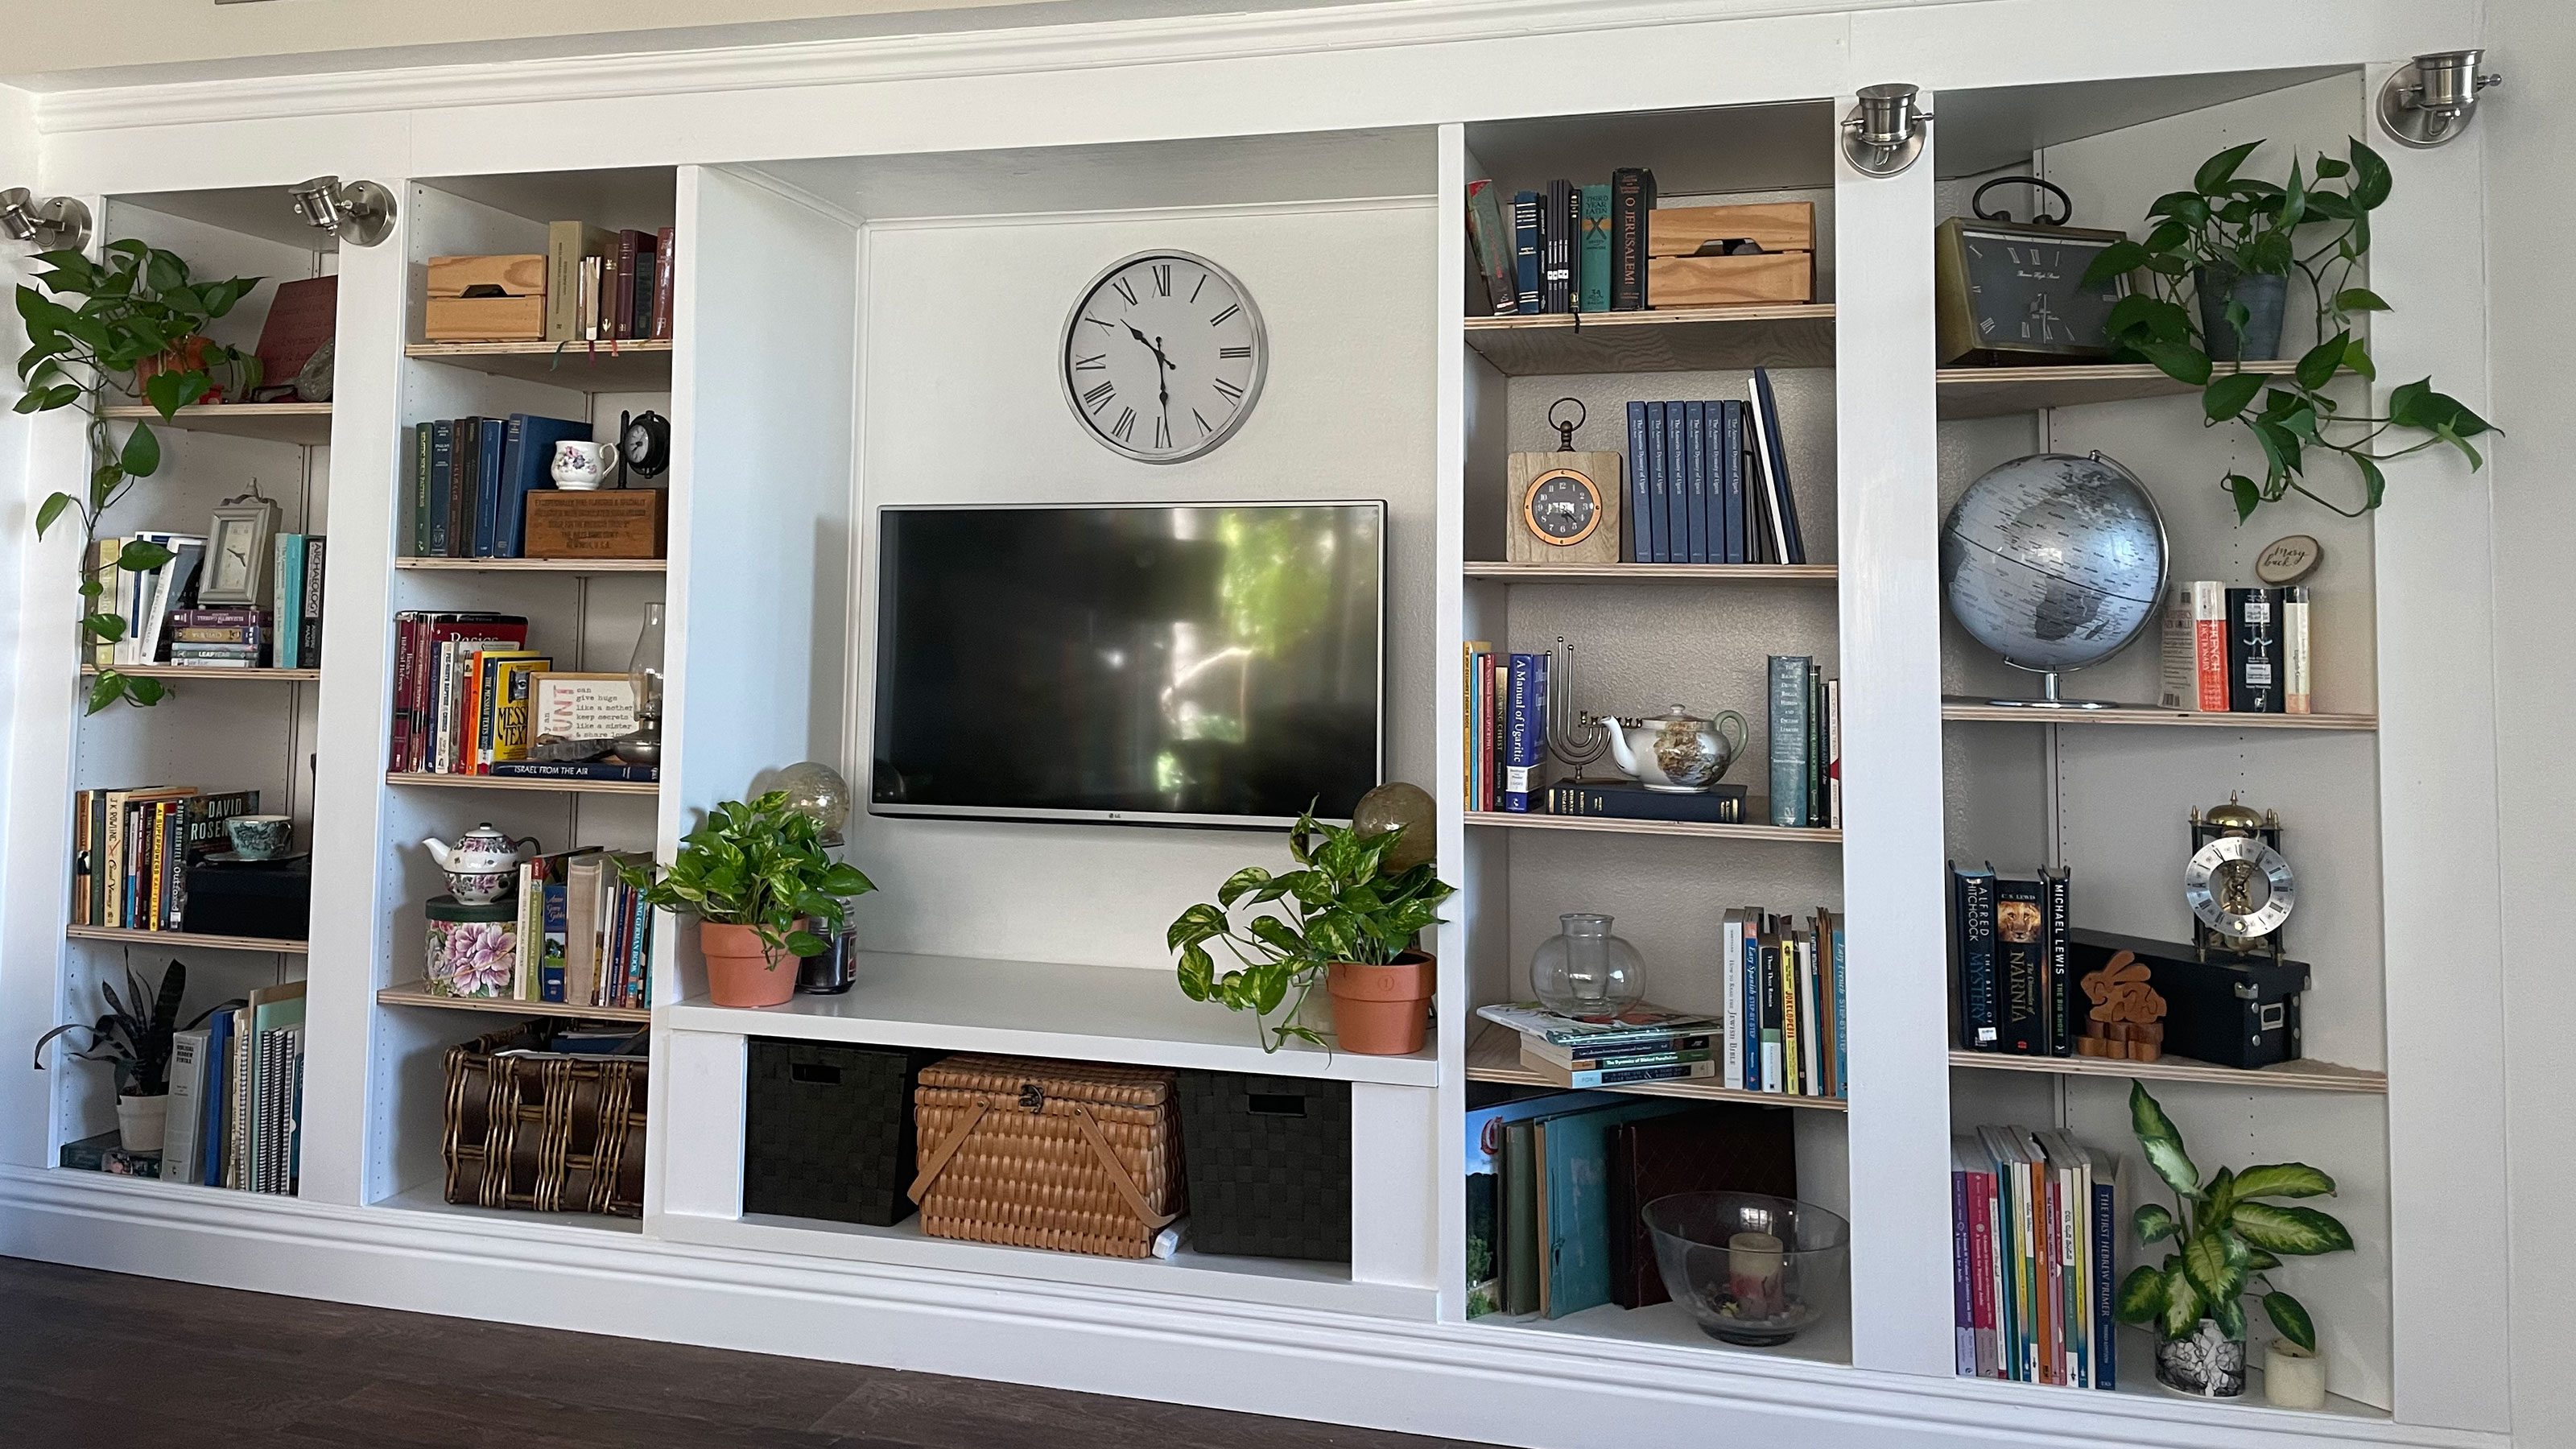 An IKEA Billy bookcase hack inspired this cute media wall DIY
This cute DIY was inspired by an IKEA Billy bookcase hack and brought a ton of symmetry to an otherwise basic media wall space.
By Camille Dubuis-Welch Published
-
 Share your small space glow up to win $150 in the Real Homes competition
Show off your creativity and DIY skills to win $150 and for the chance to be featured exclusively in Real Homes magazine
By Camille Dubuis-Welch Last updated
-
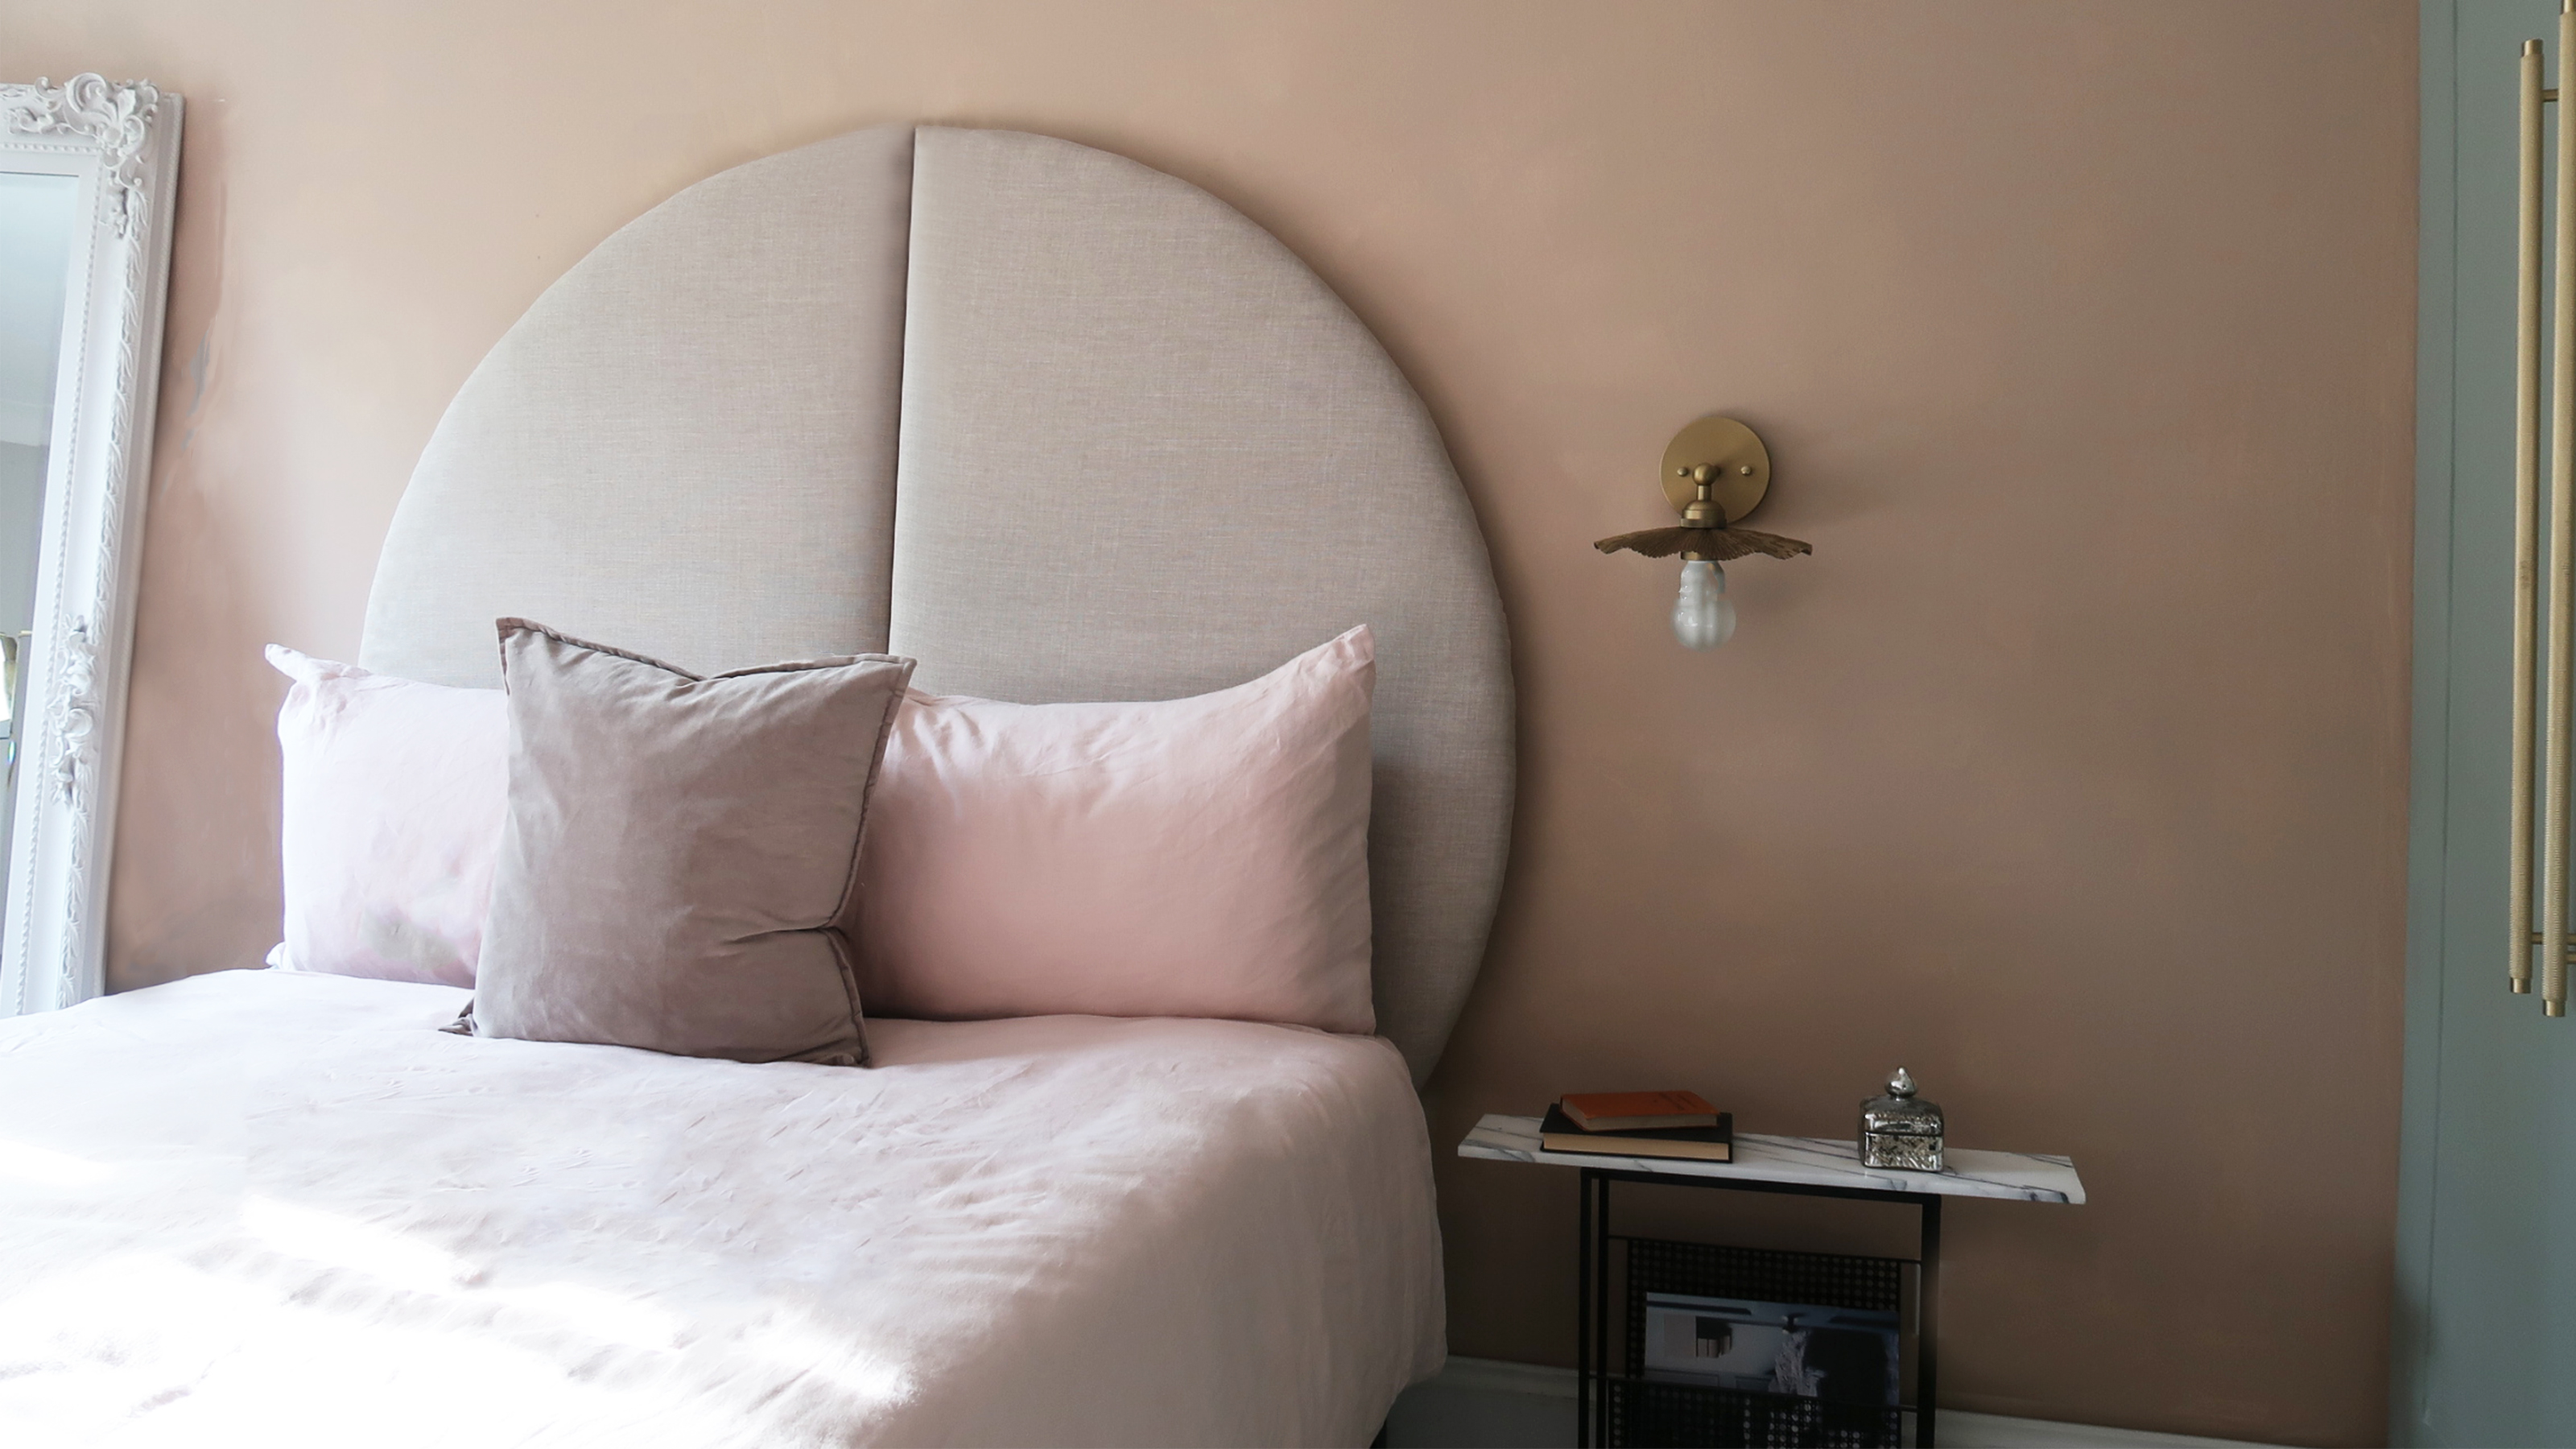 This oversized headboard looks designer, and takes 5 steps to DIY
Super simple to DIY, this oversized headboard will give your bedroom space all the designer vibes you could dream of.
By Claire Douglas Published
-
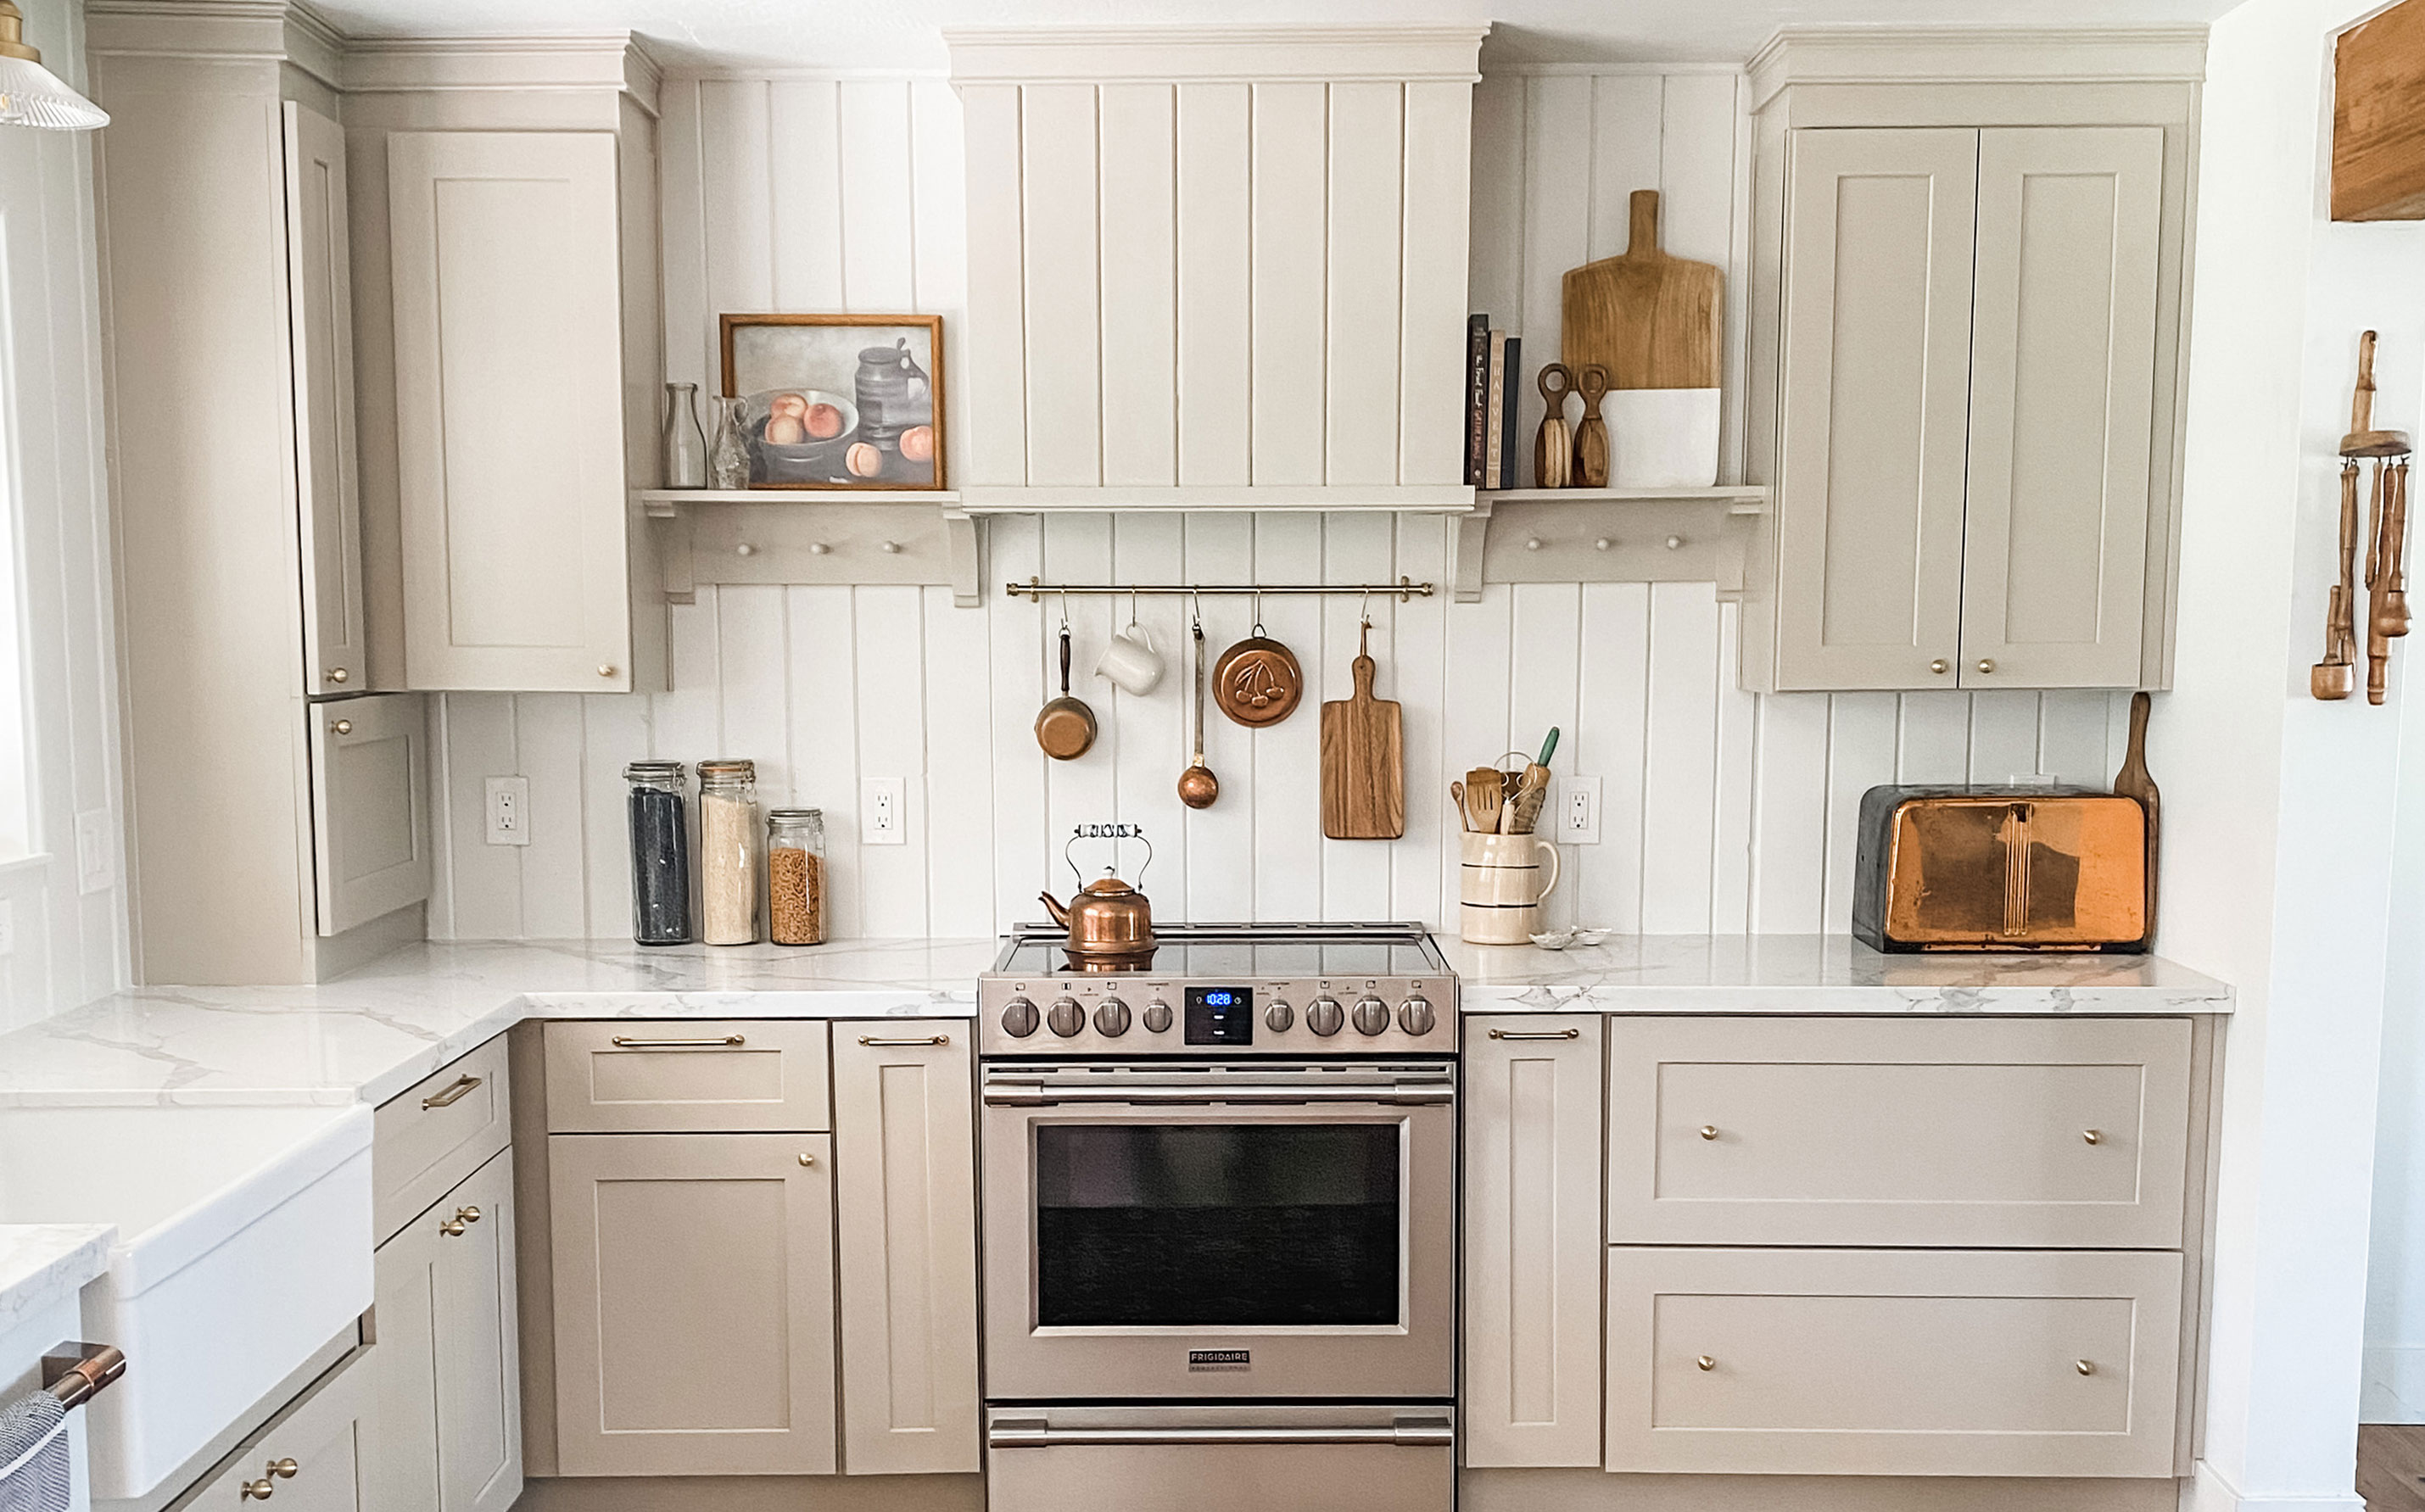 My DIY range hood and backsplash build gave my kitchen the perfect farmhouse finish
I craved charm in my kitchen space and adding a custom range hood and shelving was the best move.
By Brooke Waite Published
-
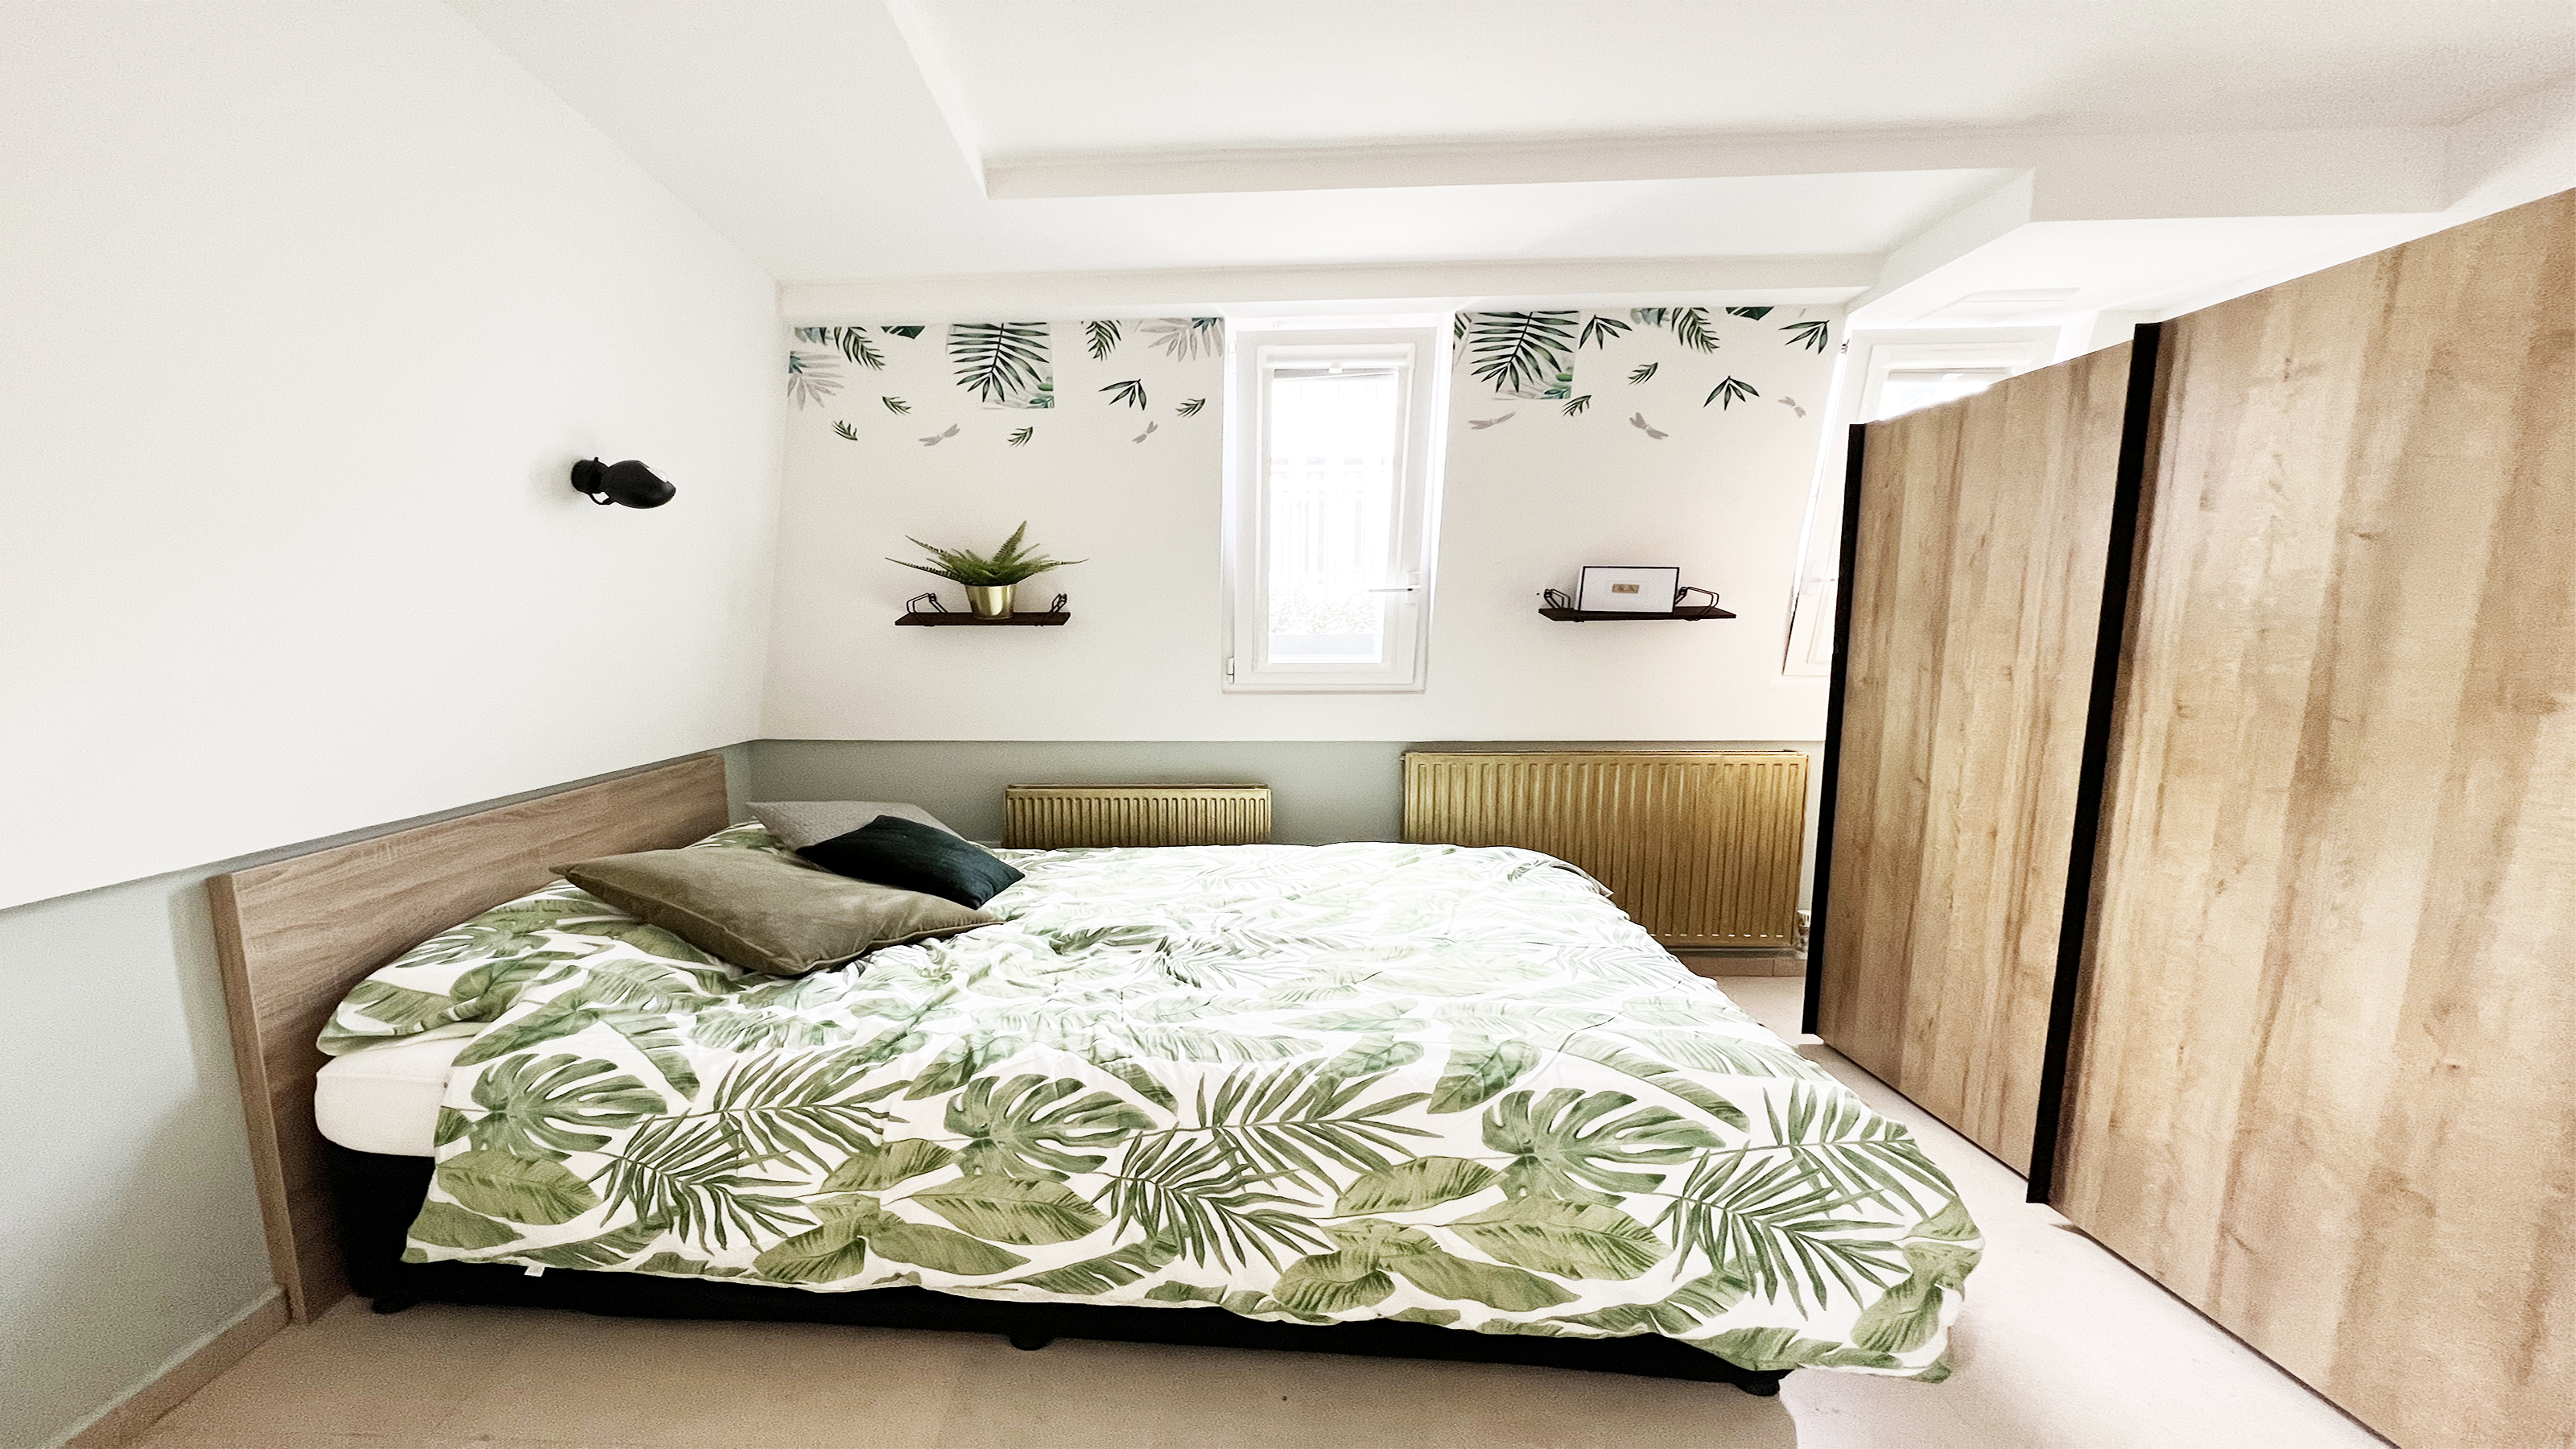 How to paint a radiator in 7 steps
Painting radiators properly is all about choosing the right paint and the best process. Get interior designer-worthy results with our how-to.
By Kate Sandhu Published