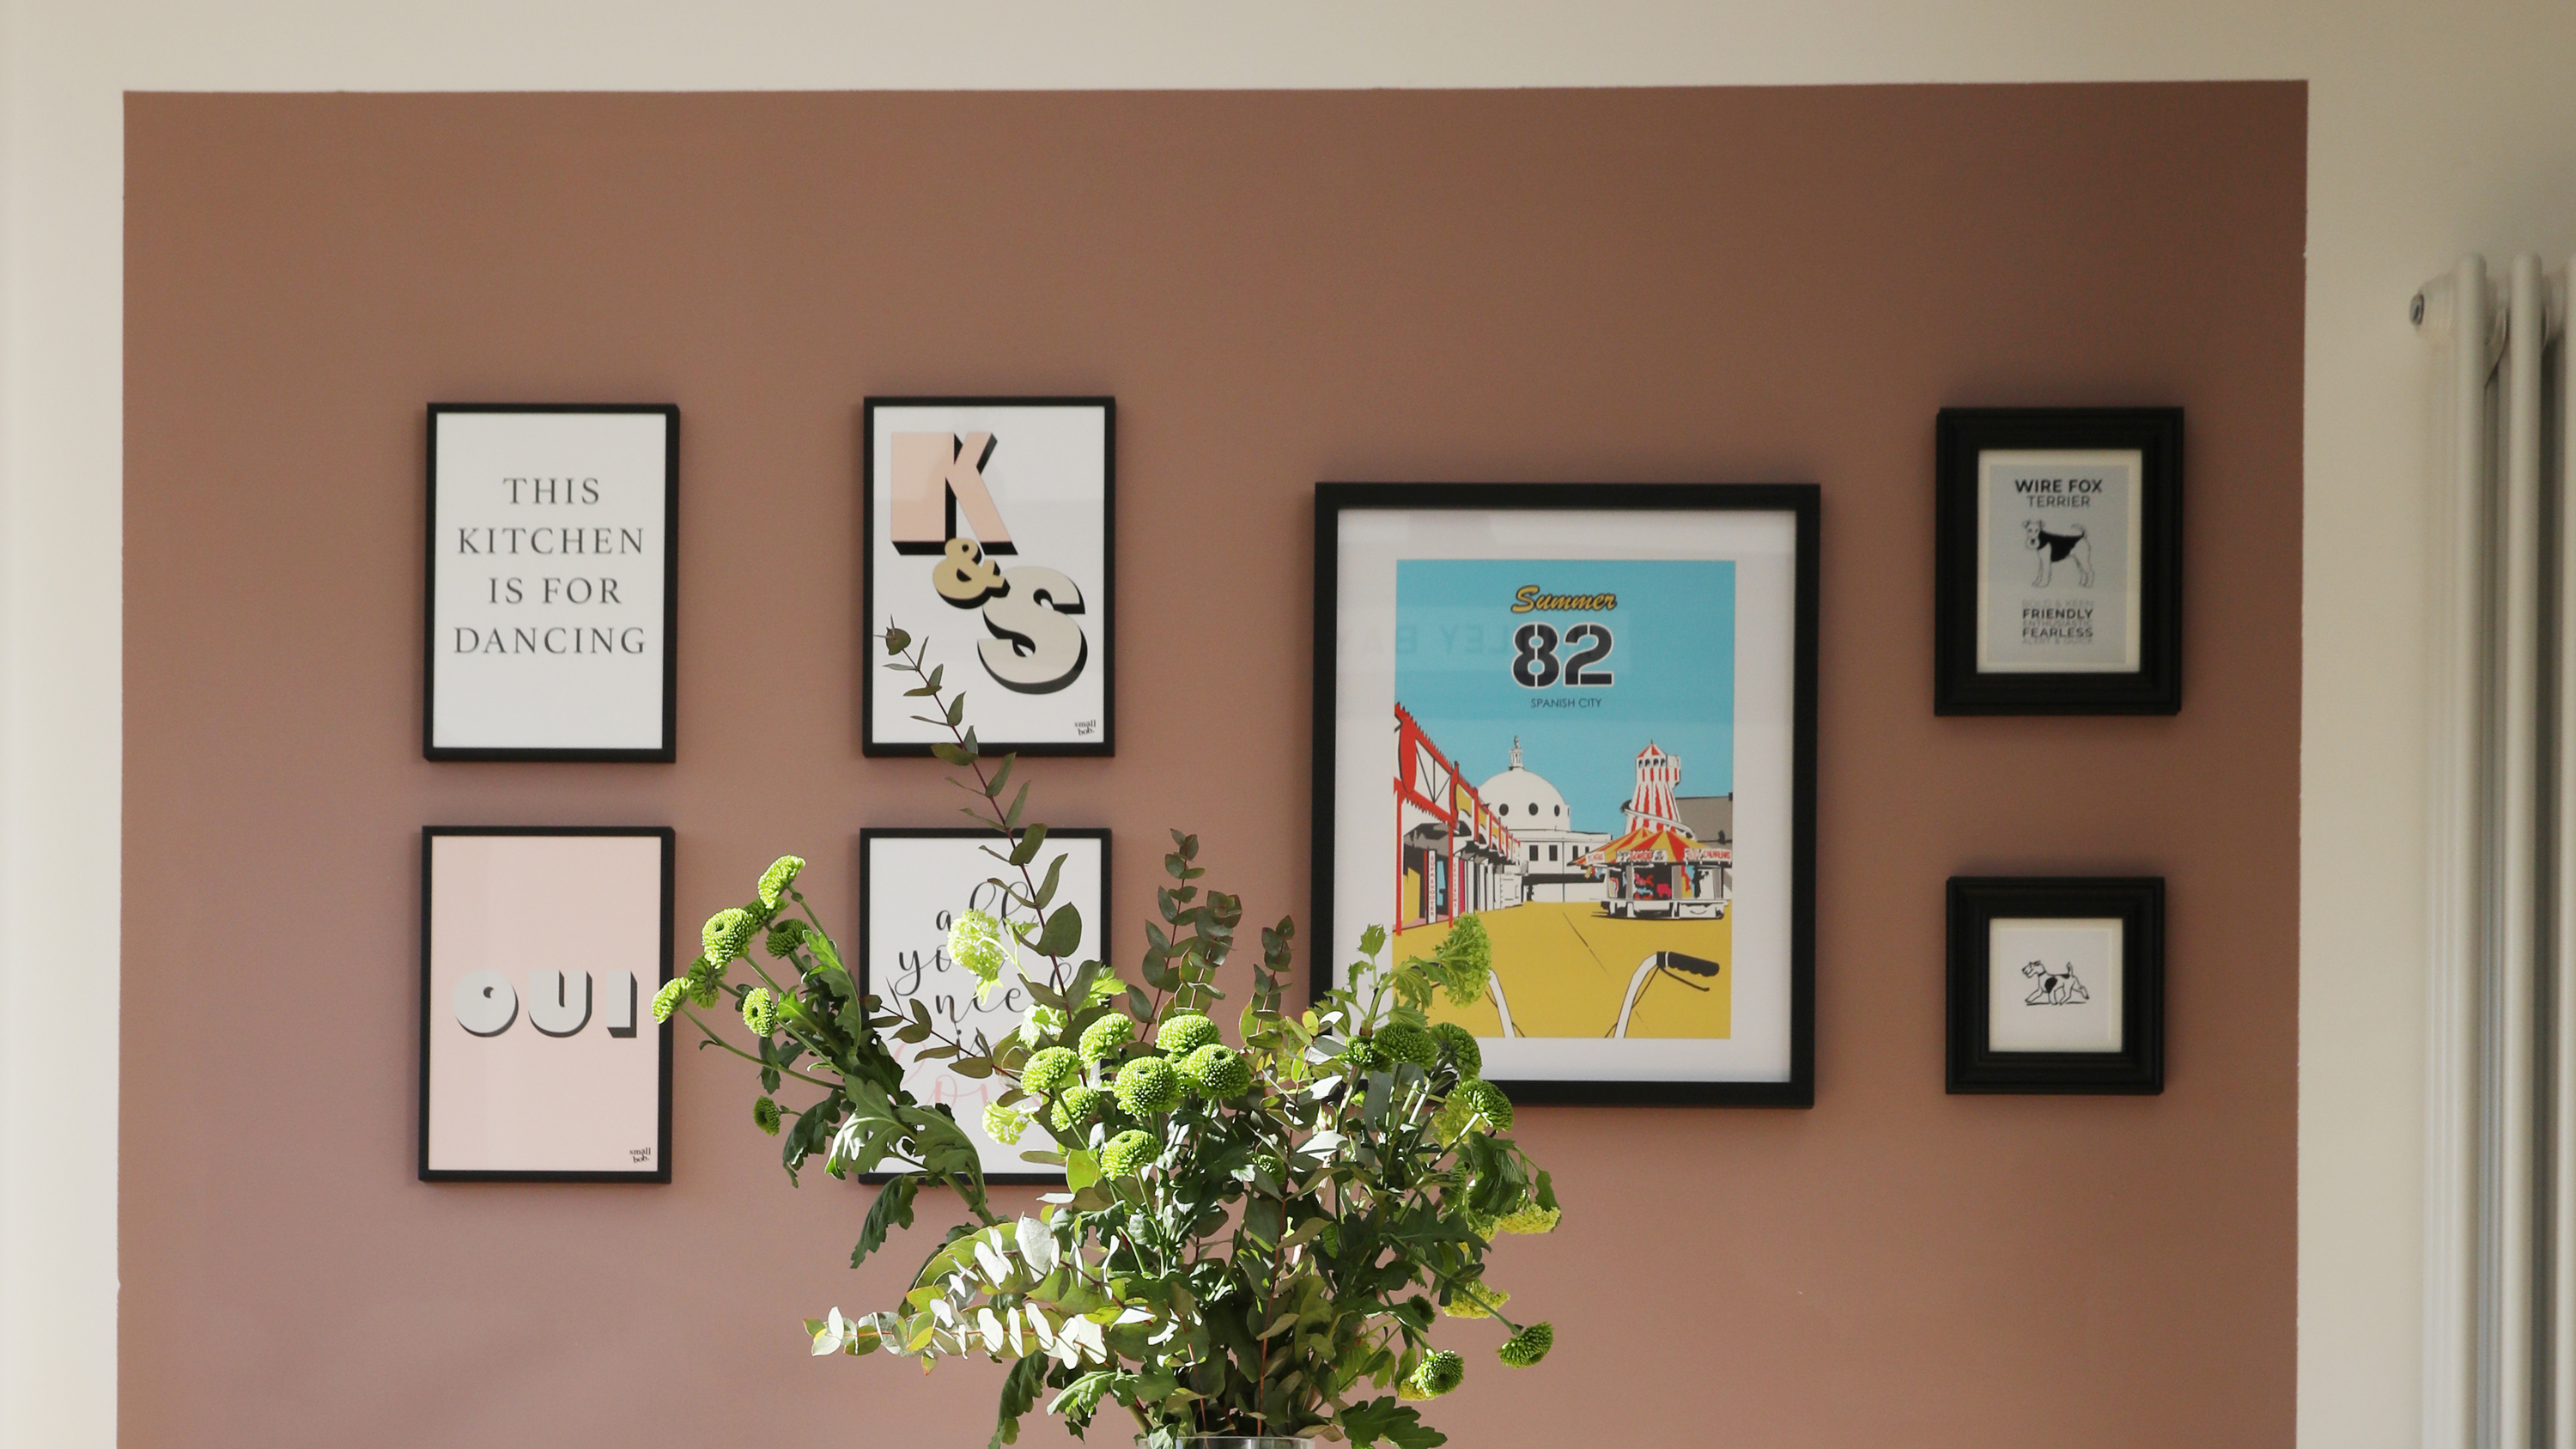
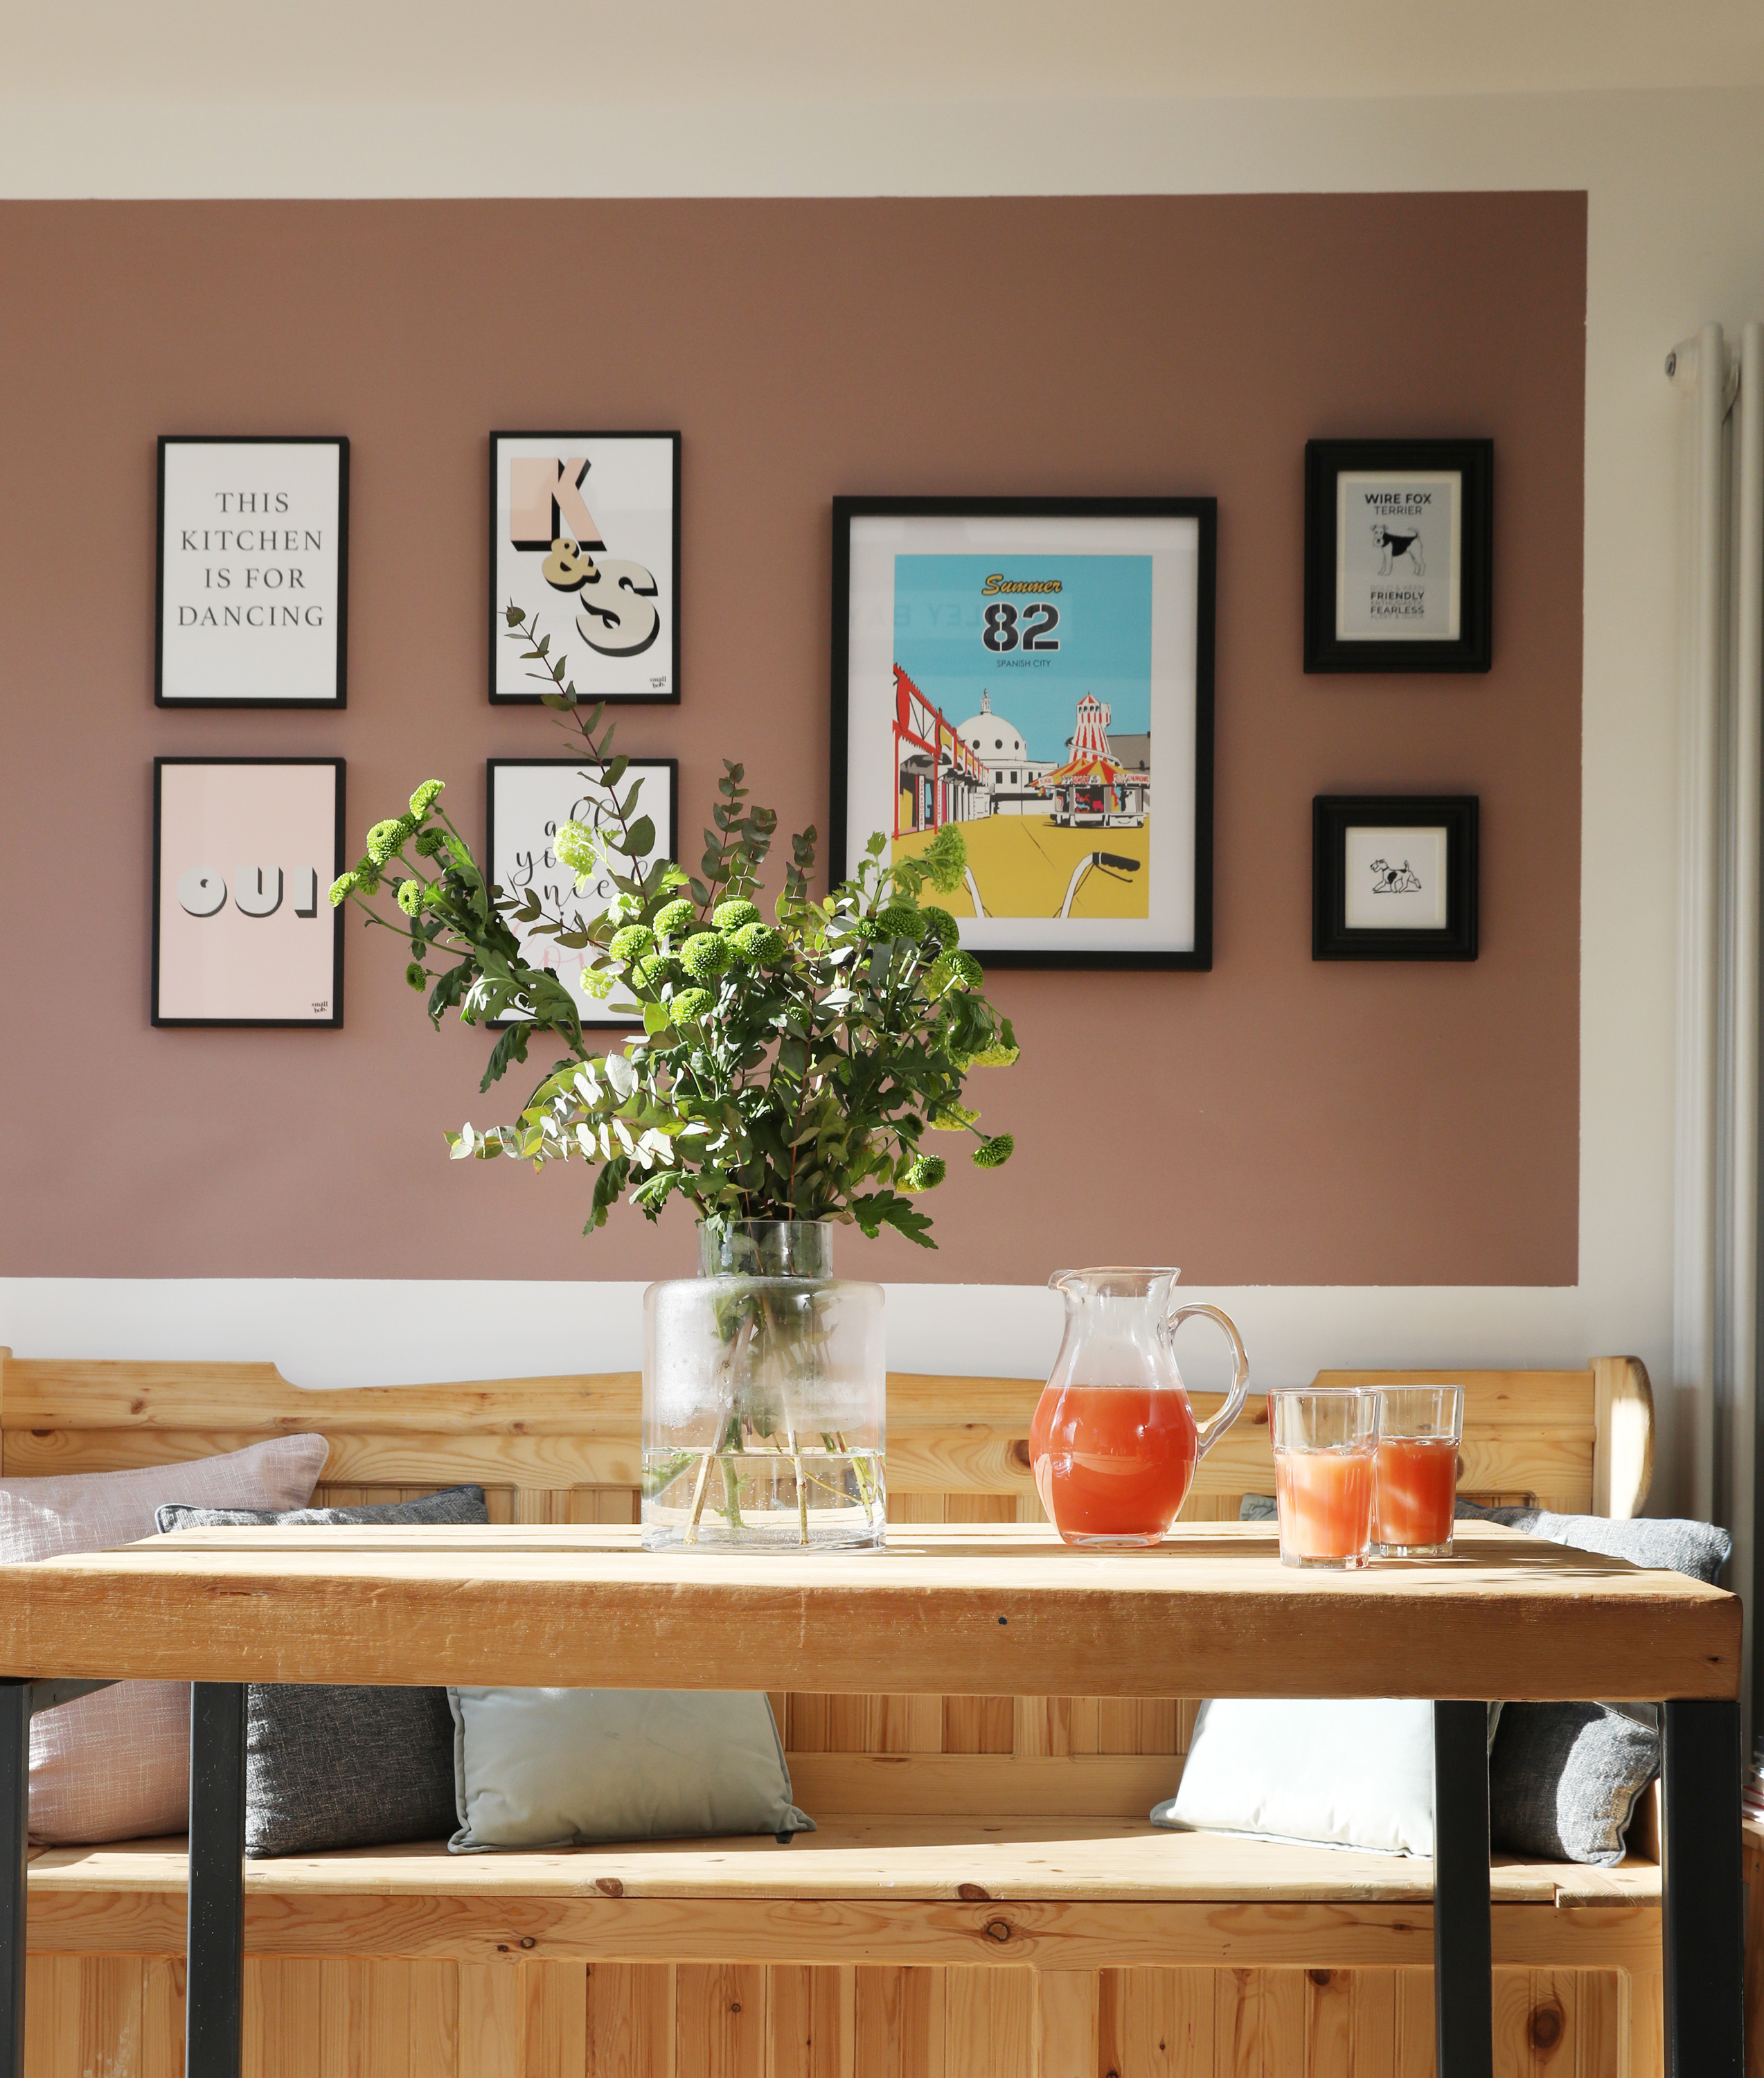
Want a quick way to make a picture wall really stand out? This gallery wall idea will transform a room in just a couple of hours: simply use paint to create a coloured backdrop and give your favourite artwork some added impact.
Using nothing more than some leftover paint, a roller and masking tape, it's the perfect way to freshen up a room in an afternoon, and will ensure your favourite artwork is the centre of attention in your space.
Read on for how to create it in four easy steps, then check out our other ideas for beautiful gallery wall ideas.
- Want to see more of this stylish home? Take the full tour inside the new issue of Real Homes magazine, on sale now. Order your copy today, including free delivery
You will need:
- Paint - this project uses Farrow & Ball's Sulking Room Pink
- Roller
- Masking/decorating tape
- Ruler
- Spirit level
Step one: mark out your frame
Once you've decided where you'd like to create your gallery wall, mark out the size of the painted section in pencil. Use a ruler and sprit level to ensure you get straight lines. You want to make sure that the painted section will be big enough to leave plenty of the coloured area visible once the artwork is added to the wall.
If you have furniture underneath, it's a good idea to take your lead from this and make the width of the painted section the same size as the furniture, as the homeowners have done here with the bench seating.
Step two: paint the coloured section
Section off the frame you've drawn on the wall with masking tape. Using a roller (or paintbrush if you don't have a roller available), paint your chosen colour within the frame you've created. Allow to dry before applying a second coat.
Leave to dry completely before carefully peeling away the masking tape.
Join our newsletter
Get small space home decor ideas, celeb inspiration, DIY tips and more, straight to your inbox!
Step three: plan the layout of your artwork
Replicate the size of the painted section on the floor – you could simply use a rug that's a similar size, or mark out a rough shape with something like string. Place your pictures on the rug and play around with the layout until you're happy with the composition. It's a good idea to start with the biggest picture and work outwards from there.
Our top tip? Take a picture on your phone of the finished layout on the floor as it's a useful memory jog when you're hanging the pictures on the wall.
Step four: hang your artwork
With your layout finalised, you can hang your artwork on the wall. If you're going for a grid layout where you want a number of pictures to line up exactly, you might find it easier to use something like Command picture hanging strips attached to the back of the frame, instead of more traditional picture hooks. And that's it! One colourful gallery wall completed.
Get Real Homes magazine delivered direct to your door and your device
Can't get to the shops but don't want to miss out on the latest issue of your favourite homes magazine? Don't worry as when you subscribe today you'll get every issue of Real Homes magazine delivered direct to your door and your device.
From stunning completed projects to the latest decorating ideas you can try in your own space, you'll find plenty to keep you entertained and inspired inside each issue. Don't miss our special deal – subscribe to our annual print and digital bundle offer today for just £39.99 – a massive saving of 52%.
More weekend projects to try:
-
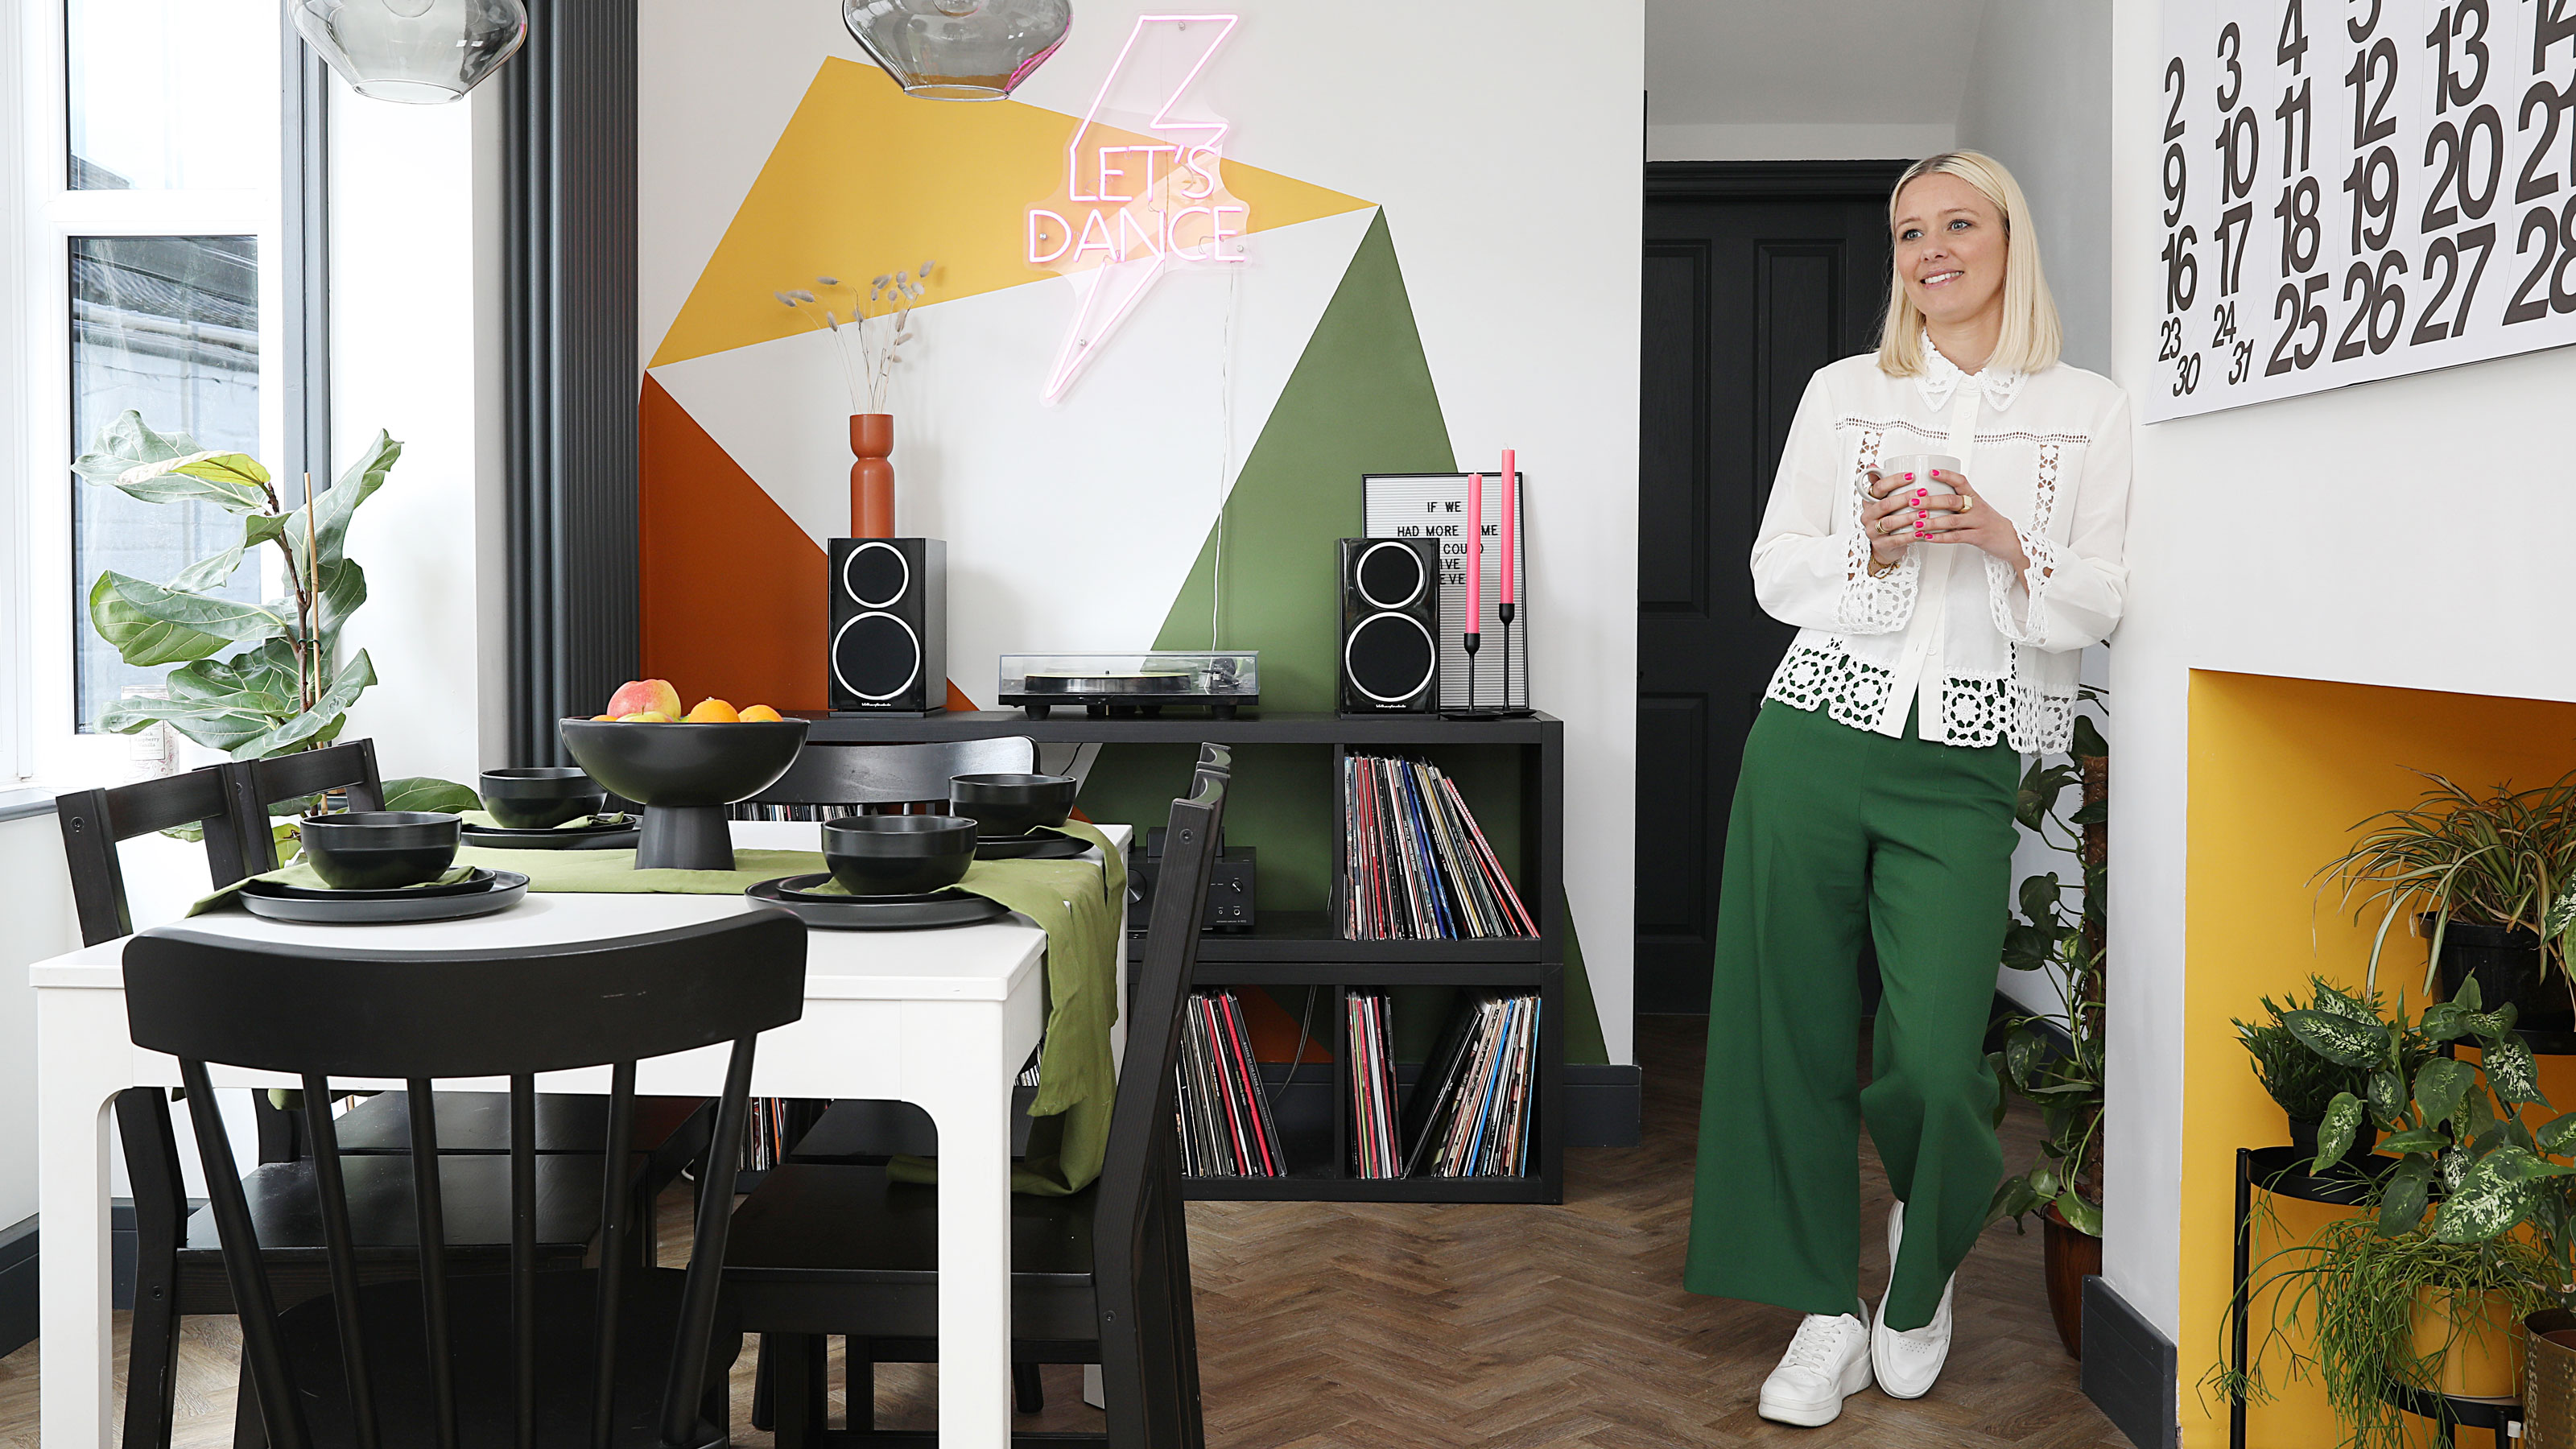 This colourful home makeover has space for kitchen discos
While the front of Leila and Joe's home features dark and moody chill-out spaces, the rest is light and bright and made for socialising
By Karen Wilson Published
-
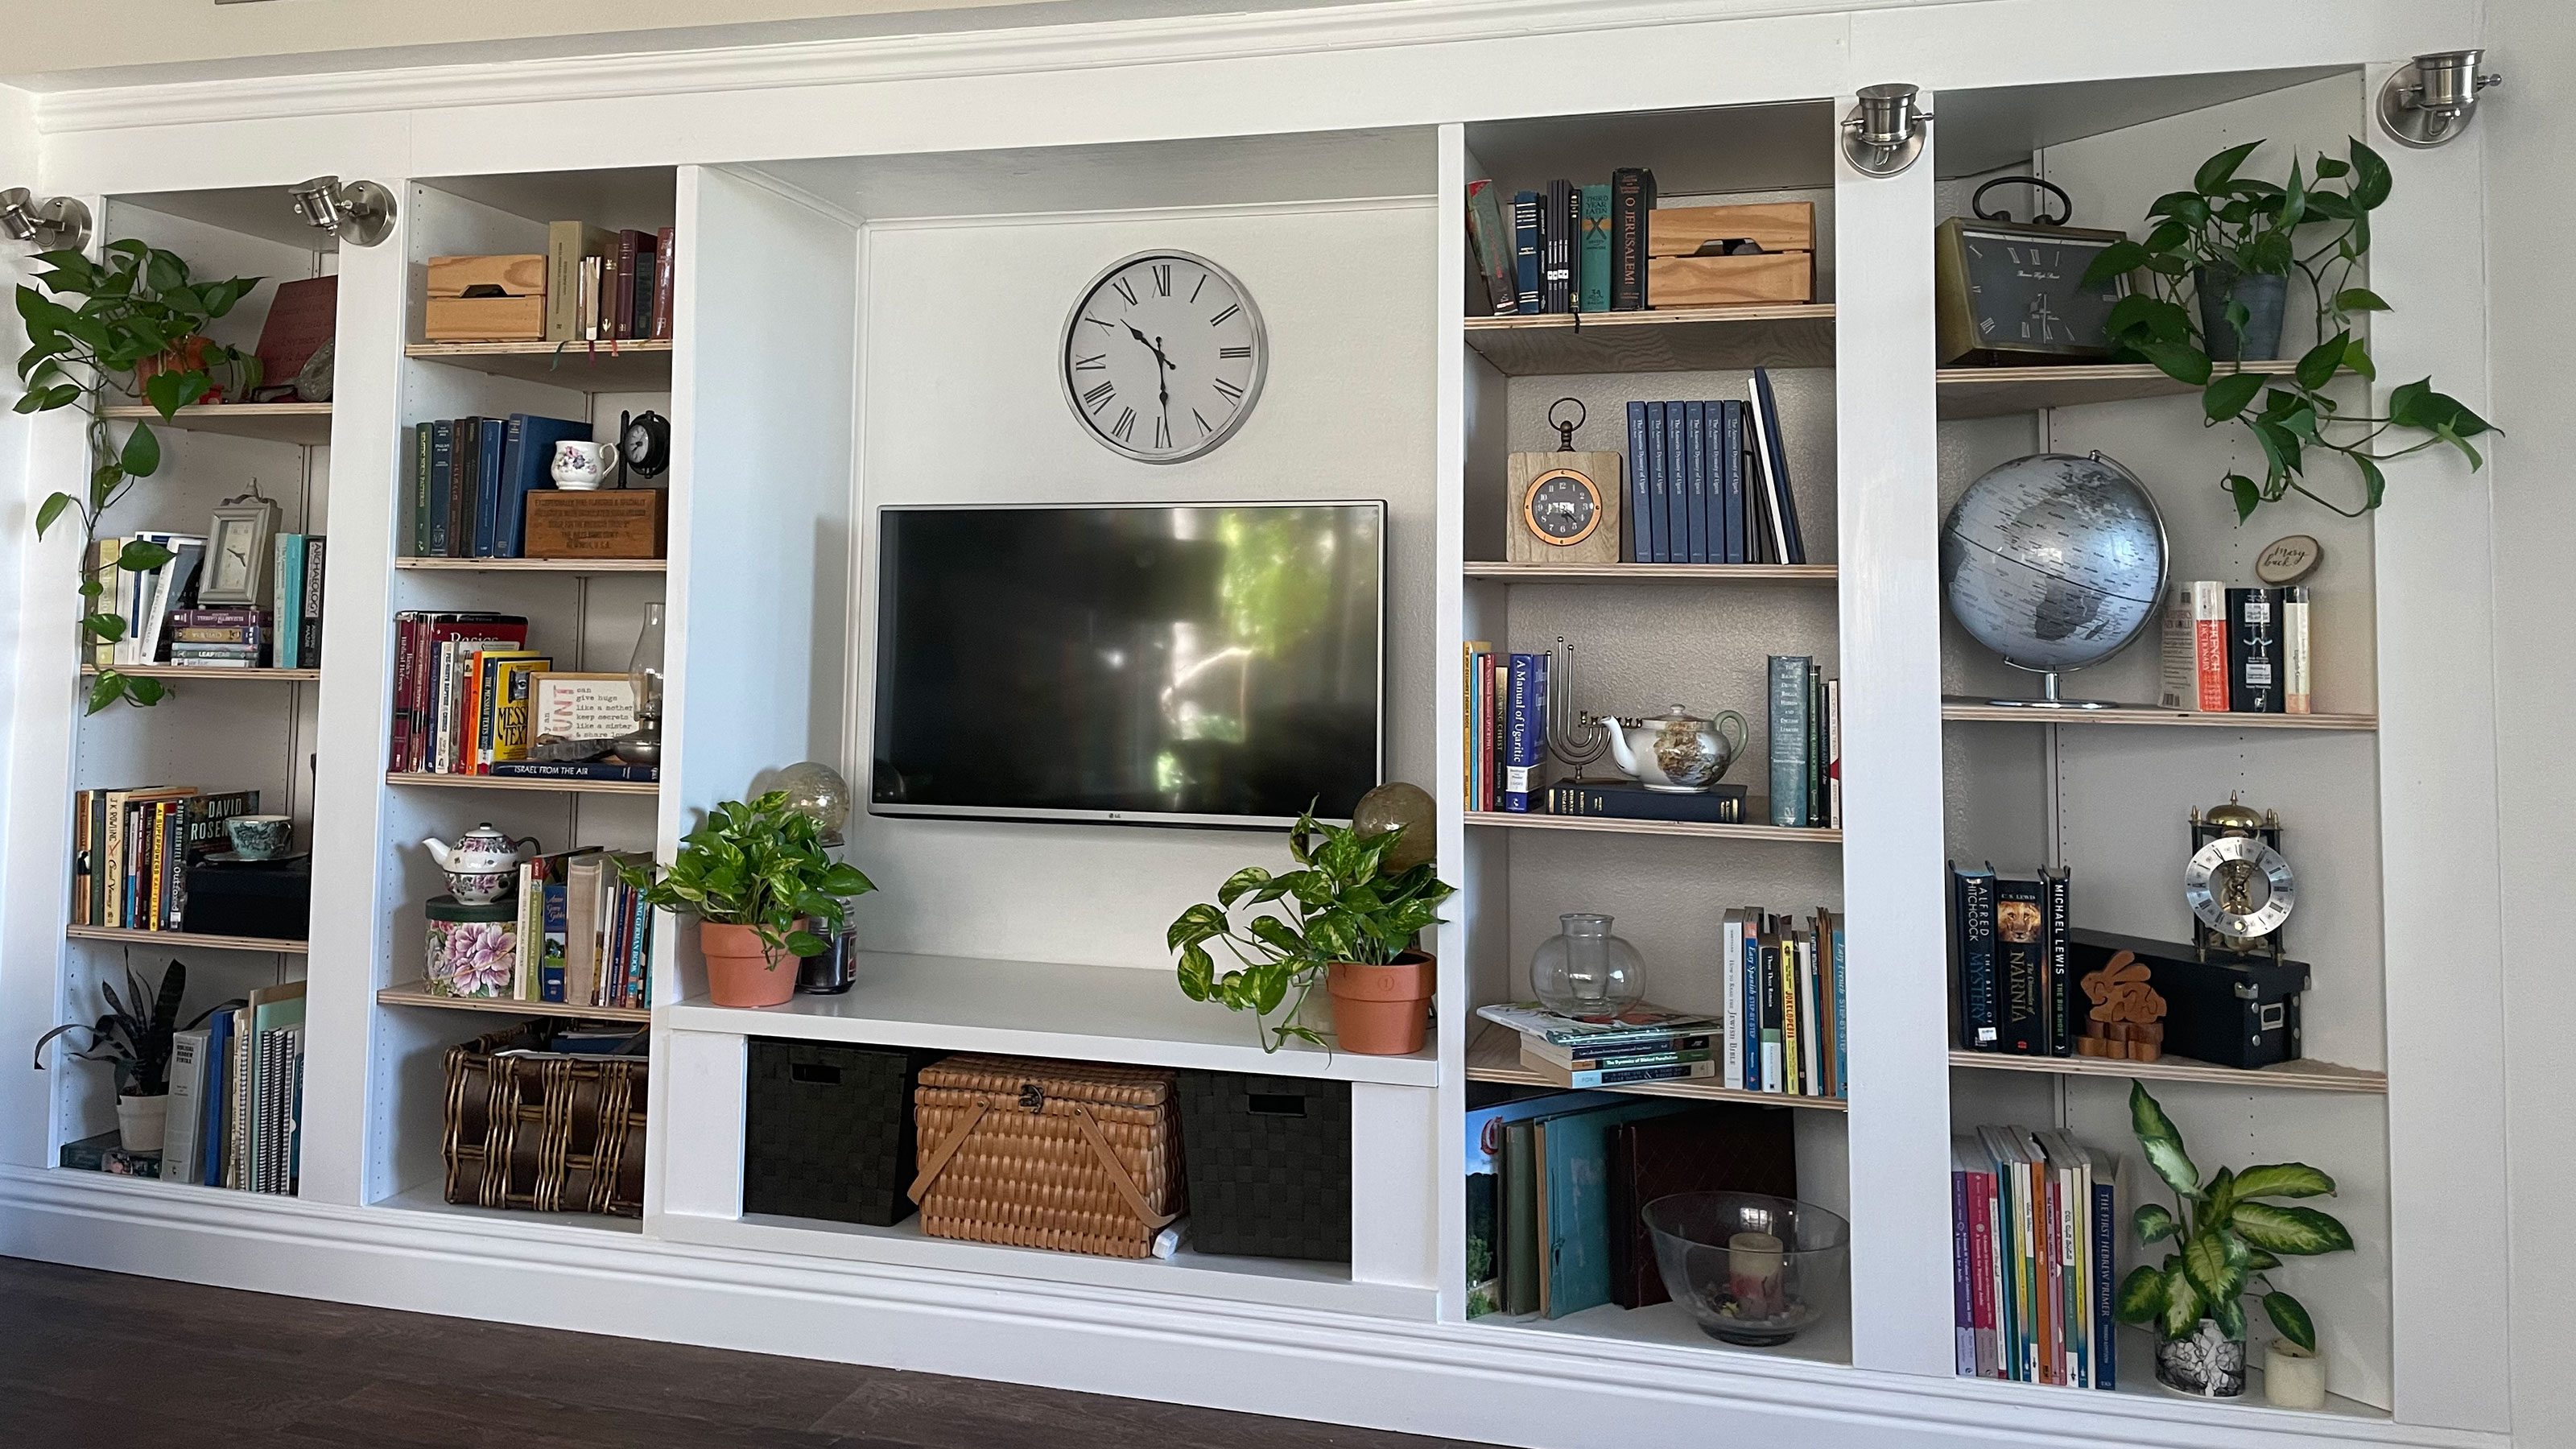 An IKEA Billy bookcase hack inspired this cute media wall DIY
This cute DIY was inspired by an IKEA Billy bookcase hack and brought a ton of symmetry to an otherwise basic media wall space.
By Camille Dubuis-Welch Published
-
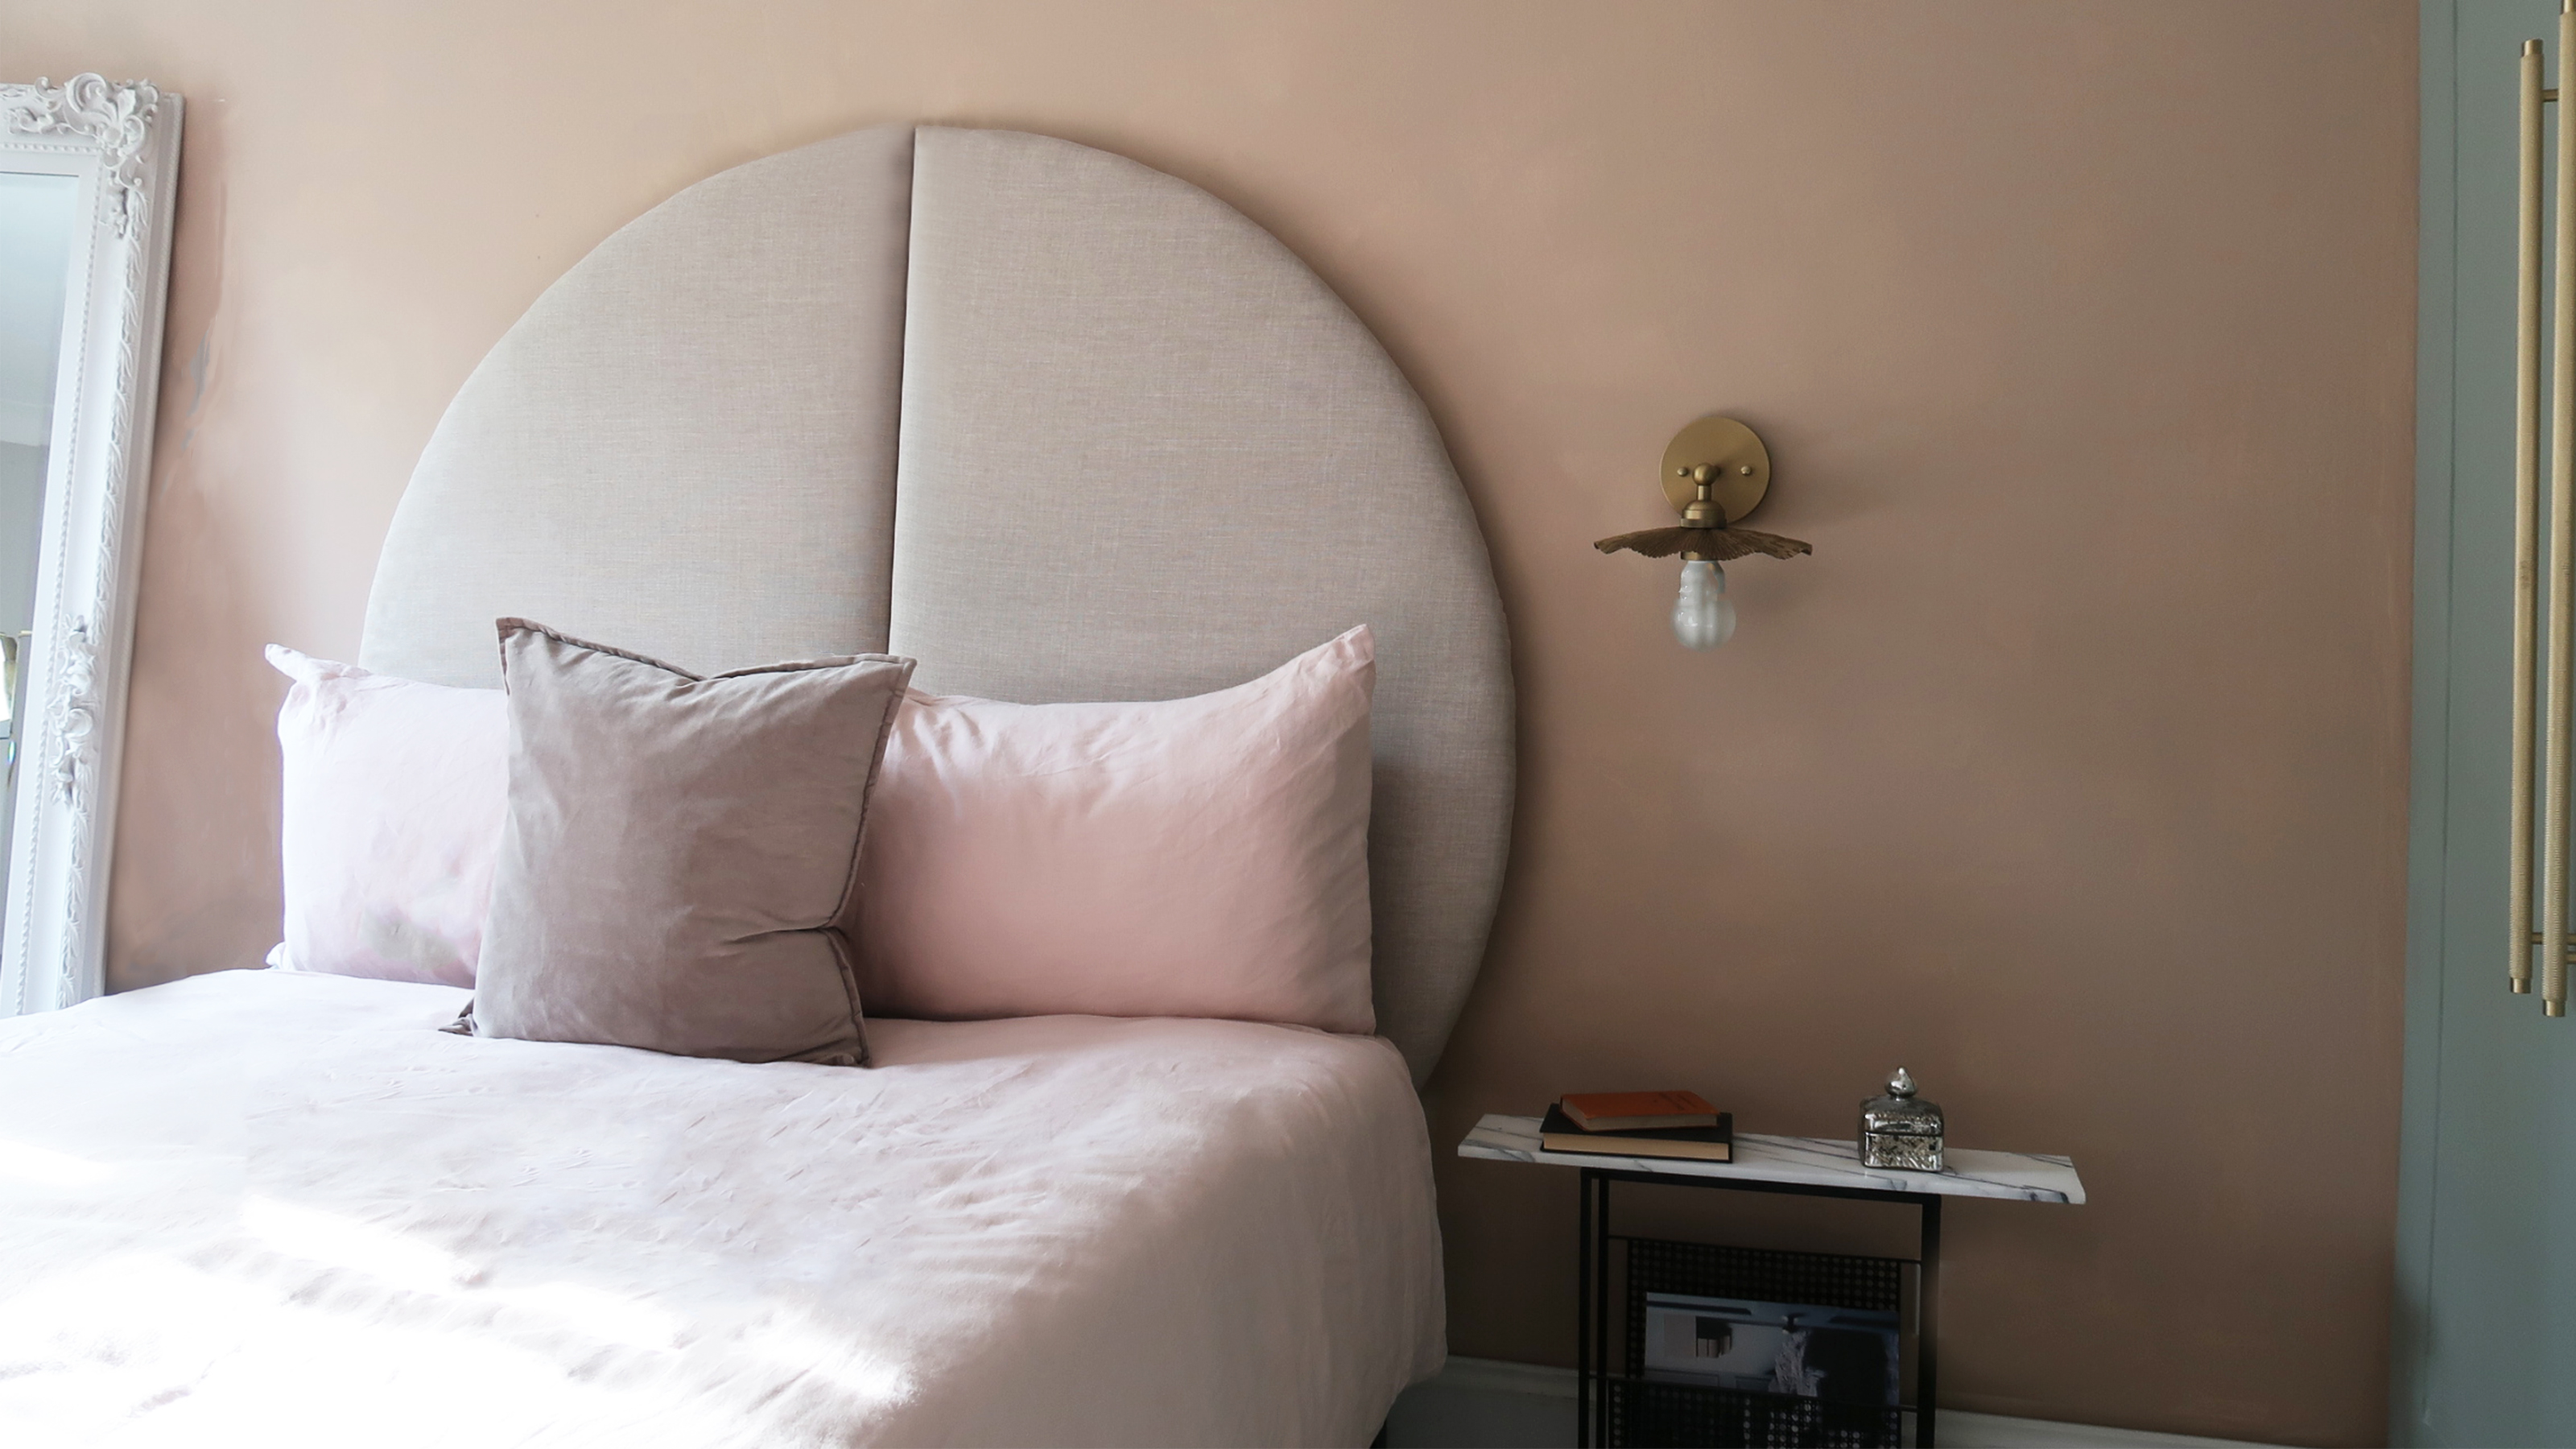 This oversized headboard looks designer, and takes 5 steps to DIY
Super simple to DIY, this oversized headboard will give your bedroom space all the designer vibes you could dream of.
By Claire Douglas Published
-
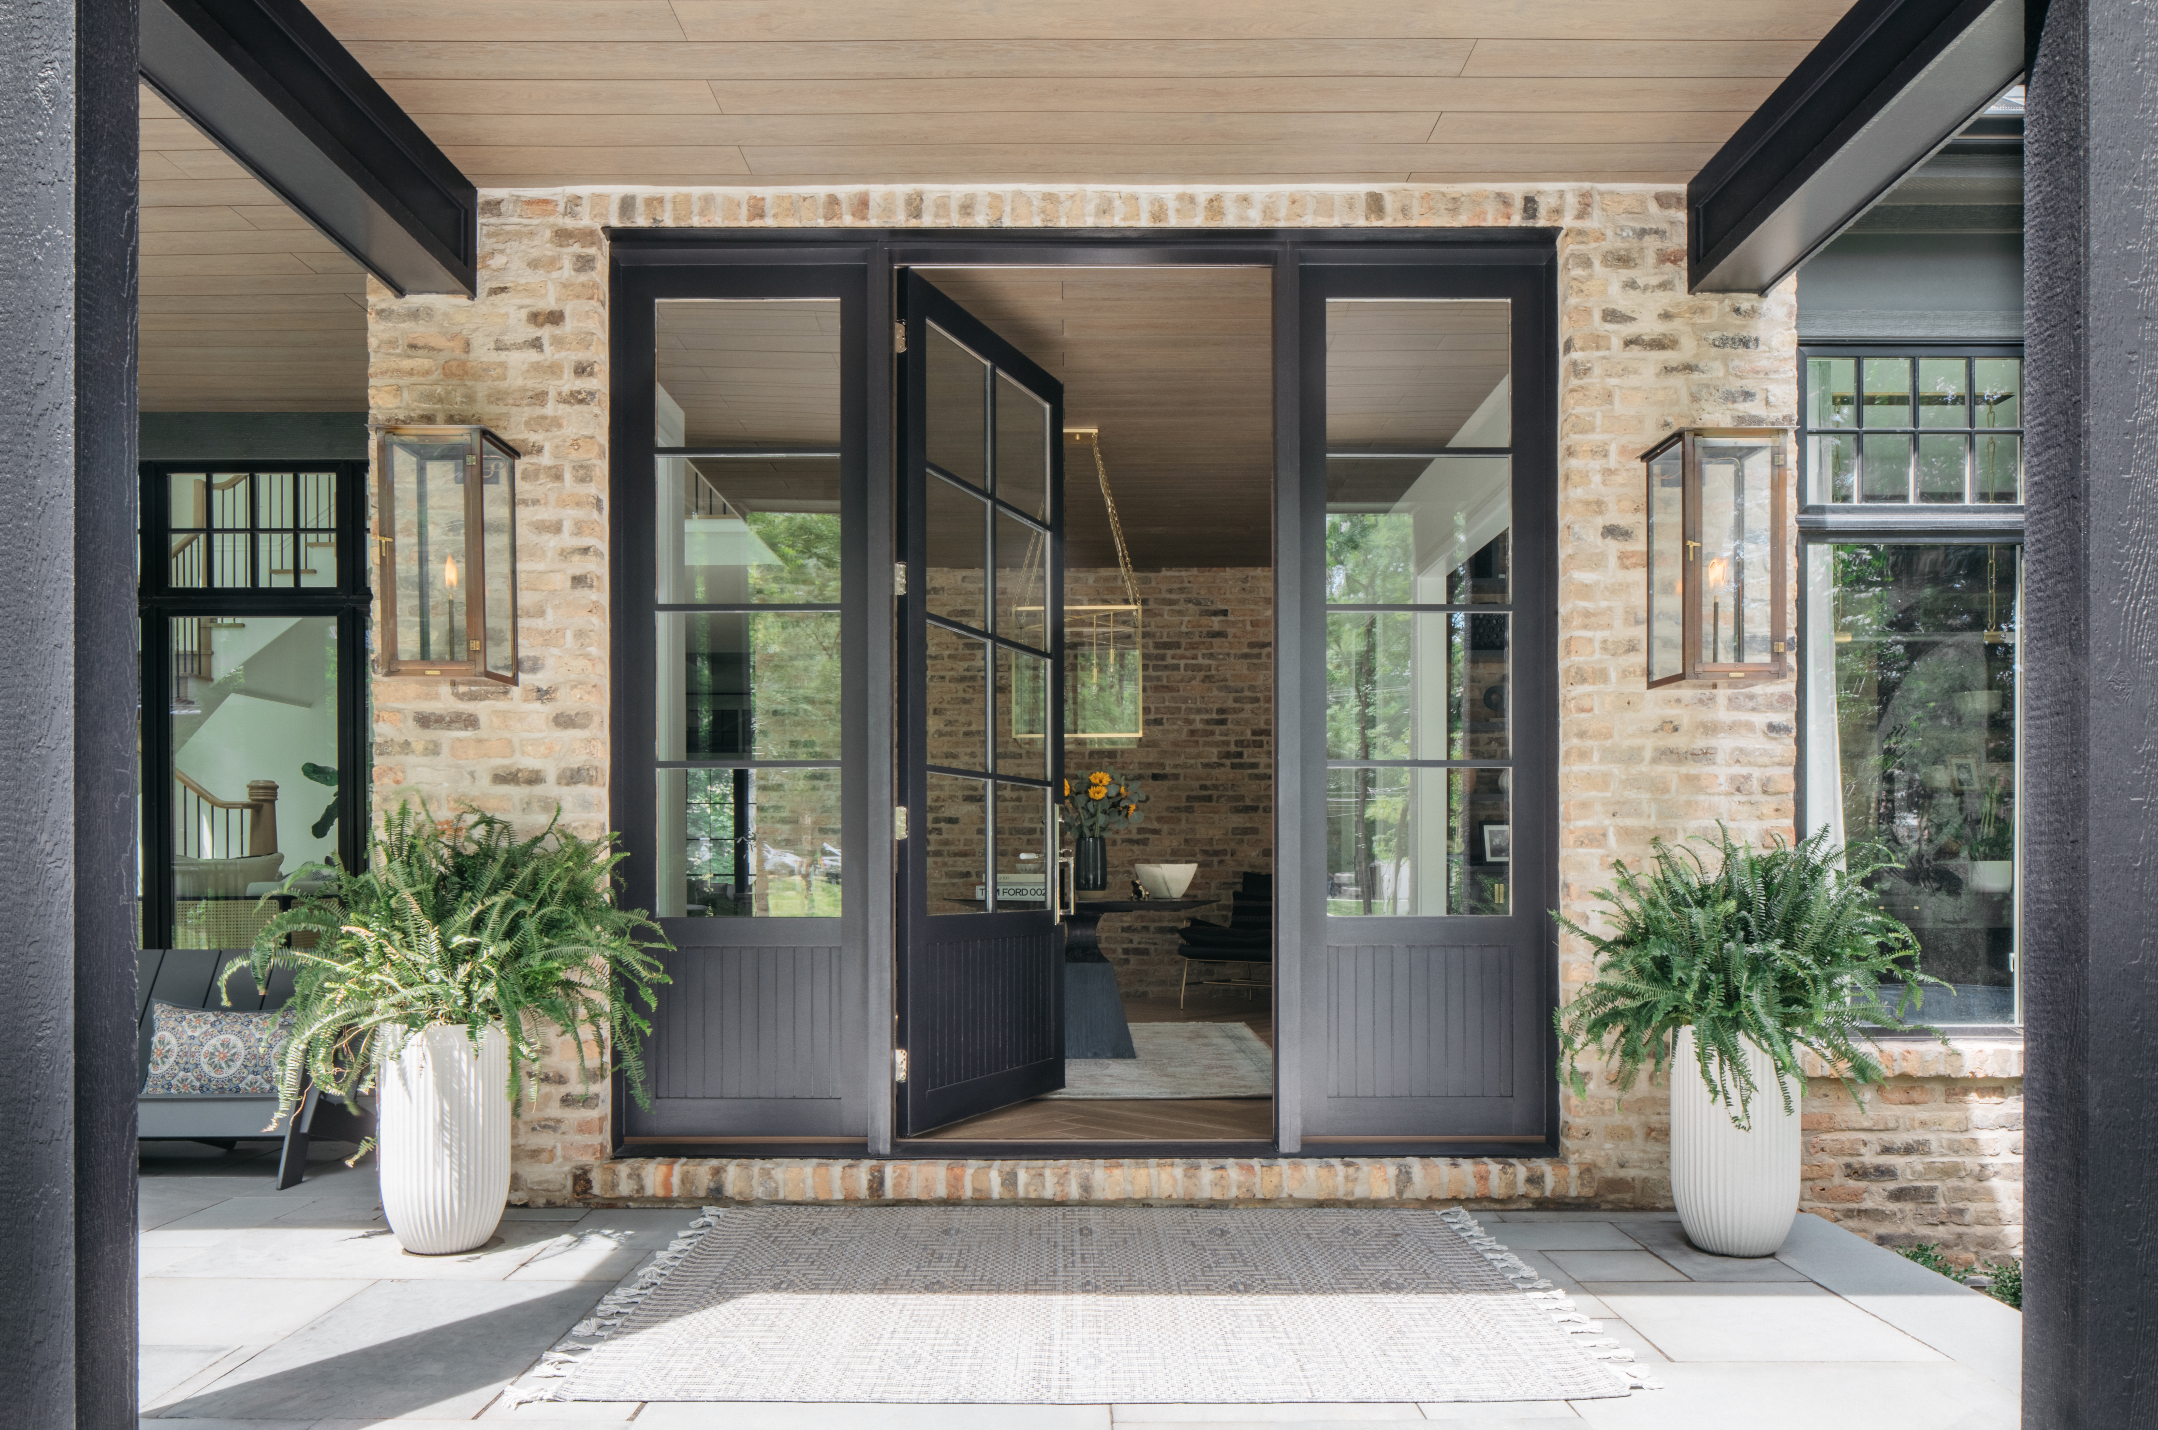 How to paint a door and refresh your home instantly
Painting doors is easy with our expert advice. This is how to get professional results on front and internal doors.
By Claire Douglas Published
-
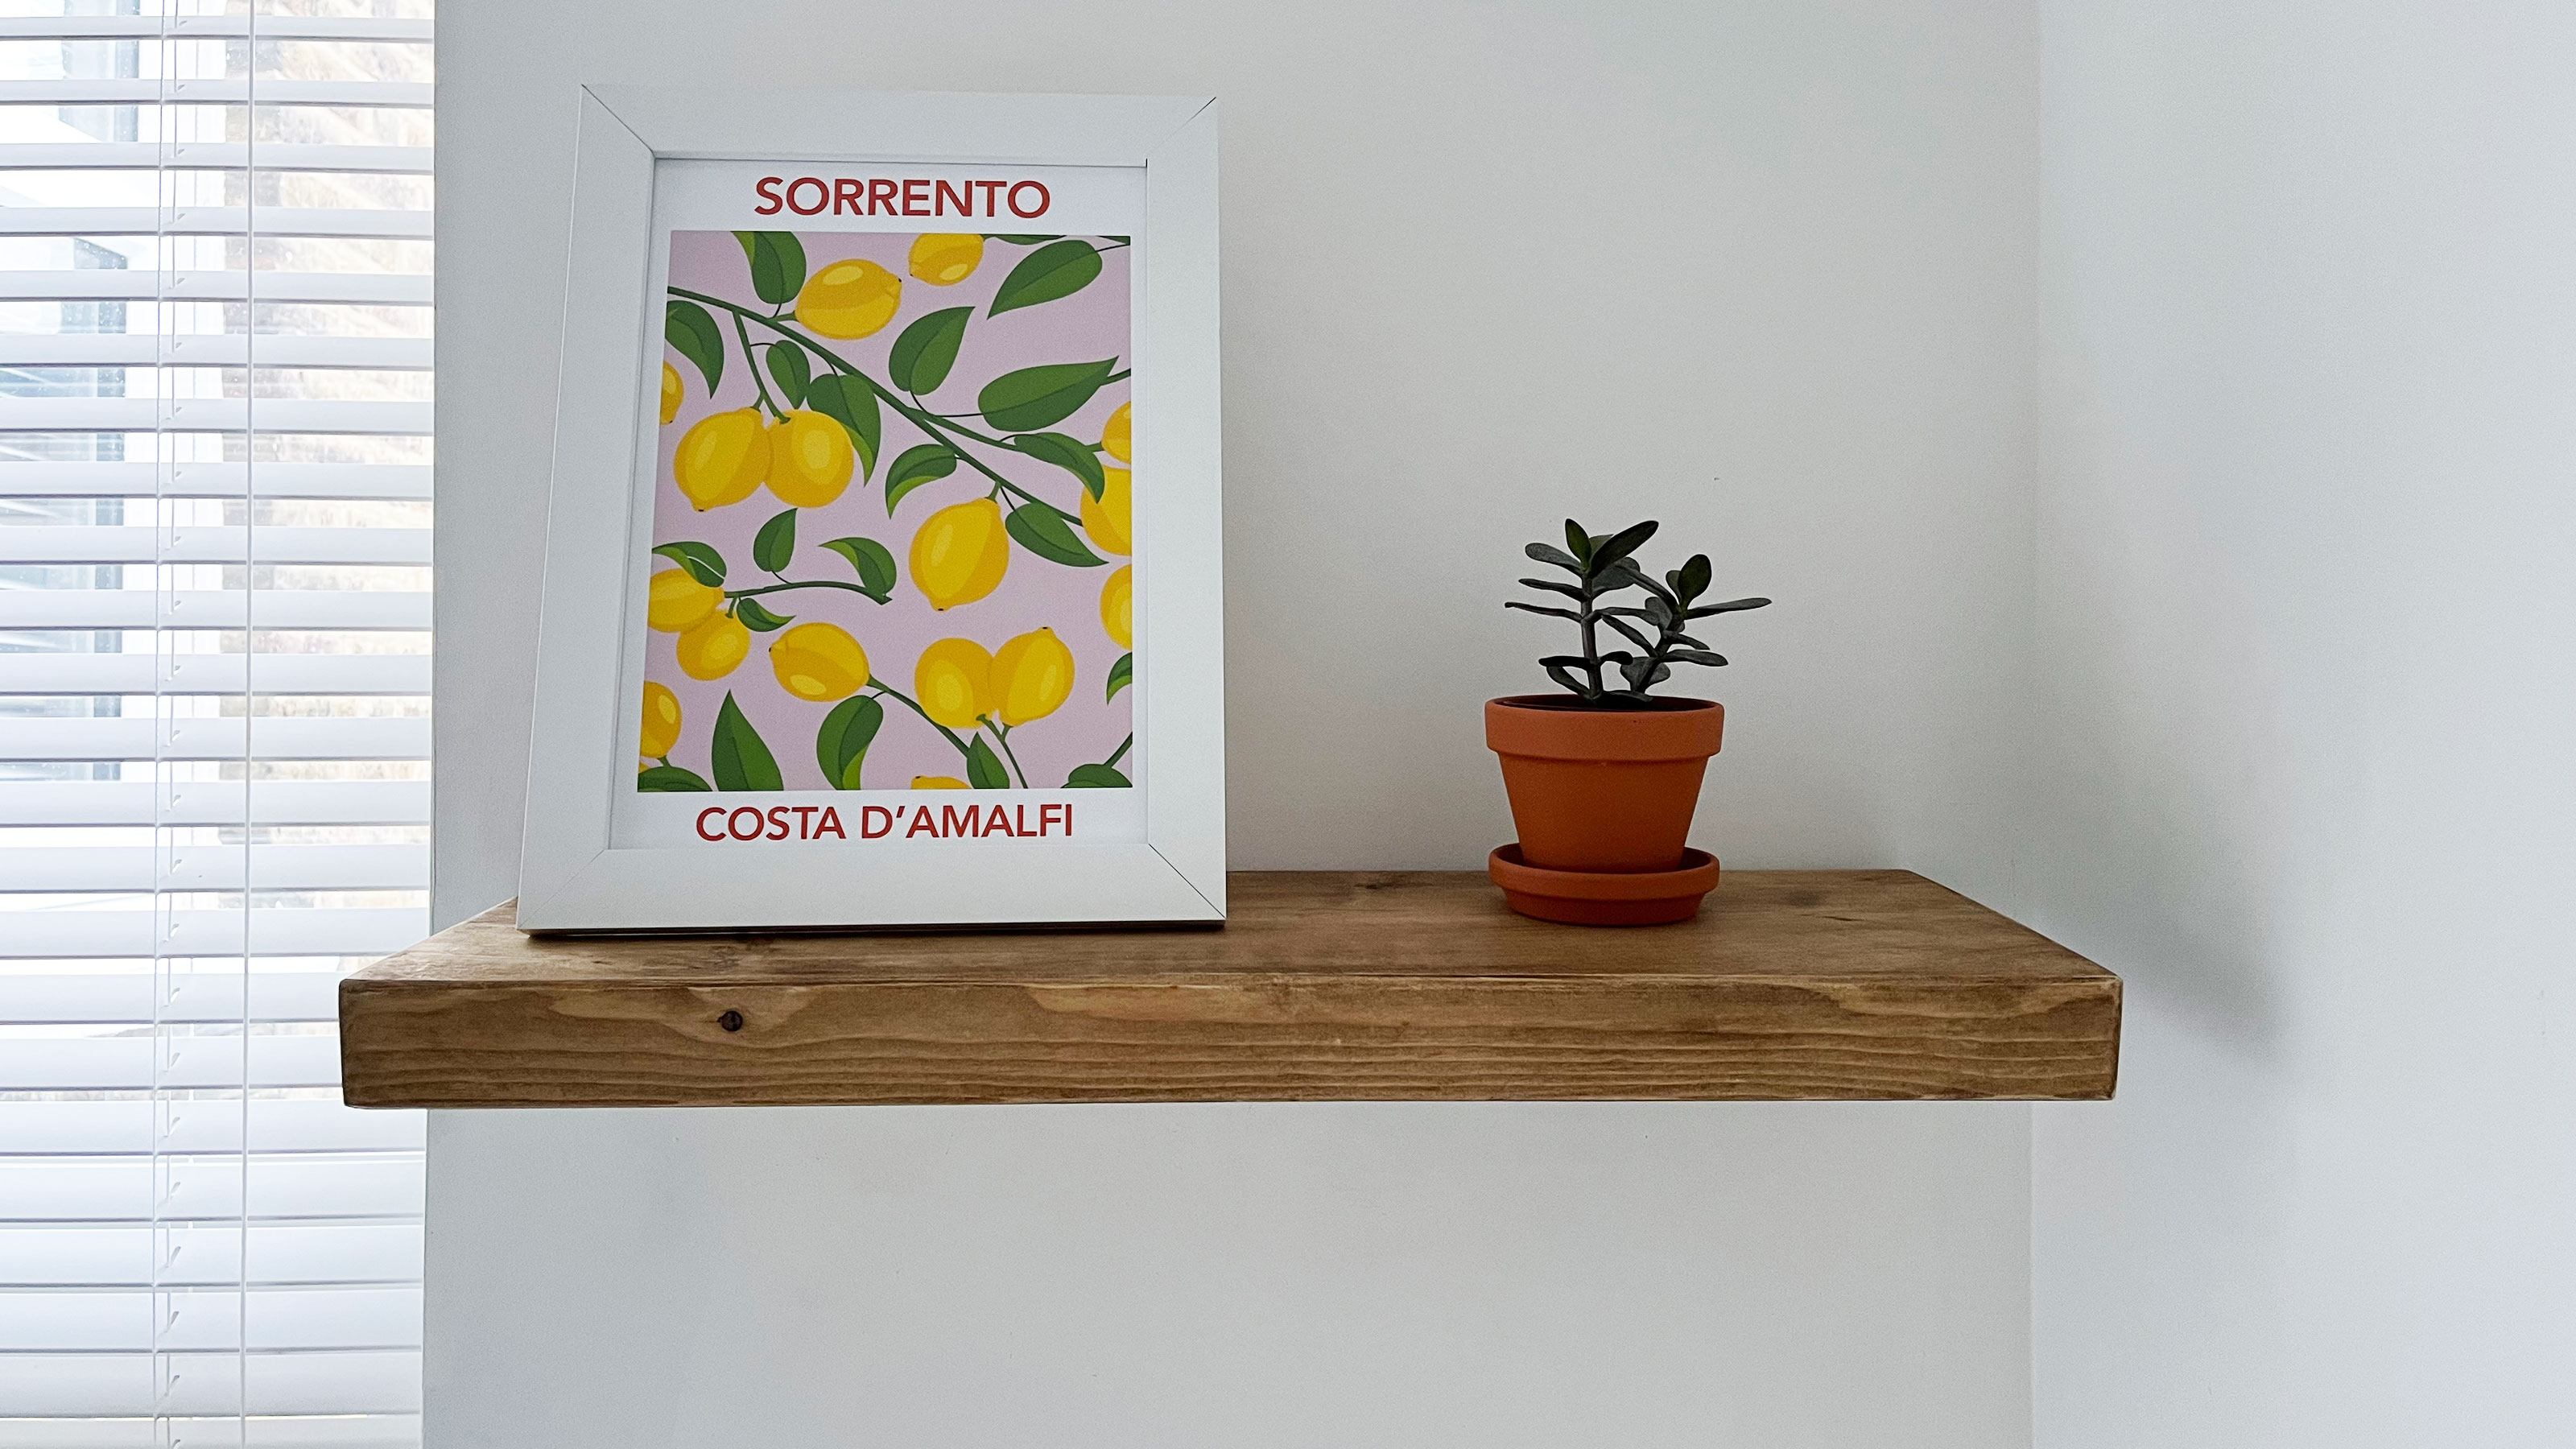 How to install and style a floating shelf
Installing a floating shelf can add instant design interest to your home. Dress yours with artwork, houseplants, and books for the perfect finish.
By Camille Dubuis-Welch Last updated
-
 DIY transforms 1930s house into dream home
With several renovations behind them, Mary and Paul had creative expertise to draw on when it came to transforming their 1930s house
By Alison Jones Published
-
 How to tile a backsplash: a DIY guide for beginners
Knowing how to tile a backsplash will make a big difference to the look and function of your kitchen. DIY to save on the cost of calling in a professional.
By Emily Shaw Published
-
 How to install baseboards: a simple 10-step DIY
Installing baseboards is an achievable DIY with the right know-how to ensure you get a professional finish, whether you're updating a living room or refining a home addition.
By Hebe Hatton Published
