

Knowing how to make bunting can solve all sorts of life's problems. Last minute garden party? String up the bunting. Want to distract from your questionably decorated rented flat? String up the bunting. Need to cover up hole from a DIY gone wrong? You guessed it, string up the bunting.
The great thing about bunting, too, is it's easy to make, and it's cheap, especially if you use paper or DIY it with fabric scraps. We've put together a step-by-step guide so you can find out how to make bunting. We've used fabric to do so because it's longer lasting than paper bunting, but the principle is the same.
Want some more crafty ideas? Head over to our dedicated craft hub page.
You will need:
- Fabric – either cotton or poly-cotton – or paper or card
- Dressmaker’s scissors or crimping shears
- A4 (8.26in x 11.69in) card
- Pencil
- Ruler
- Pins
- 2.5cm / 0.98-inch wide bias tape
- White cotton thread
- Sewing machine (though you can hand stitch if you’d prefer)
- Iron
Step one: Create a template for your bunting
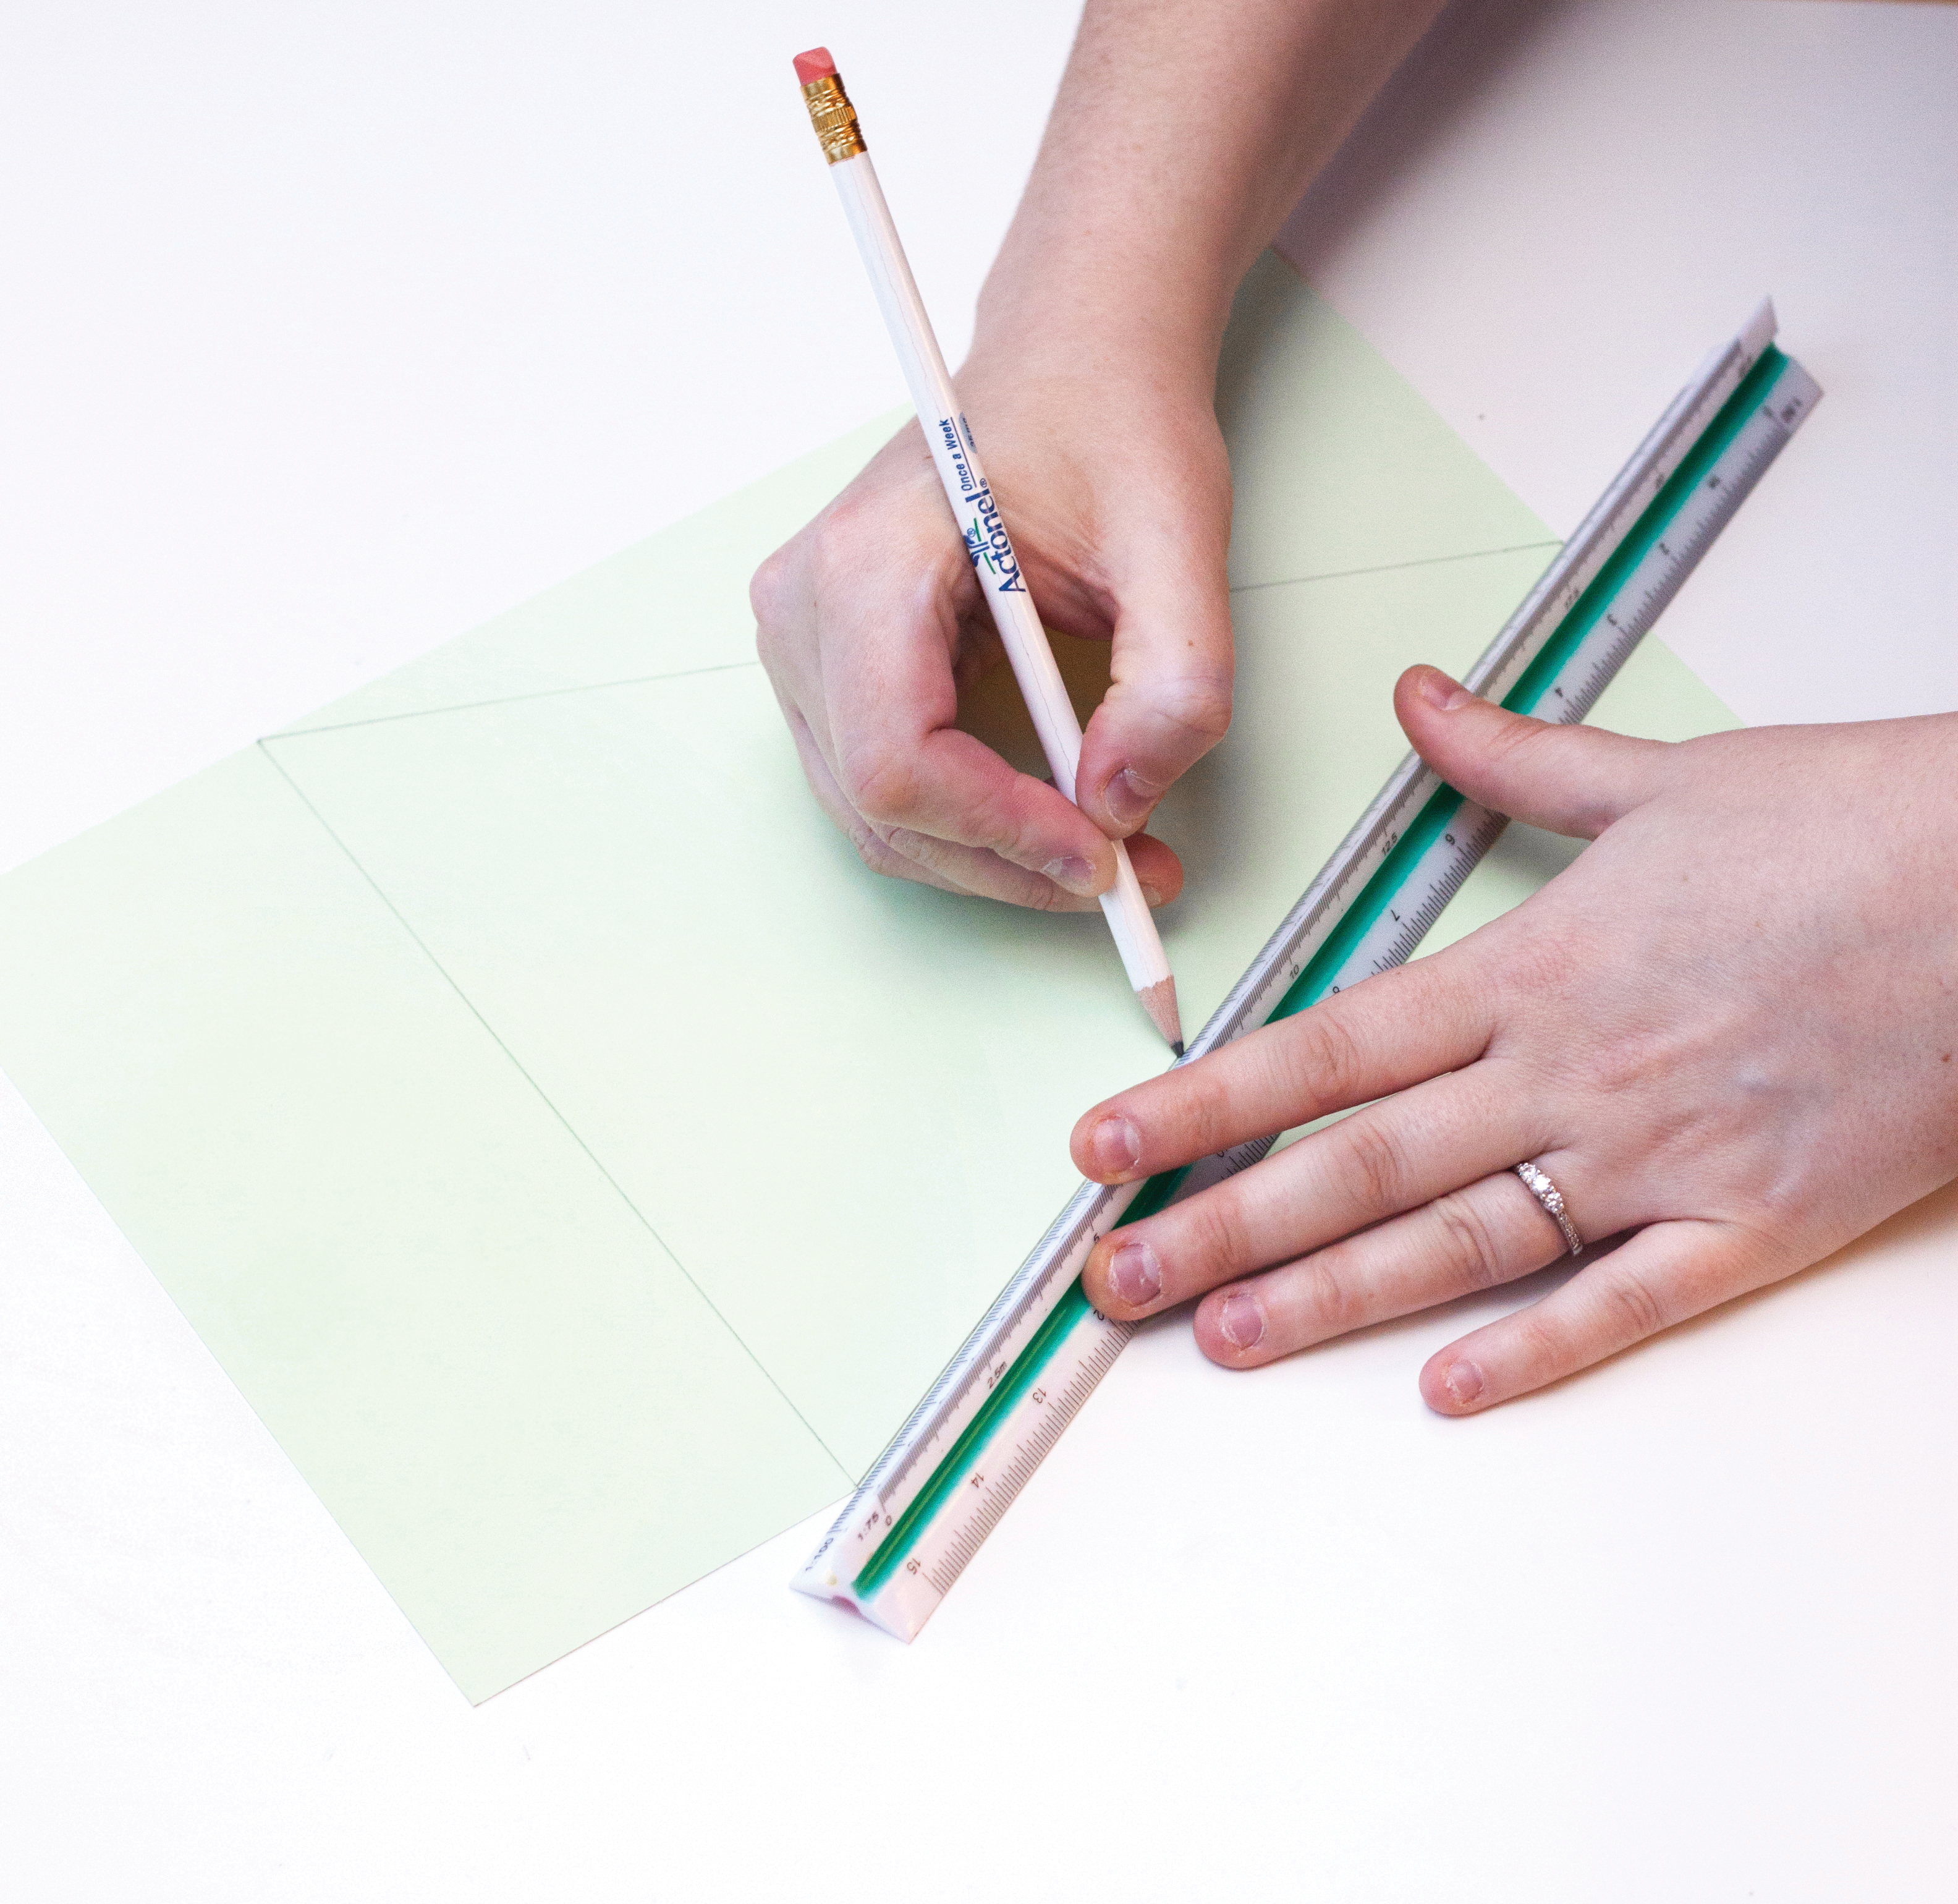
To create a template for your bunting flags, take the A4 (8.26in x 11.69in) card, position it in a portrait orientation and mark the centre of the short horizontal edge (10.5cm (4.1in) across) – this is the bottom point of the flag. Then mark each side of the long vertical edges at 22cm (8.7in). These three marks are your triangle. Draw between each mark using a ruler and then cut along the lines. If you want to make them larger or smaller, do a test sew first to ensure that the point of the flag pops out properly and isn’t too small.
Step two: Choose and measure your bunting fabric
When choosing fabric, make sure it is not too flimsy, delicate or elasticated, as this could prove difficult to sew and not hang correctly when you have attached it to the bias tape. When measuring your flags, ensure the fabric you use is the correct way up. If it has symmetrical patterns then ensure that the pattern runs in the same direction on each flag. It is important that any non-symmetrical patterns are central or take up the majority of the flag. Not only does this look better, it ensures it can be seen after you have sewn the front and back together. Hold the template onto the fabric and lightly draw around it in pencil. Repeat so you have two flags.
Step three: cut and line up the bunting
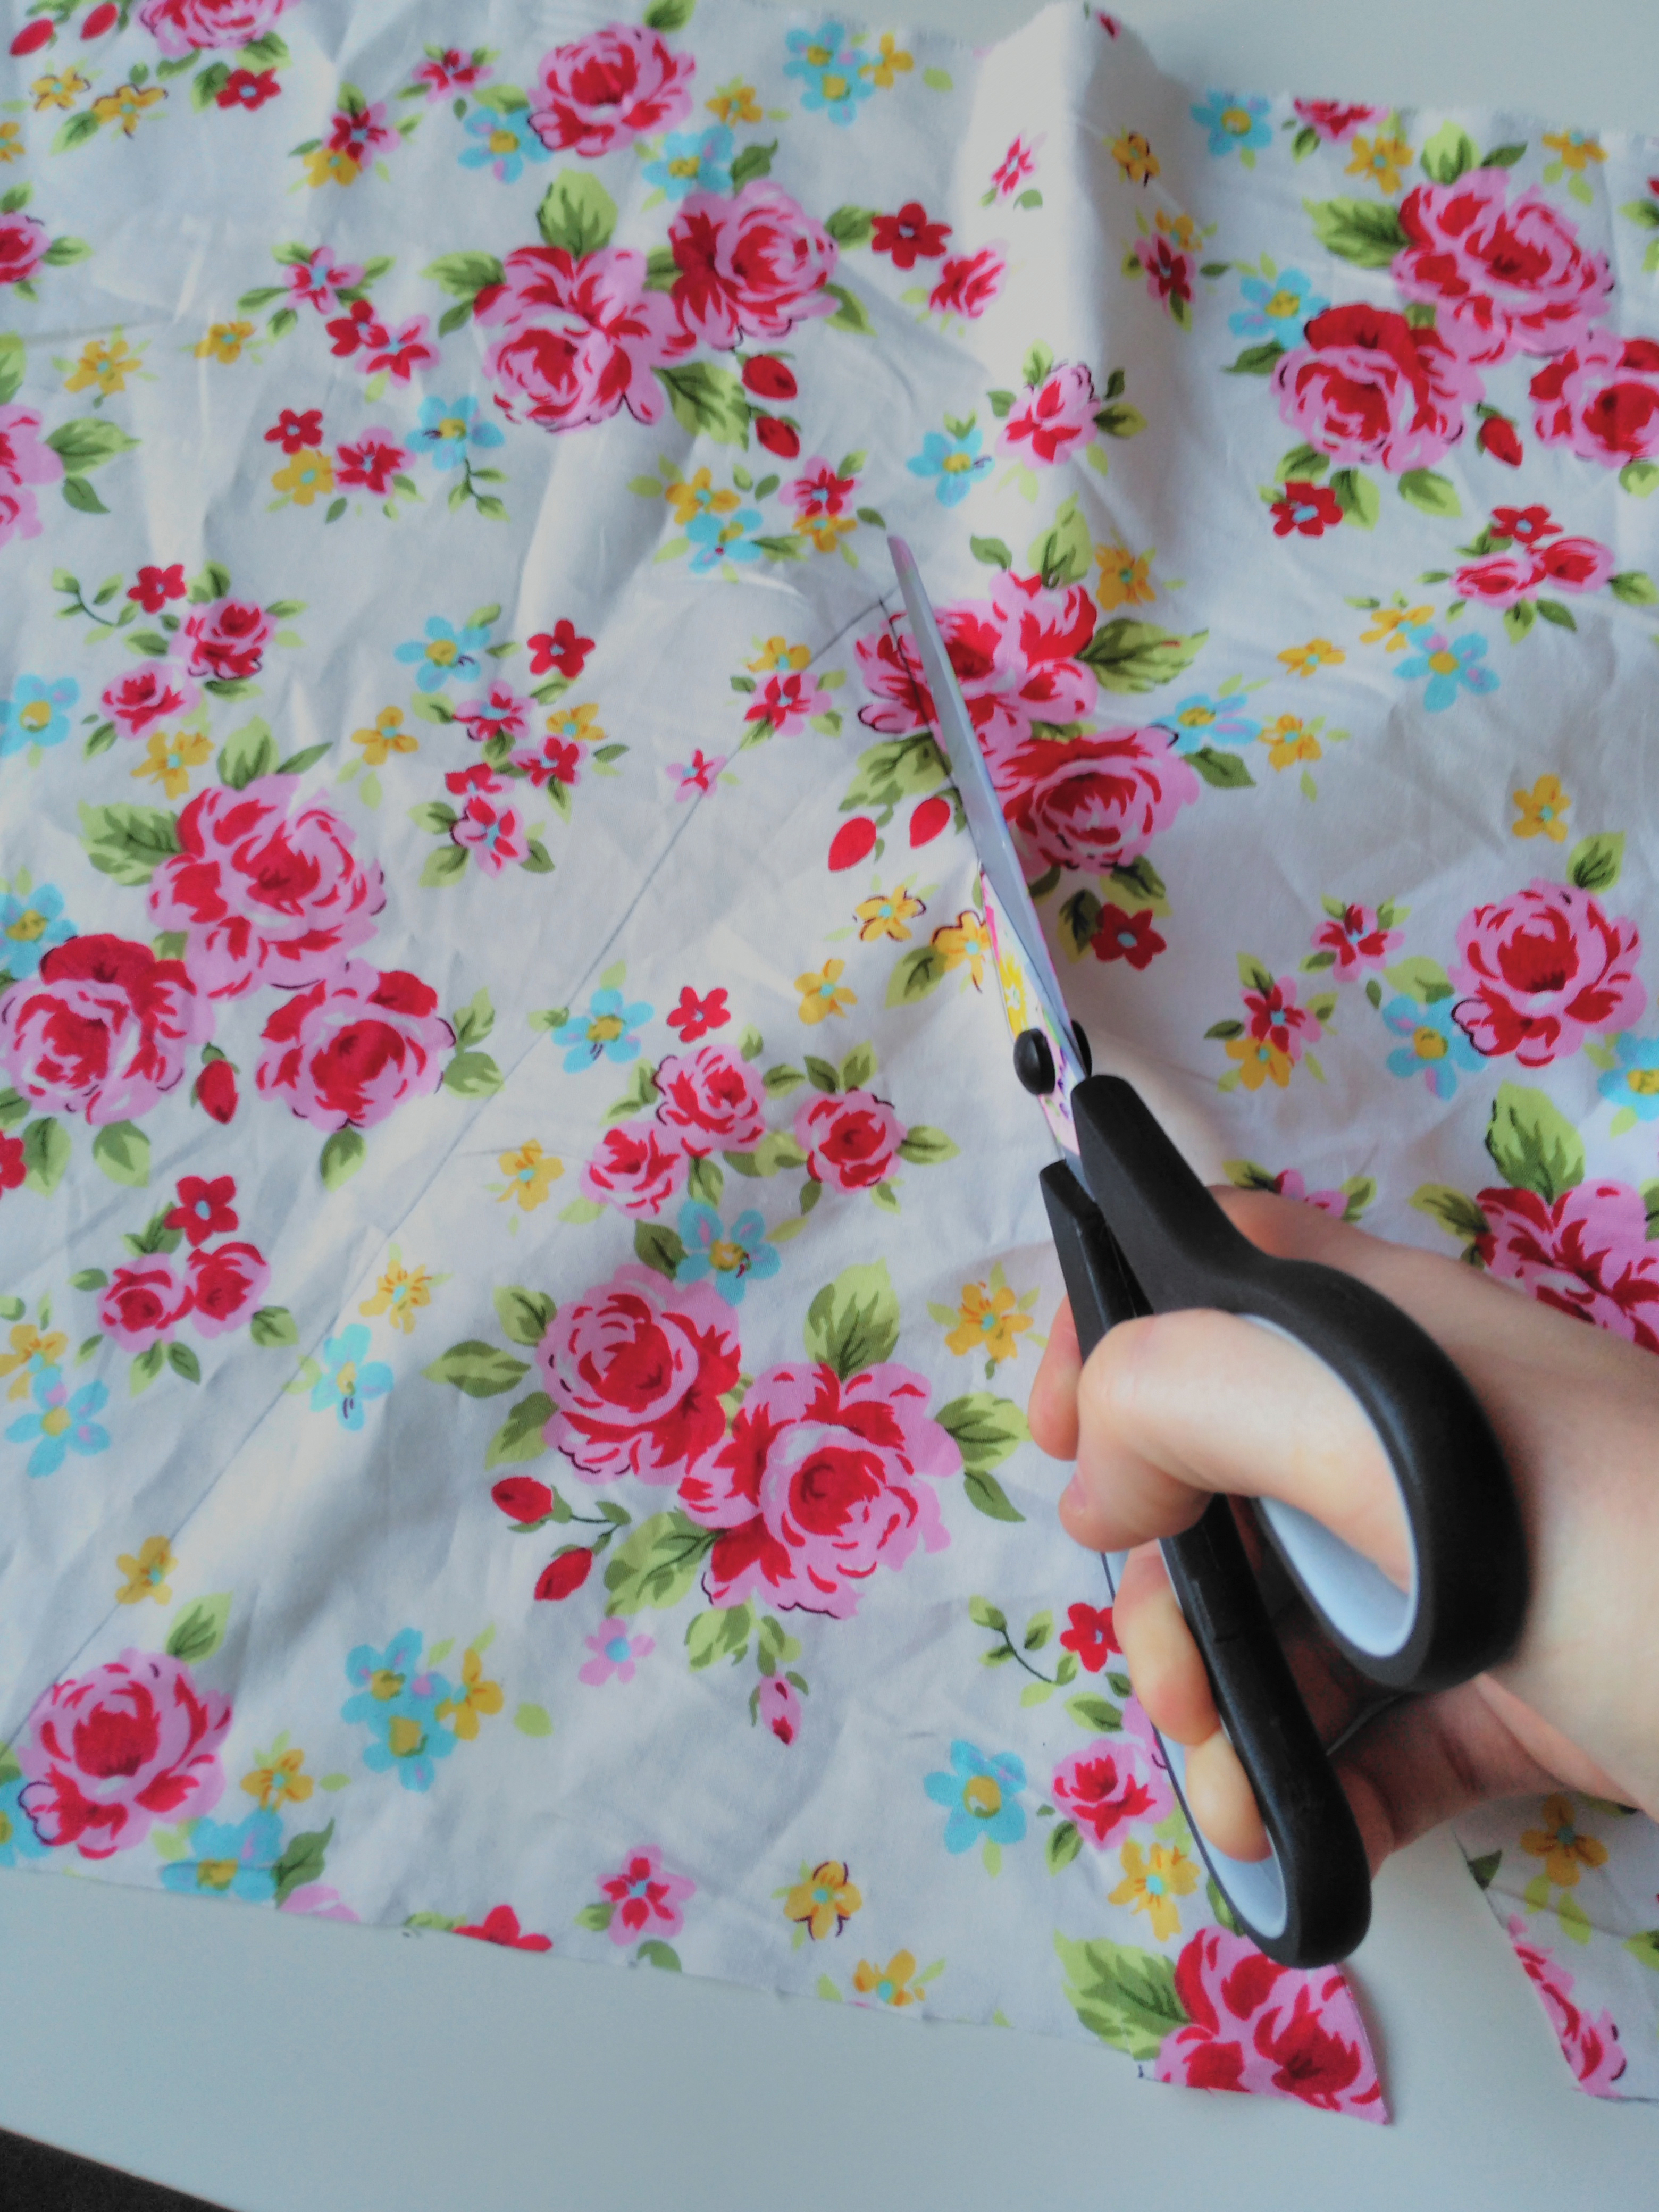
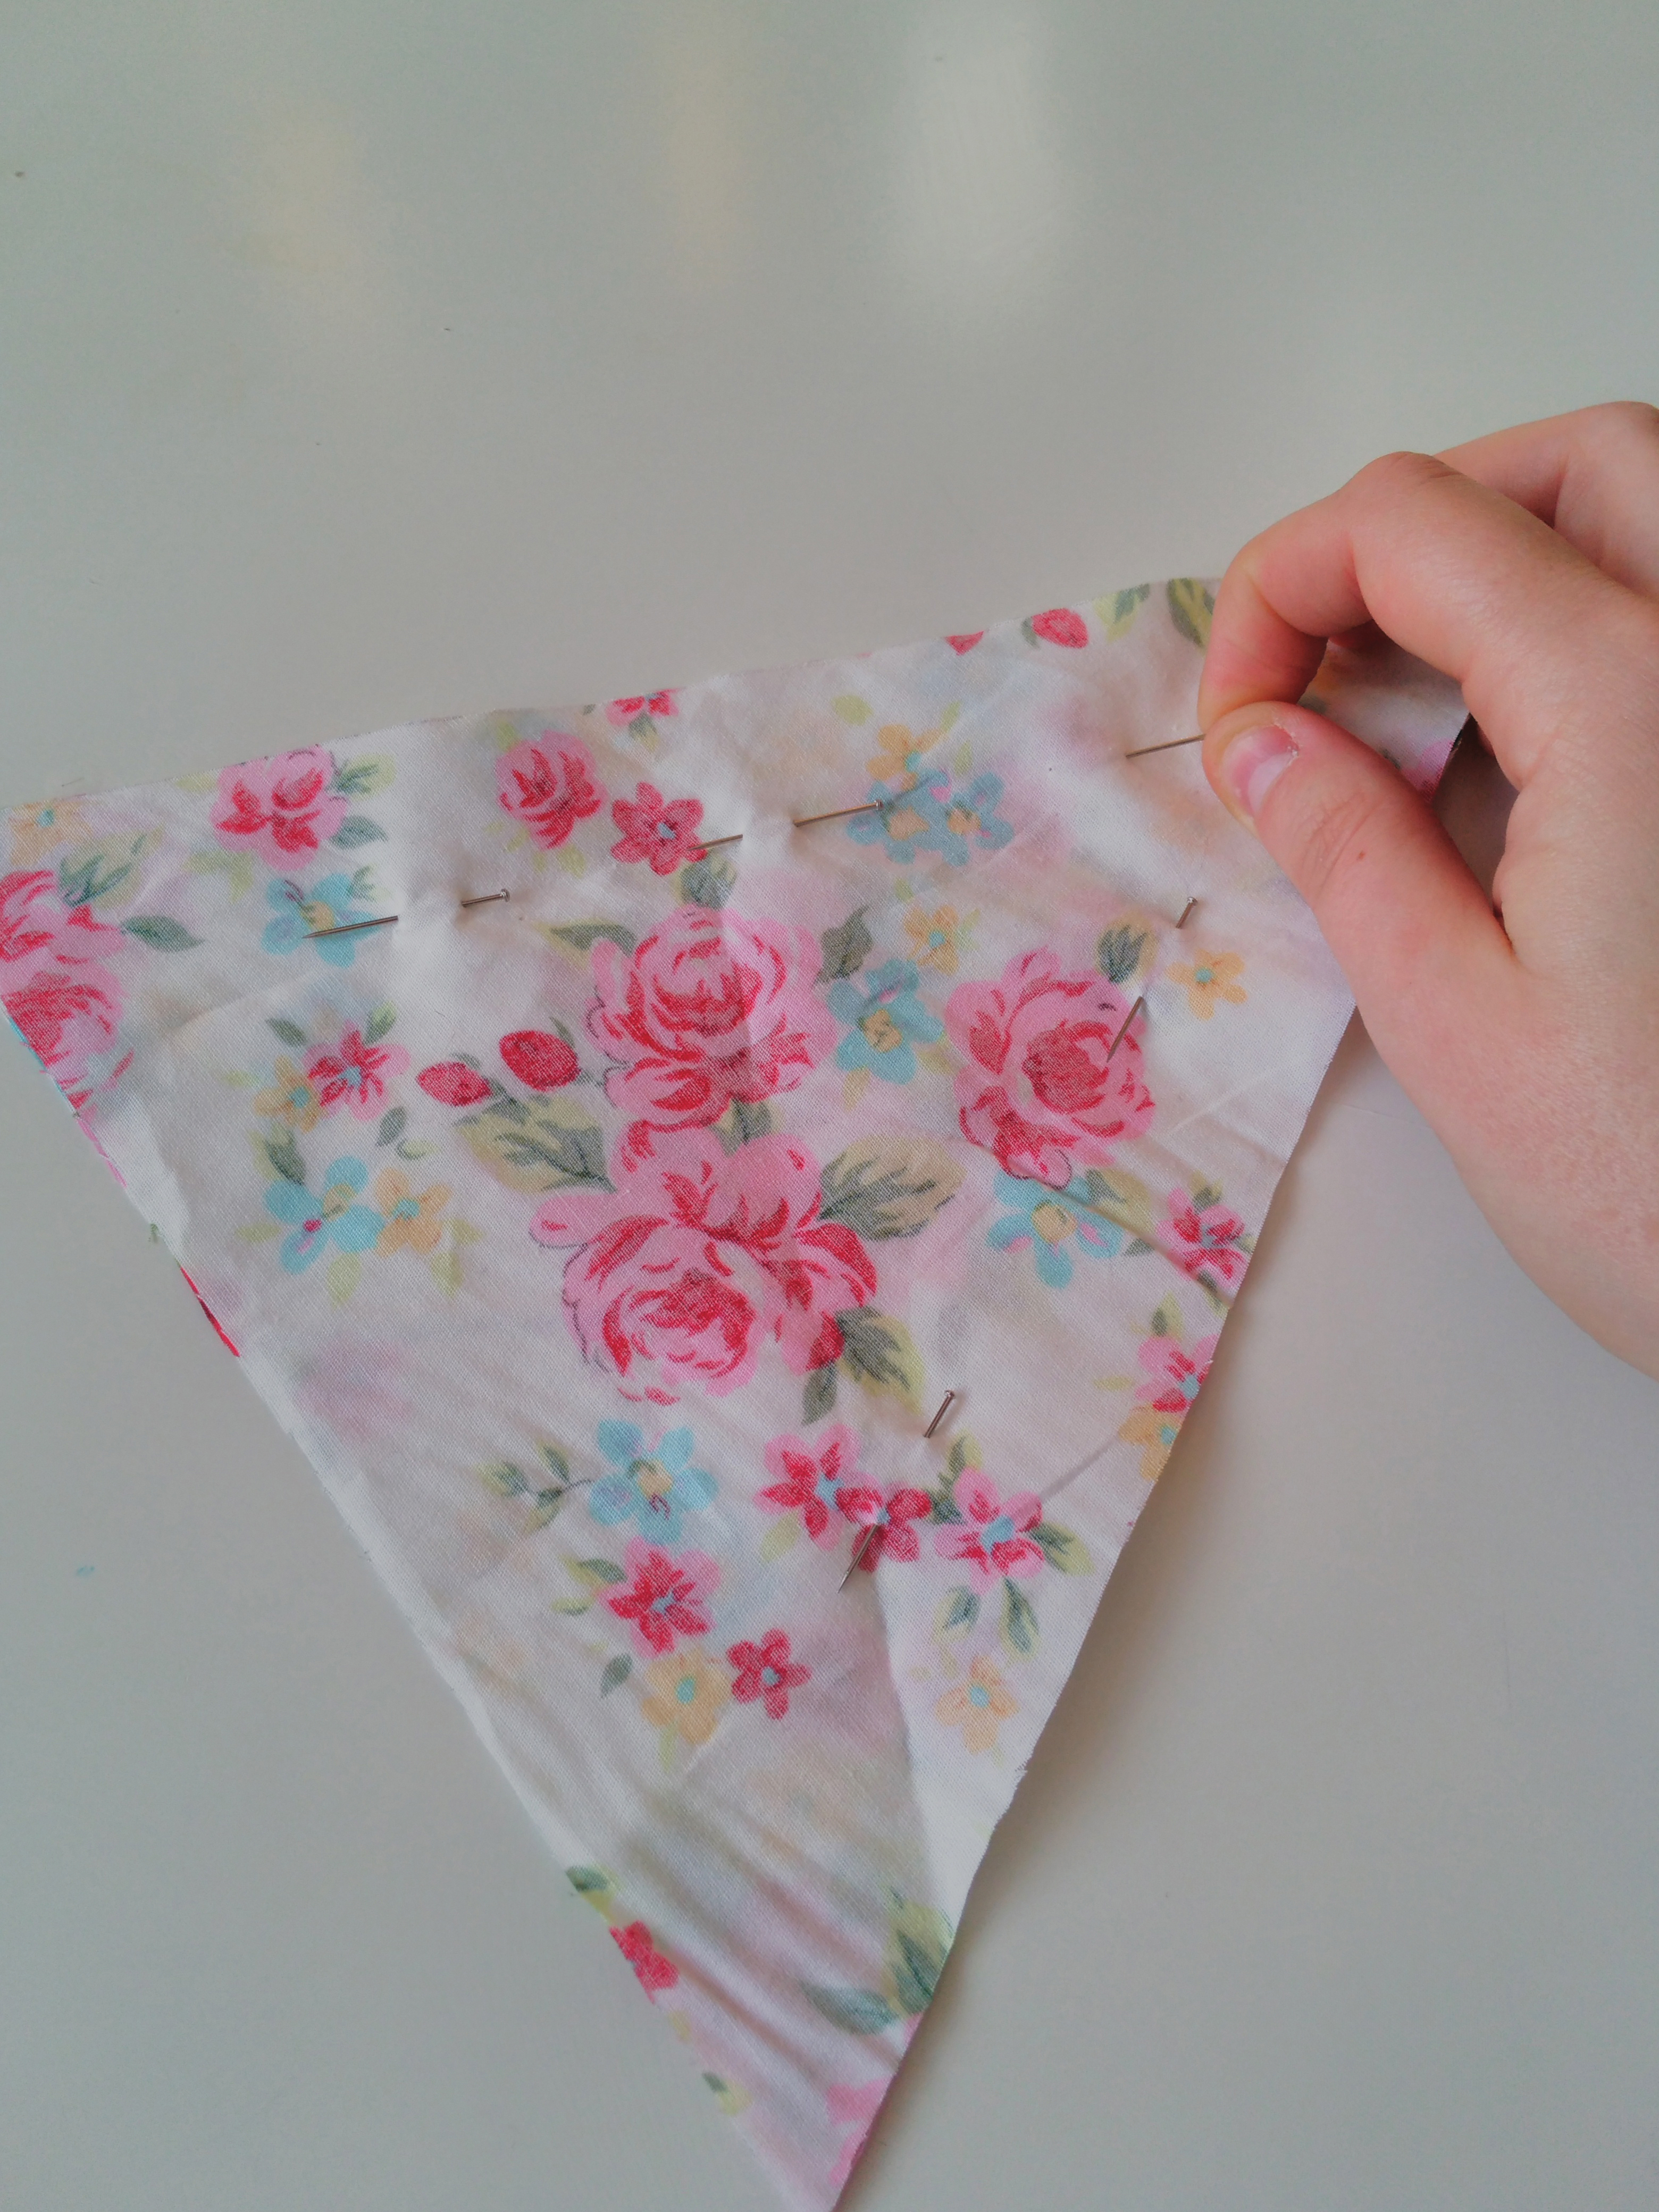
Use the scissors to cut around where you have marked, ensuring that the edges are crisp. Straighten any wobbly edges, so it is easier to line up the two pieces later. Take the fabric flags and place on top of each other, with the topside of the fabric facing inwards. Pin together, staying at least 2cm (0.78in) from the edges so they don’t get caught in your sewing machine. Lay the paired flags on top of each other so you can check they will be the same size once you have finished sewing.
Step four: Sew together your bunting
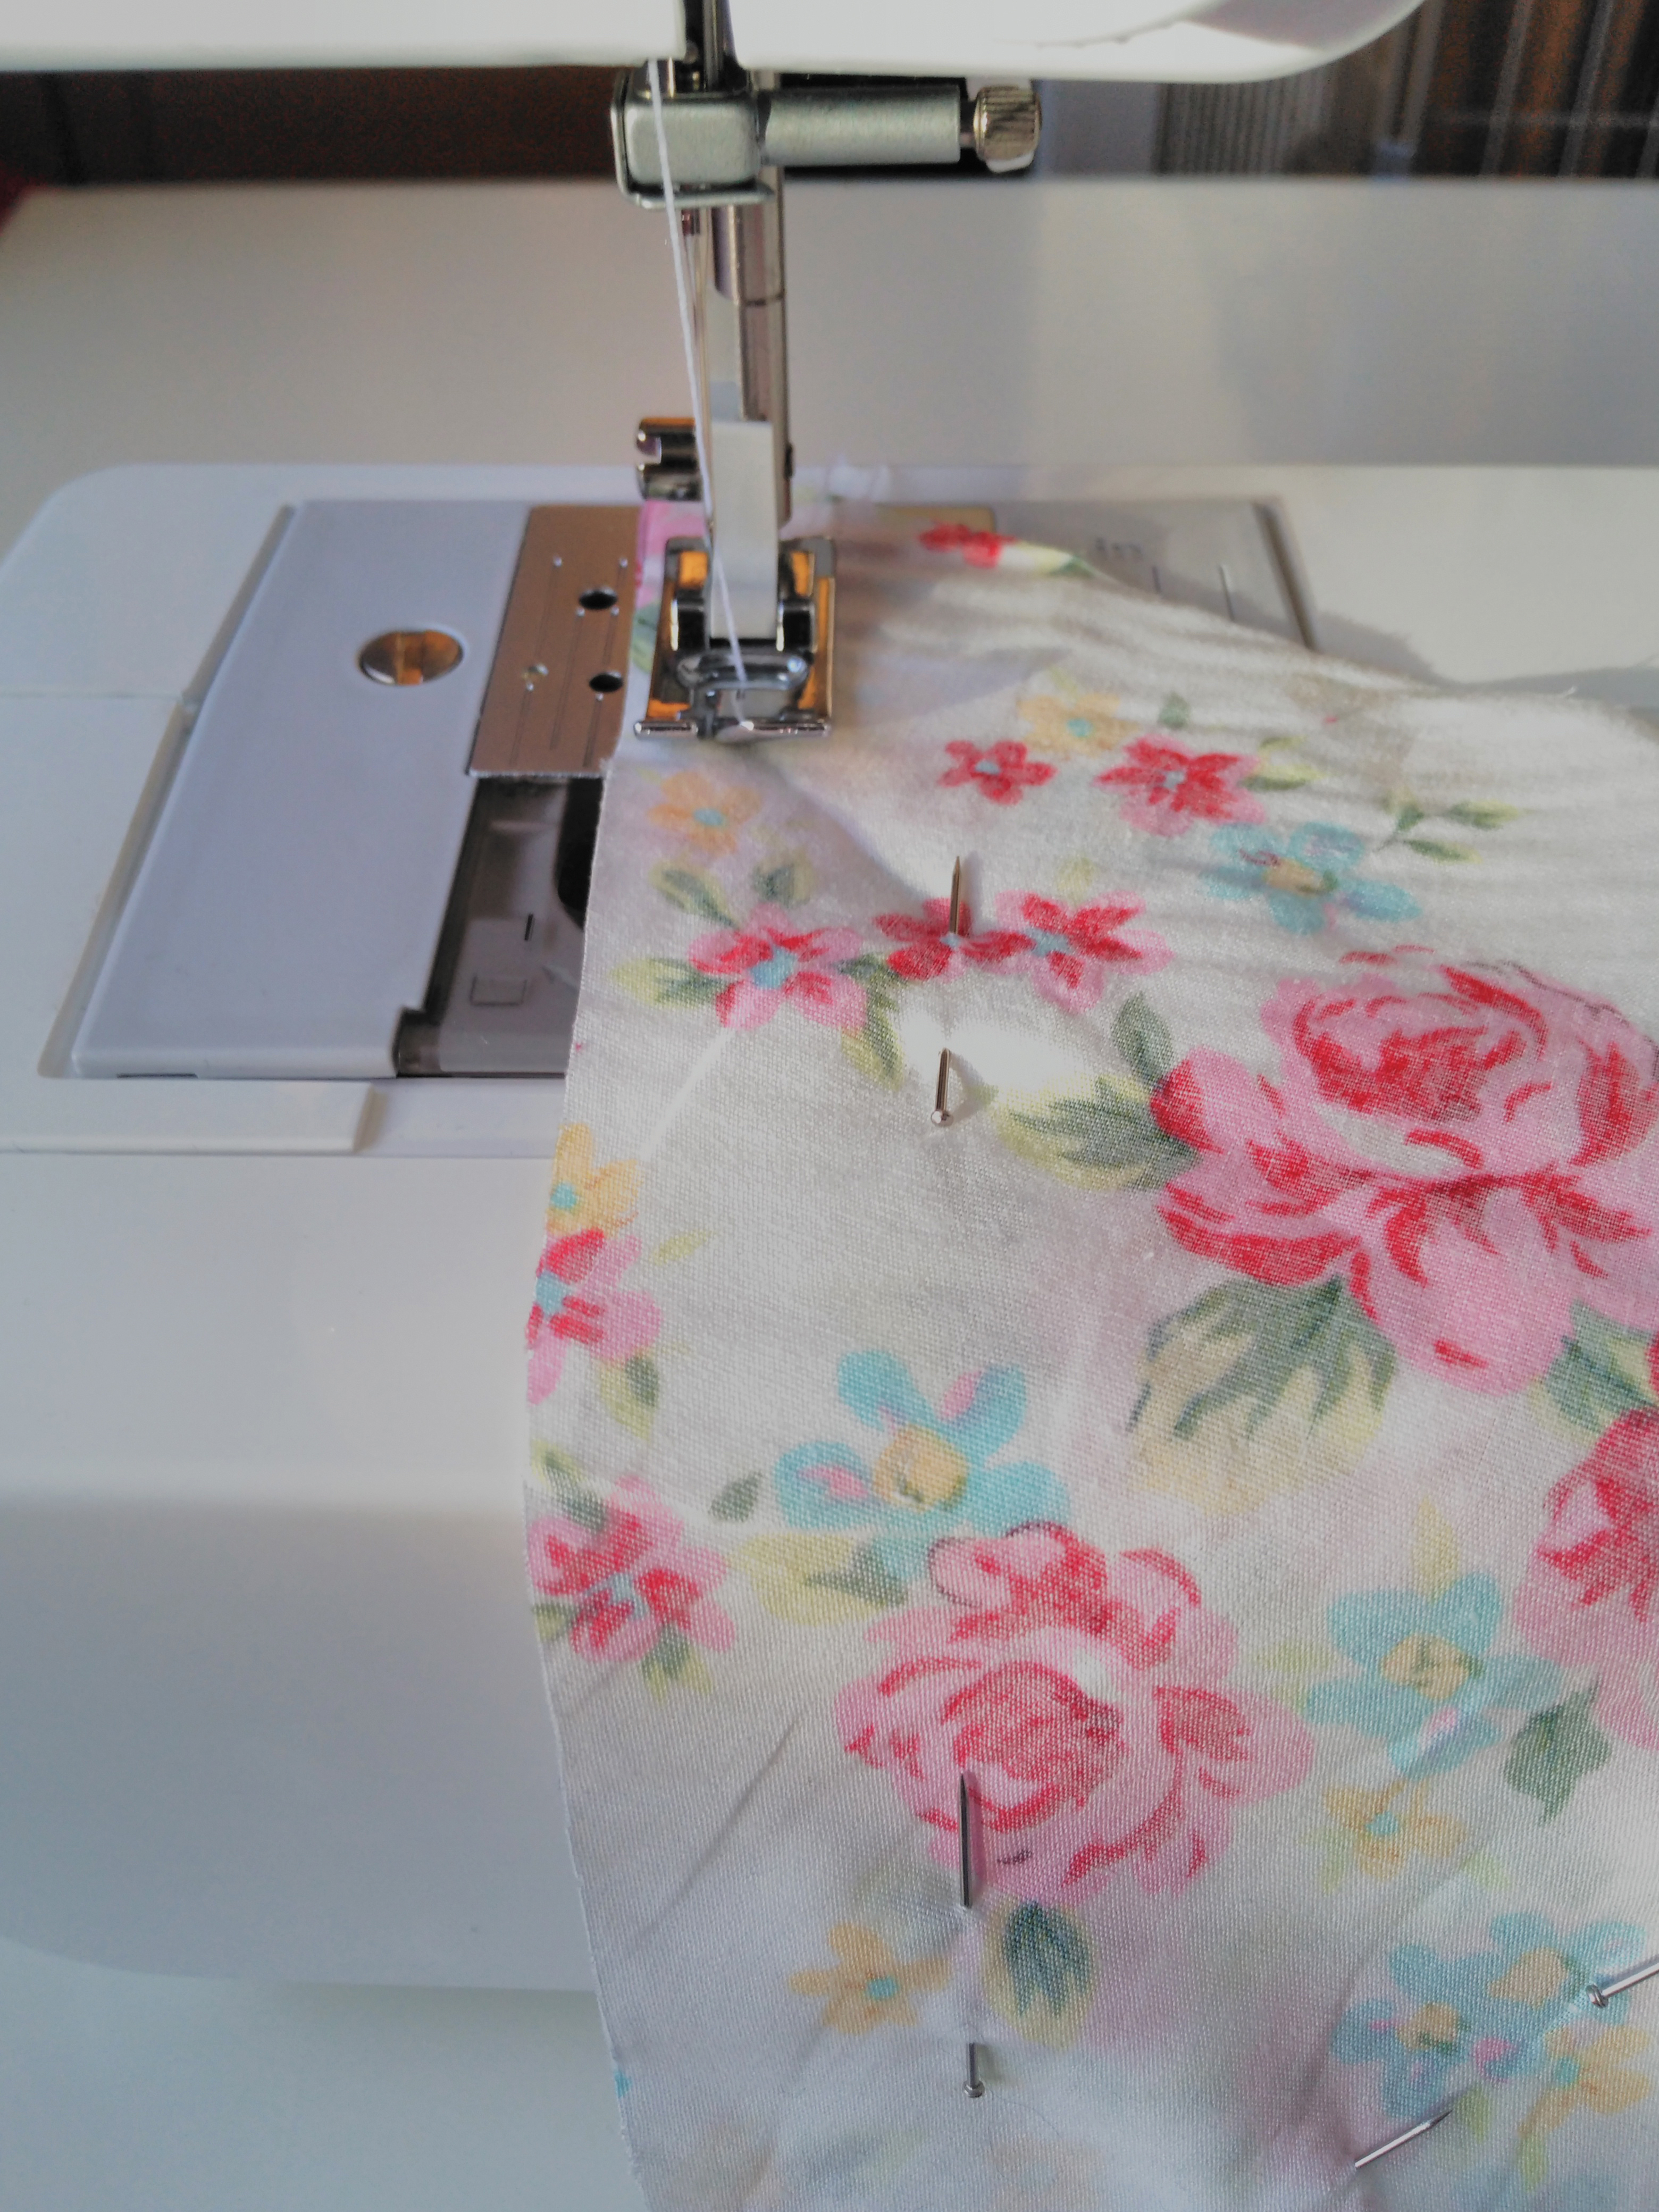
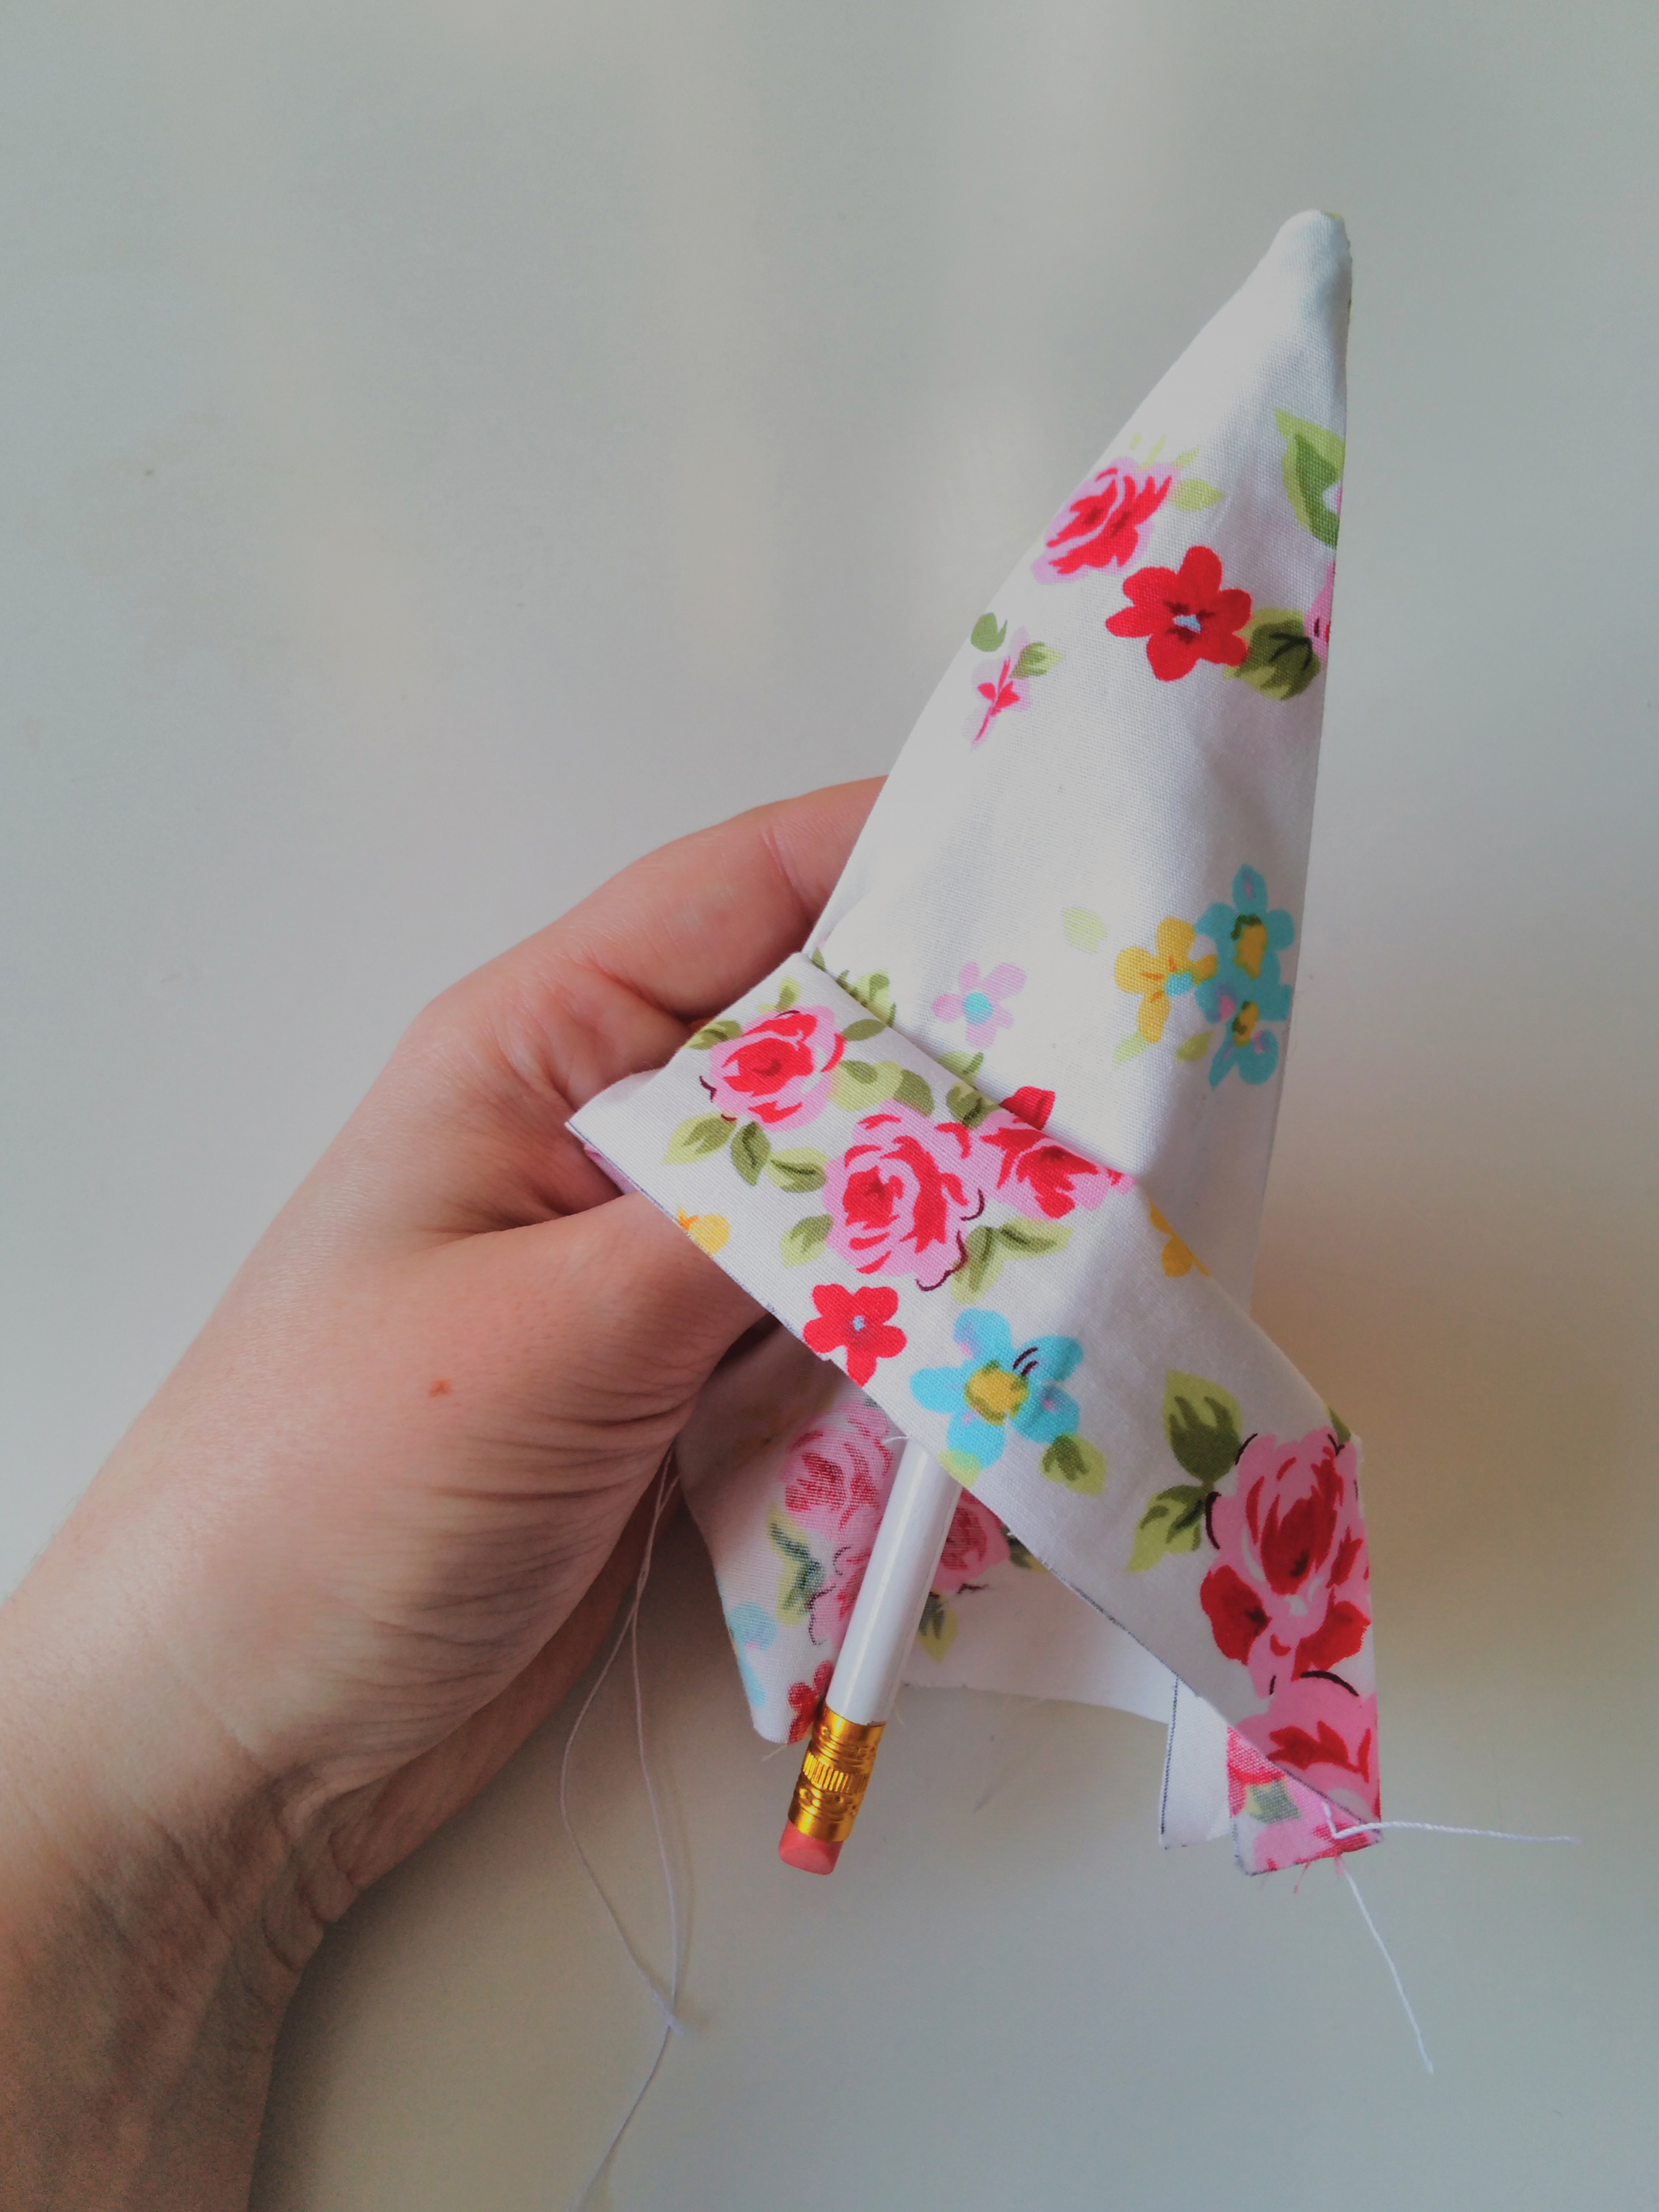
Sew the two pieces together, using a straight stitch, 1cm (0.4in) from the edge of the fabric. Only sew the two long edges, leaving the top edge open. If using a sewing machine, then sew to 1cm (0.4in) before the bottom of the V, lift the foot and needle, turn the fabric and continue to sew up the other side of the V. Cut the excess fabric from around the point of the flag so it is easier to push to a point.
Turn the sewn flag inside out, using a knitting needle or something similar to pop the point of the bunting out. Trim any edges at the top to ensure it is a straight line and remove any loose bits of thread.
Step five: attach the fabric to bias tape
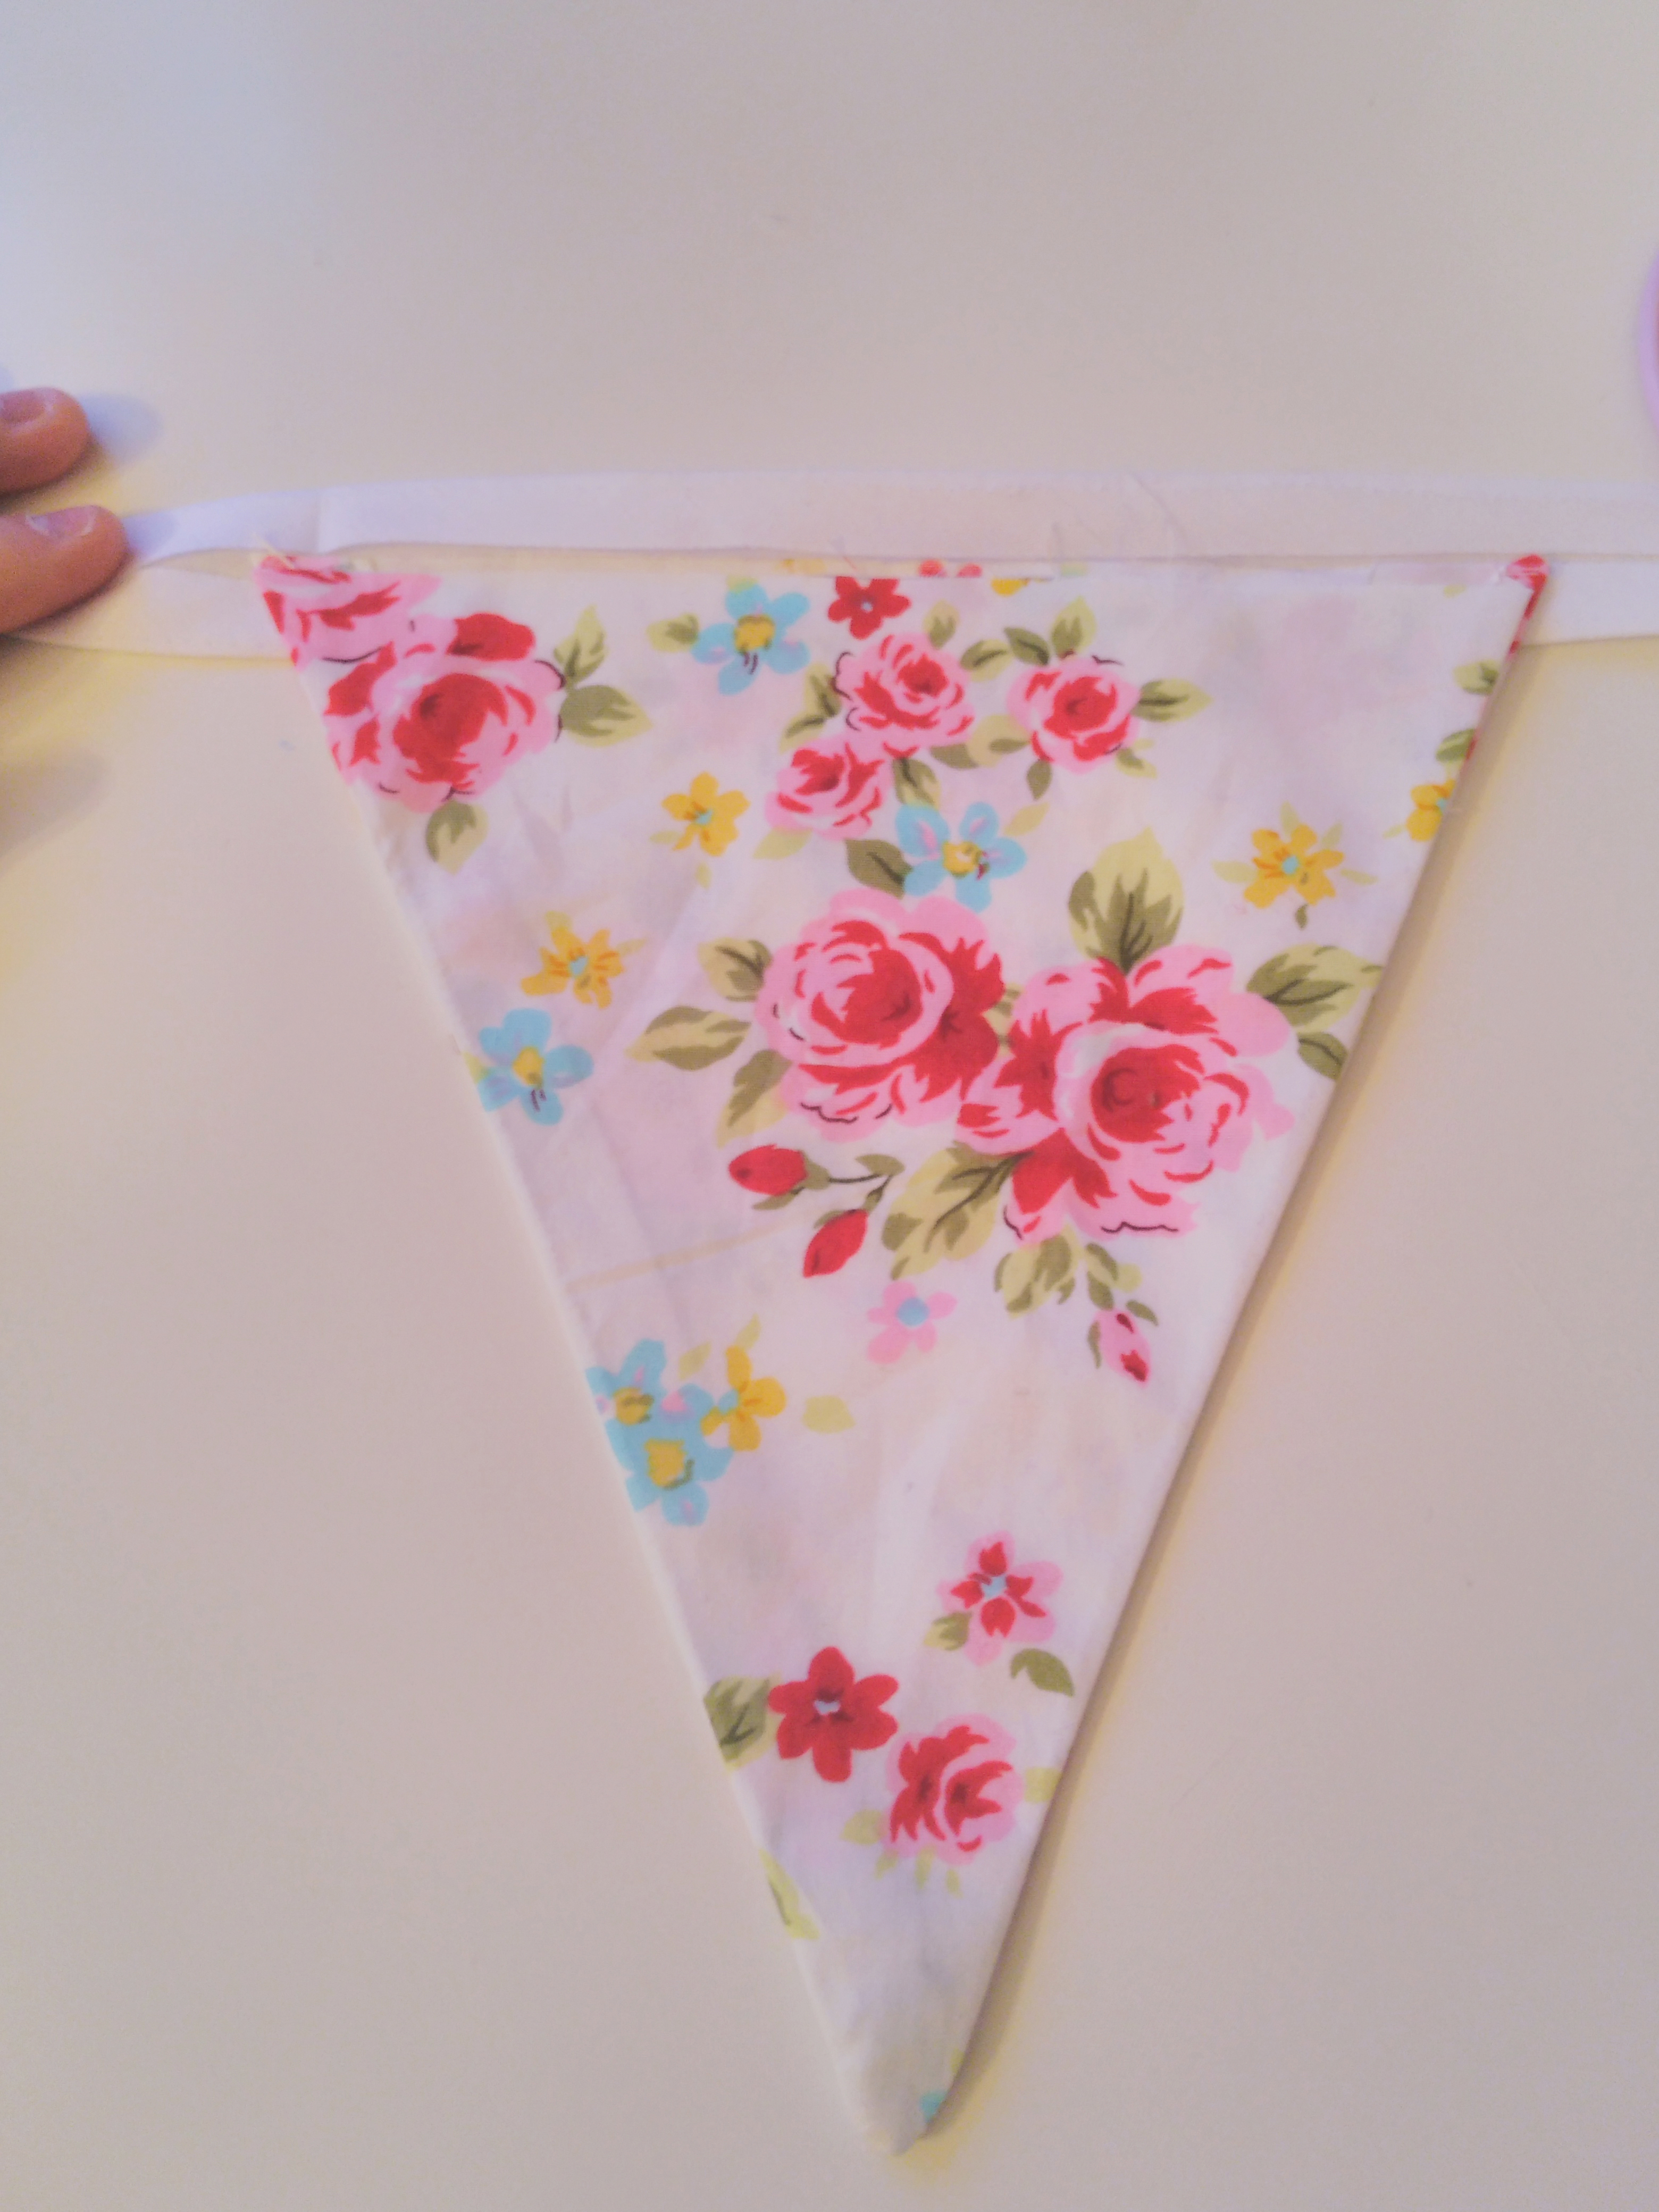
Press the bunting with a hot iron (check your iron for the correct temperature). Lay out the bias tape, with the inside facing upwards. Arrange your flags along it, with the top of the flag touching the middle of the tape. Space your flags evenly along the bias tape, leaving a gap of 10cm (3.4in) between each flag and leaving 30cm (12in) at each end of the tape so the bunting can be attached to wall/ceiling when finished. If you have several different colours or patterns then you may want to try them out in different orders before finally sewing them.
Step six: start sewing the bunting to the tape
Fold over the top of the tape and pin the tape and flags together, ensuring pins are close to the top fold so as not to get stuck in your sewing machine. Sew along the bottom edge of the tape, through the tape and flags, using a straight stitch. Iron the sewn bias tape and flags so they are fl at. Hand stitch any embellishments to the flags, such as lace trim, appliqué letters or buttons, but be careful that they are not too heavy and affect how the finished bunting will hang.
How to make bunting with paper
For a short-lived party decoration, follow the instructions for making a template and use it to mark then cut pretty paper or card (ideally with a double-sided colour or pattern). You could even get the kids involved in bunting decoration with felt tips. Staple the bunting to a length of ribbon – and you're done.
More easy DIYs:
Join our newsletter
Get small space home decor ideas, celeb inspiration, DIY tips and more, straight to your inbox!
Hebe joined the Real Homes team in early 2018 as Staff Writer before moving to the Livingetc team in 2021 where she took on a role as Digital Editor. She loves boho and 70's style and is a big fan of Instagram as a source of interiors inspiration. When she isn't writing about interiors, she is renovating her own spaces – be it wallpapering a hallway, painting kitchen cupboards or converting a van.
-
 This bright and colorful house serves perfect holiday inspiration
See how this couple transformed their new build home into a super cute and modern space. Packed with personality, it serves perfect holiday inspiration.
By Amelia Smith
-
 This renovated home has ALL the Christmas feels, filled with sparkle and joy
With her passion for interiors stemming from all things Christmassy, Vikki Savage is enjoying creating a family home with future celebrations in mind
By Amelia Smith
-
 How to make a classic floral fall wreath
This DIY classic floral fall wreath is super easy to make at home with just a few supplies.
By Hebe Hatton
-
 How to make a Halloween wreath: the perfect craft for spooky season
Spooky season is just around the corner. It's time to DIY a Halloween wreath by sourcing spiders, skeletons and more for the October 31st
By Sophie Warren-Smith
-
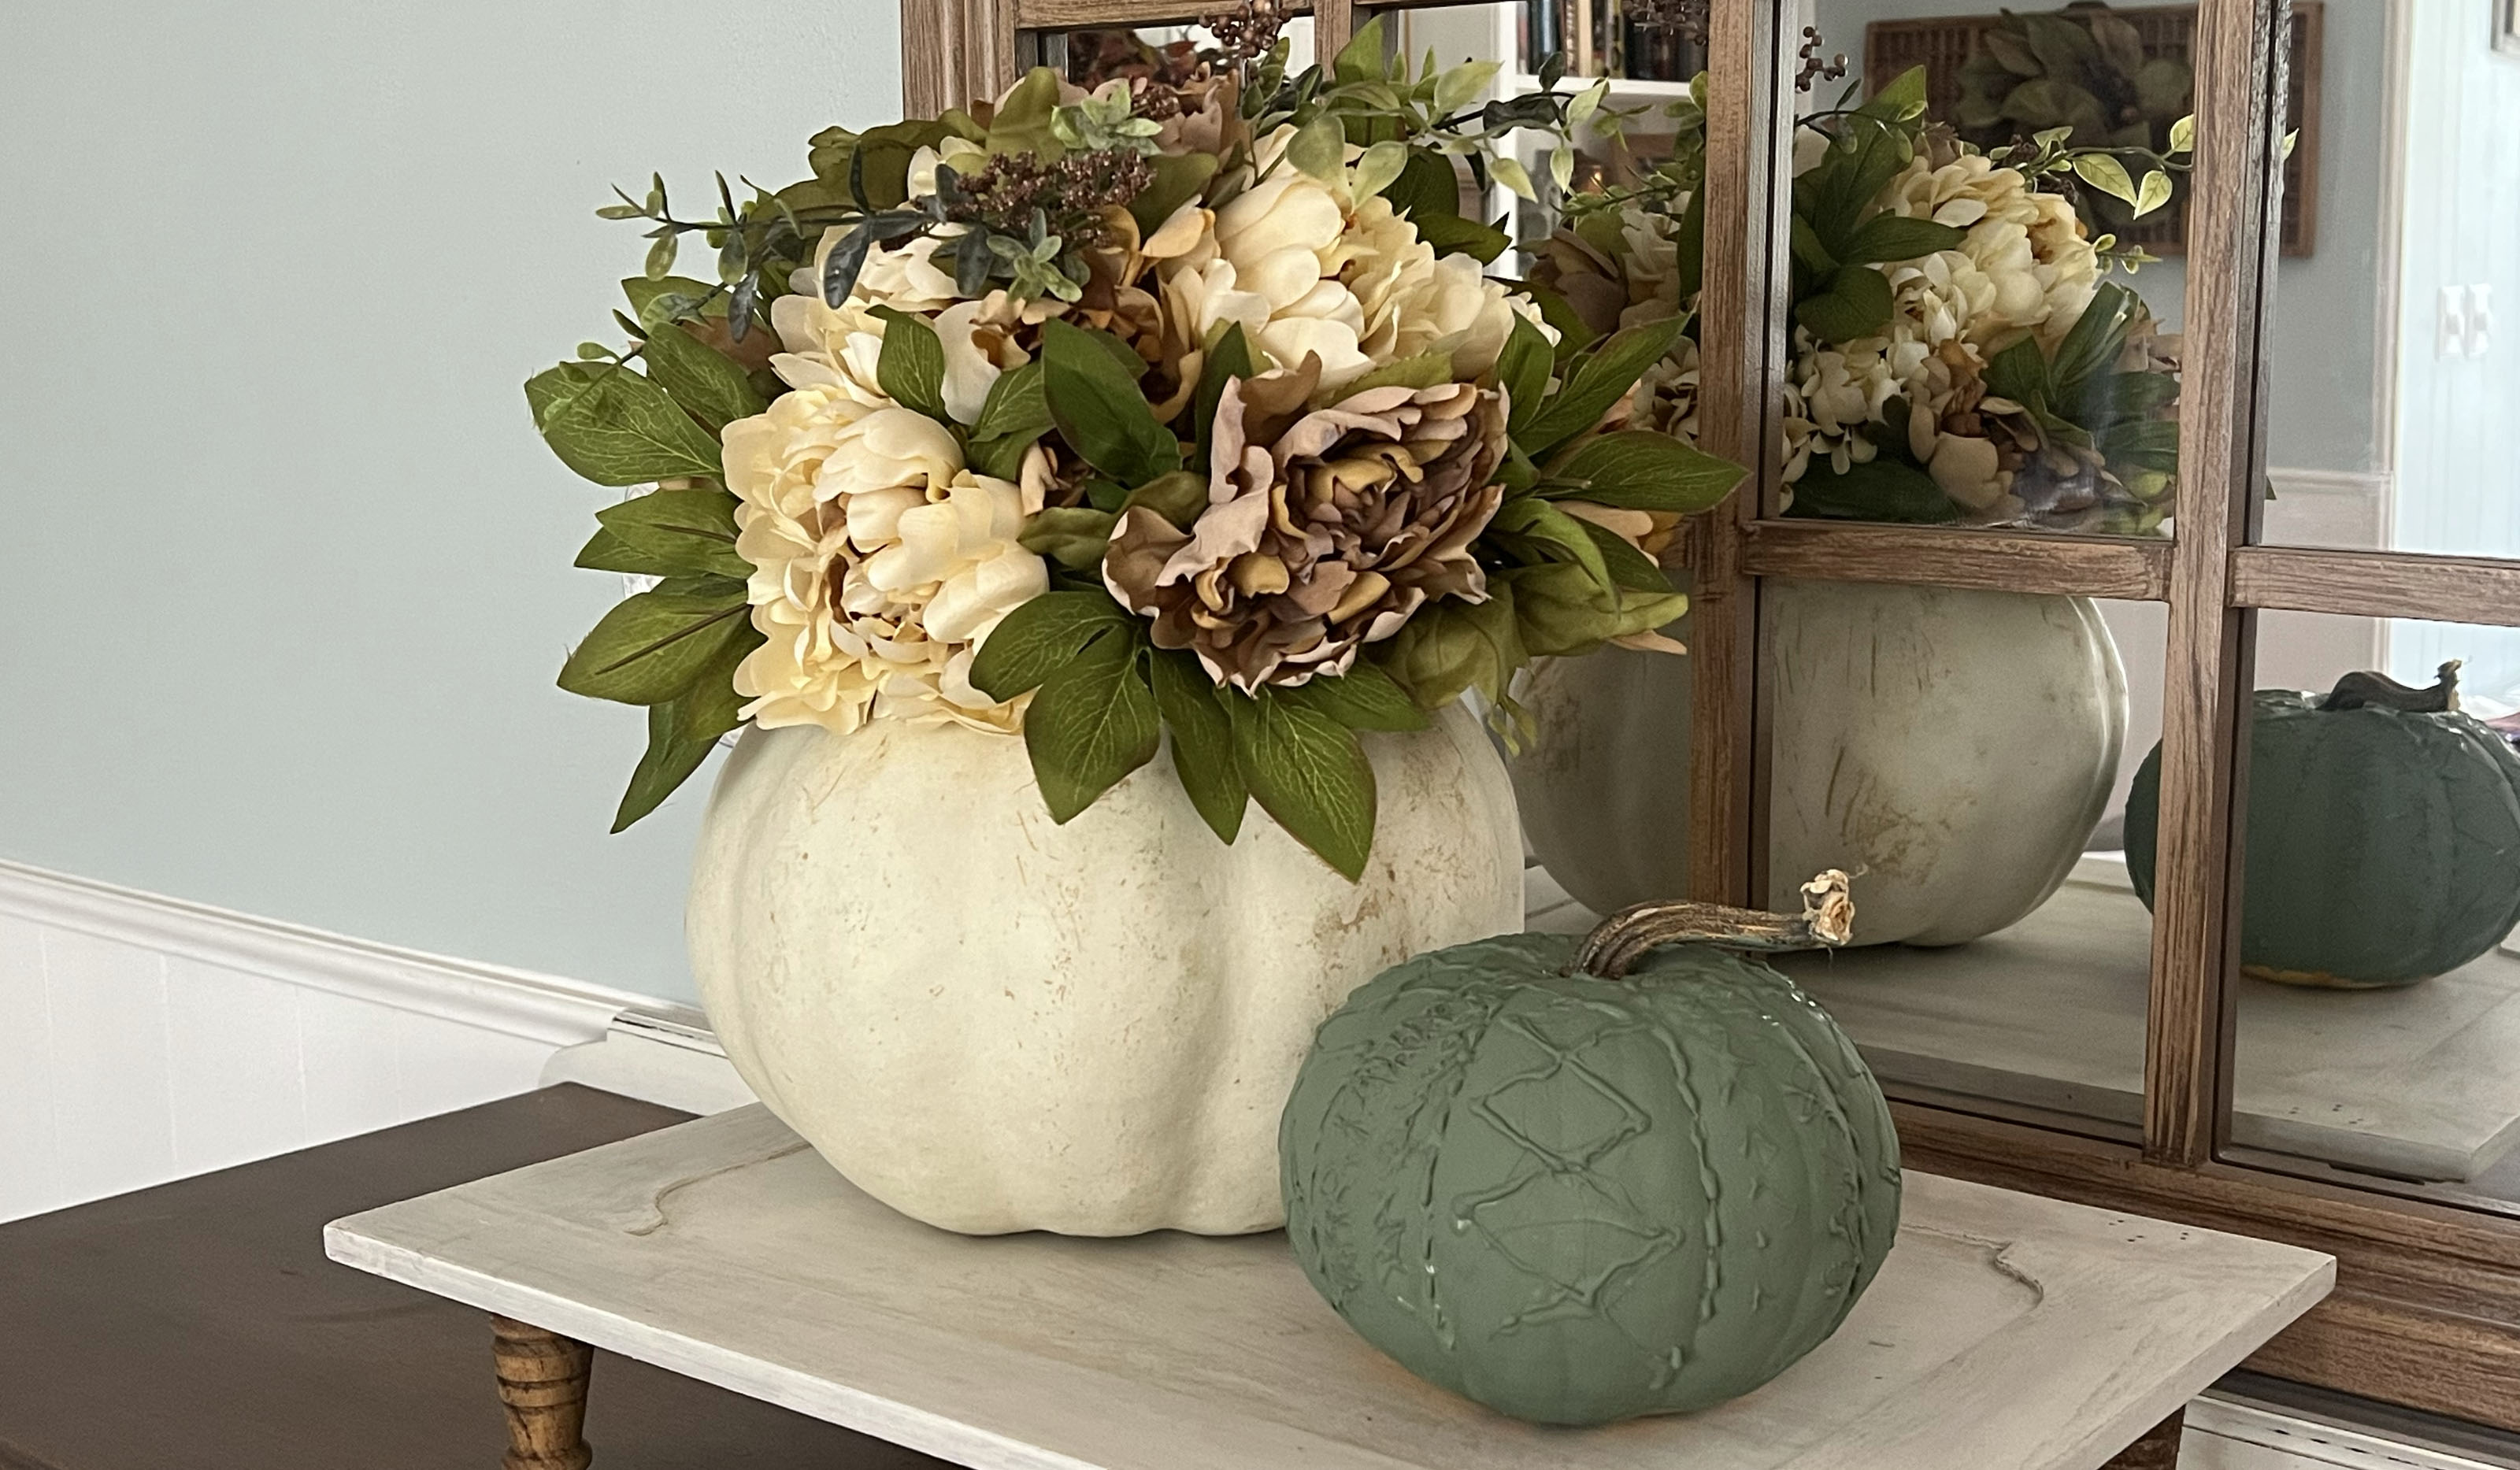 Embrace the best parts of fall with a DIY sweater pumpkin
This adorable DIY sweater pumpkin can be made in about 45 minutes with just a pumpkin, some hot glue, and your favorite fall paint color!
By Dori Turner
-
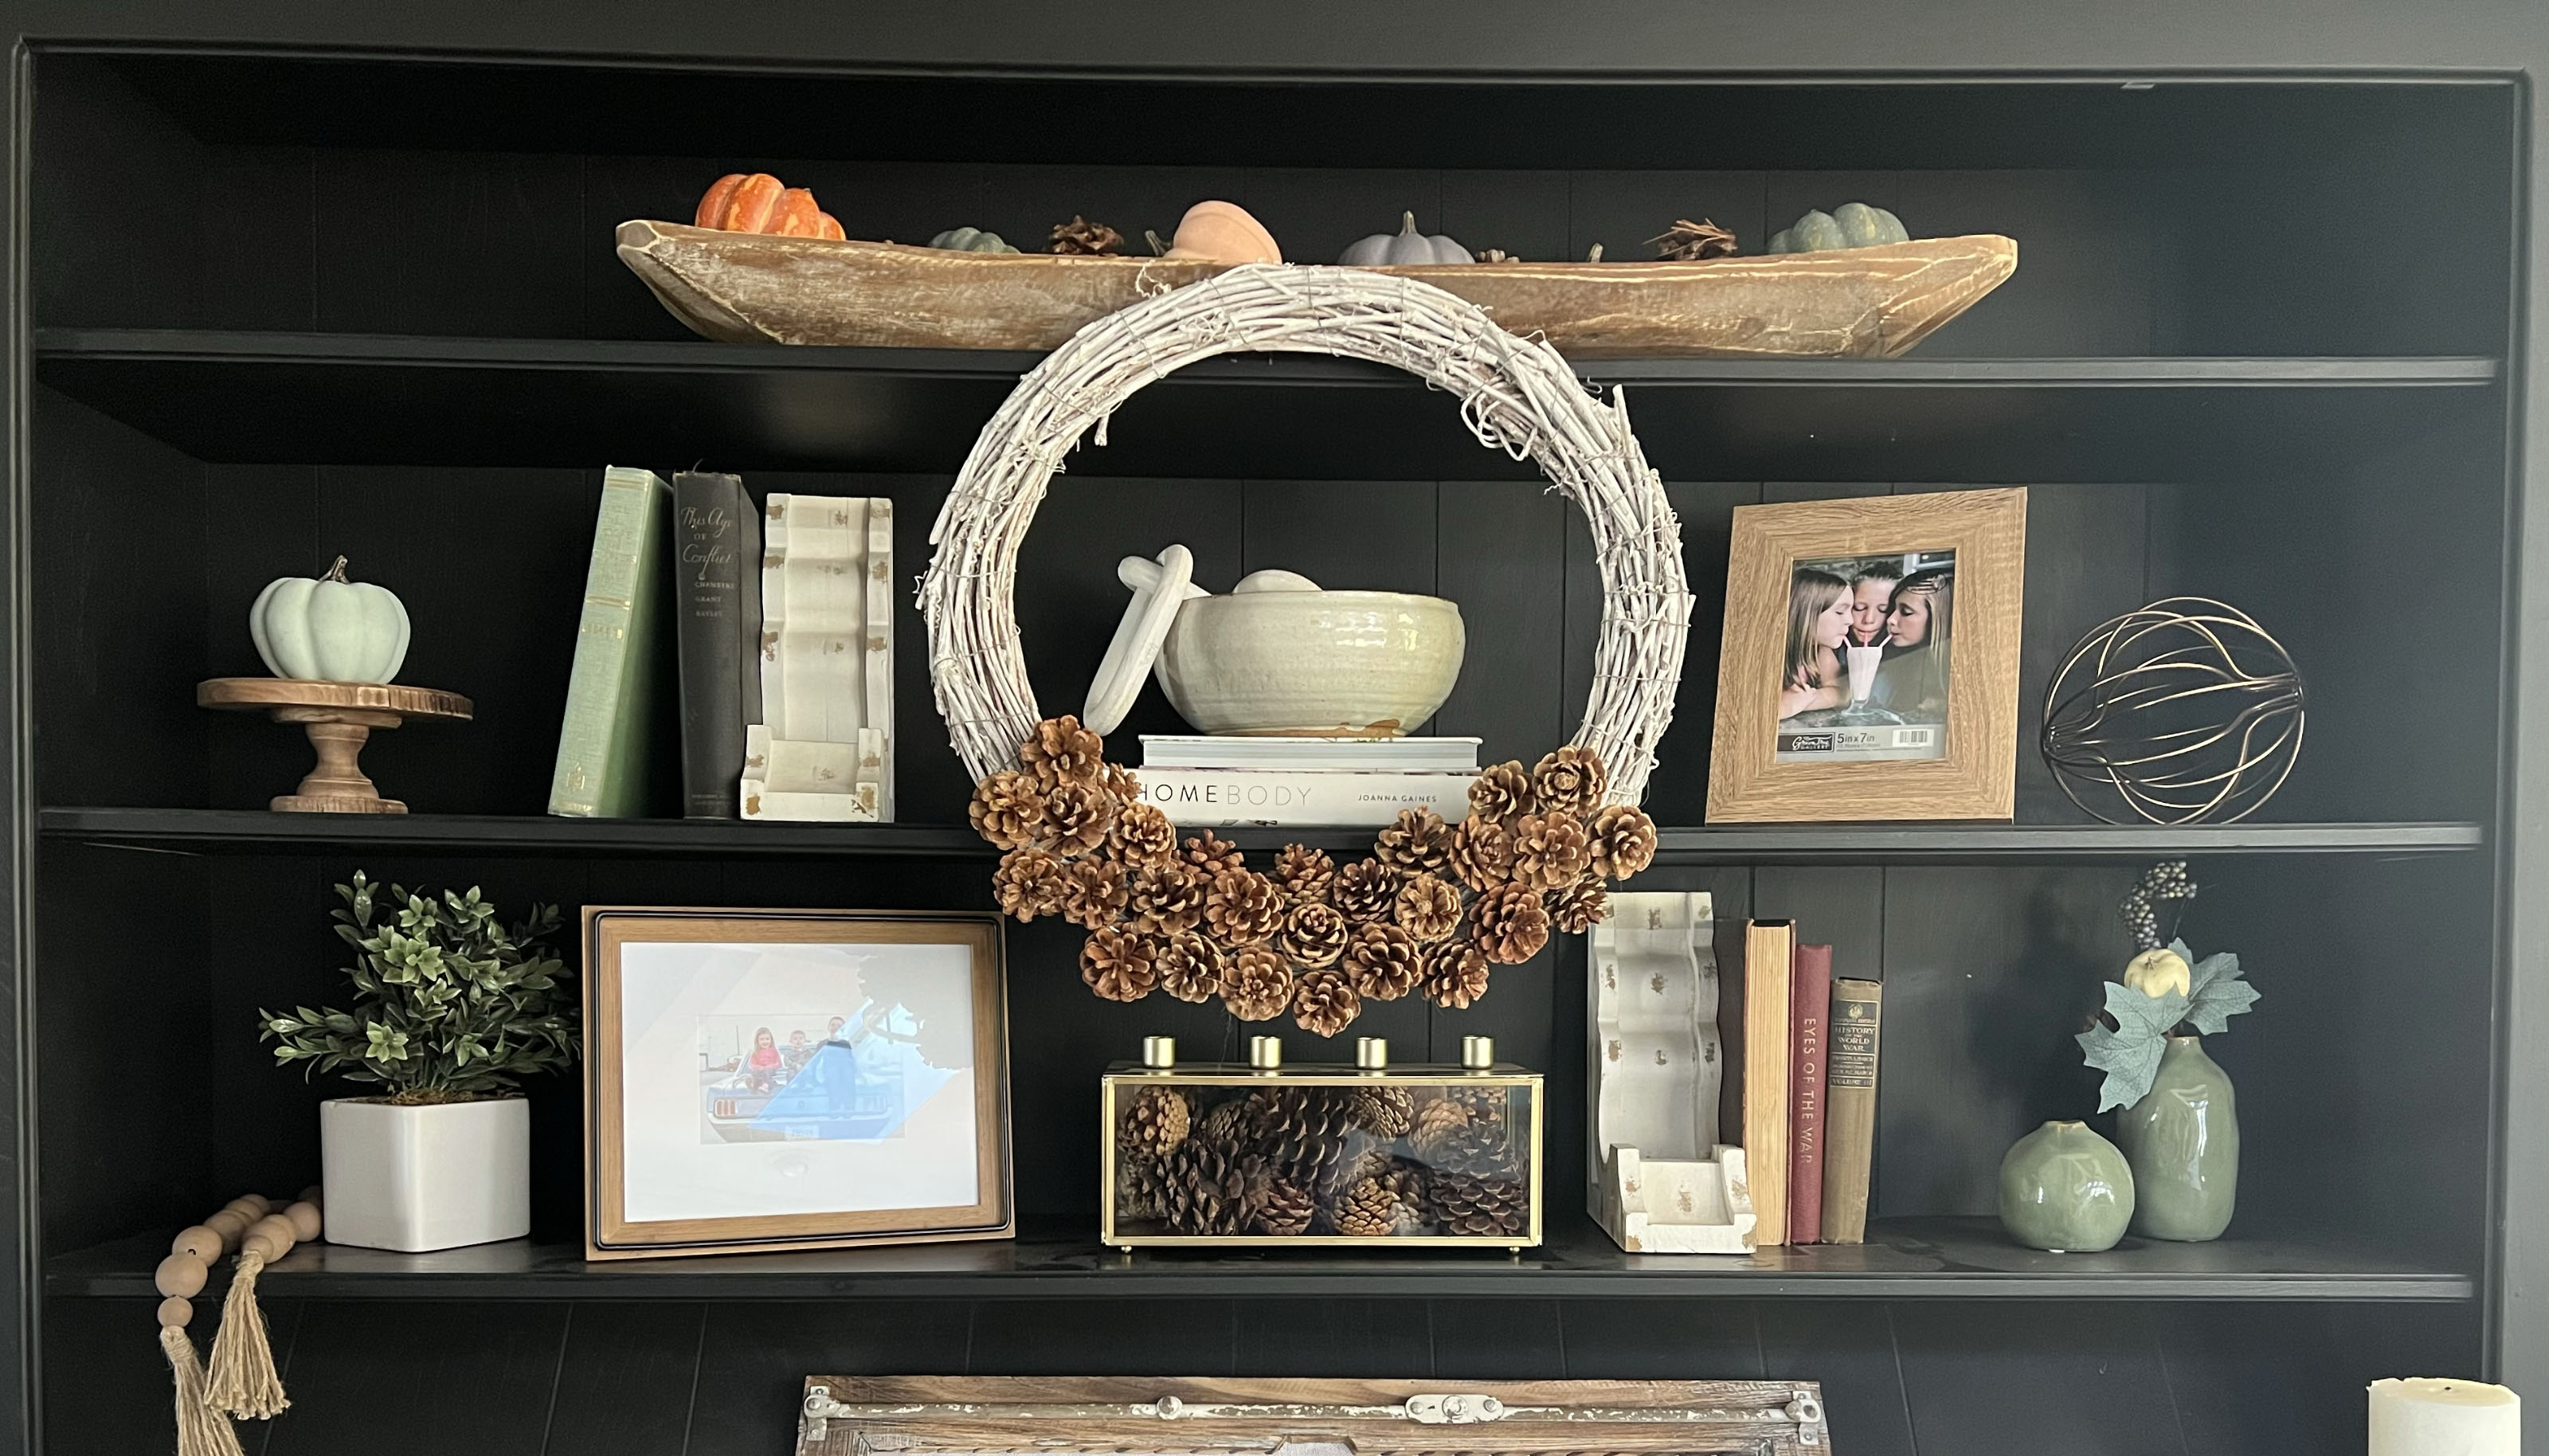 The 30-minute pinecone wreath DIY: a simple, budget-friendly, seasonal craft
For around $15 you can make this beautiful DIY pinecone wreath for fall. It'll take about 30 minutes with just a few supplies...
By Dori Turner
-
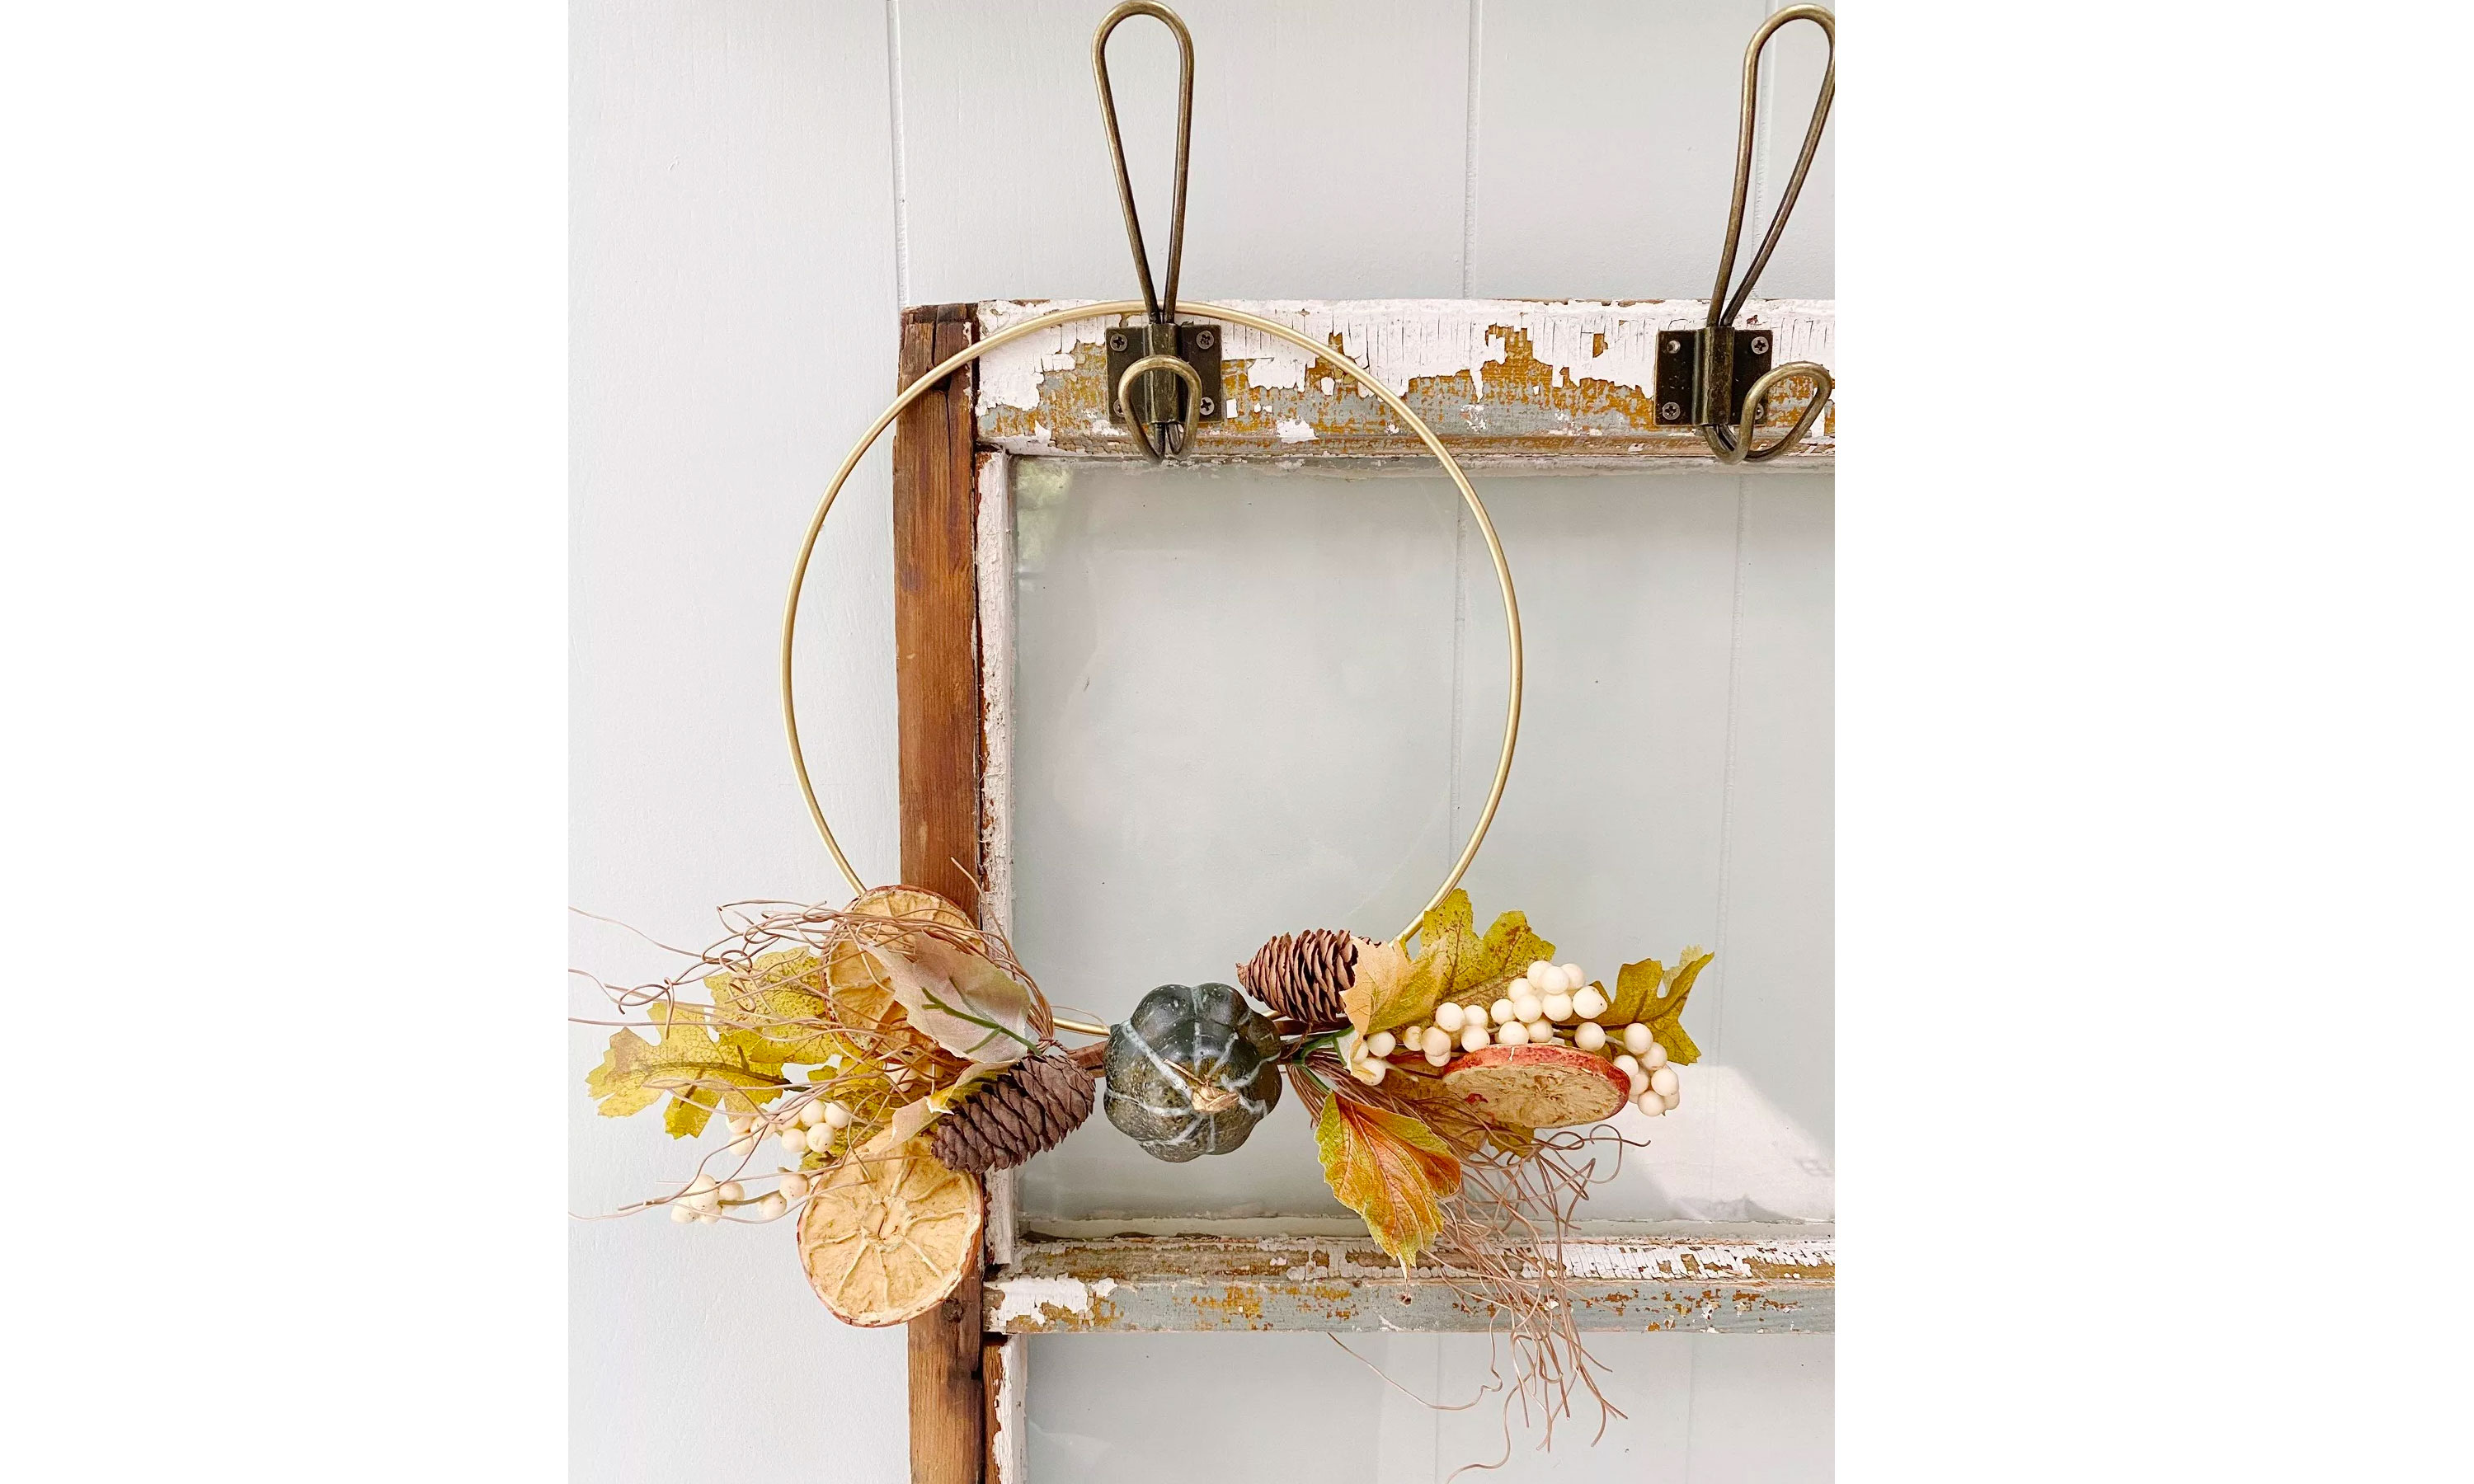 How to make a simple fall gold hoop wreath
This DIY simple fall gold hoop wreath ticks all the boxes for an elegant seasonal craft, that's easy and inexpensive to make!
By Dori Turner
-
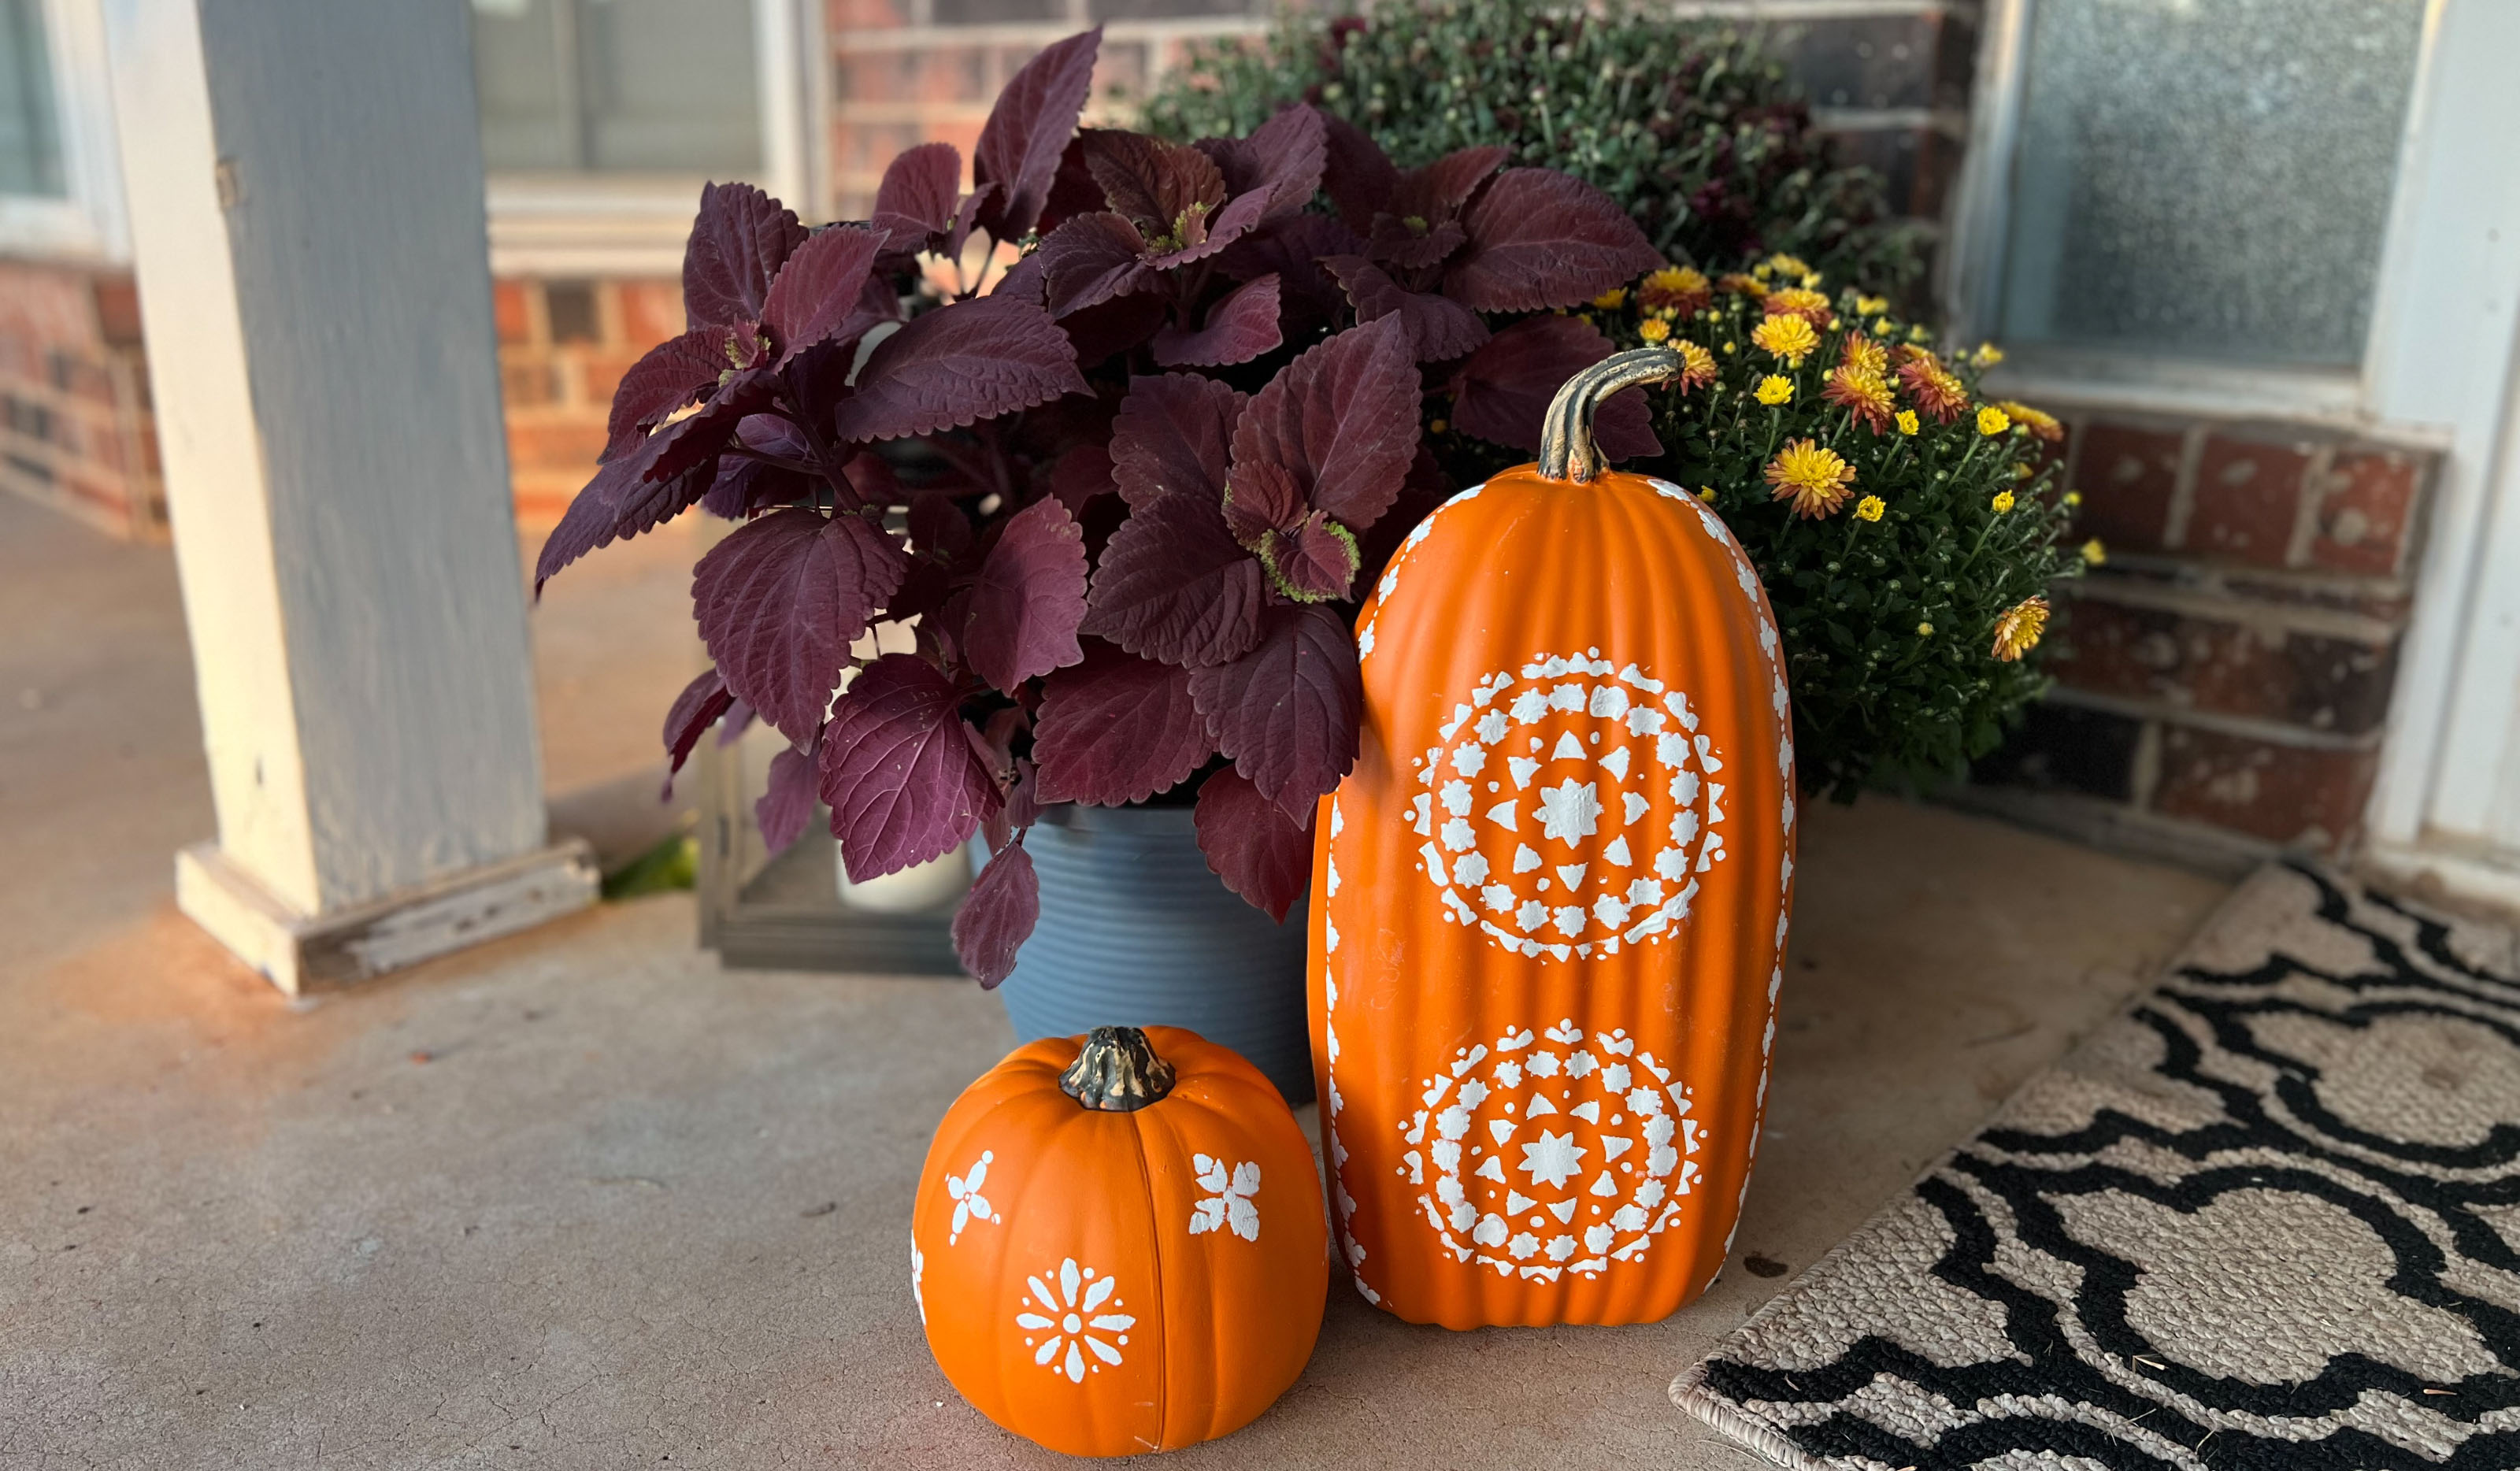 No-carve floral stenciled pumpkins: a cute fall craft for gourds big and small
Stenciled pumpkins are a fun alternative to carving, be that for a fall mantel or for your Halloween display! Simple to do and cheap to make.
By Dori Turner