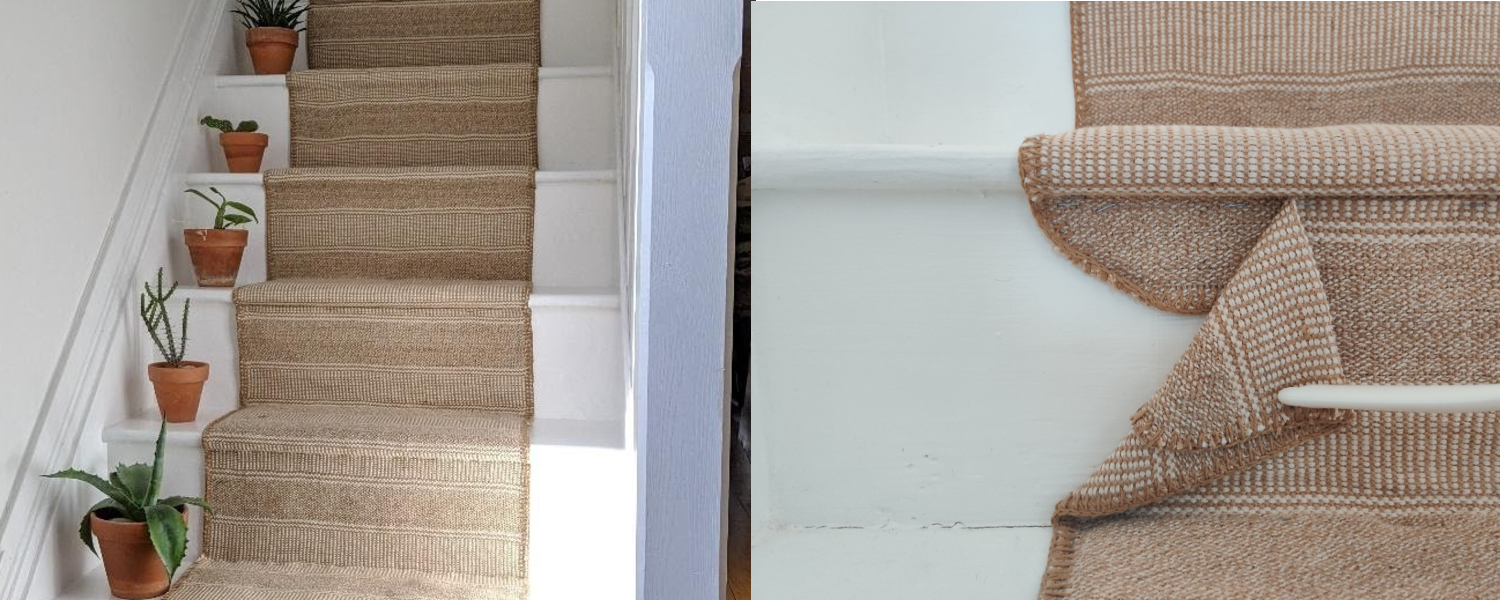
Not sure if you want a carpeted or exposed wood staircase? Have both with a stair runner!
Stair runners are one of my favourite staircase ideas and an interiors obsession. They look great, they are practical, and you can have a lot of fun designing them. You get the warmth and comfort of a carpet but still get to show off the craftmanship of your staircase.
The cost of a stair runner can vary greatly. On the lower end you can get it supplied and fitted for around £400 but this can increase greatly to thousands of pounds with higher-end materials and accessories like stair rods.
Instead of spending hundreds (or thousands) on a single project, I recently finished my own DIY staircase runner for £17.50 using some left-over underlay, staples and some Ikea door mats. Here is how I did it.
Step 1 – Prepare your staircase
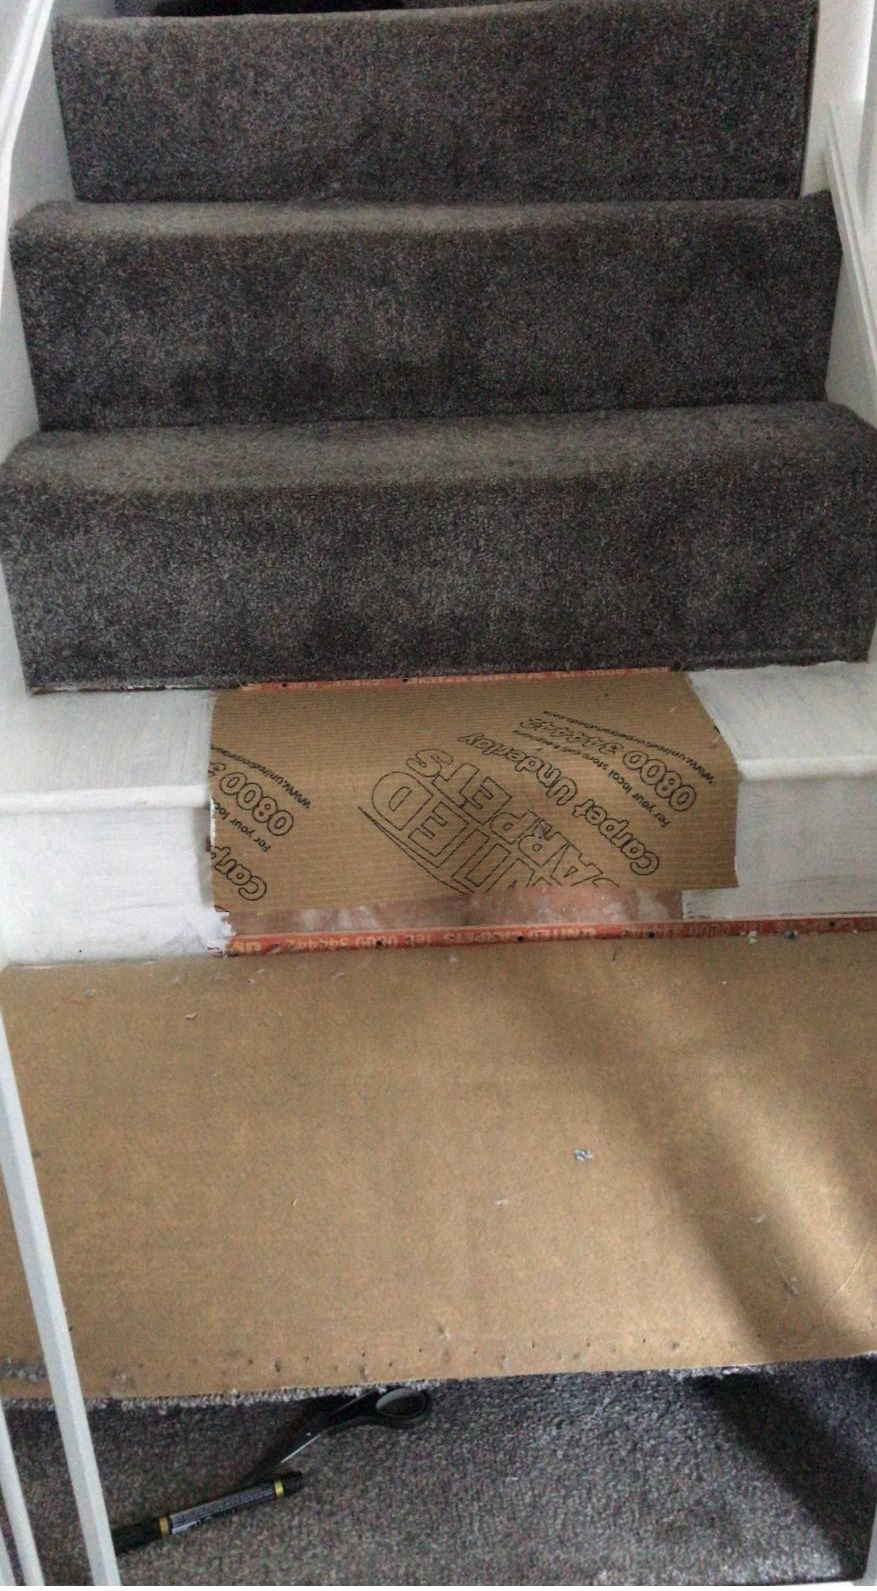
To start we needed to prepare the staircase before the runner is installed. If your stairs are carpeted, the carpet needs to be removed.
To remove the carpet you will need some safety gloves, a hammer and plyers. Wearing the gloves, use the plyers to grab a corner of the carpet on the top of the step. Pull the carpet away and be careful not to hurt yourself on the carpet gripper below (believe me these things are lethal and I always catch my hand on them!). Use the hammer to remove the carpet grippers and set aside in a safe place. I recommend starting at the top of the staircase and working your way down to avoid any incidents with exposed carpet grippers or staples.
The structure of most domestic staircases is made from wood or MDF. If you have a good quality wooden staircase you may want to leave it exposed to show the wood grain. If the staircase is made from MDF this will need painting with a durable and wipeable paint.
Join our newsletter
Get small space home decor ideas, celeb inspiration, DIY tips and more, straight to your inbox!
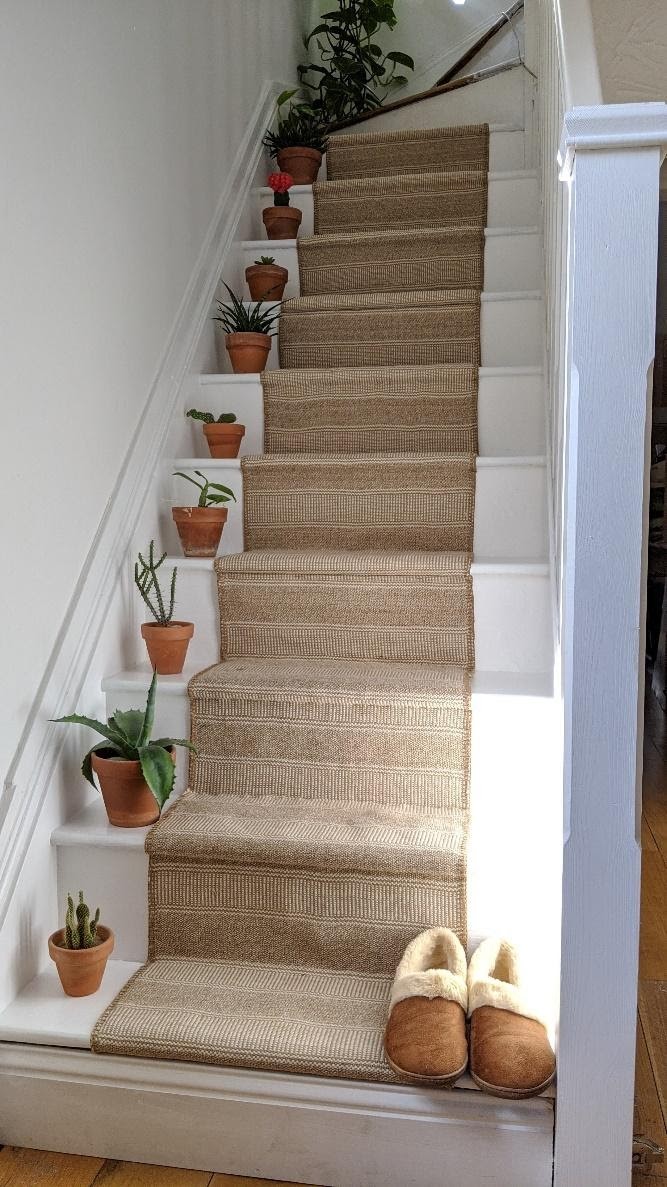
My staircase had a low quality wooden step with painted MDF kick boards so I decided to paint everything in a white satin paint. Satin paint is very durable and wipeable. To save yourself time you do not need to paint the areas that will be covered by the runner. If there are any gaps between the steps and kick boards fill them using a paintable flexible sealant like a good quality caulk.
- See also: 21 of our favourite IKEA hacks
Step 2 – Add an underlay
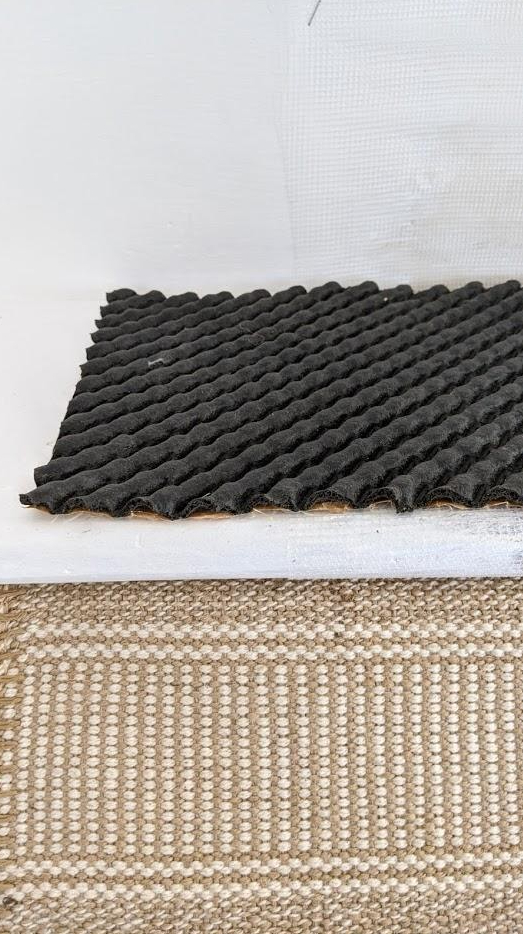
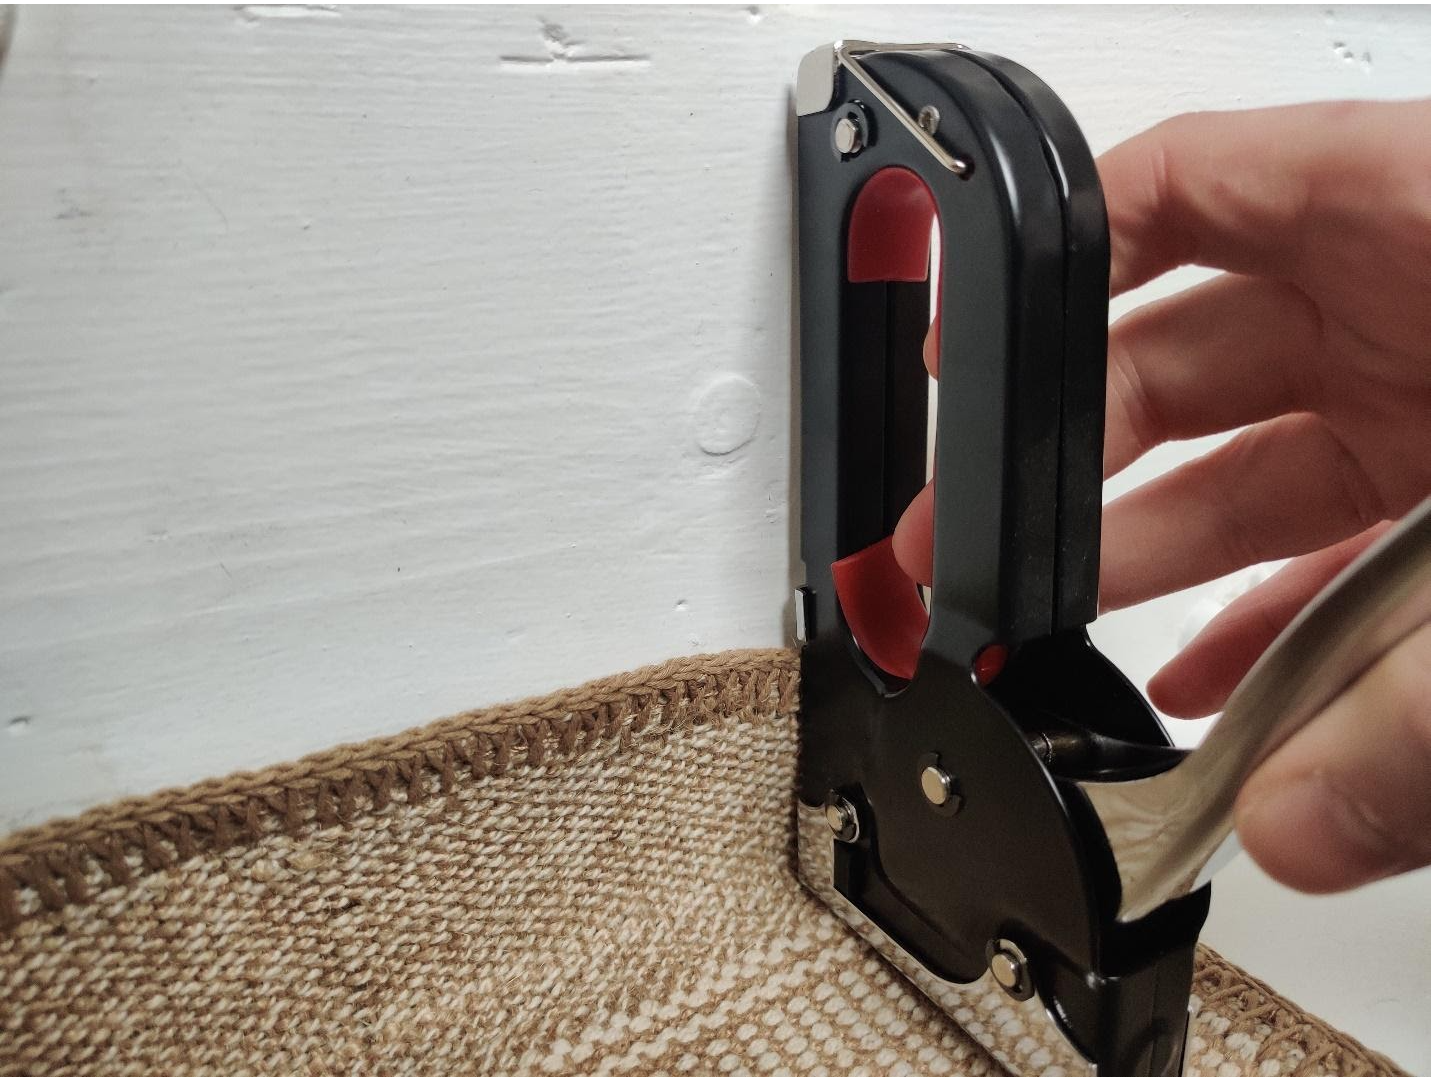
This hack uses door mats to give the illusion of a runner but to get the thick luxurious carpet feel we need to use underlay. First of all I used 2x rolls of Ikea’s Anti slip underlay “STOPP” normally used for rugs and door mats, cost of £5. This stops any movement of the underlay/runner above. I simply lay it onto the stairs and secured it to the step and kick board using a staple gun.
I then fitted some thick cushion type underlay on the steps that is the same width as the door mats that I am using. To me the thick underlay is what makes it feel more luxurious and is definitely more comfortable every time you go up and down the stairs, this will also help with sound proofing. I used some leftover underlay I had from a previous project for this however you can use any underlay you just removed from your carpeted stairs or pick up 2x rolls of Ikea’s “STOPP FILT” underlay while you are there for £4.
The thick underlay goes on top of the antislip matt and is secured in place using the staplegun around the sides and centre.
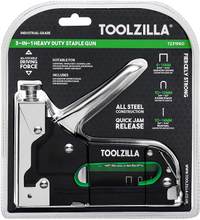
ToolZilla Heavy Duty Staple Gun | Was £24.99 now £15.99 on Amazon
A staple gun is a key part of this project (and a common essential for many household DIYs). If you don't already own one, this ToolZilla version is Amazon's best-seller, and it's currently on sale for under £16.
Step 3 – Doormat becomes runner
The final step is to add the door mat on top of the underlay. The door mat is used is called “KLEJS” from Ikea and is a bargain price of £1.50 per mat. I calculated that I needed 10 for my stairs by measuring the height and length of each step and then multiplying by the number of steps. The mat is 50cm wide which makes it perfect runner size and the edges are already seamed. You could use a any mat or long runner rug to do this, just make sure it has some sort of a repeatable pattern or is solid.
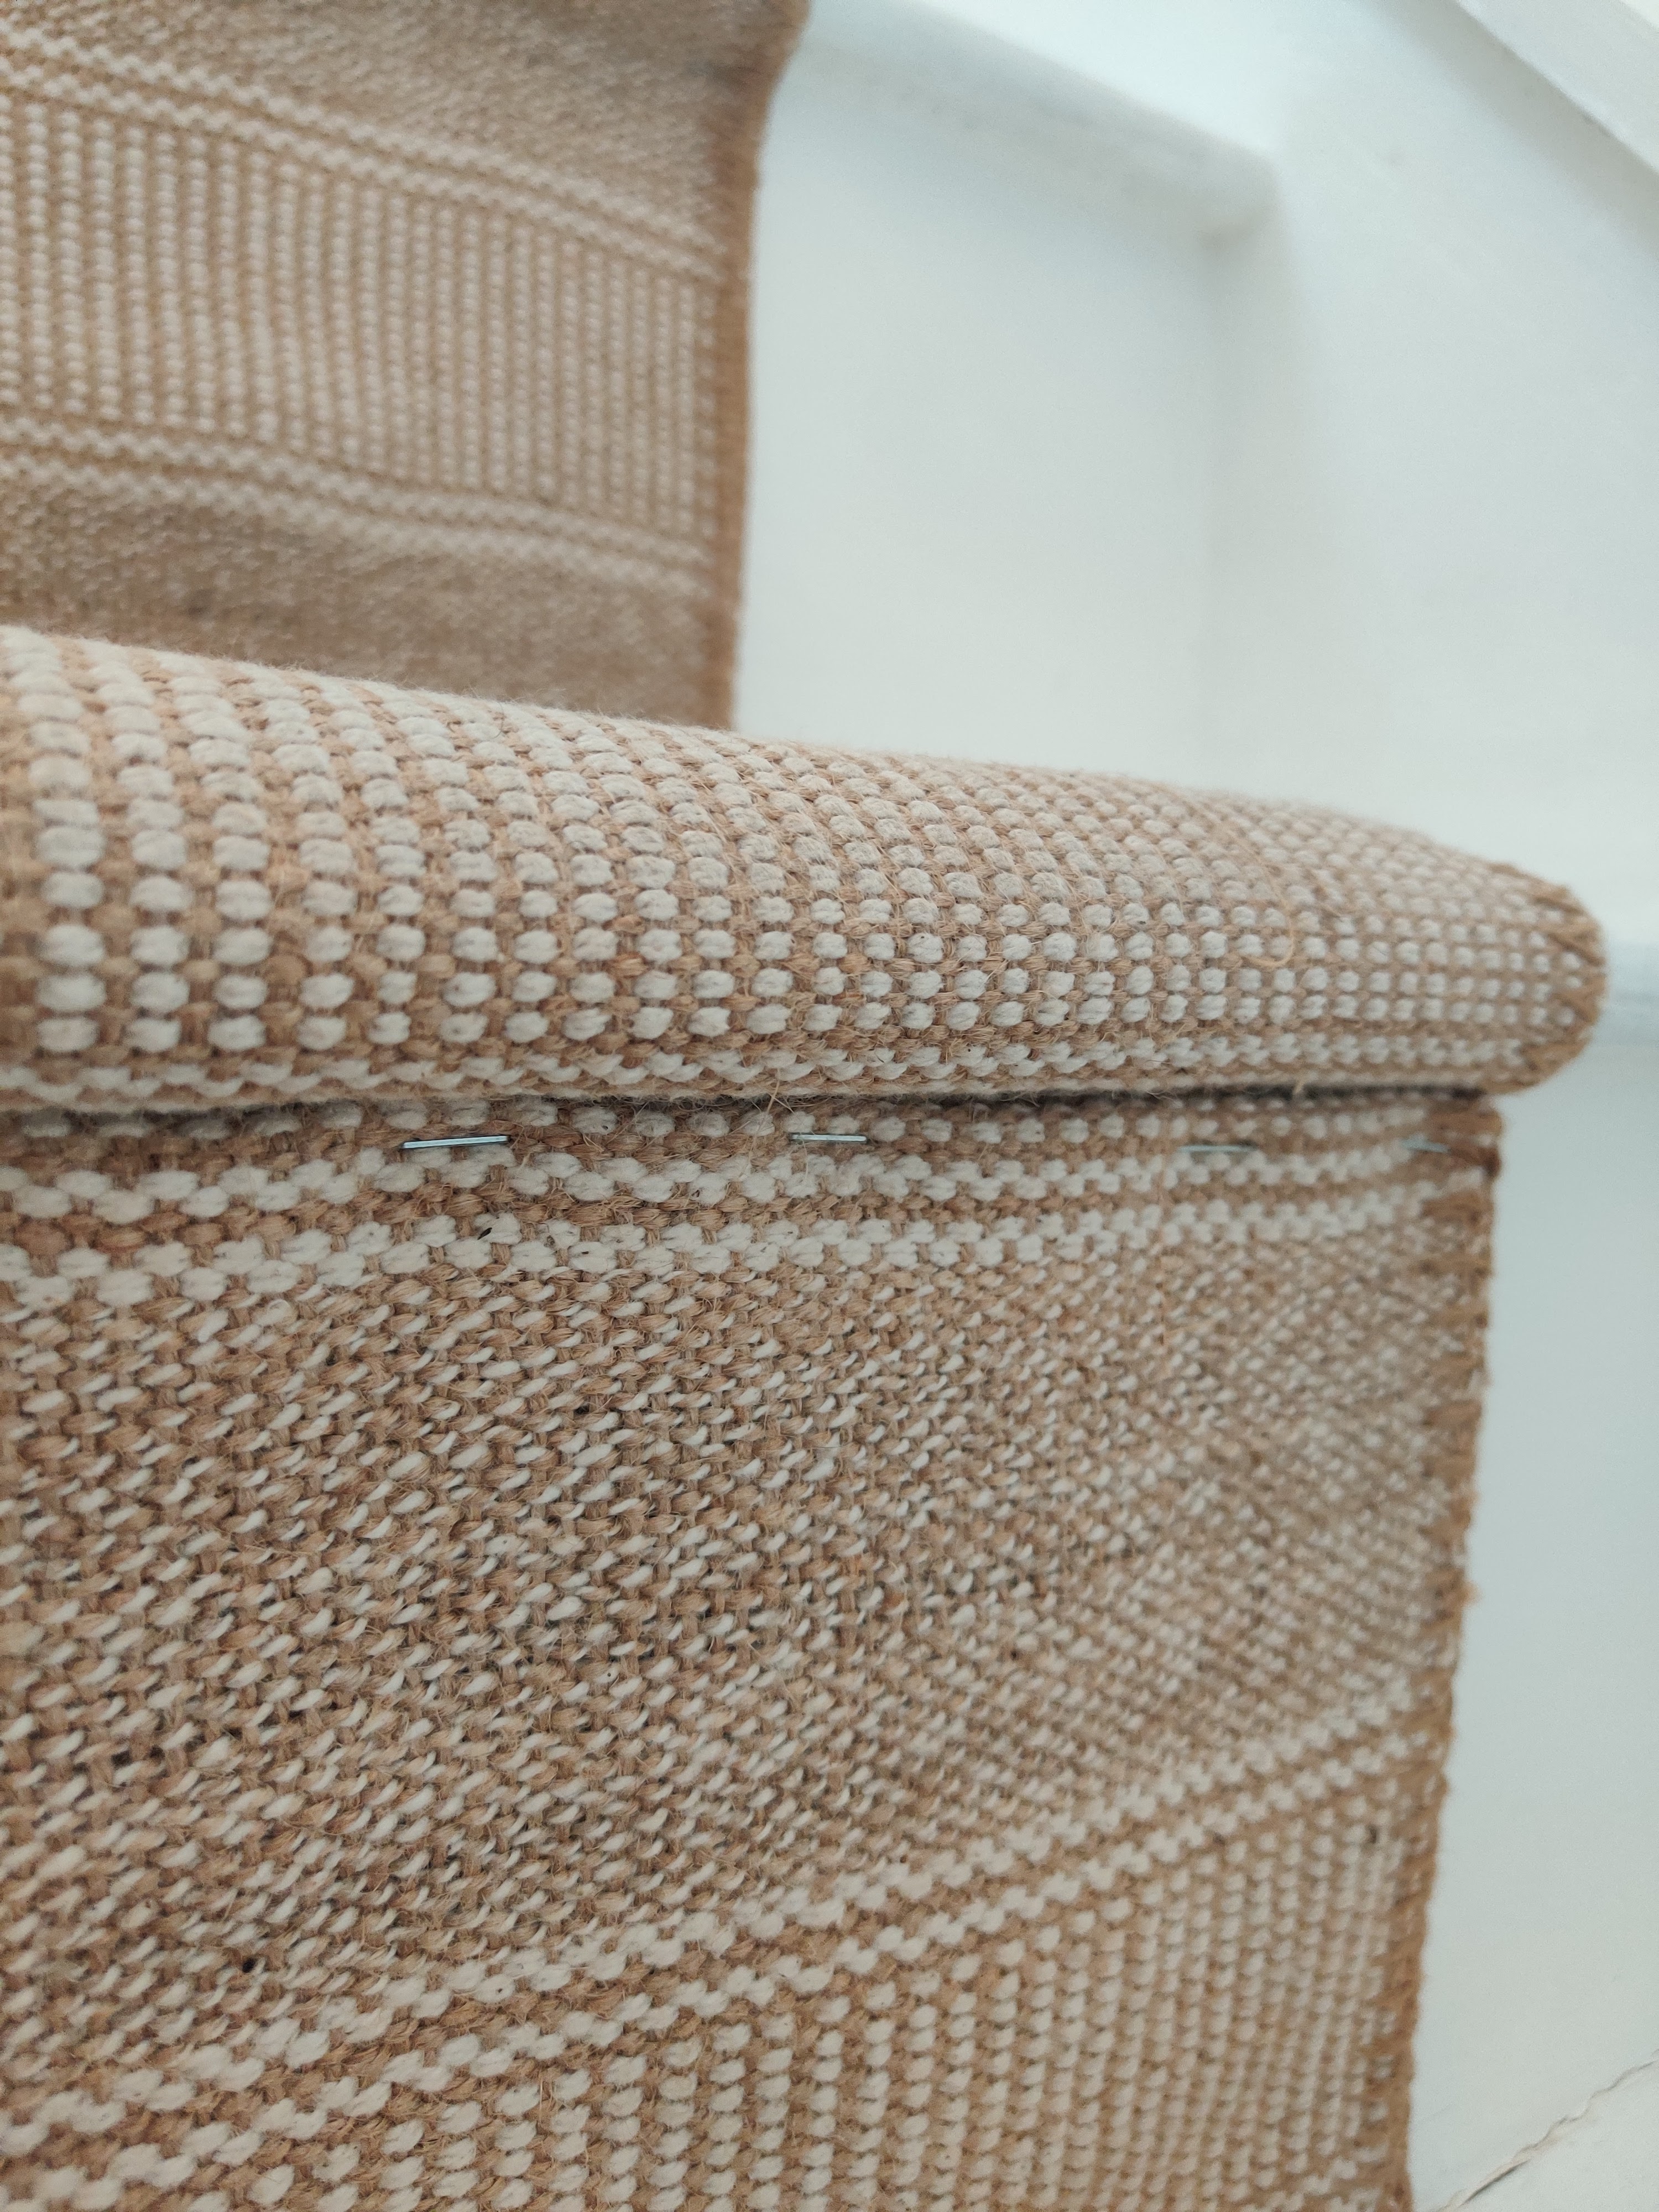
To attach these, starting from the bottom with the mat turned upside down I stapled the mat to the bottom of the kickstand with a one inch overlap. The reason for doing this with the mat upside down is to hide as many of the staples as possible and it creates a nice tidy edge. You want to apply the staples as low on the kick stand as possible.
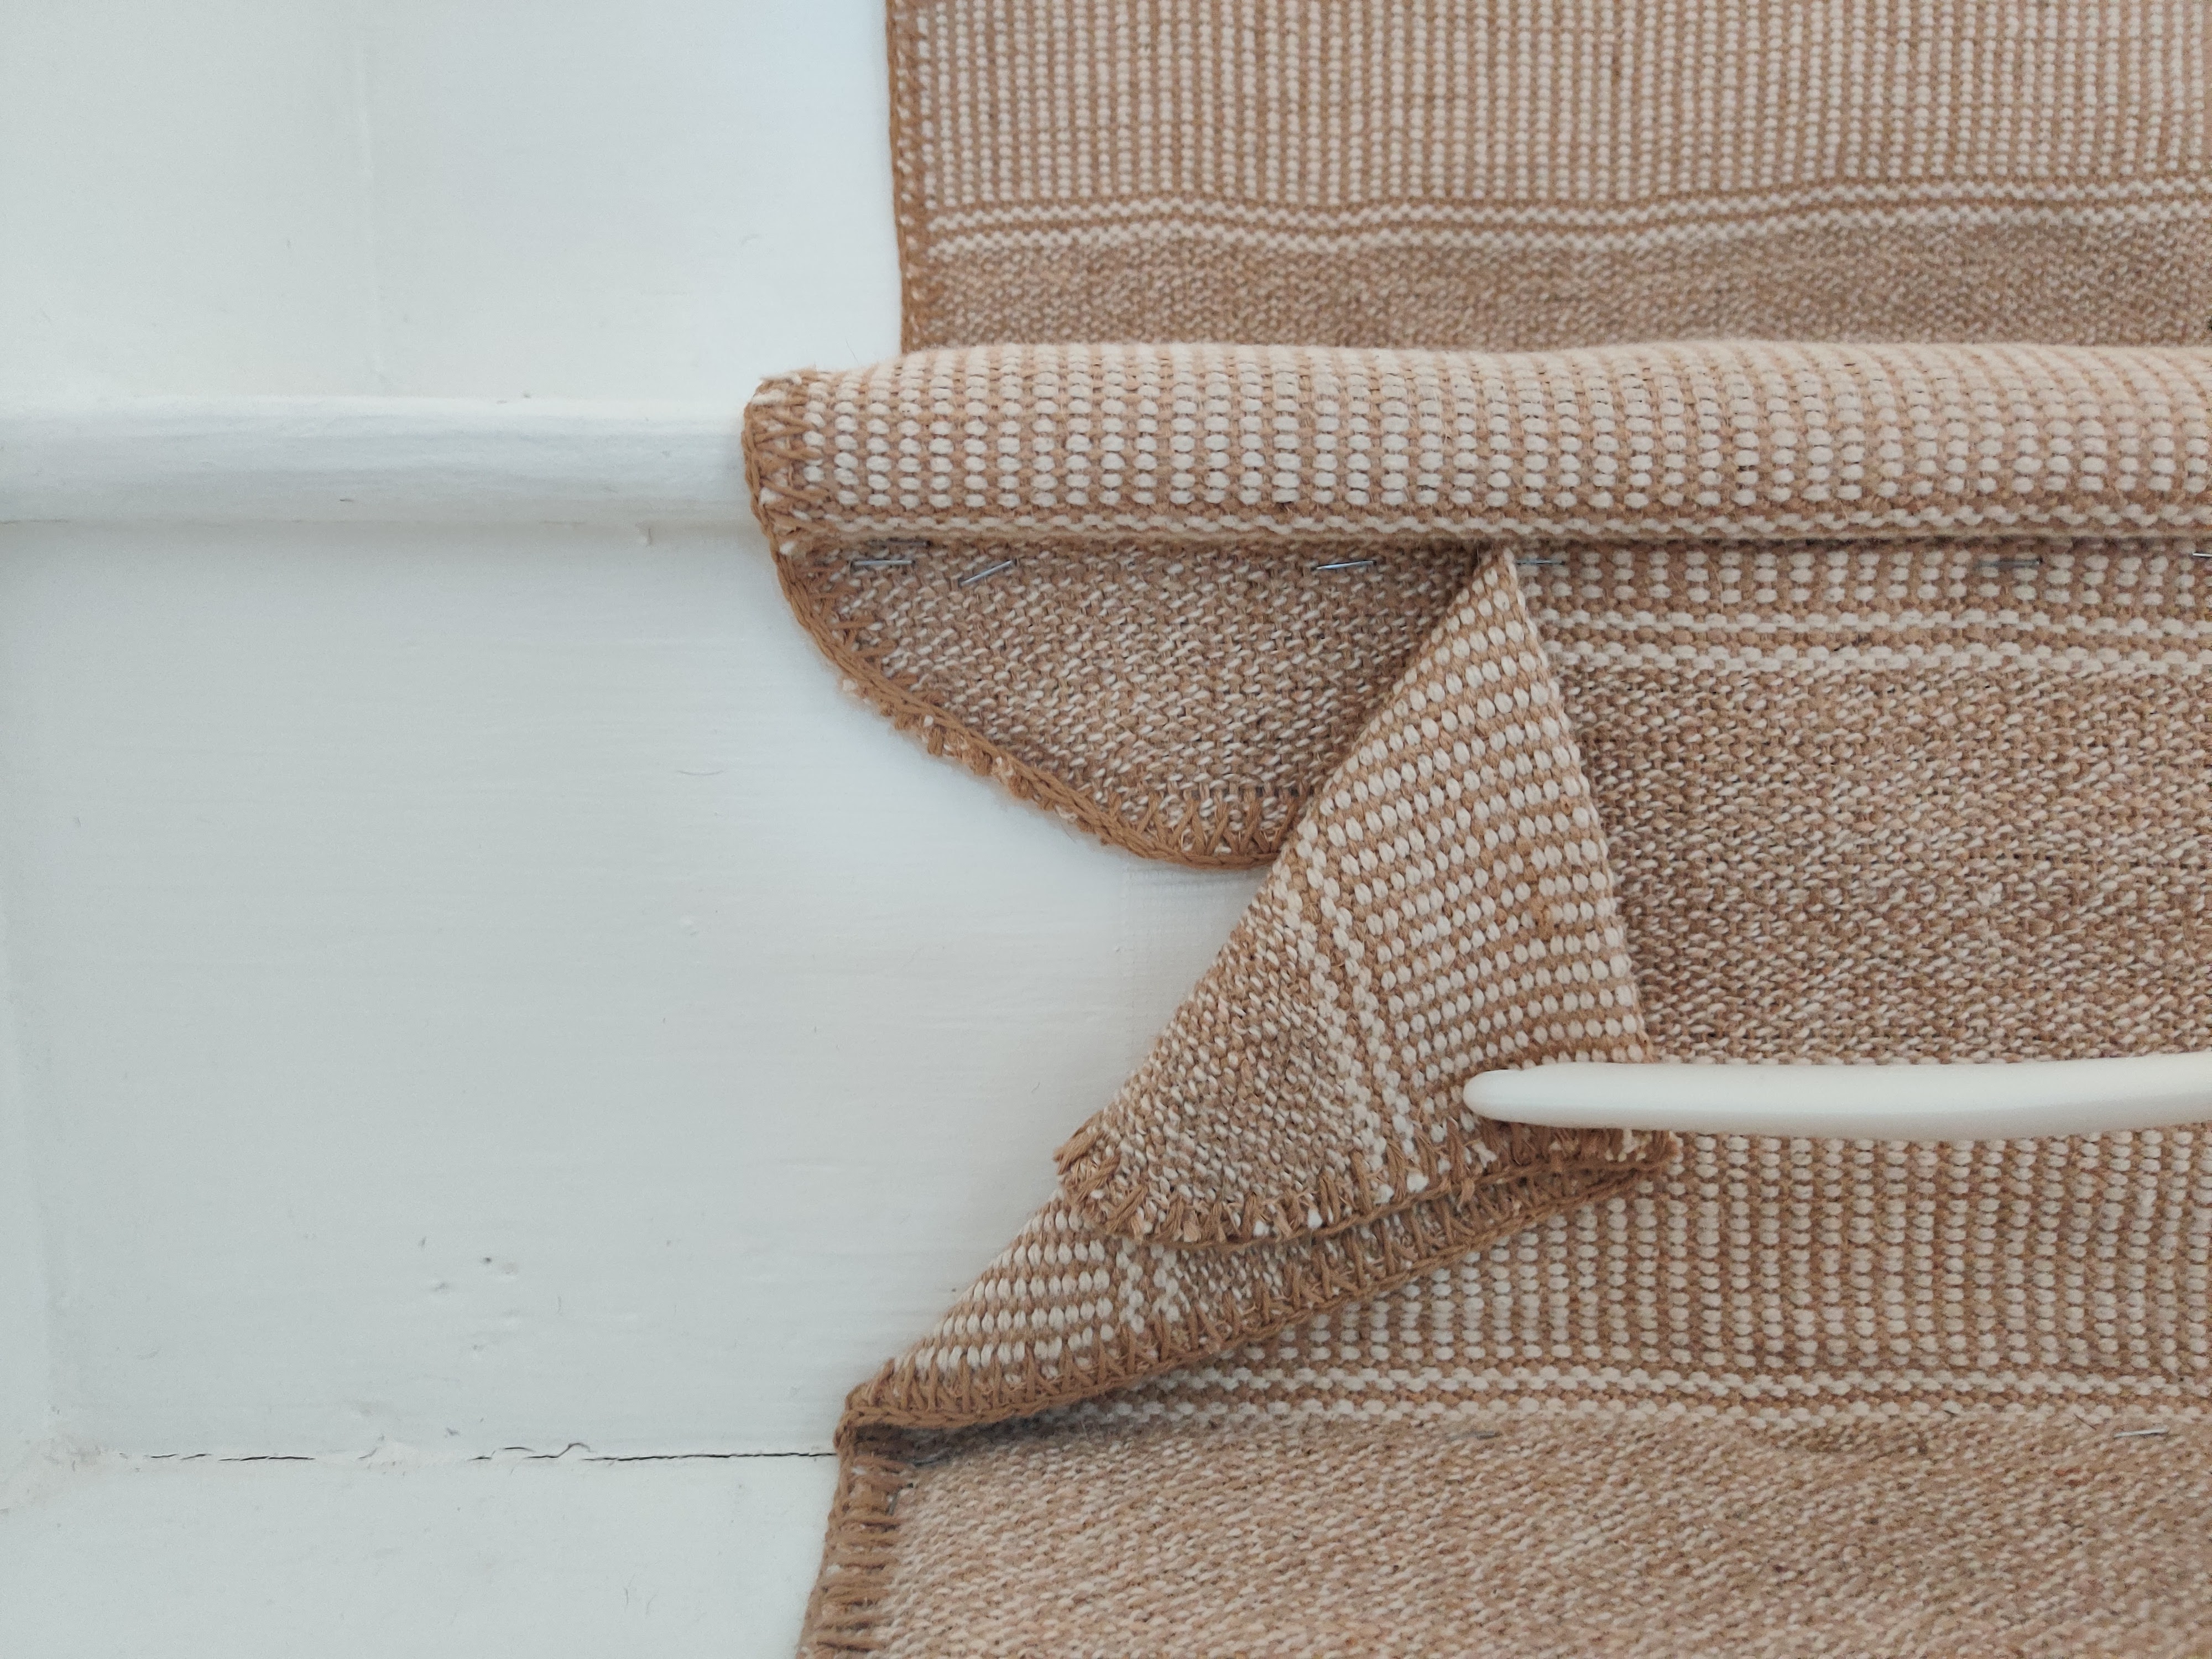
The next step is to secure the mat the right side up at the top of the kickstand. Keeping the mat tight against the kickstand staple all along the mat below the lip of the step.
For the step, wrap the mat around the underlay tight and staple as far into the corner as possible. Make sure to do a neat line of staples, around 1 every 5cm all along the back of the step as this is the area that will take the brunt of the traffic up and down the stairs.
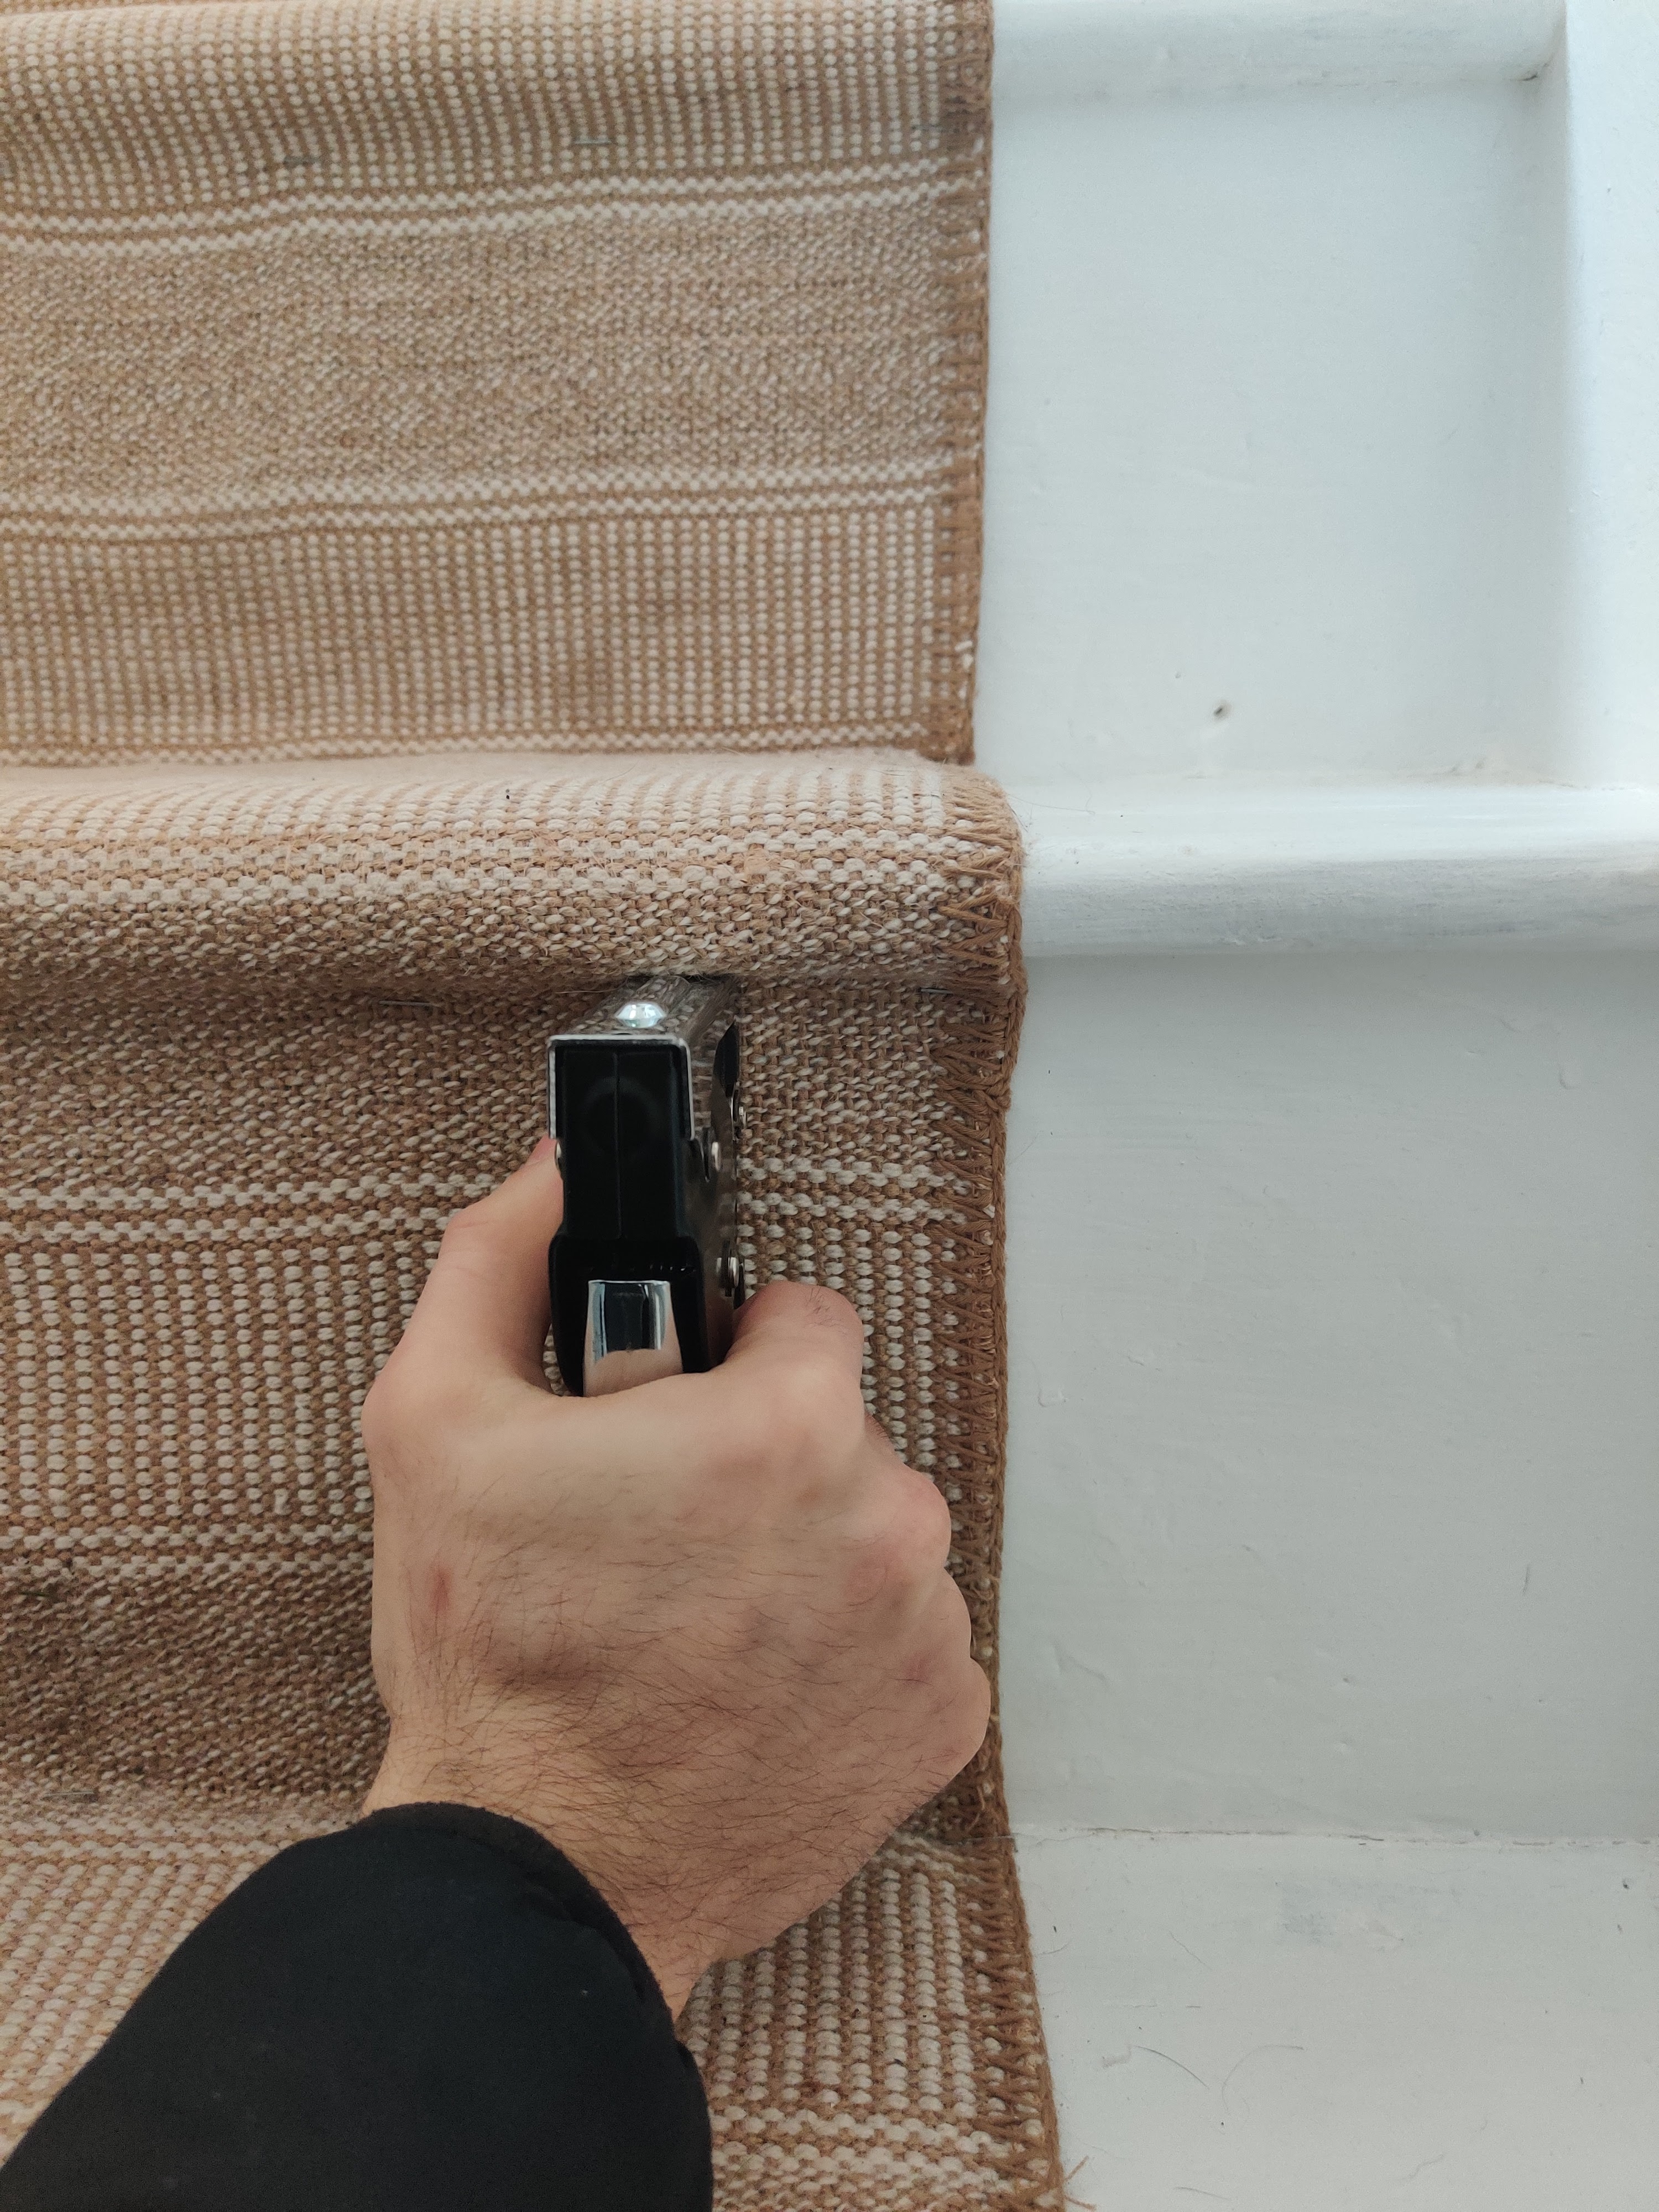
With the dimensions of my staircase, one mat was enough to cover 2 kickstands and one step (or vice versa). Before you finish the first section, start the next section with the next mat and then complete the first section of top of that. This will hide any edges on the short side being seen.
This has been on my staircase for 6 months now with no issues and I am so pleased with it. The total cost for the project was £20 for 10 mats and underlay. If you wanted to take the runner to the next level add some stair rods with the money you’ve saved on the runner and installation!
Jo Lemos is a DIYer and decorator who chronicles his projects on the popular Instagram account @two.men.and.a.semi. His DIY obsession began in childhood, when he used to help his parents redecorate the family house. Since then, he’s been developing his DIY skills for two decades, culminating in a full renovation of his current house alongside his partner, Chris. Currently the duo is restoring a 1930s semi-detached house in Manchester that had been badly renovated throughout the years. For Jo, sustainable and budget friendly design is the best way to renovate your house, and he considers his renovation motto to be: “Why pay someone when I can do it myself?!”
-
 6 small living room DIY projects — inspired ideas from an interior designer
Does your small living room need a refresh? These 6 small living room DIY projects will have your living room serving looks
By Aida M. Toro Published
-
 A 9-step guide to installing kitchen cabinets yourself, for a pro finish
You can install kitchen cabinets yourself no problem. Measure carefully and take it one step at a time when replacing base and wall cabinets to upgrade your cooking space.
By Sarah Warwick Published
-
 How to turn a garden room into a modern home office
Transforming a garden room into a home office is an awesome way to add function and personality to an unused outbuilding
By Kate Sandhu Published
-
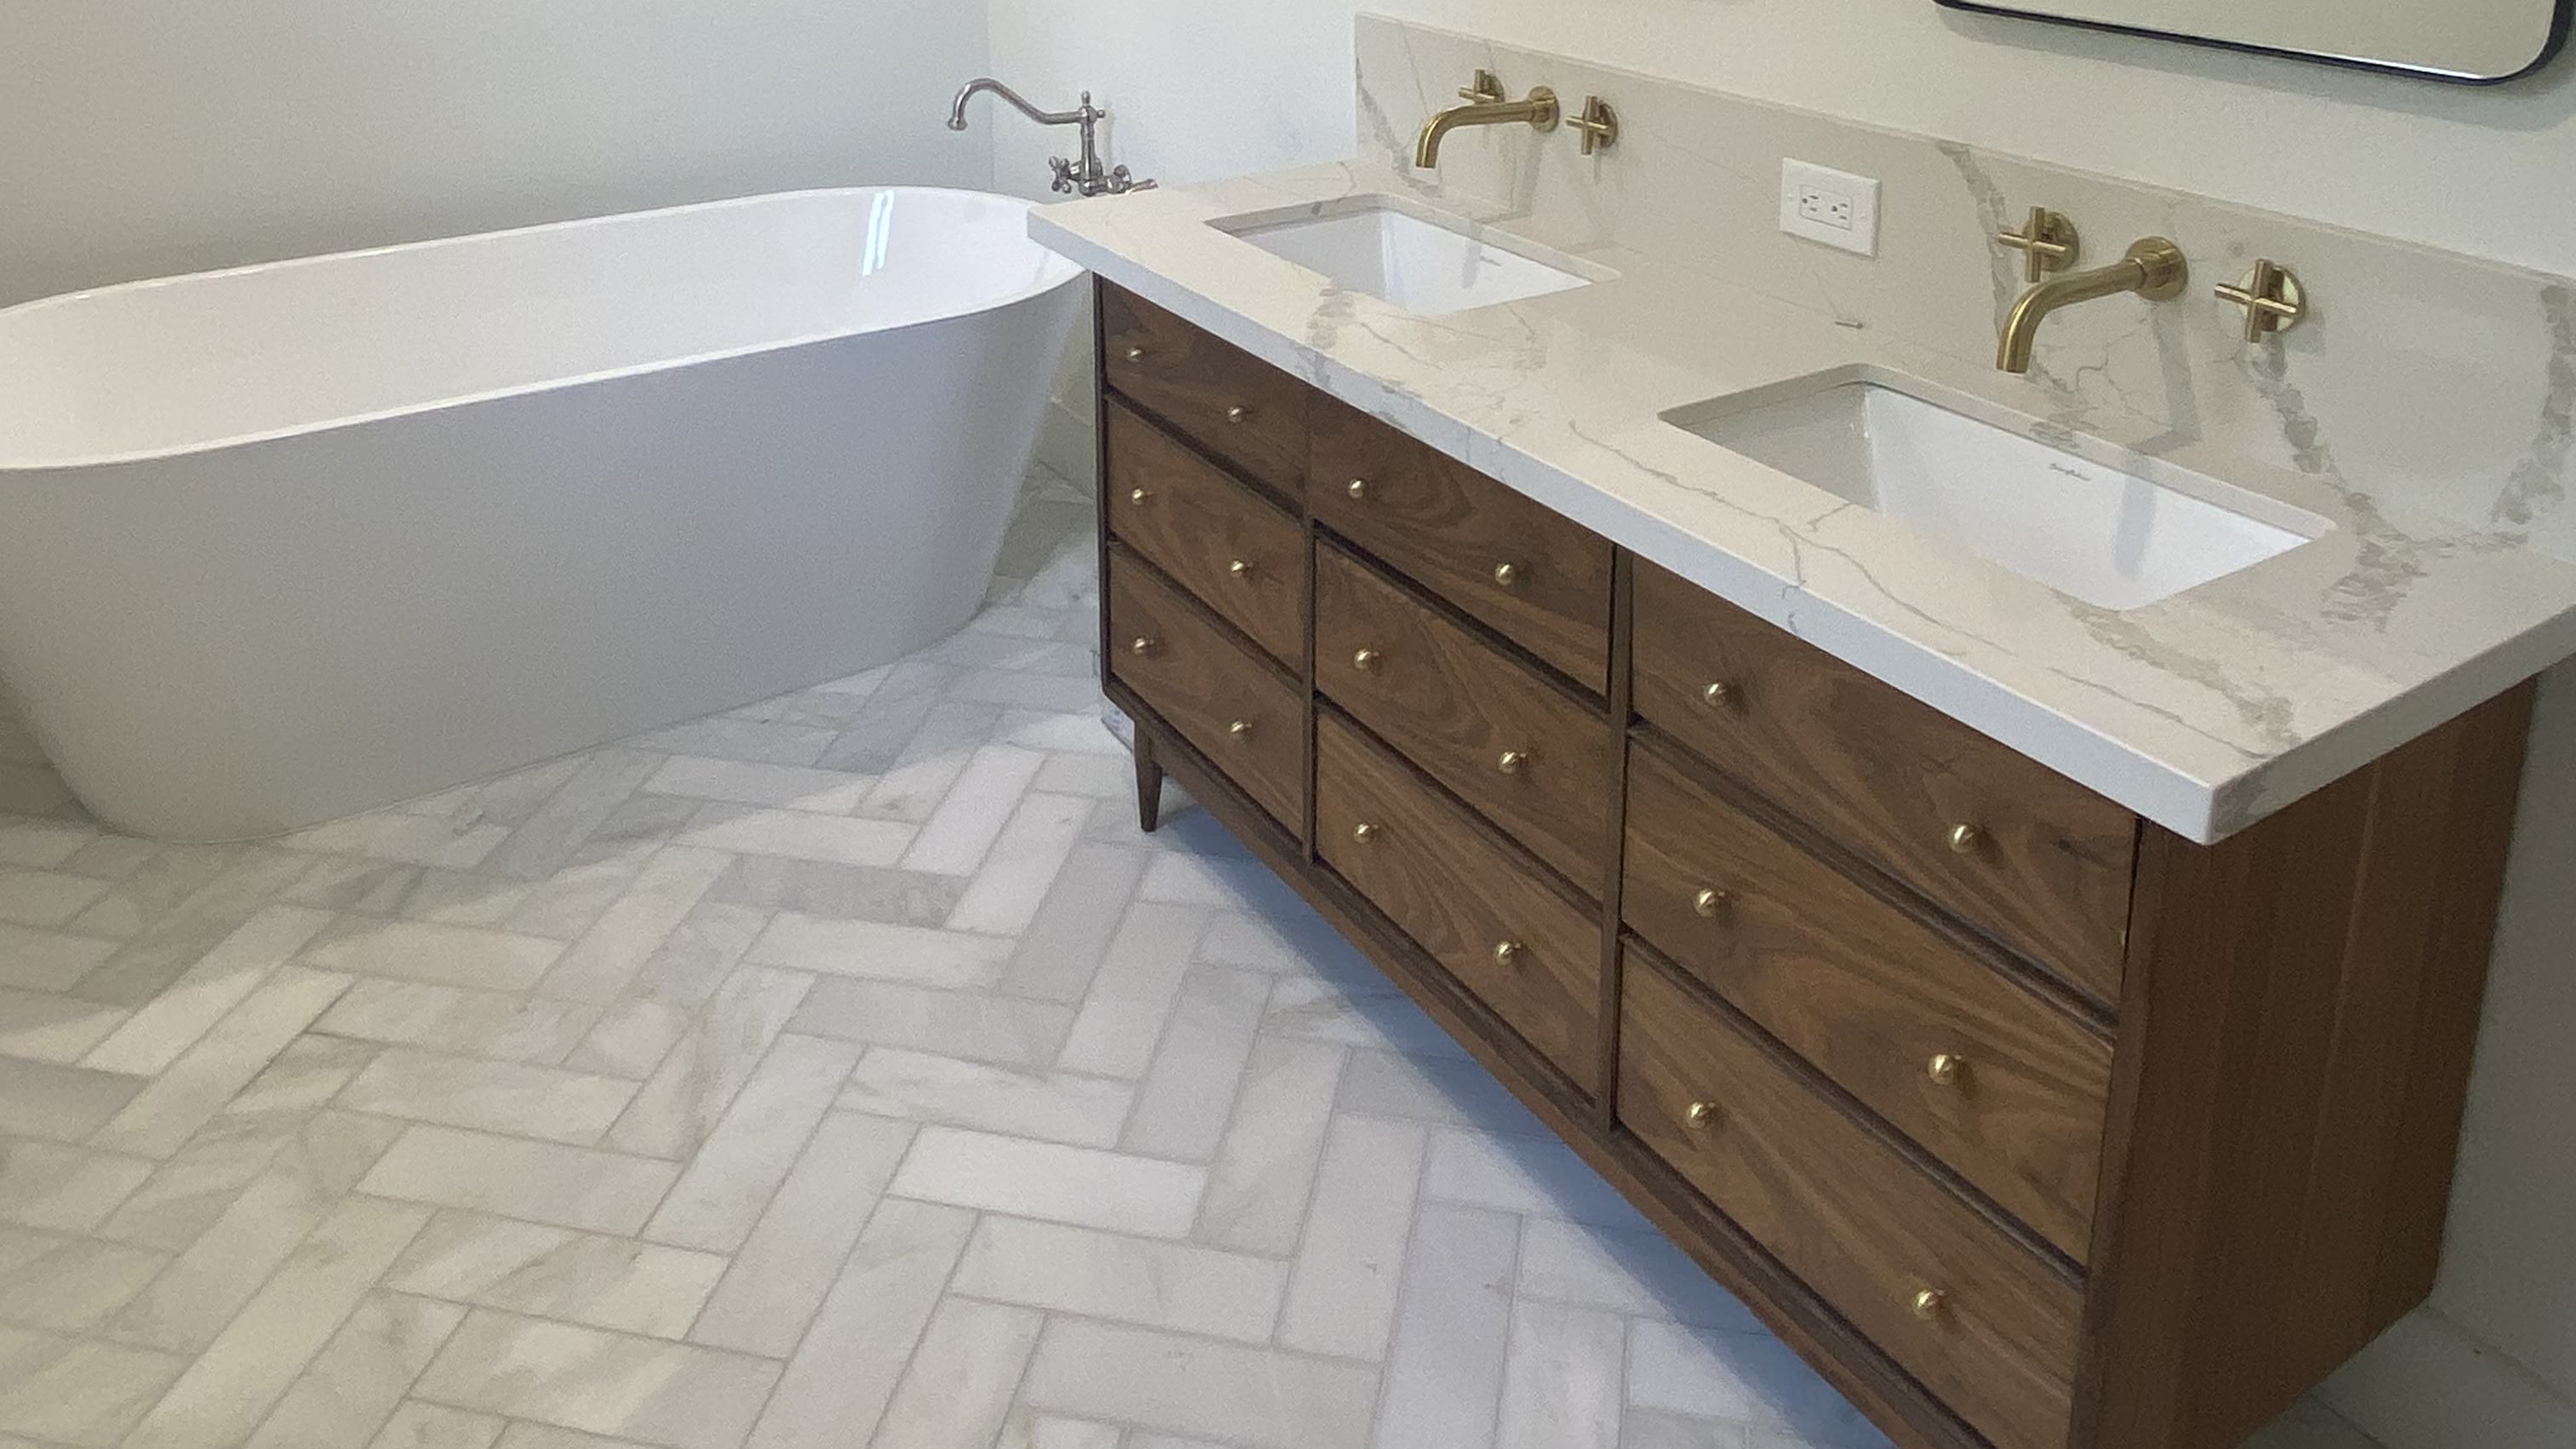 How to turn a vintage dresser into a bathroom vanity
DIY-er found a vintage piece on Facebook Marketplace to turn a dresser into a bathroom vanity and save thousands of dollars in the process
By Brooke Waite Published
-
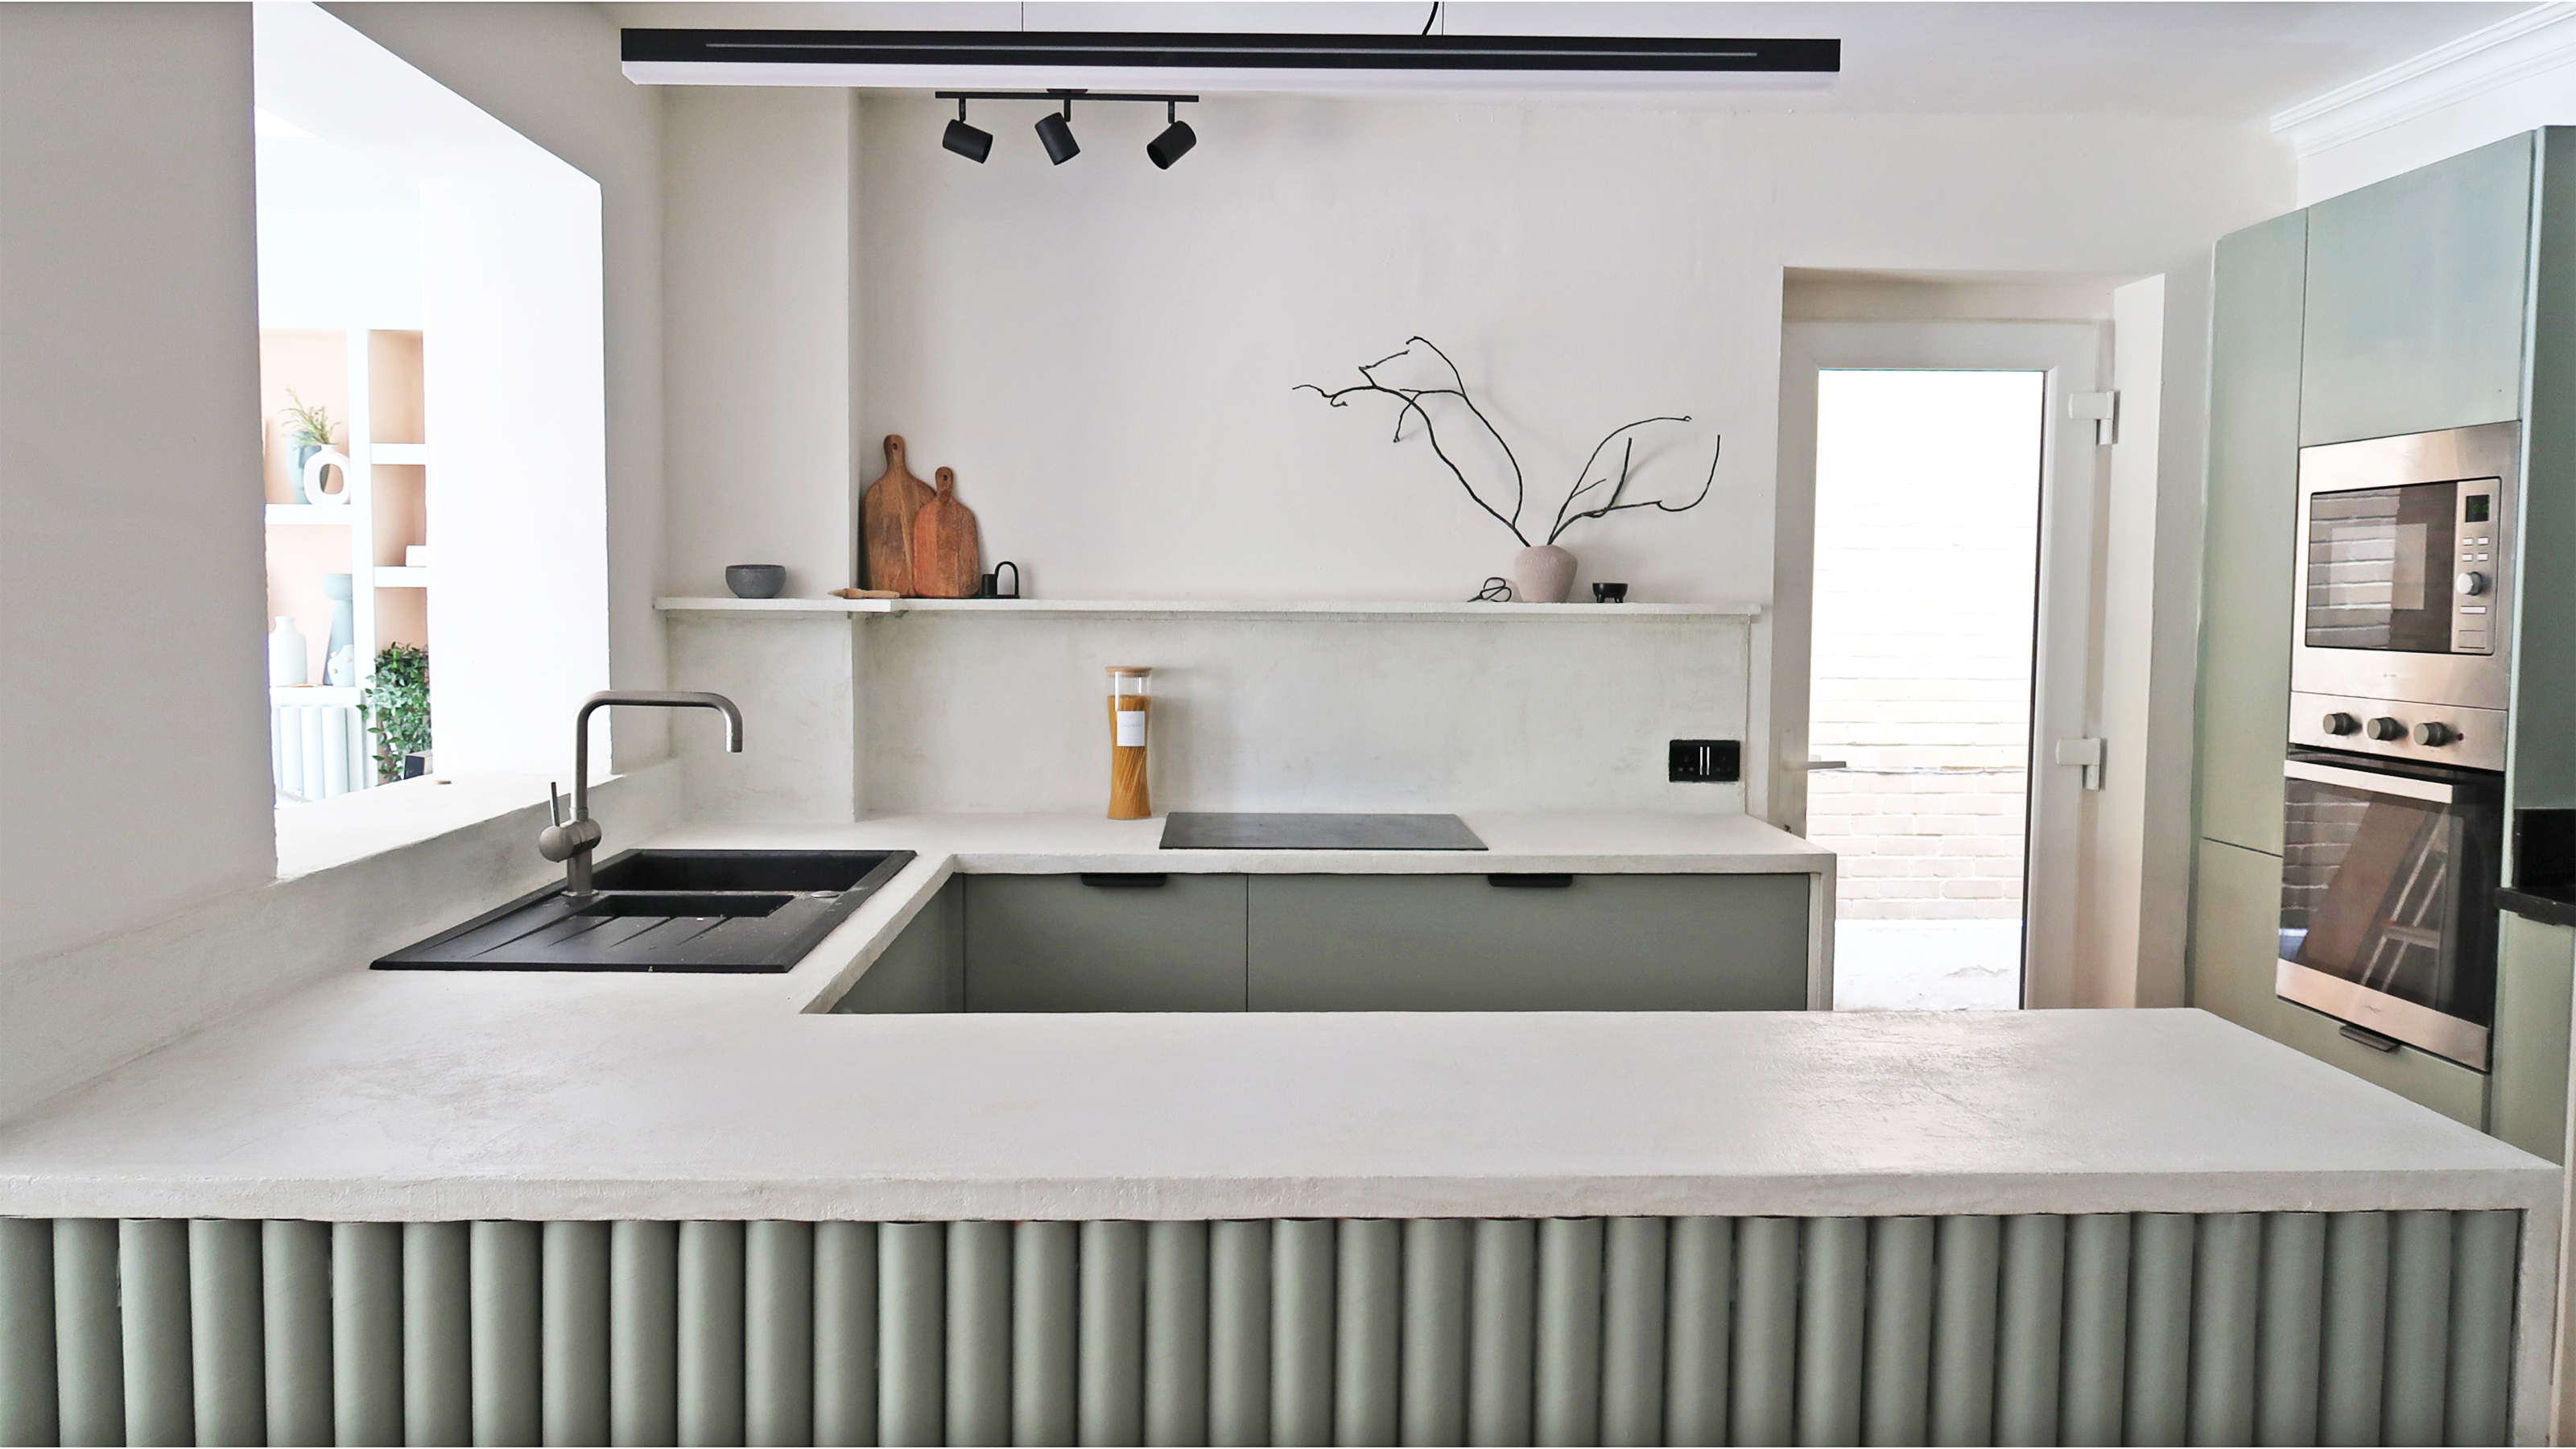 How to use microcement on kitchen countertops for a seriously cool upgrade
Learn how to create budget-friendly, luxury-look countertops with this step-by-step guide on how to microcement kitchen worktops
By Claire Douglas Published
-
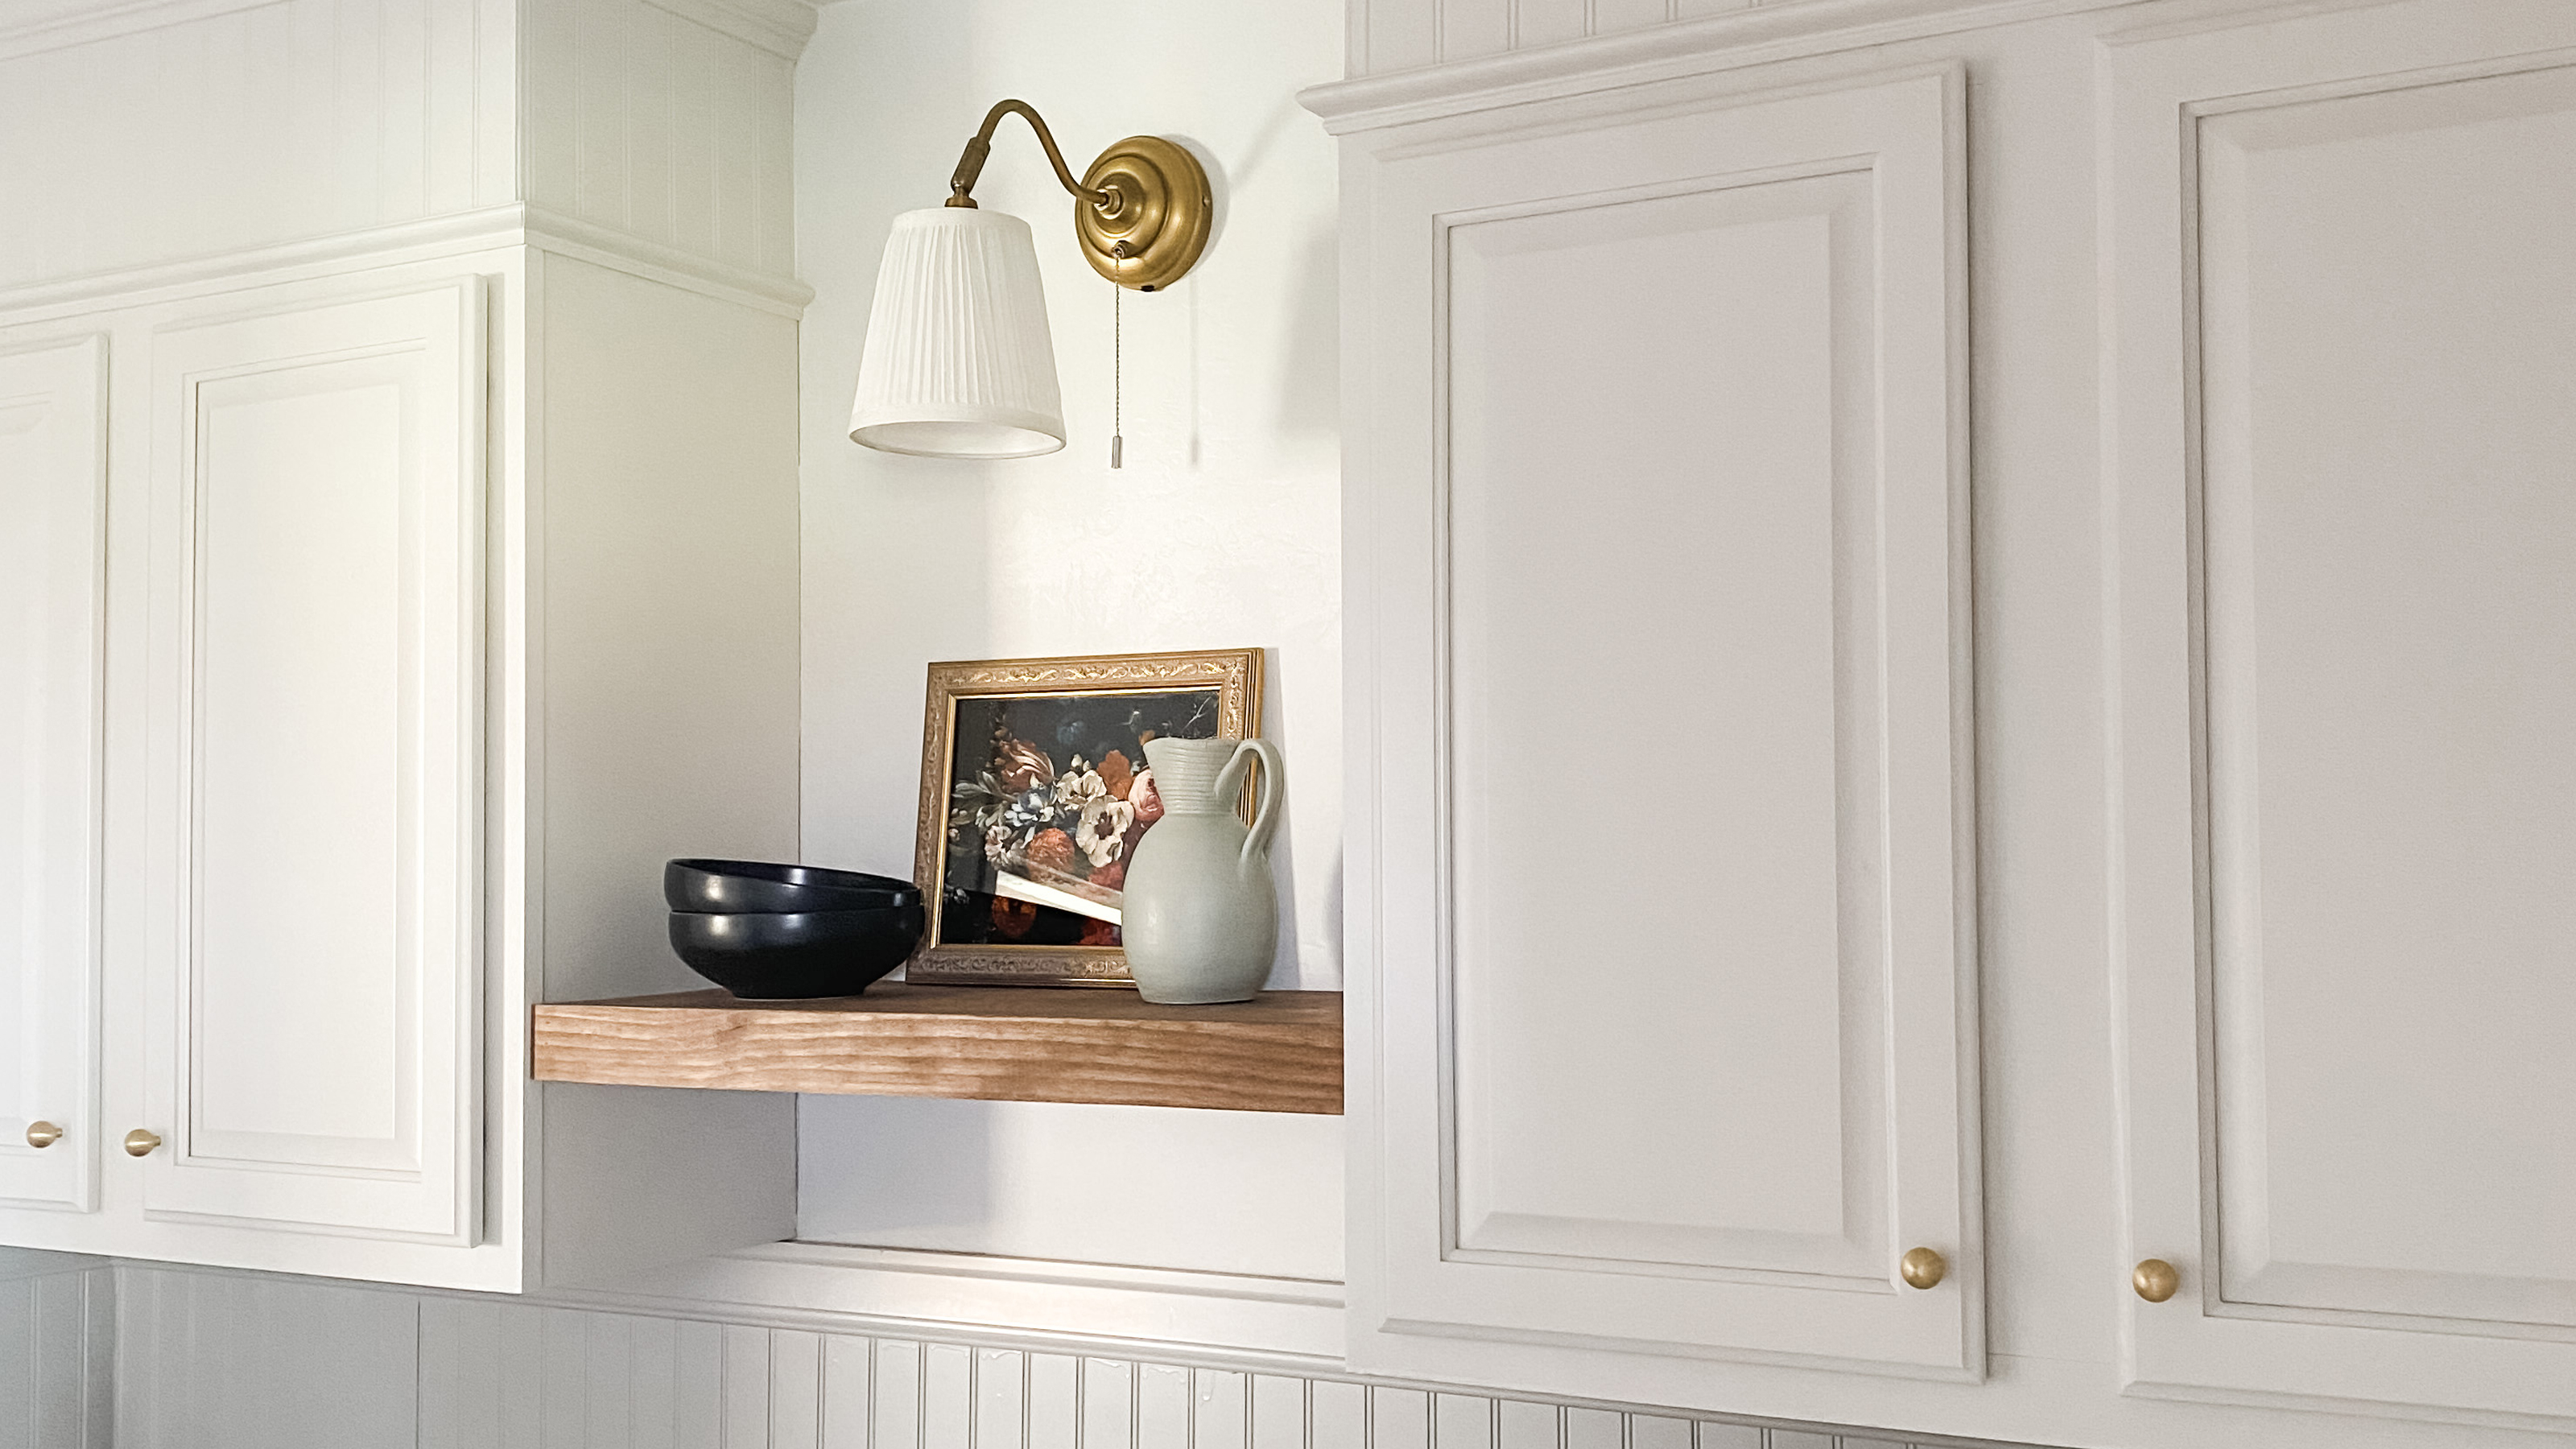 Before and after: installing 'faux' upper cabinets created a lofty laundry room
DIYer Brooke Waite bridged the gap under her laundry room ceiling with a 'faux' cabinet install and crown molding. The result is a loftier laundry room space, all for about $100...
By Brooke Waite Published
-
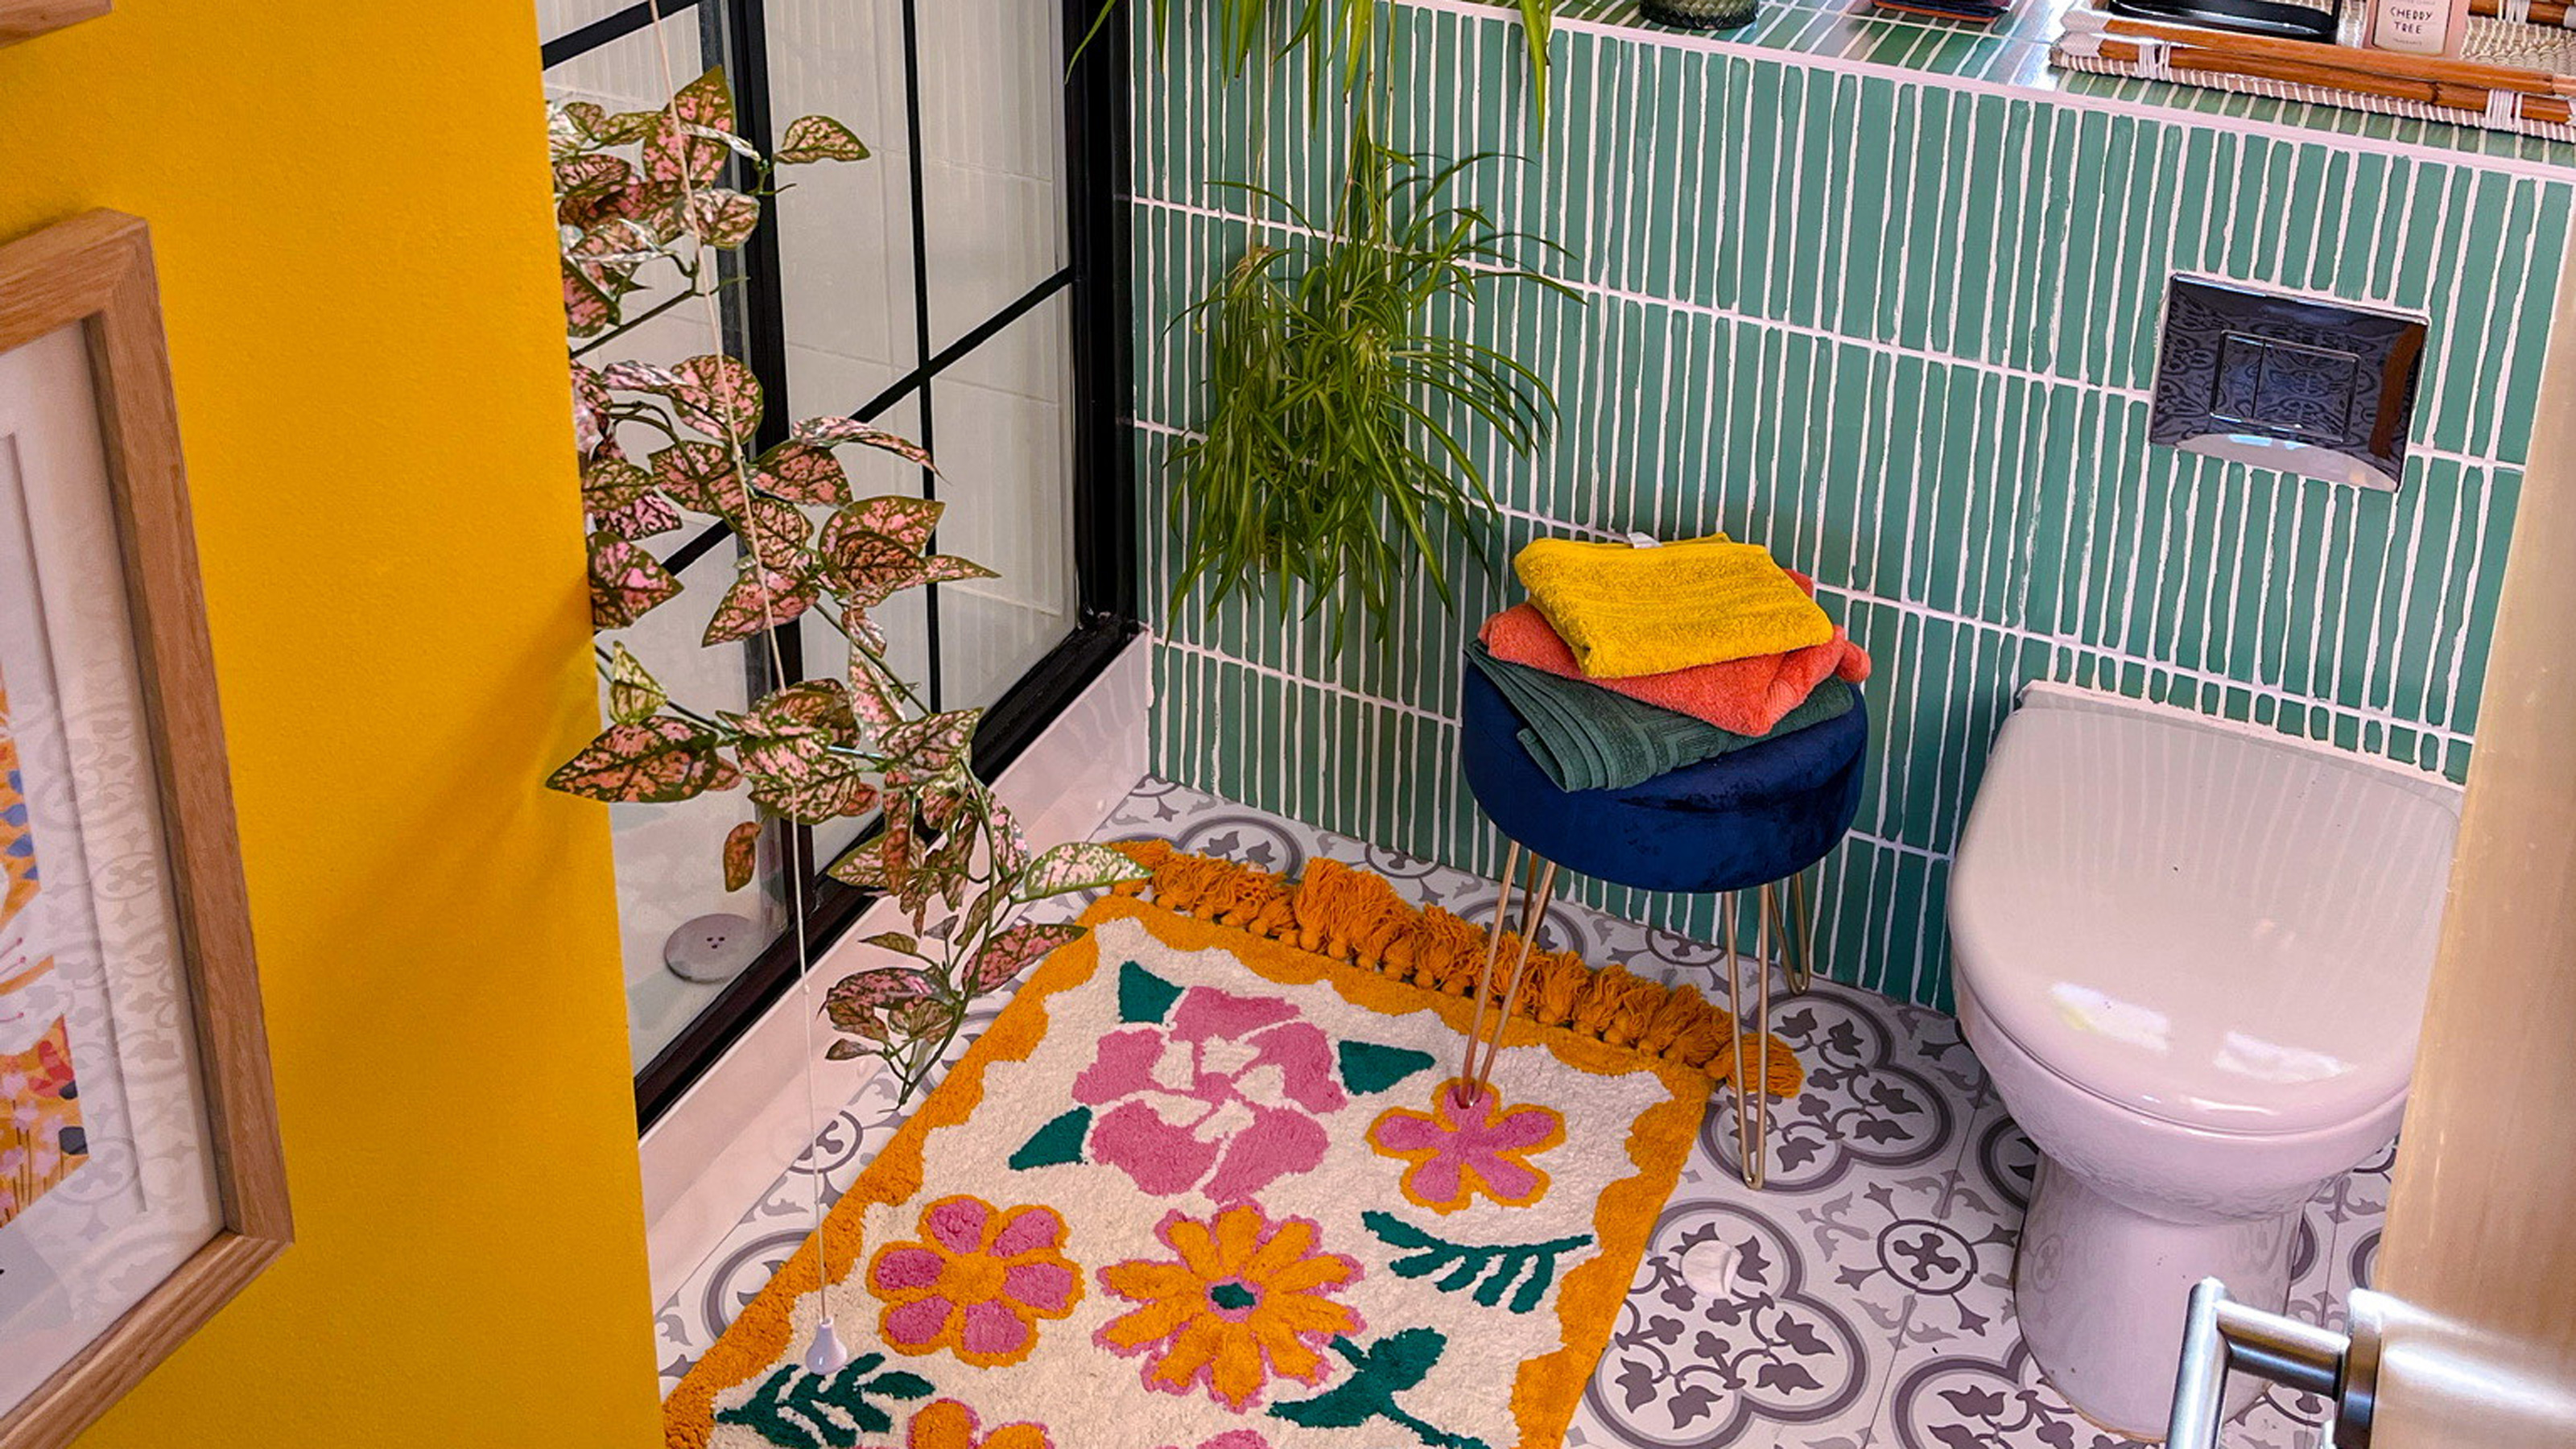 Before and after: Green painted tiles transform this tiny en suite on a budget
DIYer Geri transformed her tiny en suite bathroom on a budget by painting the wall tiles a stunning shade of green
By Emily Smith Last updated
-
 Color crazy DIY-er shares a renter-friendly hack that transformed her downstairs bathroom
An unusual toilet roll holder and a clever DIY tool took this bathroom from dull to totally unique
By Rachel Homer Last updated

