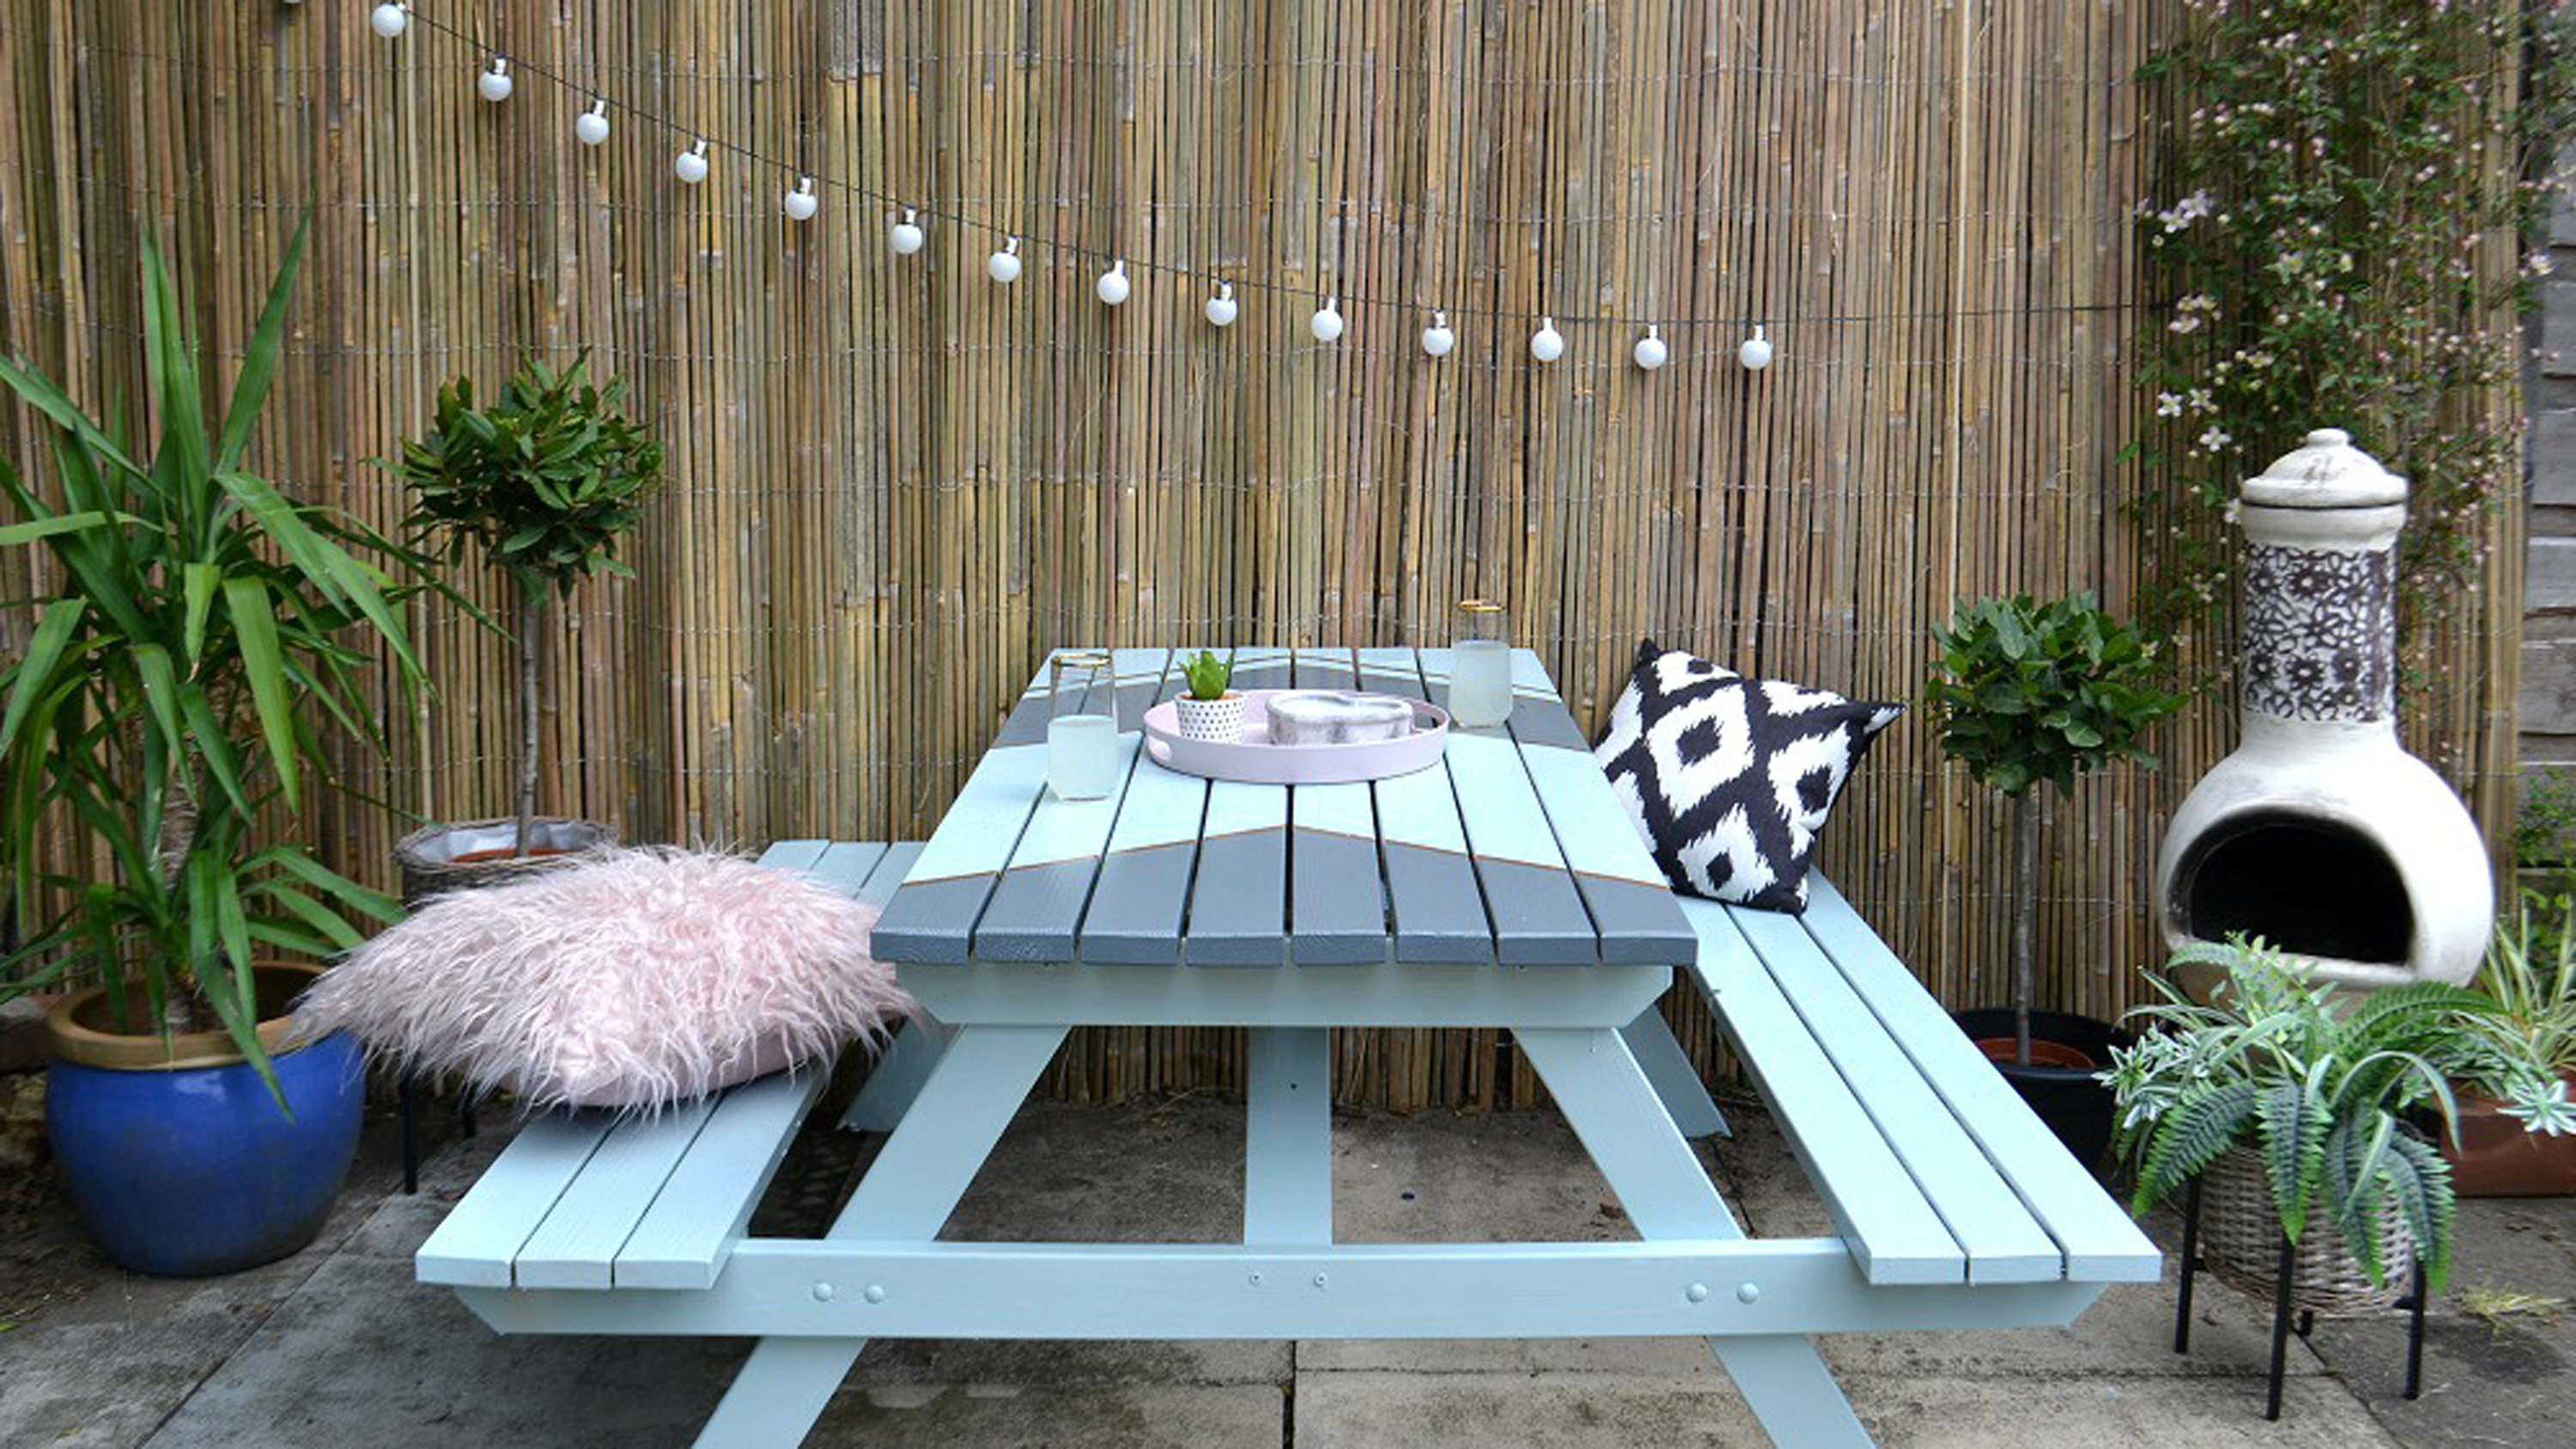
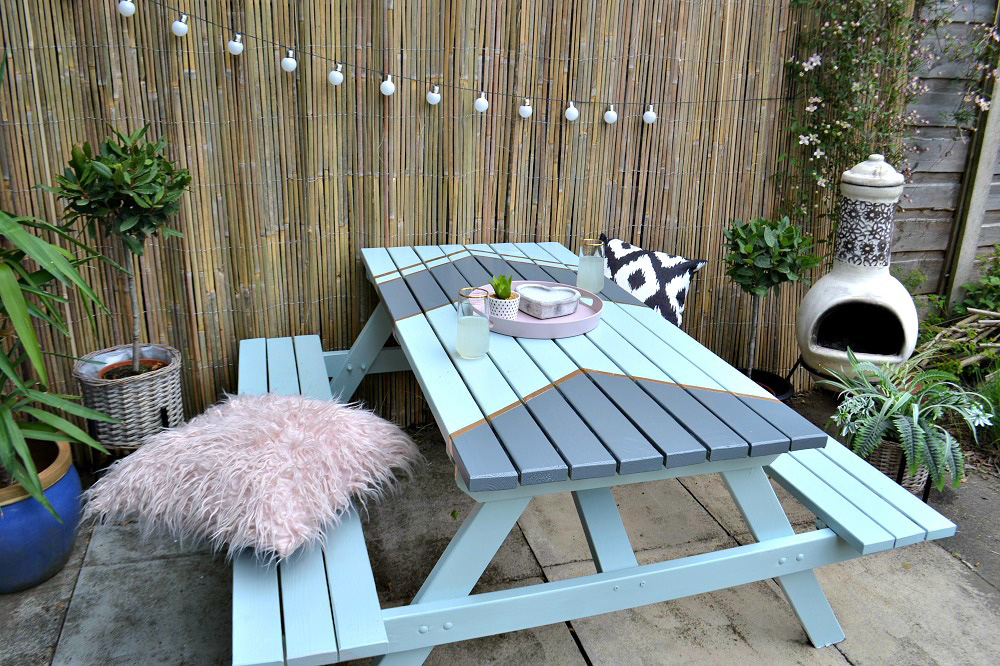
In need of a quick garden upcycle idea to transform your patio this weekend? If you've got an old wooden table that's seen better days, there's no need to get rid of it. With just a few hours work, some elbow grease and a bit of creativity, you can give it a complete facelift in five easy steps thanks to this stylish paint makeover.
Want to give it a go and update your table with a unique look? Read on for step-by-step instructions on how to achieve it, then take a look at other craft ideas on our dedicated page. More garden ideas on our hub page, too.
Thanks to blogger Antonia Ludden from #tidylife for this brilliant upcycle idea.
- If you want to try your hand at more DIY ideas, check out our other weekend projects
You will need
- Wooden outdoor table
- Quick drying primer and undercoat
- Outdoor paint in two different colours
- Masking tape
- Metallic spray paint
- Sander or sandpaper
- Newspaper
- Paintbrush
Step one: clean and sand your furniture
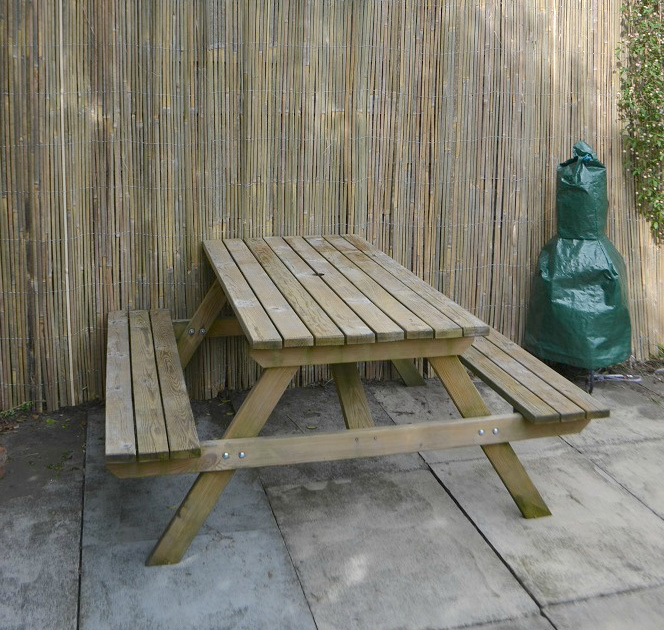
Wash down the wooden table or picnic table set to remove any dirt and algae (a jet wash is the quickest way to do this), then lightly sand the wood to create a smooth surface for painting. Make sure you sand in the direction of the grain of the wood.
Wipe down the furniture with a sponge to remove the excess dust. Allow to dry completely before applying any paint.
Step two: apply the primer
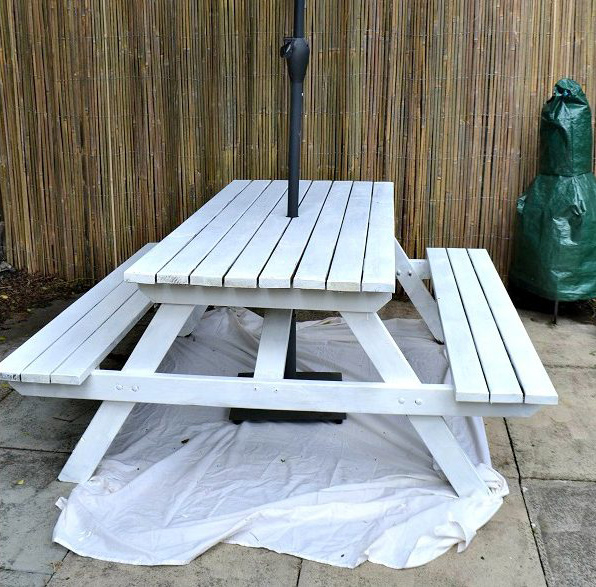
To create as smooth a finish as possible, it's best to first apply a primer to bare wood. This project uses Wilko's Quick Drying Primer and Undercoat in White. Dry in just two hours, only one coat was needed for this makeover project.
Step three: paint the main colour
Paint the entire table (and benches if you're upcycling a picnic table set) in one colour and allow to dry. The main colour used here is Summer Rain Exterior Paint from Wilko, but you could use any exterior wood paint in a colour of your choice. Repeat with a second coat and allow to dry.
Join our newsletter
Get small space home decor ideas, celeb inspiration, DIY tips and more, straight to your inbox!
Step four: create the chevron design
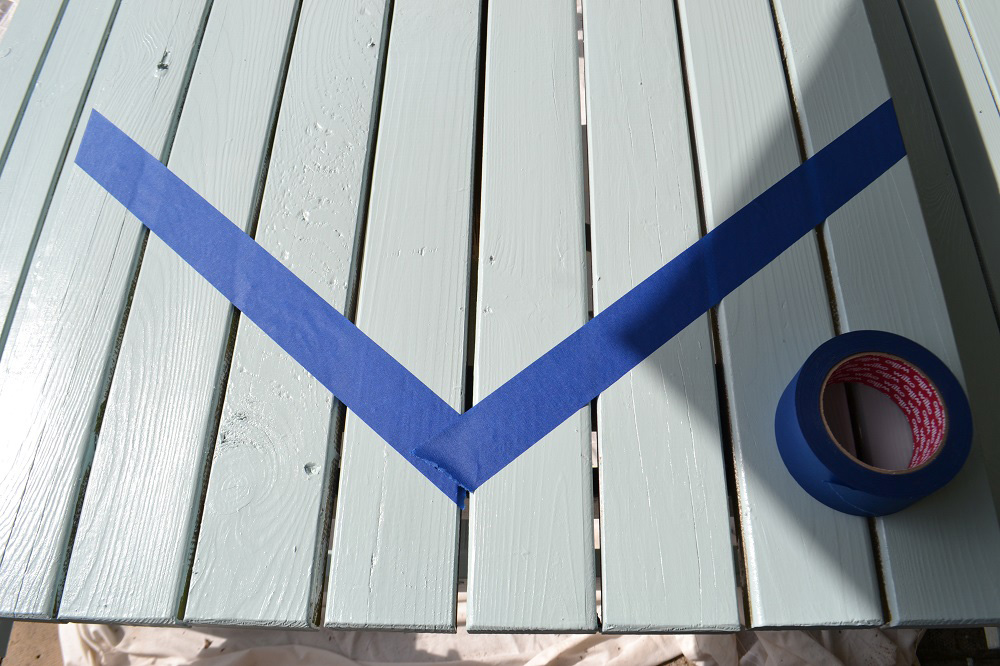
Create a chevron pattern on the top of the table by applying masking tape in a simple V shape. Working down the length of the table, you're aiming to divide the table into four clear sections. The sections don't need to be a uniform size as you may prefer some to be wider than others, as shown in this project.
Once the masking tape is in place, paint two of the chevron sections in a contrasting colour to the main colour used on the table. The idea is to have alternating coloured sections down the length of the table. This project uses Cornish Slate Exterior Paint from Wilko as the accent colour. Apply two coats, allow to dry and carefully remove the masking tape.
Step five: add the metallic detailing
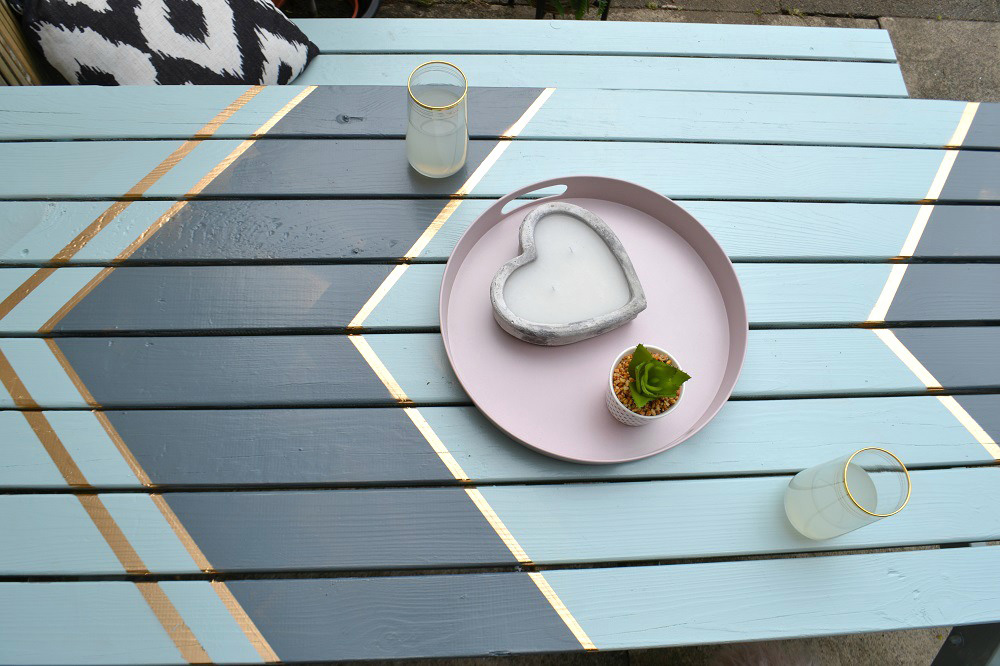
If you want to add a little more pizzazz to your painted table, why not give it some metallic finishing touches, too? Using masking tape, create a series of thin sections bordering each chevron, then cover up existing paintwork with newspaper to protect it.
Once you've marked out each section adjacent to the chevrons, simply spray them with one or two coats of metallic paint. Allow to dry thoroughly before removing the masking tape.
And that's it! One old and unloved garden table transformed into a fun and colourful space for alfresco dining.
Get Real Homes magazine delivered direct to your door and your device
Can't get to the shops but don't want to miss out on the latest issue of your favourite homes magazine? Don't worry as when you subscribe today you'll get every issue of Real Homes magazine delivered direct to your door and your device.
From stunning completed projects to the latest decorating ideas you can try in your own space, you'll find plenty to keep you entertained and inspired inside each issue. Don't miss our special deal – subscribe to our annual print and digital bundle offer today for just £39.99 – a massive saving of 52%.
More garden projects to try
-
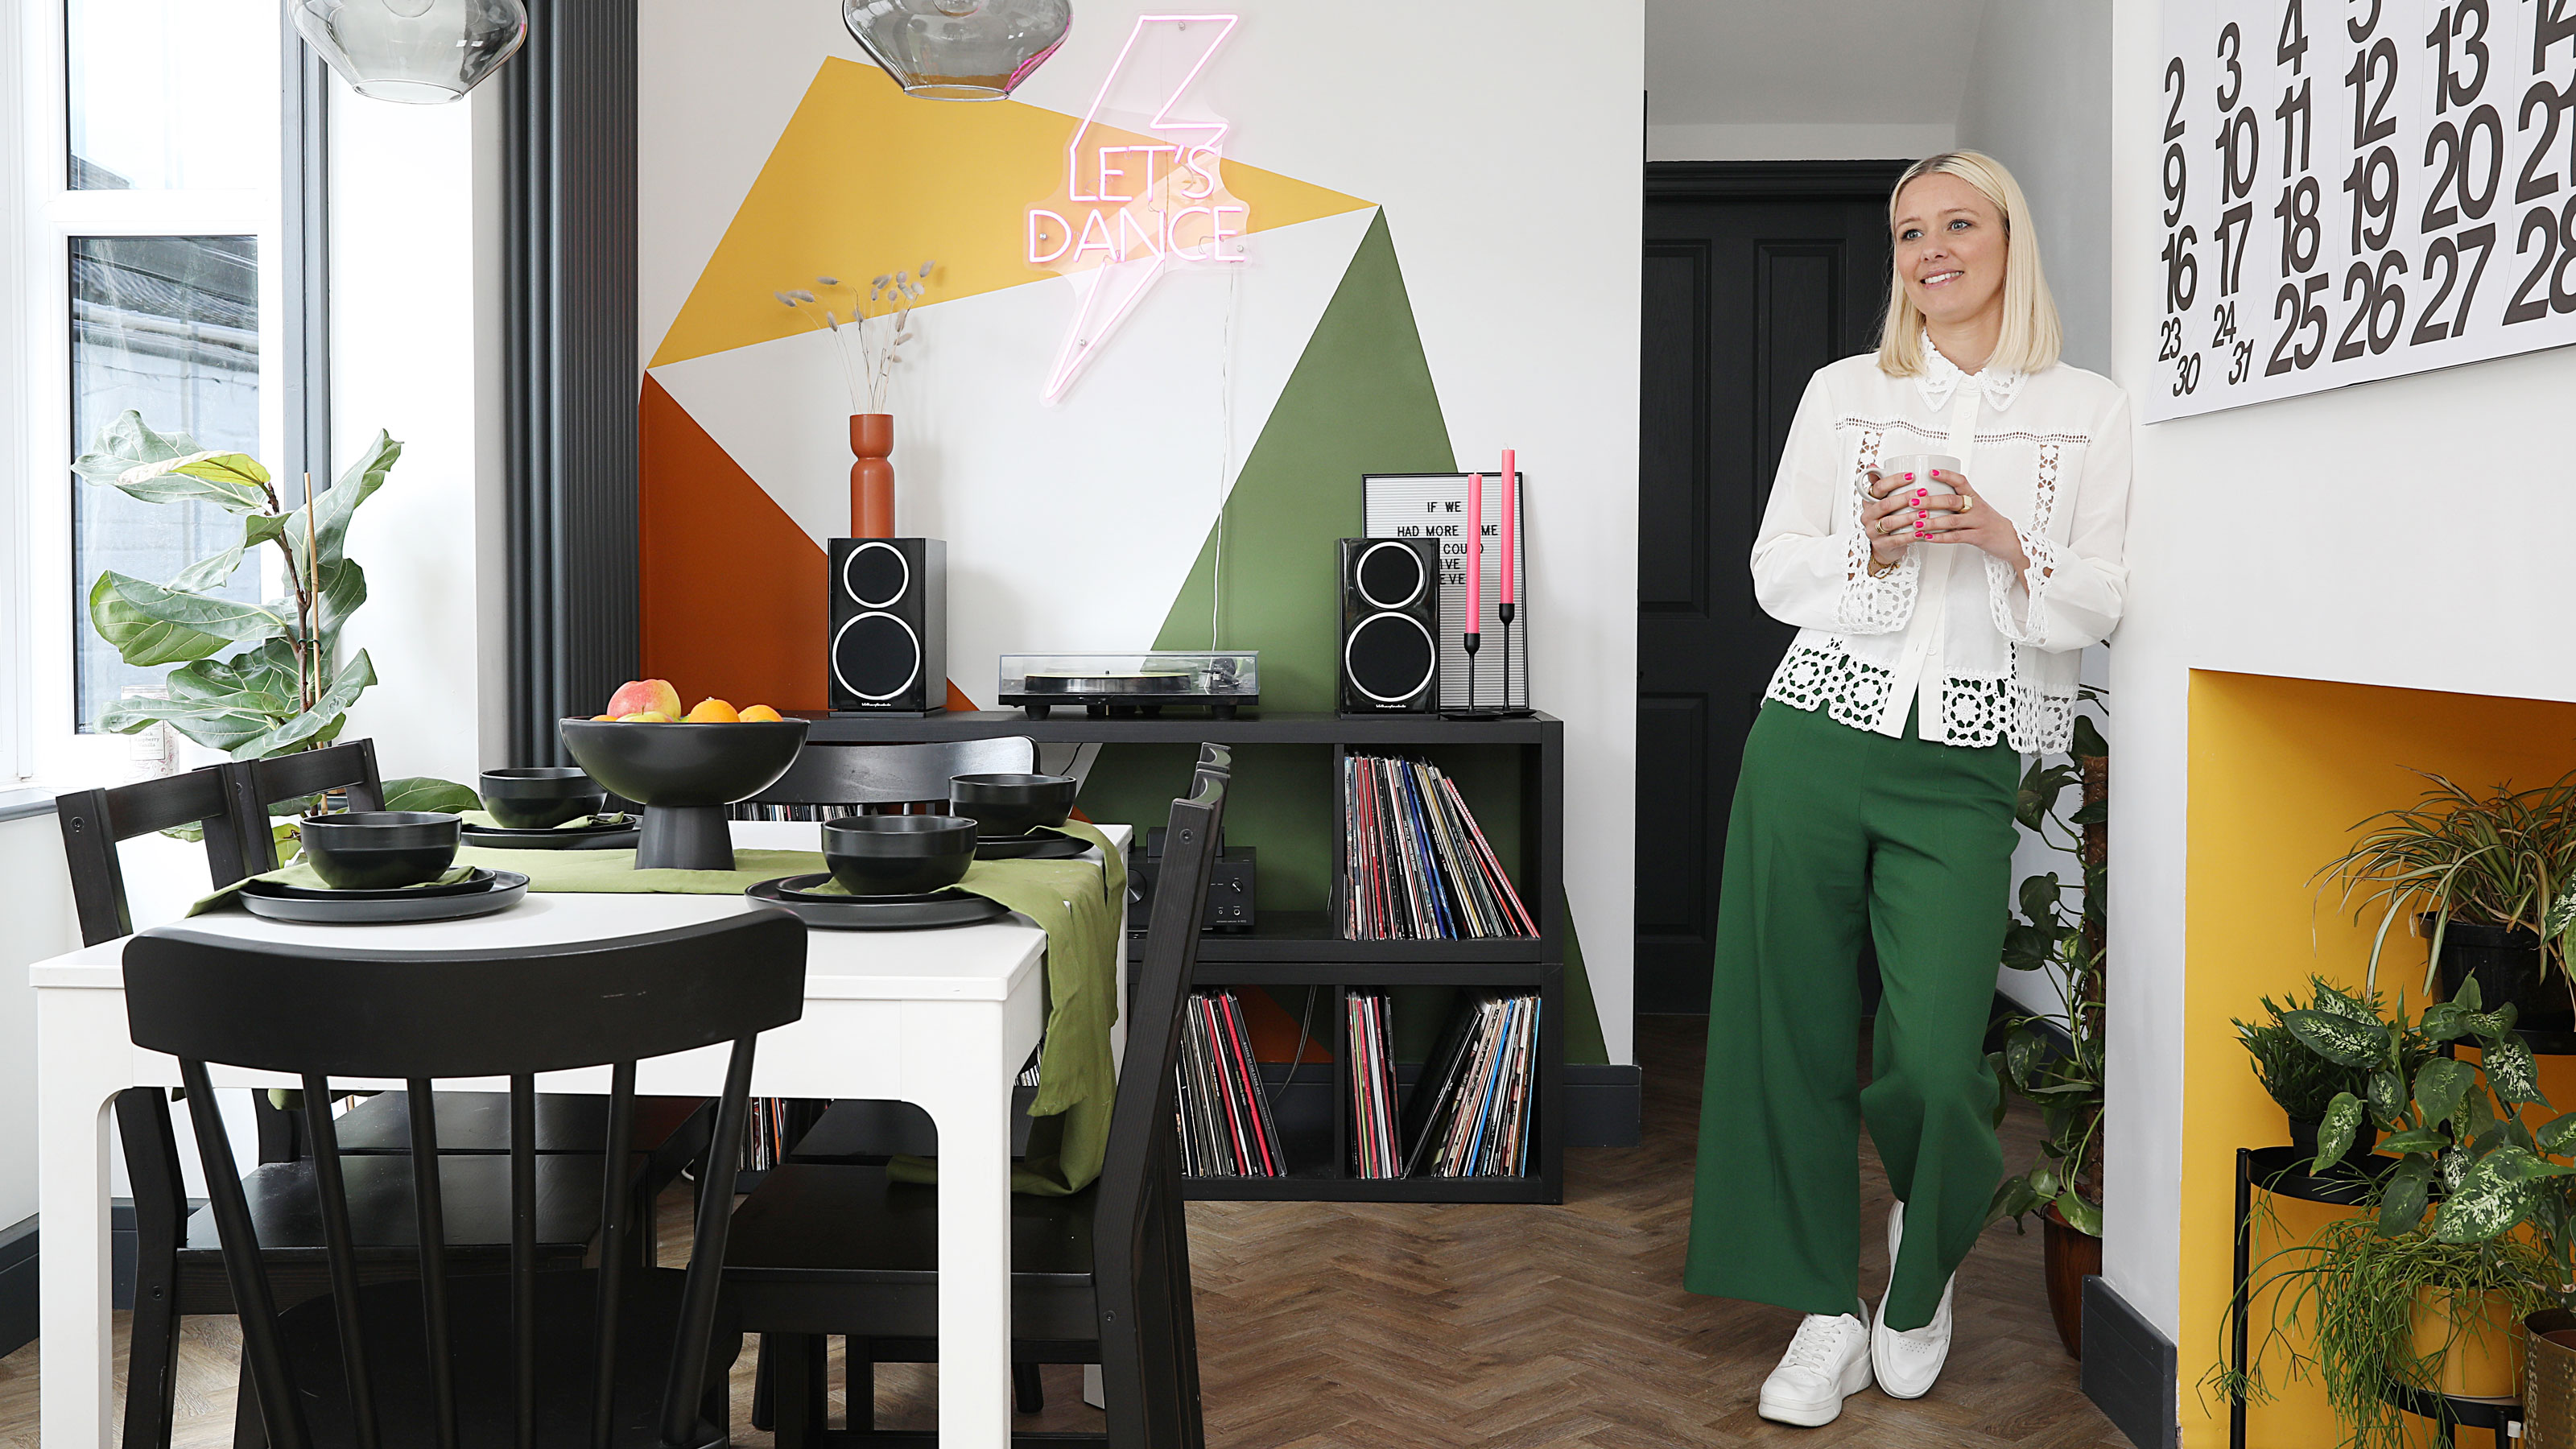 This colourful home makeover has space for kitchen discos
While the front of Leila and Joe's home features dark and moody chill-out spaces, the rest is light and bright and made for socialising
By Karen Wilson Published
-
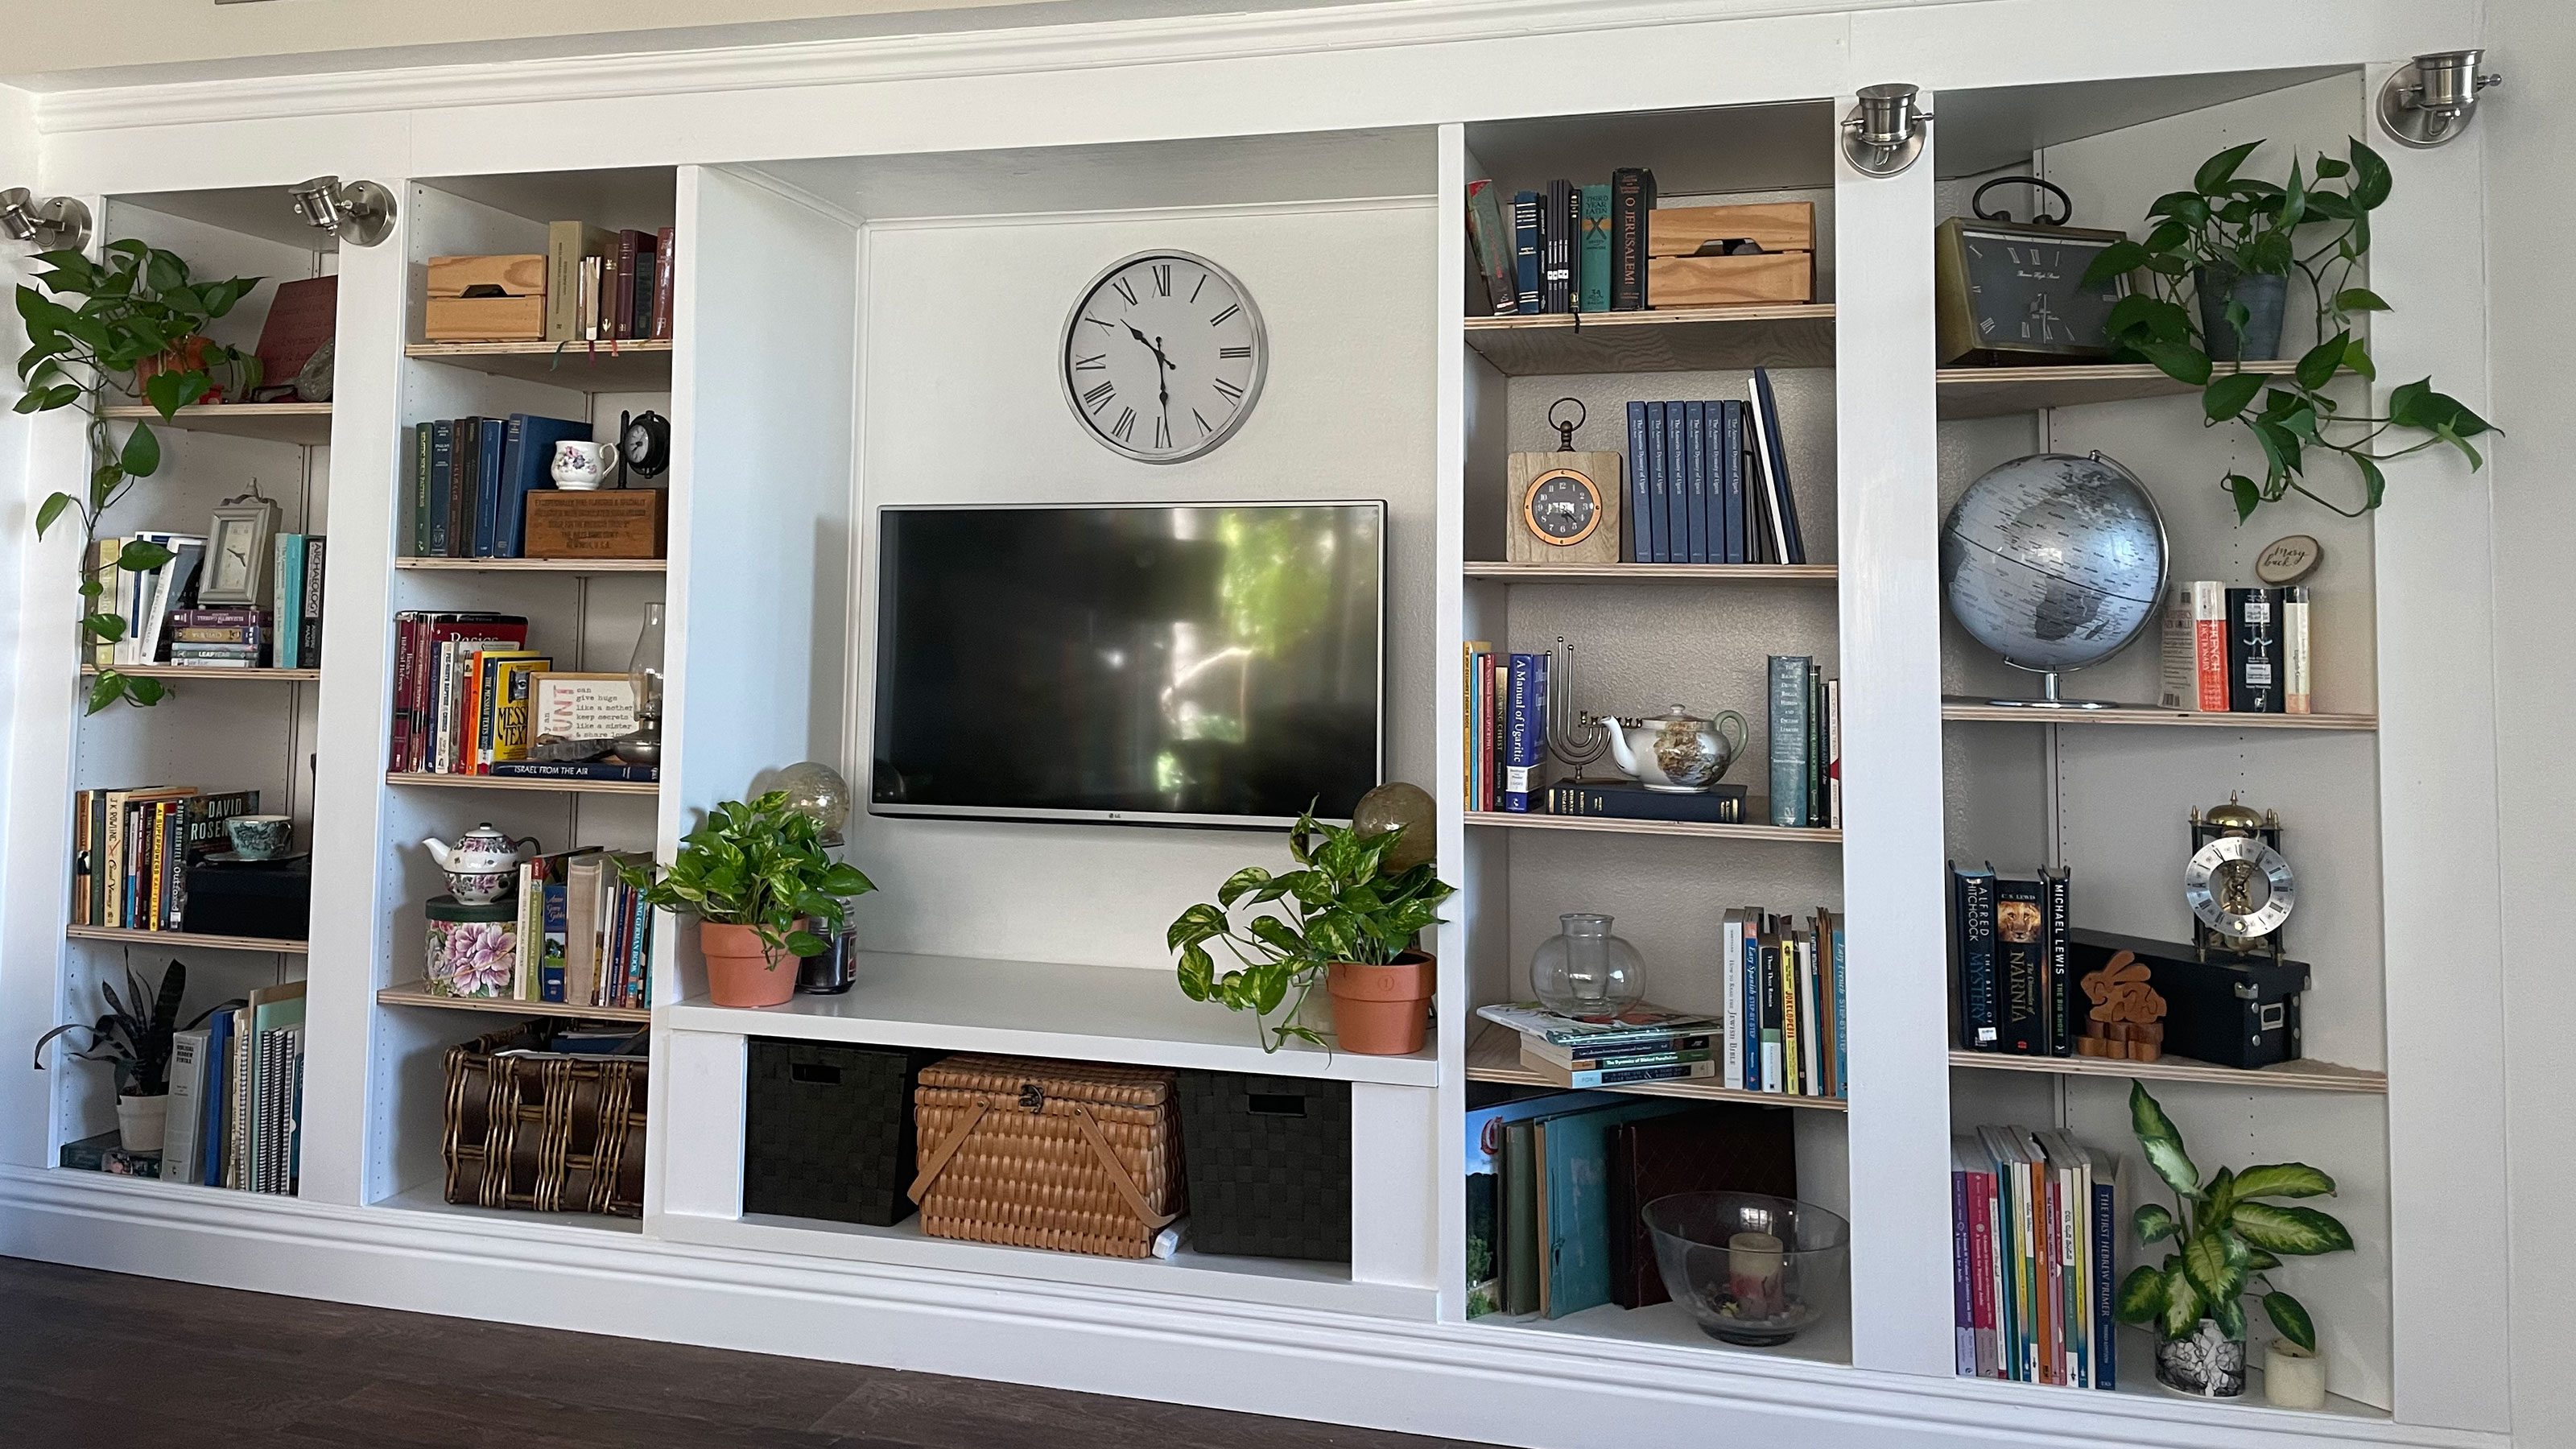 An IKEA Billy bookcase hack inspired this cute media wall DIY
This cute DIY was inspired by an IKEA Billy bookcase hack and brought a ton of symmetry to an otherwise basic media wall space.
By Camille Dubuis-Welch Published
-
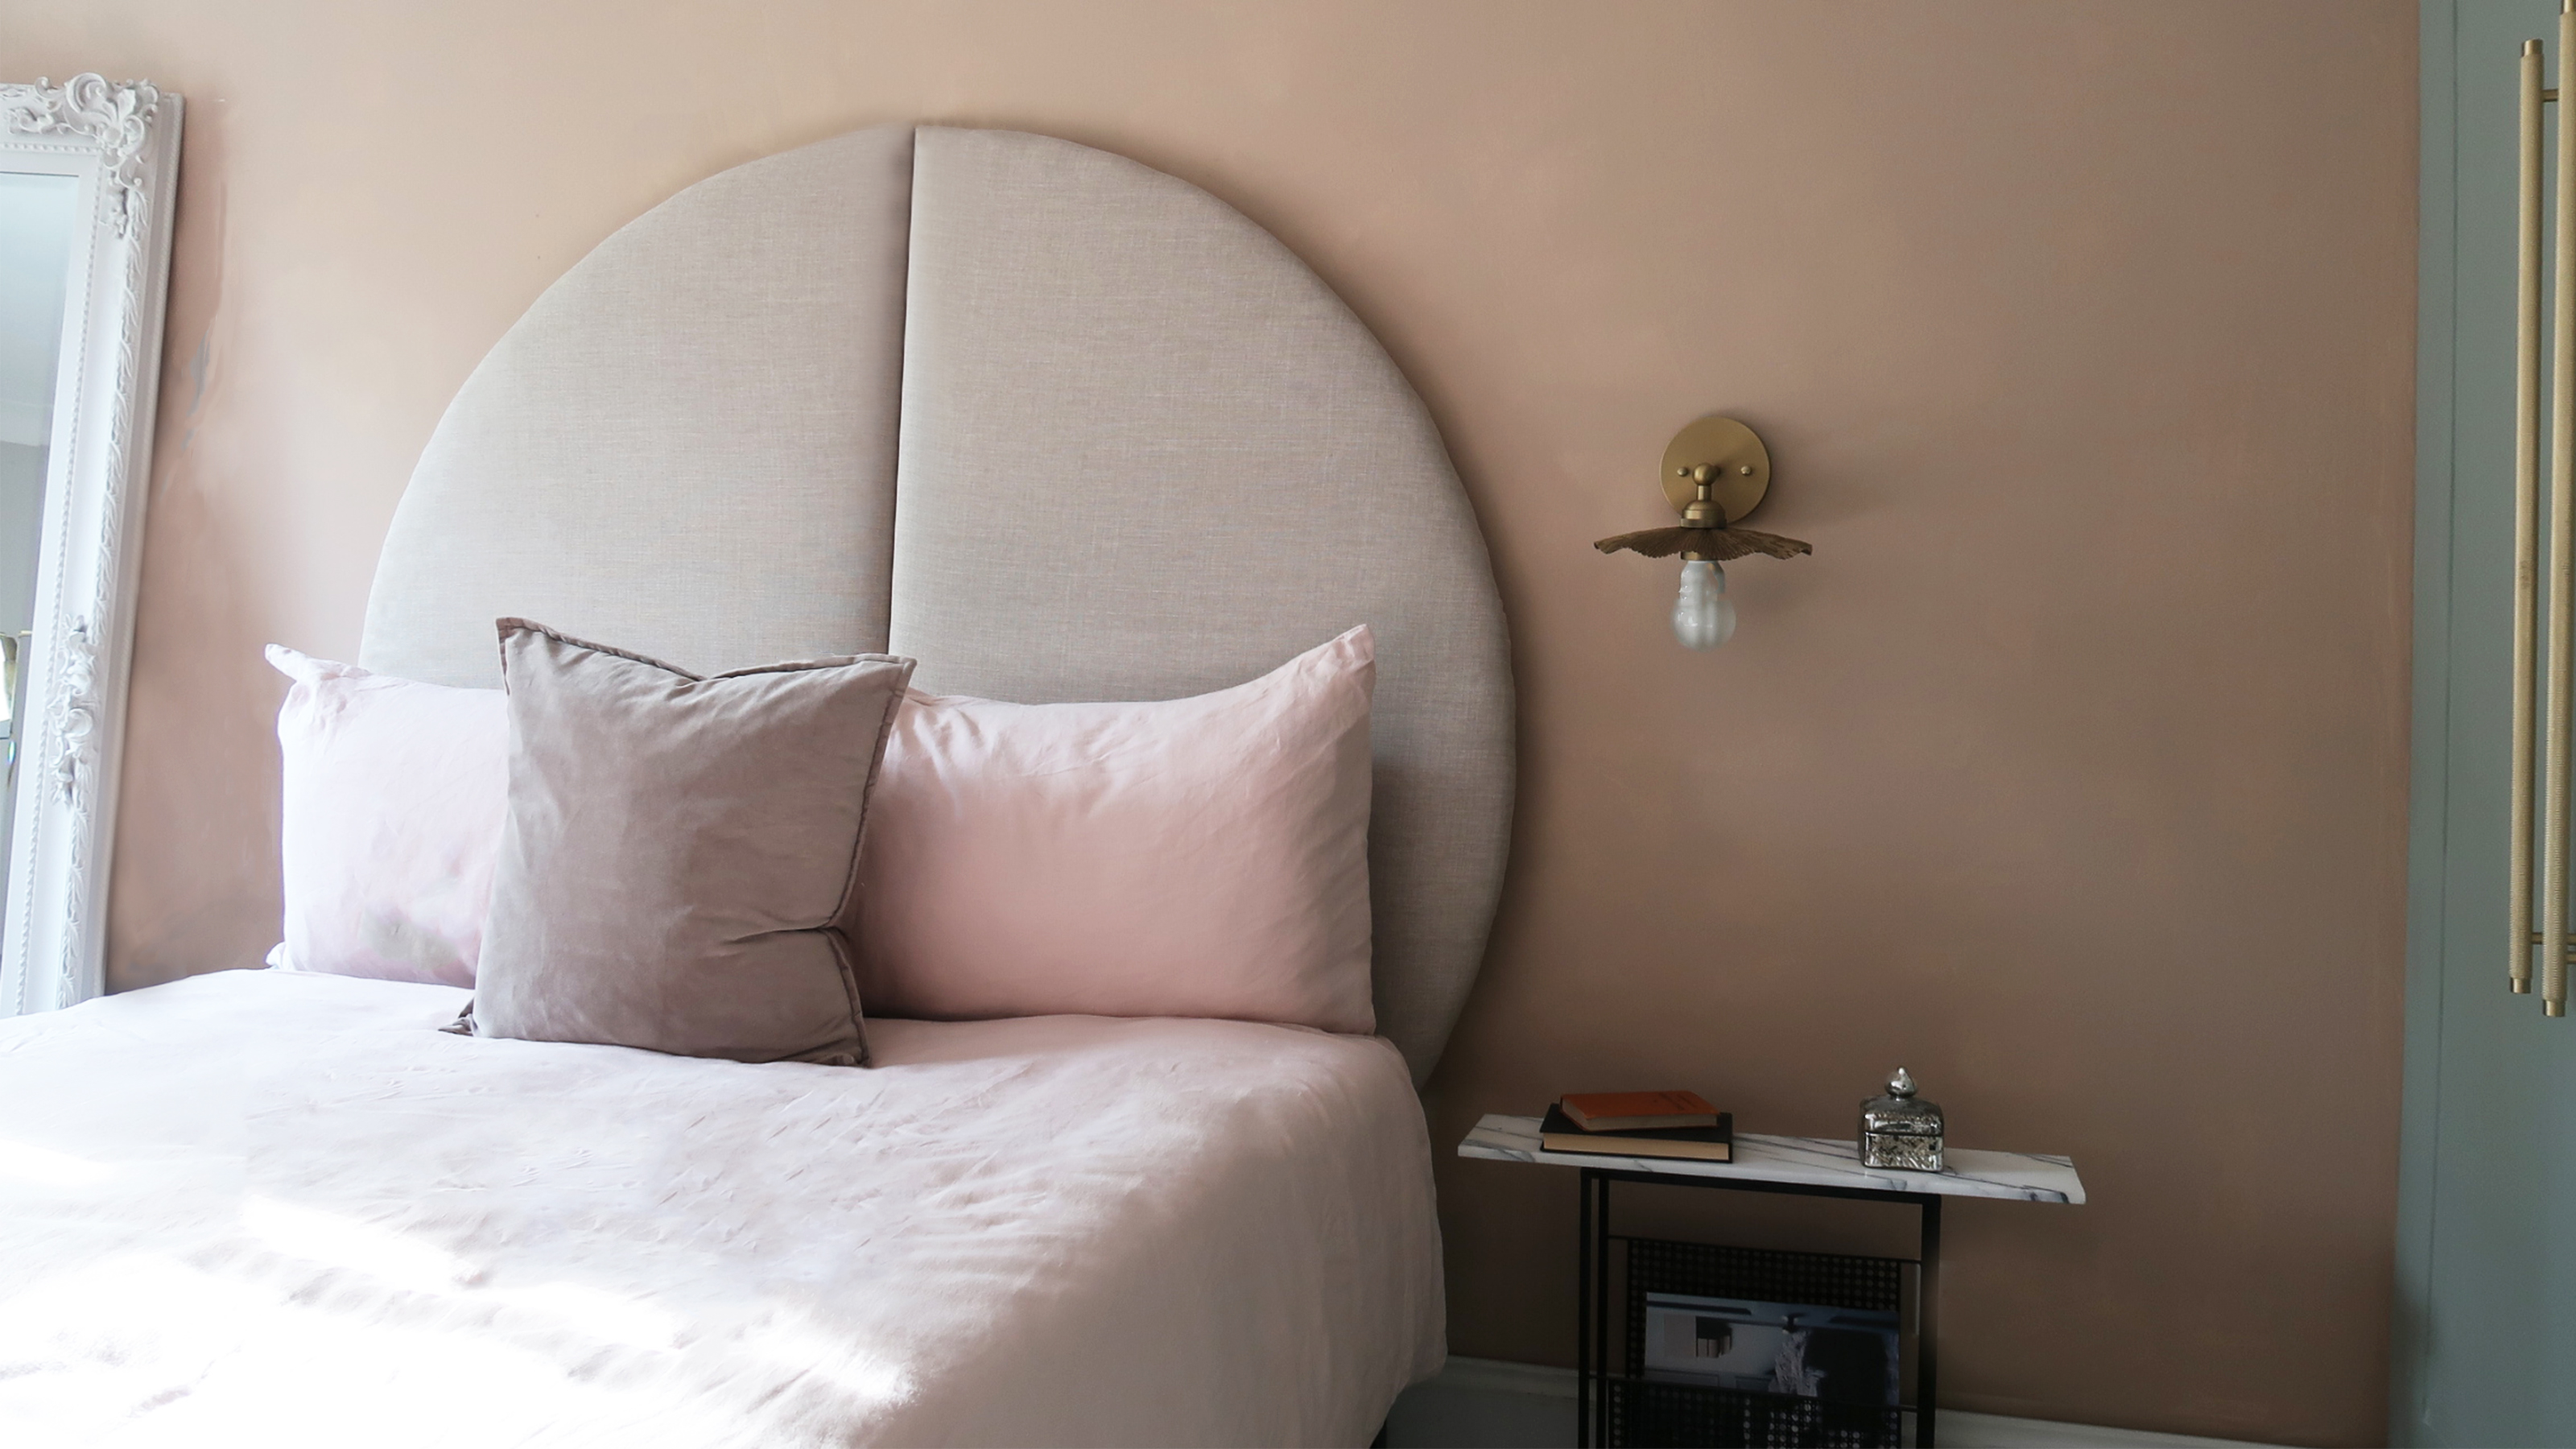 This oversized headboard looks designer, and takes 5 steps to DIY
Super simple to DIY, this oversized headboard will give your bedroom space all the designer vibes you could dream of.
By Claire Douglas Published
-
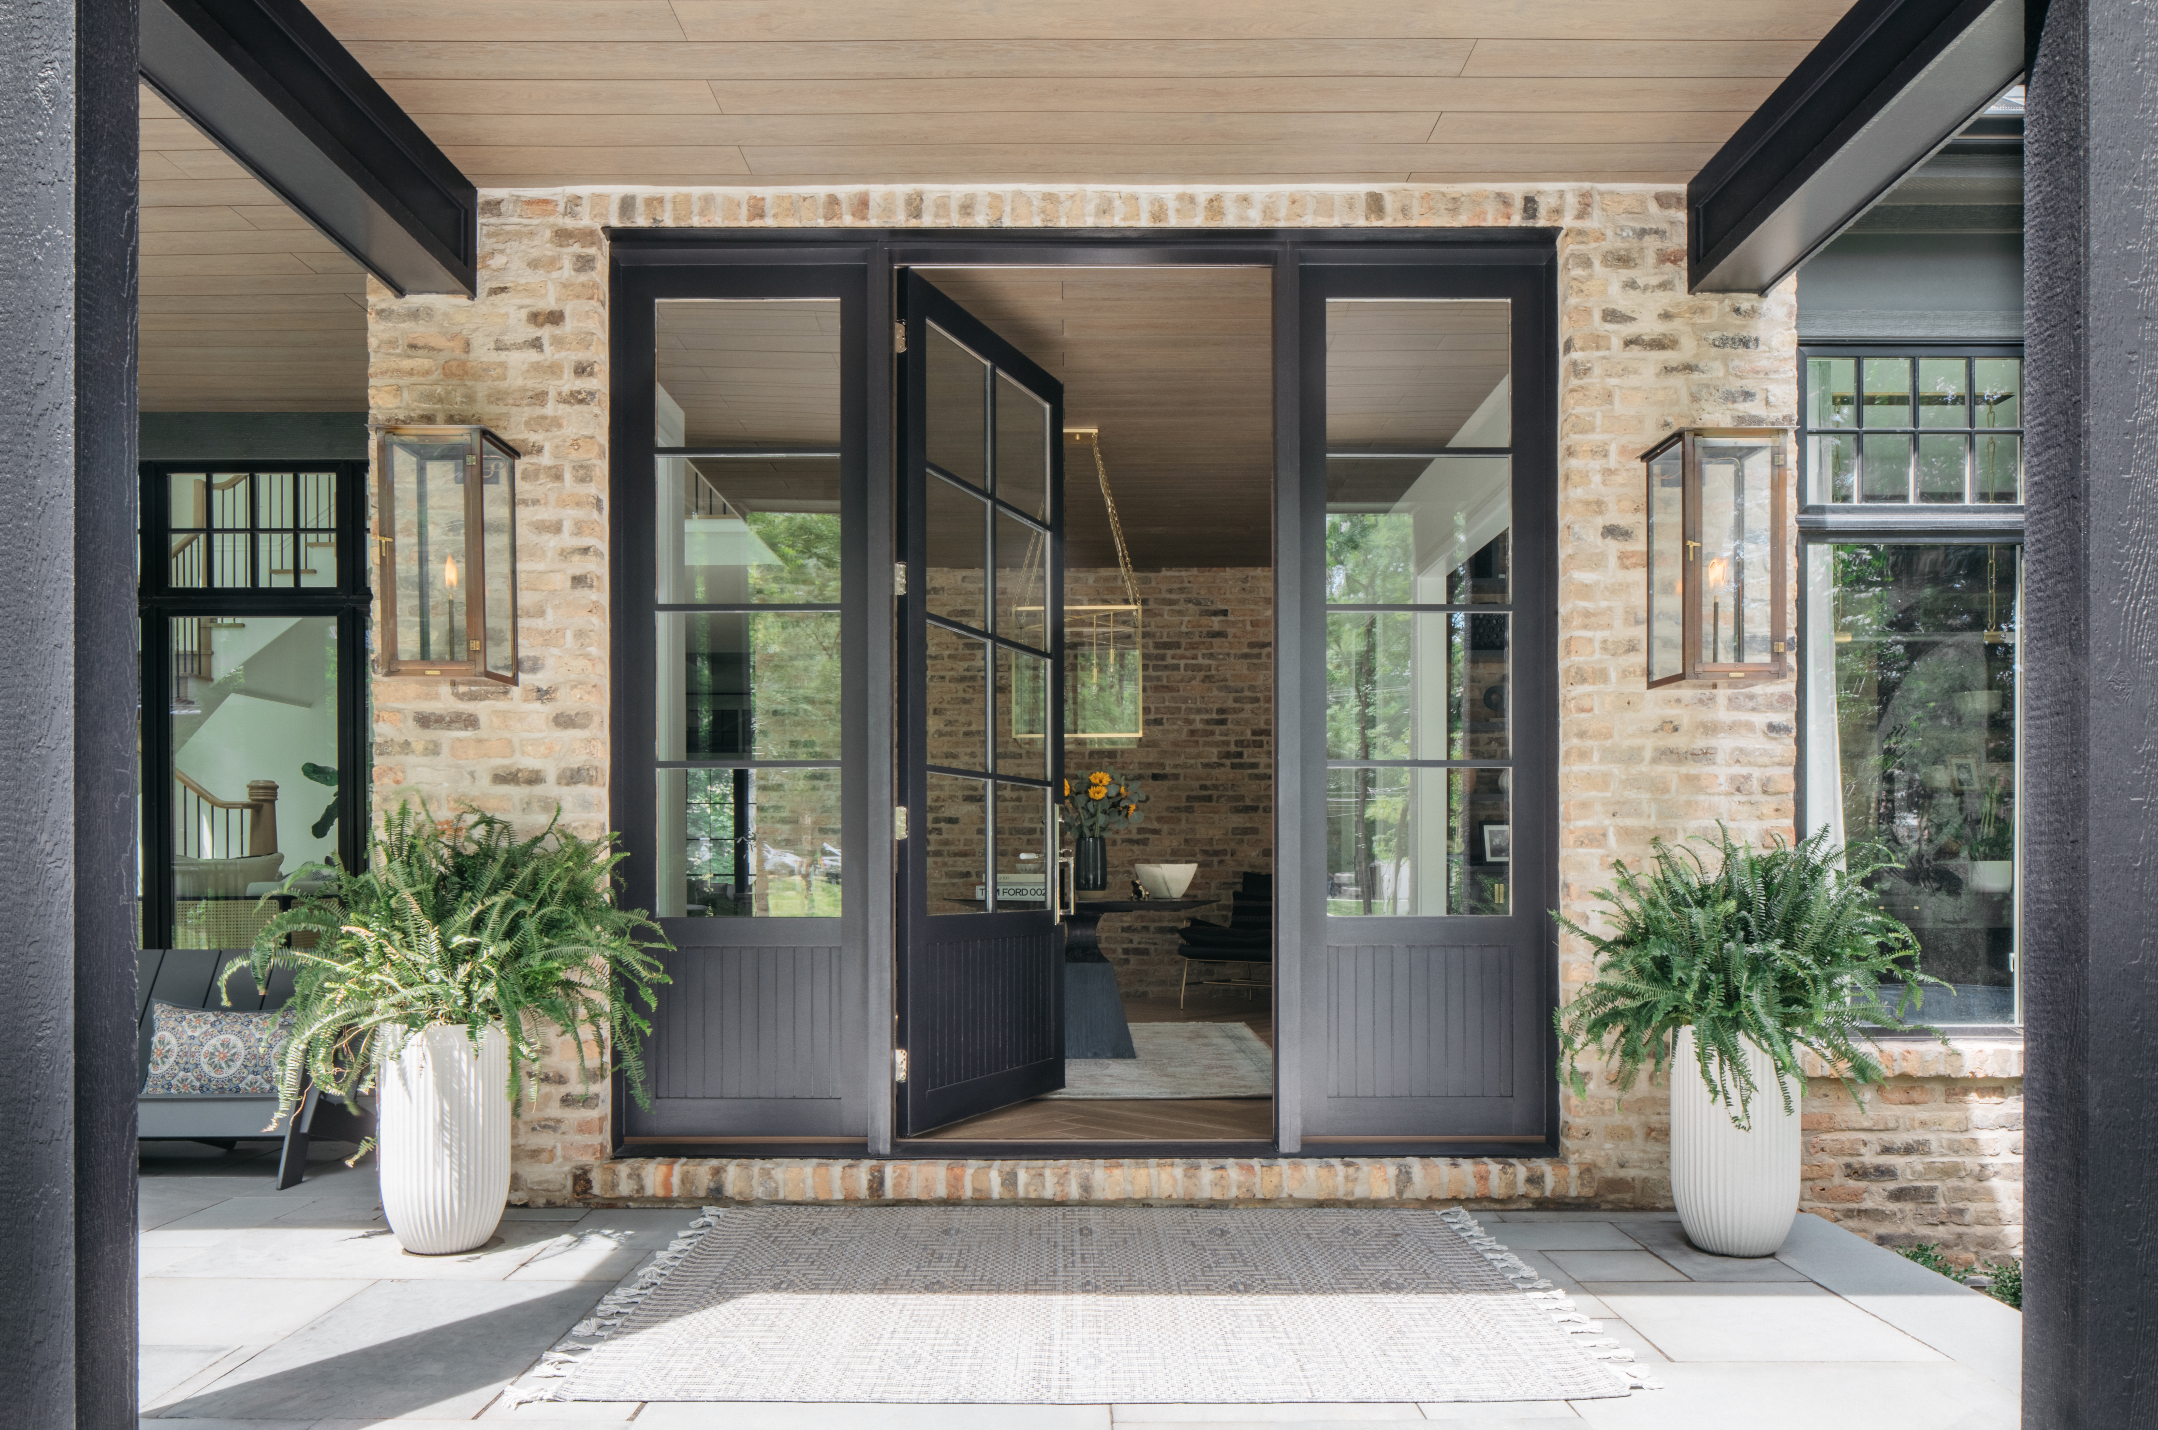 How to paint a door and refresh your home instantly
Painting doors is easy with our expert advice. This is how to get professional results on front and internal doors.
By Claire Douglas Published
-
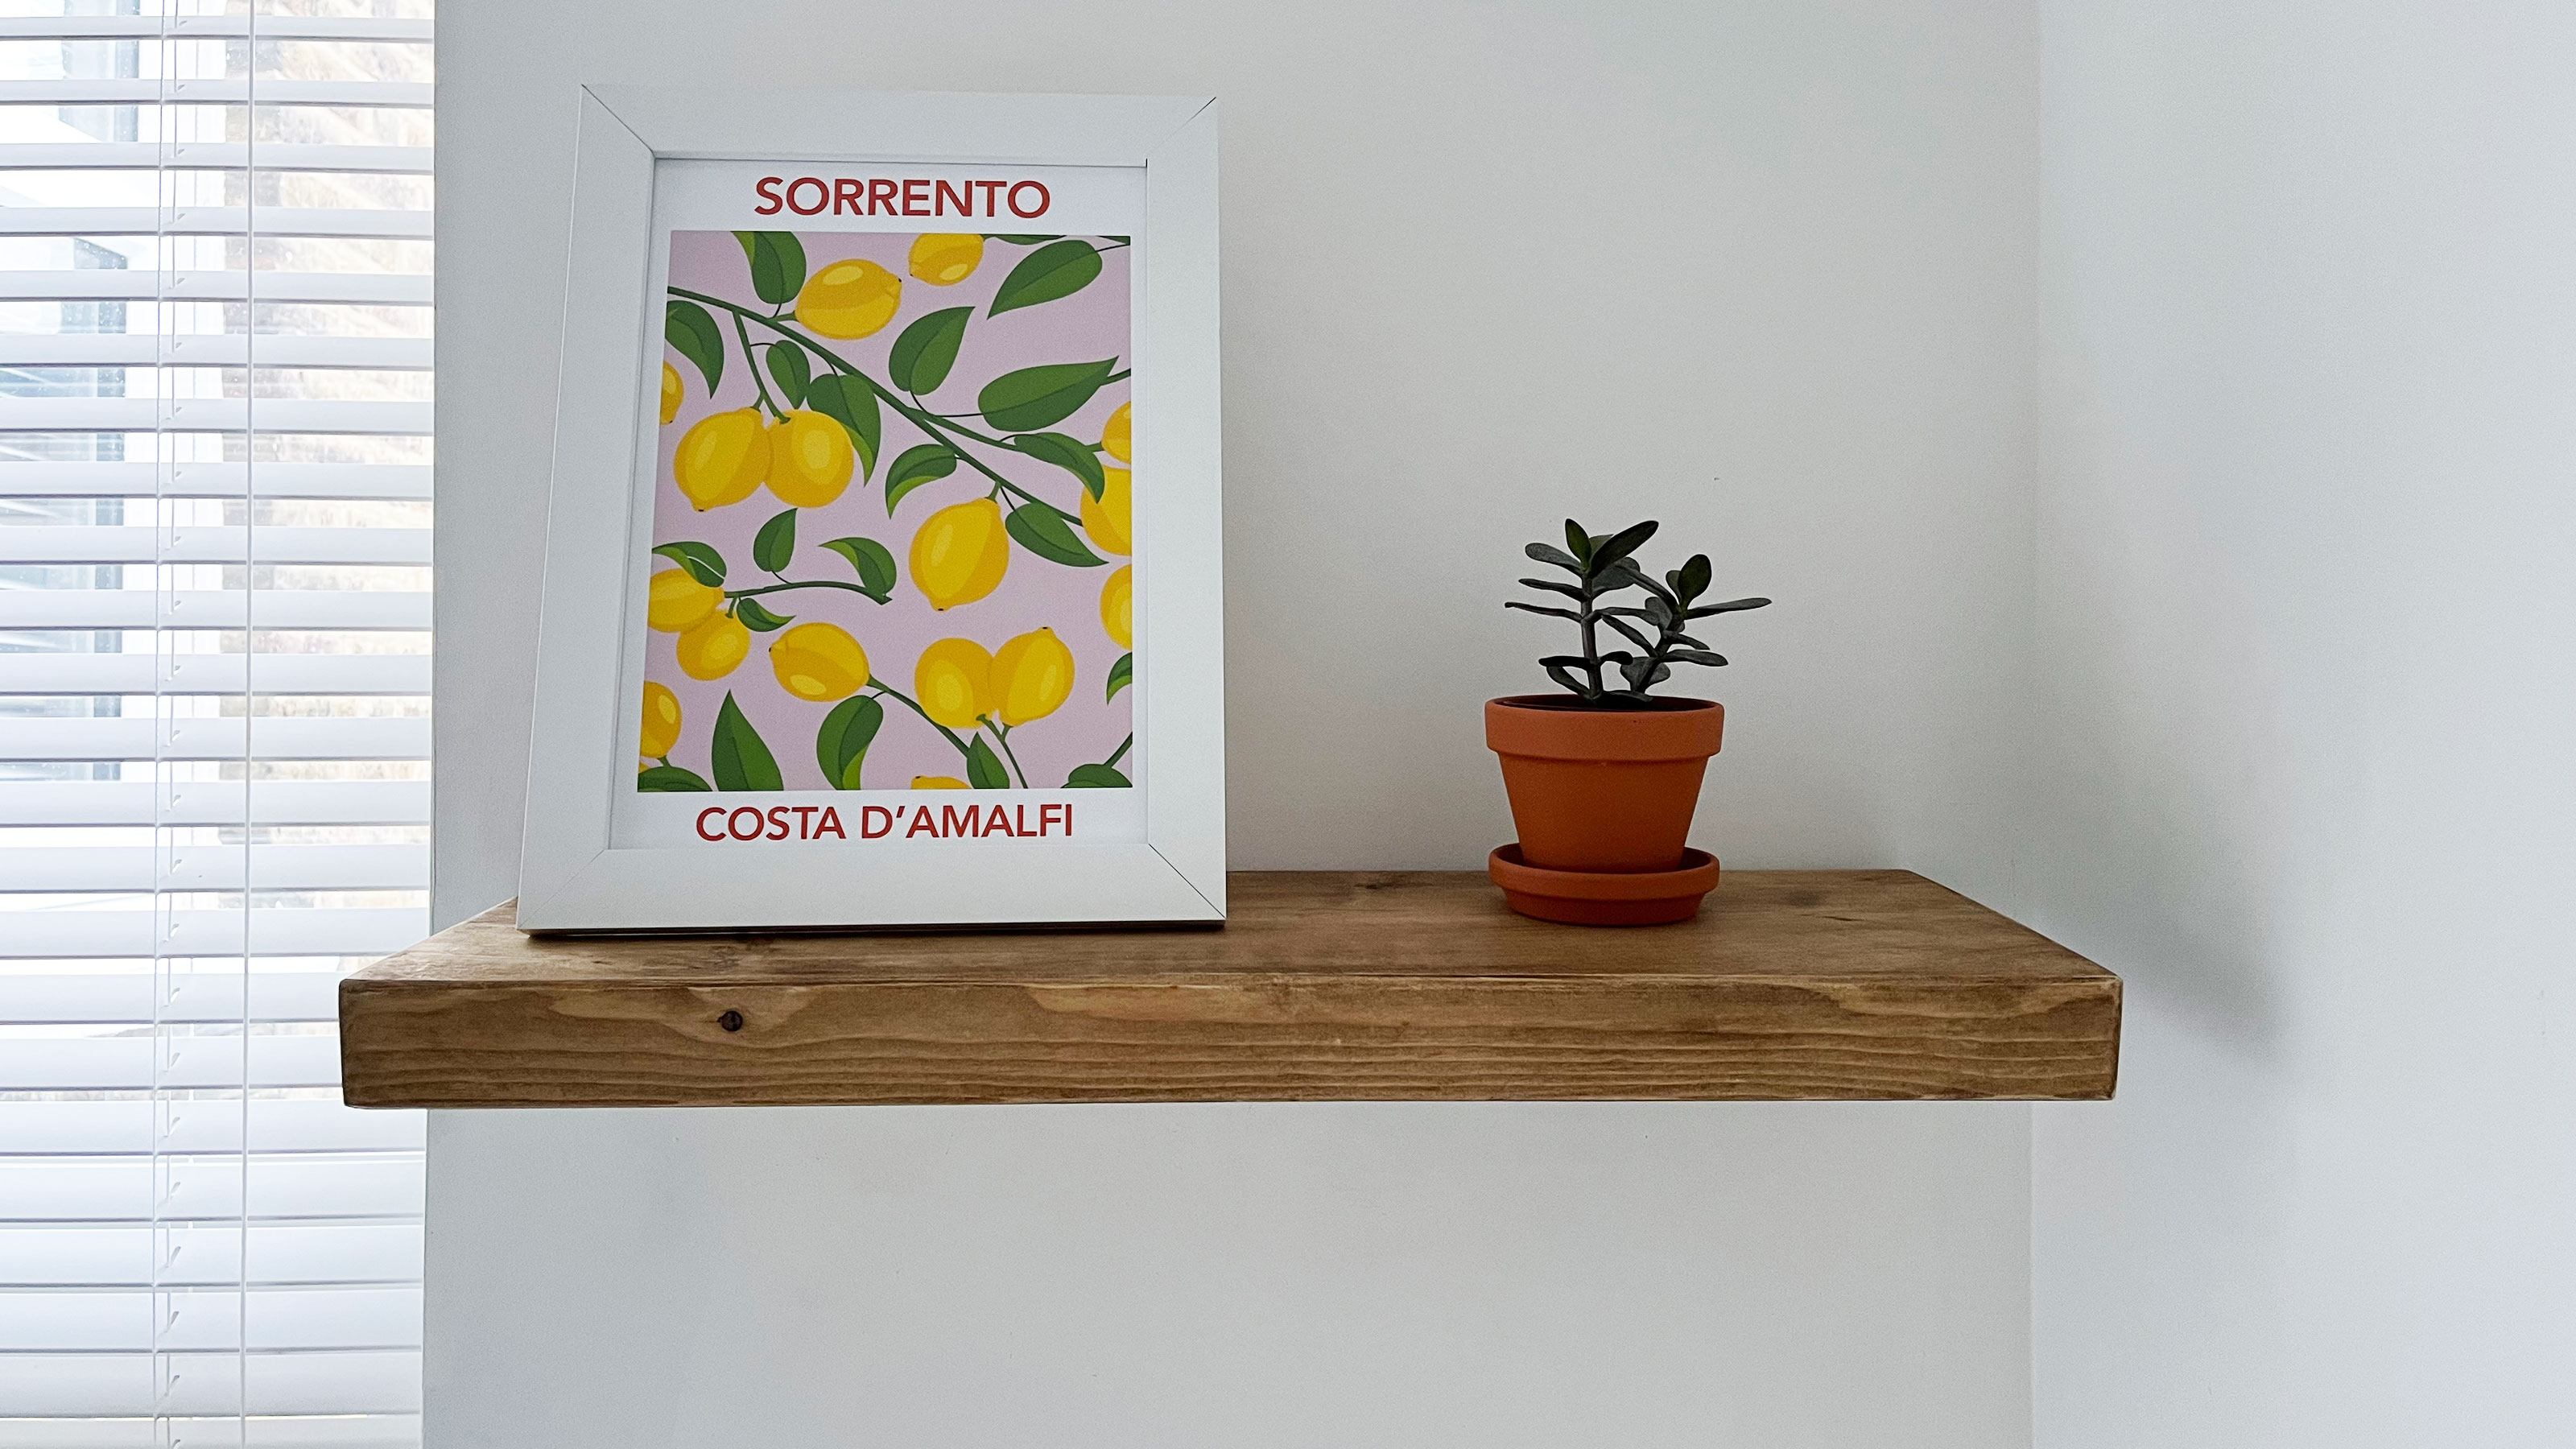 How to install and style a floating shelf
Installing a floating shelf can add instant design interest to your home. Dress yours with artwork, houseplants, and books for the perfect finish.
By Camille Dubuis-Welch Last updated
-
 DIY transforms 1930s house into dream home
With several renovations behind them, Mary and Paul had creative expertise to draw on when it came to transforming their 1930s house
By Alison Jones Published
-
 How to tile a backsplash: a DIY guide for beginners
Knowing how to tile a backsplash will make a big difference to the look and function of your kitchen. DIY to save on the cost of calling in a professional.
By Emily Shaw Published
-
 How to install baseboards: a simple 10-step DIY
Installing baseboards is an achievable DIY with the right know-how to ensure you get a professional finish, whether you're updating a living room or refining a home addition.
By Hebe Hatton Published
