
If there is one kind of person to admire, it's a DIYer. Especially one who is a bit of a novice but still willing to take a leap of faith. Although a lot of Real Homes' readers are hands-on with home renos and building things, a good chunk of us are hesitant about whipping out the power tools.
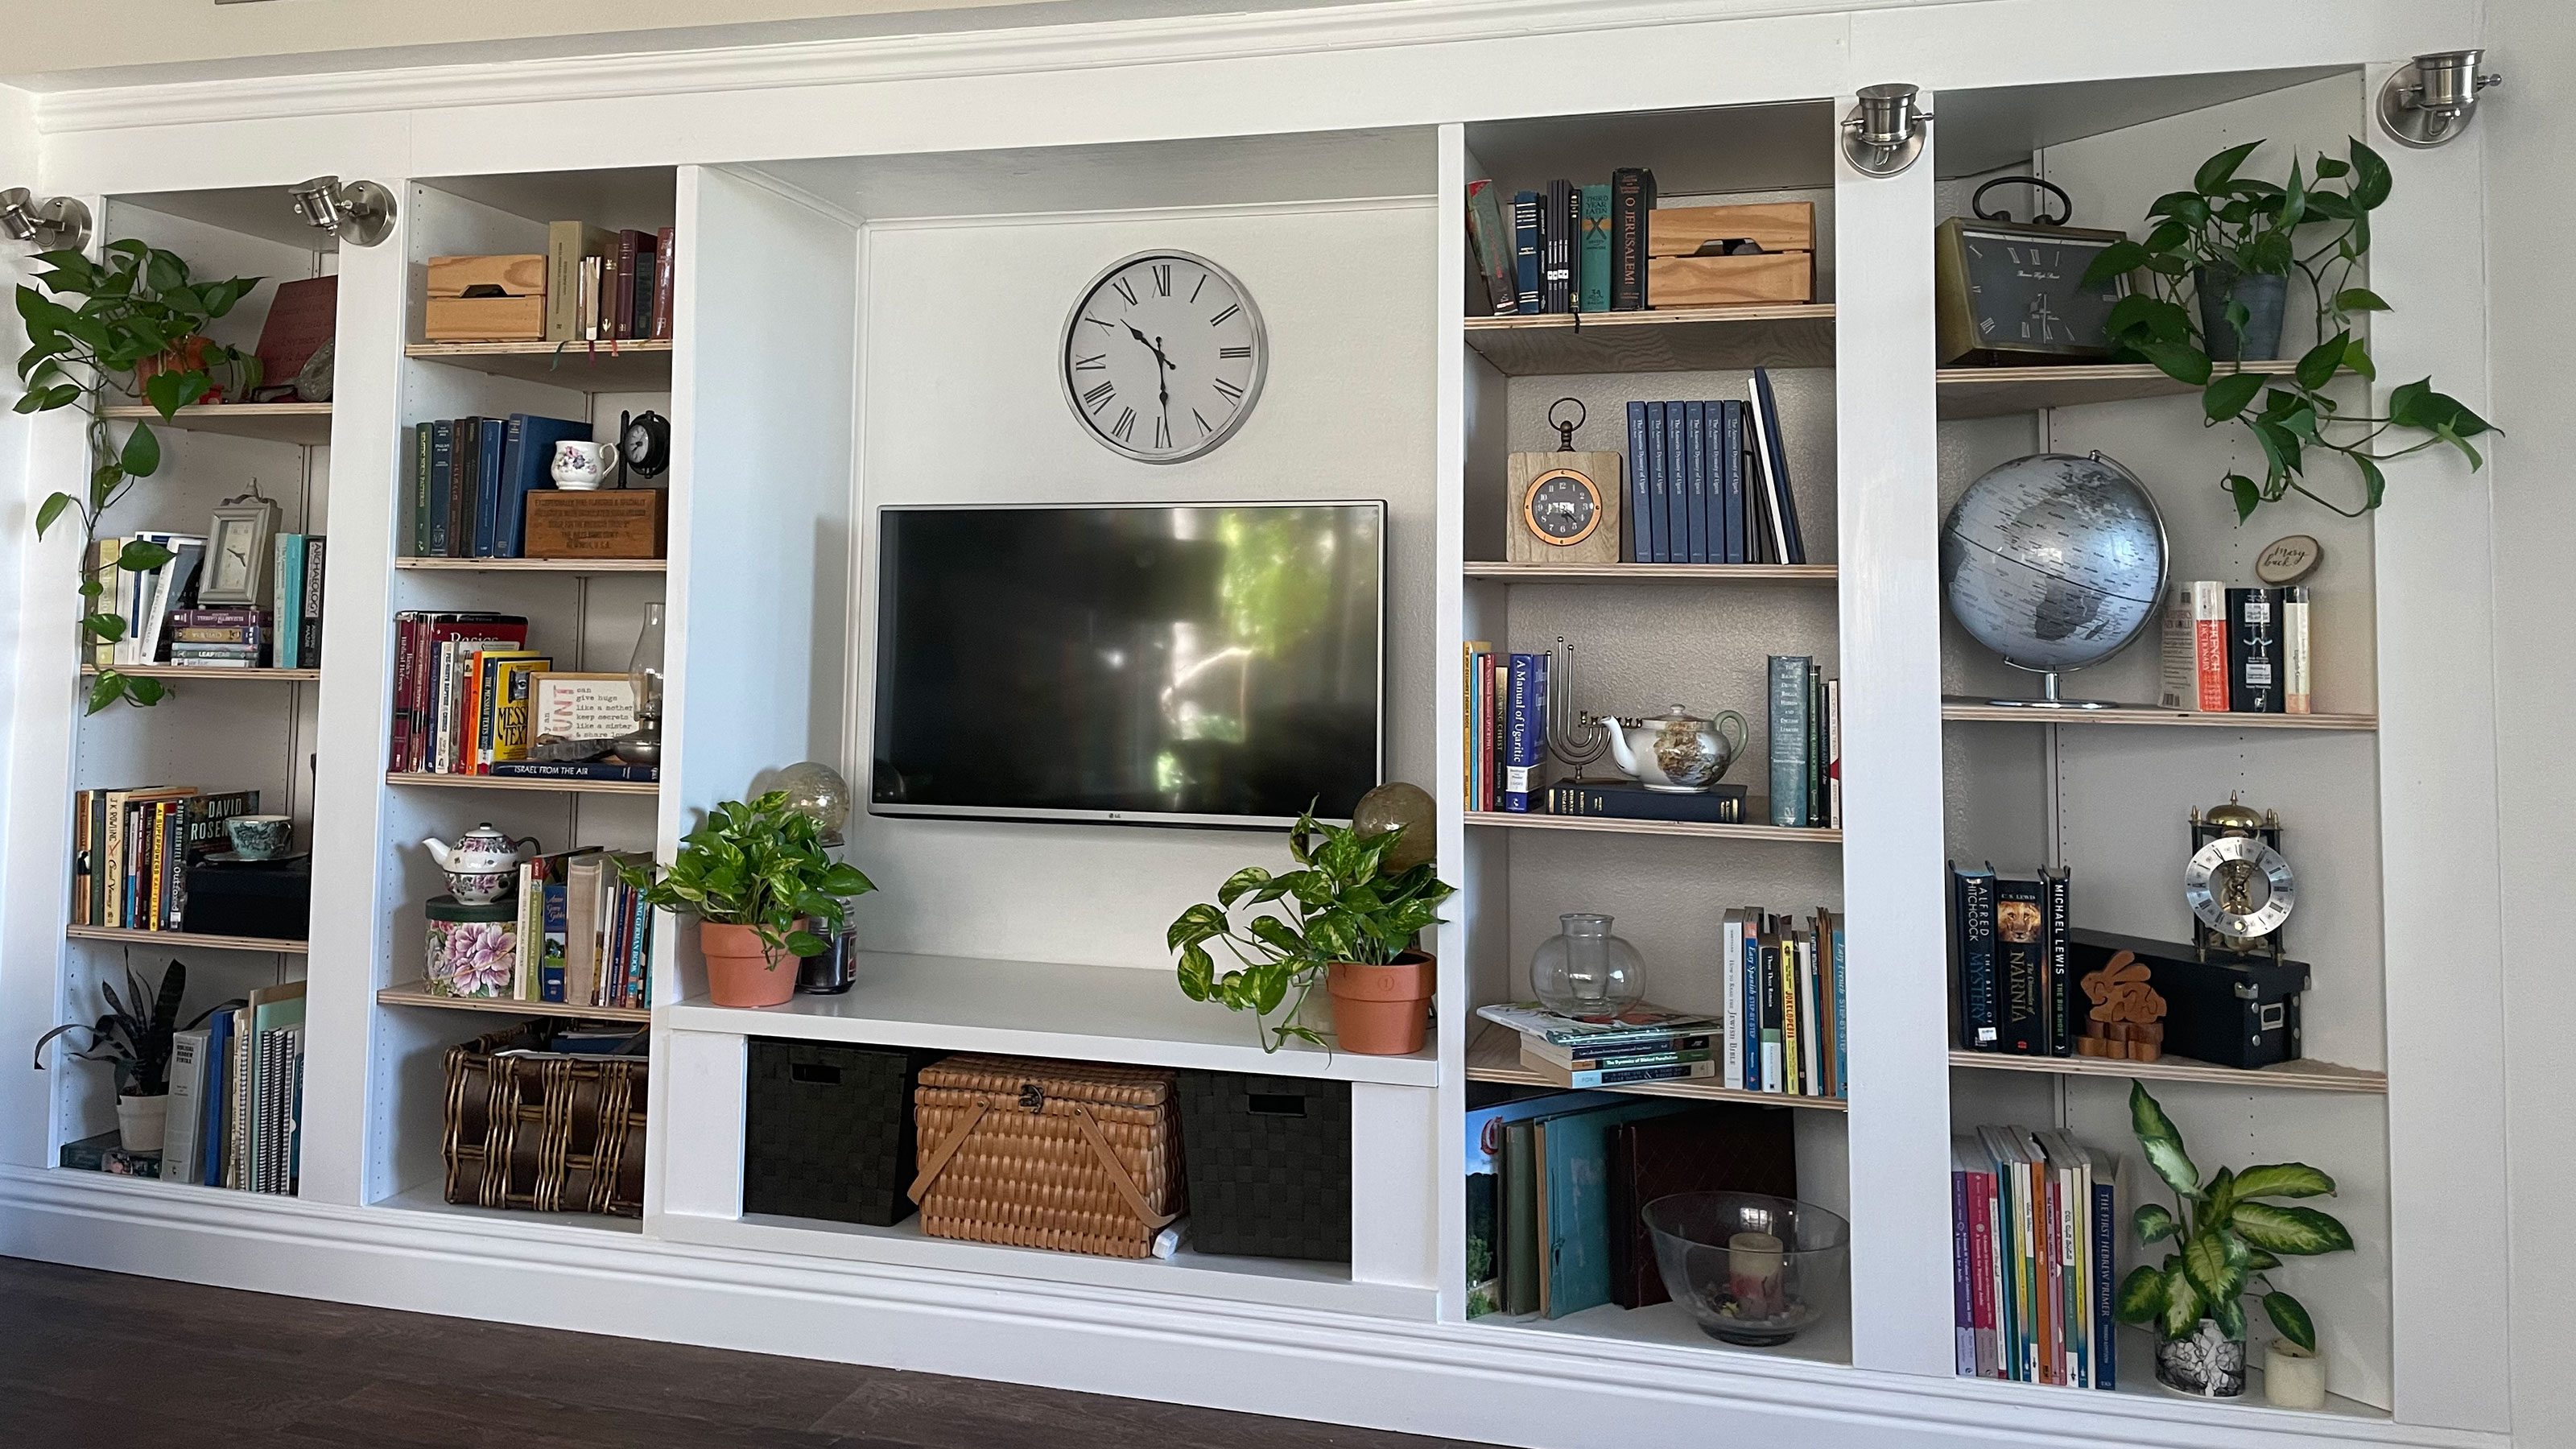
Regardless of where you fall, I couldn't wait to kickstart the Real Homes DIY competition to see what people are getting up to in their homes, and for October, one entry that struck me was this awesome media wall built-in, inspired by an IKEA Billy bookcase hack.
We love a Billy bookcase hack as much as the next person, and this DIY was done in a similar vein but using another type of IKEA bookcase, the SMÅSTAD / UPPFÖRA.
All pulled together by a talented but very humble Mary Buck, it's an awesome example of how sometimes going bespoke is the best solution for beautifying an awkward spot in your home. Not to mention that taking on the project yourself will save you cash in the process since anything custom-made tends to cost a lot nowadays.
The project inspiration
Buck was having some media wall woes and simply took matters into her own hands. "Ever since I moved into my house about three years ago, I’ve hated my TV wall," she says. "It’s fundamentally lopsided, with one wall at a right angle and the other at a slant. I tried to create symmetry through angling my old set of bookshelves, but I’ve always hated the area."
Anyone who wants to create a balanced living room space will find that the TV, no matter how good it may be, shouldn't really take center stage and that a media wall above all, should not be an eyesore.
"I’ve looked into a bunch of different decorating ideas, but nothing ever really stuck," added Buck. After a little more digging, she found initial inspiration from the lifestyle blog Southern Revivals, falling in love with the Billy bookshelf IKEA hack on its site. She wanted to recreate it for her own space but had zero building or DIY experience. "I figured with a bit of online research, help from staff at the hardware store, and a little grit and perseverance, it could be done!"
Join our newsletter
Get small space home decor ideas, celeb inspiration, DIY tips and more, straight to your inbox!
Essential tools and materials
1. 6-inch floor molding
2. 2-inch crown molding
3. 6-inch MDF for the top
4. 5.5-inch flat wood millwork for verticle panels
5. Flat wood panel for the top covering
6. 2x4s for the interior table
7. A hand saw
8. Wood screws and finishing nails
9. White 2-in-1 primer and paint: I used Behr's White Semi-Gloss Enamel Interior/Exterior Cabinet, Door & Trim Paint.
10. Steel angle brackets: these from Simpson-Strong worked fine.
11. Four spotlights: I chose these Brushed Nickel Integrated LED Spotlights from Home Depot again.
12. A level
13. Measuring tape
And honestly, she did good.
Kindly sharing the process from start to finish, in her own words, this is how Buck went about this admirable project.
Step 1: Buy the basics
After measuring my space, I realized that I needed a much deeper bookshelf, so I decided on the SMÅSTAD / UPPFÖRA bookcase, which had the added bonus of a built-in stand, which raises the main frame 6 inches off the floor. While at IKEA, I also found two white tabletops, as they just happened to fit my measurements almost exactly, and bonus, they were on sale for $14/each!
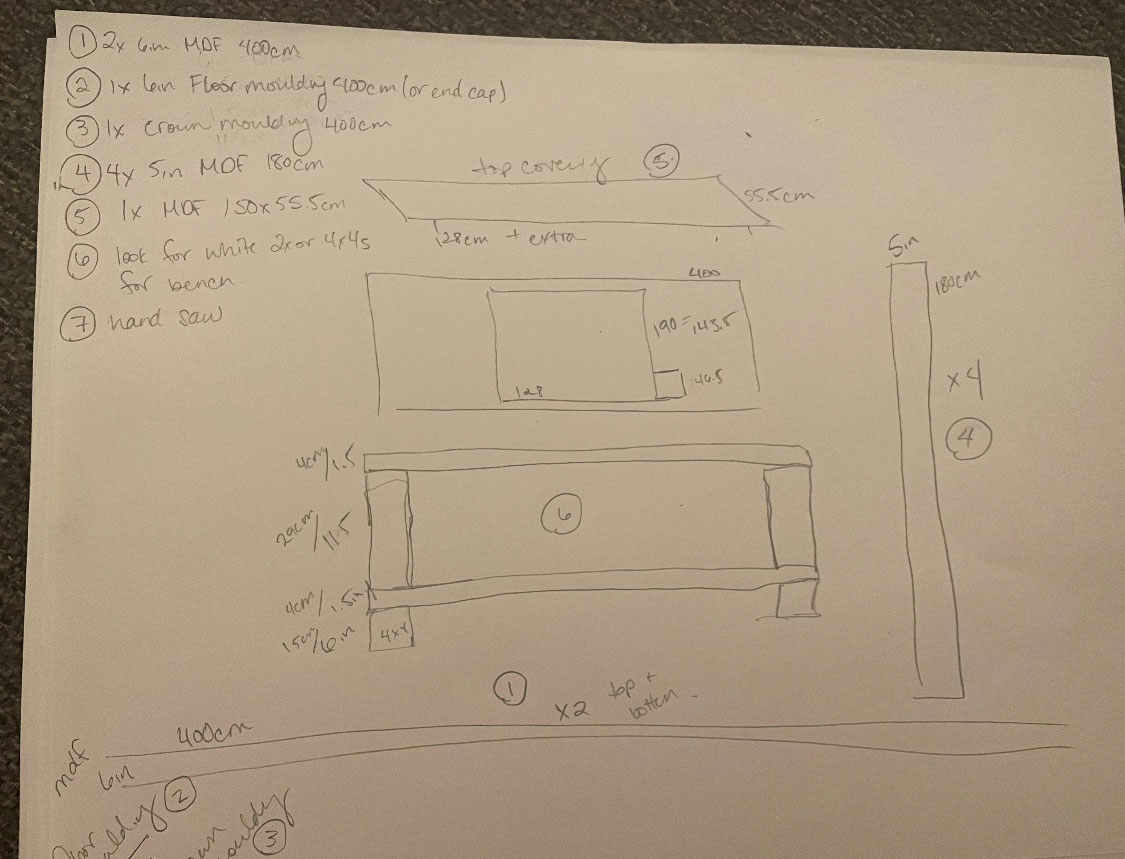
I then made my way to The Home Depot to buy all the different types of wood, molding, and fasteners I would need for the project — though truth be told, it took me about five trips to get these all right! Here are my original measurements:
Step 2: Construct the frames at an angle
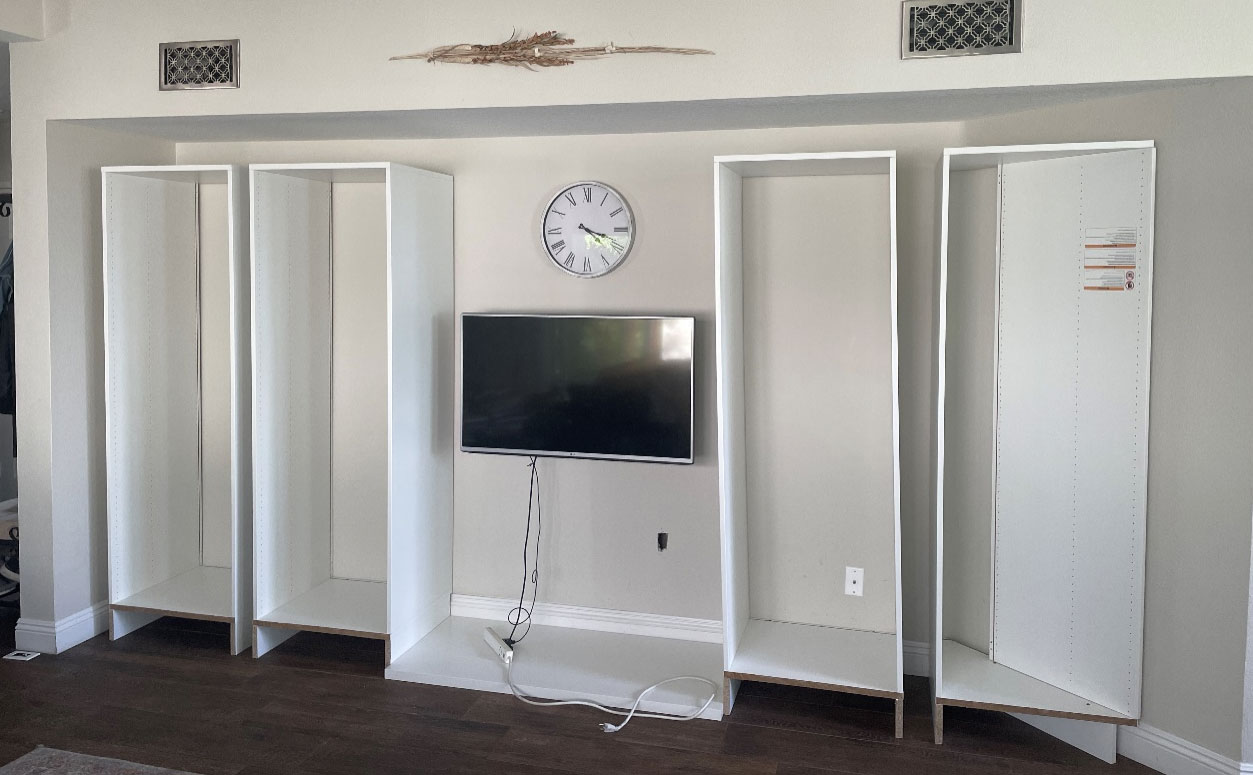
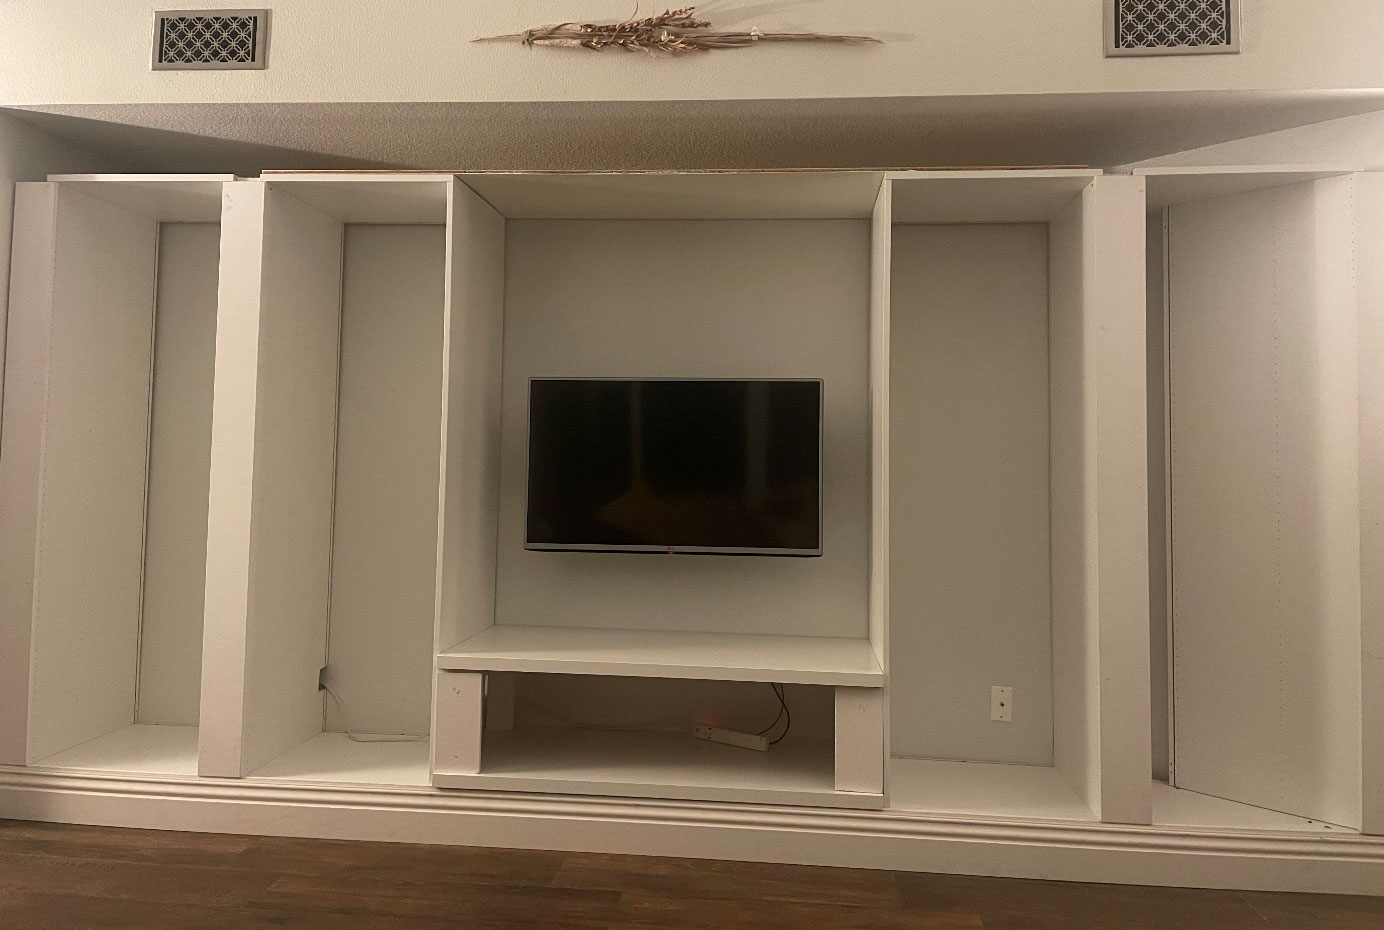
The first three frames were really easy to put together and just slot into the space, but the fourth was MUCH harder as I needed to cut the fourth bookshelf to fit the wall angle. After measuring and remeasuring, I sawed the base and top of the frame, and then attached the side to the angled base. It sounds easy, but this was the toughest part of the project — I was so proud when this baby came together! Here you can see the angle, and then the four frames in place.
Step 3: Build the bench
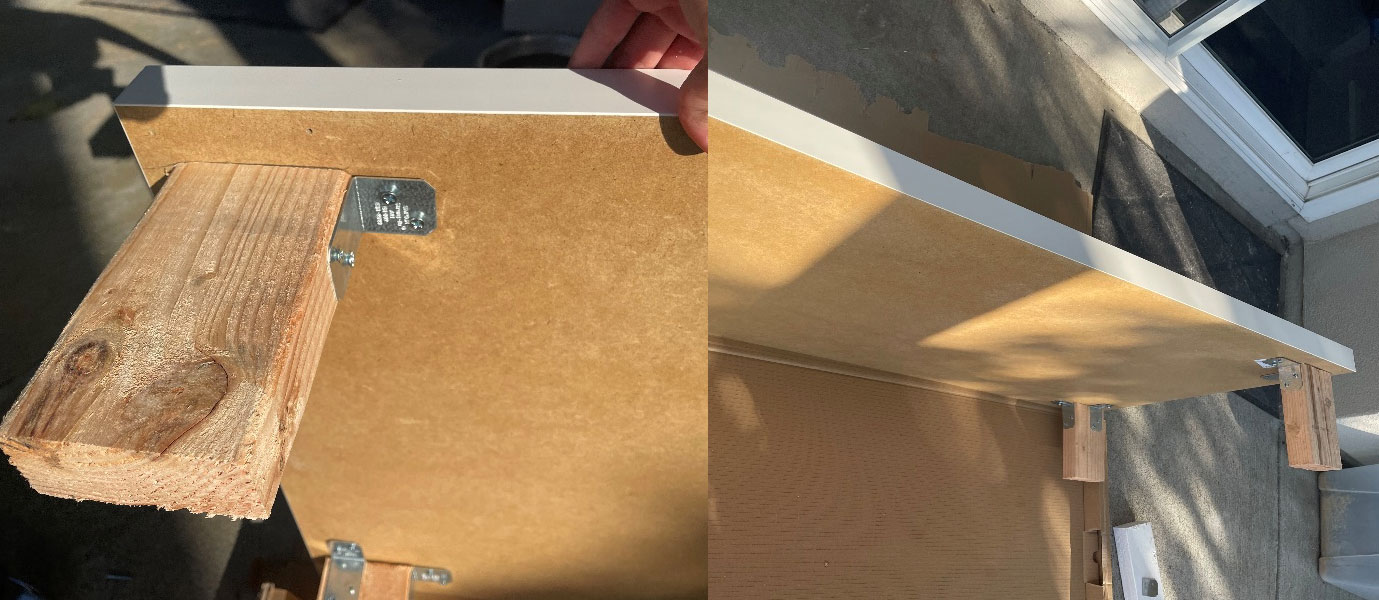
I was pretty nervous about building the bench, but it ended up being pretty straightforward. I already had the 2x4 legs pre-cut, so I just measured and screwed these into the two tabletops using the steel brackets. I made sure to use my level at every phase to ensure the bench didn’t end up wonky.
Step 4: Add the “built-in effect"
I didn’t want this to feel like five separate pieces of furniture sitting against the wall, so I needed to make this feel like a built-in.
- First, I painted and installed the wood top covering.
- Second, to make sure the bookshelves wouldn’t wobble and sway, I added wood spacers between the shelves, and then molly bolted the bookshelves to the wall behind. Here you can see the topper and the spacers.
- Third, I added floor molding. To cover any gapping, I first installed a layer of flat MDF board slightly higher than the bookshelf base. I then used finishing nails to attach the crown molding to the MDF board.
- Fourth, I used vertical flat MDF molding to cover the gaps between the shelves and to the bench legs. Here you can see the floor molding and vertical molding — it’s really starting to come together now!
- Fifth, I realized I didn’t like how thin the bookshelf walls were in the middle, so I bought 1.5-inch “fingerboard” to make these a bit wider.
Step 5: Lighting and crown molding
I found these great brushed nickel spotlights at The Home Depot and wanted to make them easy to turn on. The wall plug on the left is connected to my wall switch, so I funneled a long multi-plug up between the frames and onto the top area. I then plugged in all four spotlights and hung them above each of the four vertical panels.
To help hide the cord, I cut a notch into the top of each vertical panel, and then caulked over it. After all the cords were in, I attached a 6-inch MDF board and added 2-inch crown molding so that the built-in extended to the ceiling. Here you can see the connection between the different moldings and the cord just barely peeking through.

Step 6: Caulk, paint, and shelving
I’m in awe of what a good coat of white paint can do. After caulking all the gaps, I then used a slightly more expensive white primer and paint to get that extra finished look.
I still needed to figure out the shelving. After a bit of research, I found that white oak is sturdy, so I bought a 2-inch white oak plank and had it cut to shape at The Home Depot. I was originally going to paint these white, but once I put them in, I loved the different color — so I kept them!

Step 7: Frame the interior
I thought I was done, and I actually decorated the shelves and left them for more than a month. Here you can see the look — plus my dog, Yogi!
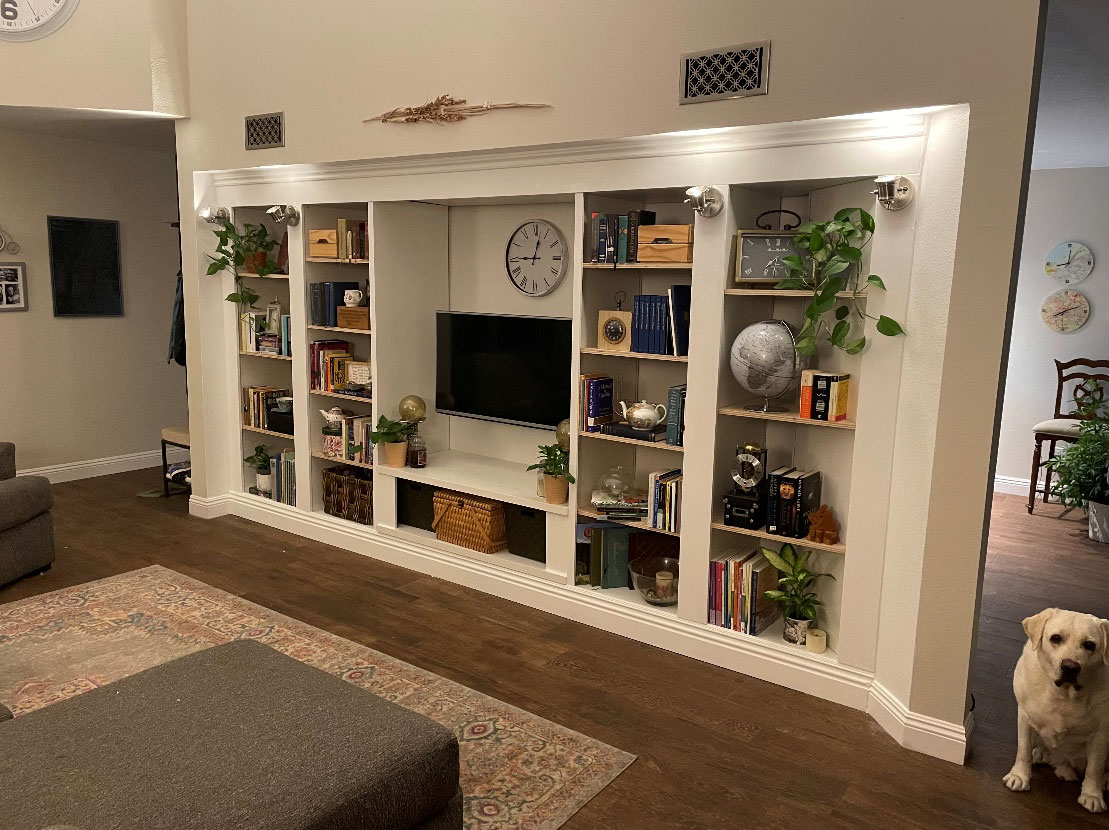
But there was gapping where the shelving connected to the wall and the top and it really stuck out, so I decided to frame this with 1-inch corner molding. This was a quick, one-hour job — just measure, cut, nail, caulk, and paint.
The results
After finishing the built-in, everyone who has visited has said how much they love it — it’s an immediate conversation starter. Plus, I love surprising them by telling them it’s DIY!
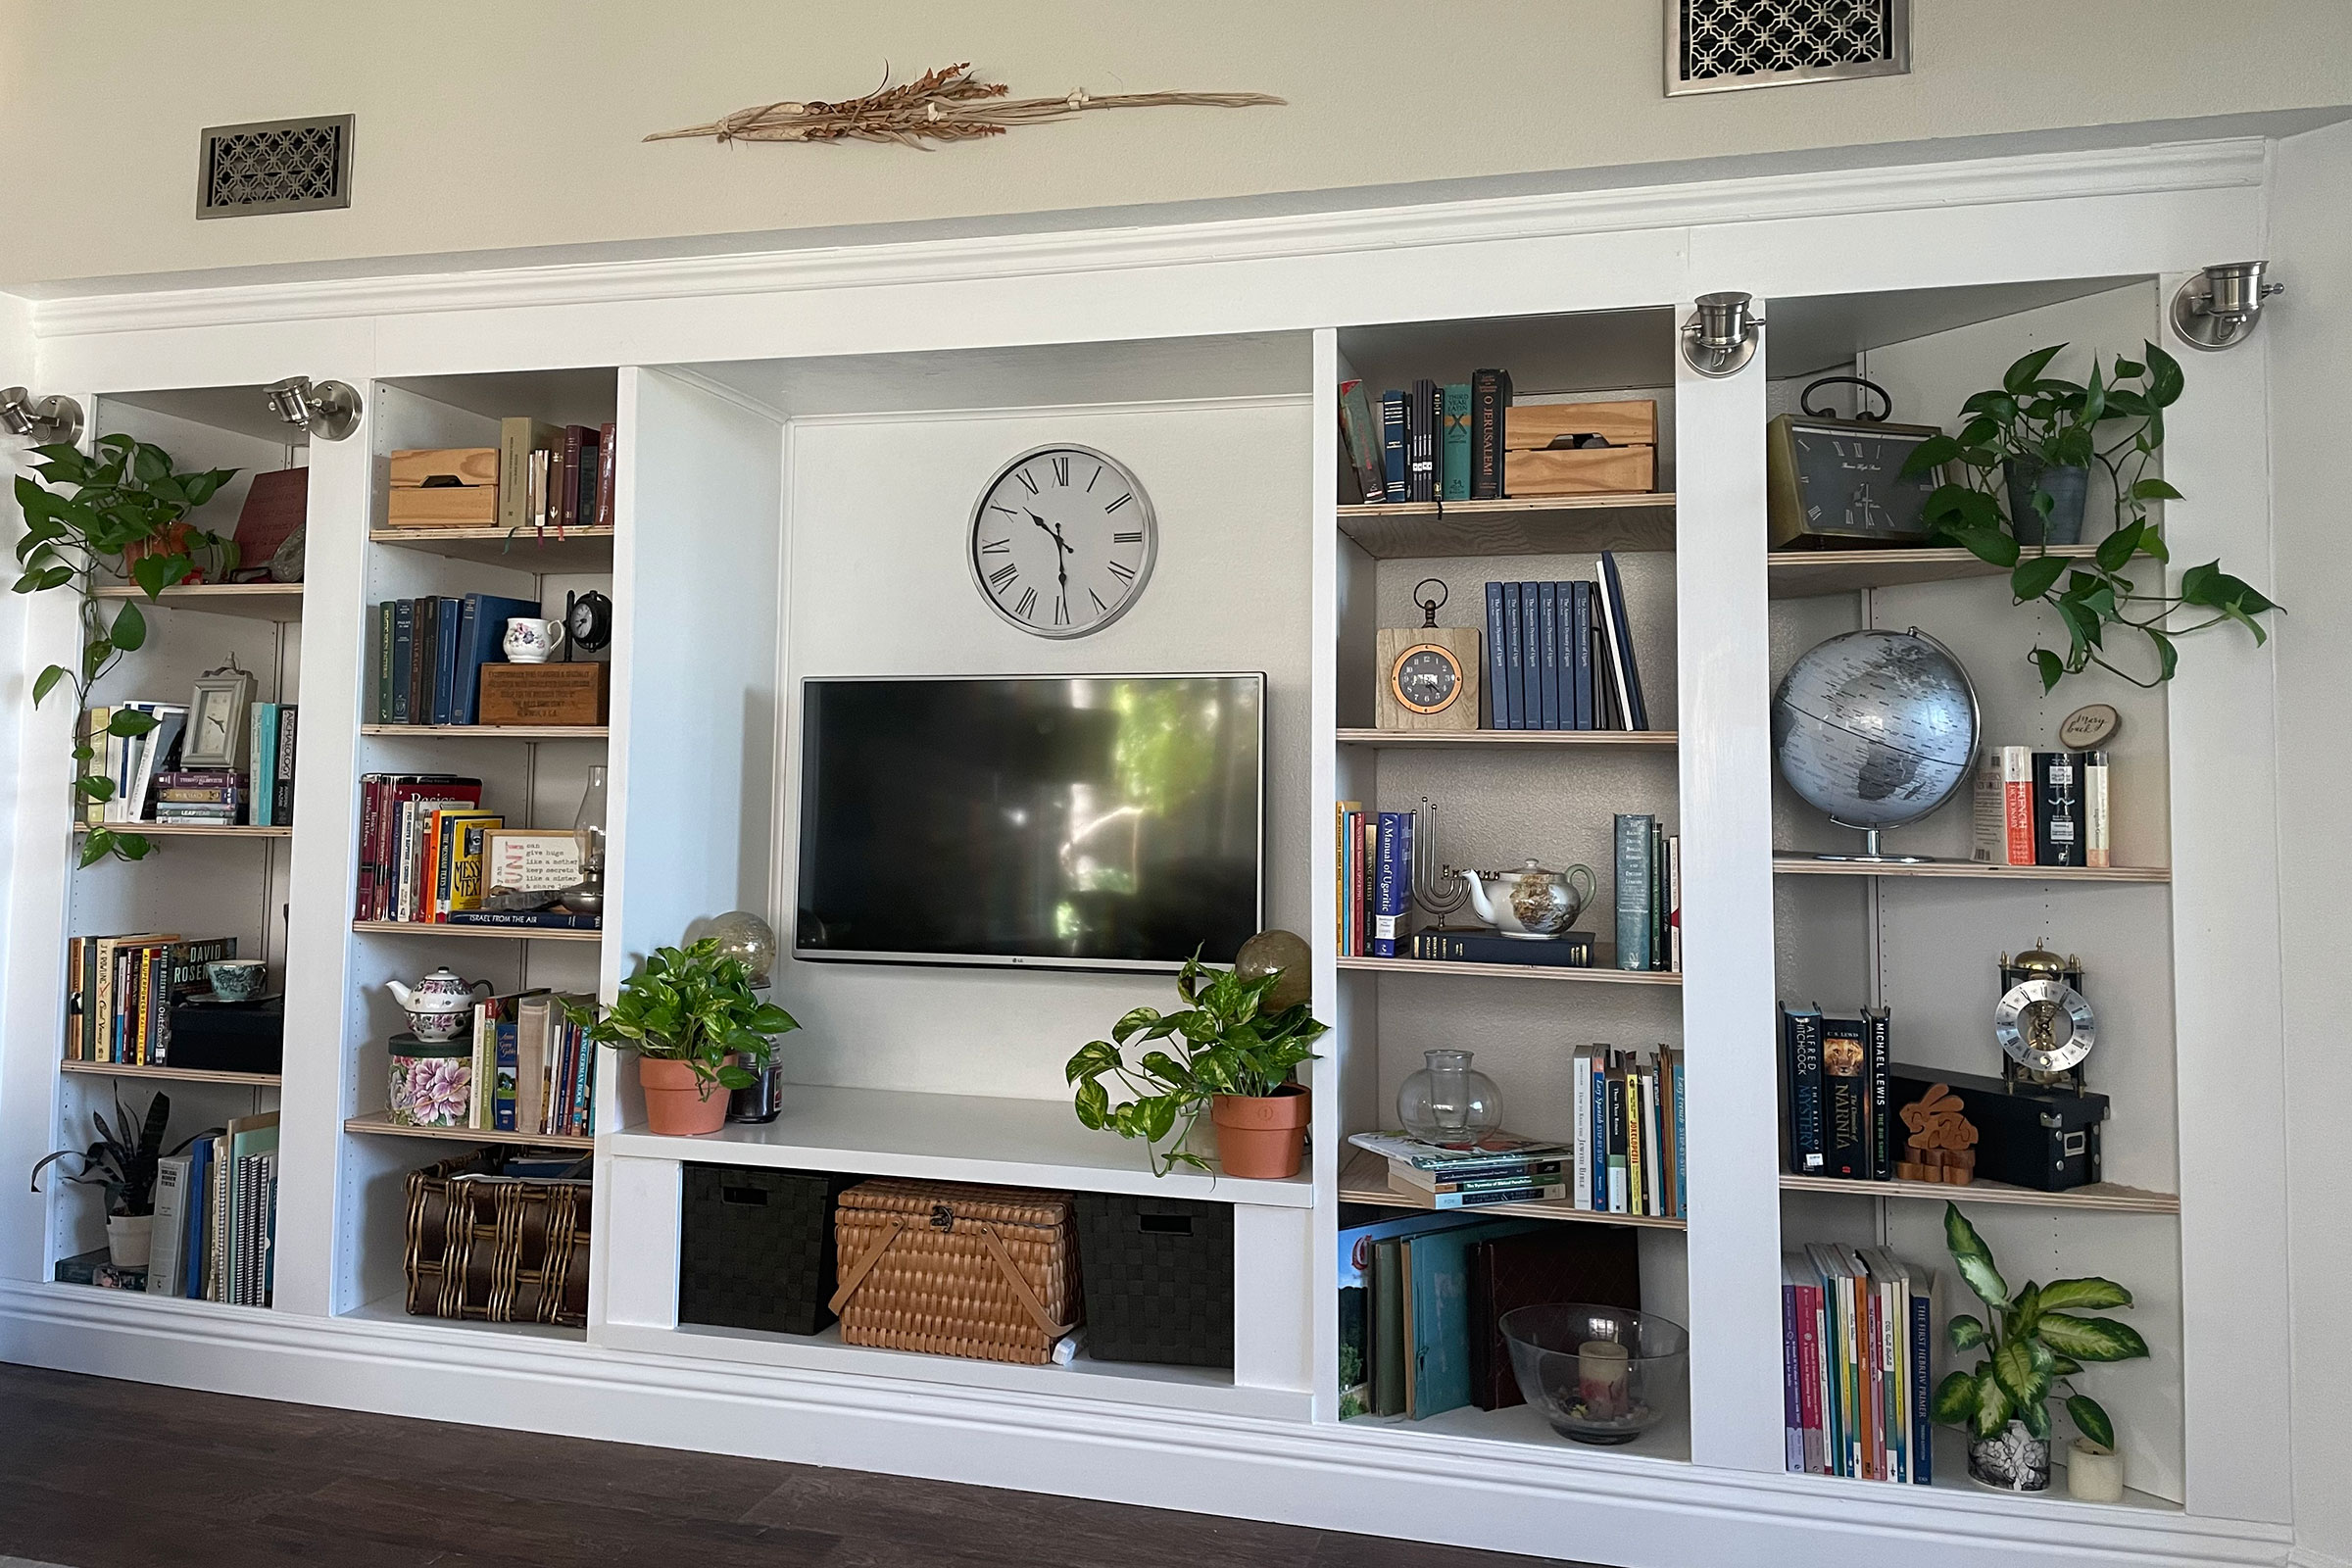
Buck's cool DIY project can be an inspiration to us all. Whether you're skilled in DIY or not, if you've got an awkward wall or space in your home, there's always a solution.

I'm Cam, the former deputy editor of Real Homes who worked on the site from 2020 to 2023. As a renter myself, sharing a home with two friends (and my cat) in London, I know all too well the challenges that this can pose when it comes to creating your perfect setup. As someone who has always loved everything interior design-related, I cannot rest until a home feels right and I am really passionate about helping others get there too, no matter what their living situation, style, or budget may be. It’s not always the easiest to figure out, but the journey is fun and the results are so worth it.
After interior design, travel, art, and photography are my next big passions. When I’m not writing or editing homes content, I’m usually tapping into other creative outlets, exploring galleries in London or further afield, taking photos, scribbling, or drawing!
-
 A $200 fluted panel transformed my drab kitchen in just one weekend
How to install a fluted kitchen panel: A speedy and achievable DIY tutorial even for DIY novices
By Claire Douglas Published
-
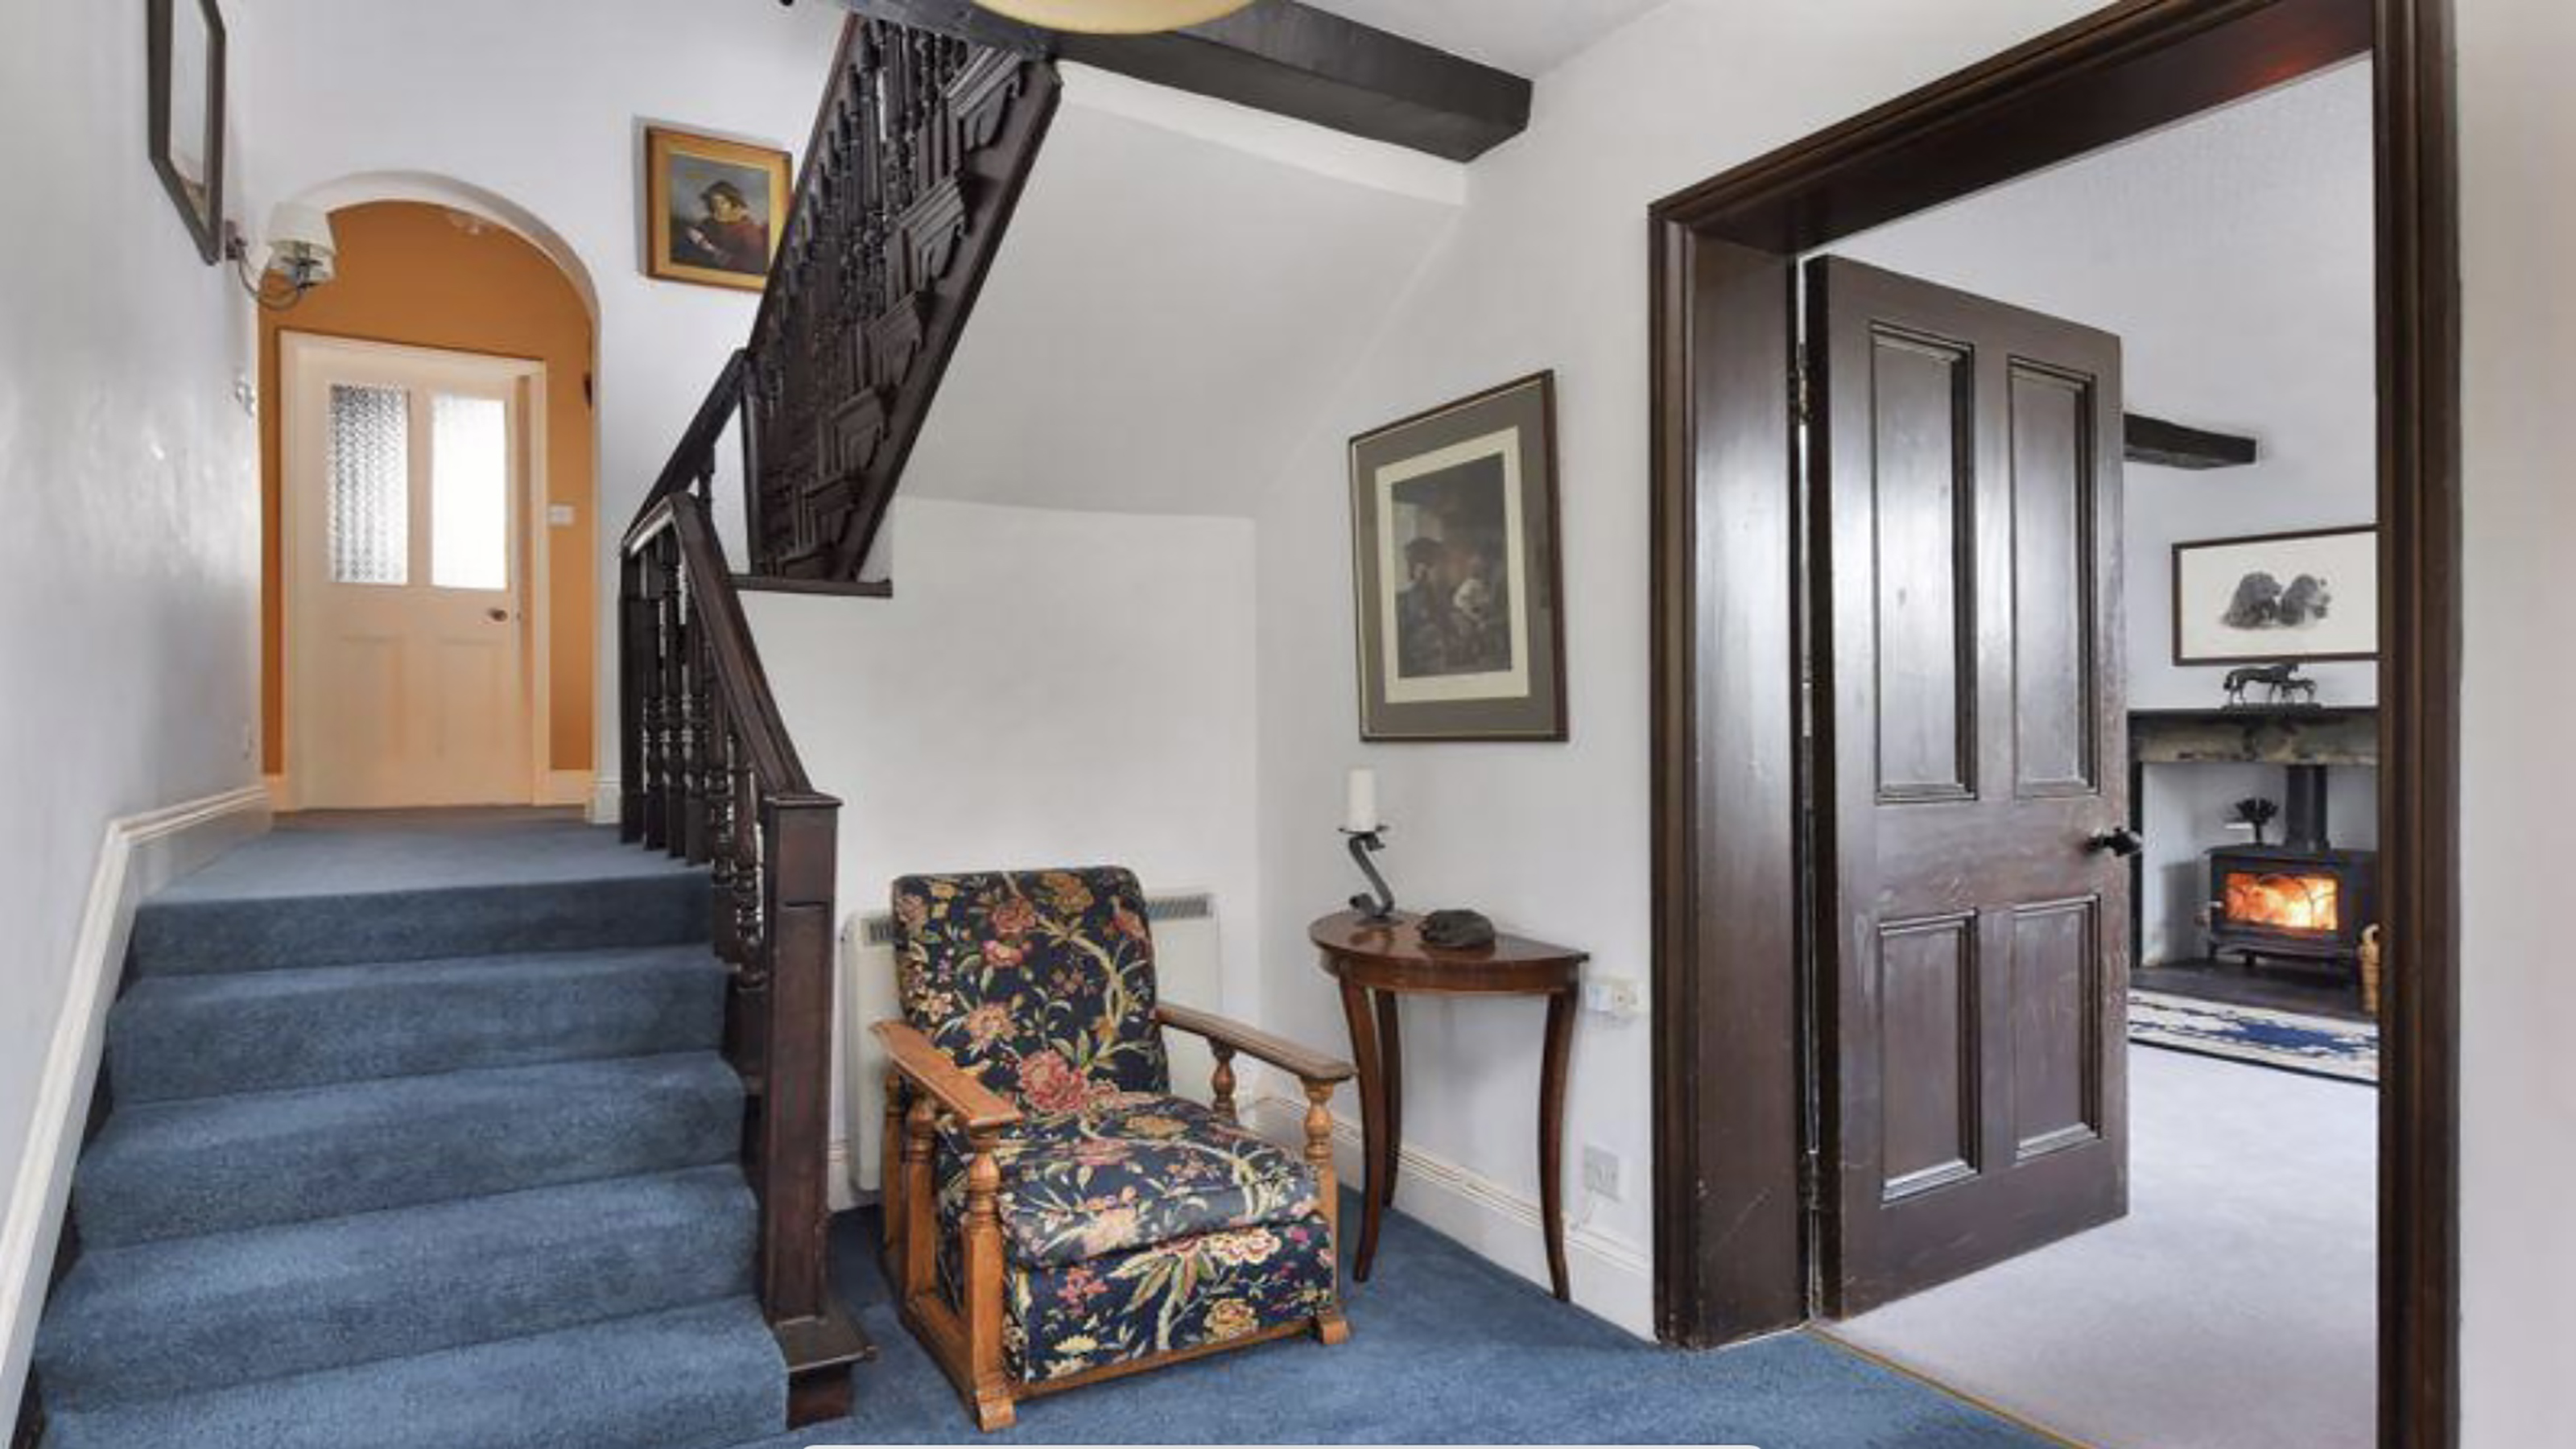 How to replace a broken staircase spindle in 30 minutes flat
A missing or broken spindle on a staircase is not only unsightly, but it can be a real hazard. This is how to fix it in a few quick steps.
By Kate Sandhu Published
-
 Share your small space glow up to win $150 in the Real Homes competition
Show off your creativity and DIY skills to win $150 and for the chance to be featured exclusively in Real Homes magazine
By Camille Dubuis-Welch Last updated
-
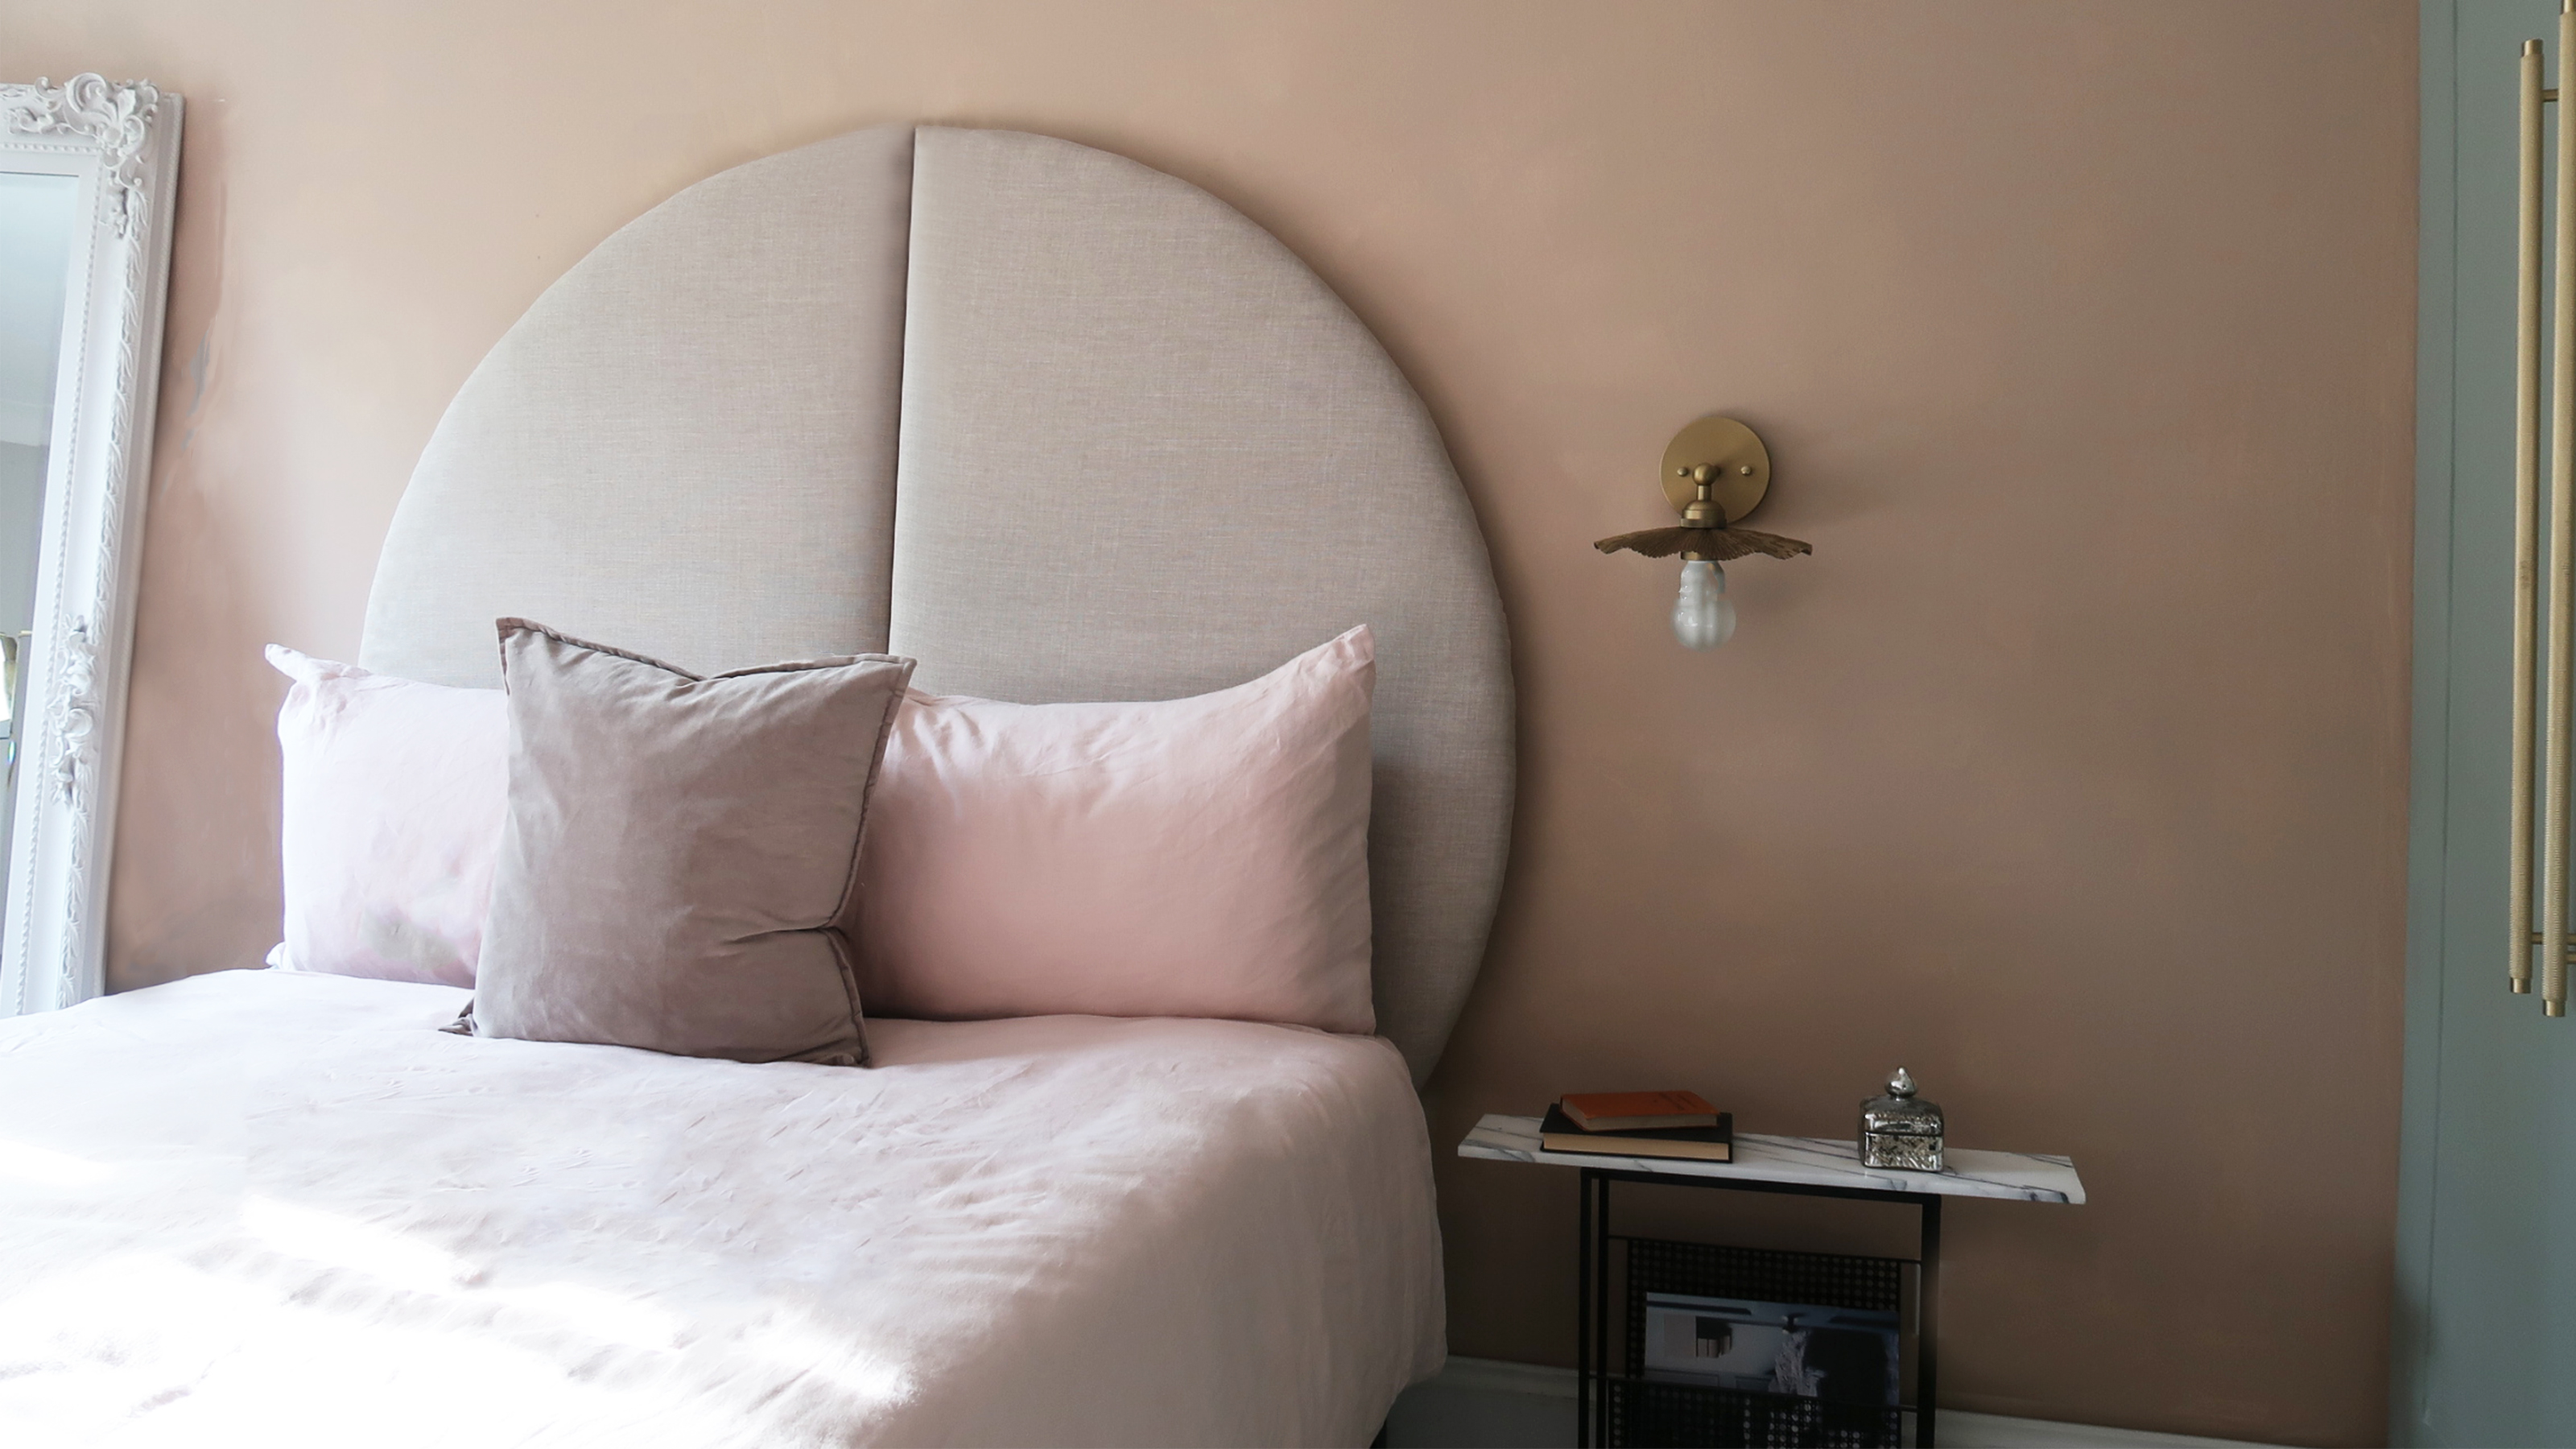 This oversized headboard looks designer, and takes 5 steps to DIY
Super simple to DIY, this oversized headboard will give your bedroom space all the designer vibes you could dream of.
By Claire Douglas Published
-
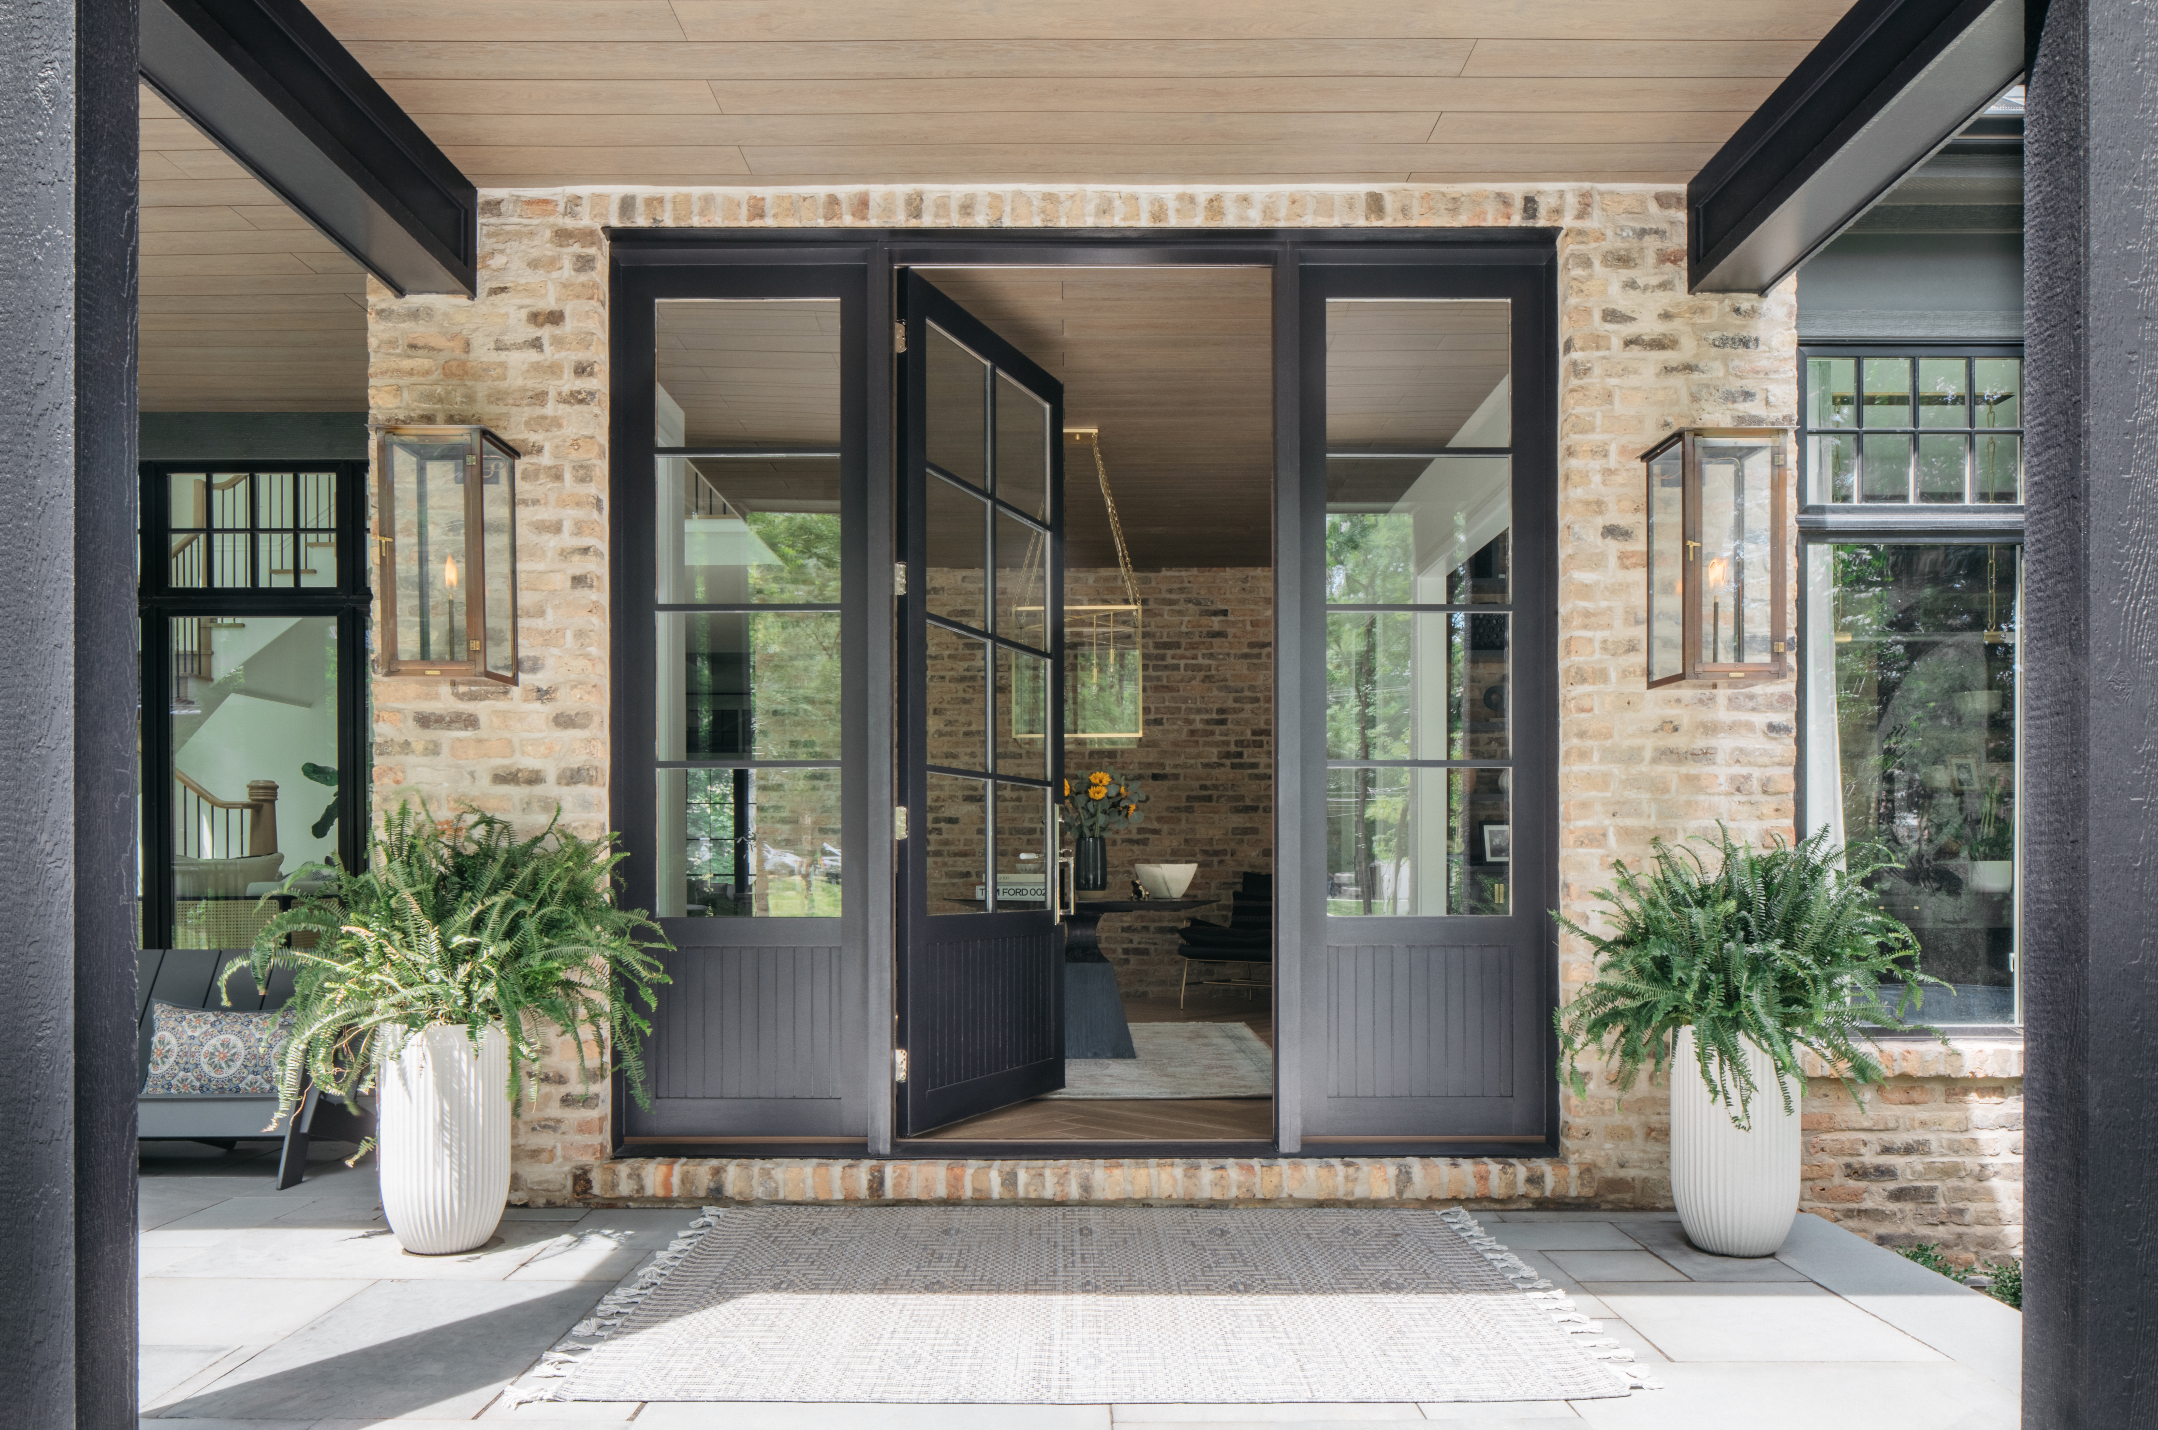 How to paint a door and refresh your home instantly
Painting doors is easy with our expert advice. This is how to get professional results on front and internal doors.
By Claire Douglas Published
-
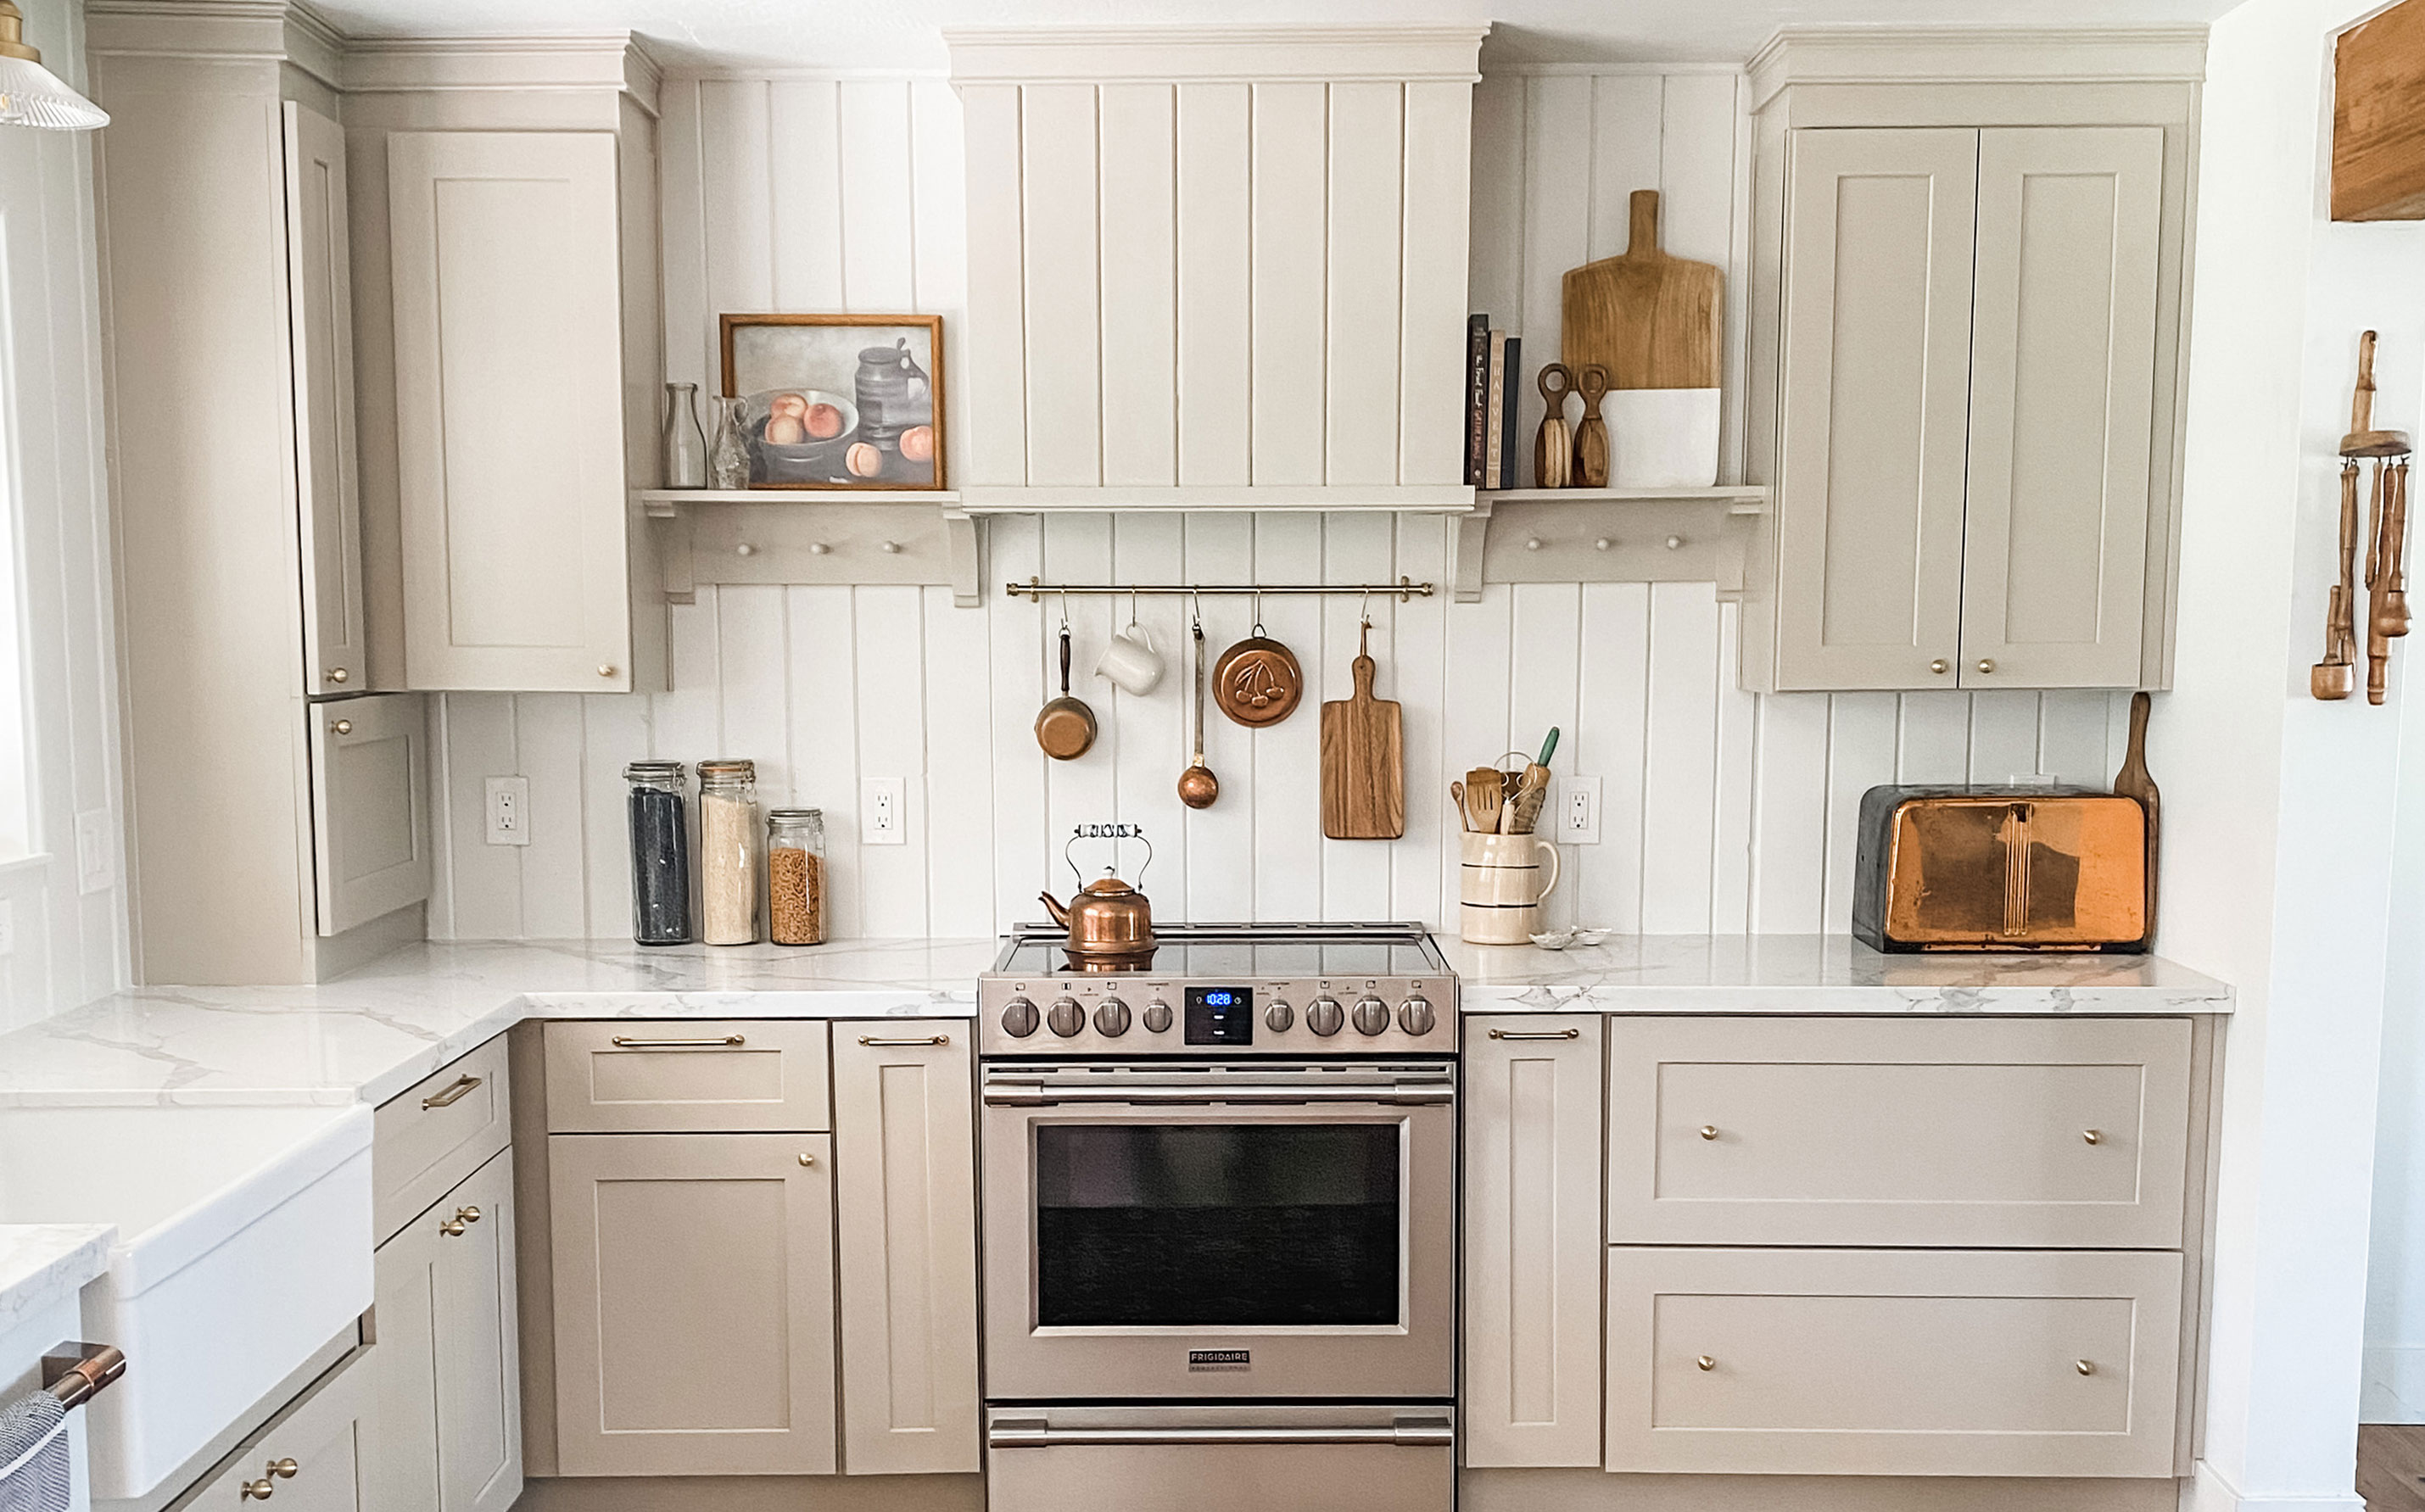 My DIY range hood and backsplash build gave my kitchen the perfect farmhouse finish
I craved charm in my kitchen space and adding a custom range hood and shelving was the best move.
By Brooke Waite Published
-
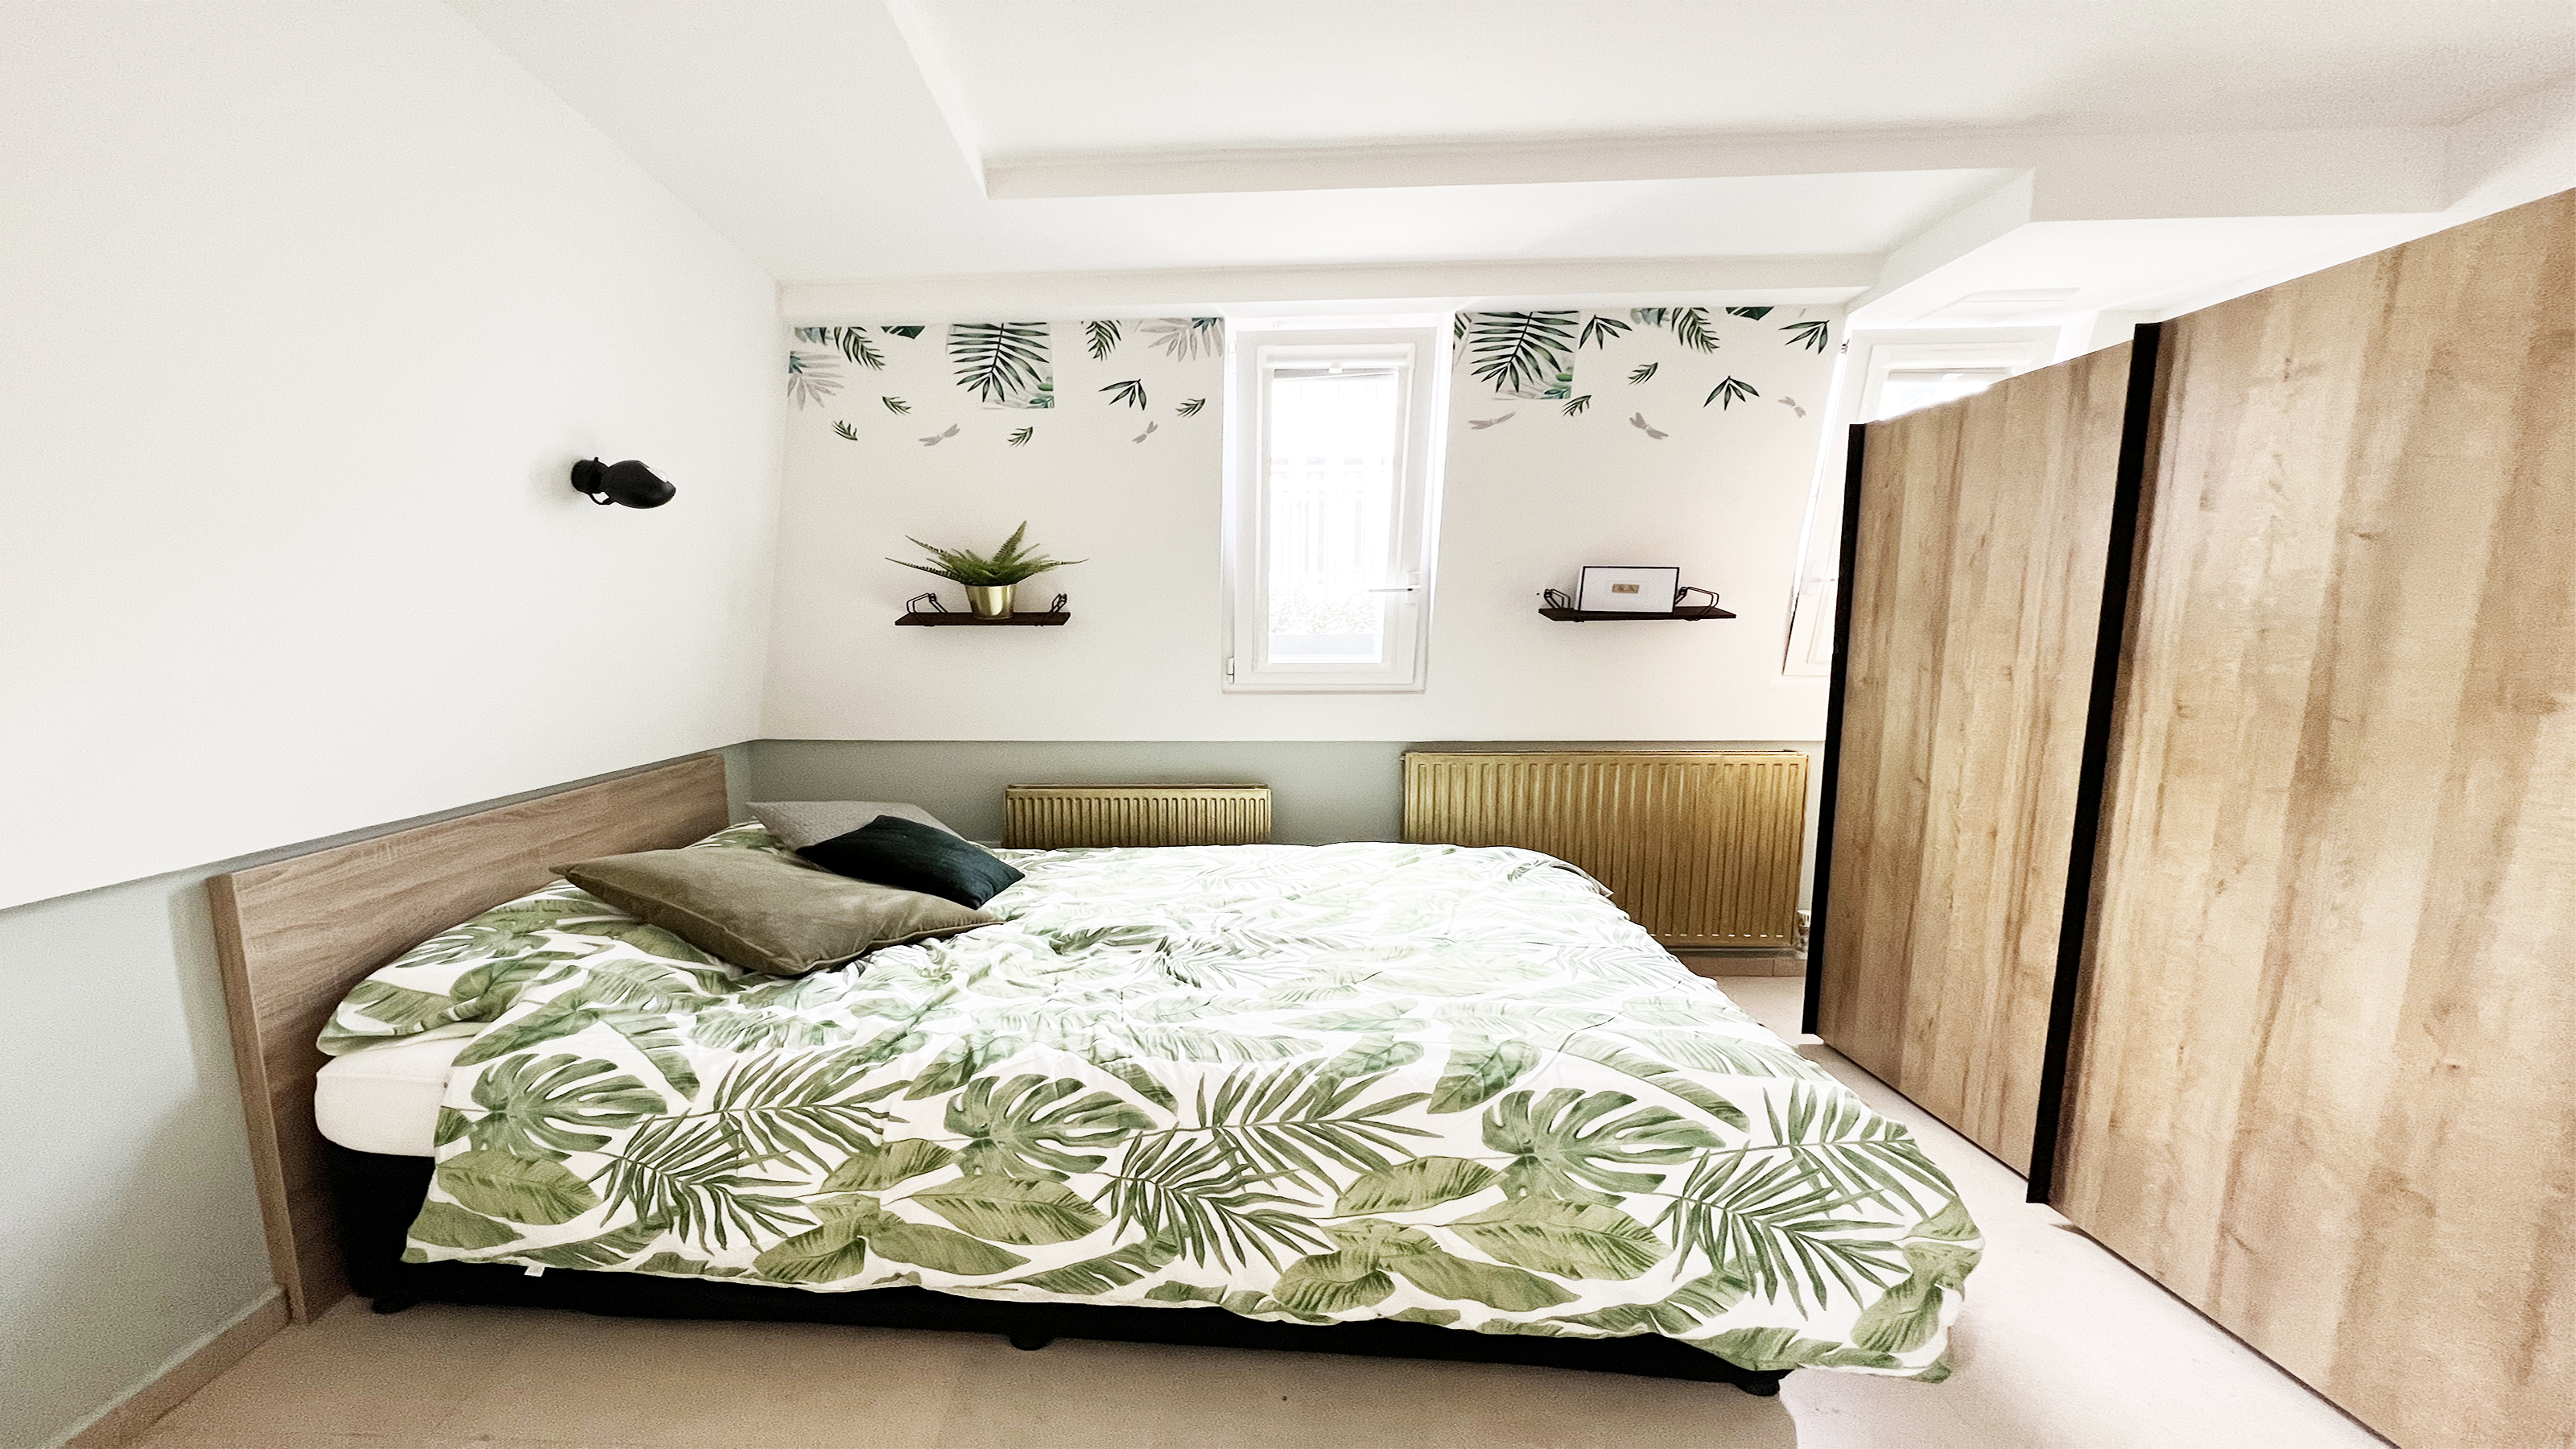 How to paint a radiator in 7 steps
Painting radiators properly is all about choosing the right paint and the best process. Get interior designer-worthy results with our how-to.
By Kate Sandhu Published
-
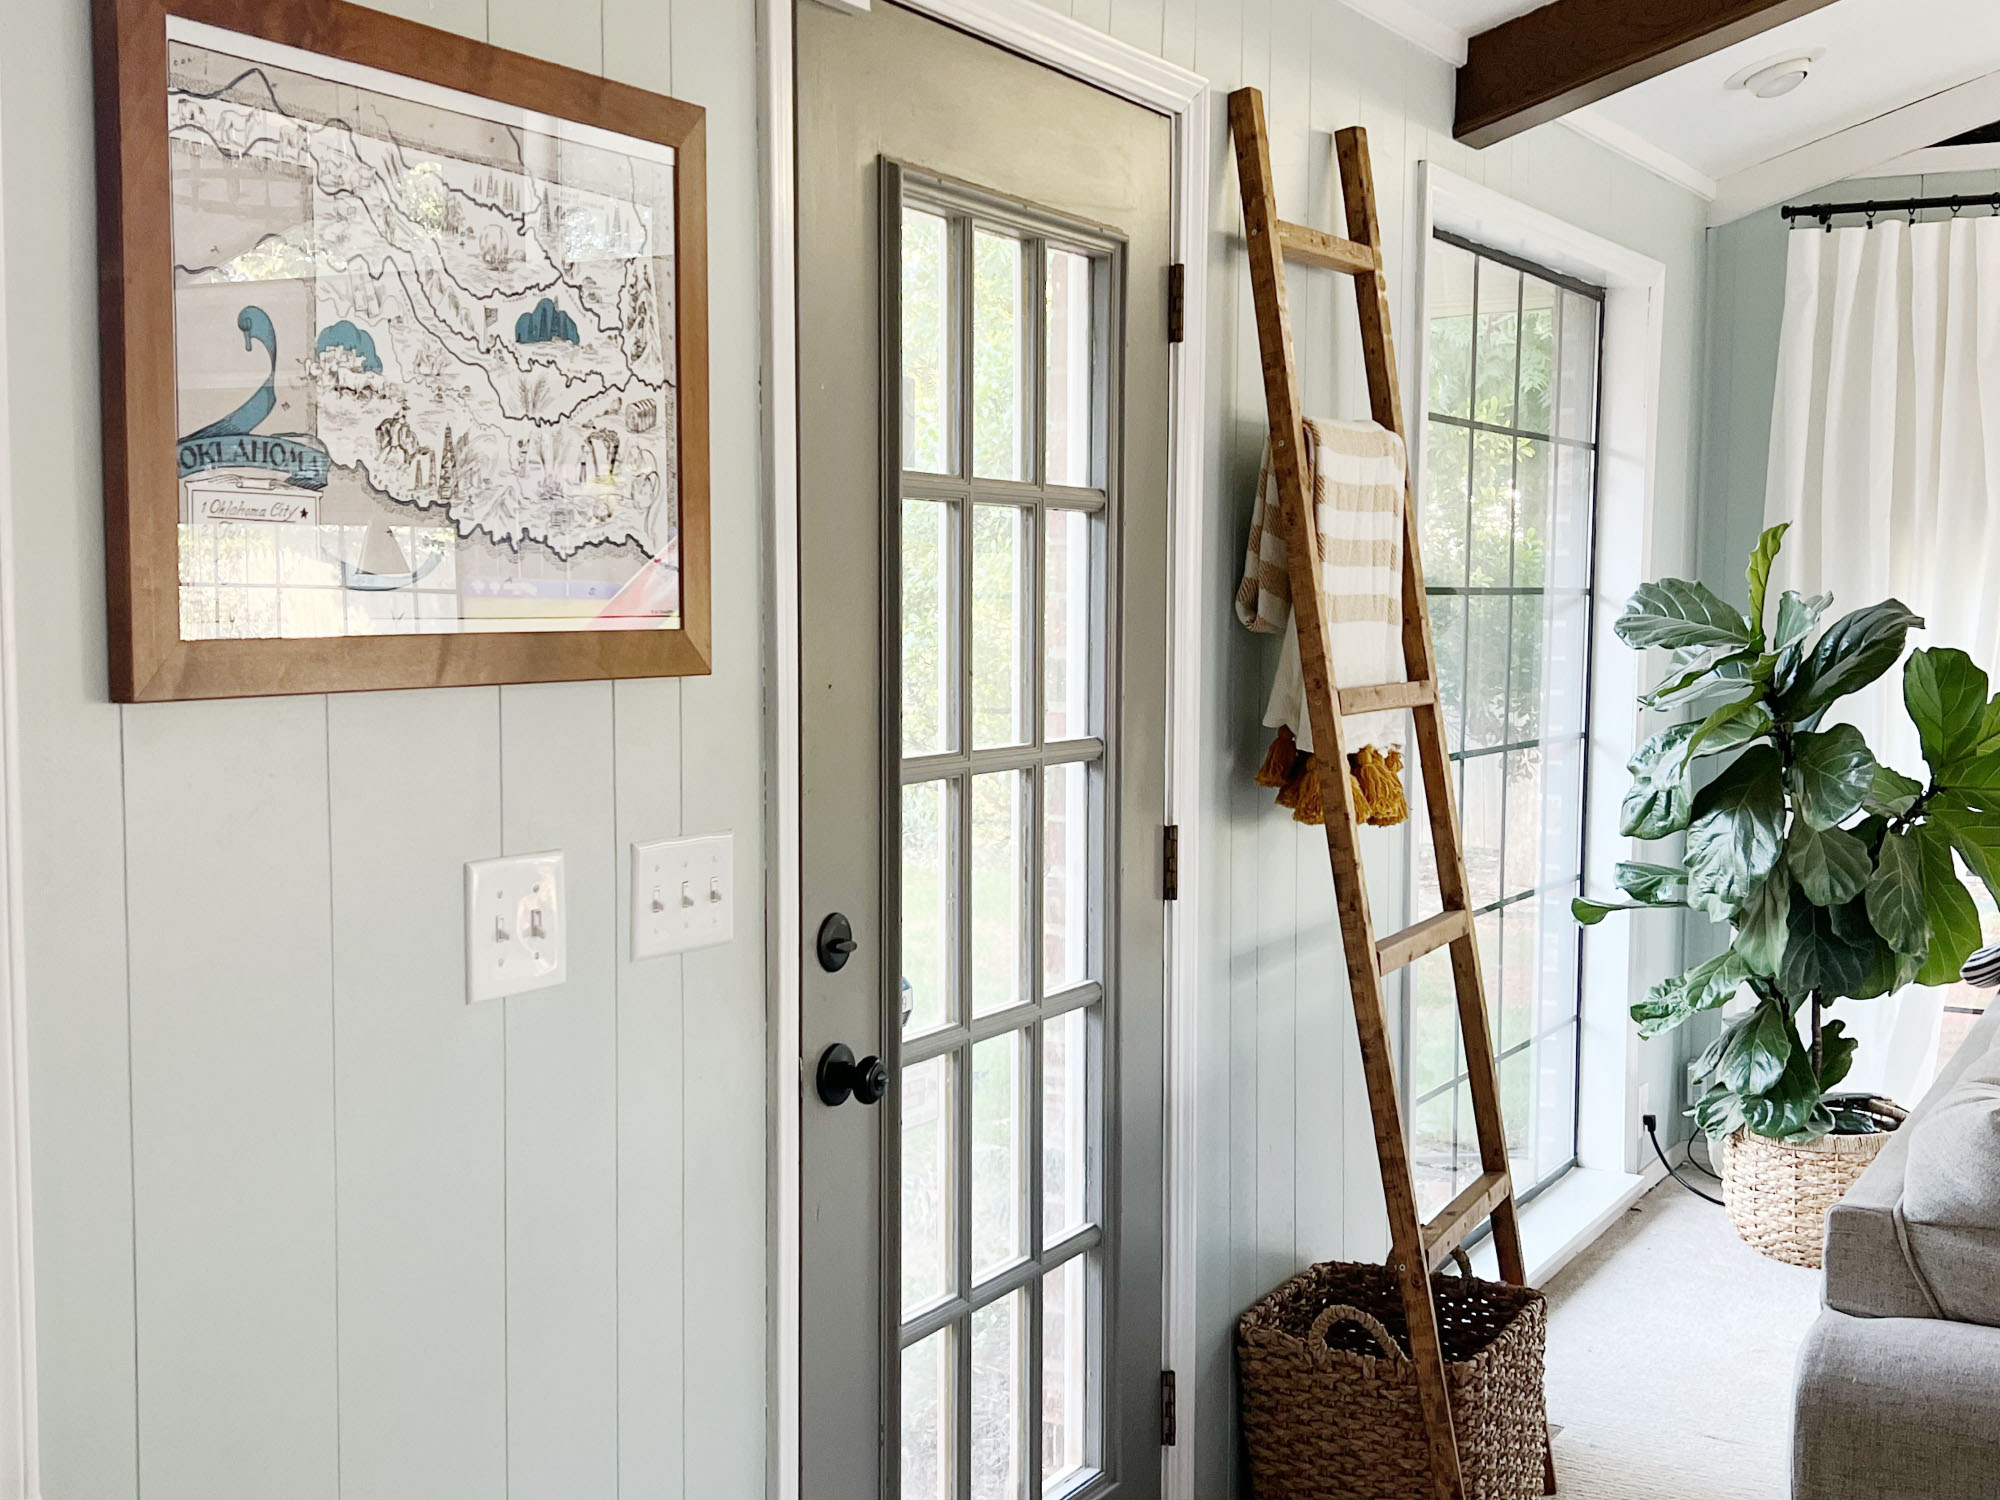 How to install a door knob
Updating your interior and exterior doors can be as easy as changing out the hardware! The best part is that installing a door knob is very DIY friendly. Follow these simple steps and enjoy a fresh look on your doors!
By Dori Turner Published