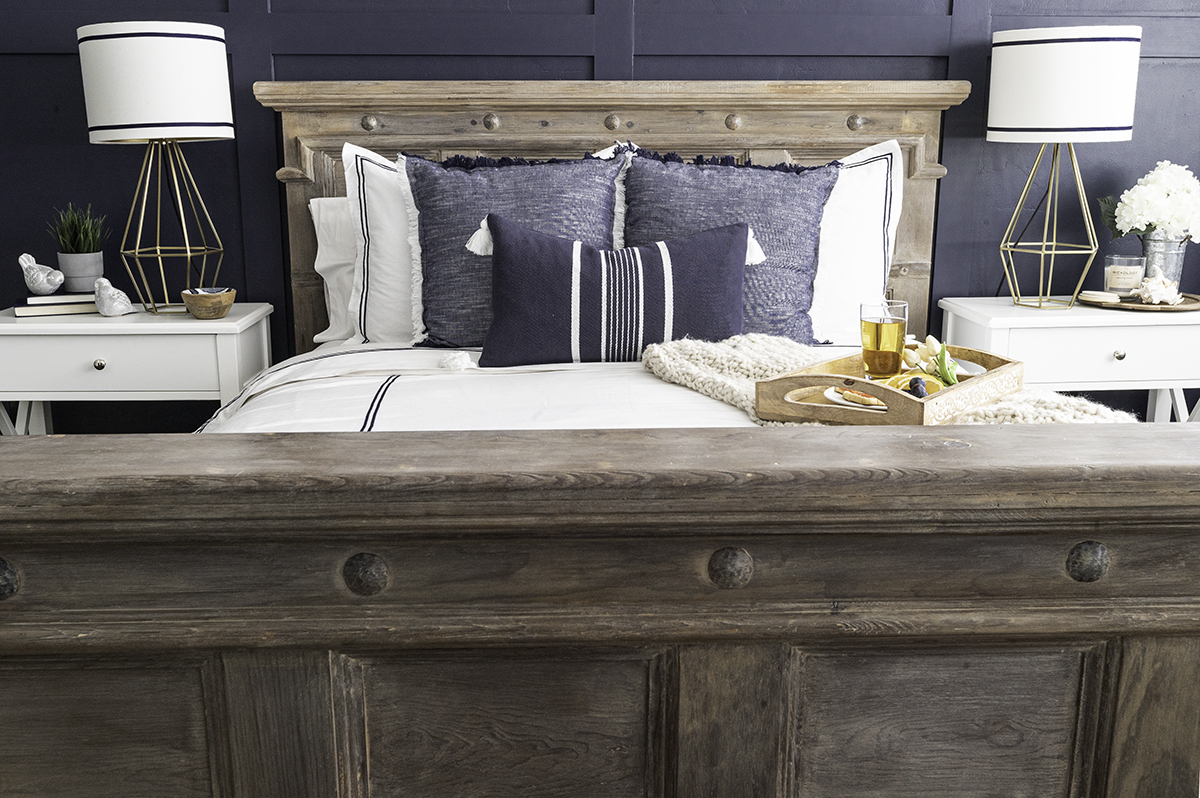
Restoration Hardware has been setting lust-worthy design trends for years. But as much as we love getting their catalogue in the mail, their high-end price points mean our buyer journey usually ends there.
Thus, when we discovered that a Restoration Hardware-style master bed (yep, that's it, above) was just a DIY project away we couldn't wait to get our hands on the how-to. So, with some expert advice from the DIY junkies at Sunny Side Design we've put together a nifty how-to guide!
Achieving designer looks on a budget has never been easier. All you'll need is a wooden headboard and a handful of inexpensive supplies that you can pick up from your local home improvement store or online. We'll link to everything you'll need so it's all in one place and you can get started on your DIY project ASAP. Keep scrolling to check out the amazing before and after photos as well as our comprehensive guide so you can try it yourself.
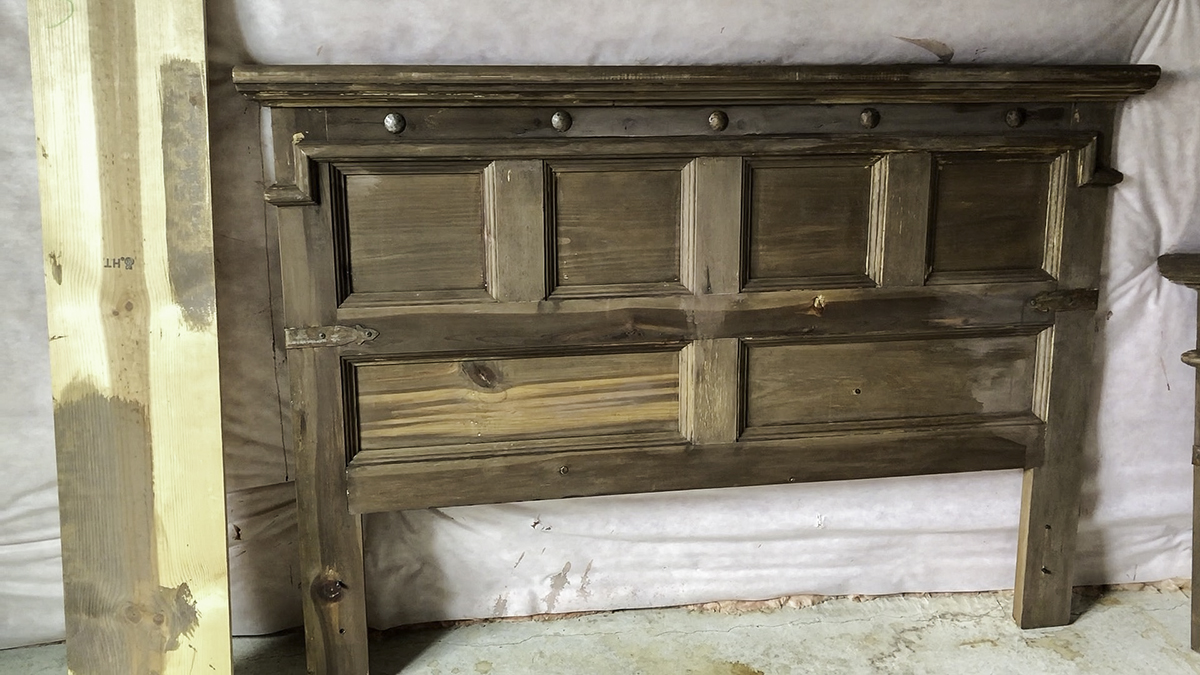
Transforming an old headboard into a Restoration Hardware-style master bed was a major revelation for mom and daughter DIY experts who confessed a long-term obsession for the company. The farmhouse, weathered aesthetic had long caught their collective eye but the price tag didn't match their budget. So, a brainwave moment occurred: they had an old solid pine bed in the basement that was in need of some TLC... Why not spend $30 on supplies, revamp the tired headboard and recreate a $3000 Restoration Hardware-style bed instead!?
The Before
Supplies they used:
- Paint brush
- Jasco paint and epoxy remover
- Steel wool pads (0000)
- Sandpaper
- Toothbrush
- Paper towels
- Vinegar
- White wax
- Waxing brush
- Cotton rag (could be an old t-shirt)
Step by step guide:
Step 1: The preparation stage
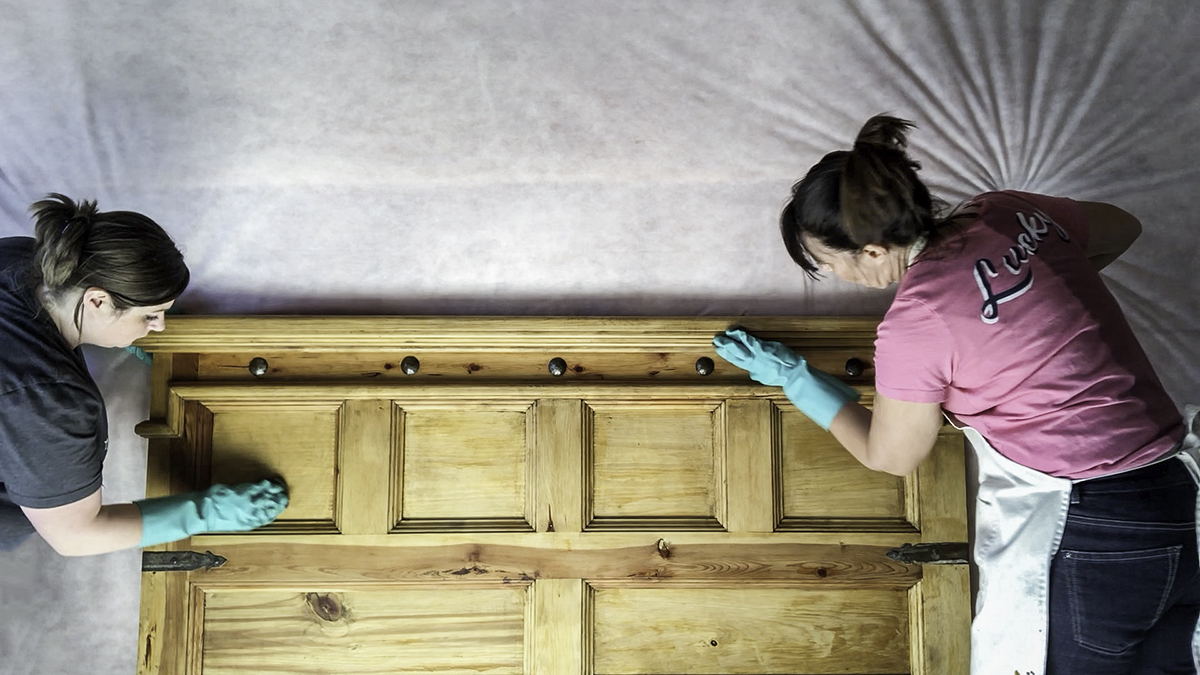
Firstly, your headboard's original finish will need to be removed to accept the new stain. This can be done by sanding the furniture or using a paint and epoxy remover. The goal here is to have a blank canvas with a flat look.
Top tip: These DIY experts used Jasco paint and epoxy remover to strip the original finish. They stress the importance of taking safety precautions such as wearing chemical gloves and goggles as well as pouring the stripper into a glass or metal container because of its strength!
Join our newsletter
Get small space home decor ideas, celeb inspiration, DIY tips and more, straight to your inbox!
Step 2: The stain
Place a fine grit steel wool pad in an old mason jar, fill the jar with vinegar and leave to sit for at least three days. Then take your brush and paint the vinegar mixture onto the wood, watching it transform in a matter of minutes.
Top tip: Test on a small area to see if the desired color is achieved. Different types of wood will stain differently.
Step 3: The finish
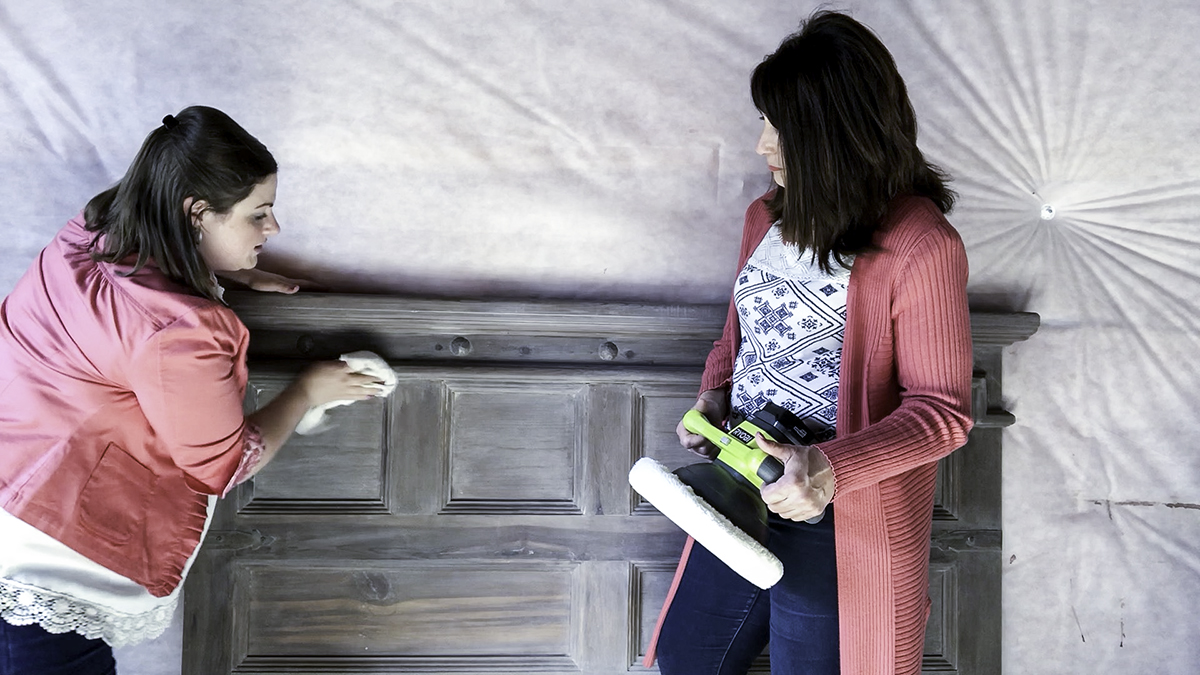
After the stain has dried, apply your white wax to achieve a weathered wood finish, creating depth and dimension. Allow the wax to dry, then buff with an old cotton rag.


That's it! We're so impressed with these amazing results and can't get over the price! For under $30 this is a no-brainer if you're after a designer look without breaking the bank. Cottage core style is so in right now and this rustic alternative to buying a brand new bed is ticking every box!
A super simple, affordable and rewarding home DIY project that will totally transform your bedroom space and refresh an old piece of furniture.
Want more craft projects or step by step weekend projects you can get stuck into? Visit our hub pages for loads of inspo.
Plus, for more tips on how to paint furniture and a roundup of the best paint for furniture, we've put in the legwork so that you don't have to!
Niamh is a freelance journalist and the Head of Content at Raft Furniture. She is obsessed with all things interior design, with a particular focus on sustainability and city-dweller style. The wooden floorboards and built-in bookcase in Niamh’s rented North London home occupy her daydreams between writing, and after work, she has a knack for finding cheap plane tickets.
-
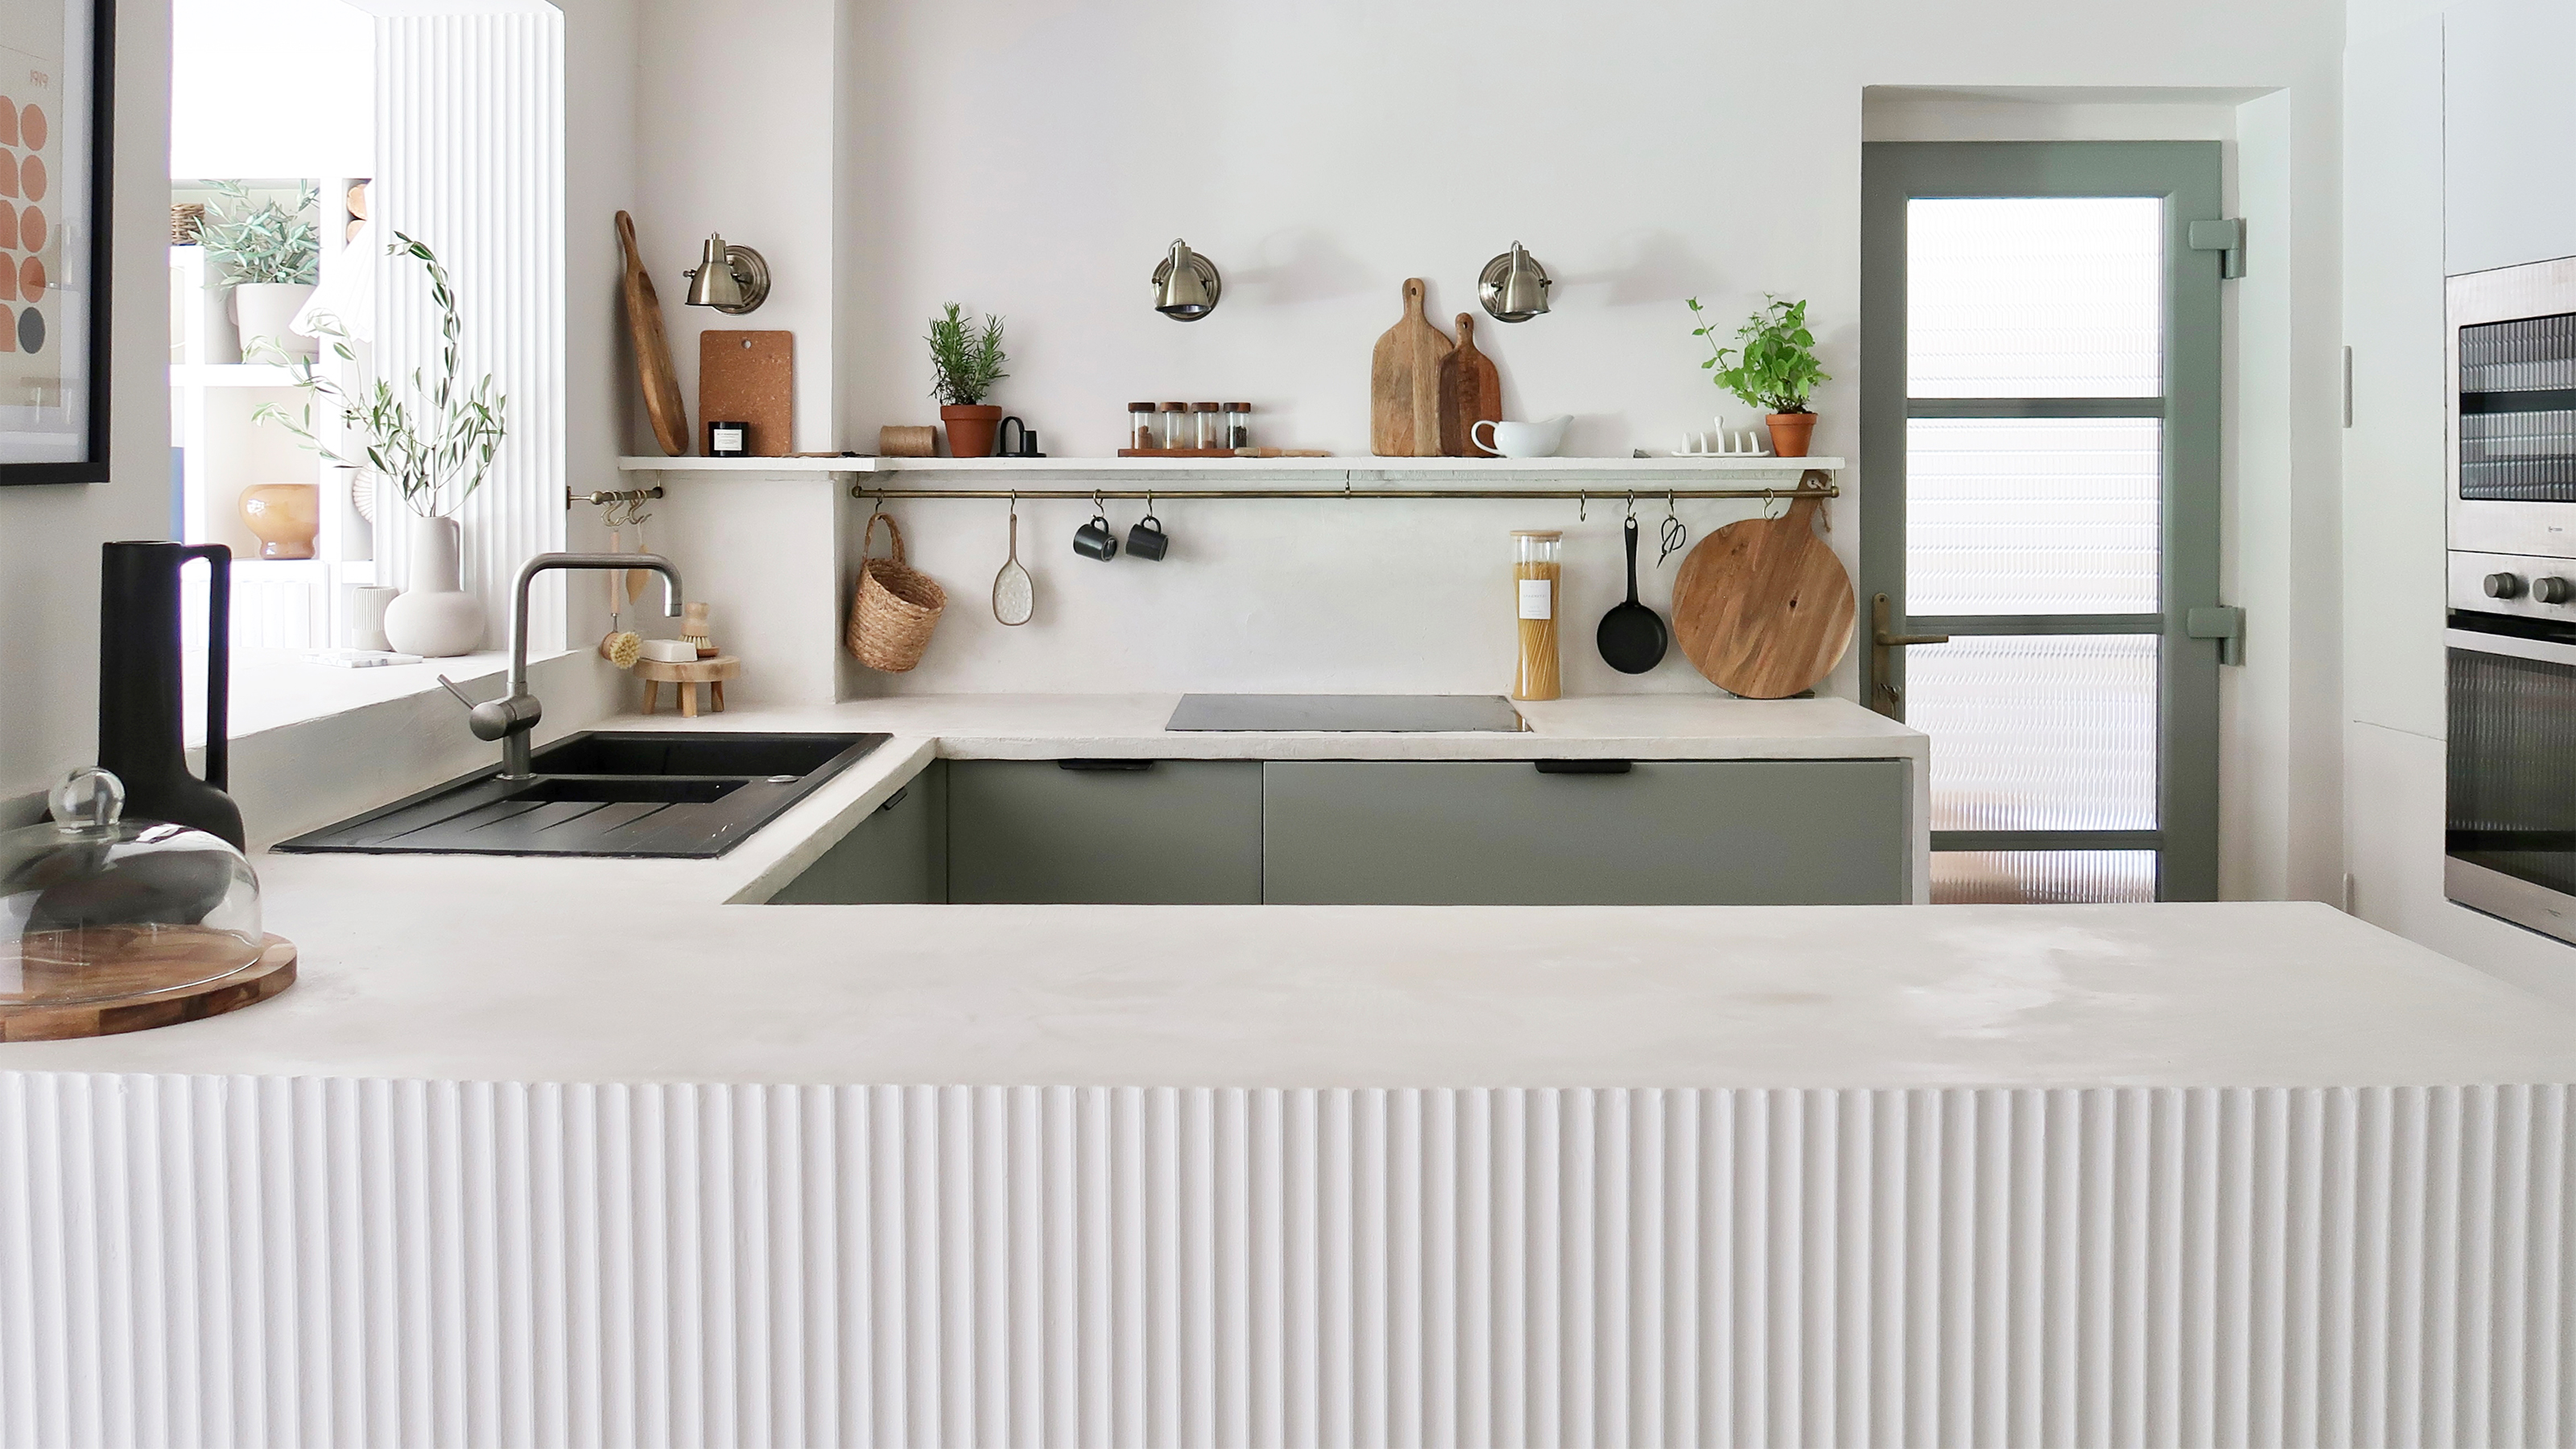 A $200 fluted panel transformed my drab kitchen in just one weekend
How to install a fluted kitchen panel: A speedy and achievable DIY tutorial even for DIY novices
By Claire Douglas Published
-
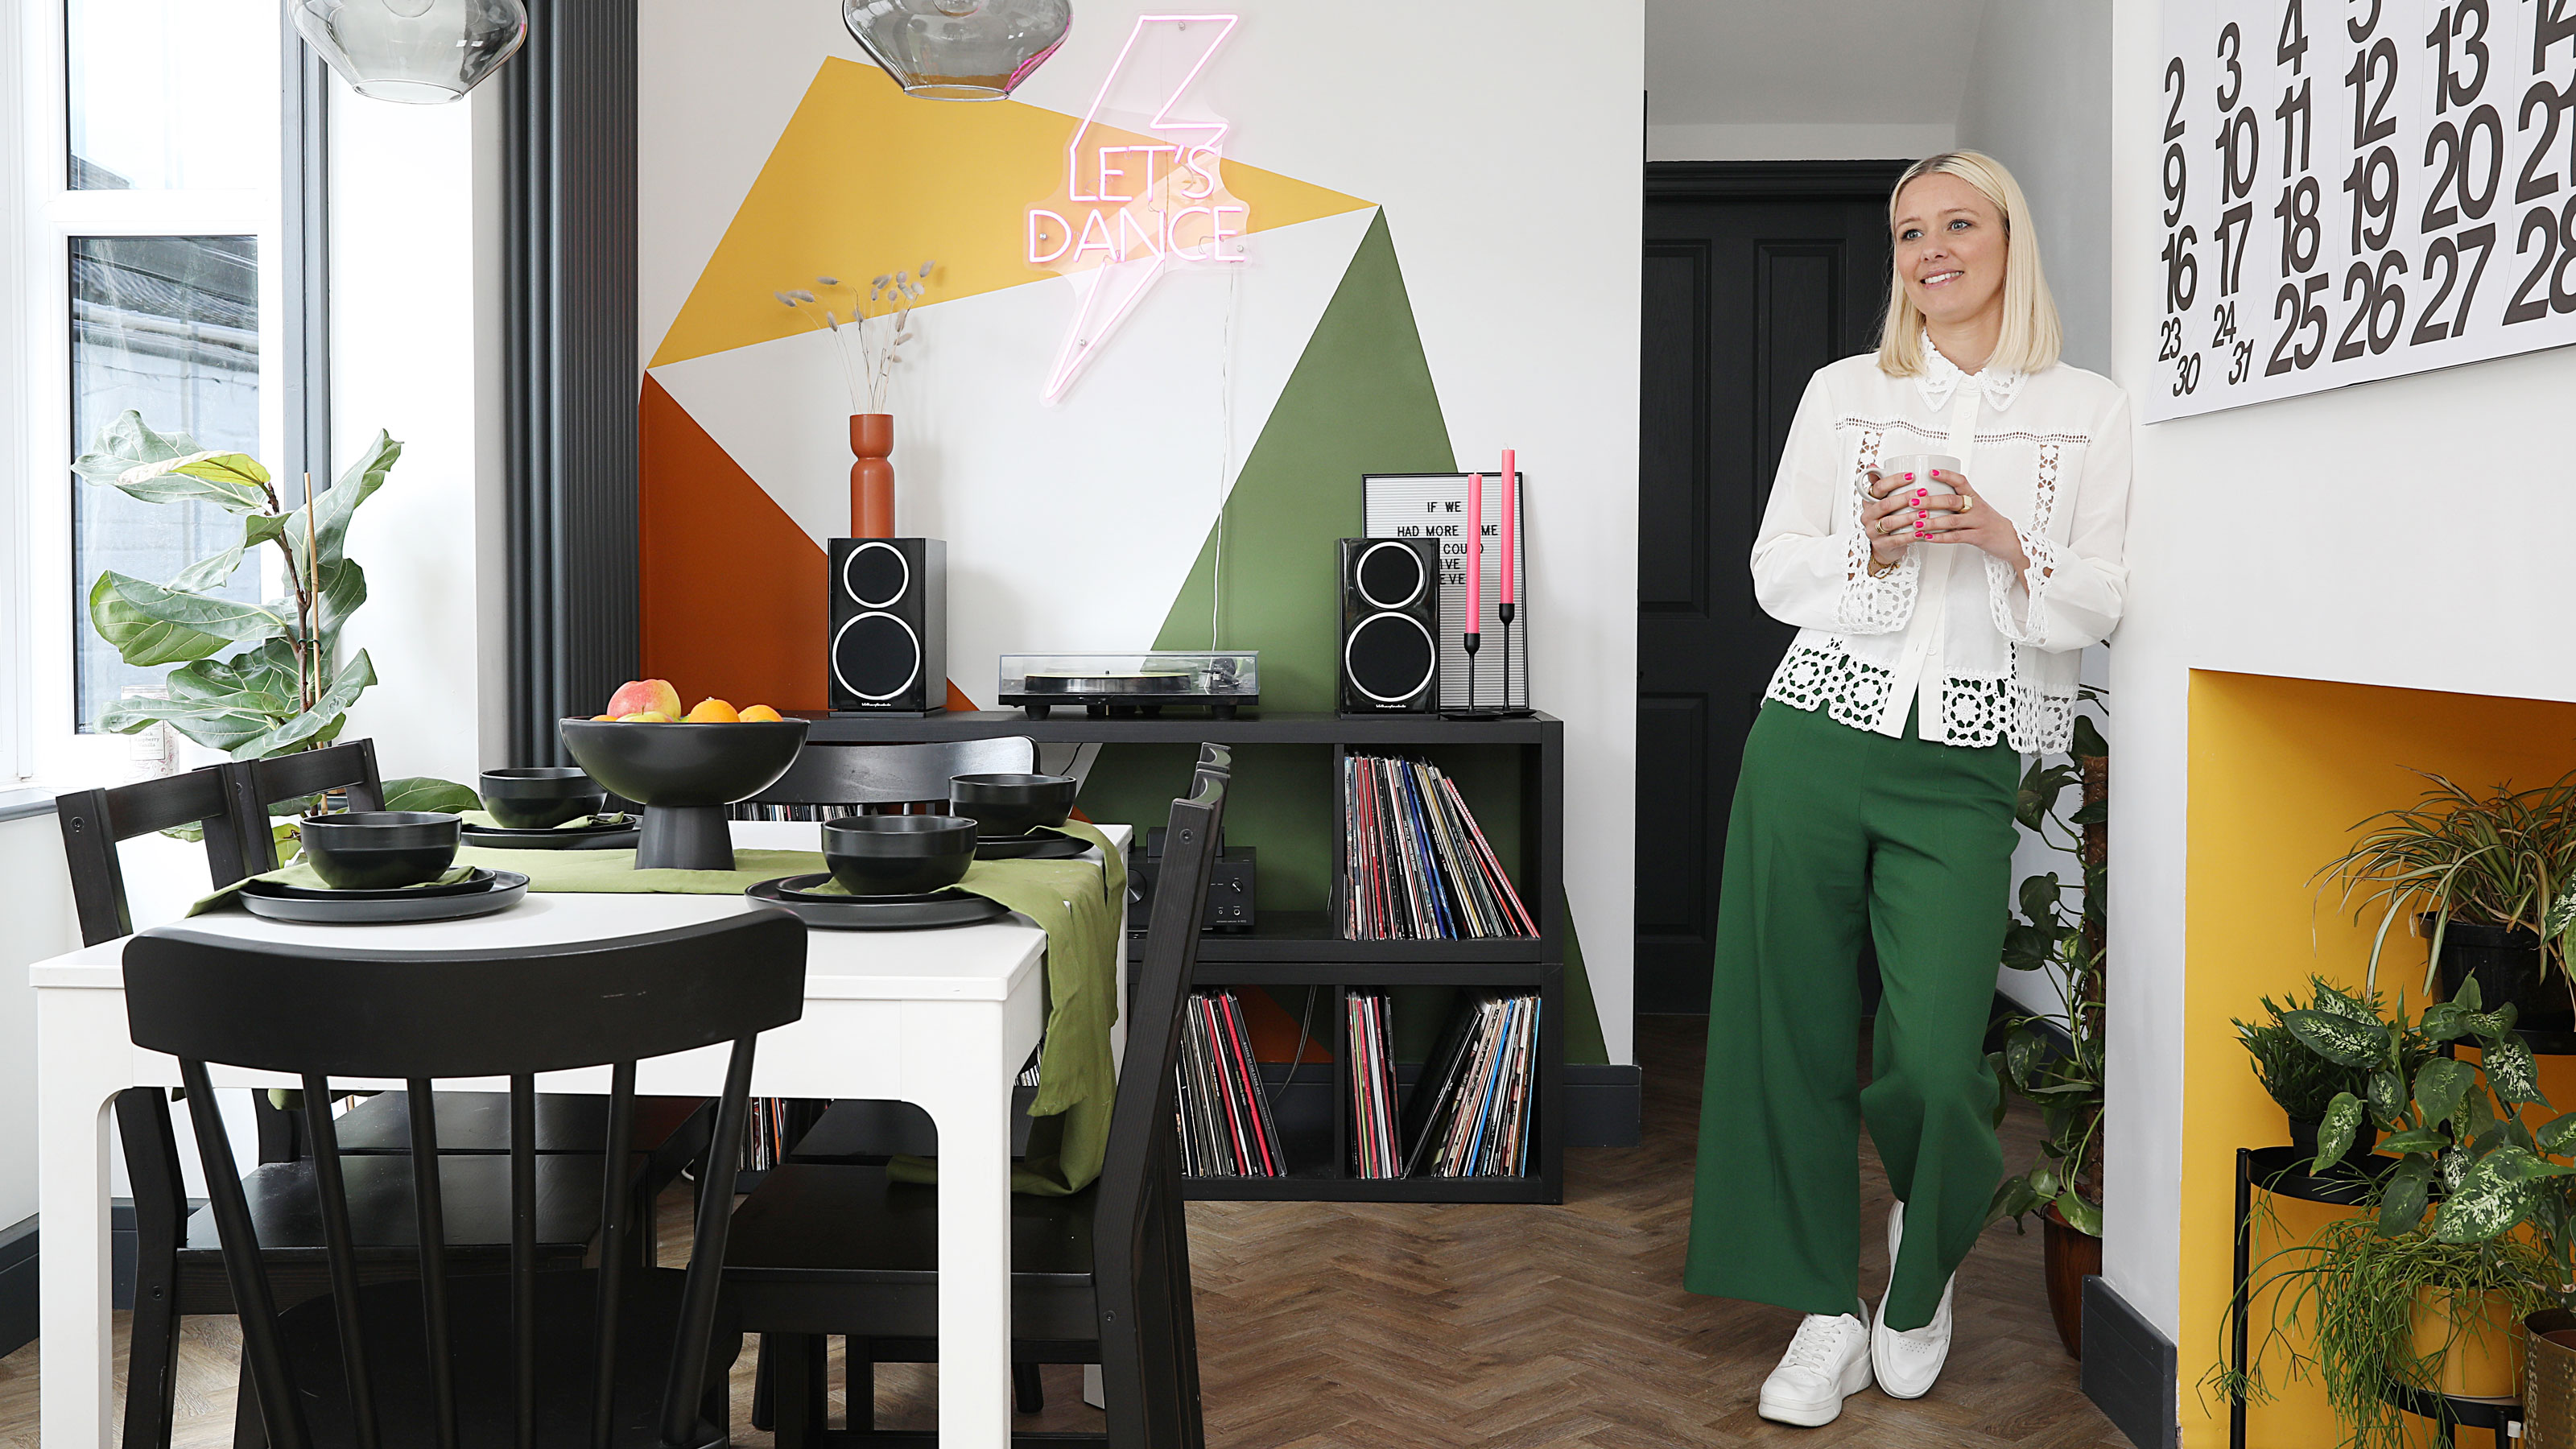 This colourful home makeover has space for kitchen discos
While the front of Leila and Joe's home features dark and moody chill-out spaces, the rest is light and bright and made for socialising
By Karen Wilson Published
-
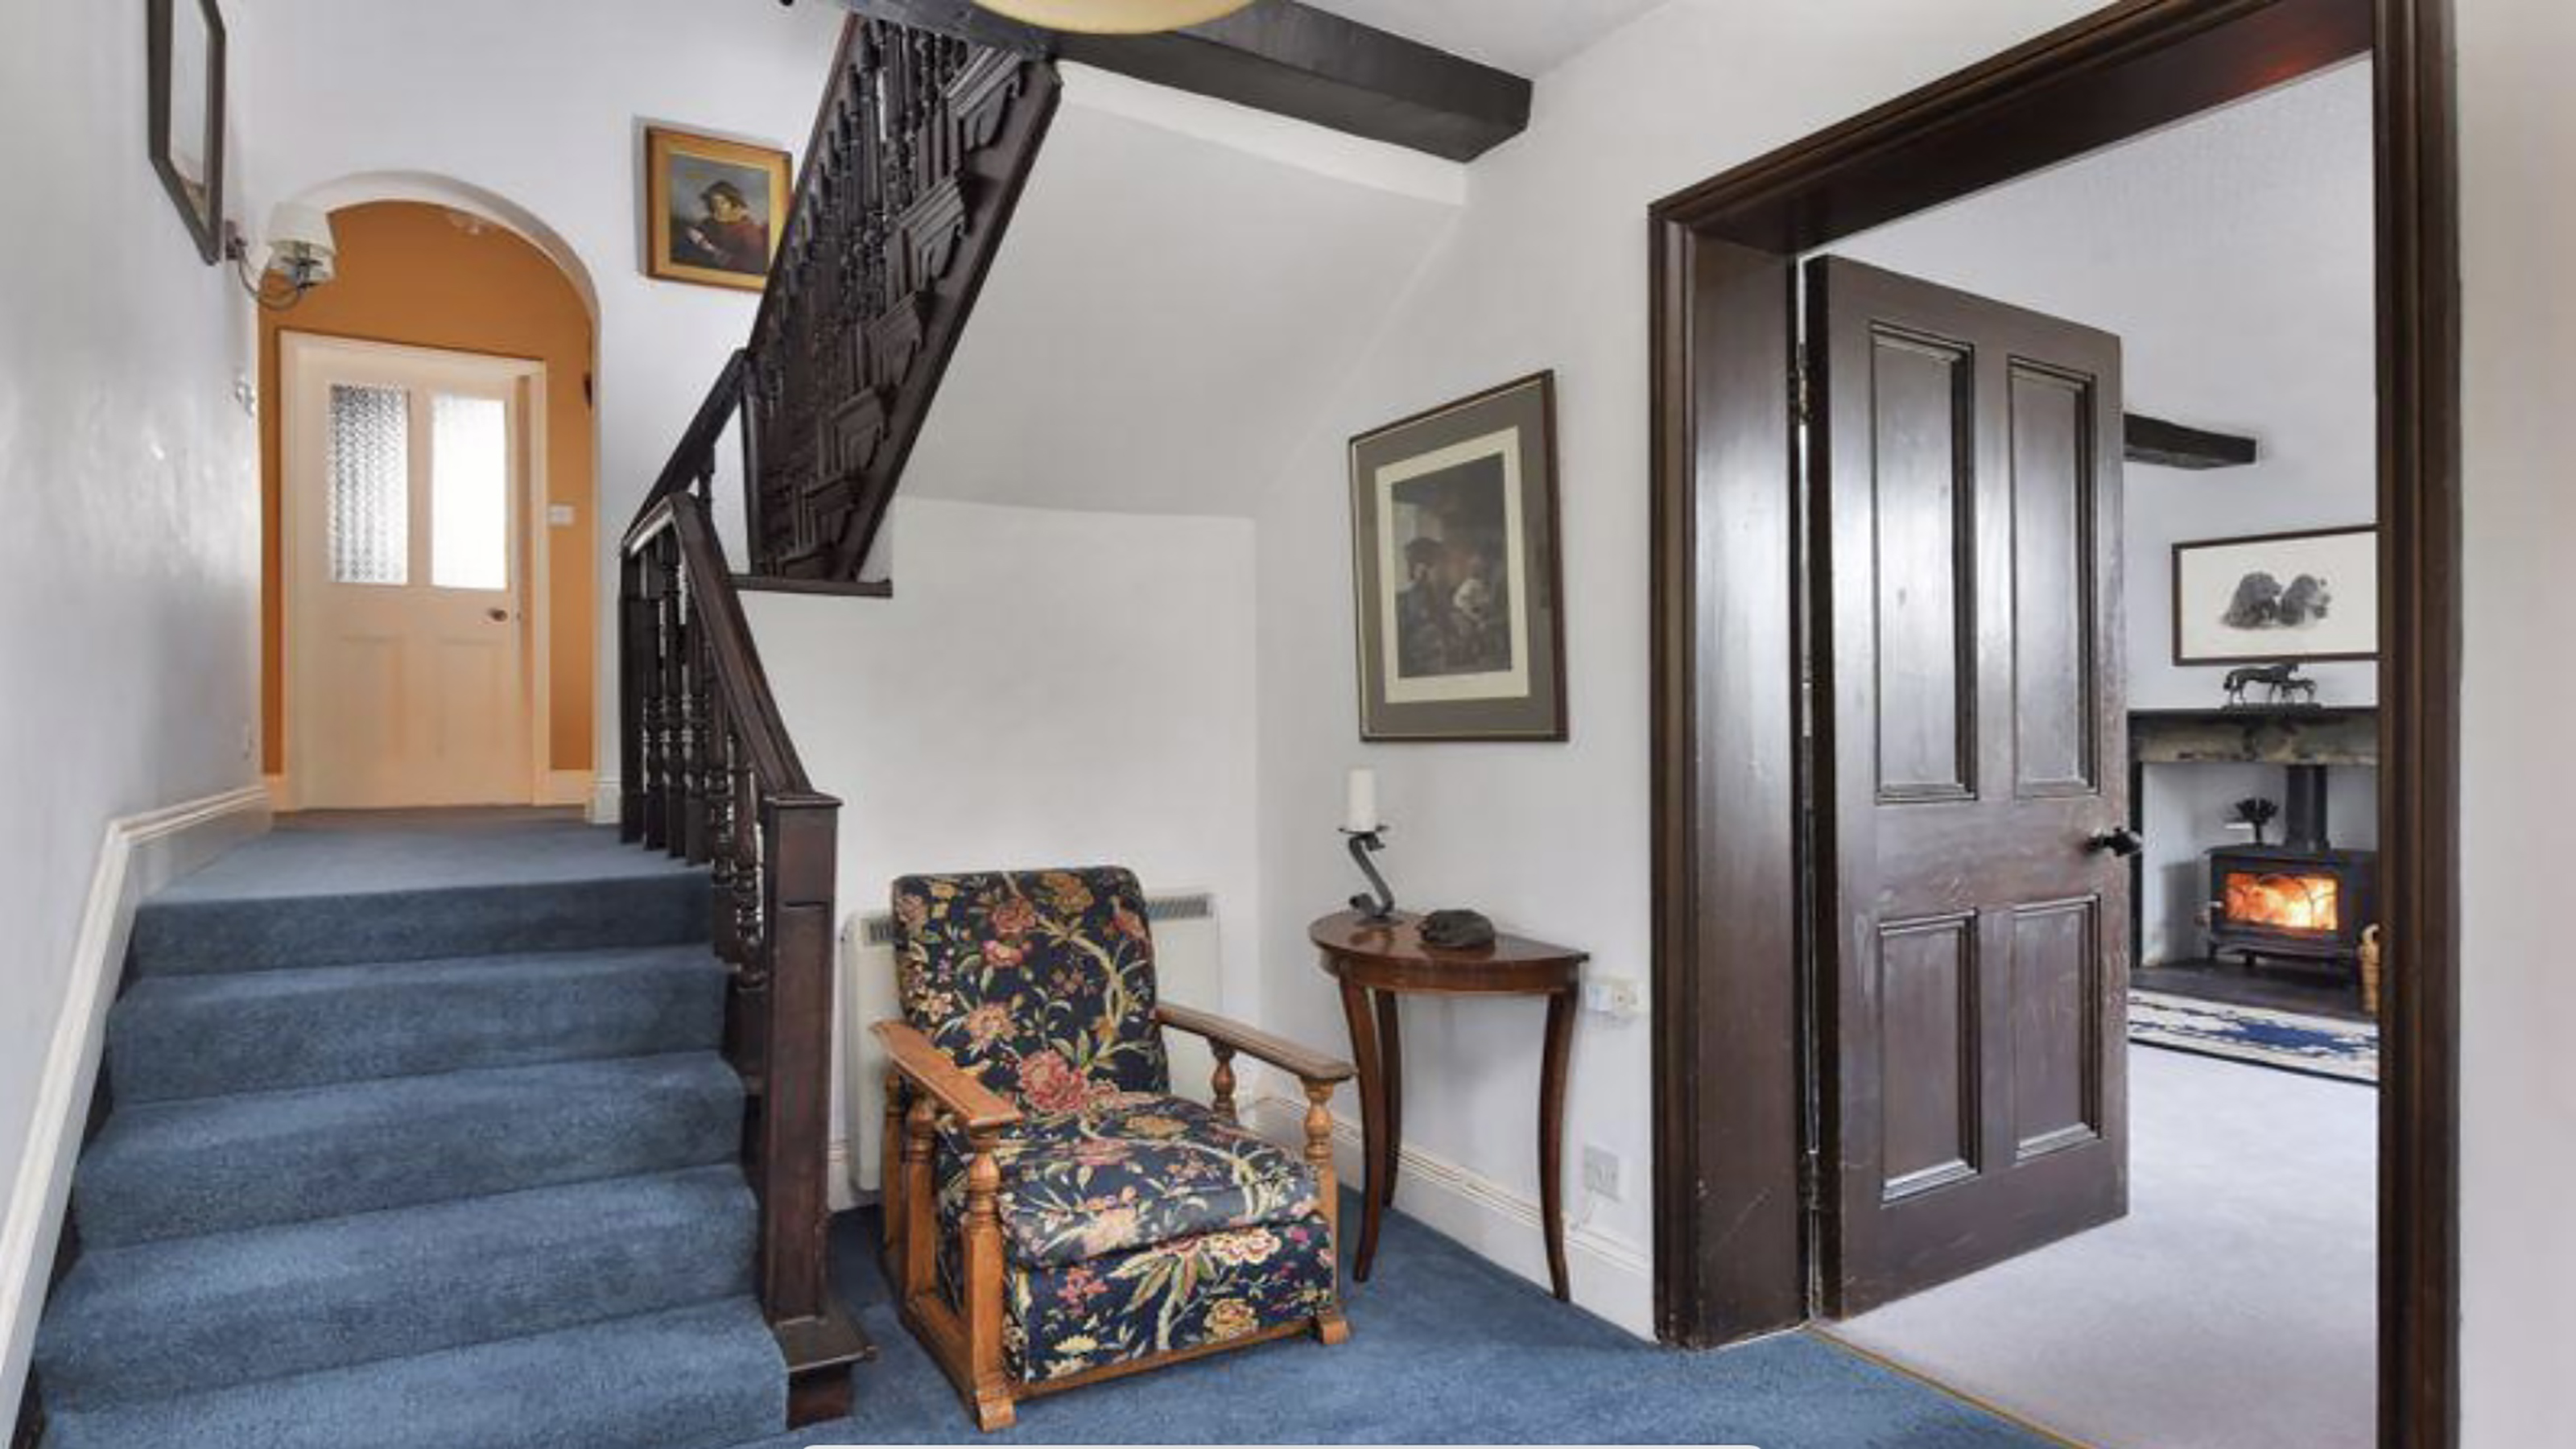 How to replace a broken staircase spindle in 30 minutes flat
A missing or broken spindle on a staircase is not only unsightly, but it can be a real hazard. This is how to fix it in a few quick steps.
By Kate Sandhu Published
-
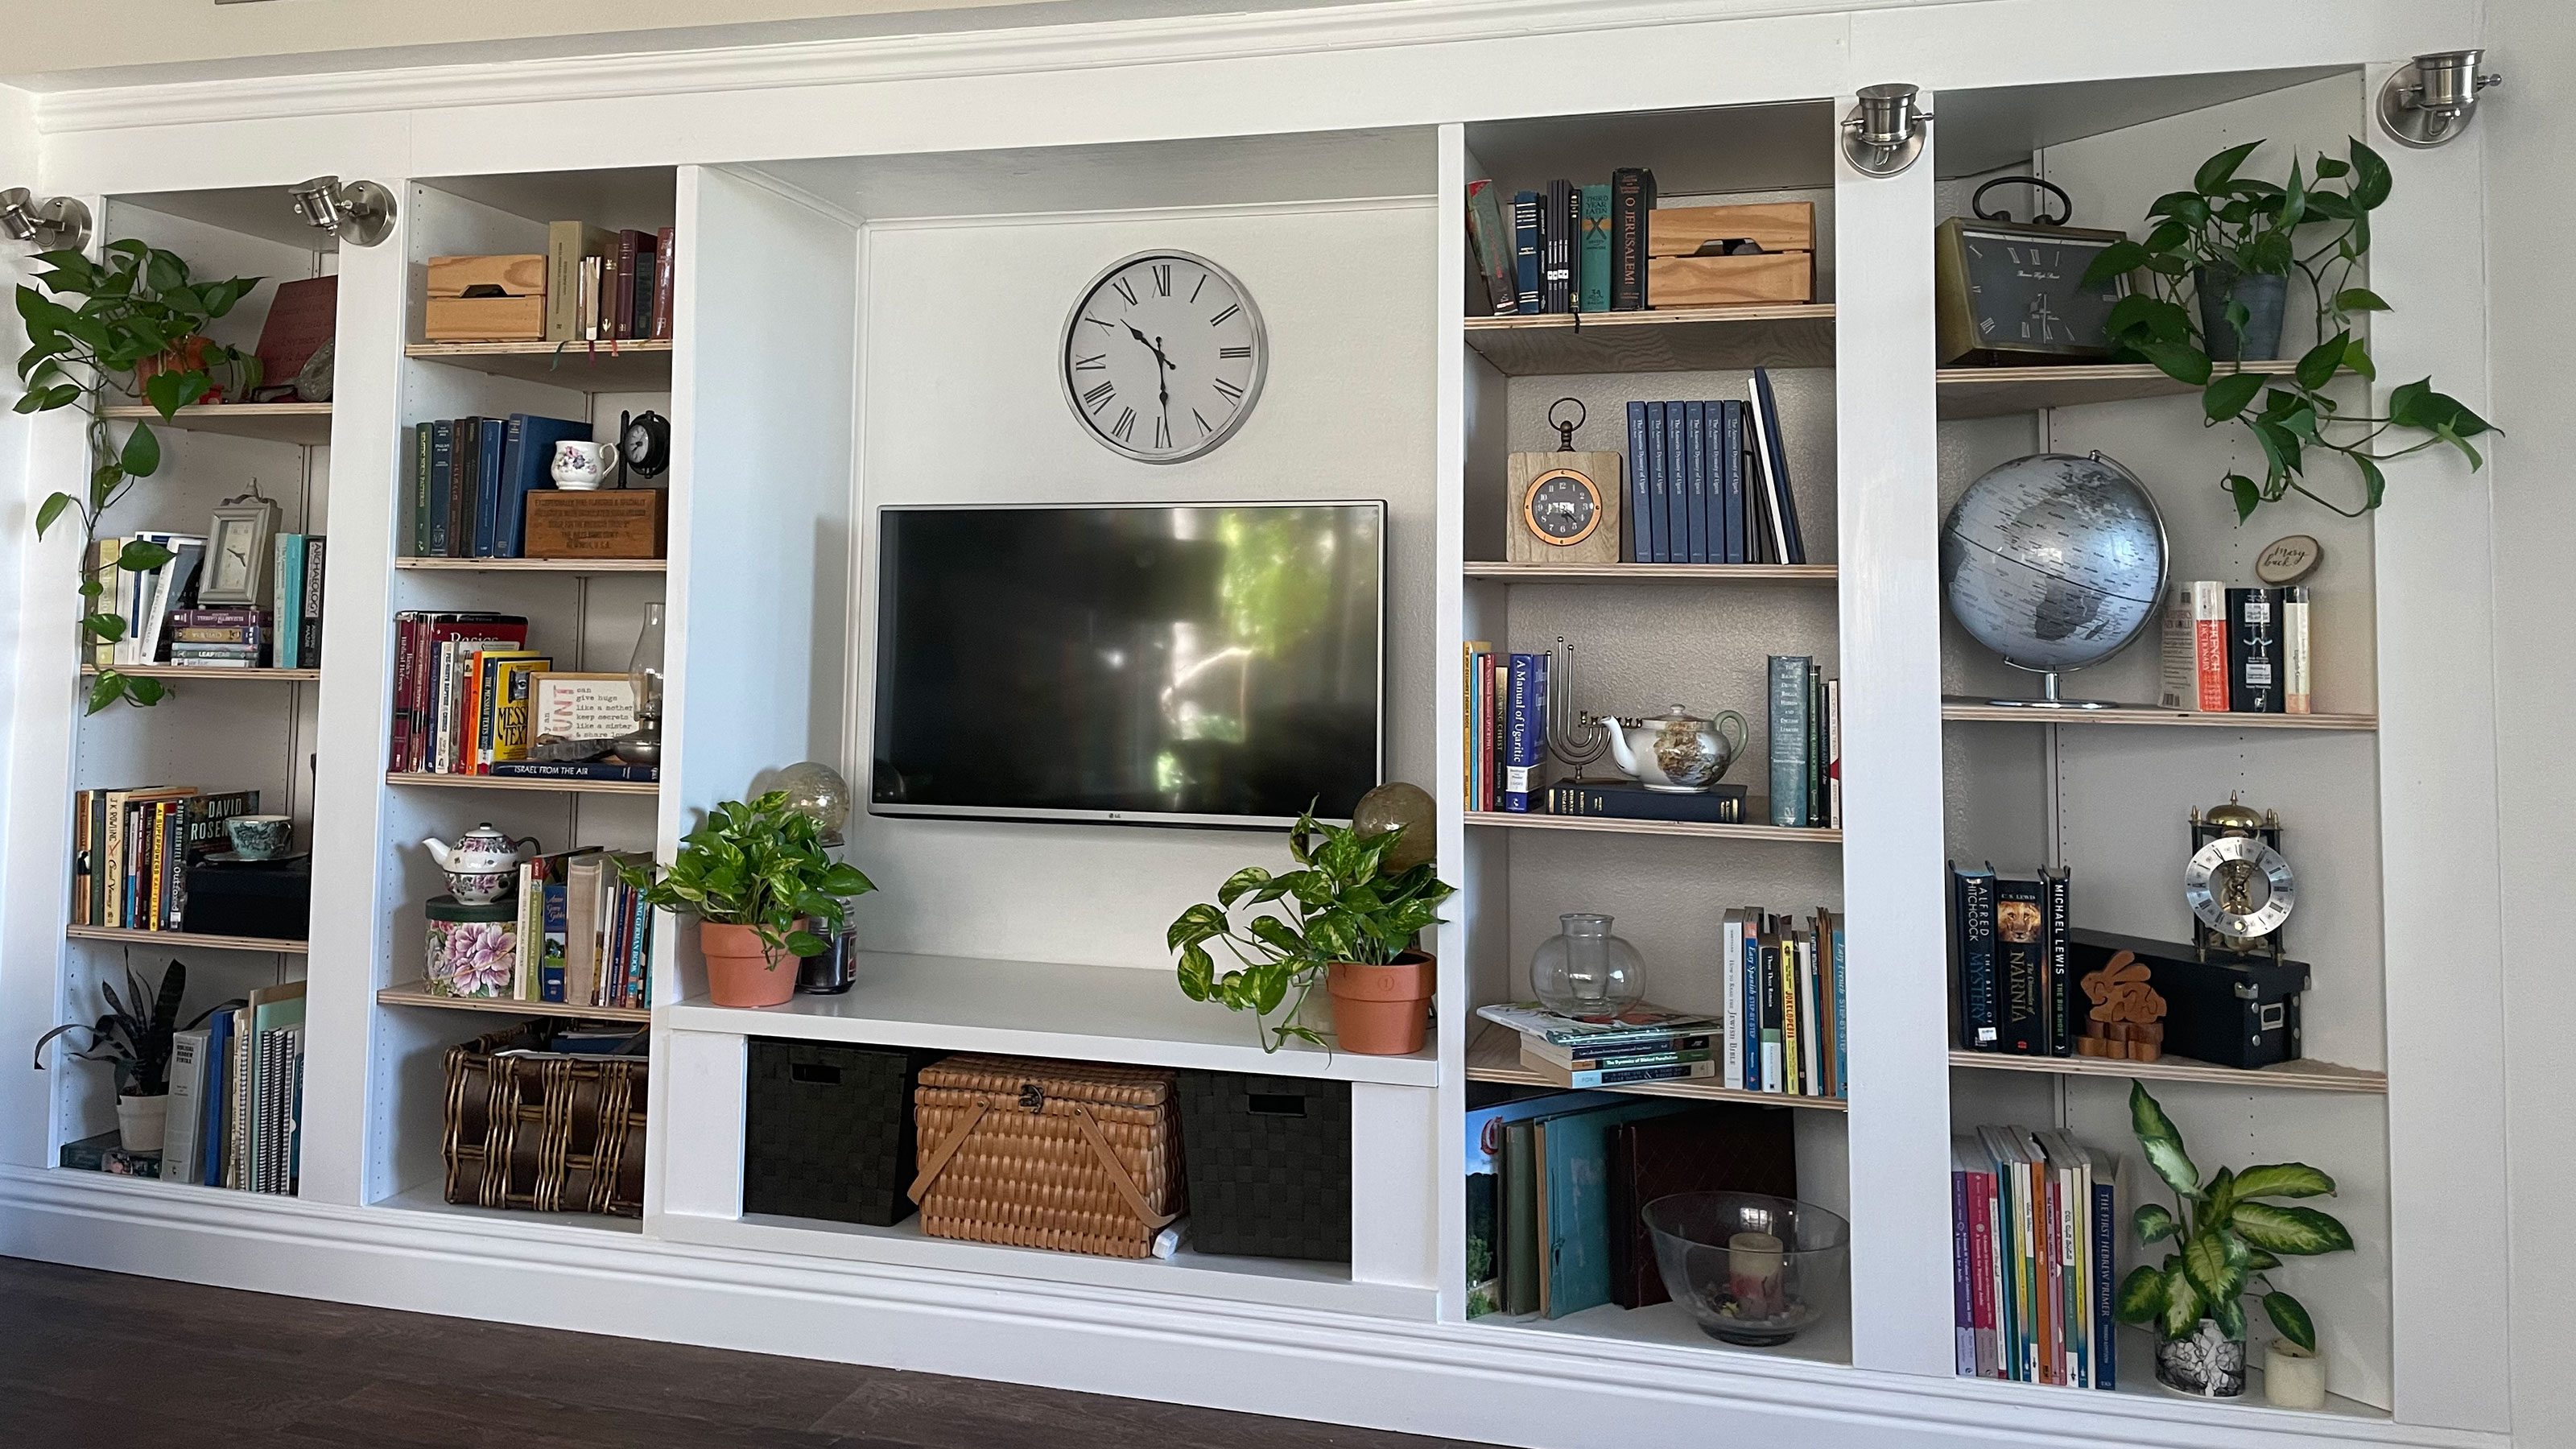 An IKEA Billy bookcase hack inspired this cute media wall DIY
This cute DIY was inspired by an IKEA Billy bookcase hack and brought a ton of symmetry to an otherwise basic media wall space.
By Camille Dubuis-Welch Published
-
 Share your small space glow up to win $150 in the Real Homes competition
Show off your creativity and DIY skills to win $150 and for the chance to be featured exclusively in Real Homes magazine
By Camille Dubuis-Welch Last updated
-
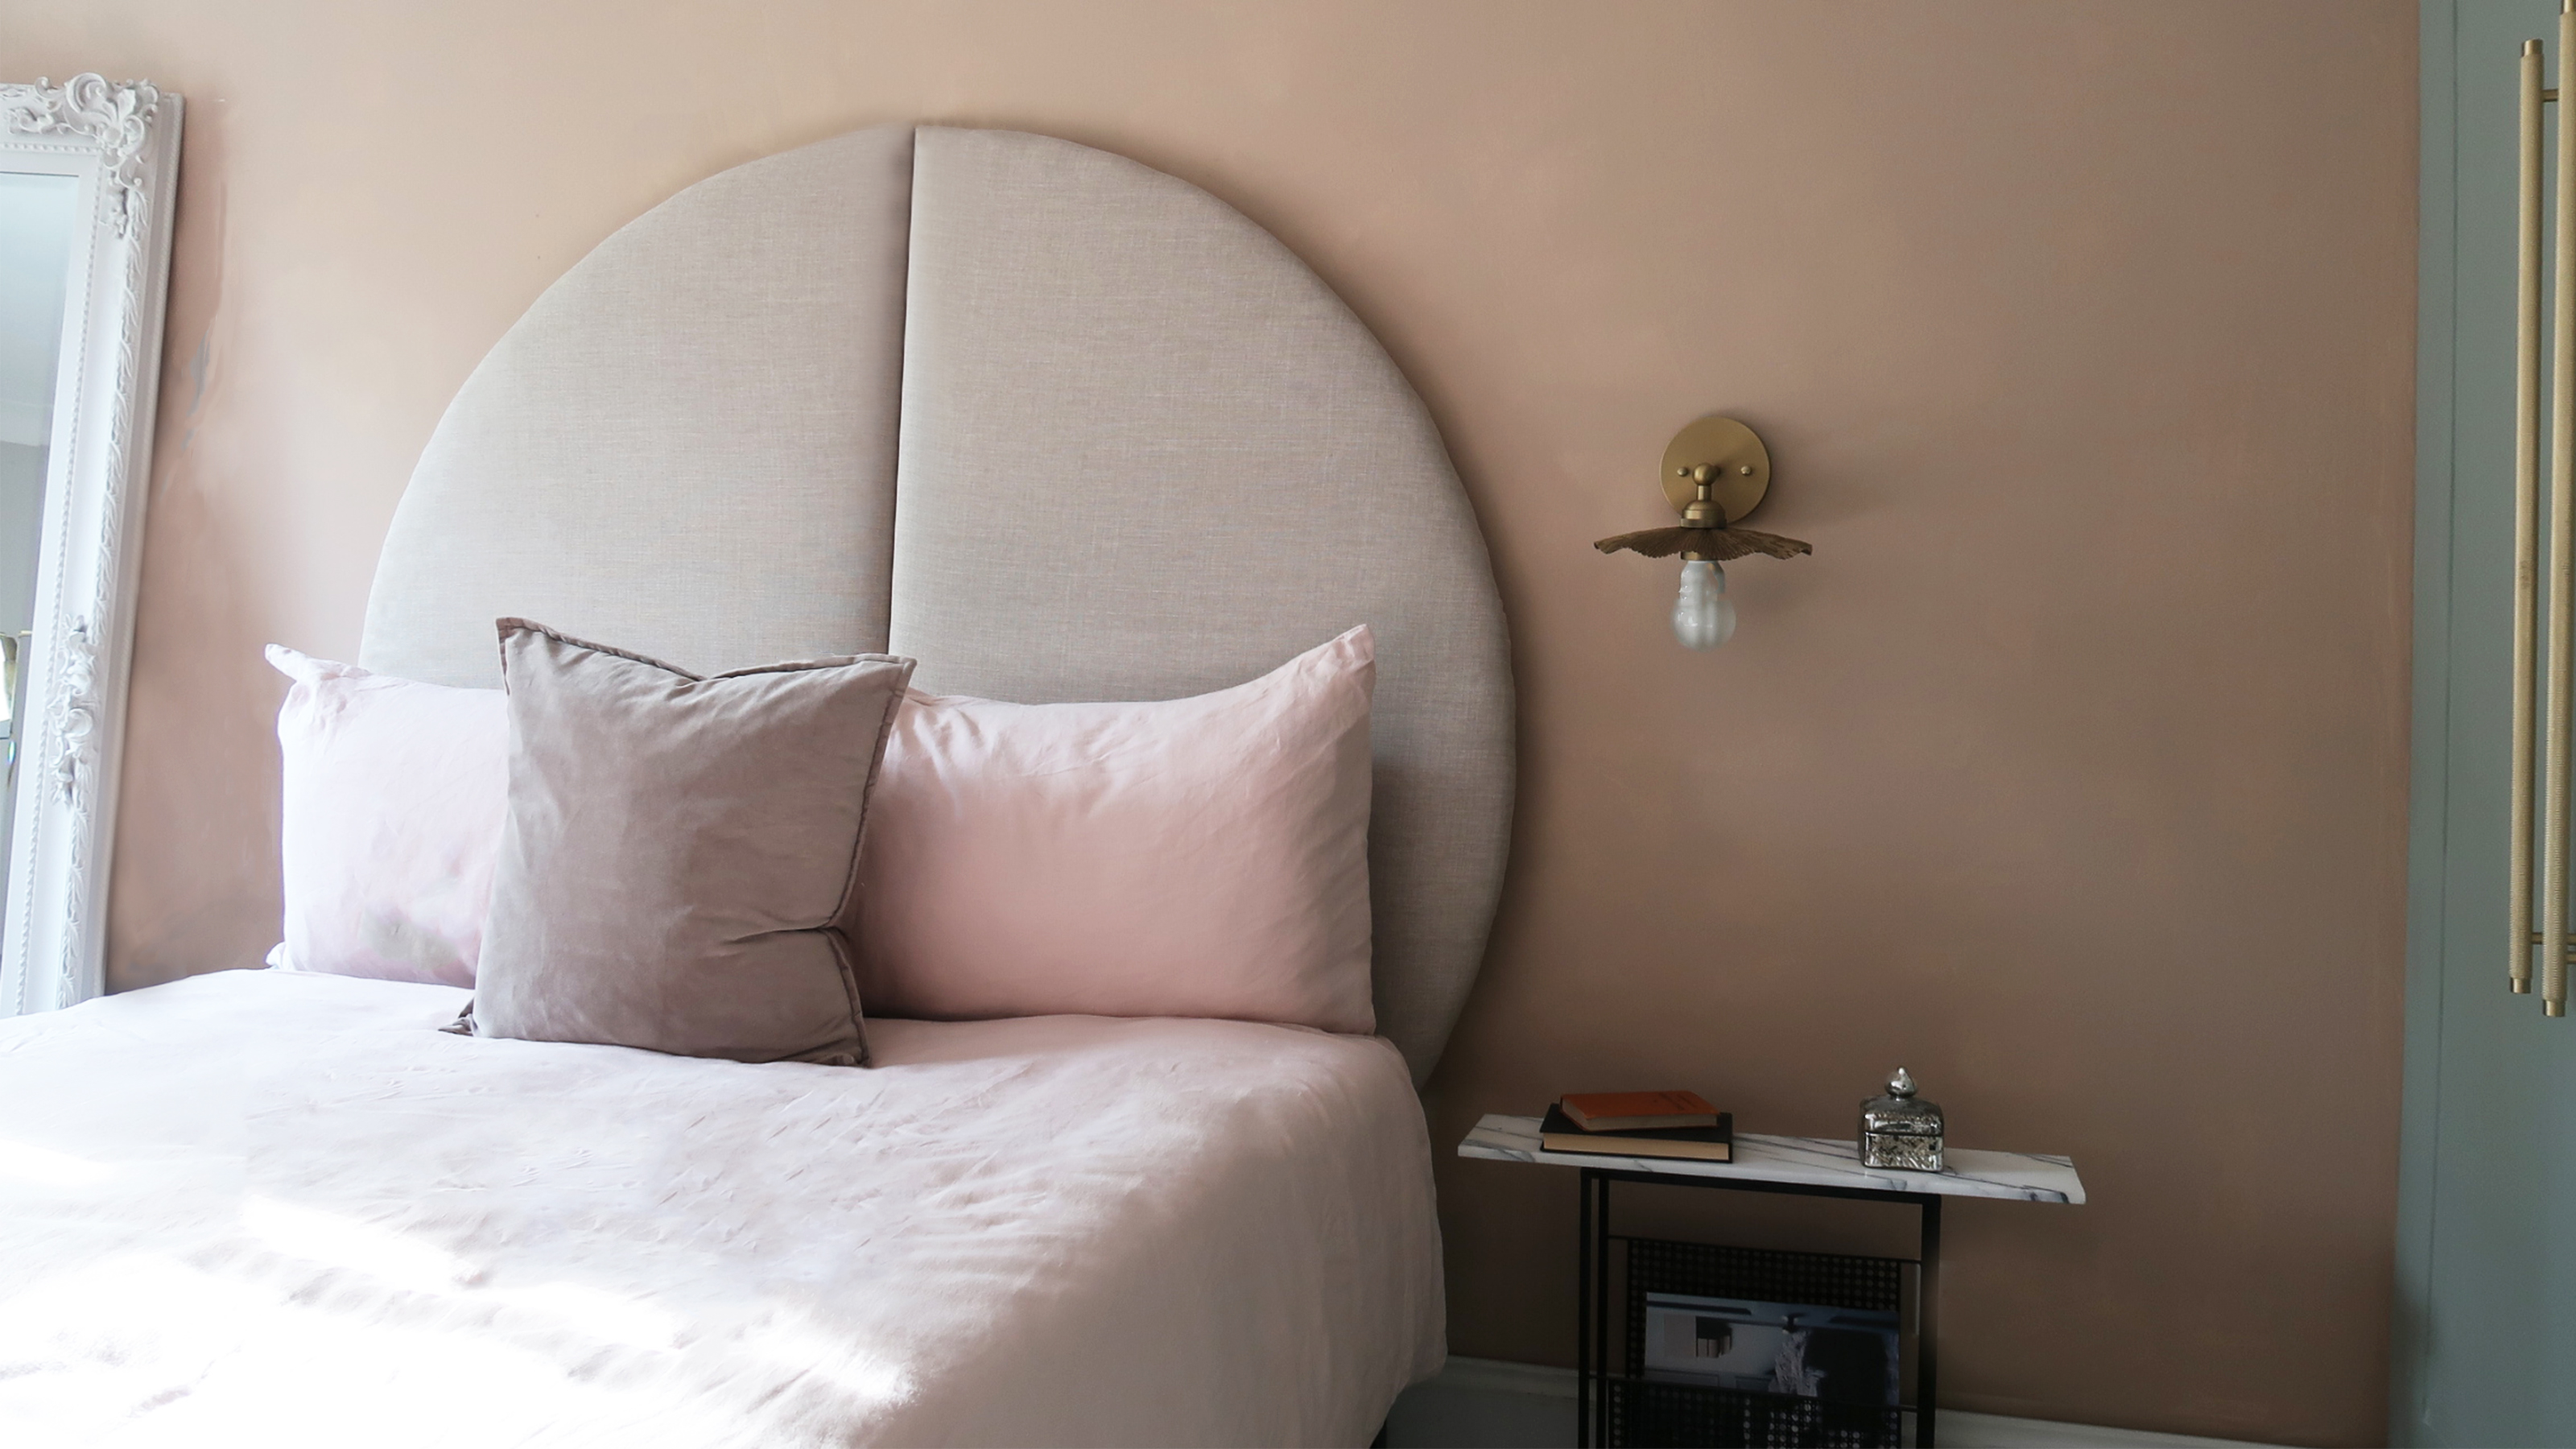 This oversized headboard looks designer, and takes 5 steps to DIY
Super simple to DIY, this oversized headboard will give your bedroom space all the designer vibes you could dream of.
By Claire Douglas Published
-
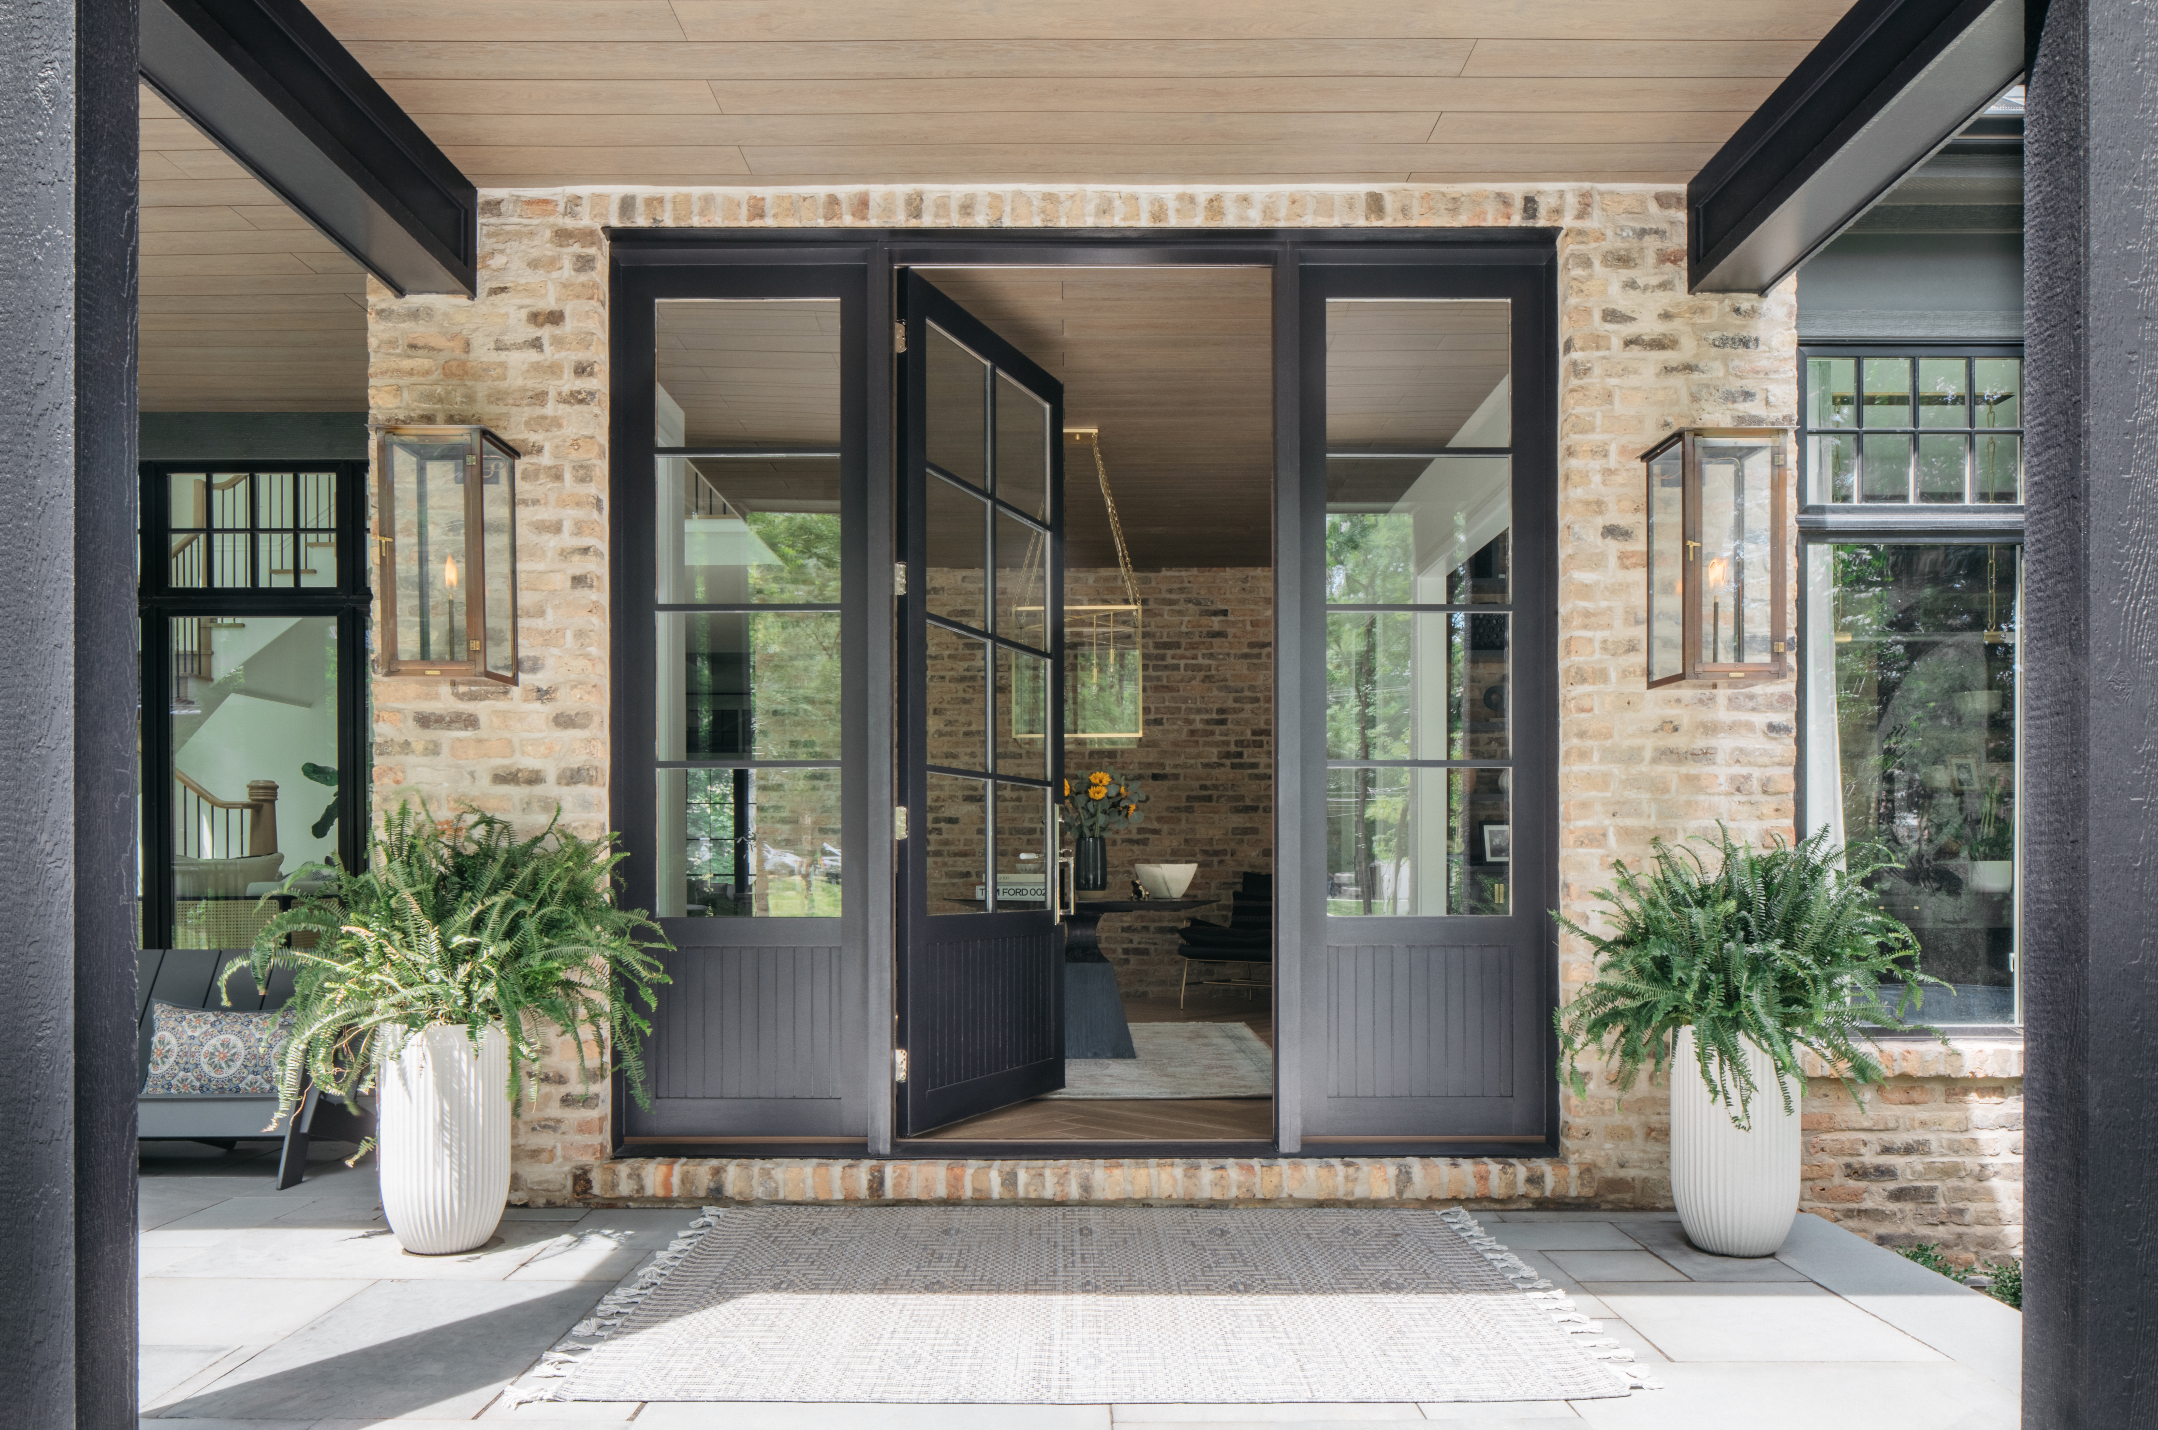 How to paint a door and refresh your home instantly
Painting doors is easy with our expert advice. This is how to get professional results on front and internal doors.
By Claire Douglas Published
-
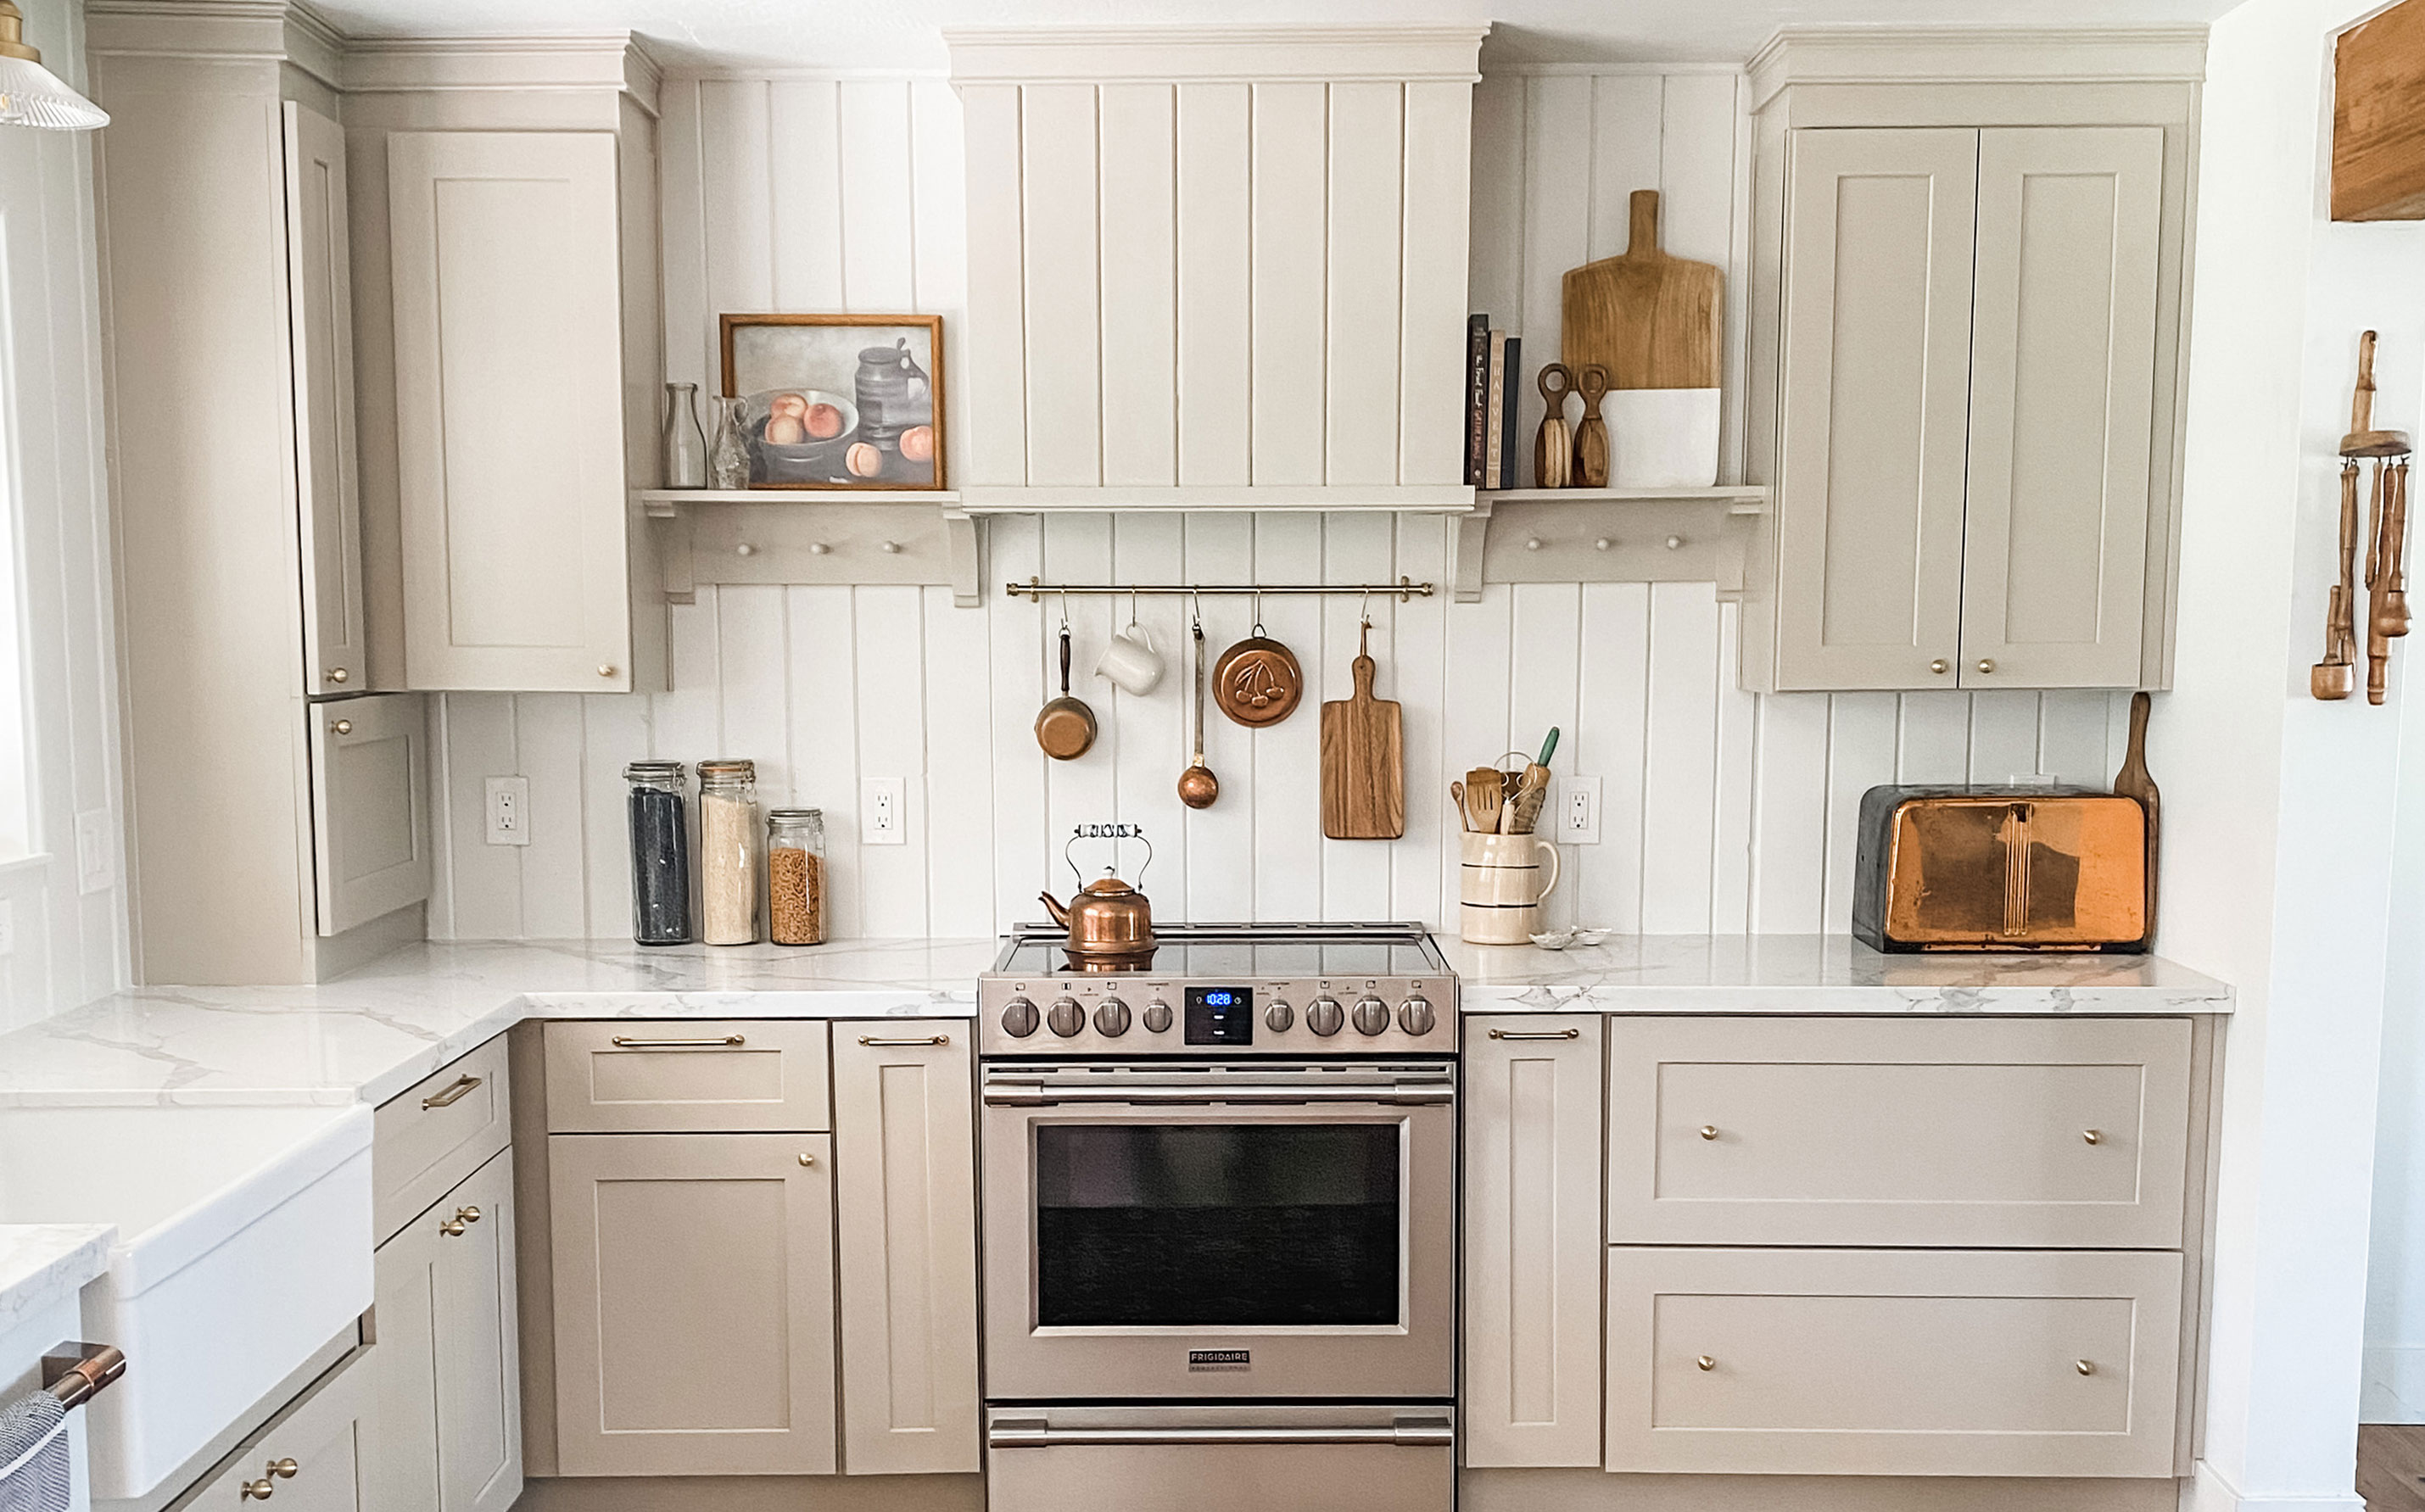 My DIY range hood and backsplash build gave my kitchen the perfect farmhouse finish
I craved charm in my kitchen space and adding a custom range hood and shelving was the best move.
By Brooke Waite Published