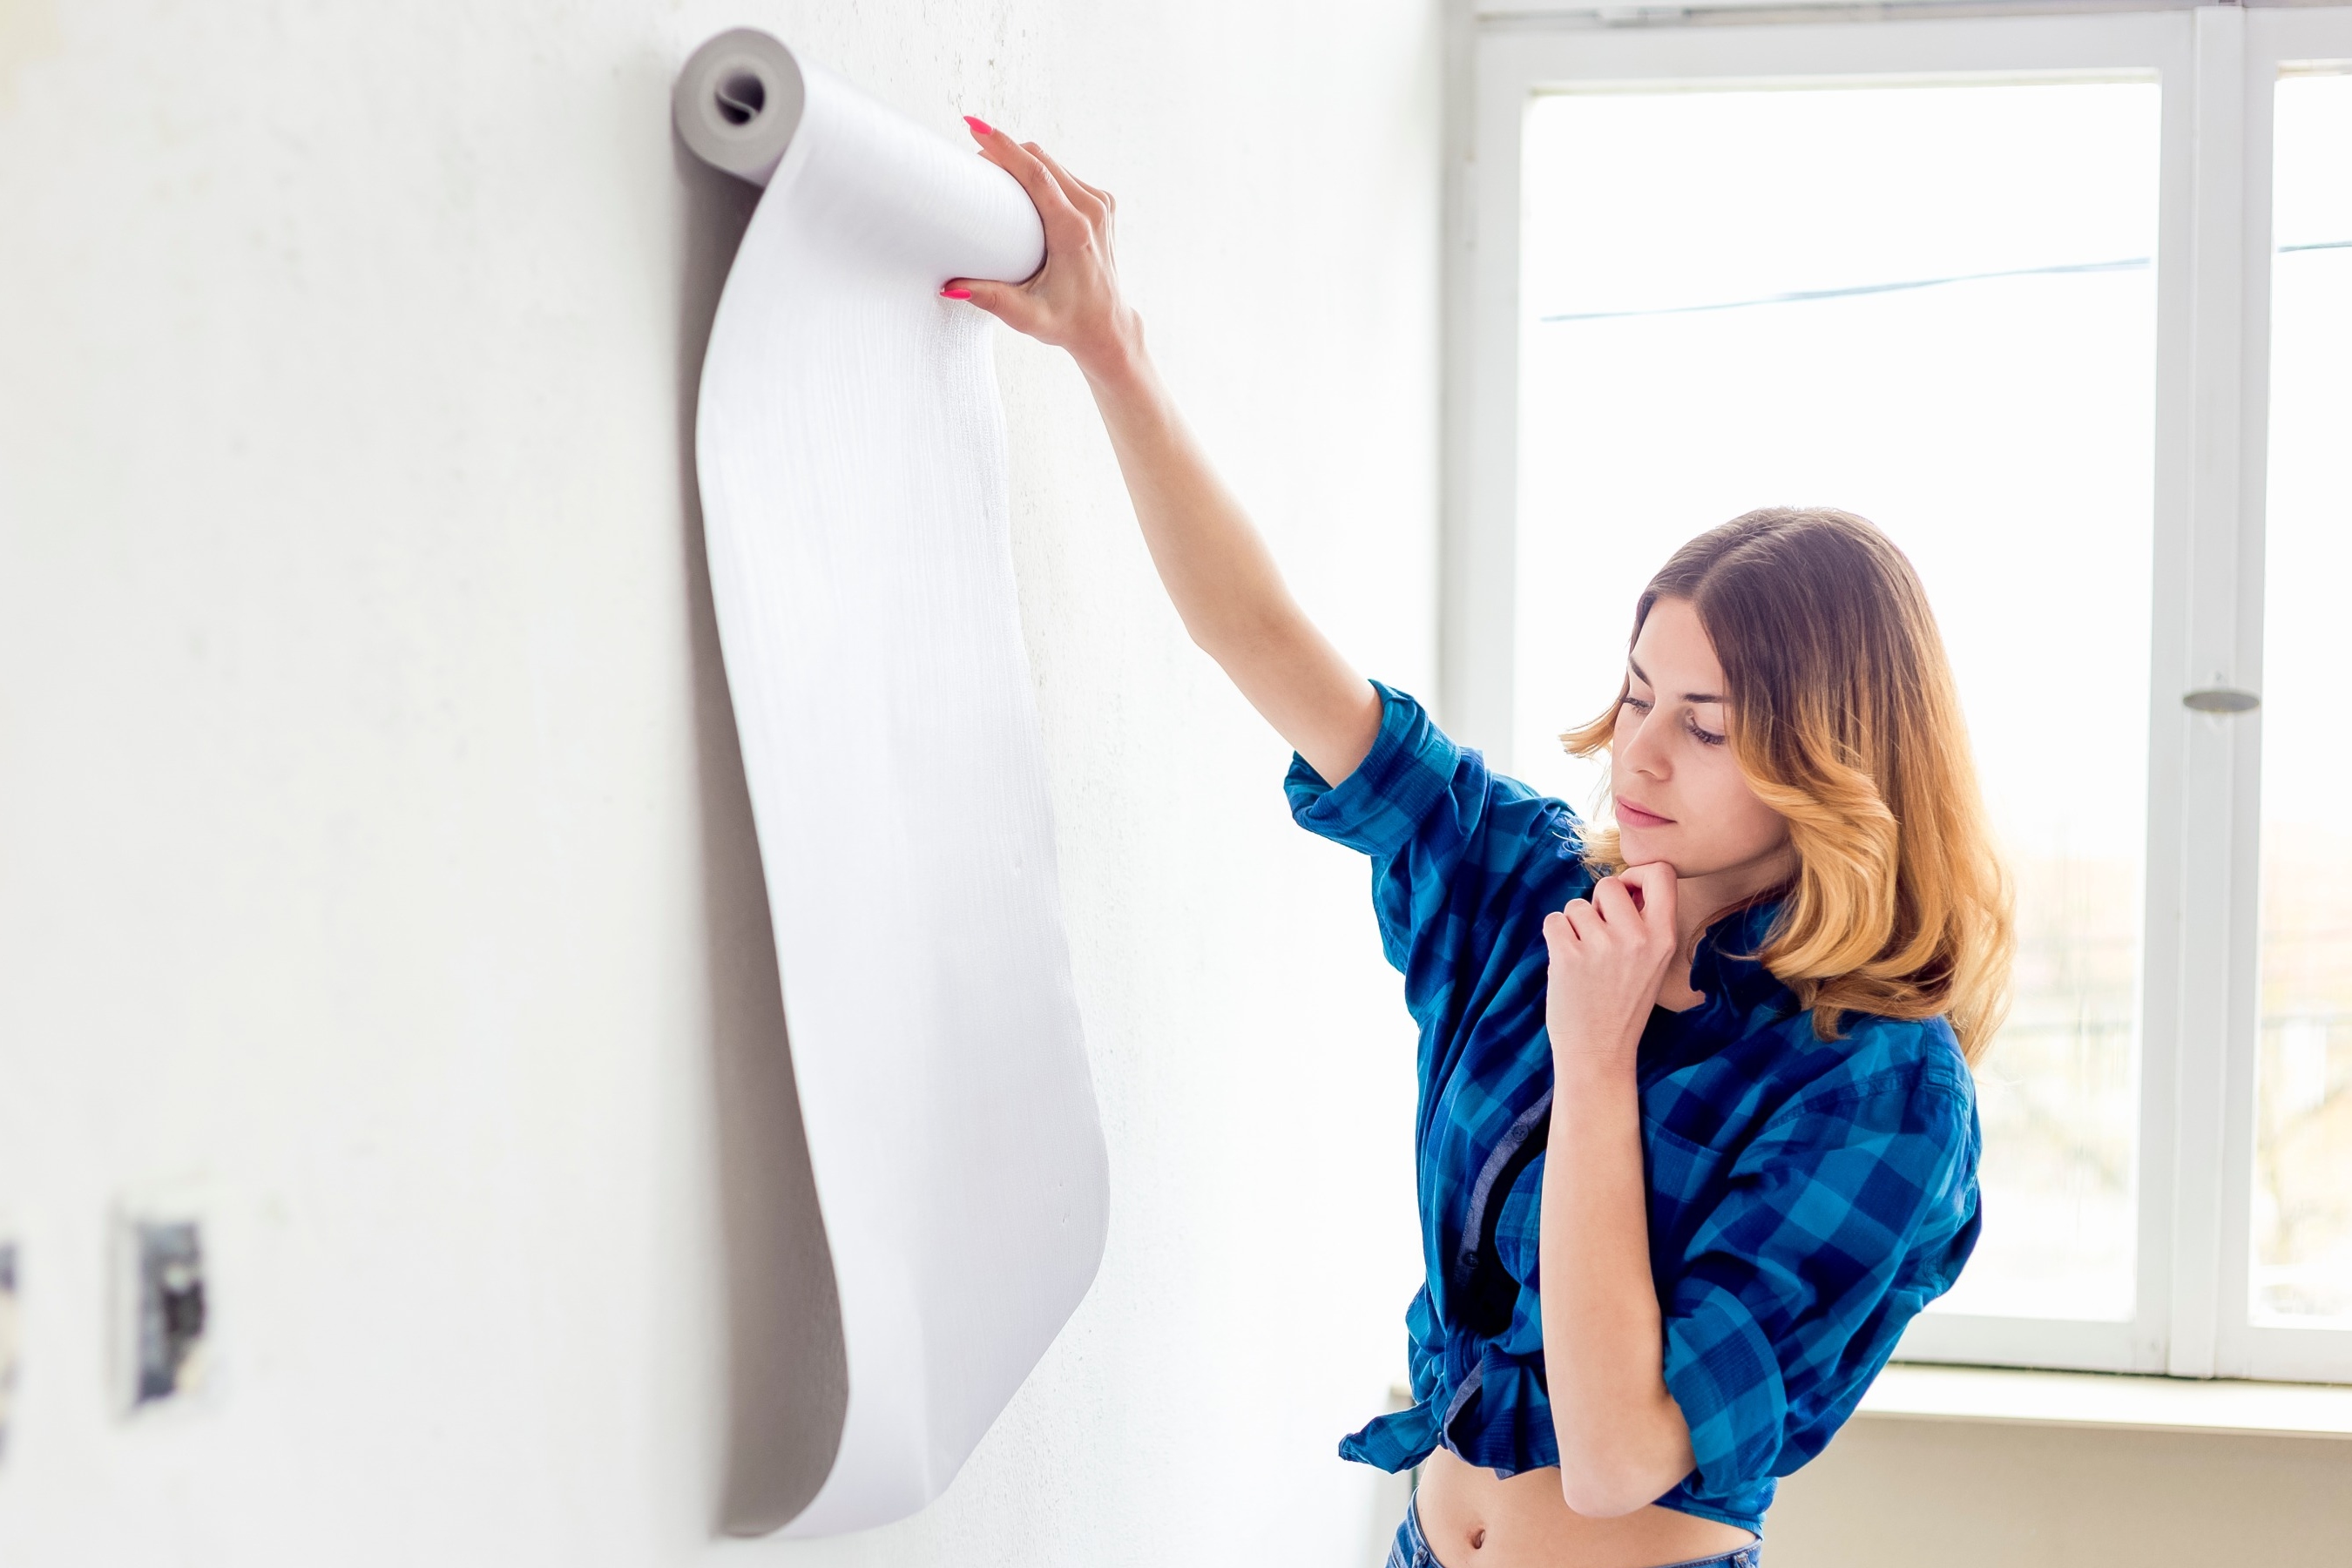

Making your house feel like home takes a lot of effort, and if you're a renter like me, it's even more of a challenge. Many of us find decorating impossible, as we're living in constant fear of our security deposit not being returned, shying away from anything that requires paint or a hammer. The result? Lifeless, bare walls, which are anything but homey.
So, what do we do? Well, seeing as throw blankets and accent pillows can only go so far, we're left to think outside the box, and one suitable solution is wallpaper.
But, if you're like me, and the wallpaper you're head-over-heels in love with isn't removable, you're again at a crossroads — or are you? Not if you try this wallpaper hack.
After one too many YouTube videos, I realized something: any wallpaper can be made removable; all you need are a handful of affordable (!!!) items. And if you're finding it hard to believe, let me show you.
This wallpaper hack can be accomplished in five easy steps and looks as good as the best peel-and-stick version.
How-to complete this wallpaper hack
1. Start by deciding what wallpaper you're looking to make removable
For me, it was this Tapestry wallpaper from Rifle Paper Co. that made this journey worthwhile. Previously, my bedroom had been wallpapered black, and during a pandemic, it felt a bit too "dark" for me, and as a result, this wallpaper was the solution for lightening things up.
The tiny buds and flowers were calming and very "zen," and as someone who gravitates away from flowers, it was a much-needed change my room needed.
Join our newsletter
Get small space home decor ideas, celeb inspiration, DIY tips and more, straight to your inbox!
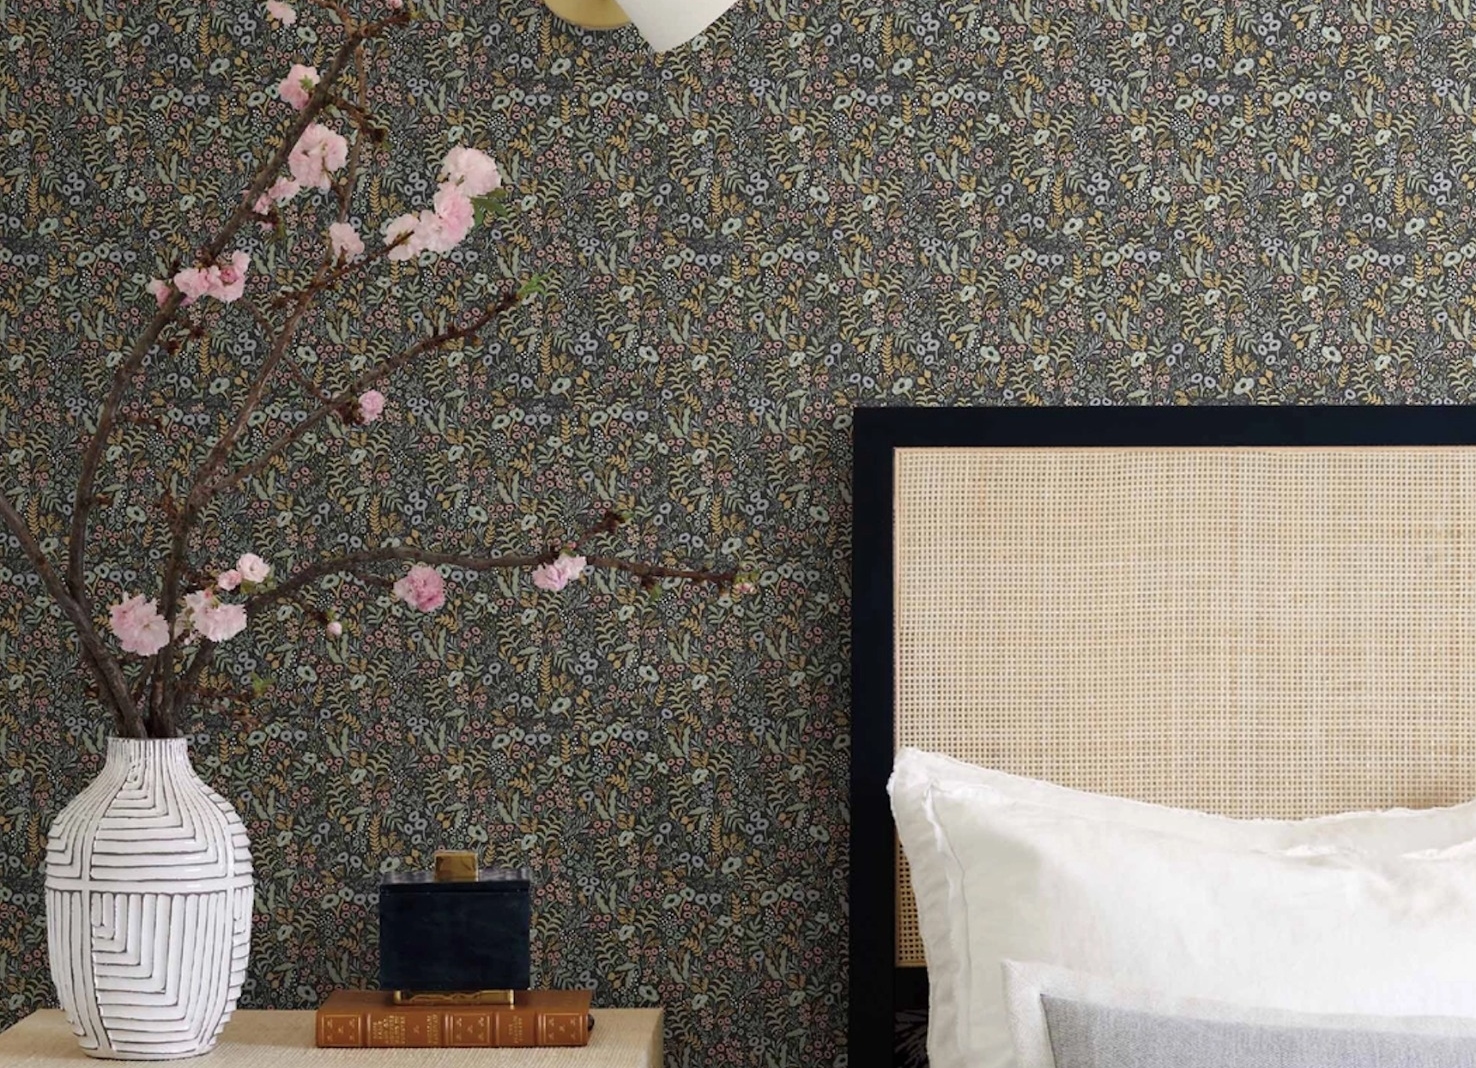
Rose Multi Tapestry Wallpaper for $110, at Rifle Paper Co.
Surround yourself with a blooming meadow with Tapestry, a delicate and detailed pattern of flowers, buds, and leaves; available in four sensational variations.
2. Next, you'll need to create a tape barrier on your wall
Once you decide what type of wallpaper you're going to use, it's time to apply it to your wall. After one too many YouTube videos, I realized there are tons of different ways, and I, of course, opted for the easiest one of all. The solution? A combination of masking tape and double-sided tape.
Now, to accomplish this wallpaper hack, it's a bit of a two-step that uses both versions of the tape.
So, it's imperative to invest in a pack of masking tape similar to this. Right now, you might be thinking: "Brittany, if I have double-sided tape, why do I need masking tape, too?" Yes, this is part of the wallpaper hack process — keep reading.
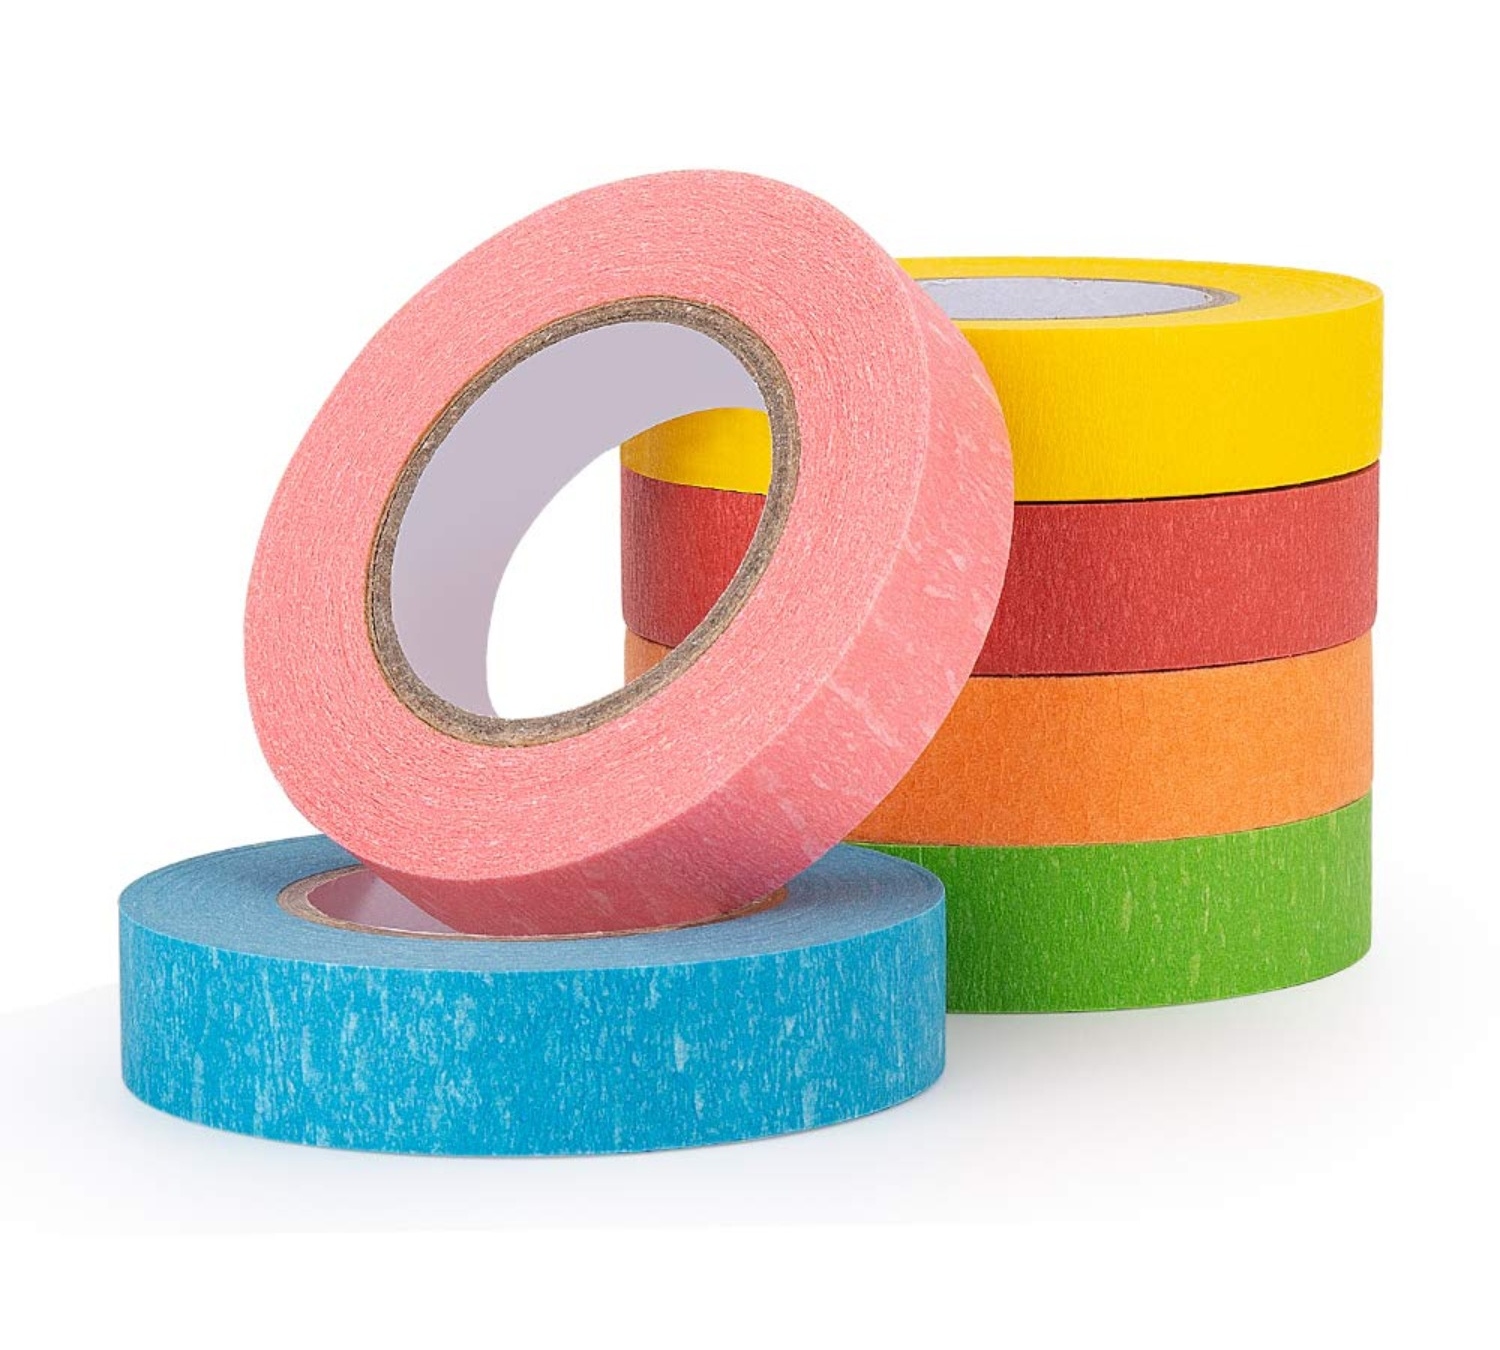
6 Rolls Colored Masking Tape for $4.65, at Amazon
Available in six vibrant and rich colors, this set of masking tape is perfect for all of your arts and crafts endeavors.
Once you've got your masking tape, it's time to apply it to the wall. Now, why is this so important?
It's simple: if you apply the double-sided tape right to your wall, you can peel off the paint when it comes time to remove your wallpaper. The masking tape acts as a barrier between the double-sided tape and the wall.
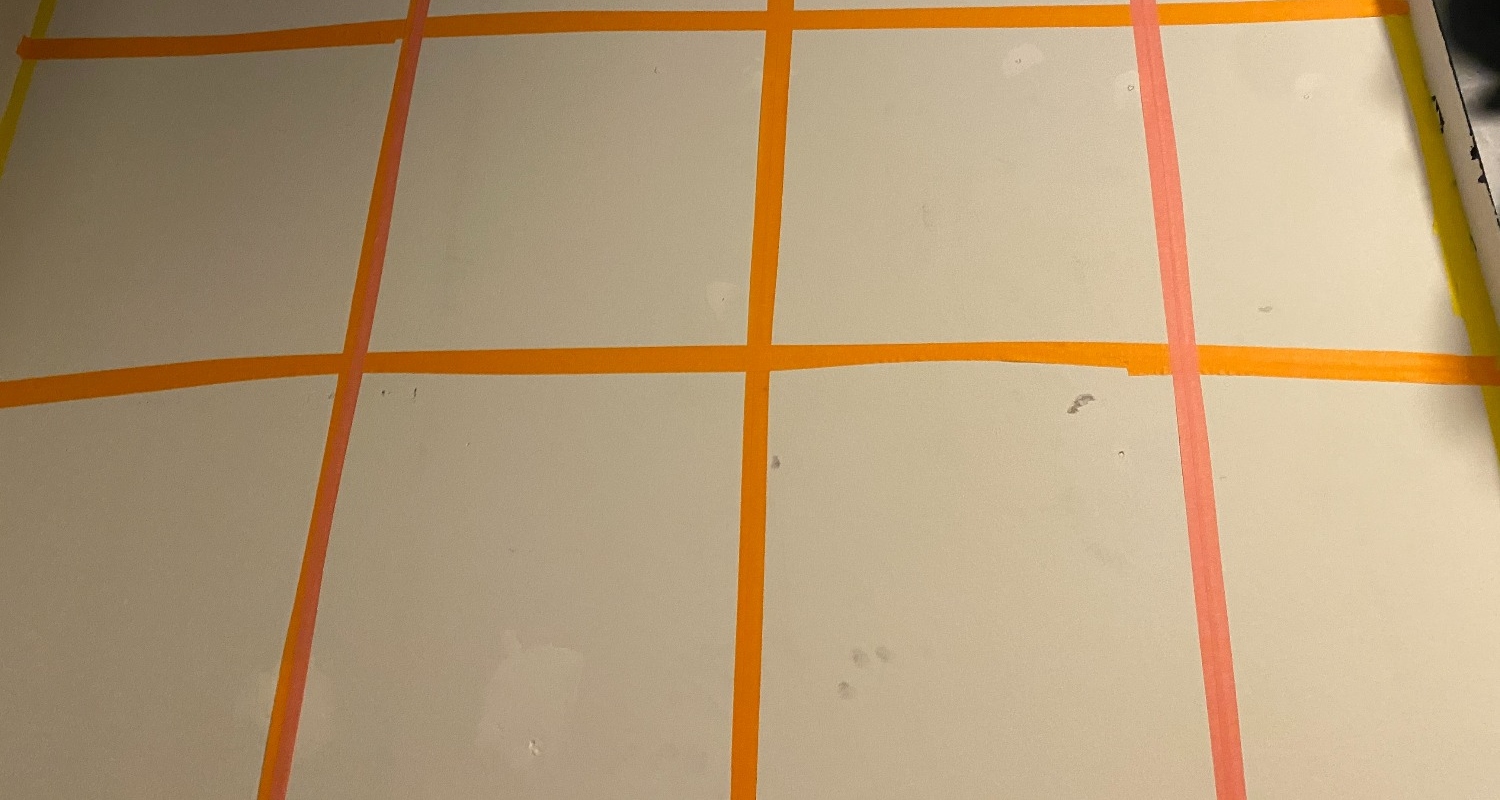
To be clear: there is no right or wrong way to applying masking tape to your wall. So, it's best to go with what your think will work. I found that creating horizontal and vertical boxes to the "section" of each column was helpful. Nevertheless, as I carried on throughout the process, I found myself shifting the tape to better align with each piece of wallpaper, so keep in mind: this is not set-in-stone.
My best advice here would be to get as much tape as possible onto your wall and then go from there. This way, you'll have more touchpoints for the double-sided tape, which means better hold.
3. Measure the wall to see how much wallpaper you'll need
Once your masking tape is up, you're going to need to know how much wallpaper you will need. It's much easier to do this *before* you add the double-sided tape to the wall: this way, you can hold up your wallpaper to ensure you have proper measurements without worrying about it sticking to the wall.
I measured my first piece of wallpaper and used this wallpaper kit to make cuts, as it had everything I needed. The measuring tape evenly measured out how much wallpaper I needed to cut, and the sharp knife was perfect when cutting the wallpaper and later worked wonders when I needed to trim the edges, too.
Once I measured the first piece, I laid it on the floor to match up the repeat pattern, then cut the wallpaper to the correct length, repeating the process for each specific length of the wallpaper.
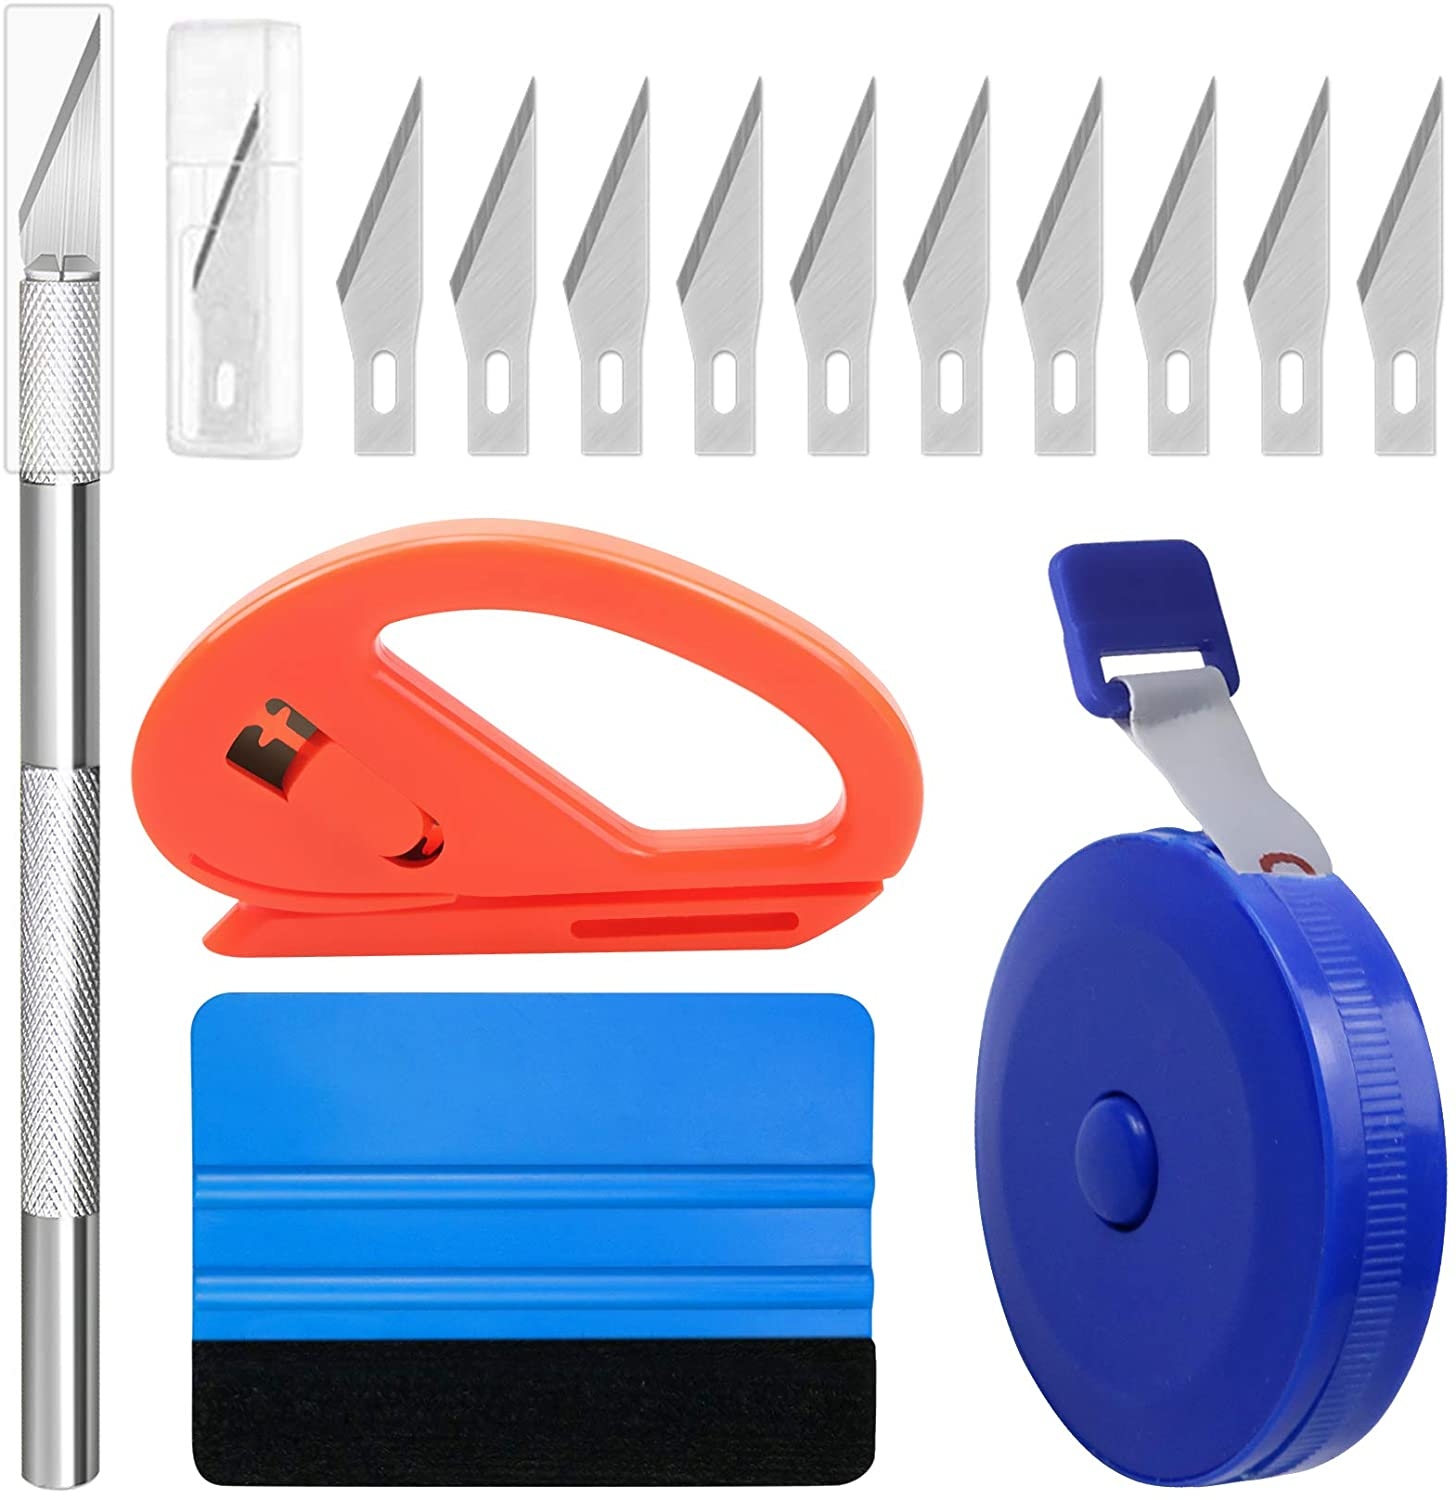
14PACK Wallpaper Smoothing Tool Kit for $6.49, at Amazon
Cut, measure, and smooth out every wallpaper with this all-inclusive, six-piece kit.
4. Apply double-sided tape to the masking tape before you hang your wallpaper
To complete this 'wallpaper hack,' you're going to need double-sided tape, and you'll apply it directly over your masking tape to create a sticky layer. Once this is done, you'll gently press your wallpaper onto the double-sided tape.
One important note to mention: you're going to need a lot of double-sided tapes. I found that every wall required a minimum of five rolls, and this specific version worked great, as I was able to cut each piece in half and maximize every roll.
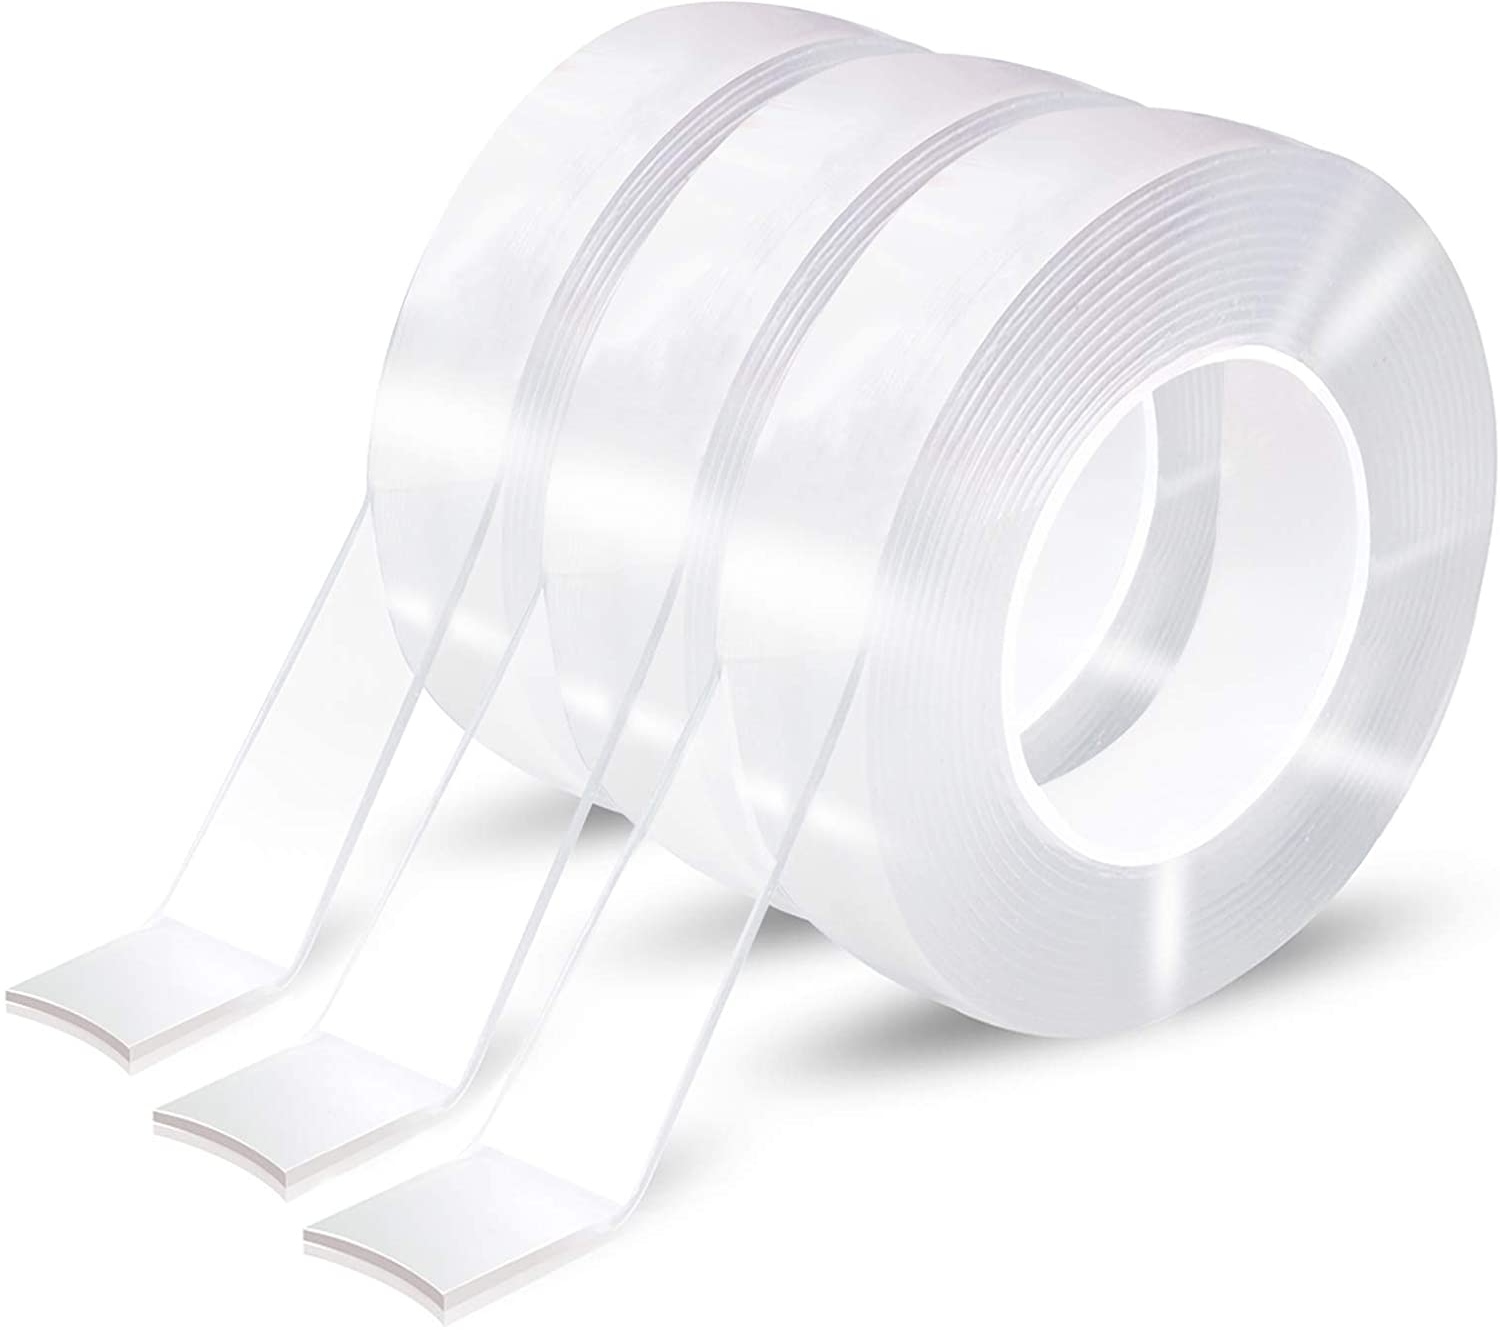
EZlifego Double Sided Tape Heavy Duty for $14.99, at Amazon
This three-pack of double-sided tape is fabulous for anyone looking to make a worthwhile investment.
5. Repeat steps 1-4 on all your walls, and then finish off with this simple step
After you've repeated steps one through five, I highly recommend going back and using a glue-like this one to seal the edges. You will notice that the double-sided tape can leave your wallpaper looking bumpy when overlapping one another, so it's best to glue them to alleviate any of those issues.
(Don't worry: you're gluing the paper to one another, and not the actual wall.)
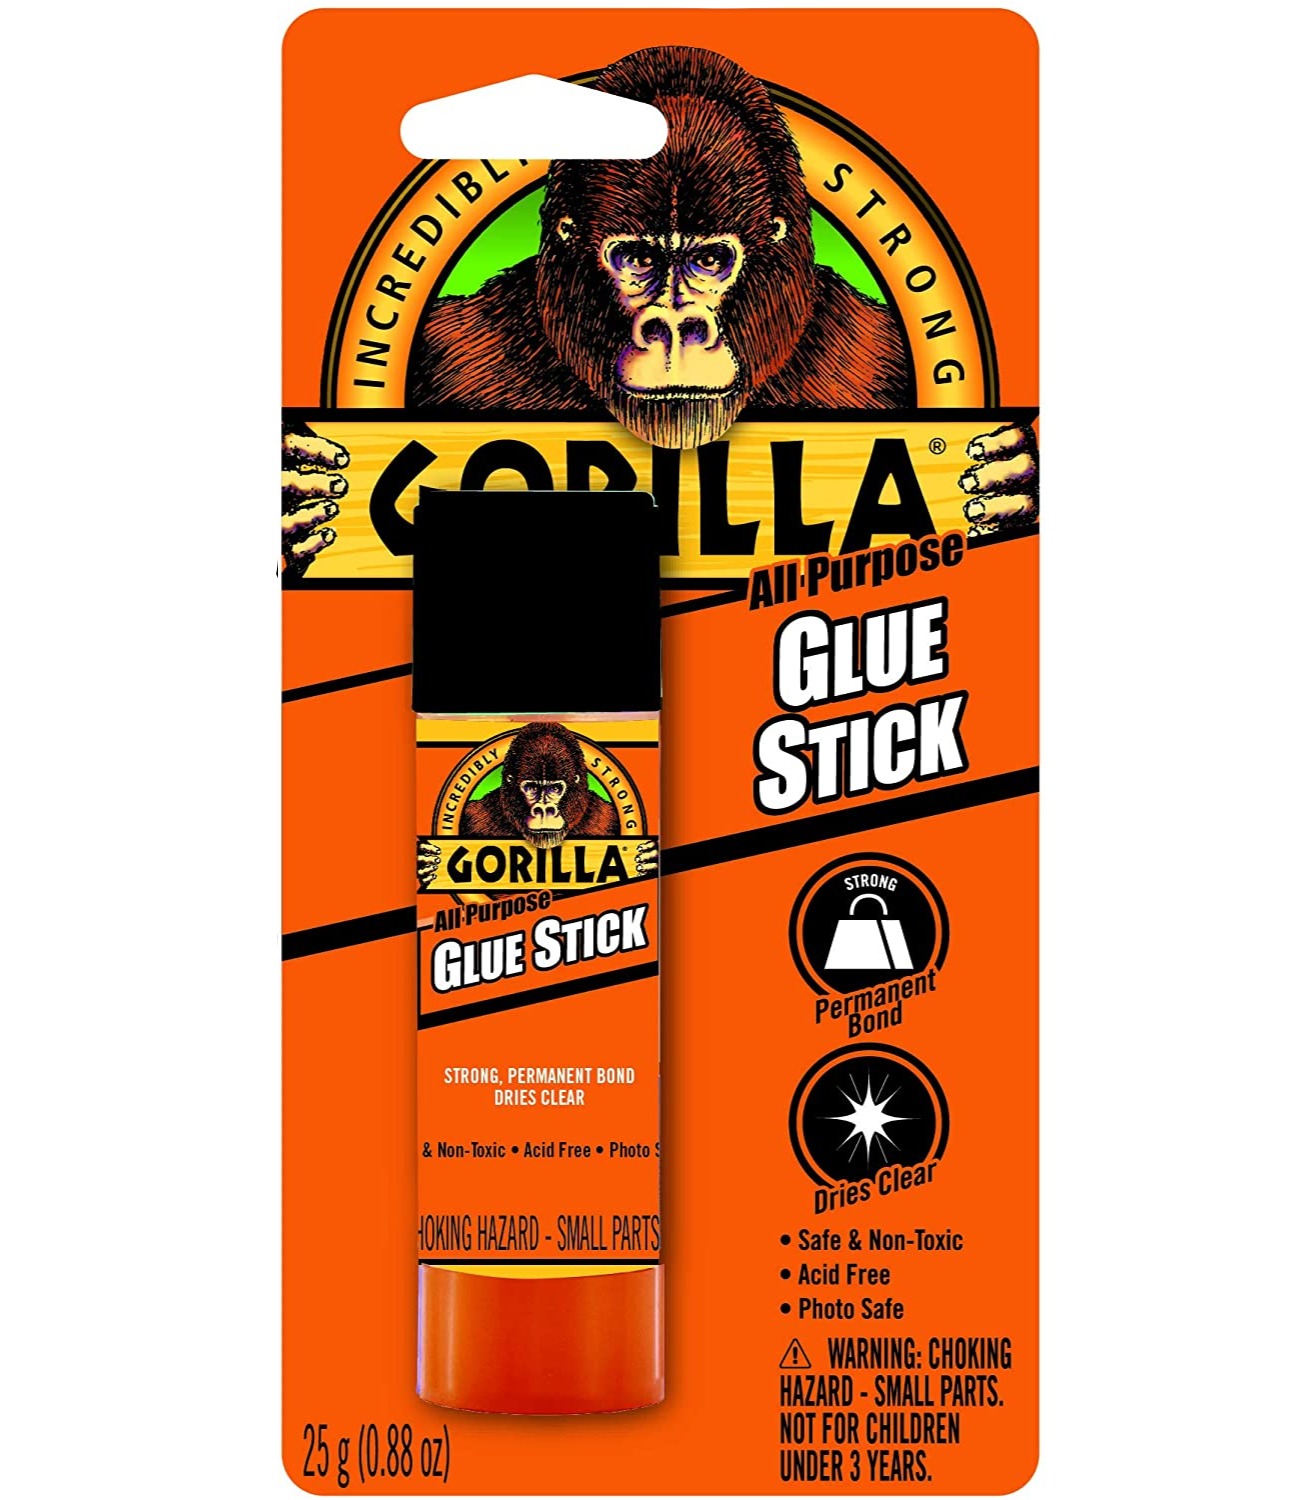
Gorilla All Purpose Glue Stick for $3.99, at Amazon
Ensure your wallpaper has a secure bond with this non-toxic glue that's nothing short of a miracle-worker.
If done correctly, your walls should look like this:
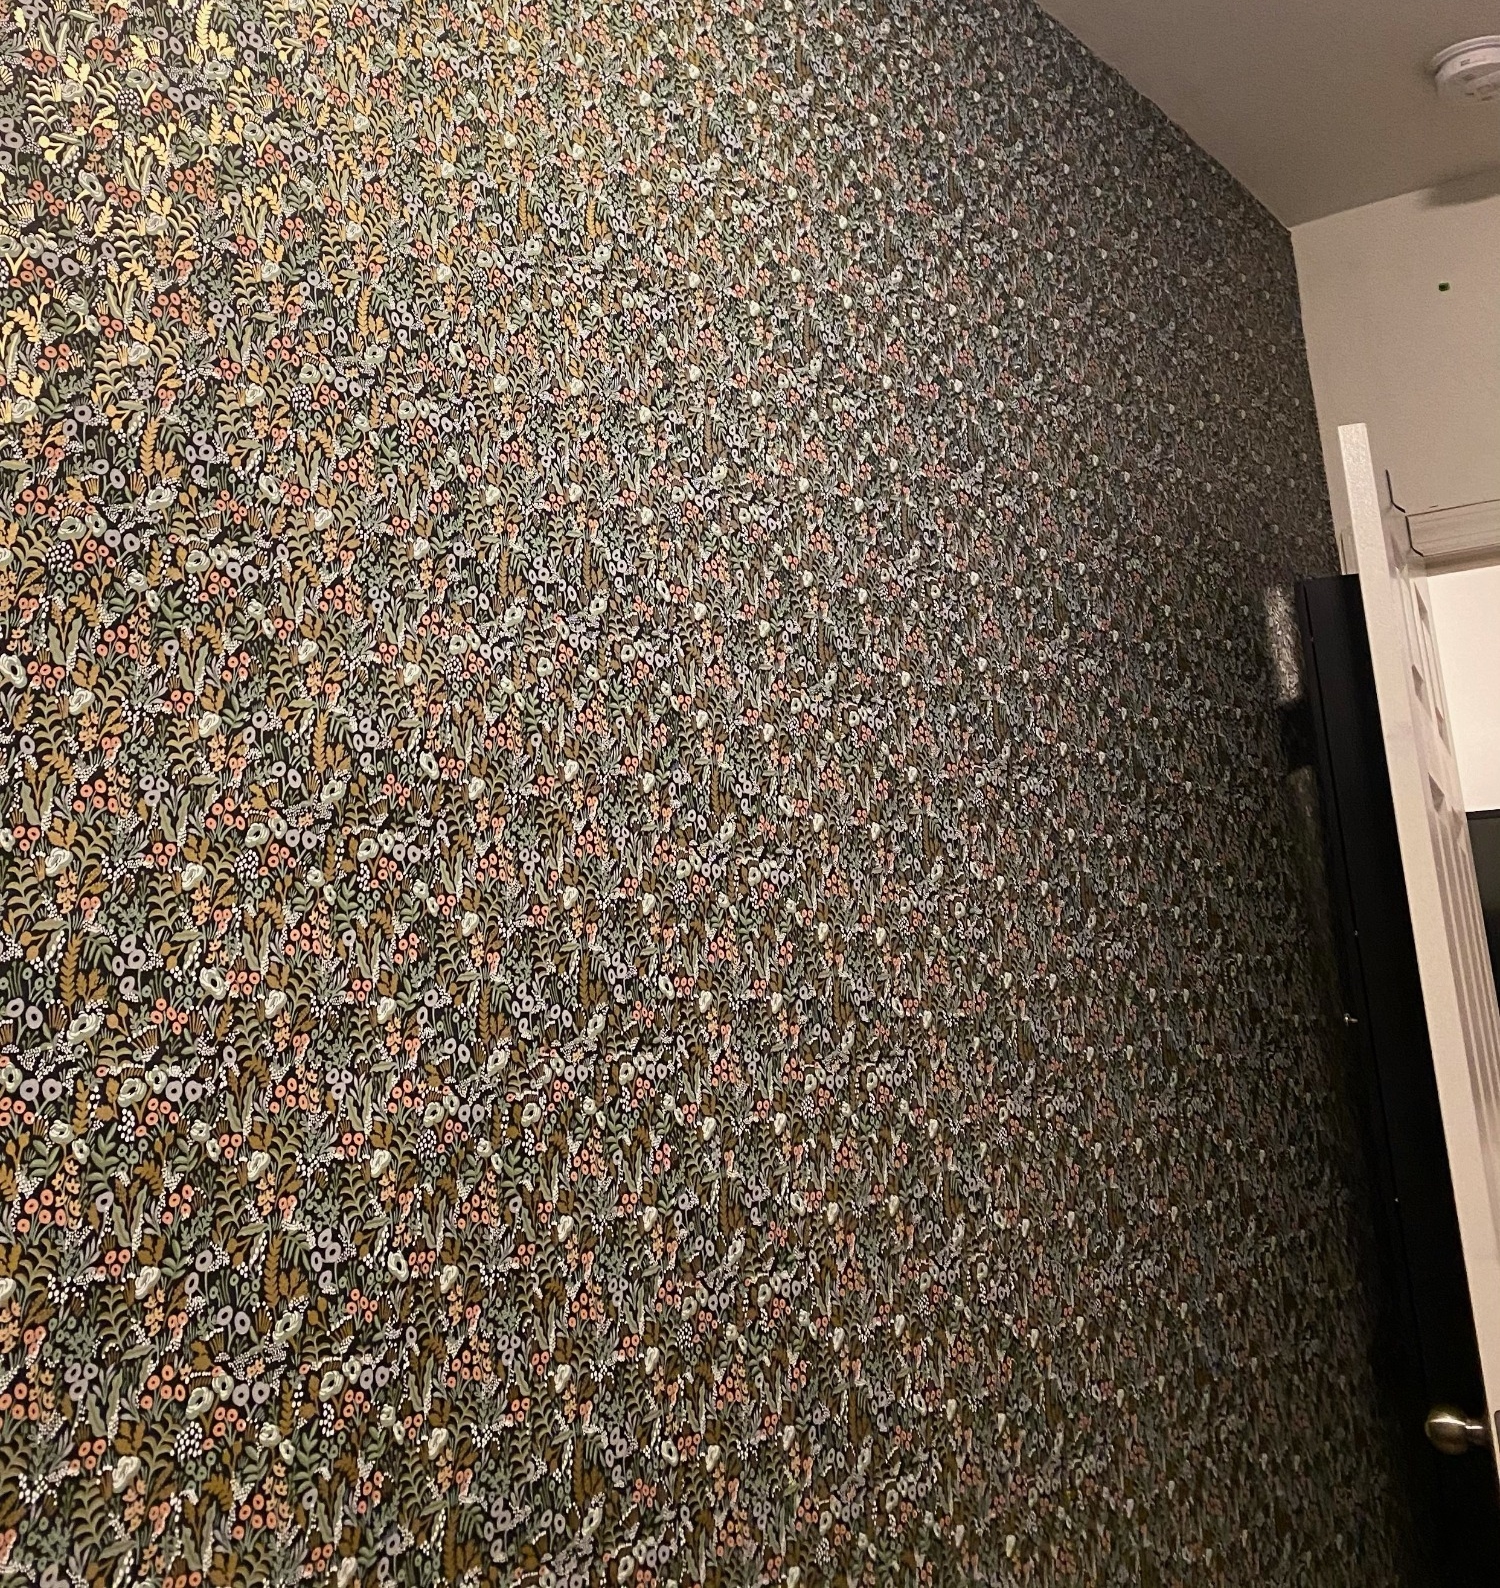
Still, want more? Here are additional products to consider below:
Brittany Romano is a Shopping Editor, based in New York City. From her start as a fashion market assistant at Marie Claire to building a highly profitable commerce vertical at Us Weekly and AMI brands, Brittany has produced award-winning content covering everything from celebrity beauty hacks to must-have items from online sales. She is a graduate of New England College. When she isn’t writing, you can find Brittany indulging in yet another DIY project or cheering on her beloved Boston Bruins.
-
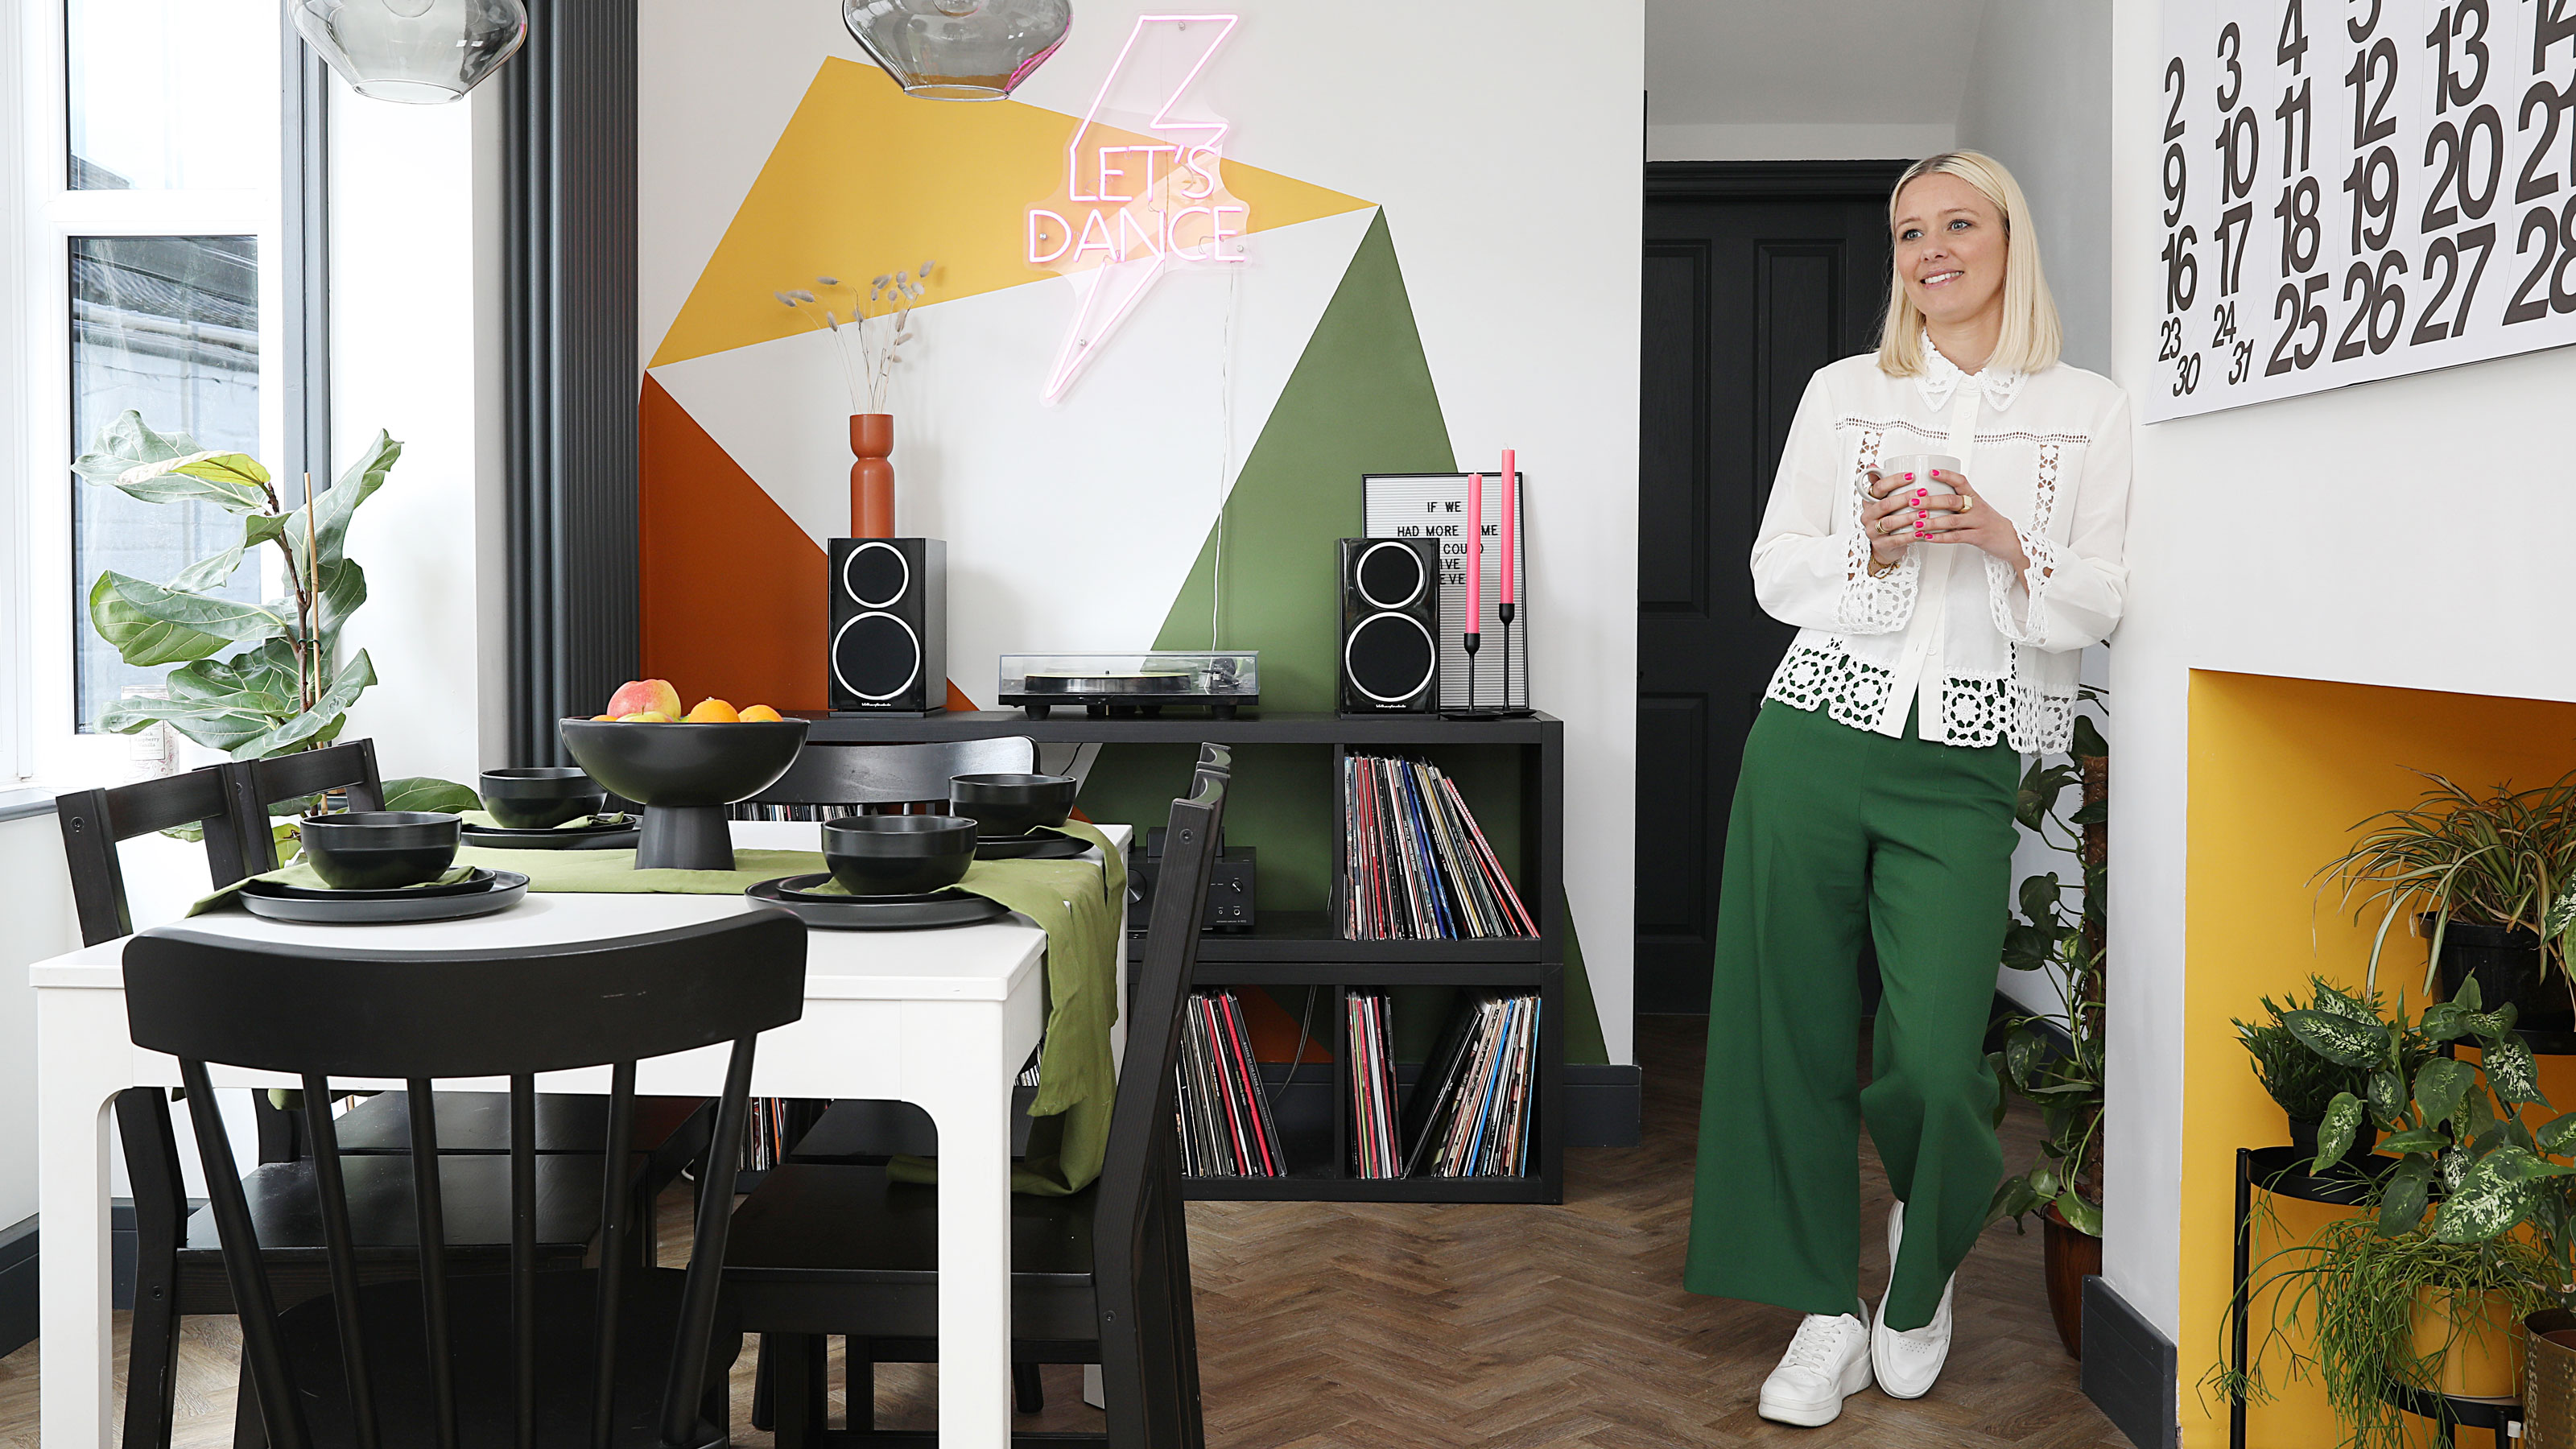 This colourful home makeover has space for kitchen discos
While the front of Leila and Joe's home features dark and moody chill-out spaces, the rest is light and bright and made for socialising
By Karen Wilson Published
-
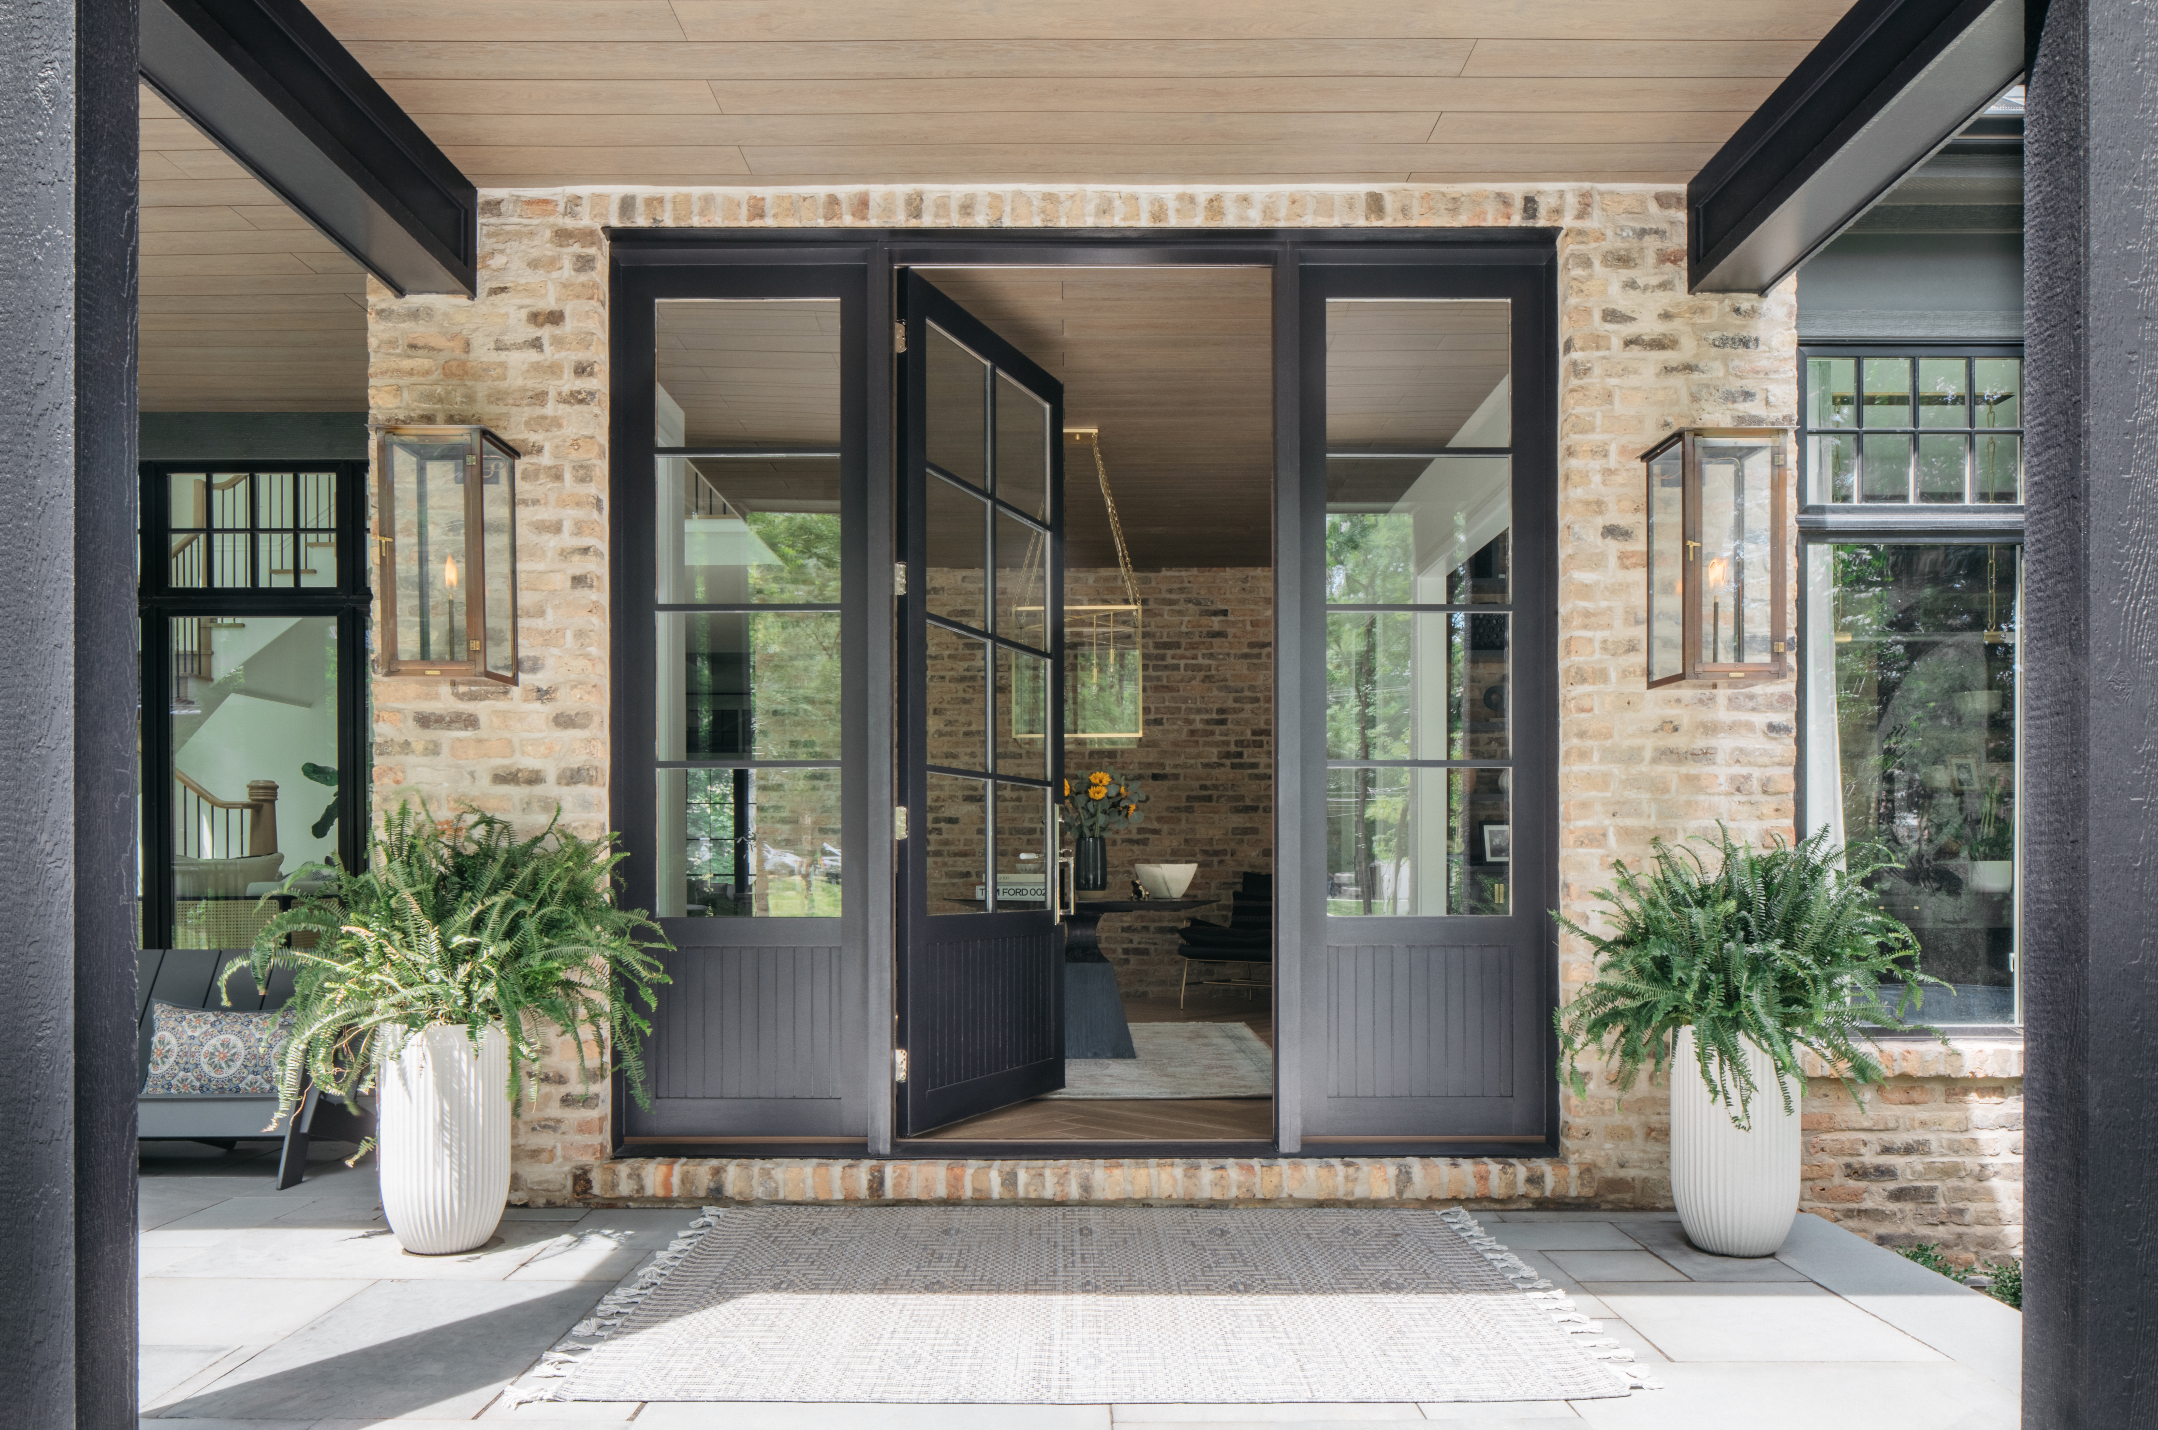 How to paint a door and refresh your home instantly
Painting doors is easy with our expert advice. This is how to get professional results on front and internal doors.
By Claire Douglas Published
-
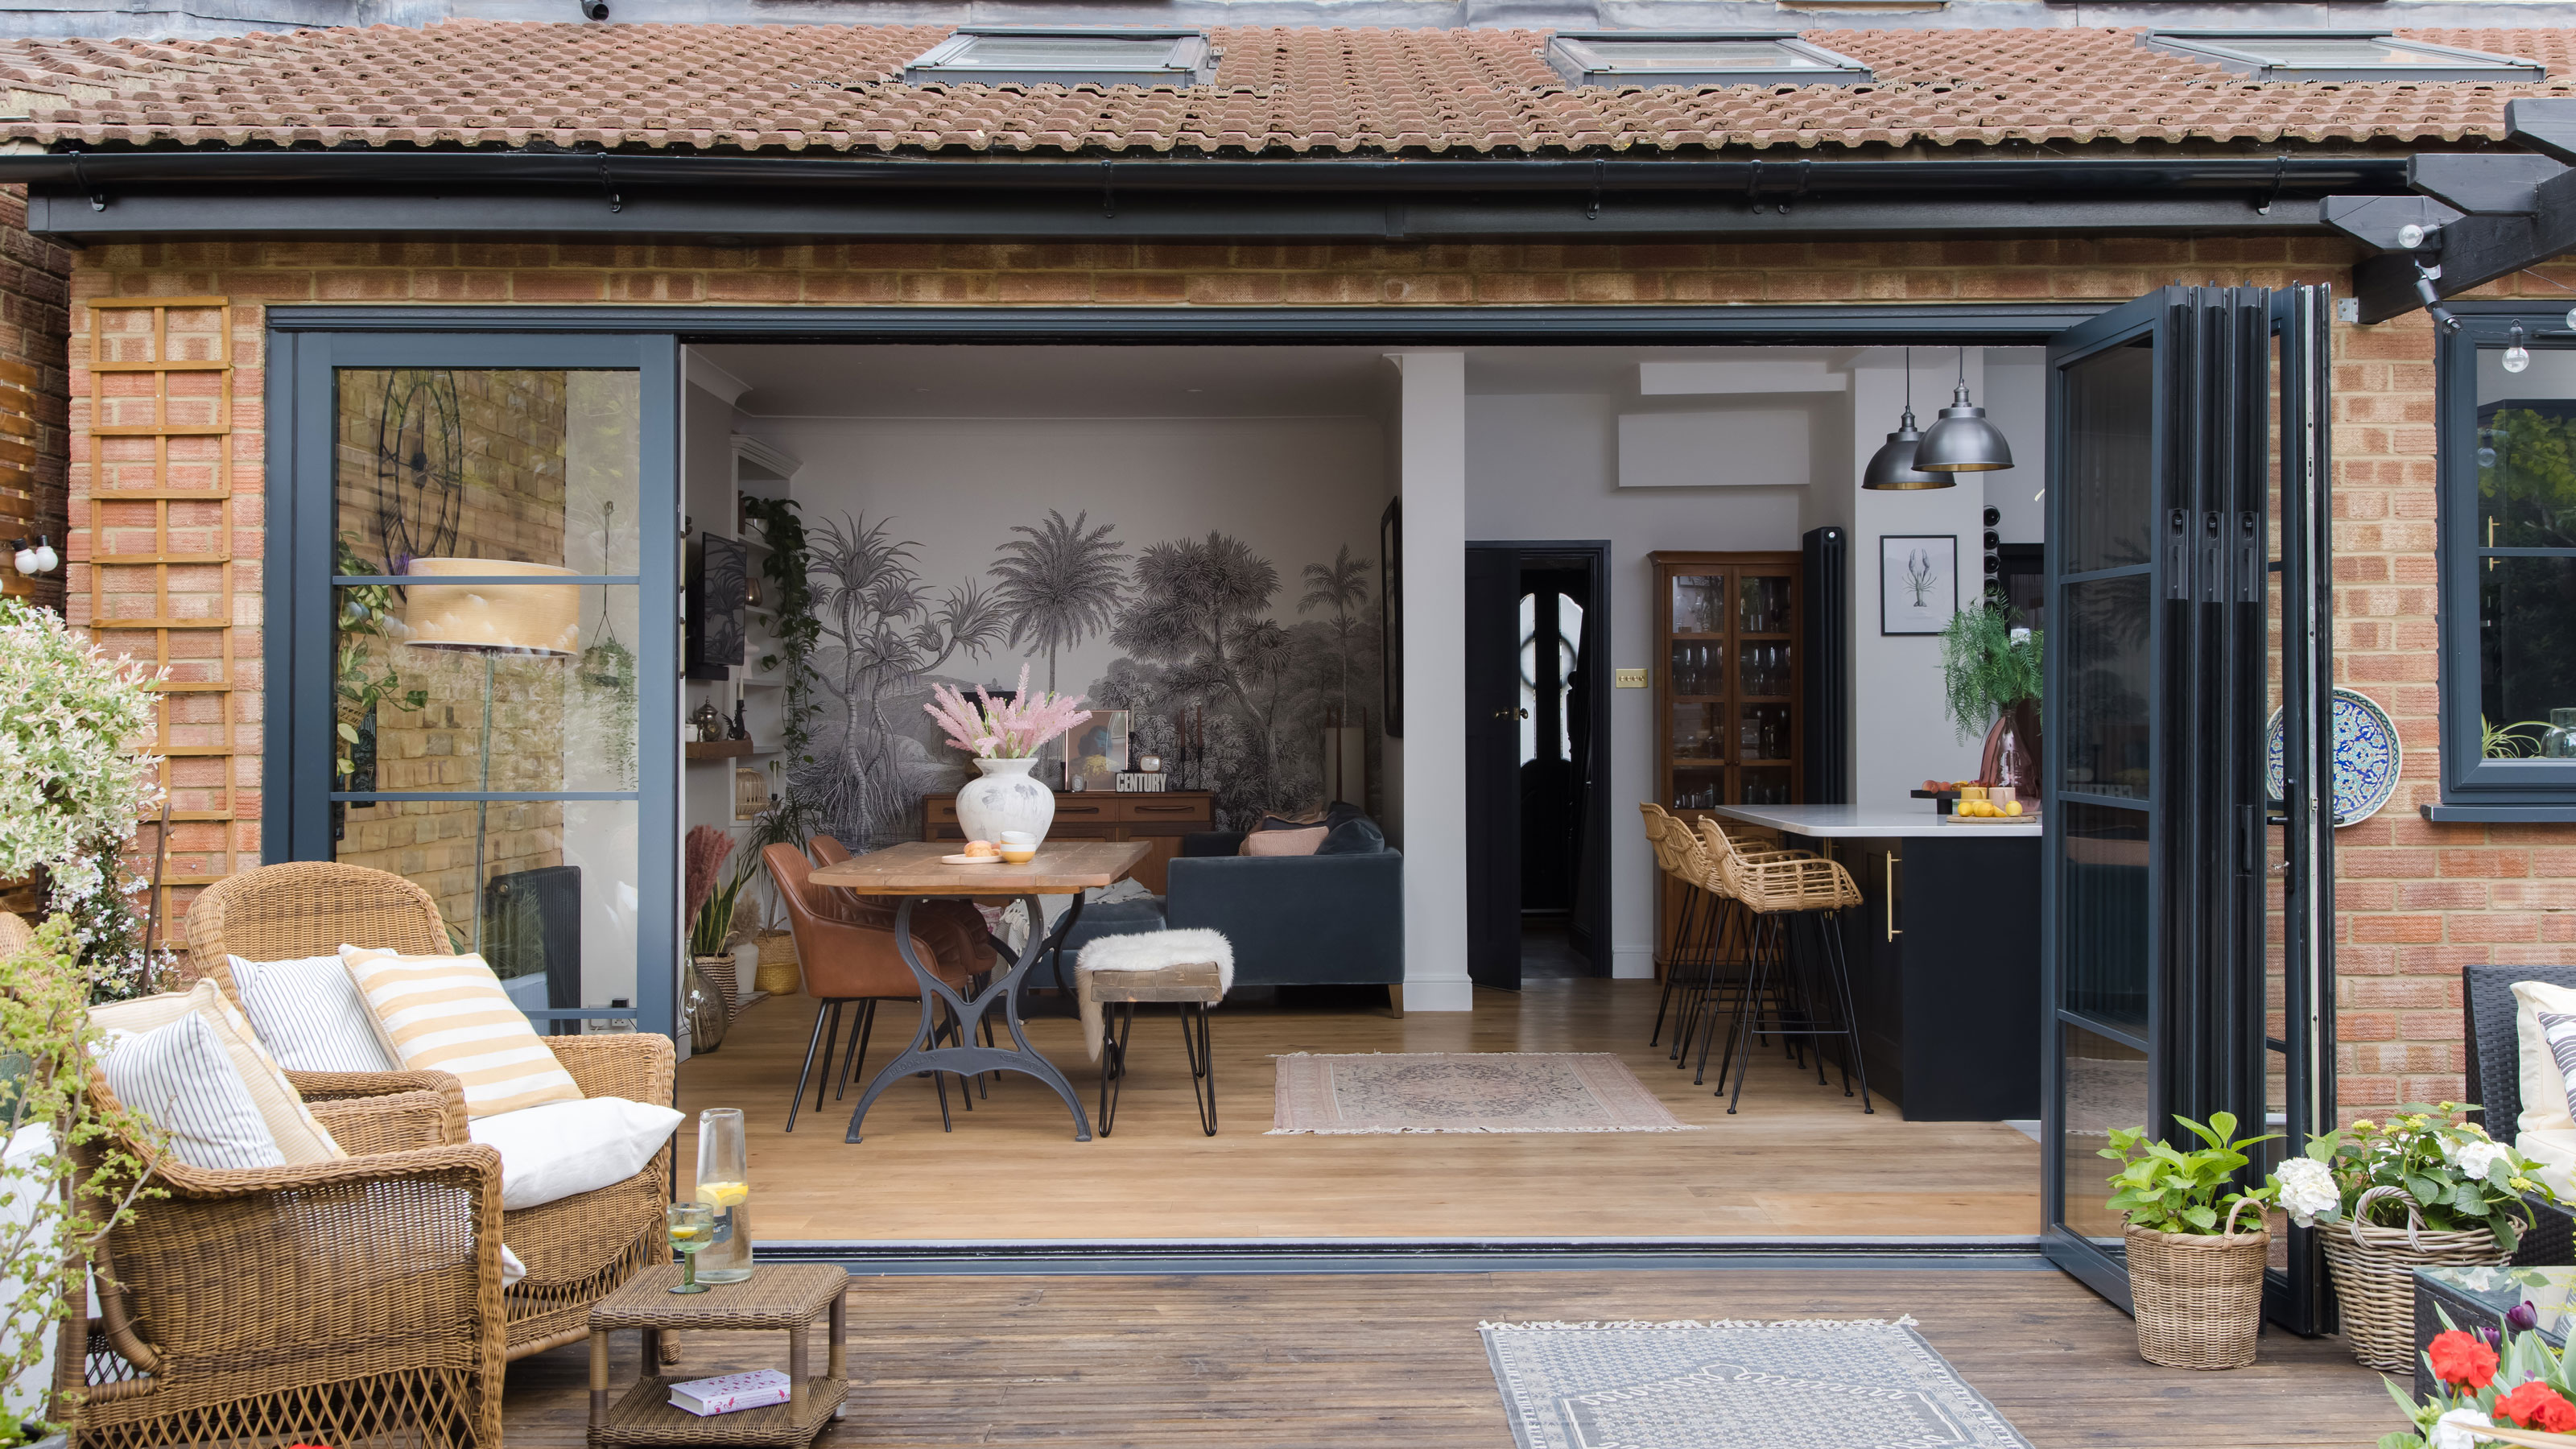 DIY transforms 1930s house into dream home
With several renovations behind them, Mary and Paul had creative expertise to draw on when it came to transforming their 1930s house
By Alison Jones Published
-
 12 easy ways to add curb appeal on a budget with DIY
You can give your home curb appeal at low cost. These are the DIY ways to boost its style
By Lucy Searle Published
-
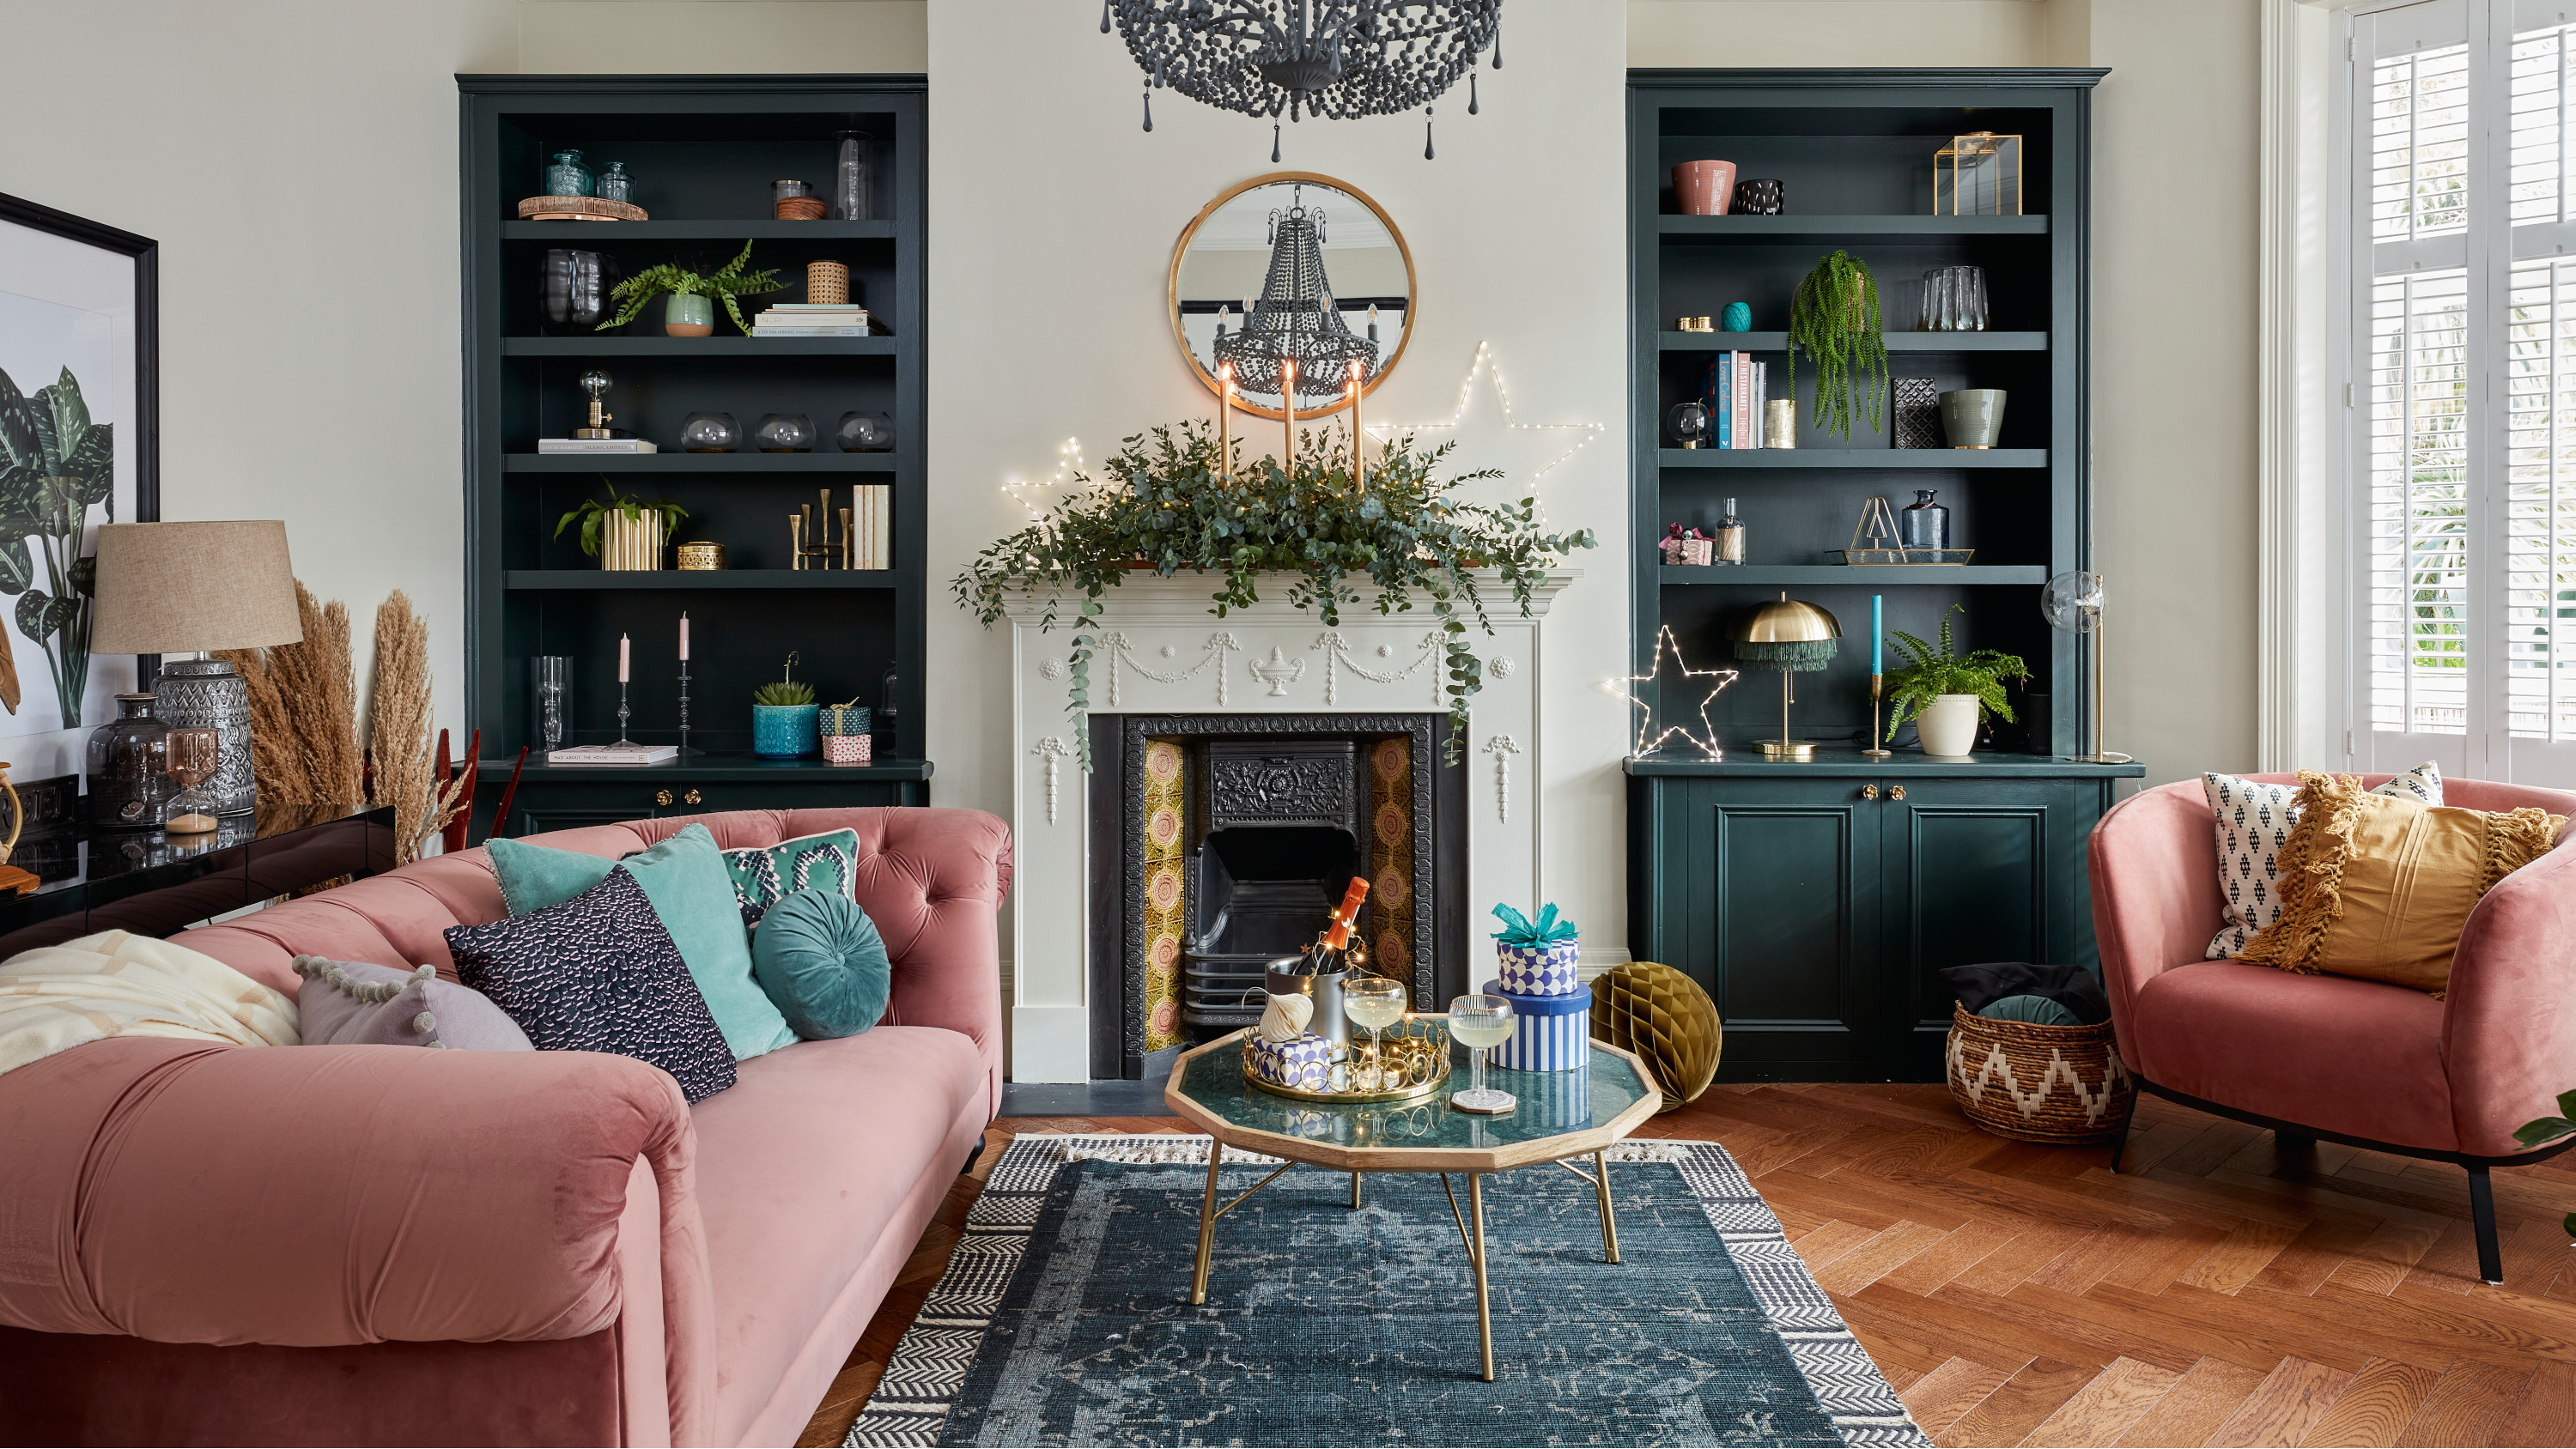 5 invaluable design learnings from a festive Edwardian house renovation
If you're renovating a period property, here are 5 design tips we've picked up from this festive Edwardian renovation
By Ellen Finch Published
-
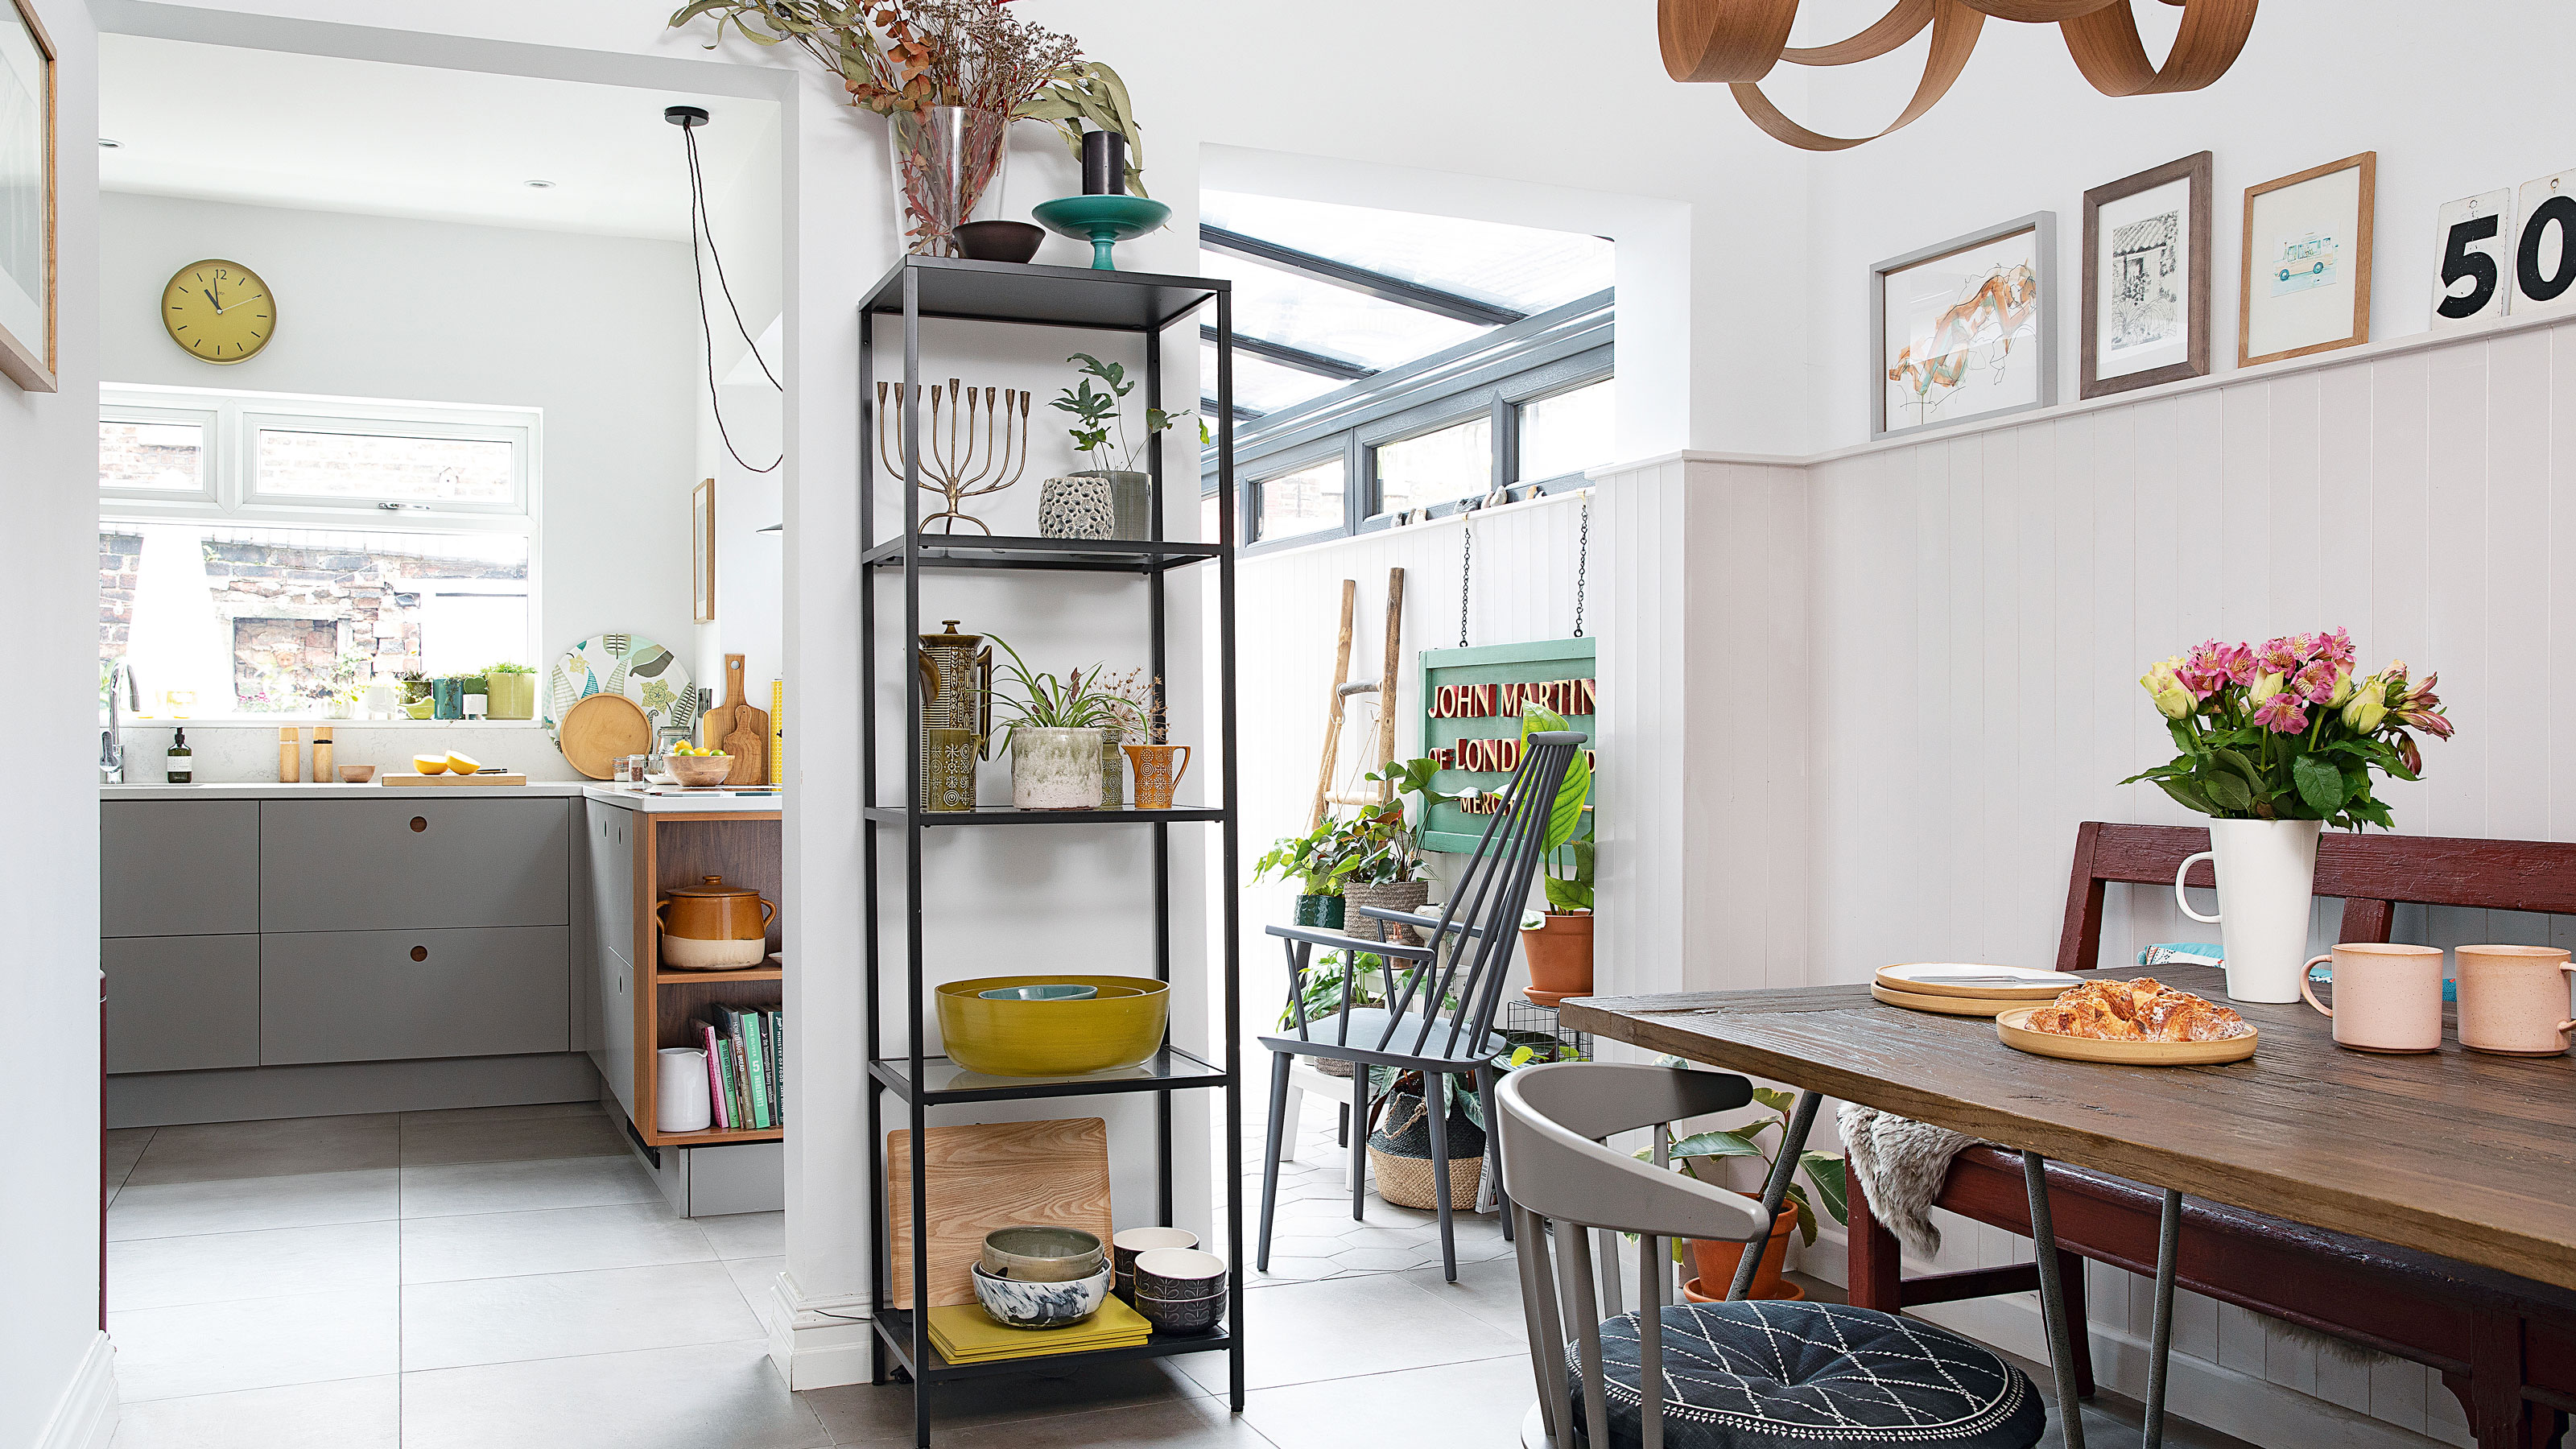 Real home: Glazed side extension creates the perfect garden link
Louise Potter and husband Sean's extension has transformed their Victorian house, now a showcase for their collection of art, vintage finds and Scandinavian pieces
By Laurie Davidson Published
-
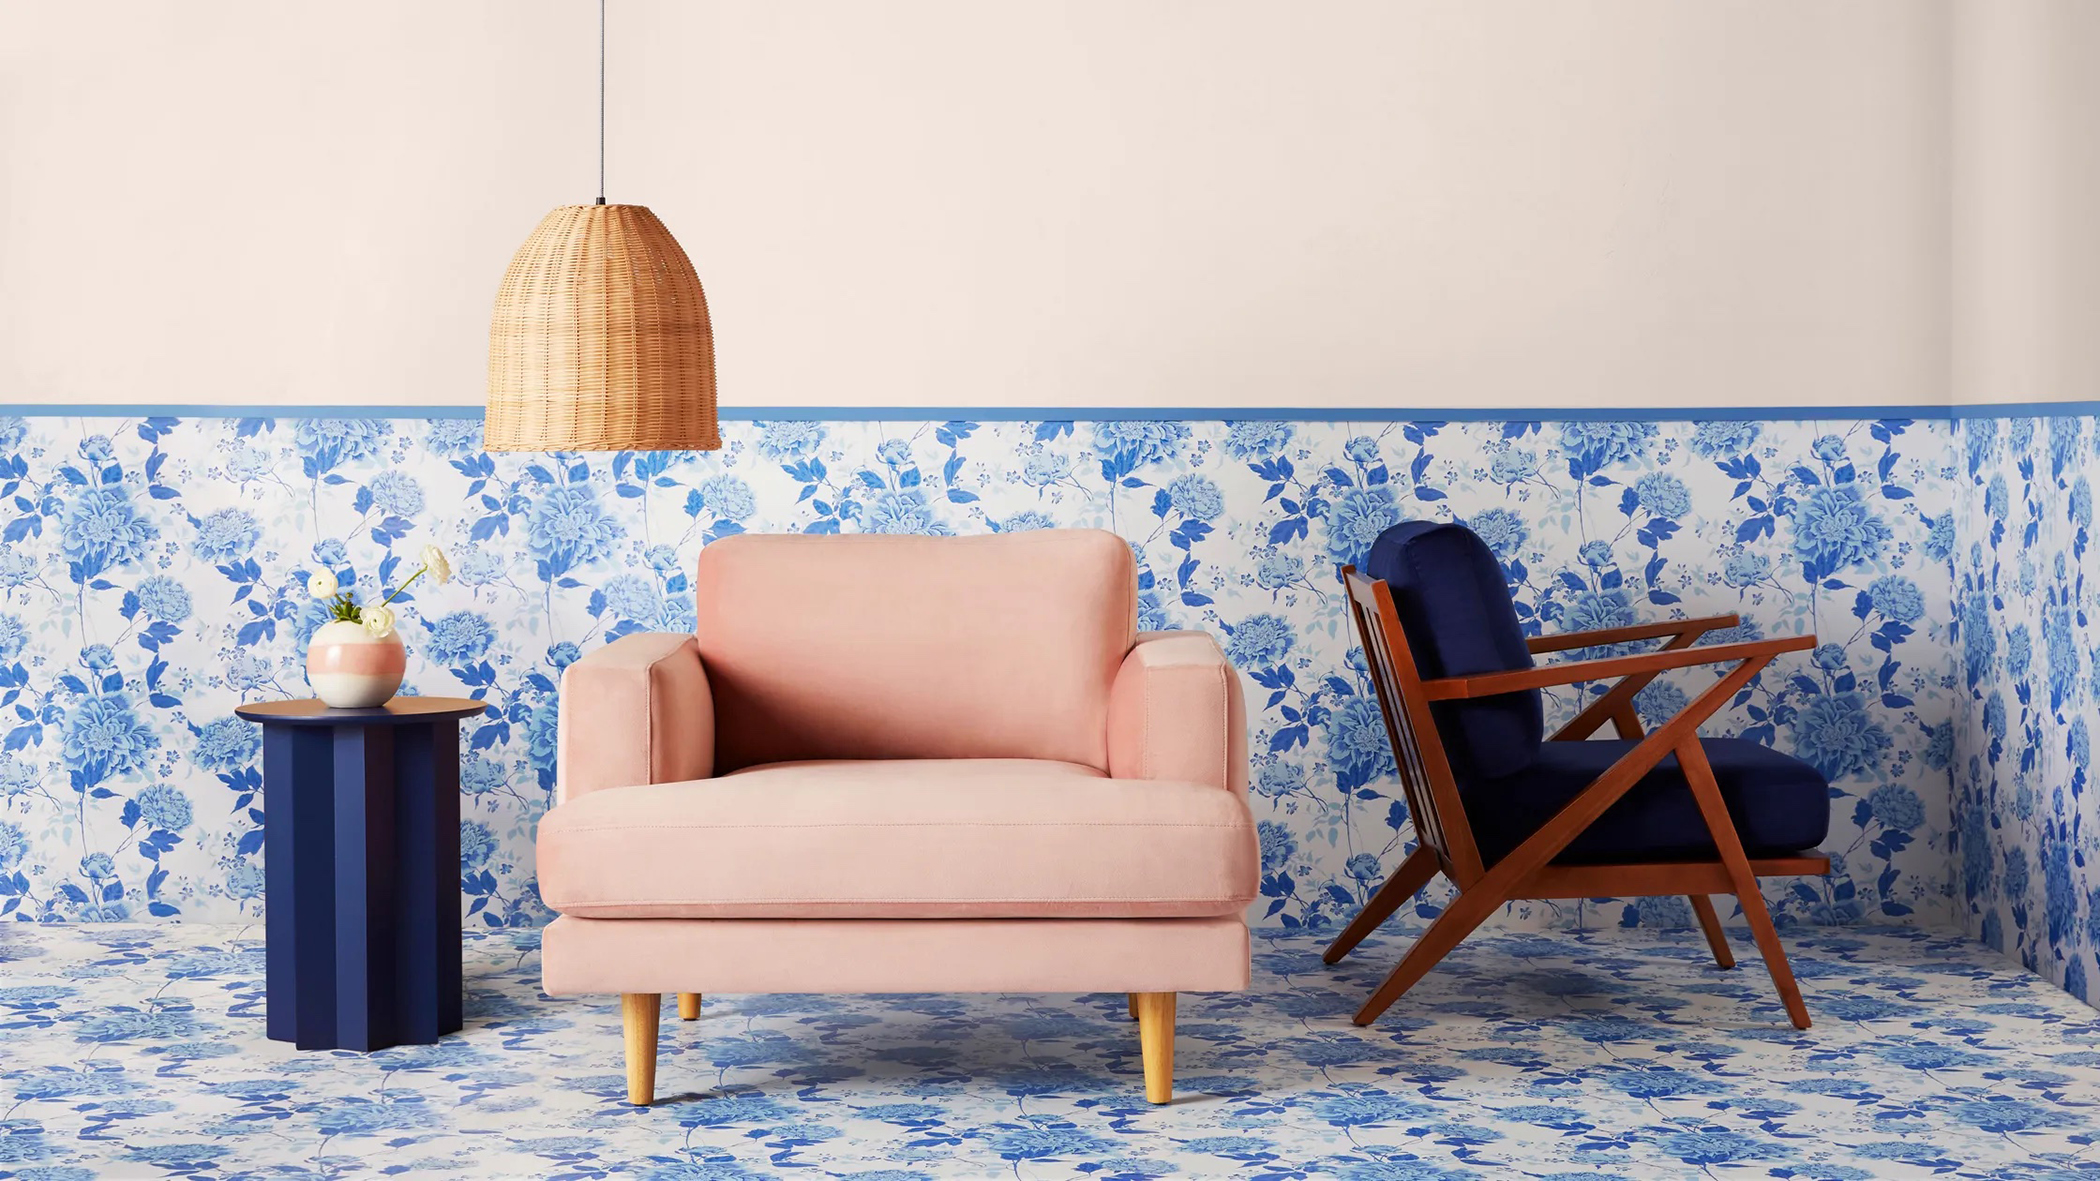 Drew Barrymore's new FLOWER Home paint collection wants to give your walls a makeover
Drew Barrymore FLOWER drops 27 brand-new paint shades, and every can is made from 100% post-consumer recycled plastic.
By Brittany Romano Published
-
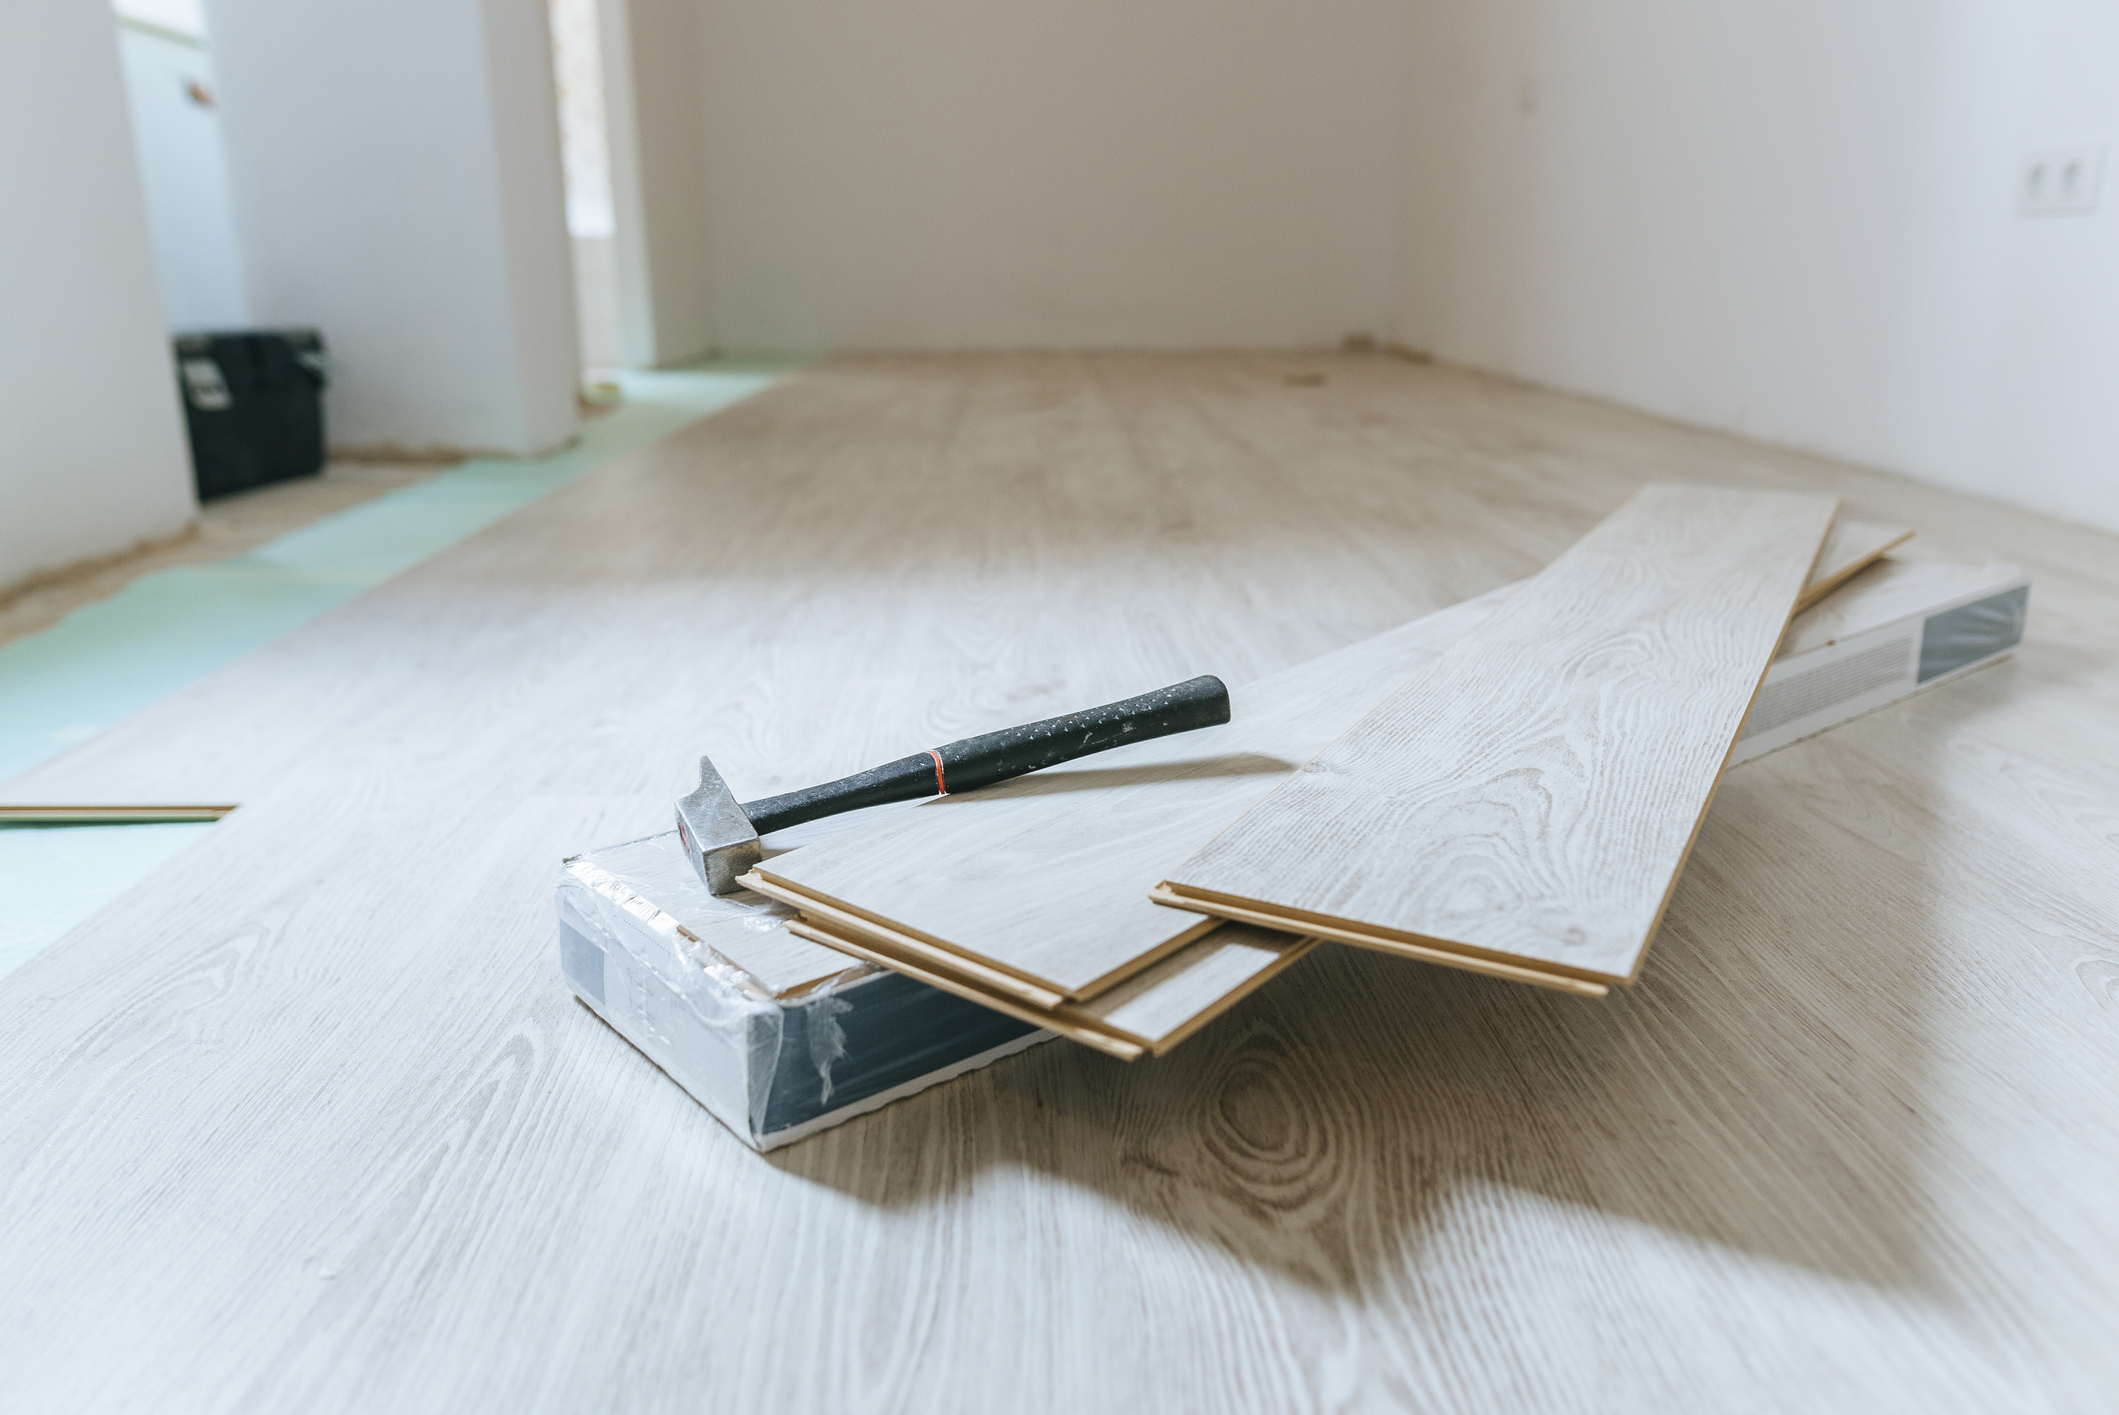 How to install laminate flooring – prepare to lay laminate like a pro
You should always use underlay when laying laminate. This step-by-step on how to install laminate flooring will ensure an expert finish – every time.
By Michael Holmes Published