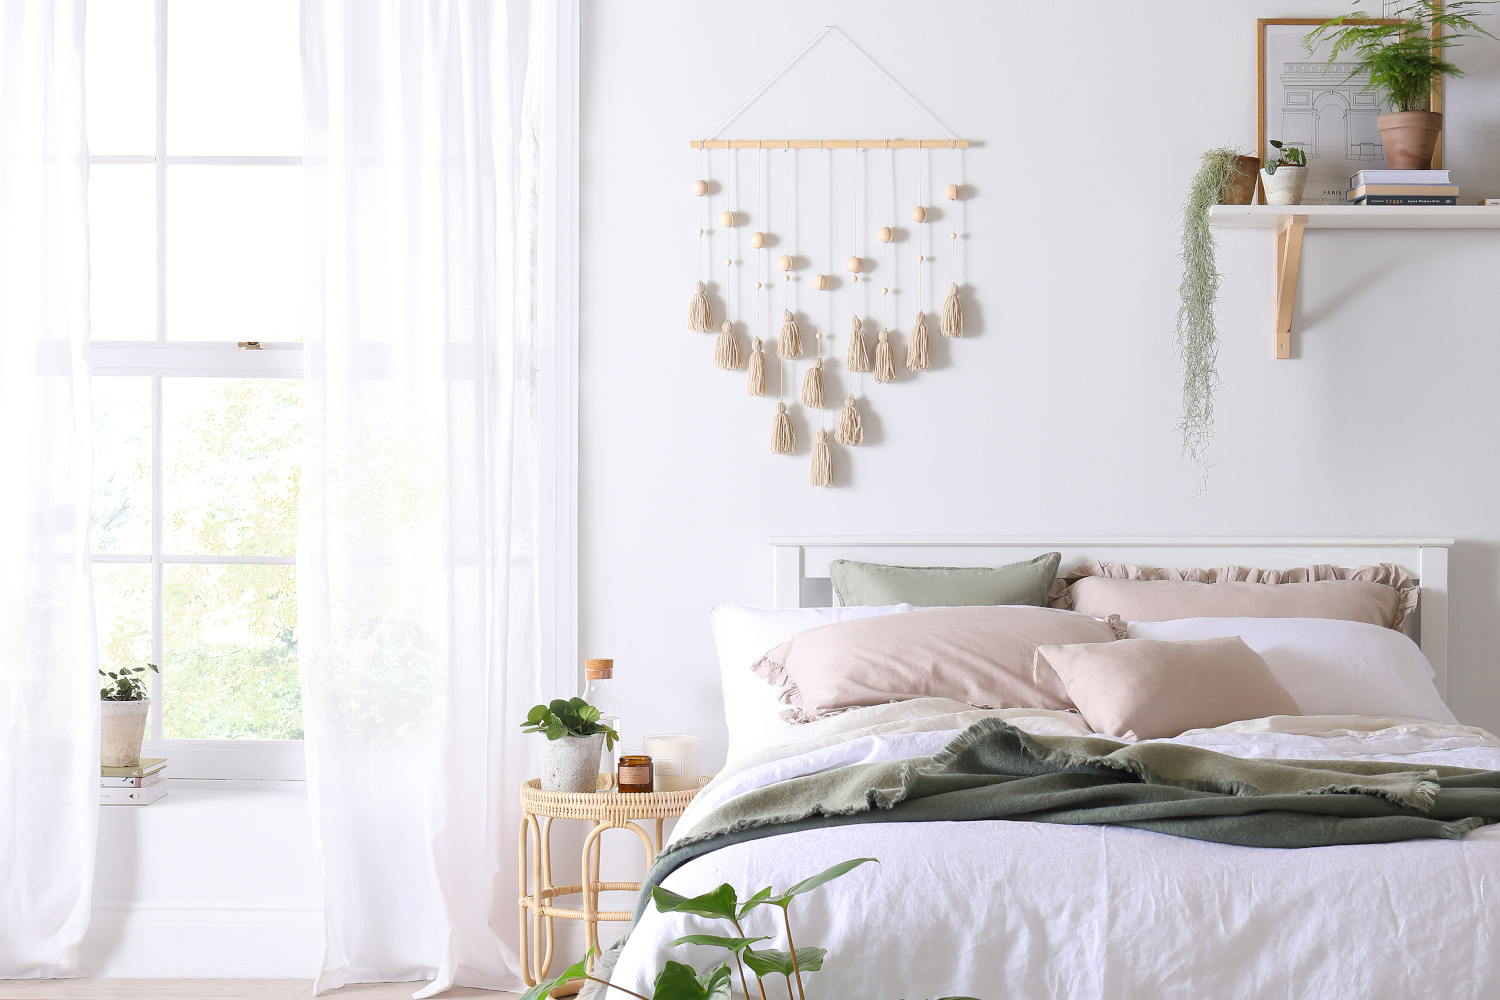

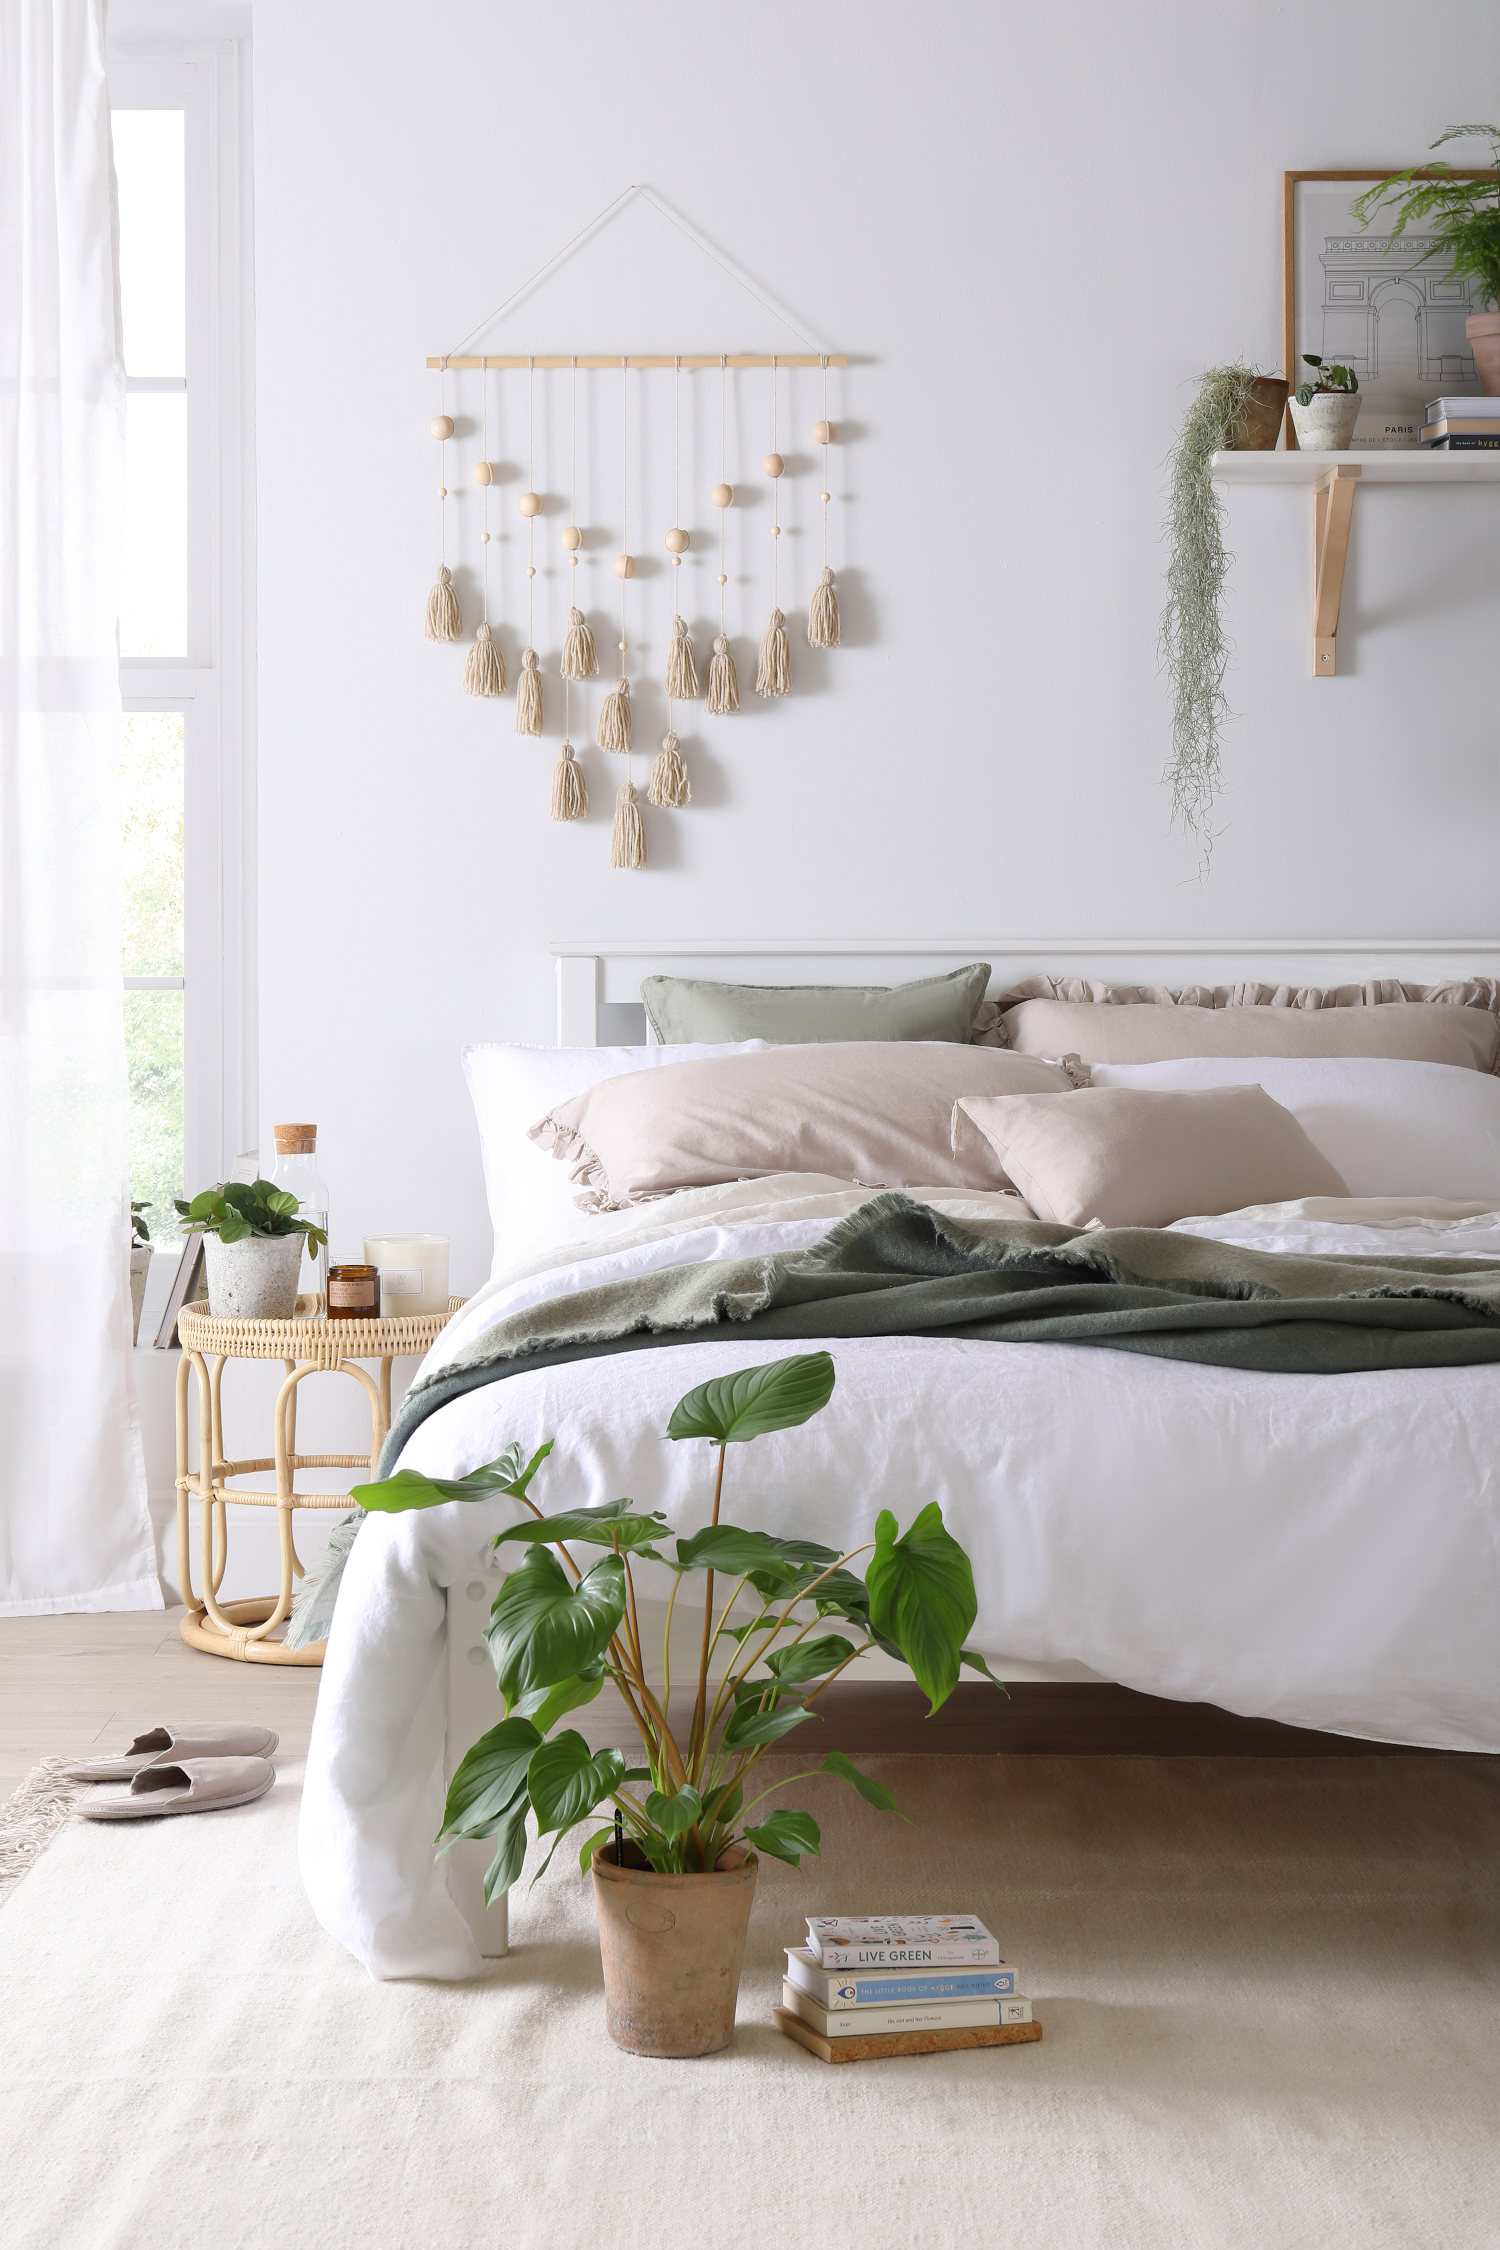
Been lusting after a macramé wall hanging for a while? We've seen them all over Instagram for ages now so naturally, we want in. After having a quick look online, we can confirm that those things can get expensive! And the cheaper ones look like someone chewed up a doily, spat it out and then tied it to a piece of wood. Not cute. So thanks to Furniture Choice, we have a really quick and easy guide to how to make a very stylish macramé-style wall hanging yourself.
Keep scrolling to follow the simple steps and if you are still feeling crafty head over to our craft ideas hub page.
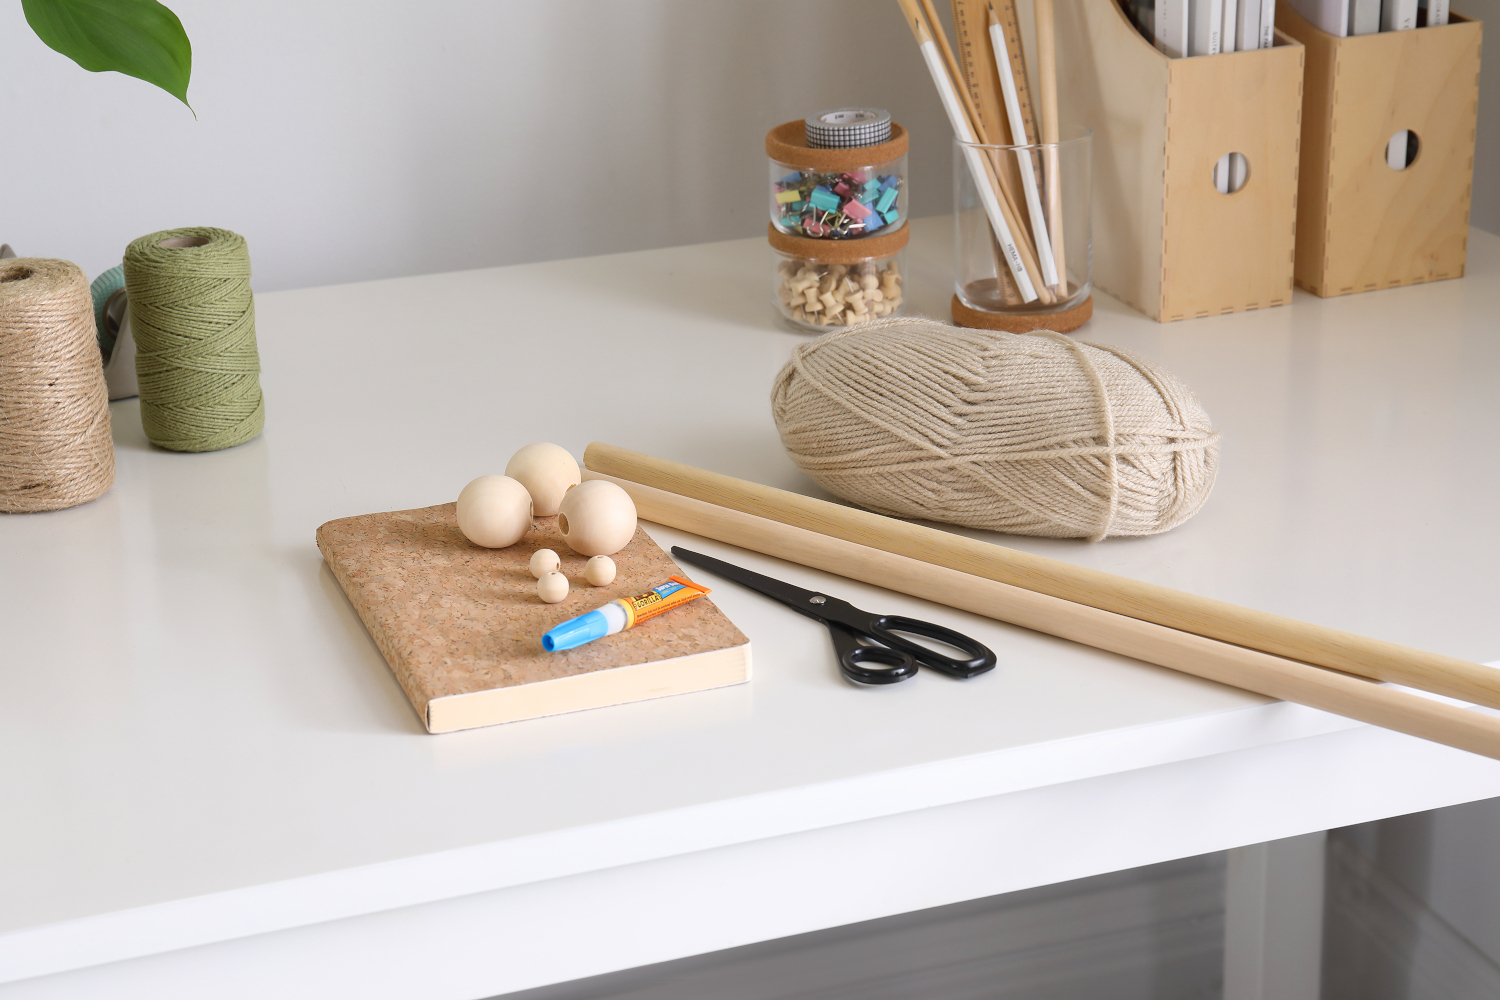
You will need:
- A wooden dowel cut to around 60cm in length
- Wooden beads – 9 large and 9 small
- A hardcover notebook
- Yarn
- Scissors
Step one: make your tassels
To make the tassels that will hang from the bottom of your wall hanging start by cutting a piece of yarn that is approximately long enough to wrap horizontally around your notebook 30 times. Then cut a shorter piece of yarn and hold it vertically against the spine of your notebook. Start wrapping the longer piece around the notepad, over the top of the piece you are holding on the spine.
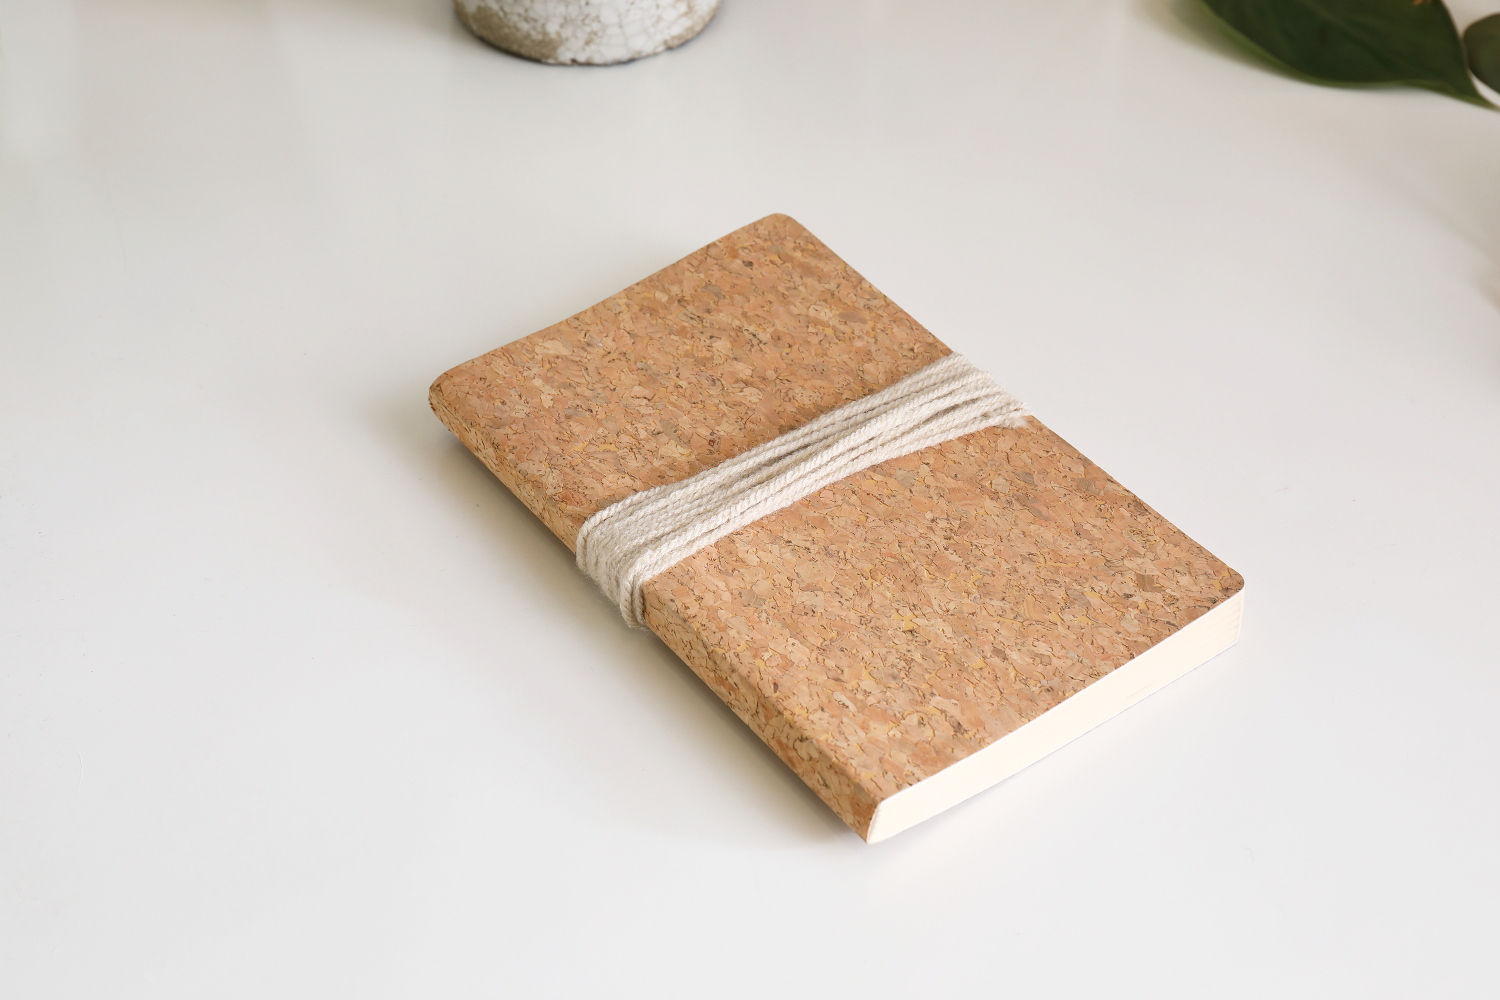
Once you have wrapped all the yarn around the notebook, tie the piece you have kept against the spine in a knot around the longer piece of yarn. Then chop the yarn that is wrapped around the notebook down the side with the pages to free it.
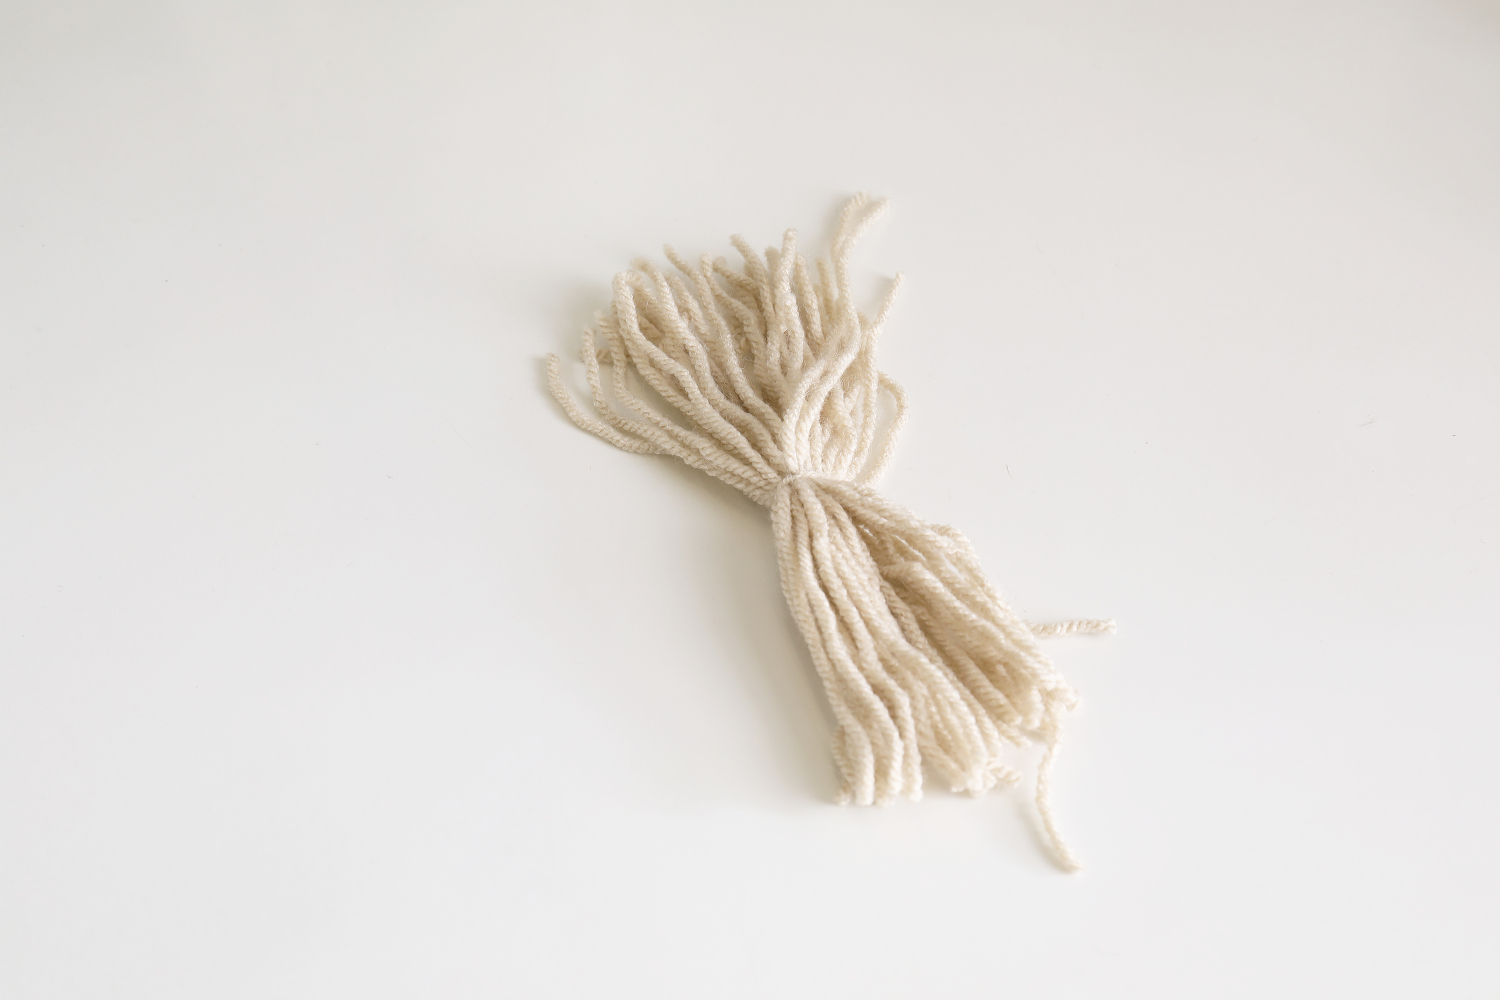
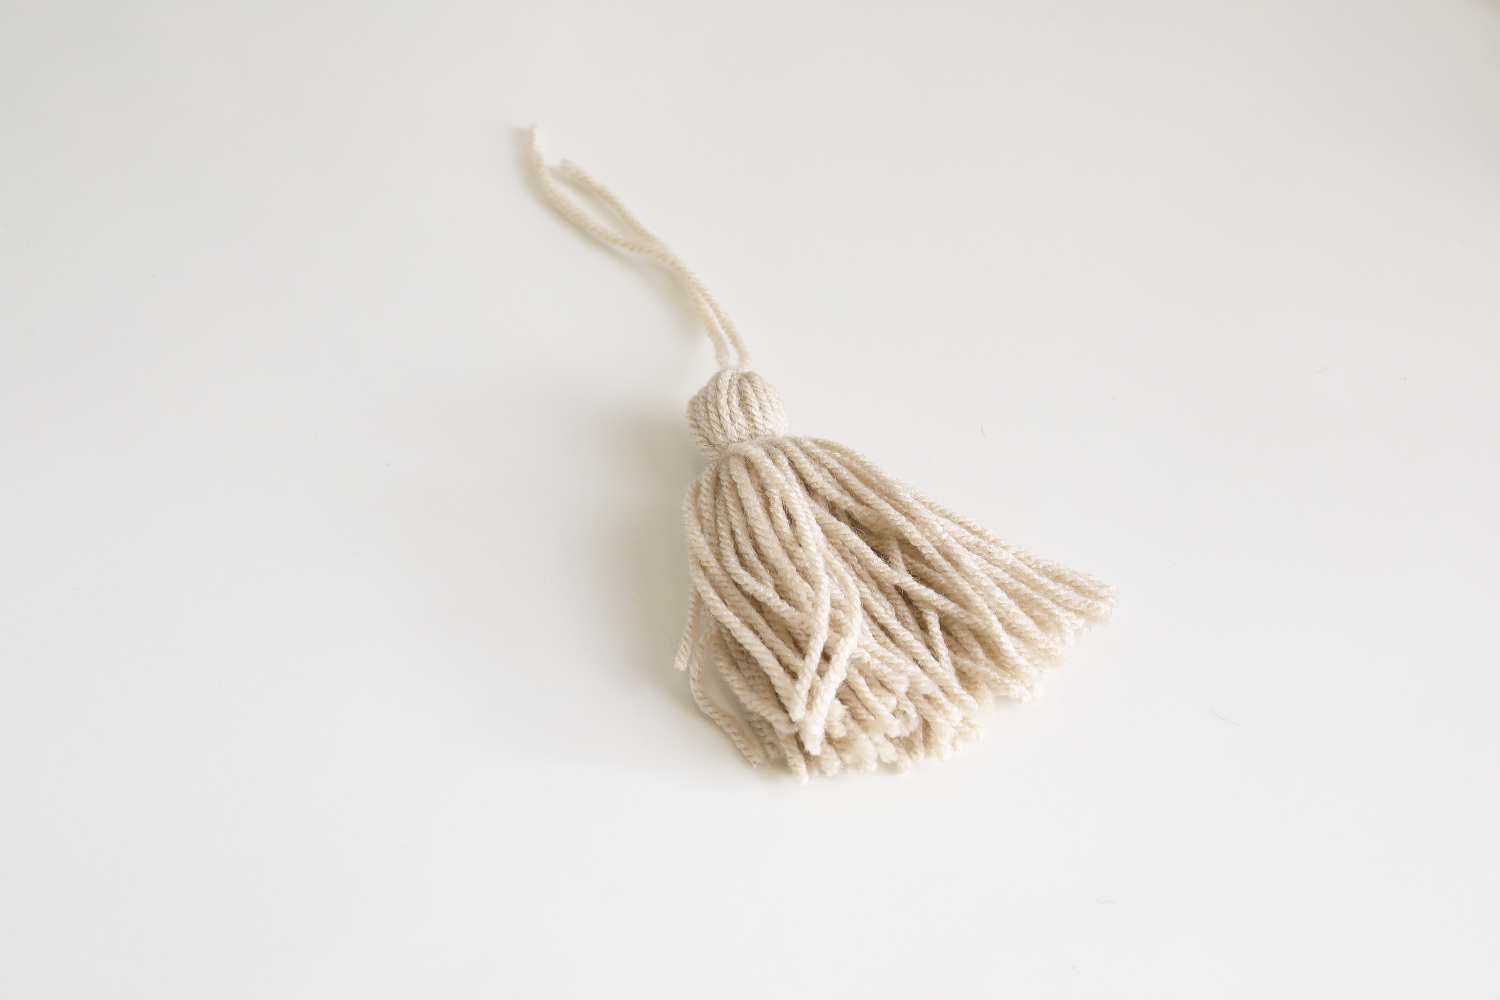
Pull all of the bits of yarn over to one side, leaving just two pieces free to create a loop. Then use another bit of yarn to create the tassel head by tying it around the top.
Step two: prepare the dowel
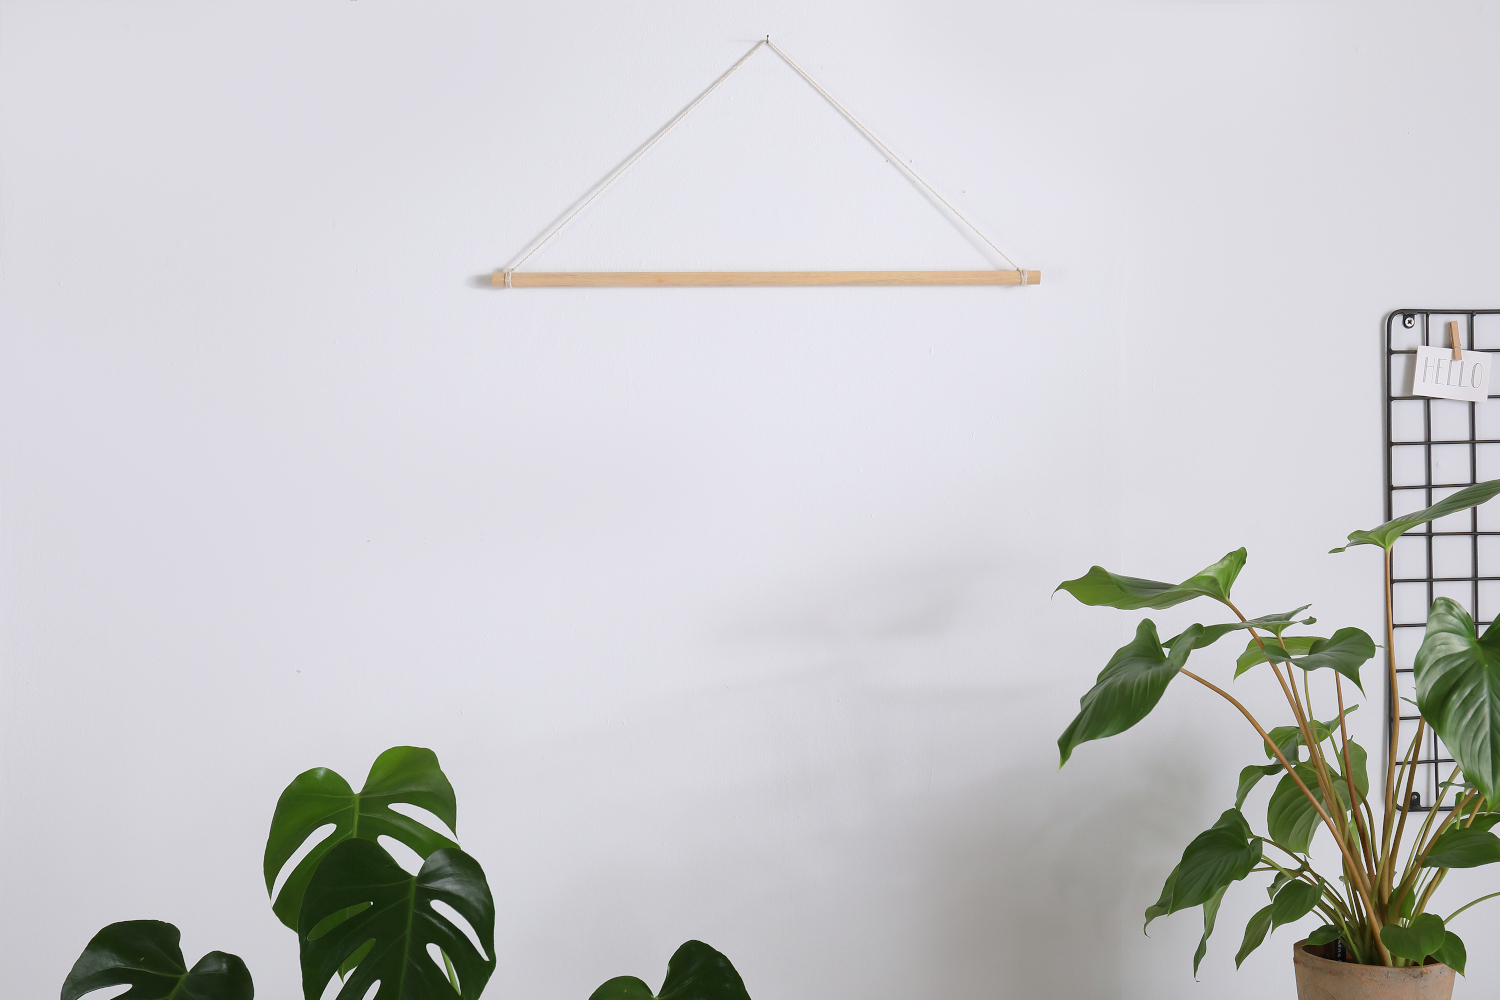
To create the part of the wall hanging that will actually hold it up, tie a long enough piece of yarn to either side of the wooden dowel. Hold it up against a wall to check you are happy with how it hangs.
Step three: cut your yarn into nine sections
For this design, nine pieces of yarn hang from the dowel, each getting longer towards the middle. Obviously, you can mix it up how you like – do alternating lengths, keep them all the same, whatever – just cut your yarn into nine pieces. You will be adding beads to them which will shorten the pieces so bear this in mind.
Join our newsletter
Get small space home decor ideas, celeb inspiration, DIY tips and more, straight to your inbox!
Step four: add the beads
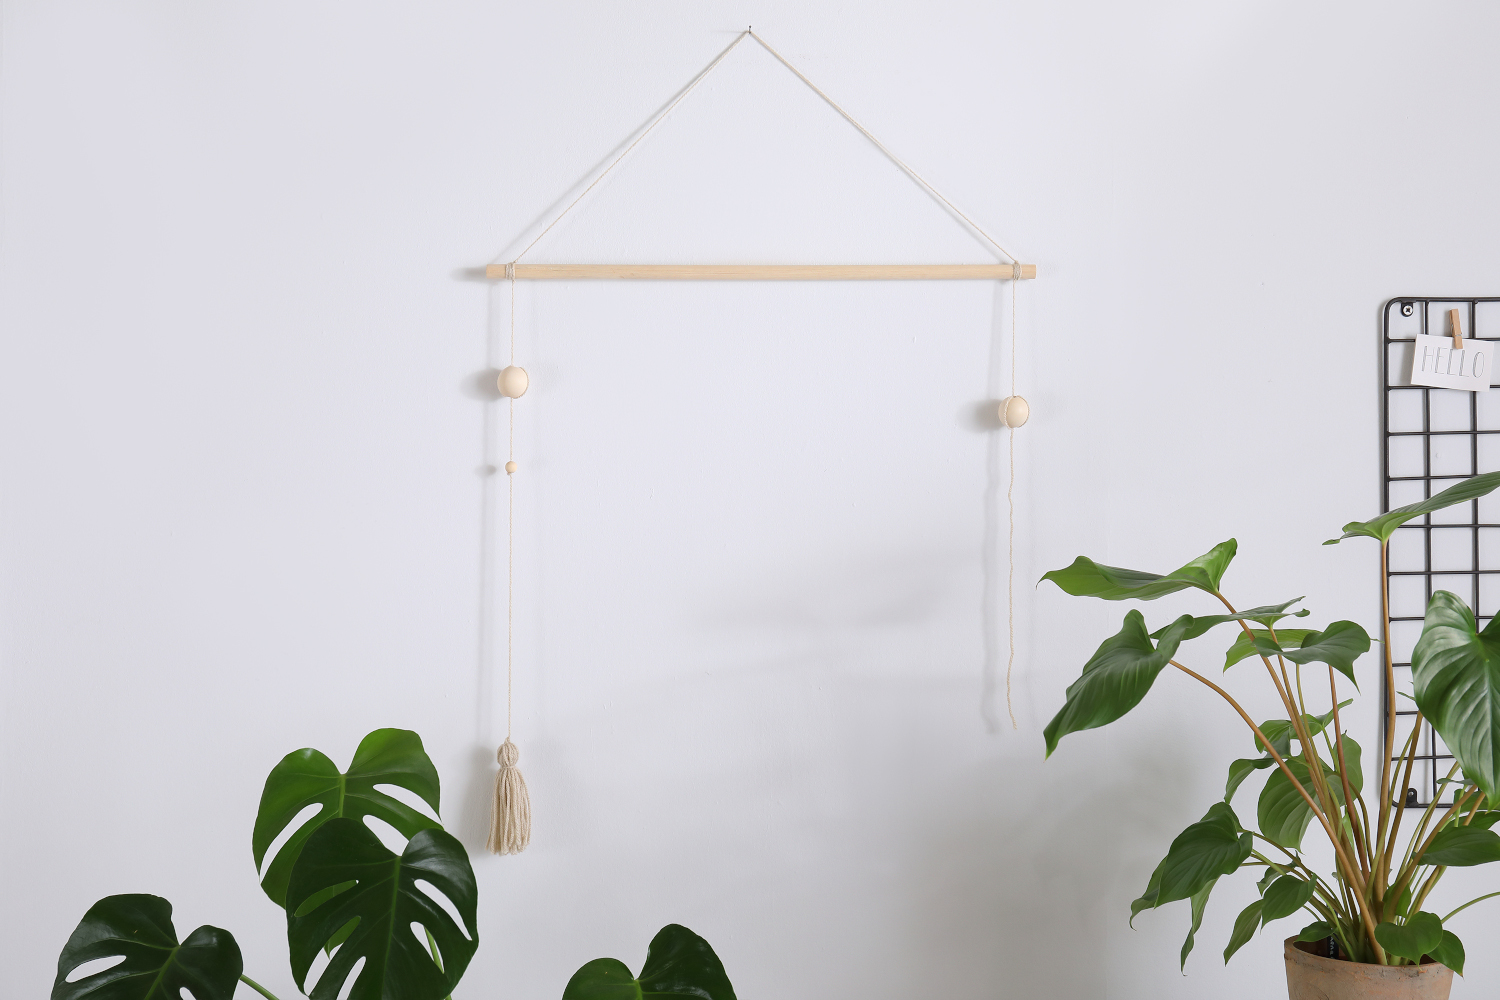
For each of the nine pieces, thread on one large bead and thread the yarn around the bead to keep it in place, follow with a small one and do the same. Again, you can mix up the pattern you create with the beads.
Step five: attach the tassels
To attach a tassel tie it to the end of the yarn using the top loop of the tassel. Double knot them in place and trim off any excess. Hey presto! Your very on homemade wall art.
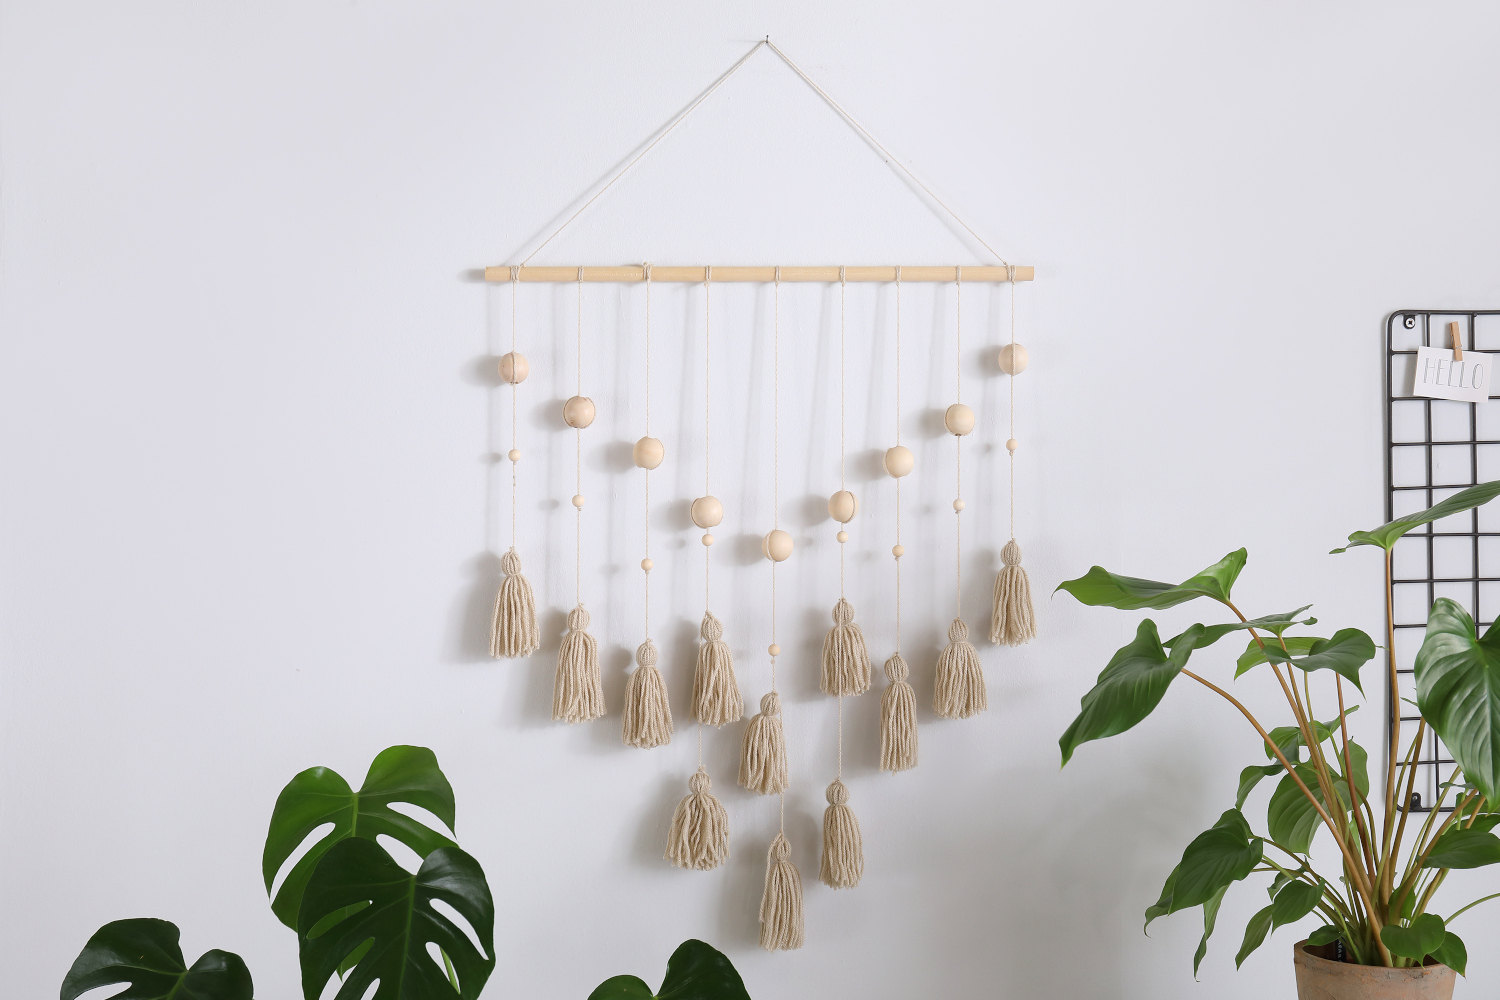
*DIY step by step thanks to Furniture Choice
Read more:
Hebe joined the Real Homes team in early 2018 as Staff Writer before moving to the Livingetc team in 2021 where she took on a role as Digital Editor. She loves boho and 70's style and is a big fan of Instagram as a source of interiors inspiration. When she isn't writing about interiors, she is renovating her own spaces – be it wallpapering a hallway, painting kitchen cupboards or converting a van.
-
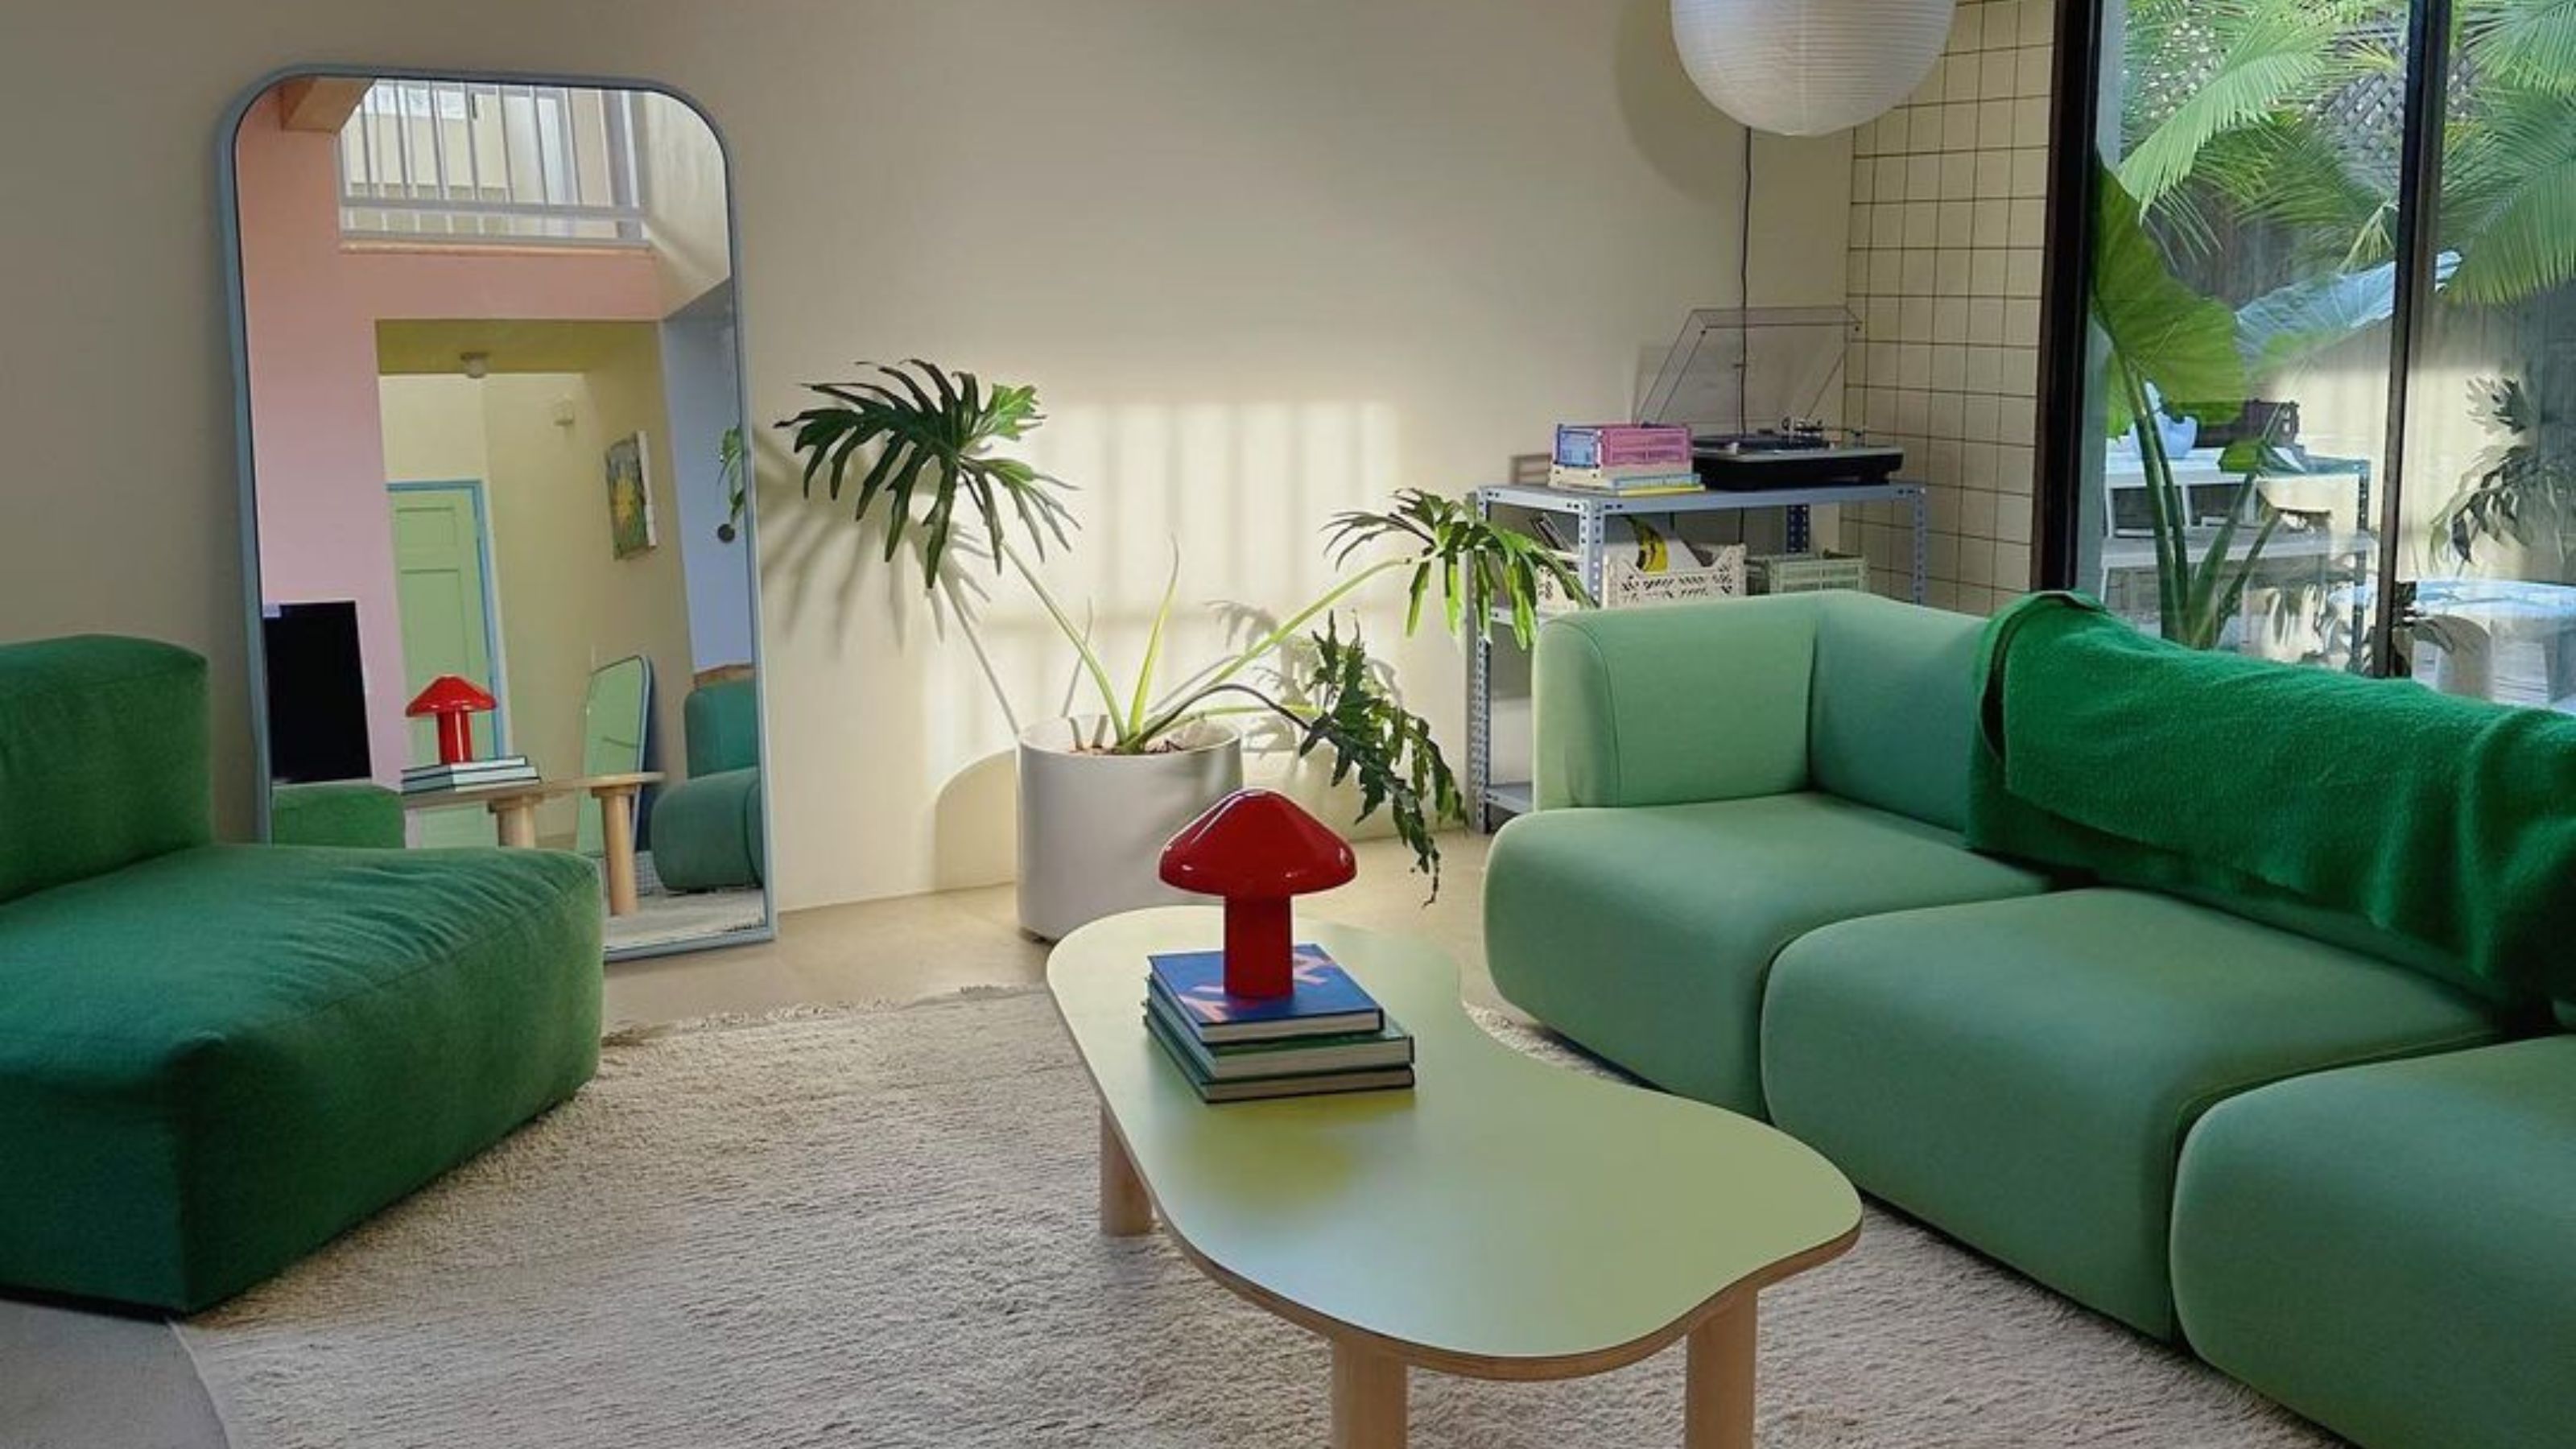 5 Gen Z and millennial influencers to follow for all things homes and interiors
Need some on-trend home and interior inspo? These are the five millennial and Gen Z influencer accounts I can't stop scrolling for small homes and rentals
By Louise Oliphant Published
-
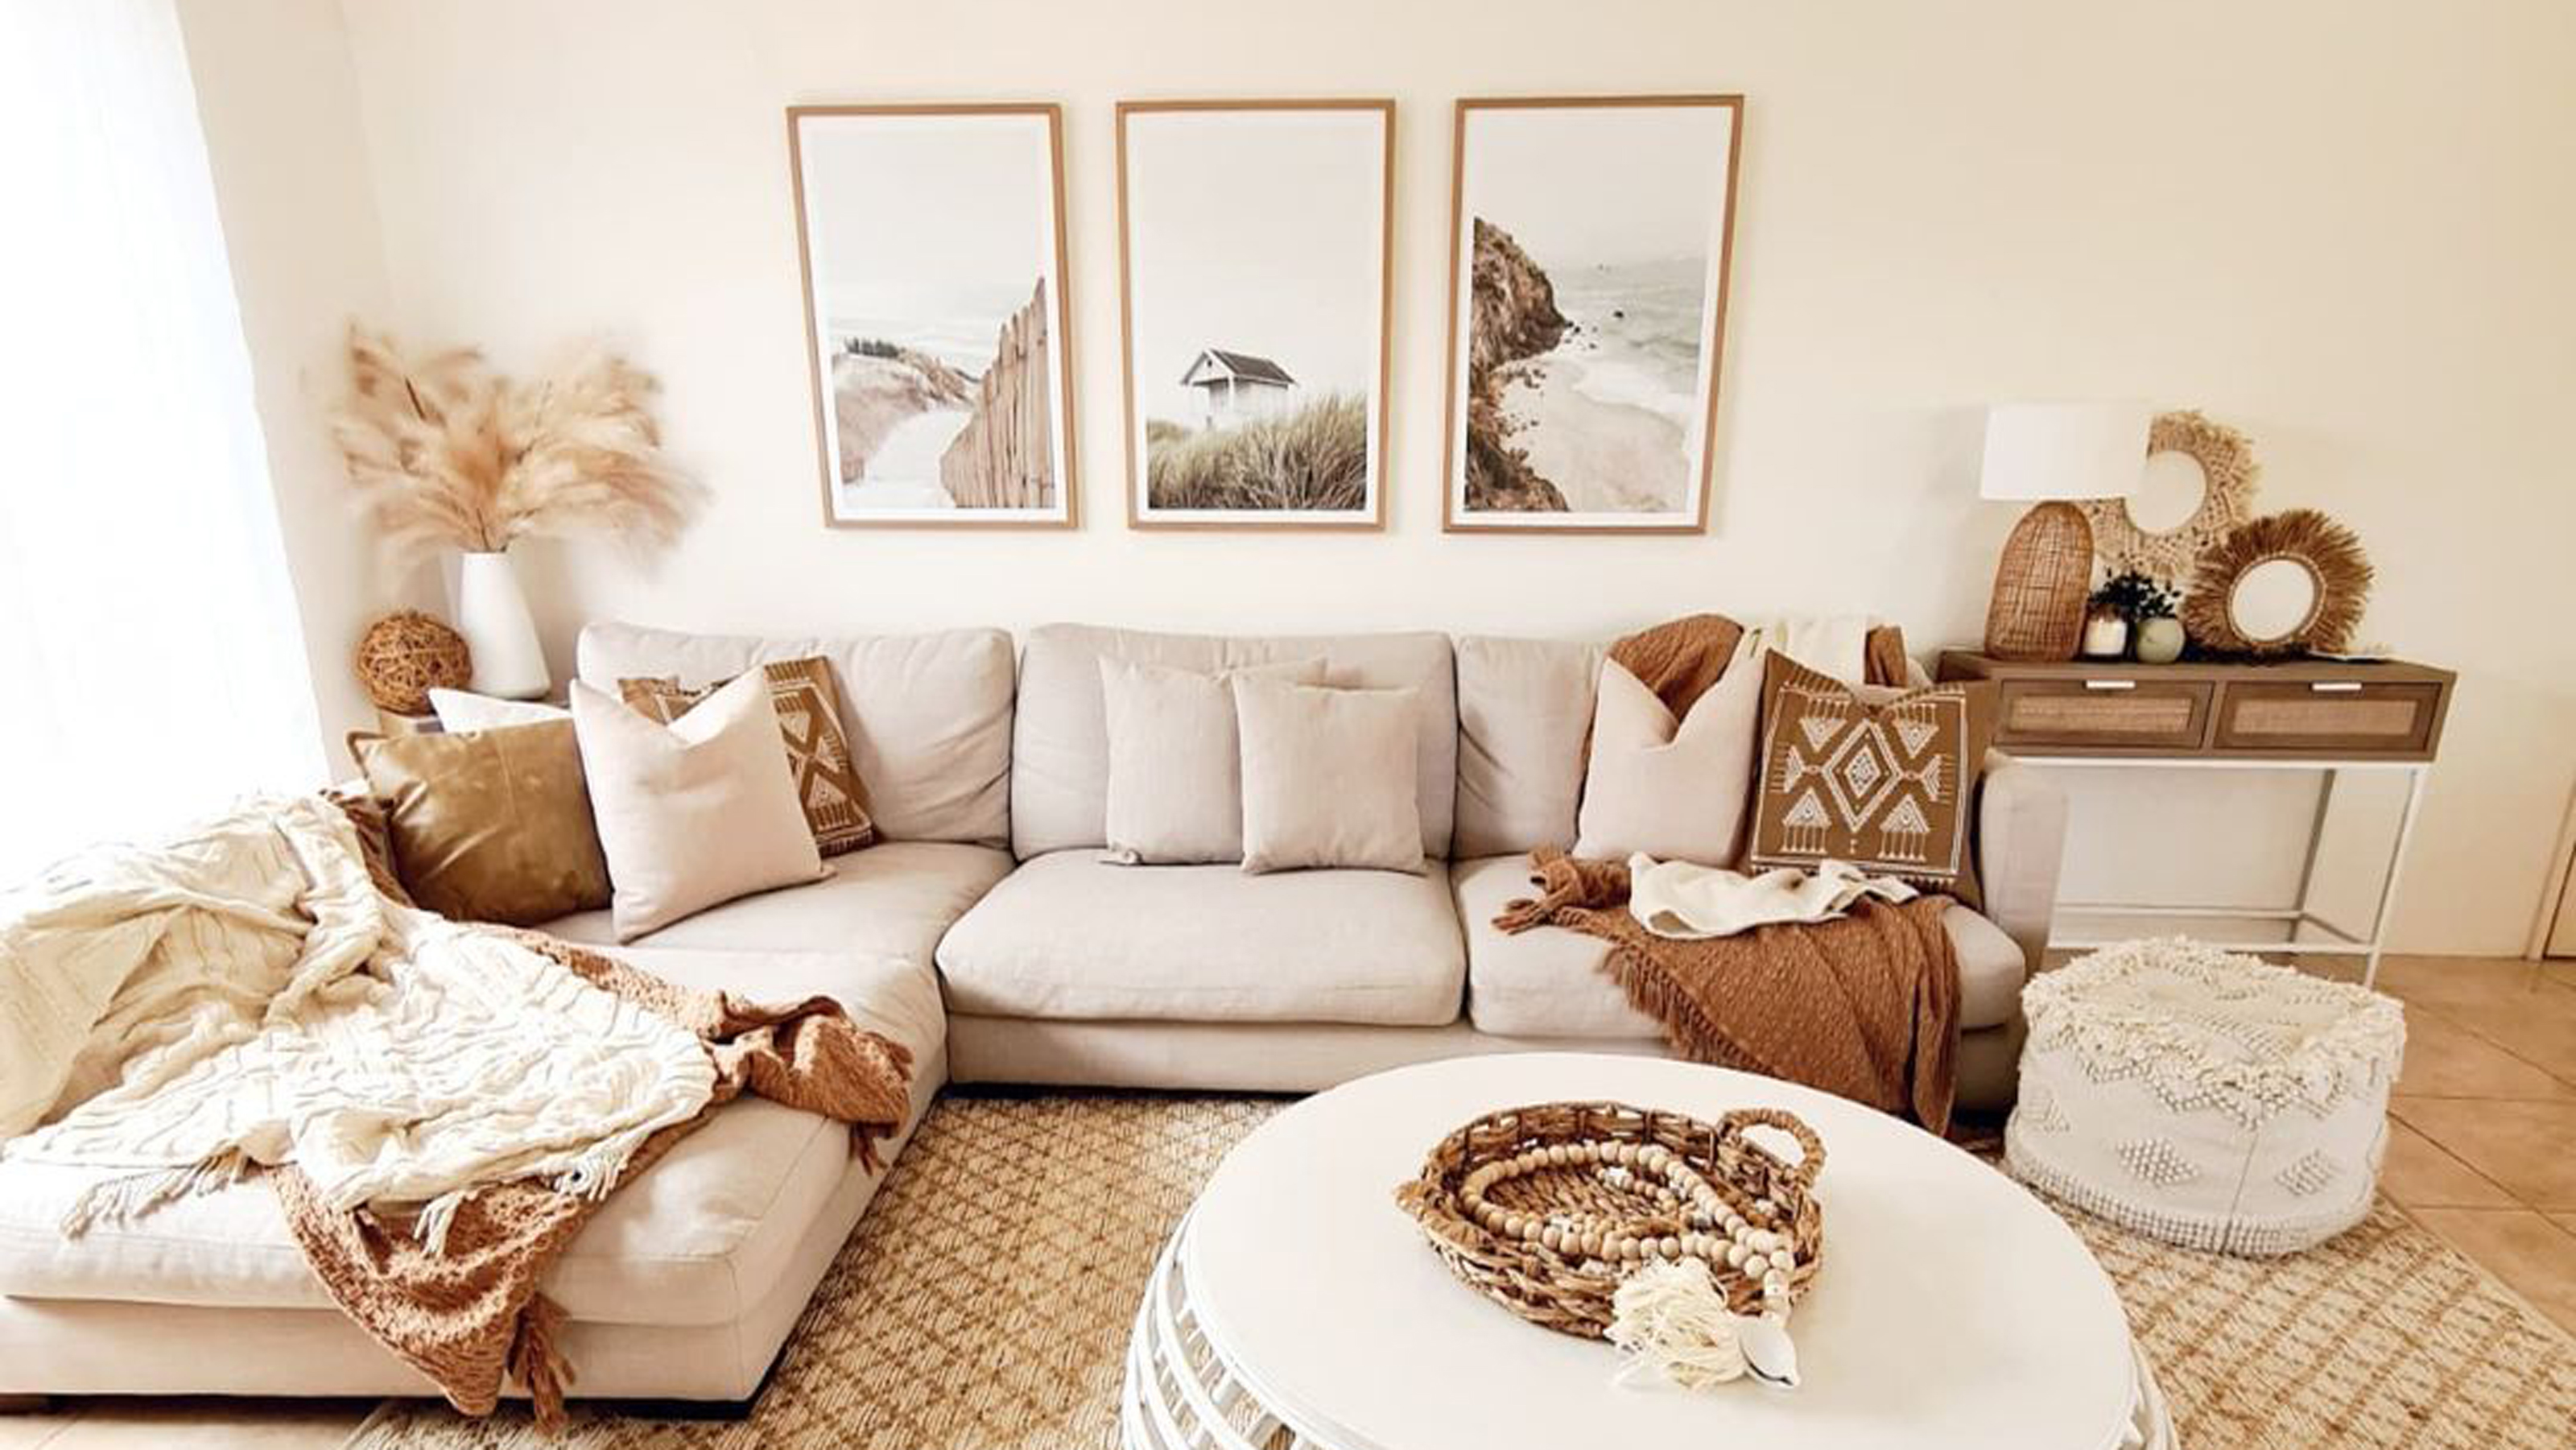 8 calming paint colors to create a blissful home sanctuary
Relax, revive and renew with a soothing palette of mindful paint shades.
By Sophie Warren-Smith Published
-
 How one trash can thrifter brought a vintage footstool back to life, for free
See how an innovative NYC-based trash can thrifter brought a vintage bamboo footstool back to life for free
By Camille Dubuis-Welch Published
-
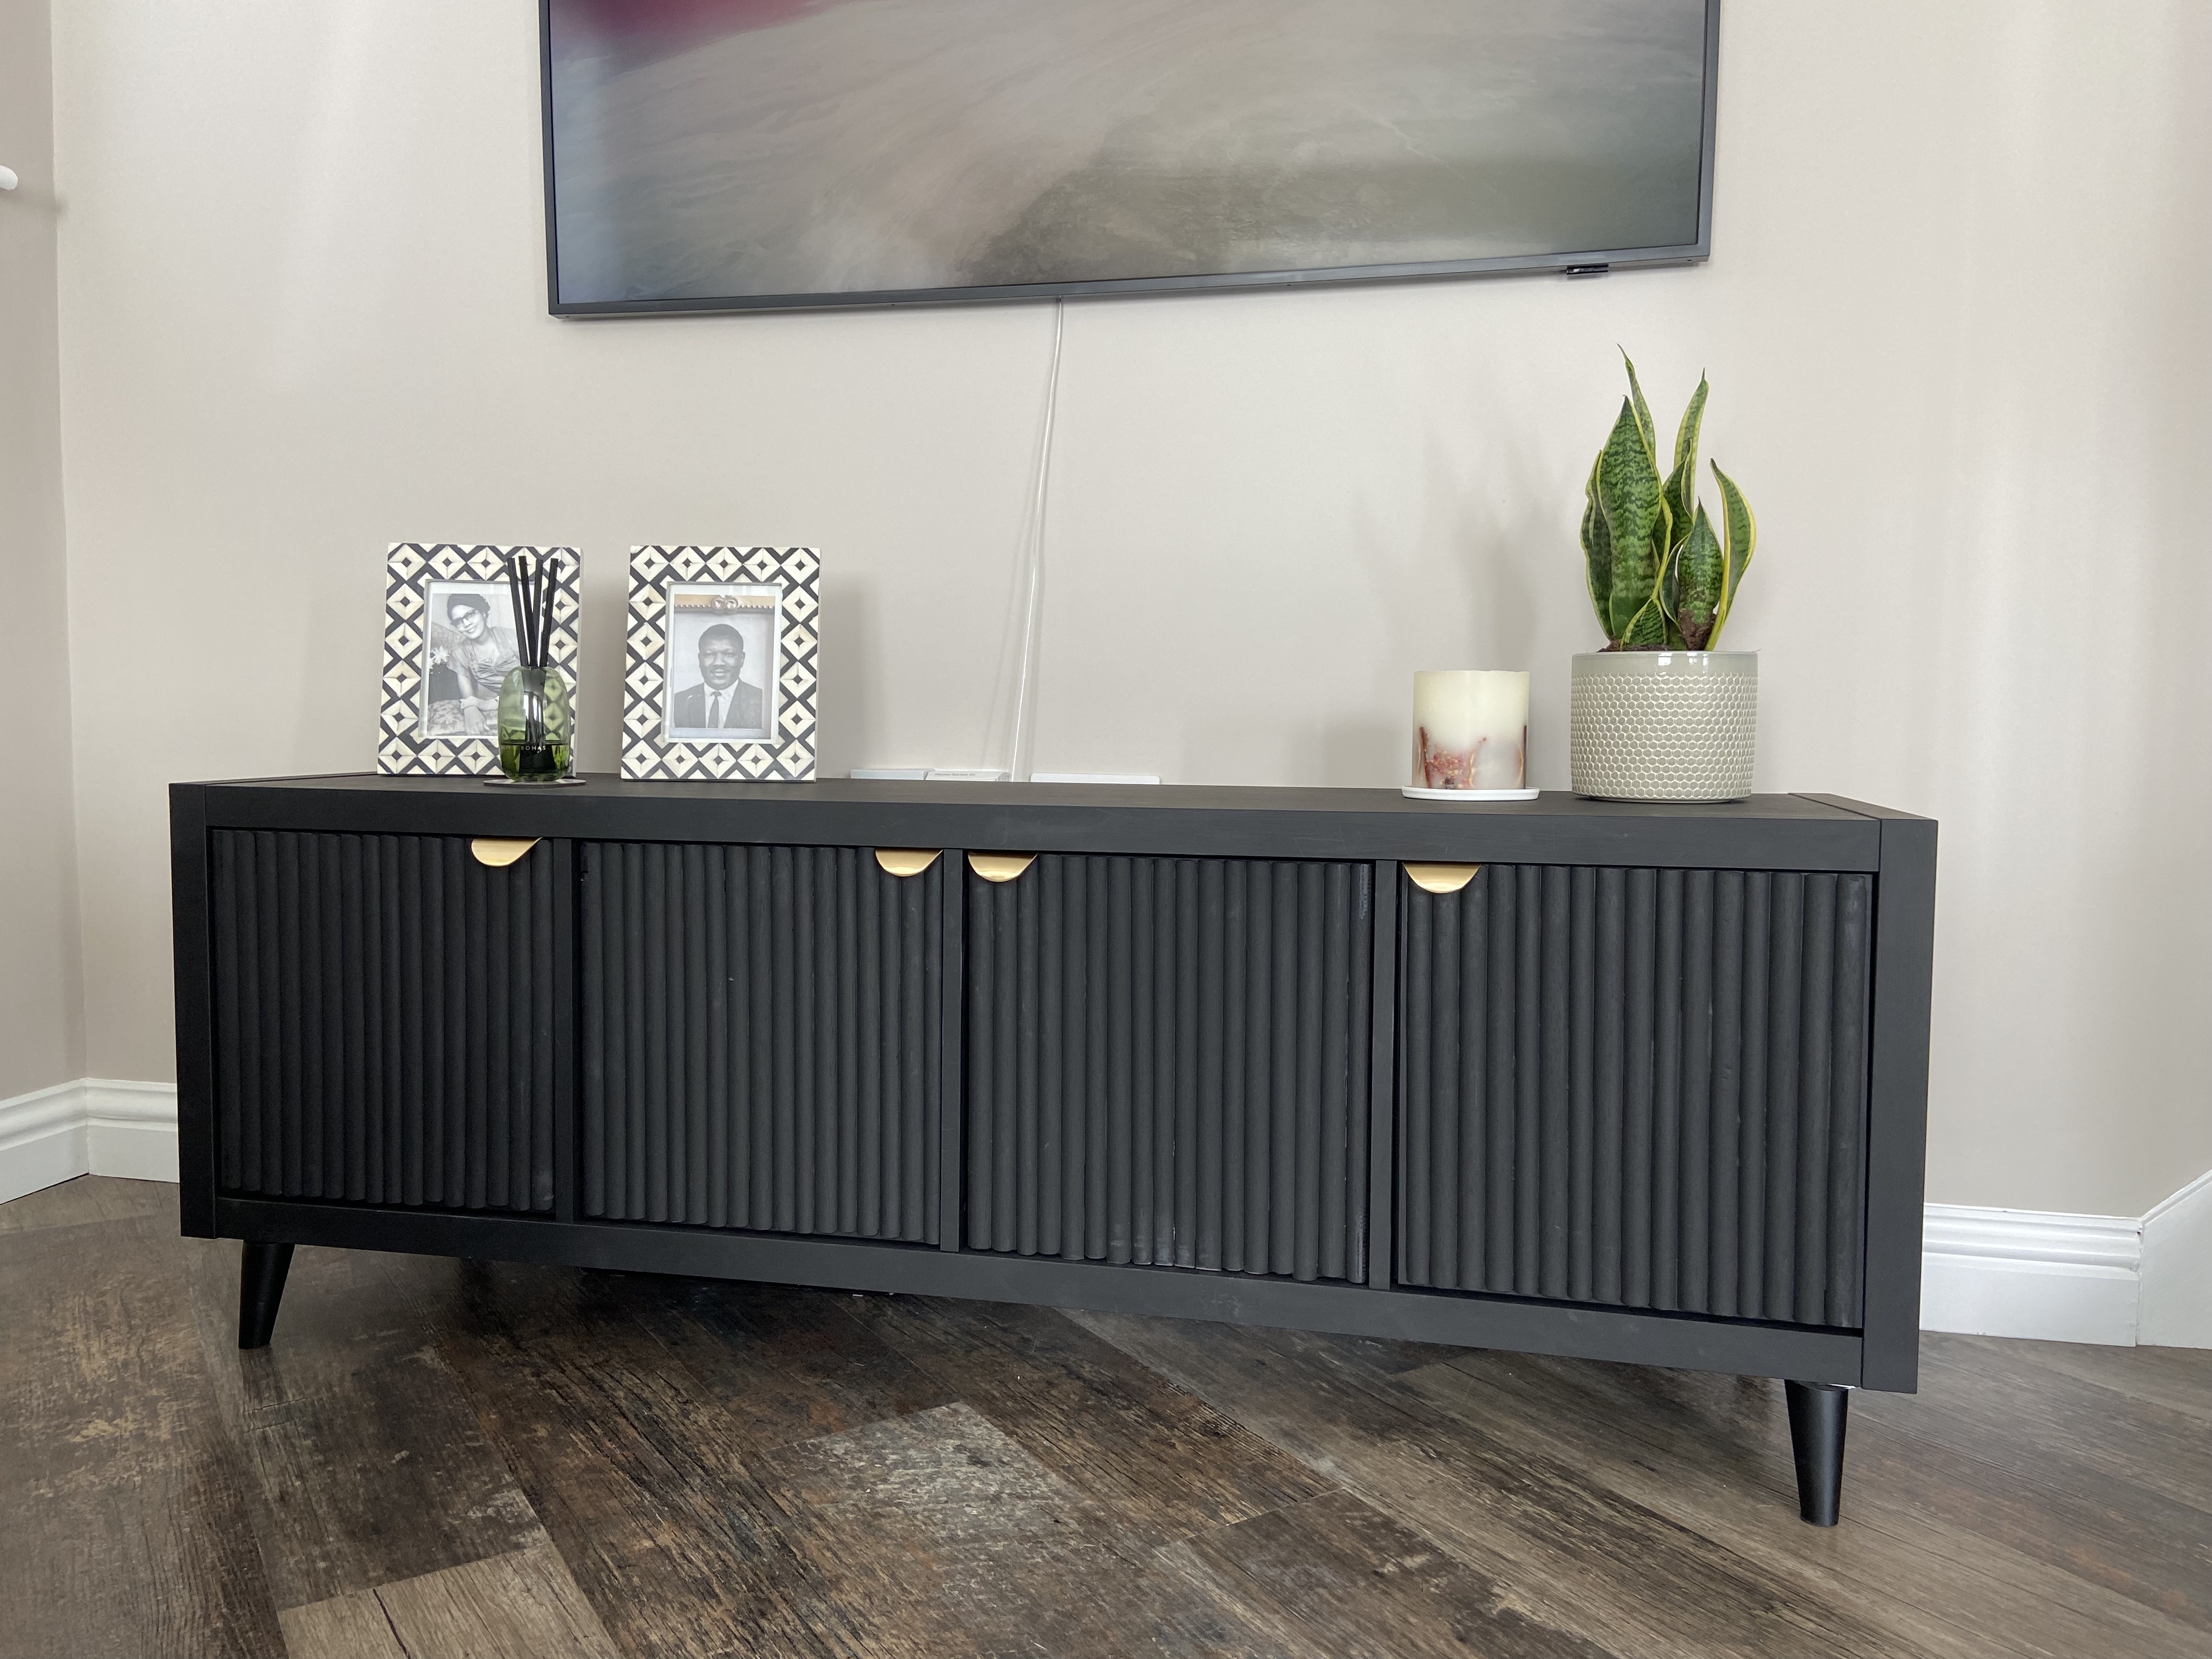 I transformed my IKEA Kallax unit into a stunning media cabinet
I took a weekend out to transform a basic IKEA Kallax shelving unit into the media cabinet of dreams. Here's how.
By Becks Shepherd Published
-
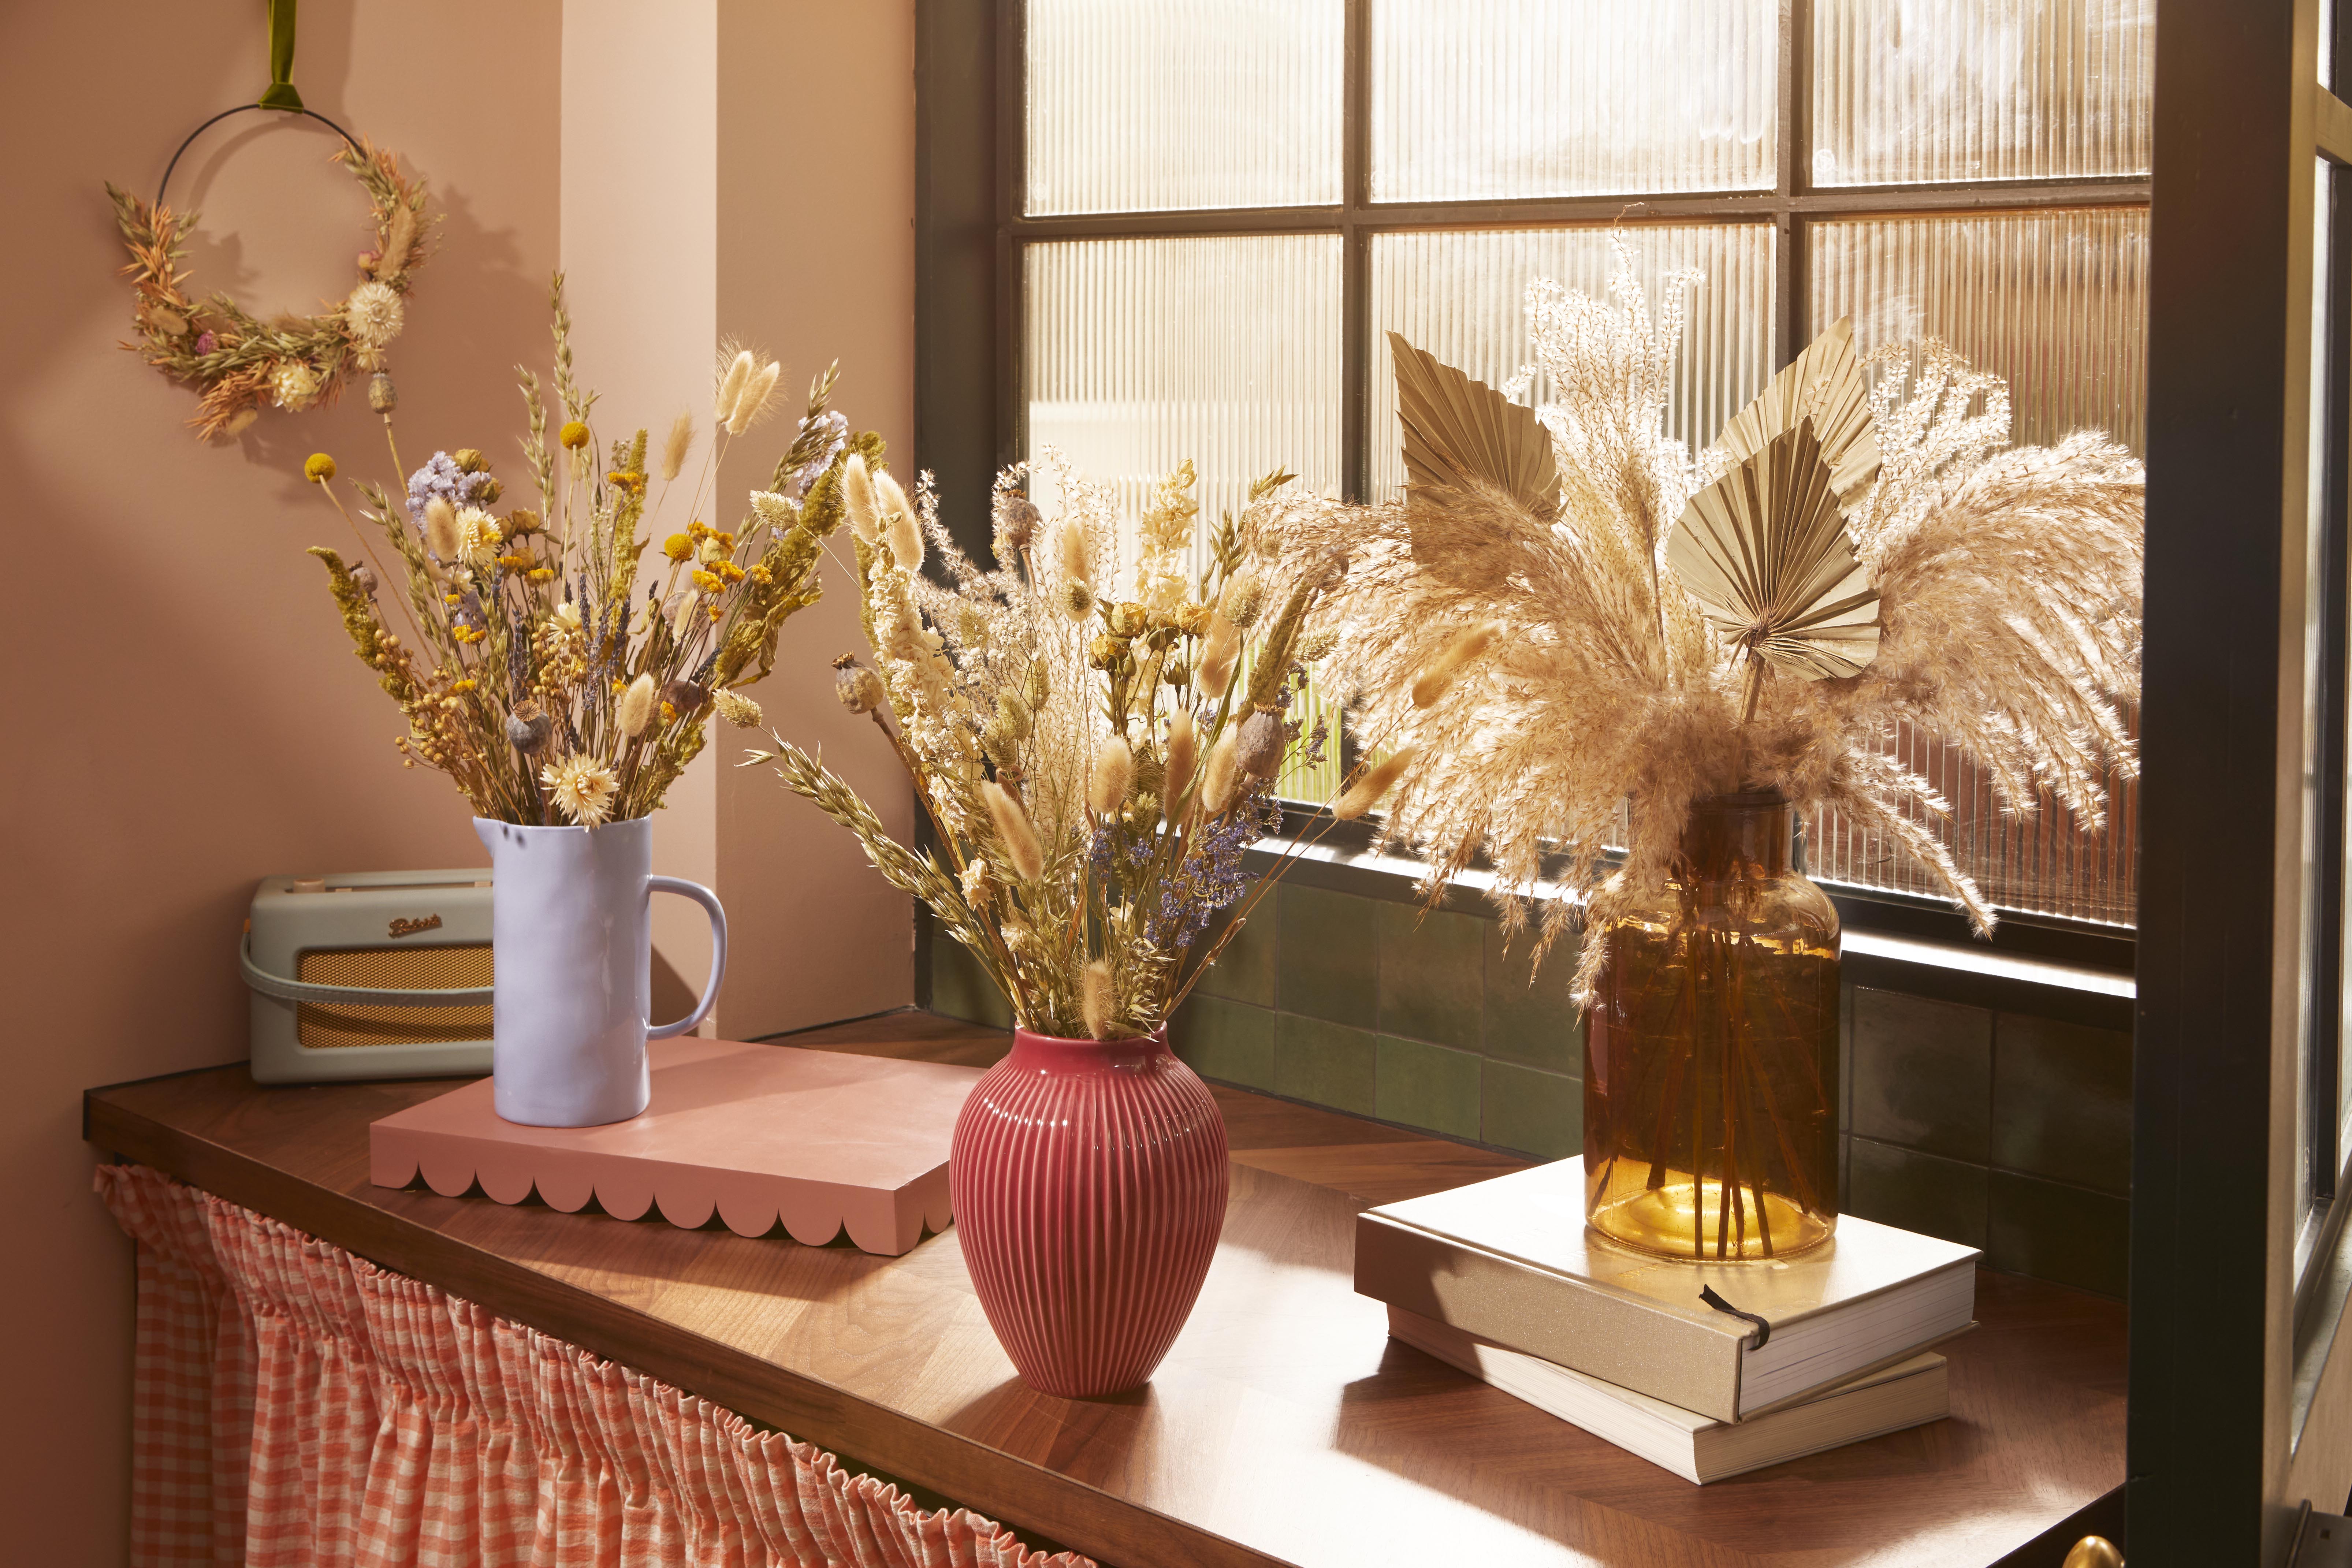 How to dry flowers: 4 simple ways to preserve blooms
Tired of throwing away a bunch of beautiful blooms? Learn how to dry flowers so they last forever
By Sophie Warren-Smith Last updated
-
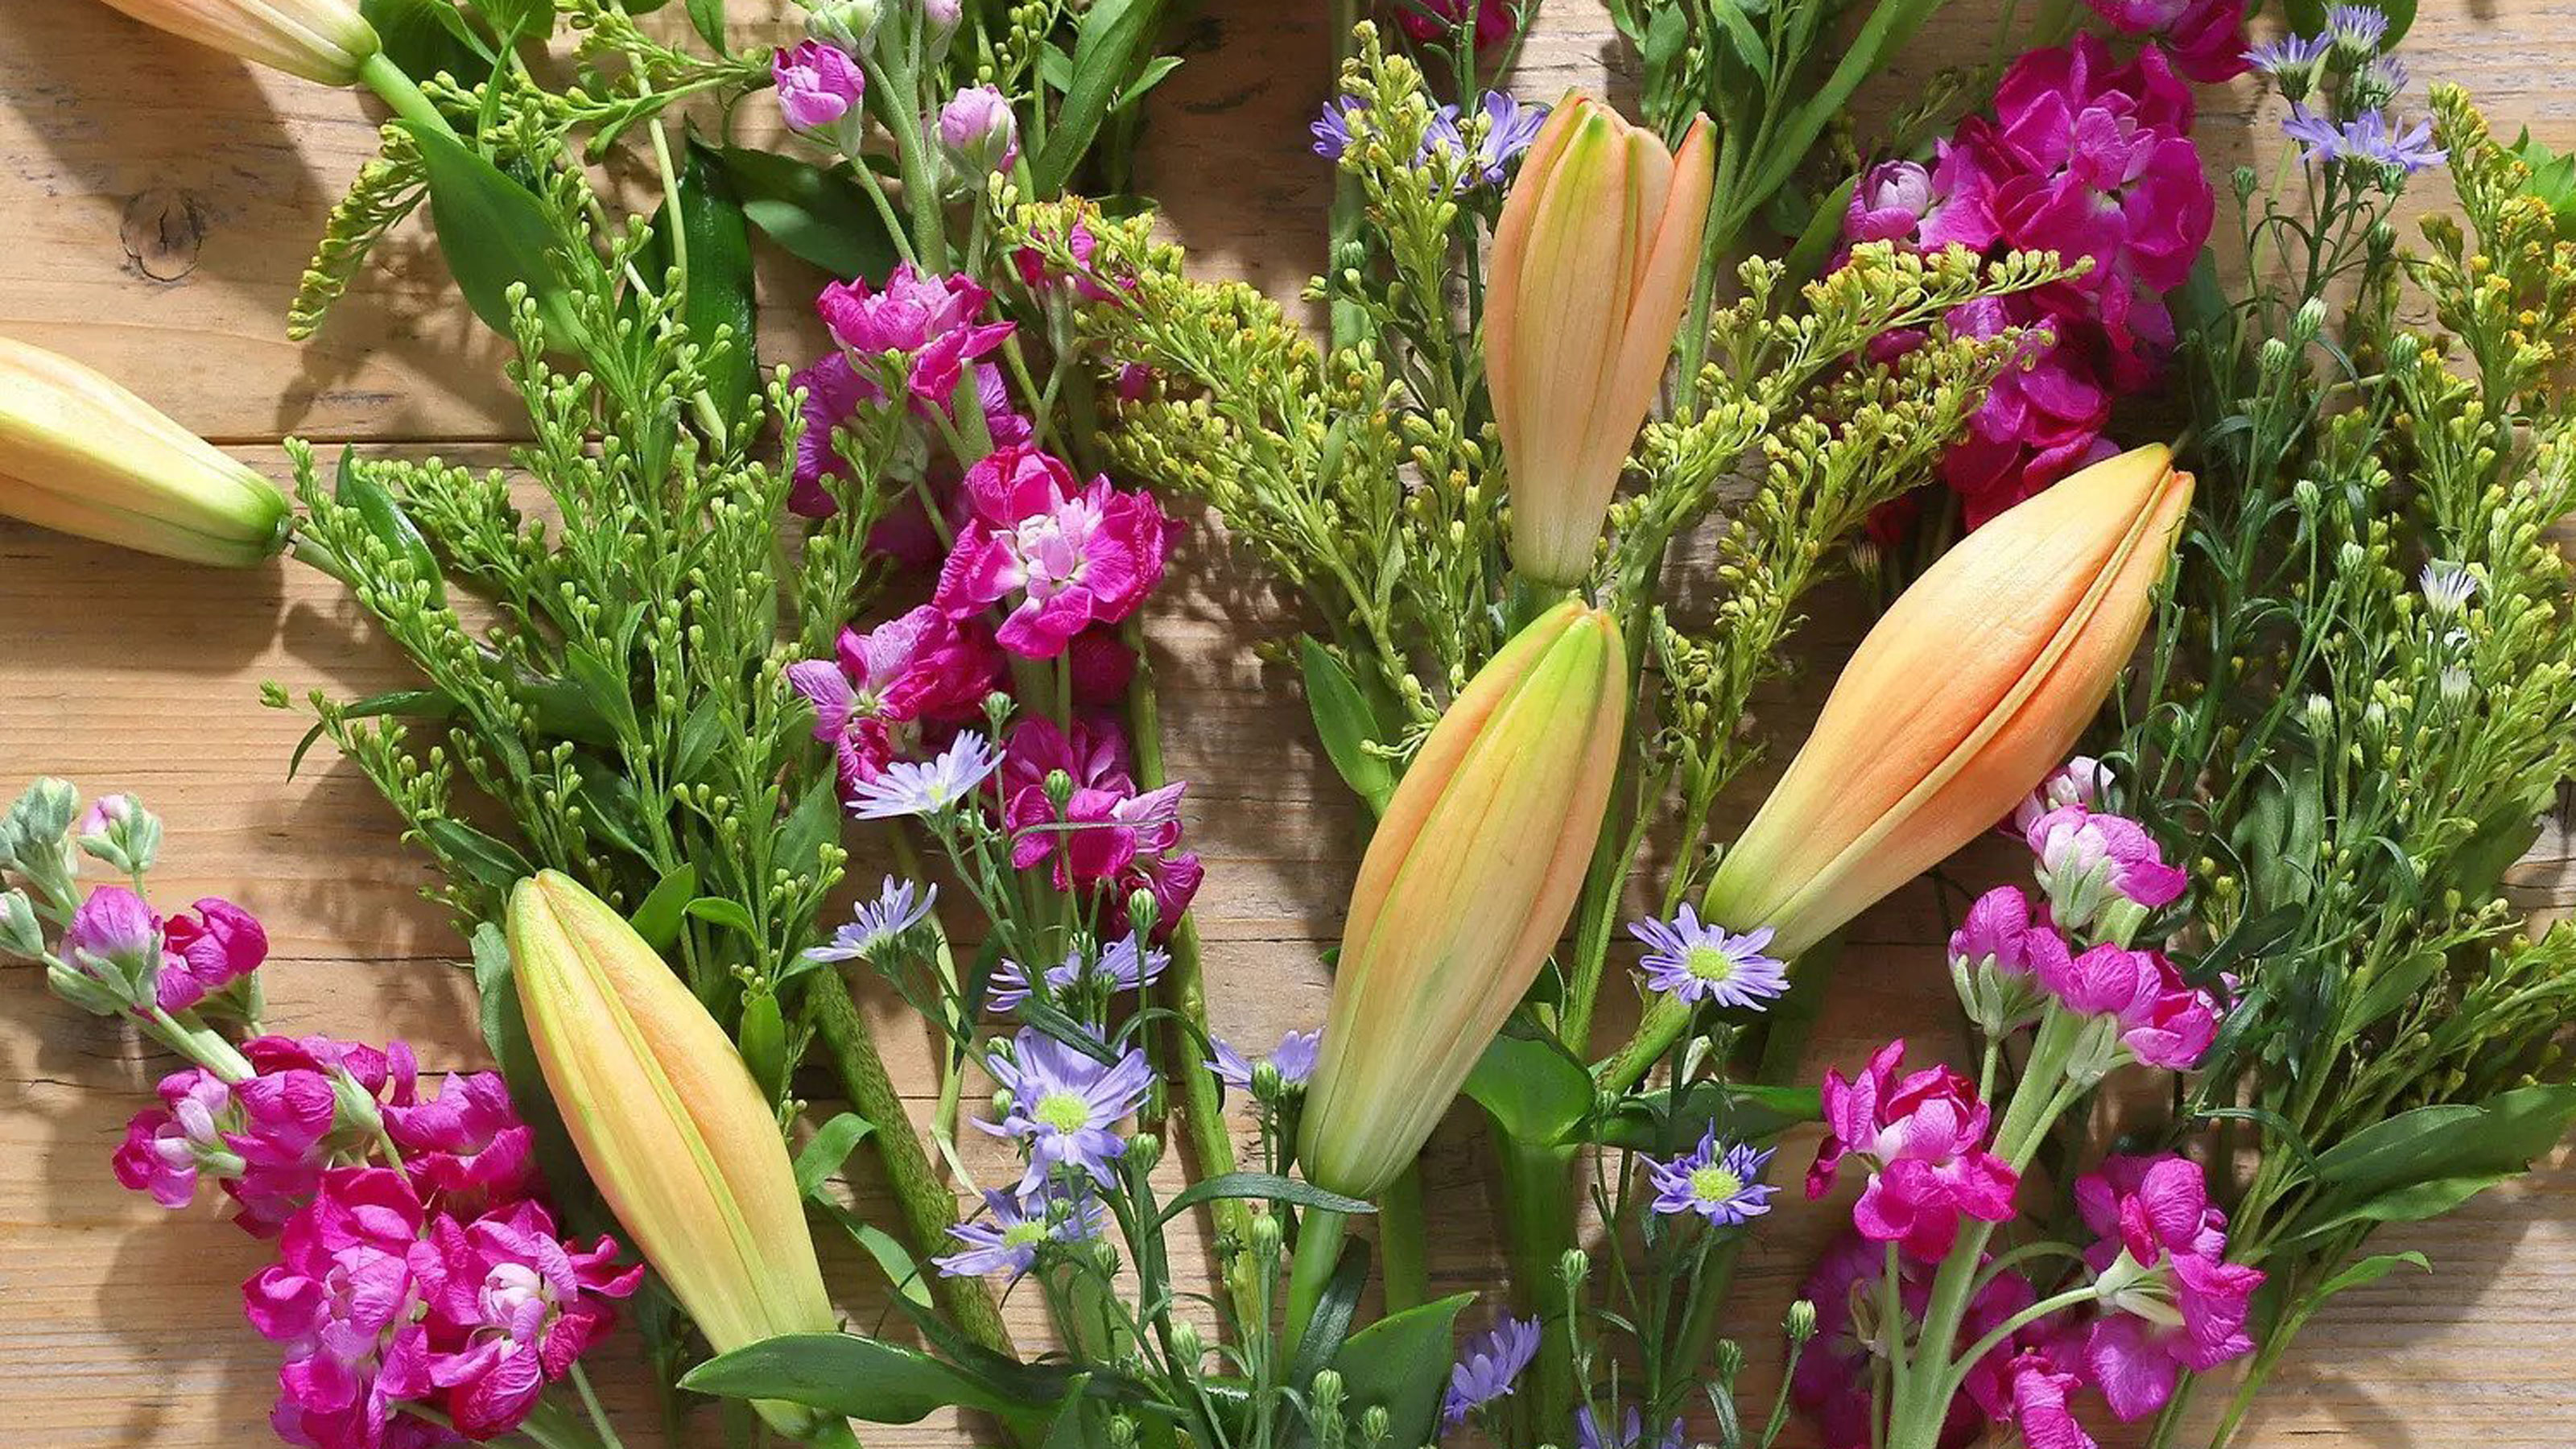 How to arrange flowers like a pro: expert advice on creating stunning floral displays
Arrange flowers like a pro with our expert advice. The days of placing your shop-bought flowers in a vase and hoping for the best are over
By Hebe Hatton Last updated
-
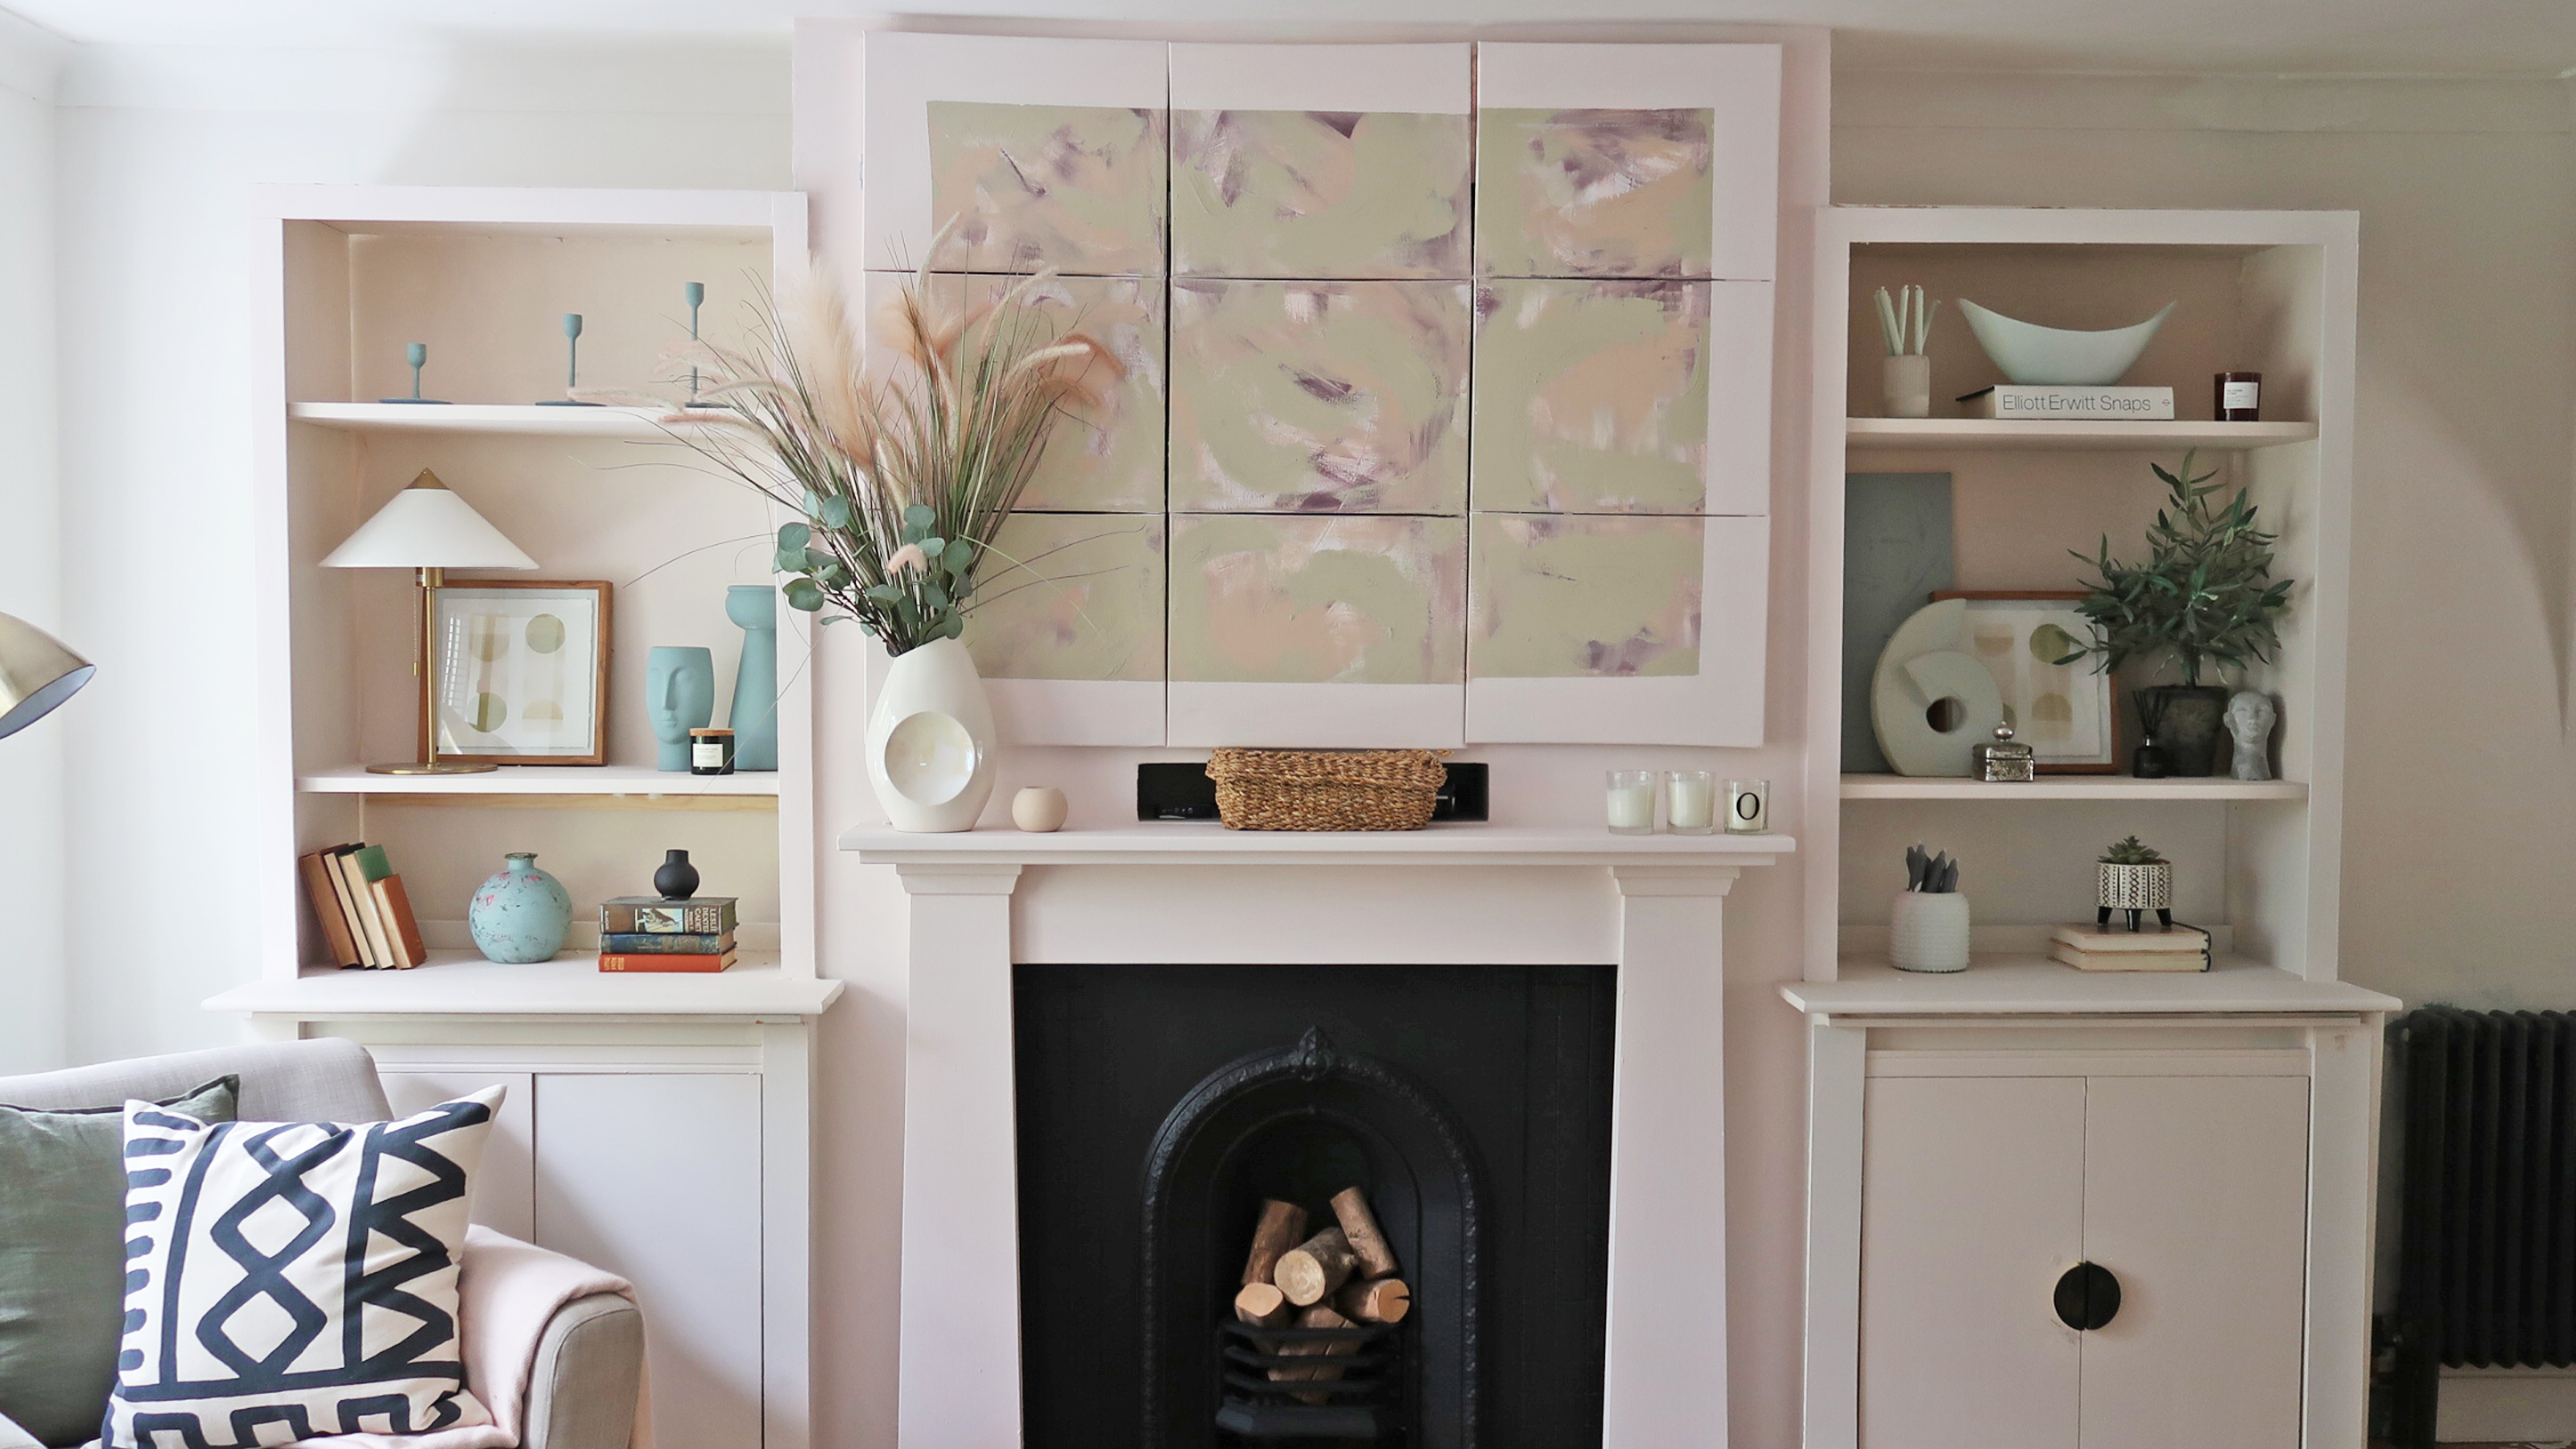 How to hide a TV on the wall: a DIY disguise with art
DIY a disguise for your TV on the wall with art and turn heads in your front room, for all the right reasons
By Claire Douglas Published
-
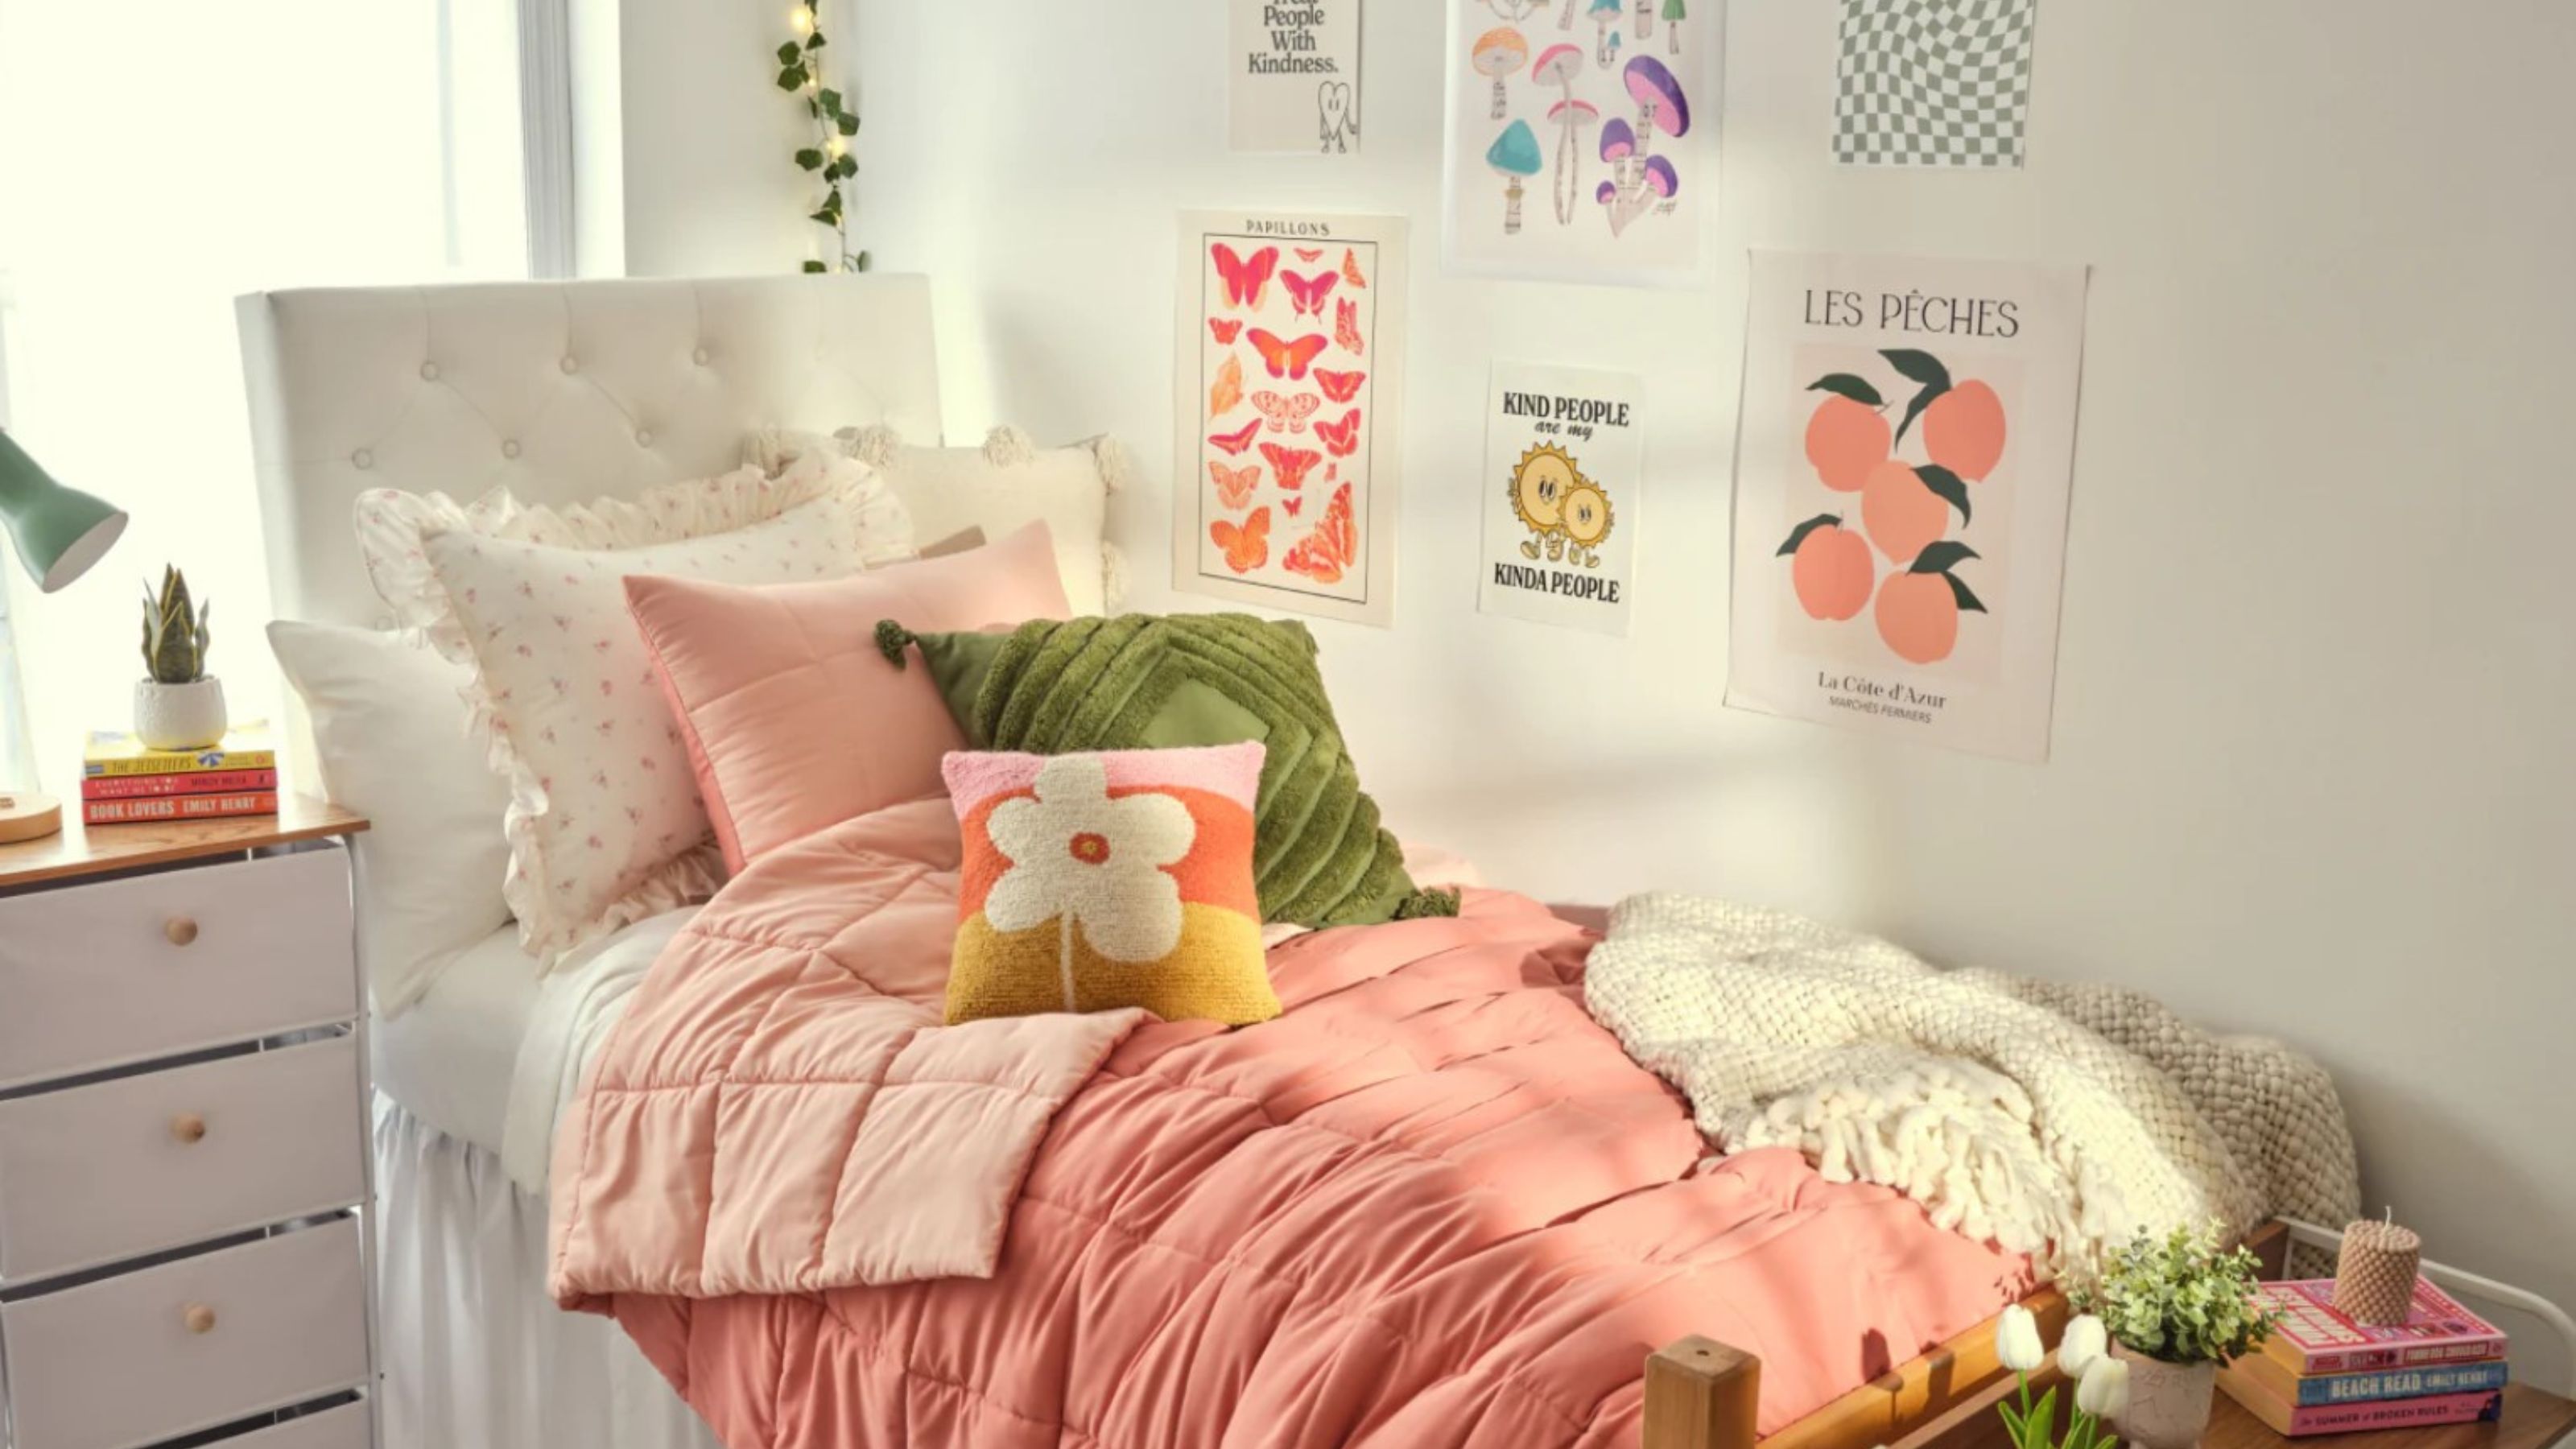 10 dorm room ideas to make your place the cutest on campus
Heading to college soon? These dorm room ideas range from sweet styles to savvy solutions...
By Eve Smallman Last updated