

A DIY outdoor sofa is a great weekend project for anyone who can use a drill and saw. In fact, you don't even need to saw if you buy the wood cut to size.
We recently made a wooden patio sofa ourselves.
After stenciling and sprucing our patio up, we wanted a place to sit and enjoy it, but if you’ve ever looked for the best outdoor furniture you will know that it can be just as expensive as furniture for indoors! Paying thousands for an outdoor sofa was not in the budget, so I did some research on building a modern-looking sofa using common lumber and separate cushions.
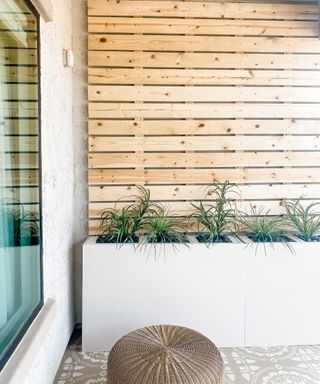
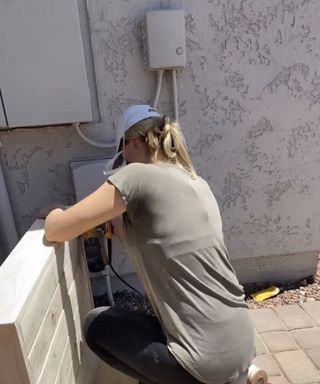
This small patio was where the sofa was destined to sit
The great thing about building an outdoor sofa yourself is that it will be custom-made to your space, taste, and budget too! With a little research, I was soon inspired for this easy DIY project and I'd found some budget-friendly cushions to use so I measured up for my materials with those in mind.
It is much easier to adjust your furniture design than it is to make the sofa first, then try and find cushions to fit. The measurements I came up with took into account these woven outdoor cushions from Target – I chose three seat cushions, and three backrest pillows to match.
I had decided for this piece to sit on our patio which isn't enormous, but it definitely has room for a cool design feature like this to create an outdoor living space.
DIY outdoor sofa: step-by-step
Skill level: Intermediate
Time: a weekend (to allow for stain drying, but you could be faster if you time it well)
Total cost: $407
Project cost breakdown:
- 2x4s: $98
- 2x8s: $64
- 1x4s $32
- Brackets: $21
- Sofa cushions: $102
- Backrest pillows: $74
- Dowel jig/pins: $16
Equipment list
1. 2x4s: 14 pieces
2. 2x8’s: 8 pieces
3. 1x4 pine: 2 pieces
4. 3 sofa cushions: mine were from Target
5. 3 sofa backrest pillows: also from Target
6. Dowel jig
7. Dowel pins
8. Wood glue
9. Pipe clamps
10. Sandpaper: I used 60 and 320 grit
11. Orbital sander
12. Stainable wood filler
13. Drill
14. 1” spade bit
15. Furniture levelers
16. Stain
17. Polycrylic
18. rags/staining pad
19. Construction brackets
20. 2” wood screws
21. 4” wood screws
1. Build the sofa arms
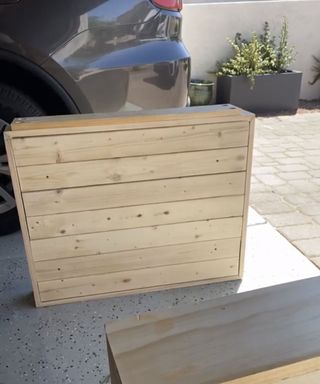
I started by first constructing the arms of the sofa. I used common 2x4s cut down to 31 inches. I lined up seven of these and joined them together using a dowel jig and dowel pins.
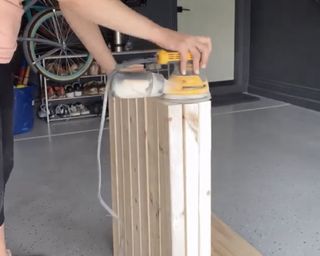
Once I had three of these sections complete, I stacked them and used 4” screws through all three layers and glued them together using wood glue.
The sofa arms are made using a total of 21 cut-to-length 2x4s and they are HEAVY!!
I let them dry overnight, and clamped them into my pipe clamps. In the morning, I gave them a thorough sanding using 60-grit sandpaper.
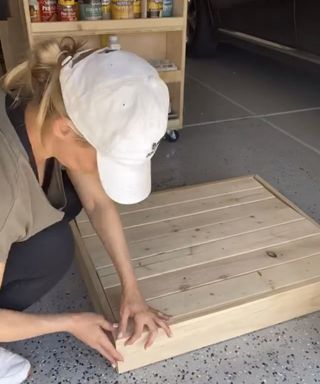
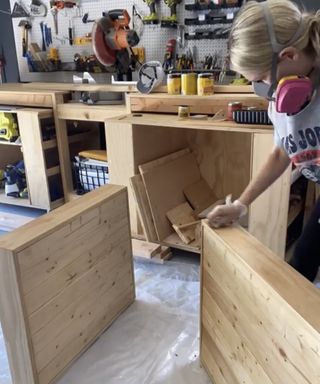
To make the arms look complete, I wrapped them in 1x4 select pine on all four sides.
I mitered the edges of each piece of pine so they would fit together cleanly. Using my brad nailer, I nailed all the pine pieces to the stacked 2x4 arms.
2. Finish the arms and add legs
I also cleaned up the arms, filling any gaps and nail holes using spackle and stainable wood filler and, you guessed it…. more sanding! I sanded the whole thing down using a higher grit (up to 320 grit) at each pass until the wood was completely smooth and there was no chance for splinters in these sofa arms.
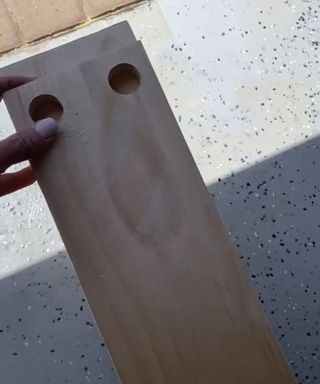
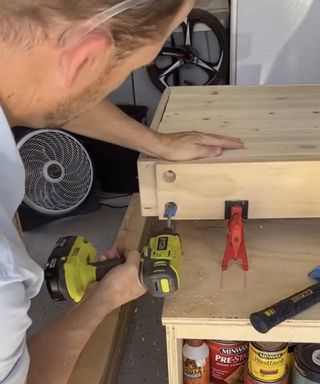
The last thing I needed to do for the sofa arms before staining was add furniture legs for stability. Using a scrap piece of wood I created a jig by drilling with a 1” spade bit hole into the scrap and clamped the jig to the bottom of my sofa legs and drilled and screwed in the felt furniture legs that act as levelers.
3. Stain or paint the sofa legs
I stained the sofa legs using my tried-and-true staining method….1:1 ratio of stain to polycrylic. The mixture allows me to stain and seal in one application. This was the only part of the sofa that I stained because it will be the only visible wood.
4. Create the seat and backrest
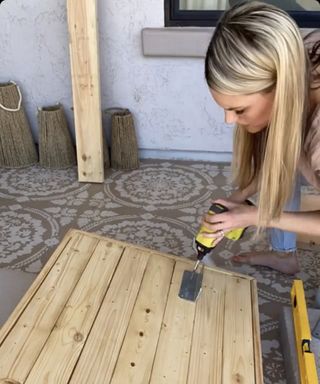
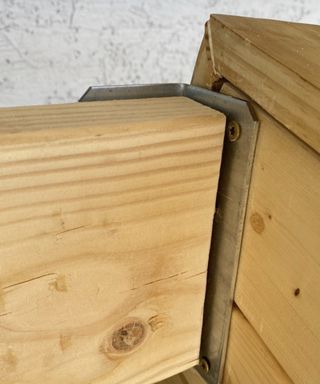
Now I needed to join the arms together and create a platform (or place to sit) for the sofa cushions. I used three 2x8s cut to 67 inches for the seat and brackets to hold them in place.
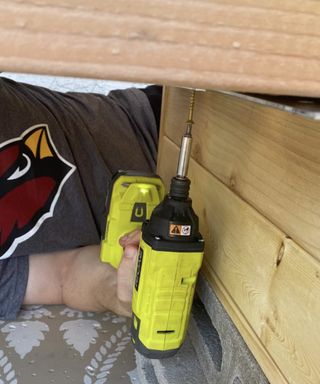
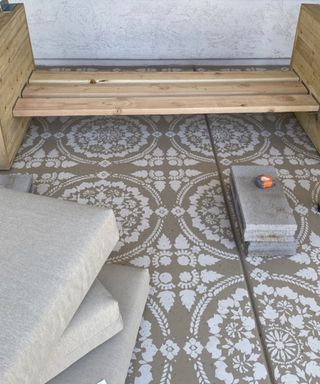
The brackets were screwed to the sofa arms with 2” wood screws and then underneath the 2x8 seat. I used the same brackets, installed at a 30% angle for the back rest.
5. Add the cushions and style it up!
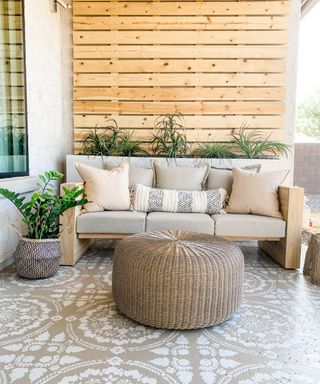
I used tan sofa cushions because I live in the dusty desert but also added a fun touch with accent pillows and a throw that can be washed.
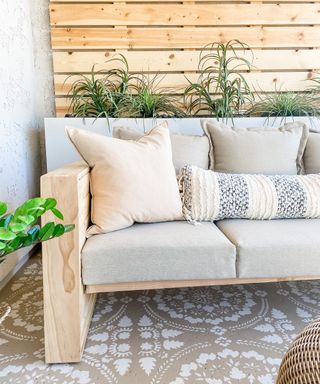
This outdoor sofa is so sturdy and heavy and cost me a fraction of what a traditional outdoor sofa would cost me if purchased retail.
You can find more DIY ideas and inspiration on IG @brookewaitehome
Customising your patio couch
This step-by-step is a great starting point for you own DIY outdoor sofa. The basic design can be adapted to suit your space – just remember to measure up for off-the-peg sofa cushions first to keep the costs down, unless you are thinking of making your own (which is easy enough if you have a sewing machine).
One idea would be to use a pair of wooden planters instead of making the arms yourself. Simply skip to step four after staining your planters if needed.
Alternatively, your could also use one planter and two arms to make a corner sofa, using the planter as the corner piece.
Finally, check out how to make pallet furniture to see sofas and more using these free lumps of lumber.
Join our newsletter
Get small space home decor ideas, celeb inspiration, DIY tips and more, straight to your inbox!
I'm a mom of three with a passion for interior design and DIY! I am currently renovating a farmhouse along with my husband and running an Airbnb in our hometown. I would define my style as loving clean lines with a good mixture of old and new. I love a modern cottage look and have been very interested in vintage pieces as of late. When I’m not spending time with my family or dreaming up another home project, I love to read, eat good food, and binge-watch crime shows on Netflix!
-
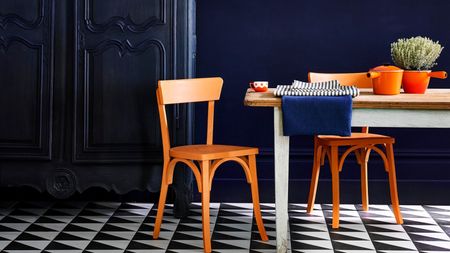 Best paint for furniture — 7 prime picks to refresh and revive tired fittings
Seven of the best furniture paints, including chalk, gloss, and matt finishes from Rust-Oleum, Valspar, Behr, Benjamin Moore and, Country Chic
By Christina Chrysostomou Last updated
-
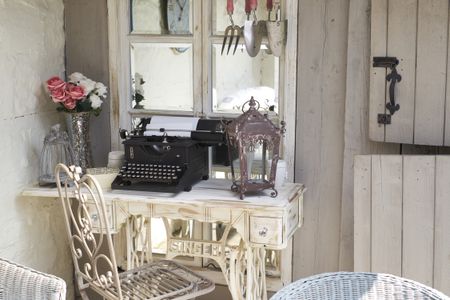 How to create vintage paint effects
Want to know how to create vintage paint effects? From distressing to gilding, check out these paint effects to transform your old furniture in a few simple steps...
By Hebe Hatton Last updated
-
 How to re-cover a footstool
Discover how to re-cover a footstool and give tired looking furniture a new lease of life, with step-by-step instructions from DIY expert Helaine Clare
By Helaine Clare Published
-
 How to upcycle furniture for a vintage look
Want to create a vintage-style piece of furniture from a junk shop find? Instagrammer and upcycler Sarah Parmenter shows you how with découpage and gold leaf
By Lucy Searle Last updated
-
 How to reupholster a dining chair
Follow Helaine Clare’s simple eight-step plan to reviving a discarded dining chair using these basic upholstery techniques
By Helaine Clare Published
