Christina Chrysostomou
Picture frame molding is a classic and timeless trend; two words that tend to be good starting points when decorating a home. I absolutely love mixing styles, but I find that adding timeless elements that will never go out of style is so helpful in combatting the ever-changing ebbs and flows of interior design.
Quite often, feature walls require a lot of cuts, but this project is the exception and happens to be one of the easiest DIYs that I have ever completed. Real wood isn’t even a requirement for this one, which also leaves it with a price tag that won’t break the bank. It's a budget-friendly renovation that looks so much more expensive than it actually is.
Picture molding is an element of design that won't fall out of fashion quickly, but even better than that, it is an incredibly easy DIY that anyone can complete, even if you don’t own a saw.
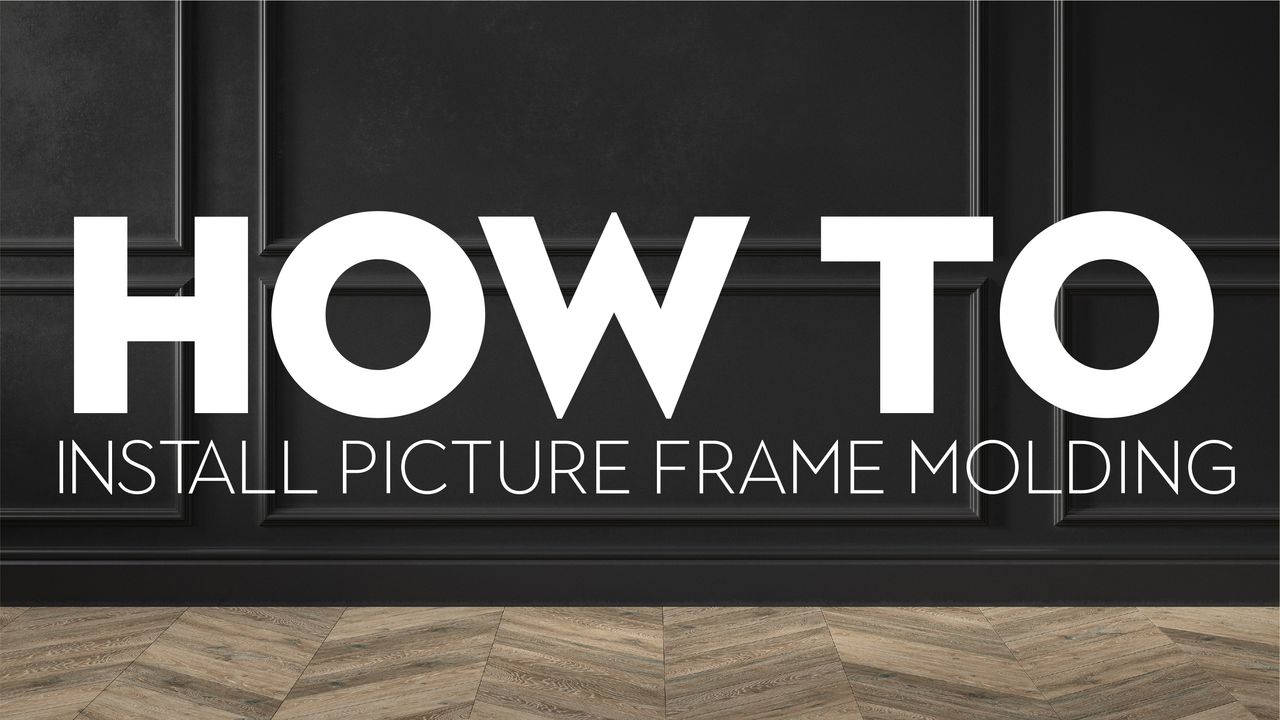
Picture frame molding DIY
'Picture frame molding is a great way to can add character and subtle sophistication to any room,' says Rachel Pereira, author of Shades of Blue Interiors.
'With just a few tools, you can add create a focal point wall, or you can install it around an entire room. Either way, picture frame molding will add tone-on-tone texture to your walls and make your ceilings look taller.'
You will need:
- Painter's tape: this cobalt-colored tape from 3M at Amazon gets our blue riband!
- PVC trim pieces: pick it up at Home Depot
- Brad nailer/wood adhesive/ double stick tape or command strips (for renters)
- Finish nails
- Level
- Spackle
- A damp cloth/baby wipes
- A wall paint emulsion of your choice
How to:
PVC trim is my go-to for the material in this DIY project, and using this type of trim will allow you to also use a pair of miter sheers instead of a saw.
If you aren’t familiar, miter sheers are basically a pair of scissors that will cut small pieces of wood (or PVC in this case) to the exact angle that you’d like.
They are a huge time saver for projects like this and give you the ability to knock out a beautiful wall in a short amount of time.
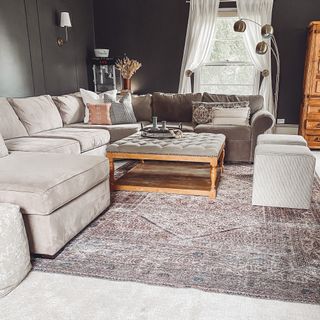
1. Plan and tape out your boxes
First things first, if you have any damaged walls, it's best to avoid these areas or know how to fix a hole in the wall first, for a professional end result.
Then to begin, you will want to decide the size of your boxes. I always love to use painter’s tape to tape out what my project will look like. As a very visual person, I find it helpful to actually see what the end result will look like, and so taping out my boxes on the wall helps me with that.
It also gives me an idea of the measurements that I will need for my trim pieces. In addition, I recommend grabbing your measuring tape to make sure that the width of the boxes and distances between them are even. Some basic math will ensure that everything looks uniform and pleasing to the eye.
2. Make 45 degree angled cuts
When measuring for your cuts for this wall paneling design, you will want to make sure that you are taking the angled cuts into account. All of your cuts will be 45 degree angled cuts, so when making your measurements, you will want to take this into account. Measure either the inside length or the outside length of your box, and stick with those measurements throughout your process.
3. Attach the trim to the wall
Attaching your trim to the wall is as easy as using a level, a brad nailer, and some small finish nails as you would with DIY Wainscoting for example. Don’t fret if you don’t own a nail gun, though. This project can also be accomplished by using adhesive and essentially “gluing” the pieces to the wall, and I have even seen people do it with double-sided tape or command strips, which is a much more renter-friendly approach.
If you're looking for a brad nailer that'll produce brill results? Check out our Ryobi One+ 18 Volt Cordless AirStrike 18-Gauge Brad Nailer review.
4. Fill any holes
Once your boxes are hung and level, you will want to fill your nail holes and seams. I prefer to use spackle for this, and I use a baby wipe to smooth when dry. That’s right. No wood filler, no sanding. This little hack saves me time and a mess, and any time that I can avoid cleanup, I will, especially with do-it-yourself projects like this and for example DIY board and batten wall.
For the seams, I run a bead of caulk (make sure you grab the paintable kind) down each side of each box, and each corner seam as well. Caulking is a skill that, like most others, improves with practice, and you will find that less is more in almost every case. You will want to run a small bead of caulk down the line, and when finished, wipe the seam clean with – you guessed it – a baby wipe. This is actually one of my favorite steps in projects like this because the difference that you will see after you caulk a seam is what really gives that finished, professional look.
If you know how to caulk a bathtub, it's pretty much the same process just in another space of your home - simple!
5. Let it dry and paint
I prefer caulk that has a quick 20-minute dry time, and so once dry, you will be able to paint your picture boxes. I love the monochrome look by using the same color as what you used to paint the walls with.

It is amazing what a small project like this can do to elevate a space, and with little to no power tools required, there isn’t a reason why anyone can’t give this one a whirl! Knowing how to properly go about painting trim and molding will produce expert results!
Good to note that your painter's tape will also help when you're decorating close to the ceiling - it's a really handy piece of equipment if you're not sure how to cut in with paint properly.
How do I make my own picture frame molding?
Picture frame molding is great to take your gallery wall ideas to the next level. Experiment with old and new by styling this traditional design with a combination of contemporary pictures, photographs, and paintings.
'I wanted to highlight some of the art groupings in my living room and also hang some new wall art as well,' explains Kate Riley, DIYer, and author of Censational Style.
'To highlight the artwork, I thought I’d paint the walls white so that the art takes the spotlight, and also surround it with the same thin curved trim that sits on the wainscoting down below. You can also add trim to ceilings or doors to add dimension or pattern, and it’s easy to do.'
Join our newsletter
Get small space home decor ideas, celeb inspiration, DIY tips and more, straight to your inbox!
- Christina ChrysostomouFormer acting head ecommerce editor
-
 A $200 fluted panel transformed my drab kitchen in just one weekend
How to install a fluted kitchen panel: A speedy and achievable DIY tutorial even for DIY novices
By Claire Douglas Published
-
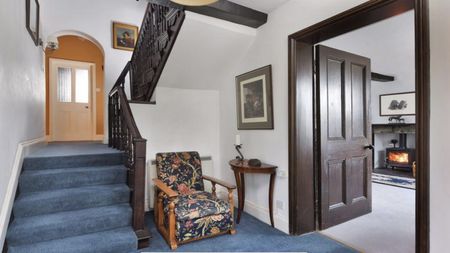 How to replace a broken staircase spindle in 30 minutes flat
A missing or broken spindle on a staircase is not only unsightly, but it can be a real hazard. This is how to fix it in a few quick steps.
By Kate Sandhu Published
-
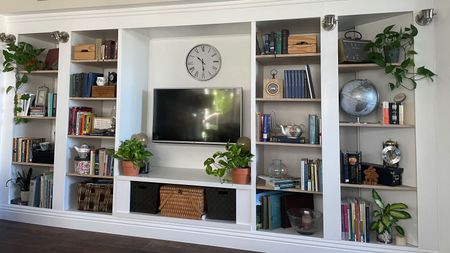 An IKEA Billy bookcase hack inspired this cute media wall DIY
This cute DIY was inspired by an IKEA Billy bookcase hack and brought a ton of symmetry to an otherwise basic media wall space.
By Camille Dubuis-Welch Published
-
 Share your small space glow up to win $150 in the Real Homes competition
Show off your creativity and DIY skills to win $150 and for the chance to be featured exclusively in Real Homes magazine
By Camille Dubuis-Welch Last updated
-
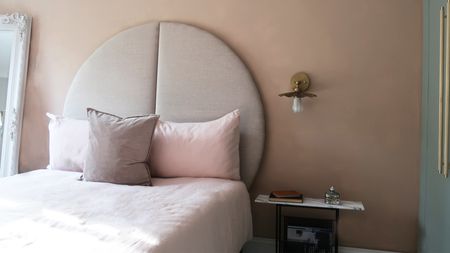 This oversized headboard looks designer, and takes 5 steps to DIY
Super simple to DIY, this oversized headboard will give your bedroom space all the designer vibes you could dream of.
By Claire Douglas Published
-
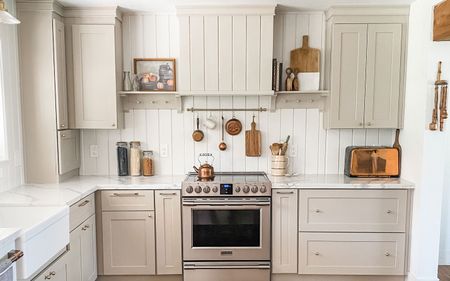 My DIY range hood and backsplash build gave my kitchen the perfect farmhouse finish
I craved charm in my kitchen space and adding a custom range hood and shelving was the best move.
By Brooke Waite Published
-
 How to paint a radiator in 7 steps
Painting radiators properly is all about choosing the right paint and the best process. Get interior designer-worthy results with our how-to.
By Kate Sandhu Published
-
 How to install a door knob
Updating your interior and exterior doors can be as easy as changing out the hardware! The best part is that installing a door knob is very DIY friendly. Follow these simple steps and enjoy a fresh look on your doors!
By Dori Turner Published
