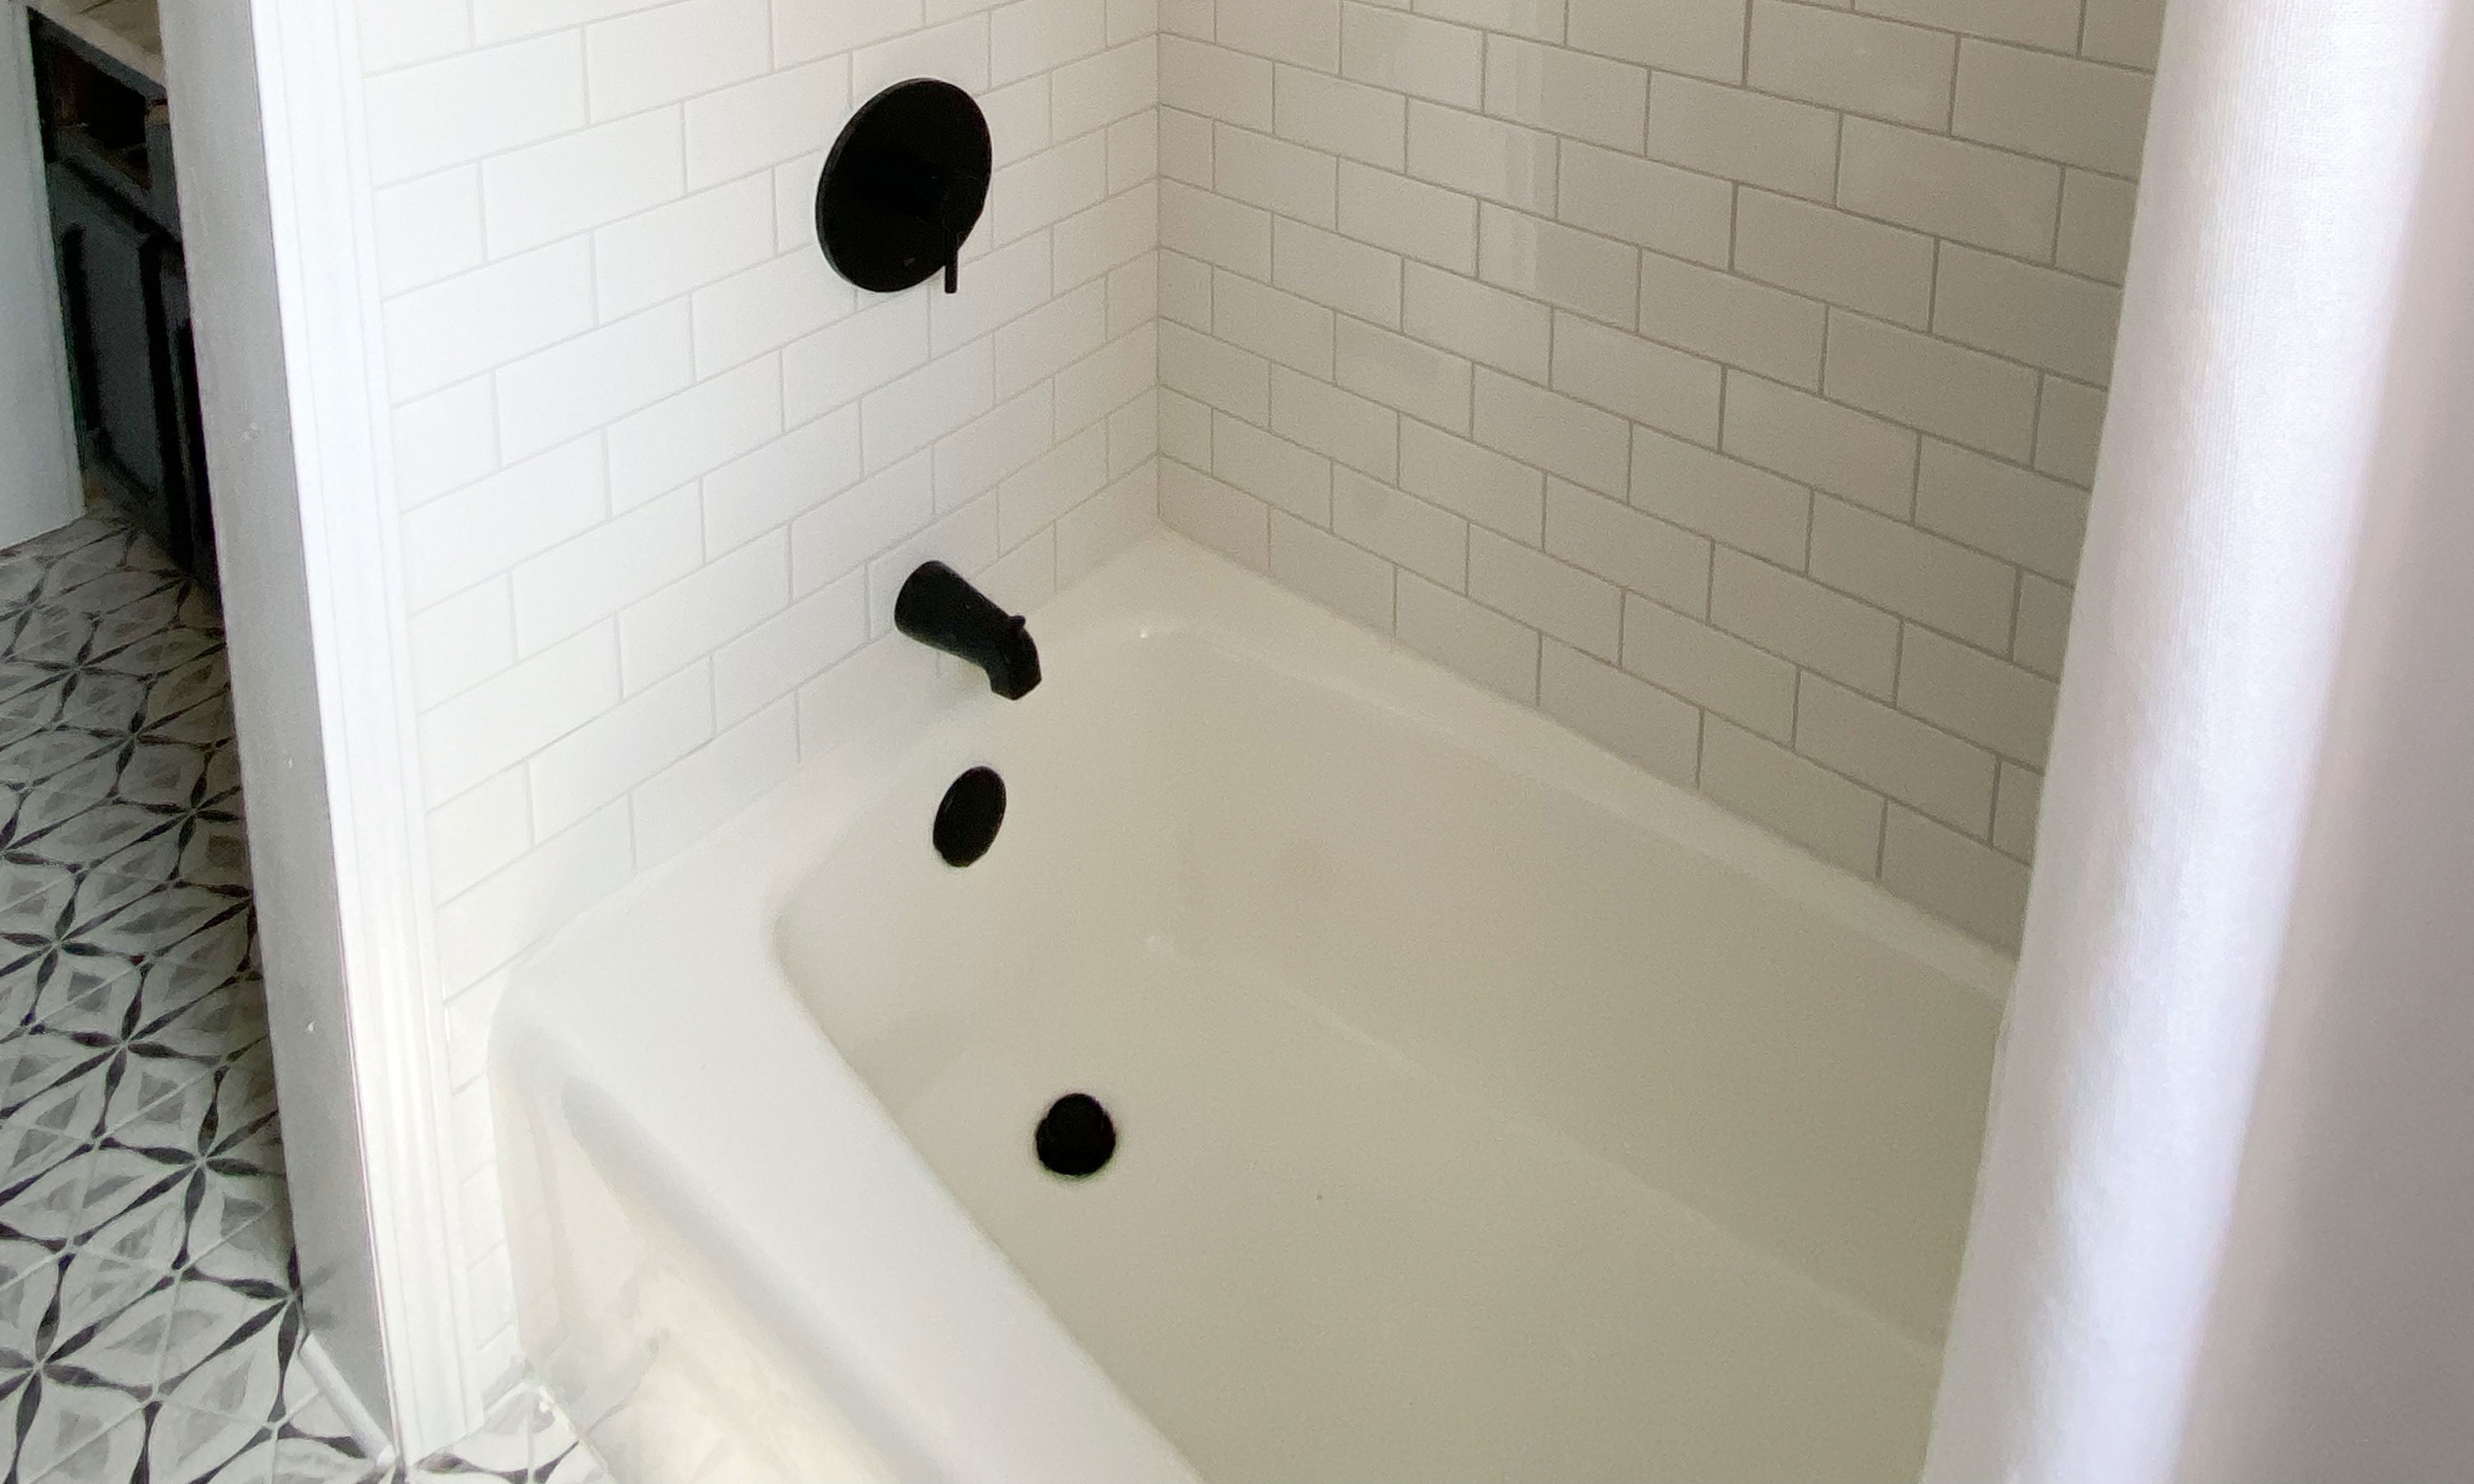

Our 1970s bathroom had never been updated, including the cast iron tub. We were remodeling the bathroom ourselves and on a budget. We had splurged on a new marble countertop and a pretty tile for the floor so we really needed to save some money in other areas.
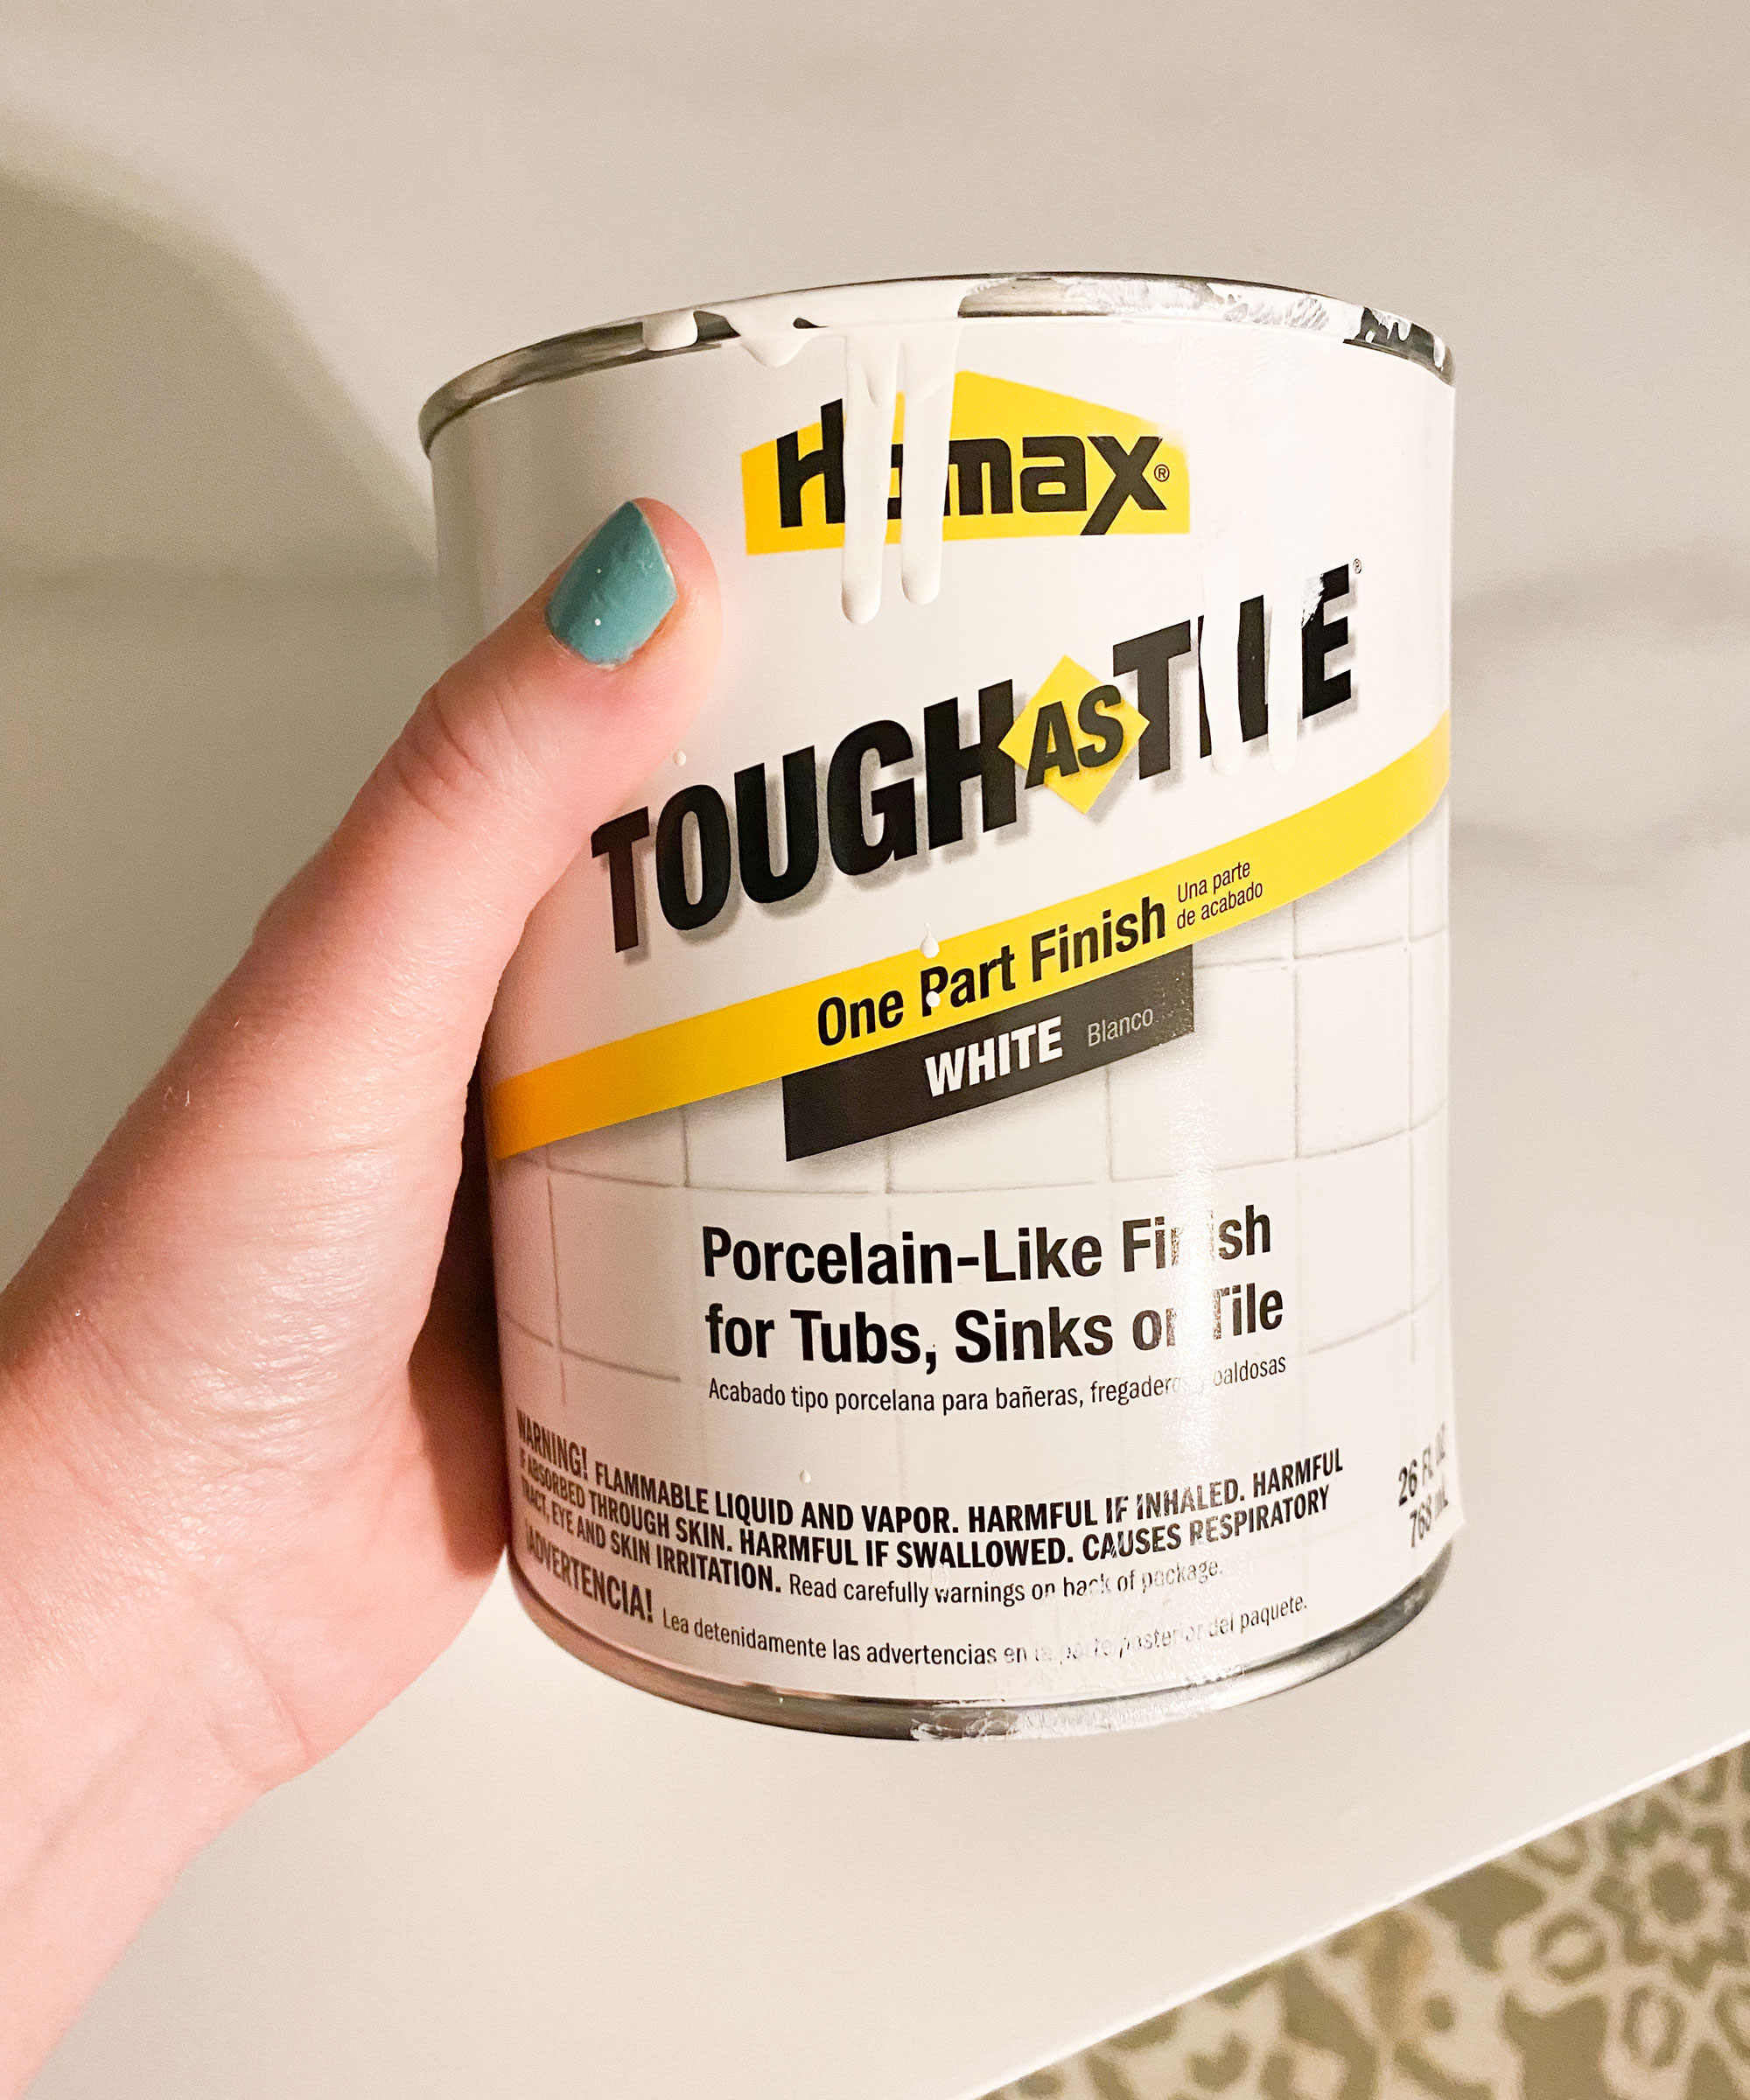
Paying a professional to refinish our bathtub would have cost hundreds of dollars. I started doing some research and found a product called Homax Tough as Tile by PPG. It was only $35 for the kit and we figured we could do it ourselves, and save tons of money in the process to help keep bathroom remodel costs low!
We gathered the needed supplies as you'll see below. And, if you’re a regular DIYer, you probably already have a lot of these on hand!
You will need:
- The Homax bathtub refinish kit which you can find at Home Depot
- Rubber gloves
- Steel wool
- Painter’s tape
- Paint brushes & rollers
How to refinish a cast iron bathtub yourself
With supplies in hand, we were ready to start refinishing our cast iron tub! In four simple steps we were able to make our tub beautiful again!
- Find more bathroom remodel ideas and advice in our edit.
1. Prepping the surface
Before starting, your bathtub needs to be REALLY clean. It’s easy to want to skip over some of this prep work, but if you do the finish won’t turn out right. Ours was pretty grungy from over 40 years of use so we had a lot of bathtub cleaning to do!
First, you need to repair any chips or cracks in the bathtub. Using gloves, scrub the tub with isopropyl alcohol or acetone. If you have any mildew in your tub, treat it with bleach and water.
Scrub the bathtub one more time with an abrasive pad to make sure all dirt, soap film and water deposits are removed. Rinse it with water and then scour the tub with steel wool – the product needs a rough surface to adhere to! Rinse again and dry the bathtub with a lint-free cloth.
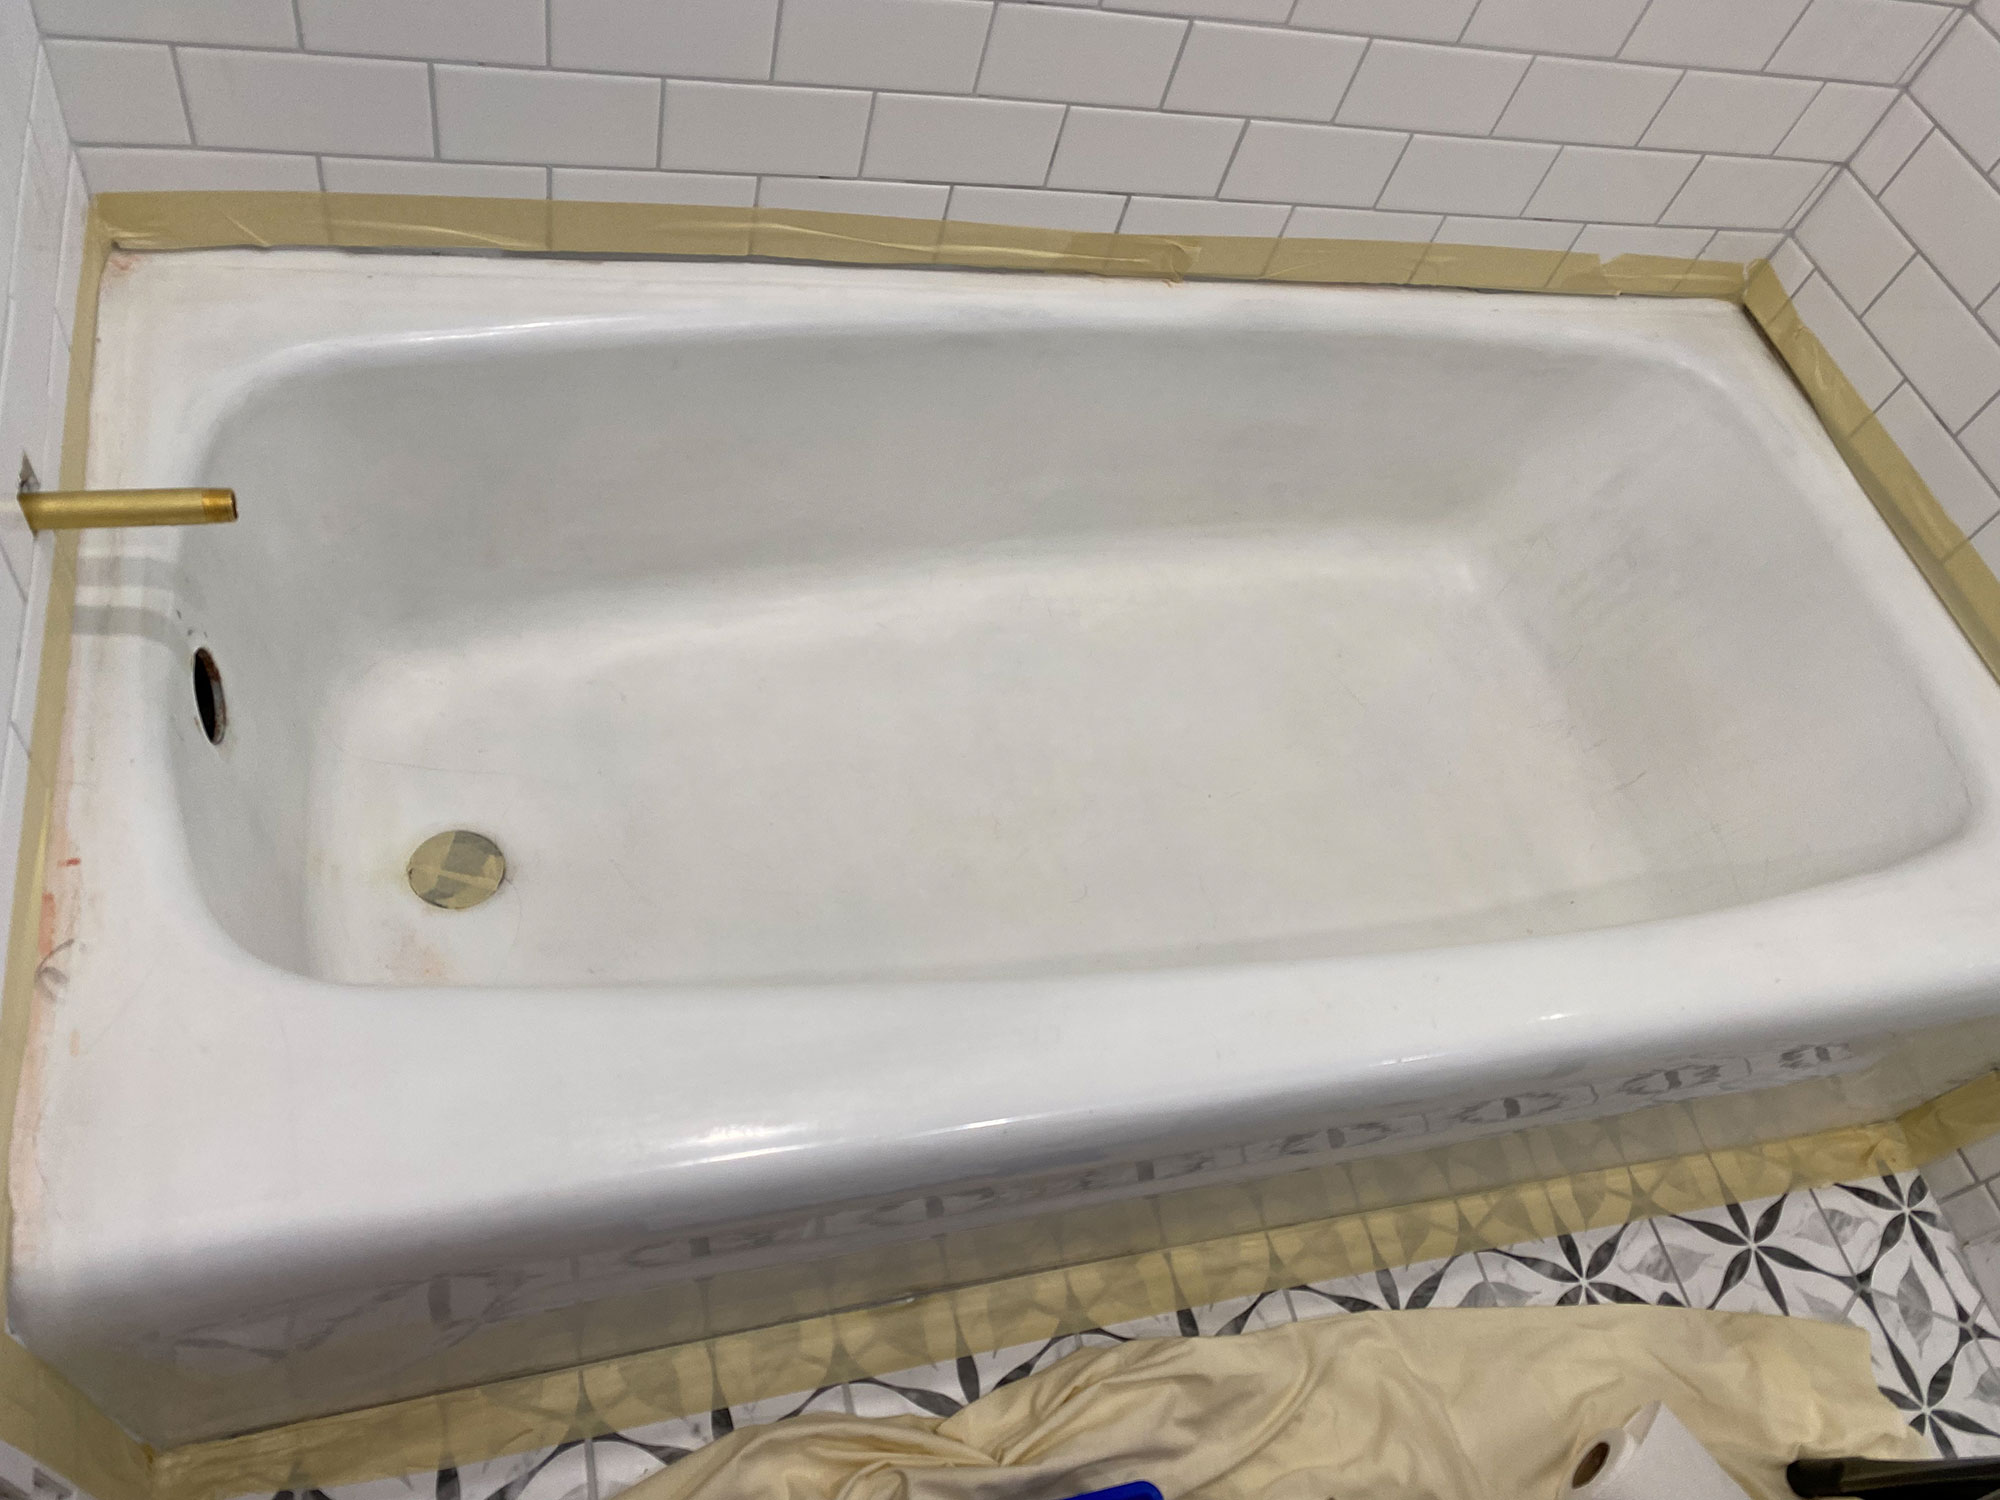
2. Tape off the area
You’ll want to tape around the base of the tub and up around the sides so you don’t get the product on the floor or shower surround. Be sure to tape off the drain and fixtures, as well.
3. Applying the product
Open the can of refinisher and give it a gentle stir. Brush or roll on (using a lint-free roller) a thin first coat. Trust me on this one – you may be tempted to go thicker for fewer coats but that will cause the refinisher to run and you’ll have a lot of drip marks to deal with. The finish dries quickly so you don’t want to go back over freshly painted areas. Once you’ve finished, look over the surface closely to see if there are any drips and use a paint brush to gently smooth them out.
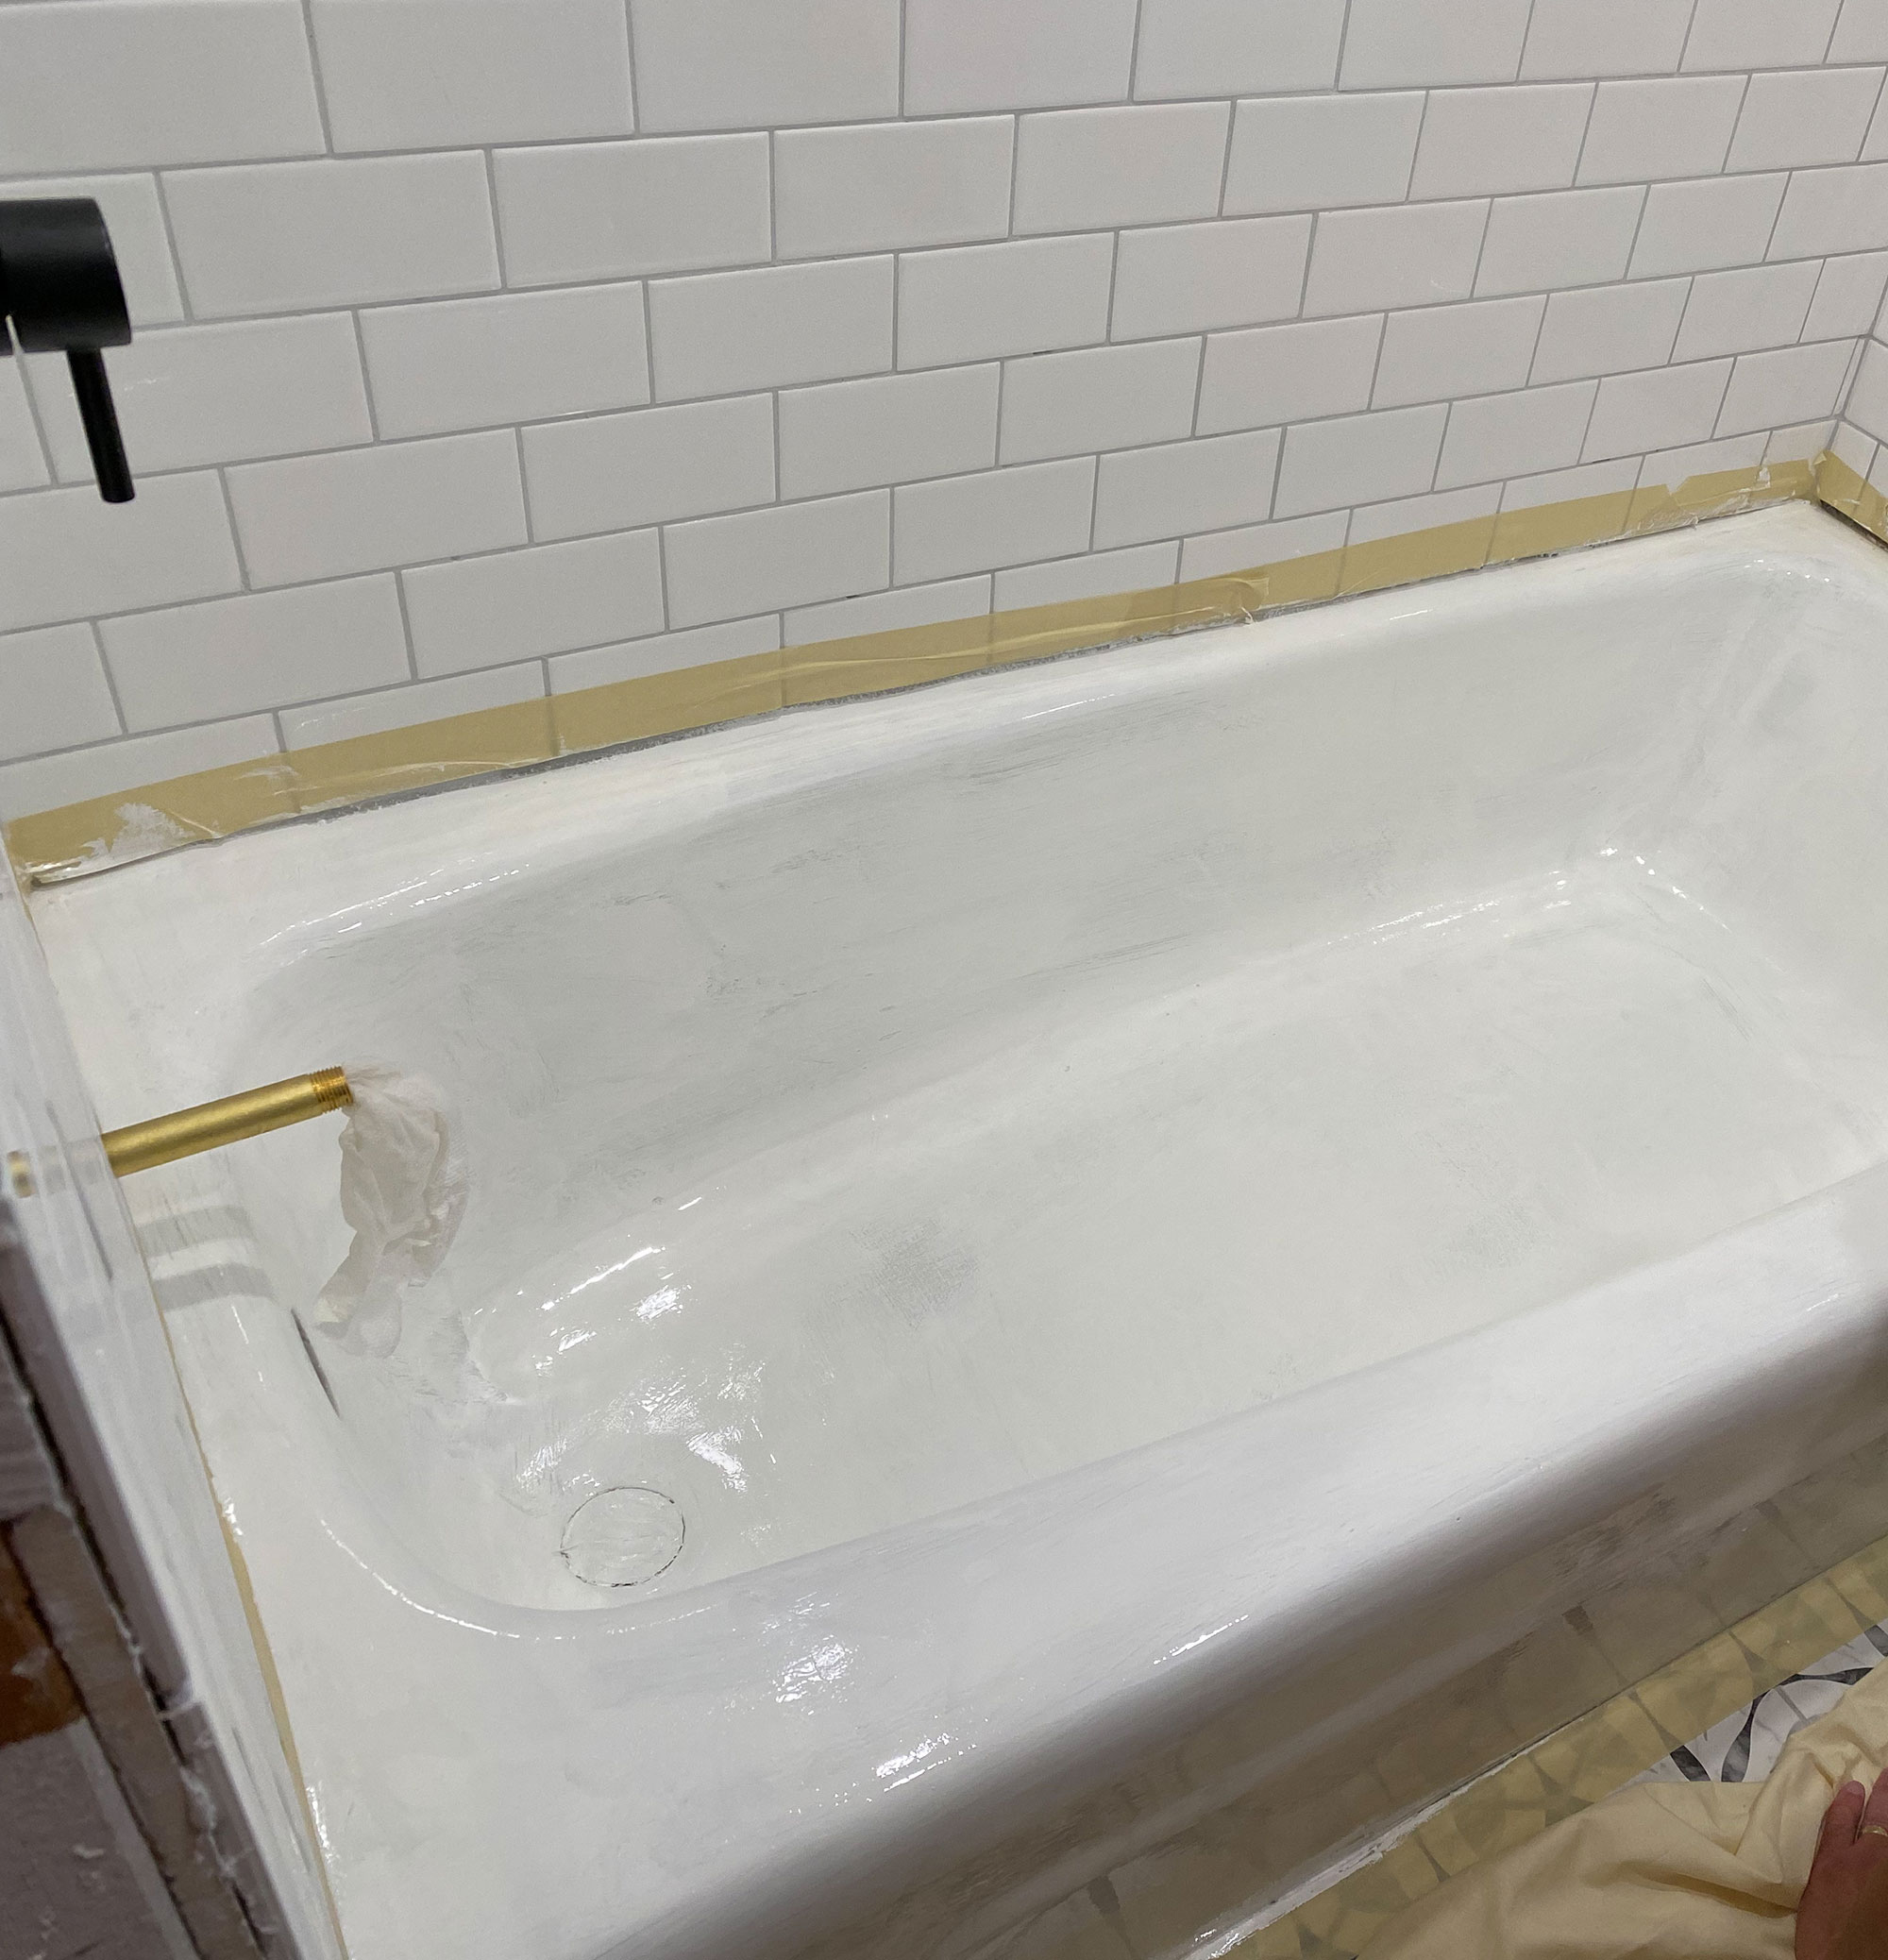
While the first coat is curing, make sure to put the lid back on the refinisher. Allow three hours of drying time before applying the next coat.
Using a NEW brush or roller, apply a second thin coat of refinisher following the steps above. If your bathtub is a light color, it should only take 2-3 coats total. If you have a darker bathtub it will take 3-4.
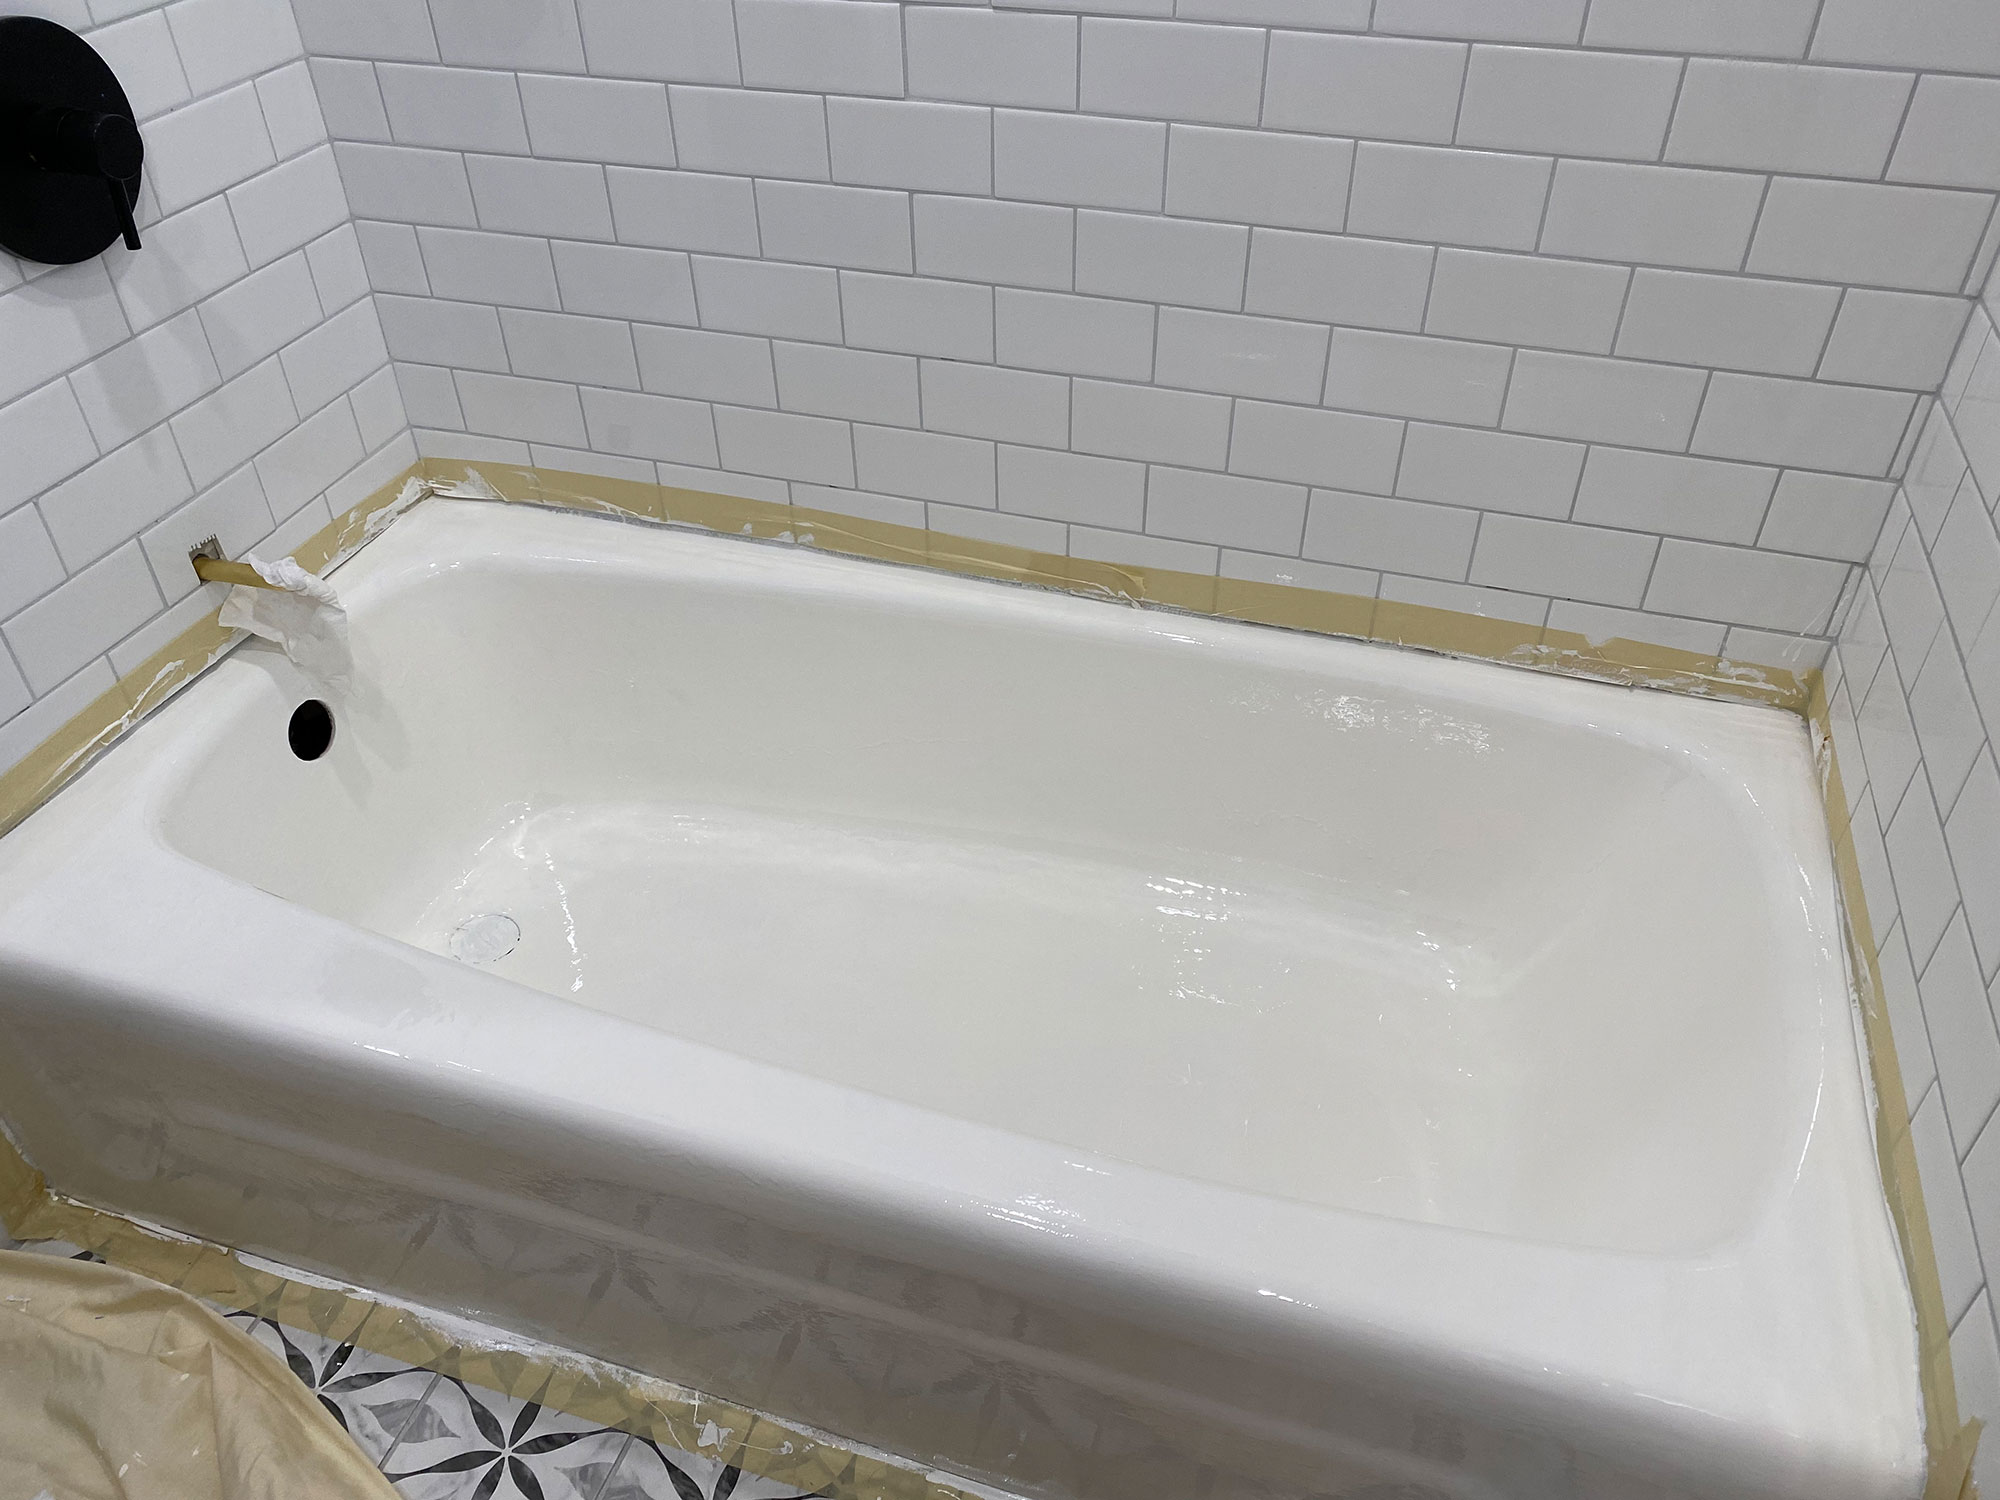
Allow the tub to dry for three hours before applying a third coat if you feel like it needs it.
4. Curing and using the tub again
Once you’ve completed applying the refinisher, your bathtub needs to cure for 48 hours or more (depending on the level of humidity). Once it is fully cured and hard like a porcelain surface you can carefully remove all of the tape.
When cleaning, make sure to only use non-abrasive cleaning products with a soft cloth on your newly refinished tub so you don’t damage the surface. Now it’s time to enjoy your beautiful new tub!
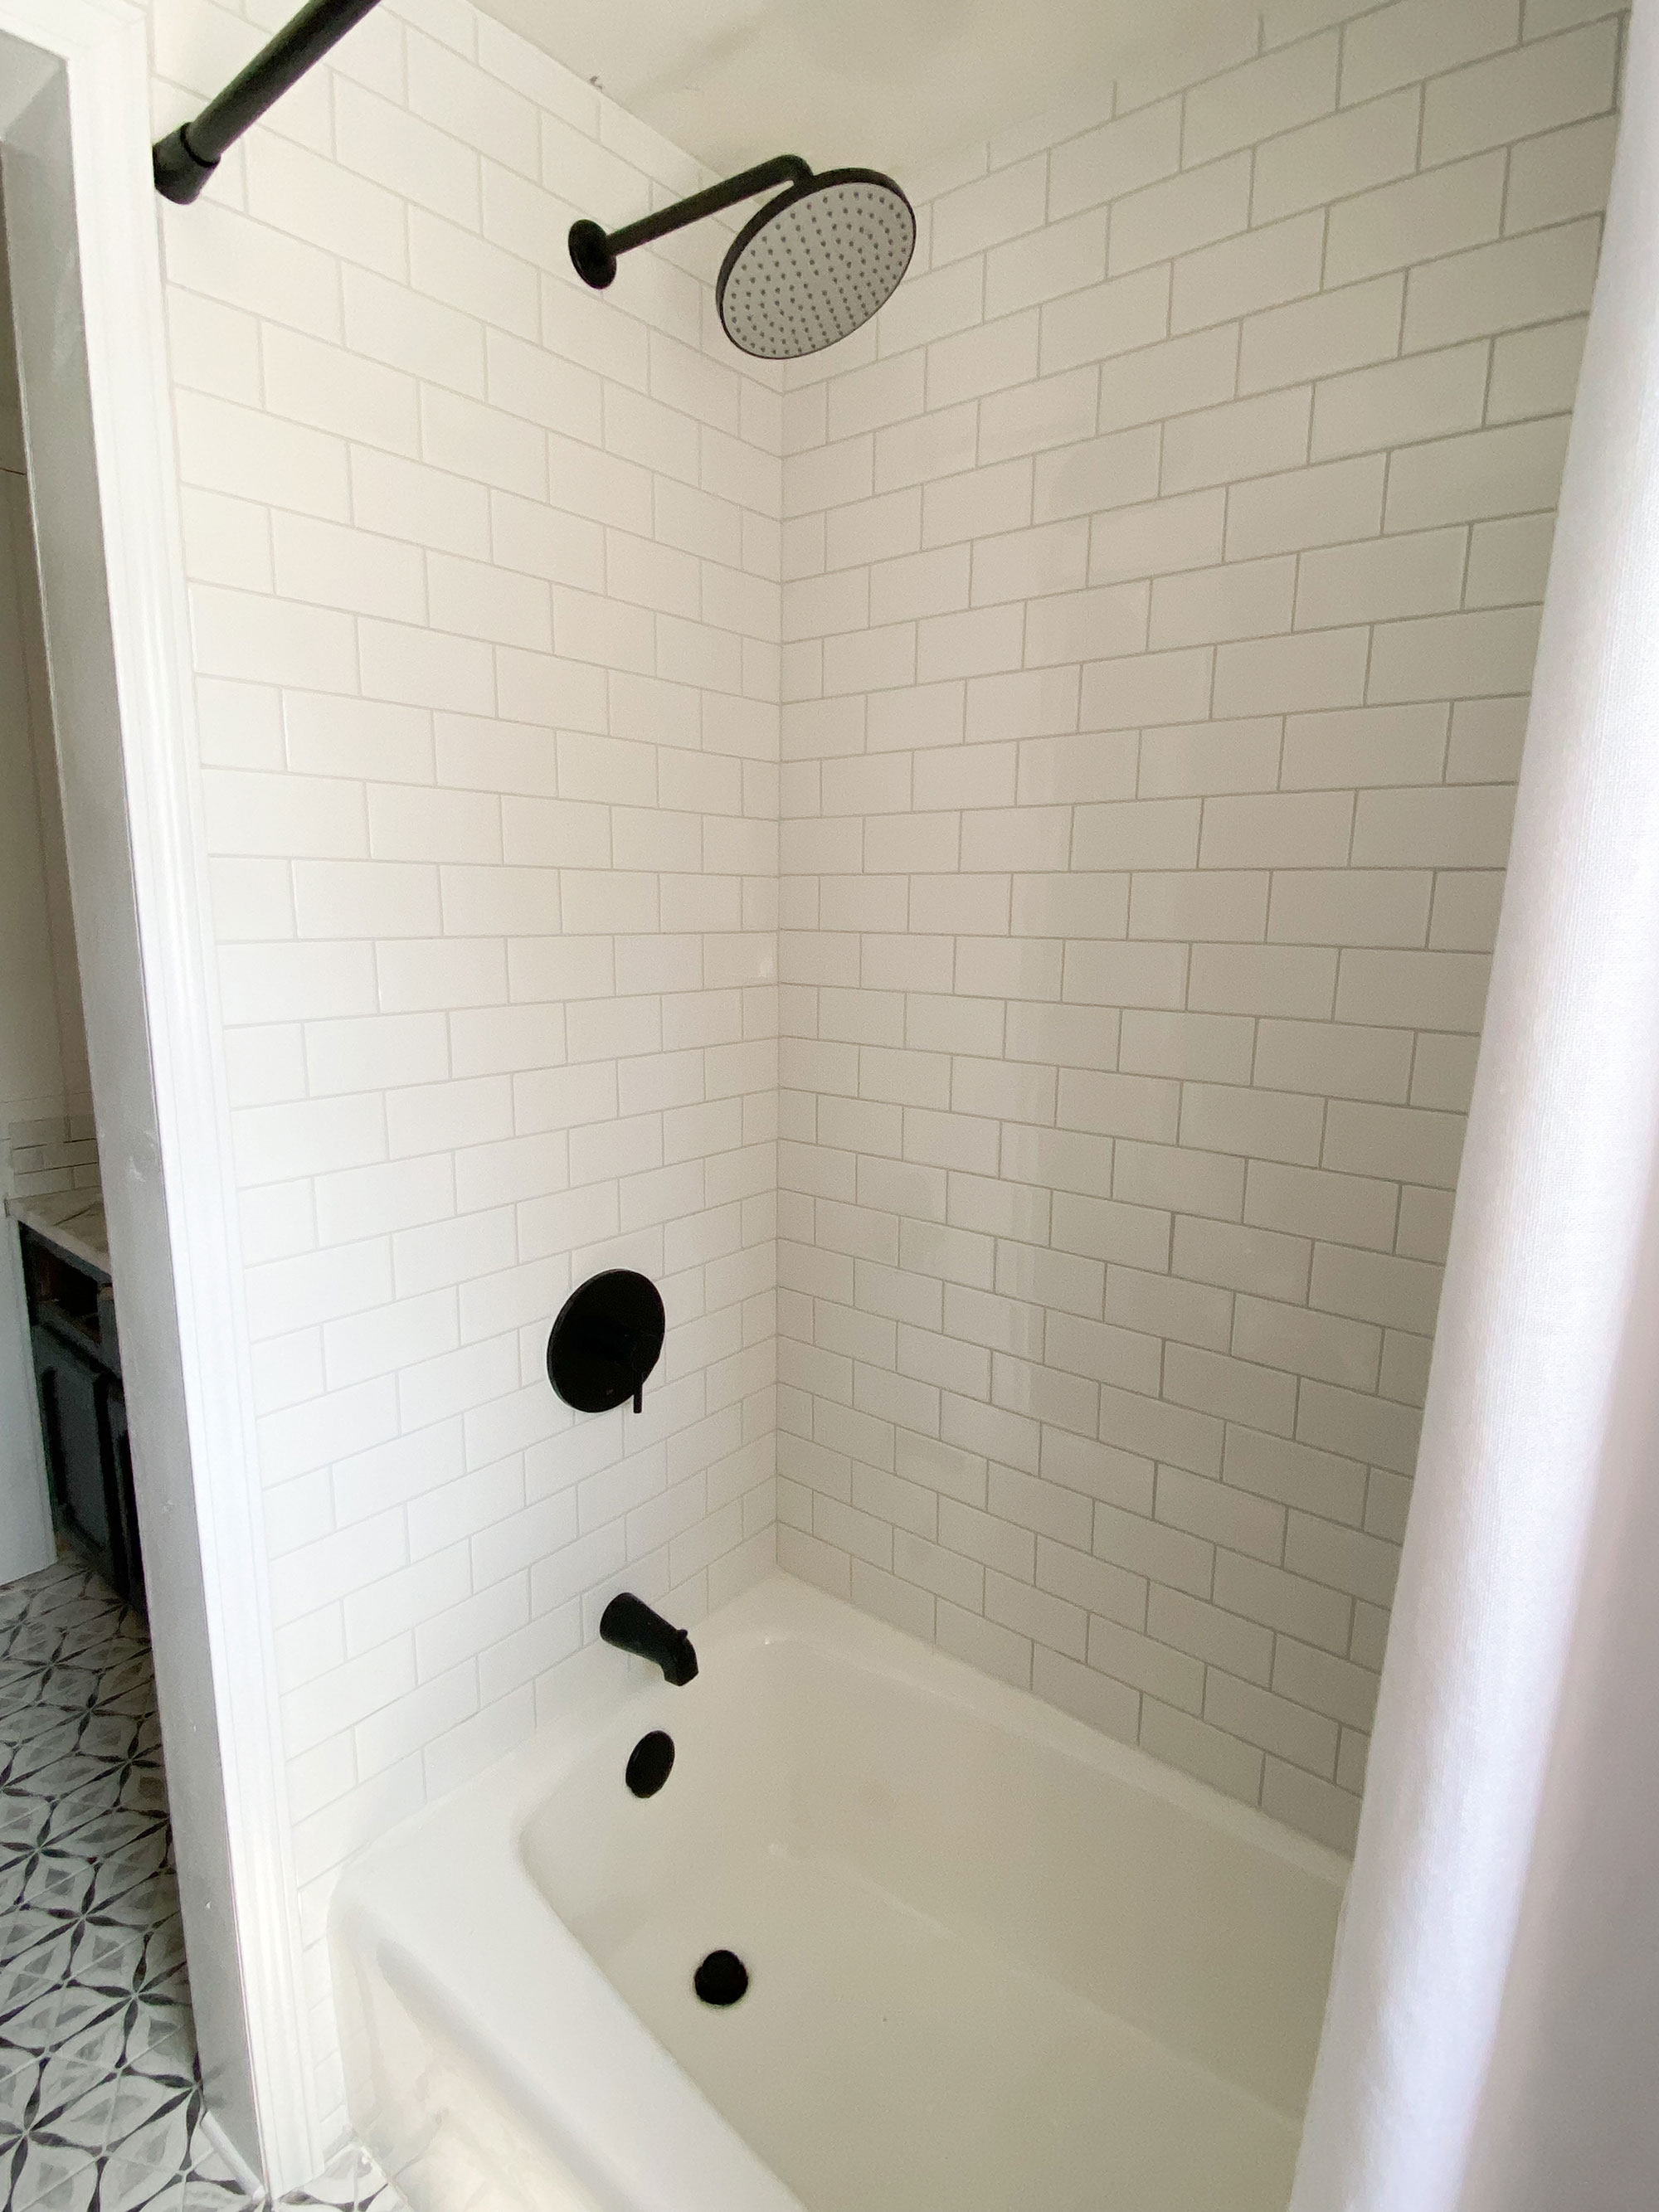
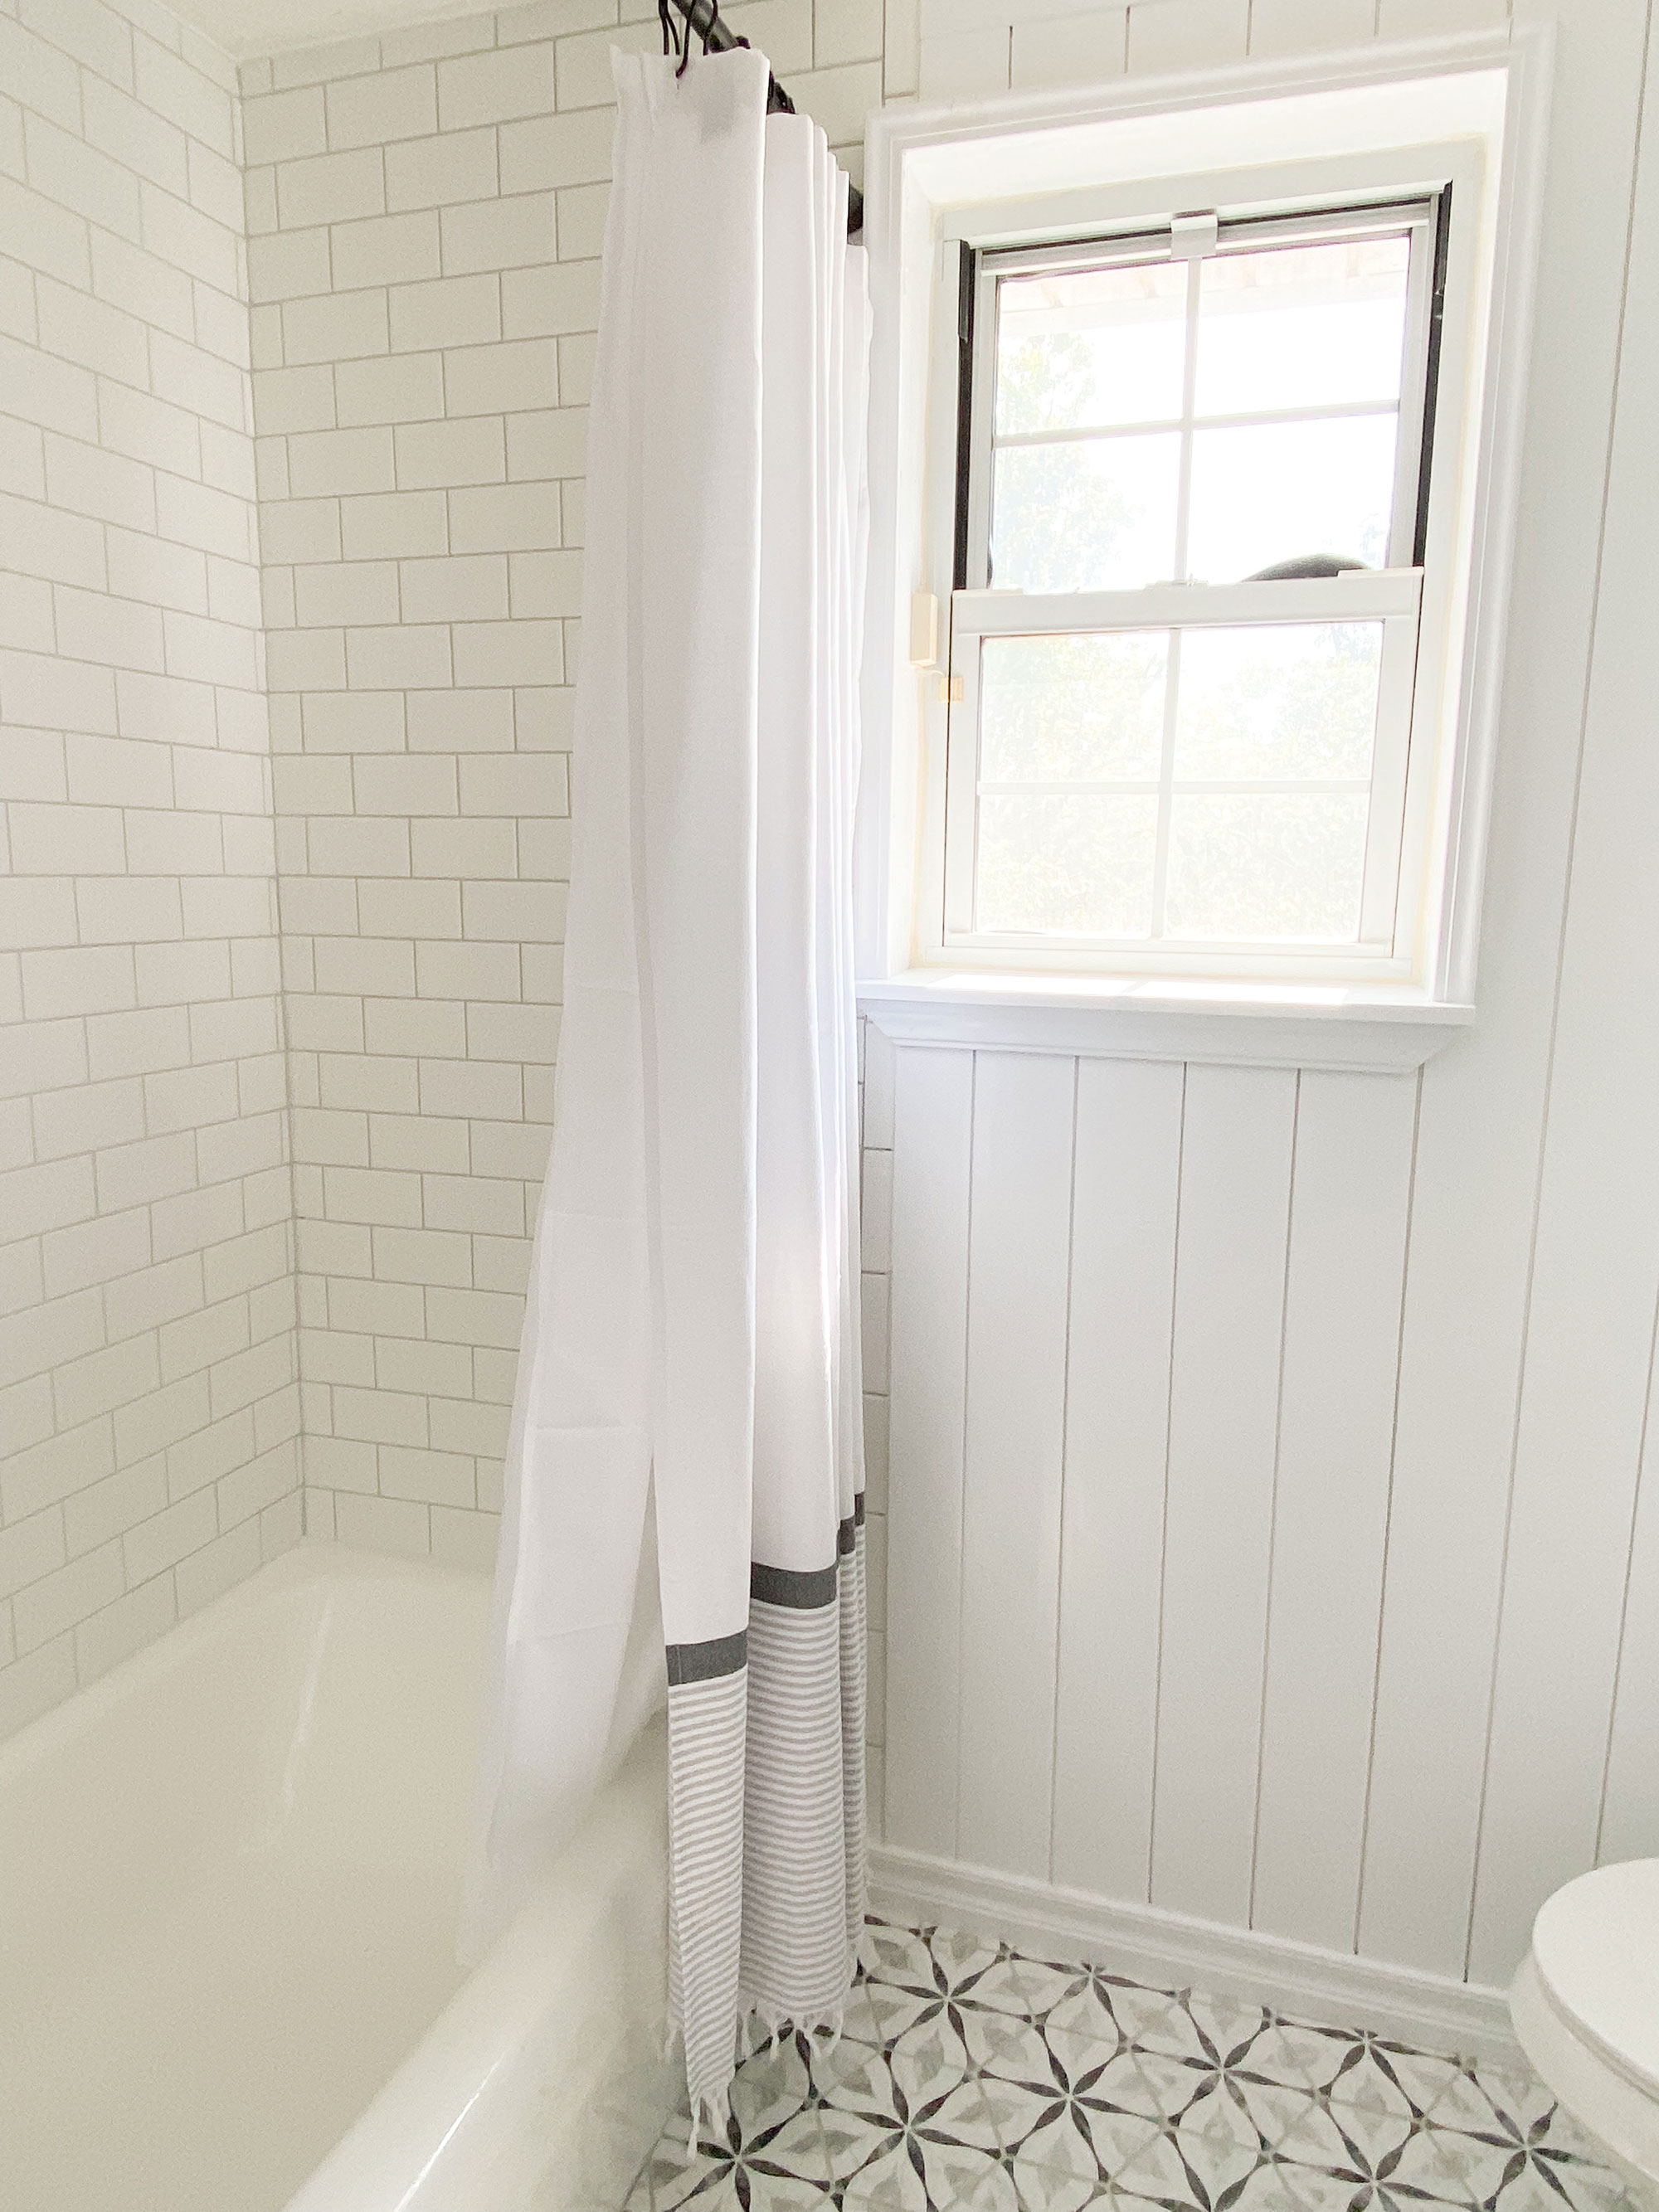
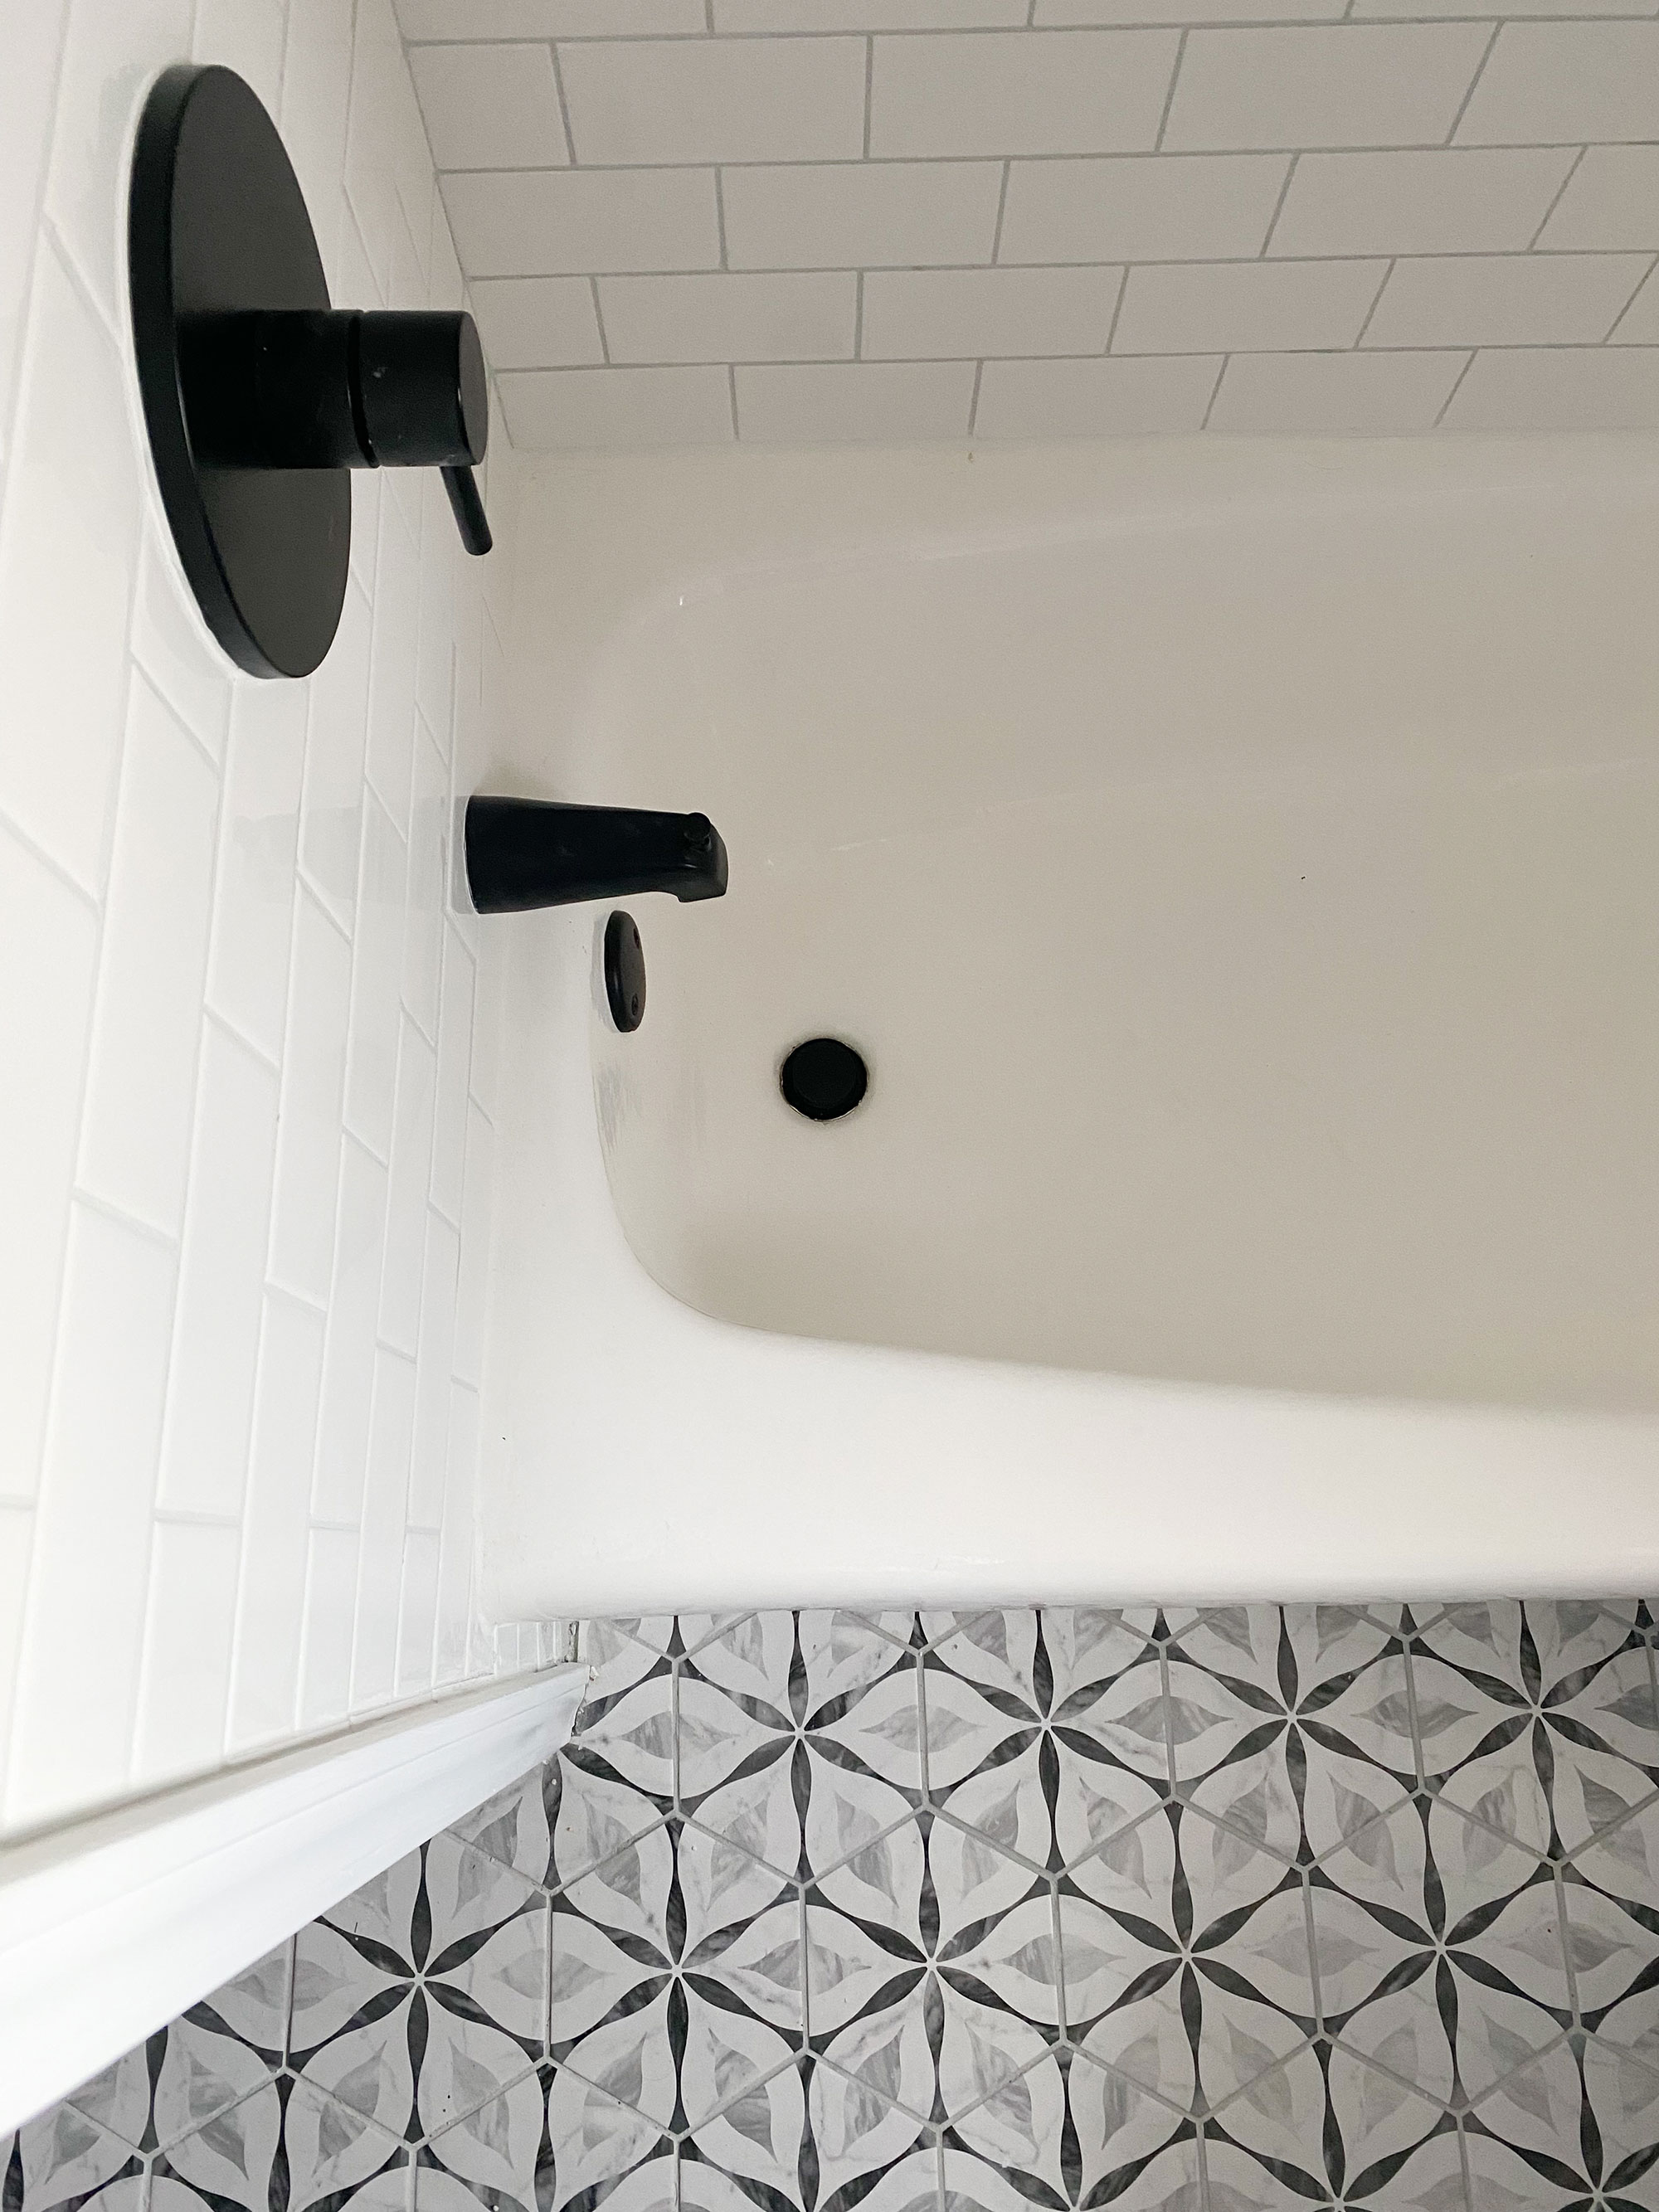
I can’t believe the before and after difference on our bathtub! And the best part? This DIY project cost less than $50! If your tub needs refinishing and you’re on a tight budget, this might just be the solution for you!
Join our newsletter
Get small space home decor ideas, celeb inspiration, DIY tips and more, straight to your inbox!
Dori Turner writes blog posts and feature articles on affordable design and DIY from her home in the heart of Oklahoma. She has a passion for teaching others how they can transform their home on a budget.
-
 A $200 fluted panel transformed my drab kitchen in just one weekend
How to install a fluted kitchen panel: A speedy and achievable DIY tutorial even for DIY novices
By Claire Douglas Published
-
 How to replace a broken staircase spindle in 30 minutes flat
A missing or broken spindle on a staircase is not only unsightly, but it can be a real hazard. This is how to fix it in a few quick steps.
By Kate Sandhu Published
-
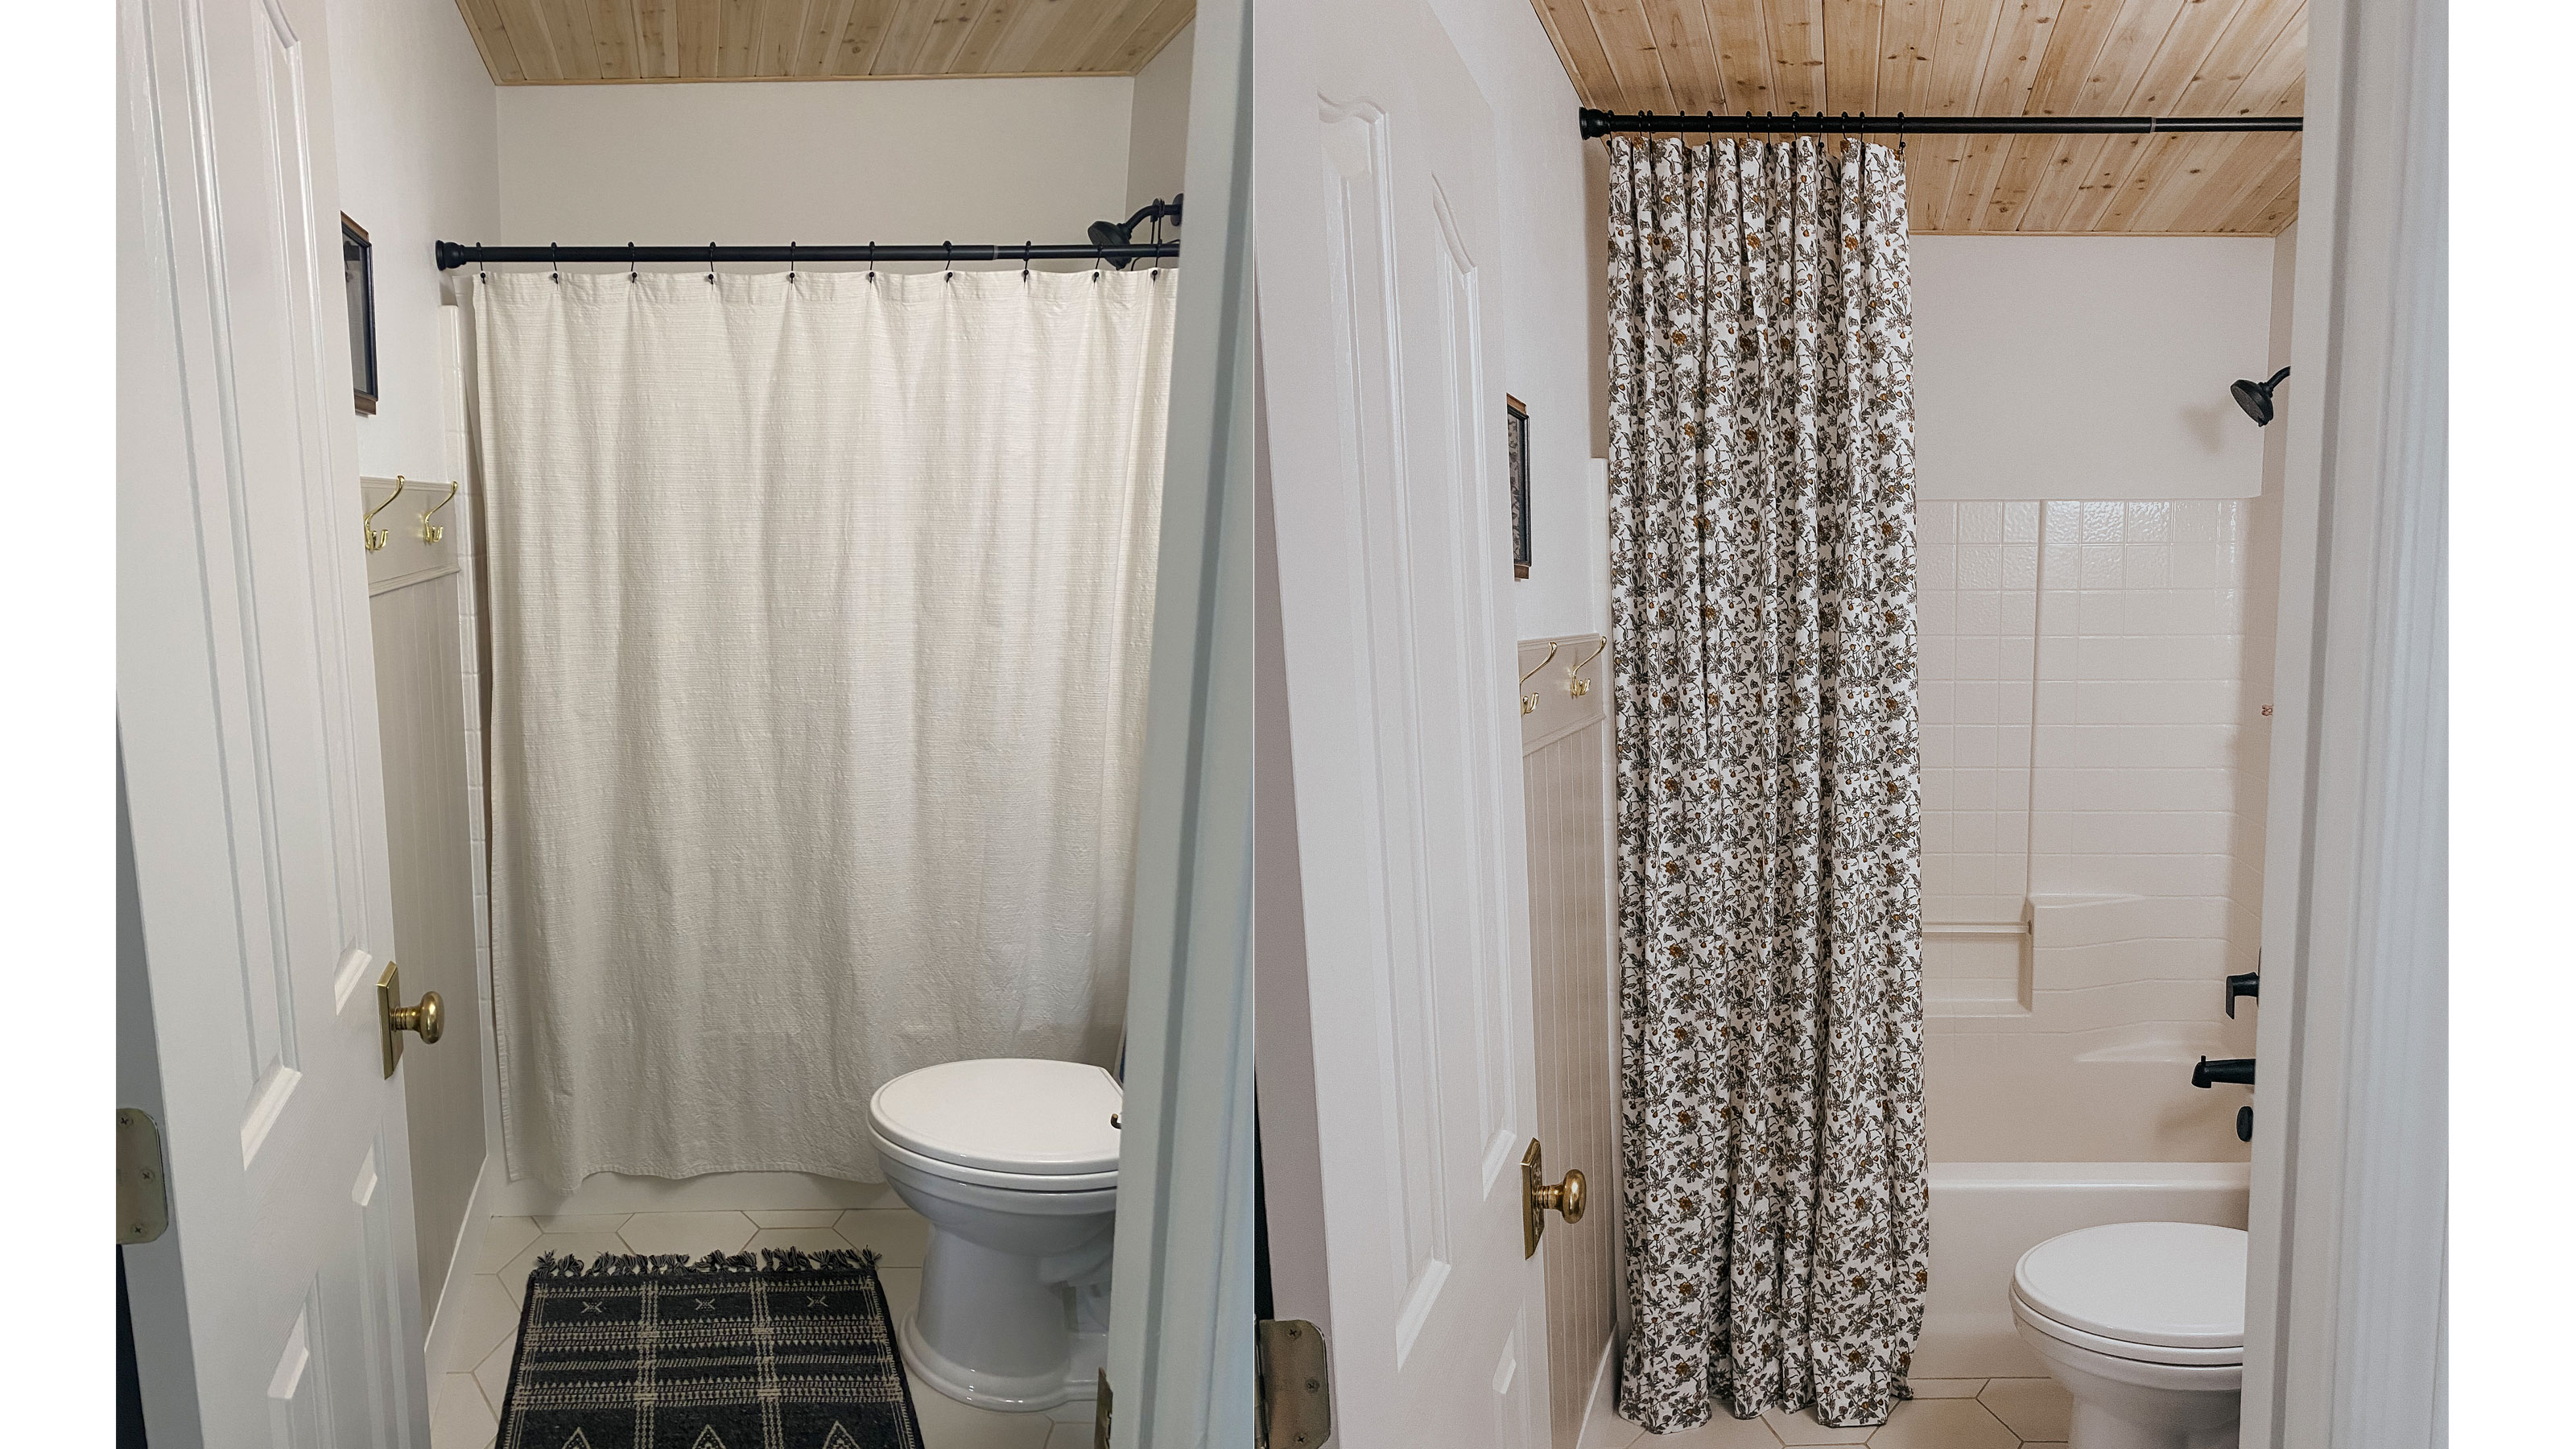 I DIYed a long shower curtain using a flat bed sheet: it's the dramatic vibe our bathroom needed
I couldn't find the extra-long patterned shower curtain I'd envisioned since forever, so I made one myself for a dramatic finish
By Brooke Waite Published
-
 An IKEA Billy bookcase hack inspired this cute media wall DIY
This cute DIY was inspired by an IKEA Billy bookcase hack and brought a ton of symmetry to an otherwise basic media wall space.
By Camille Dubuis-Welch Published
-
 Share your small space glow up to win $150 in the Real Homes competition
Show off your creativity and DIY skills to win $150 and for the chance to be featured exclusively in Real Homes magazine
By Camille Dubuis-Welch Last updated
-
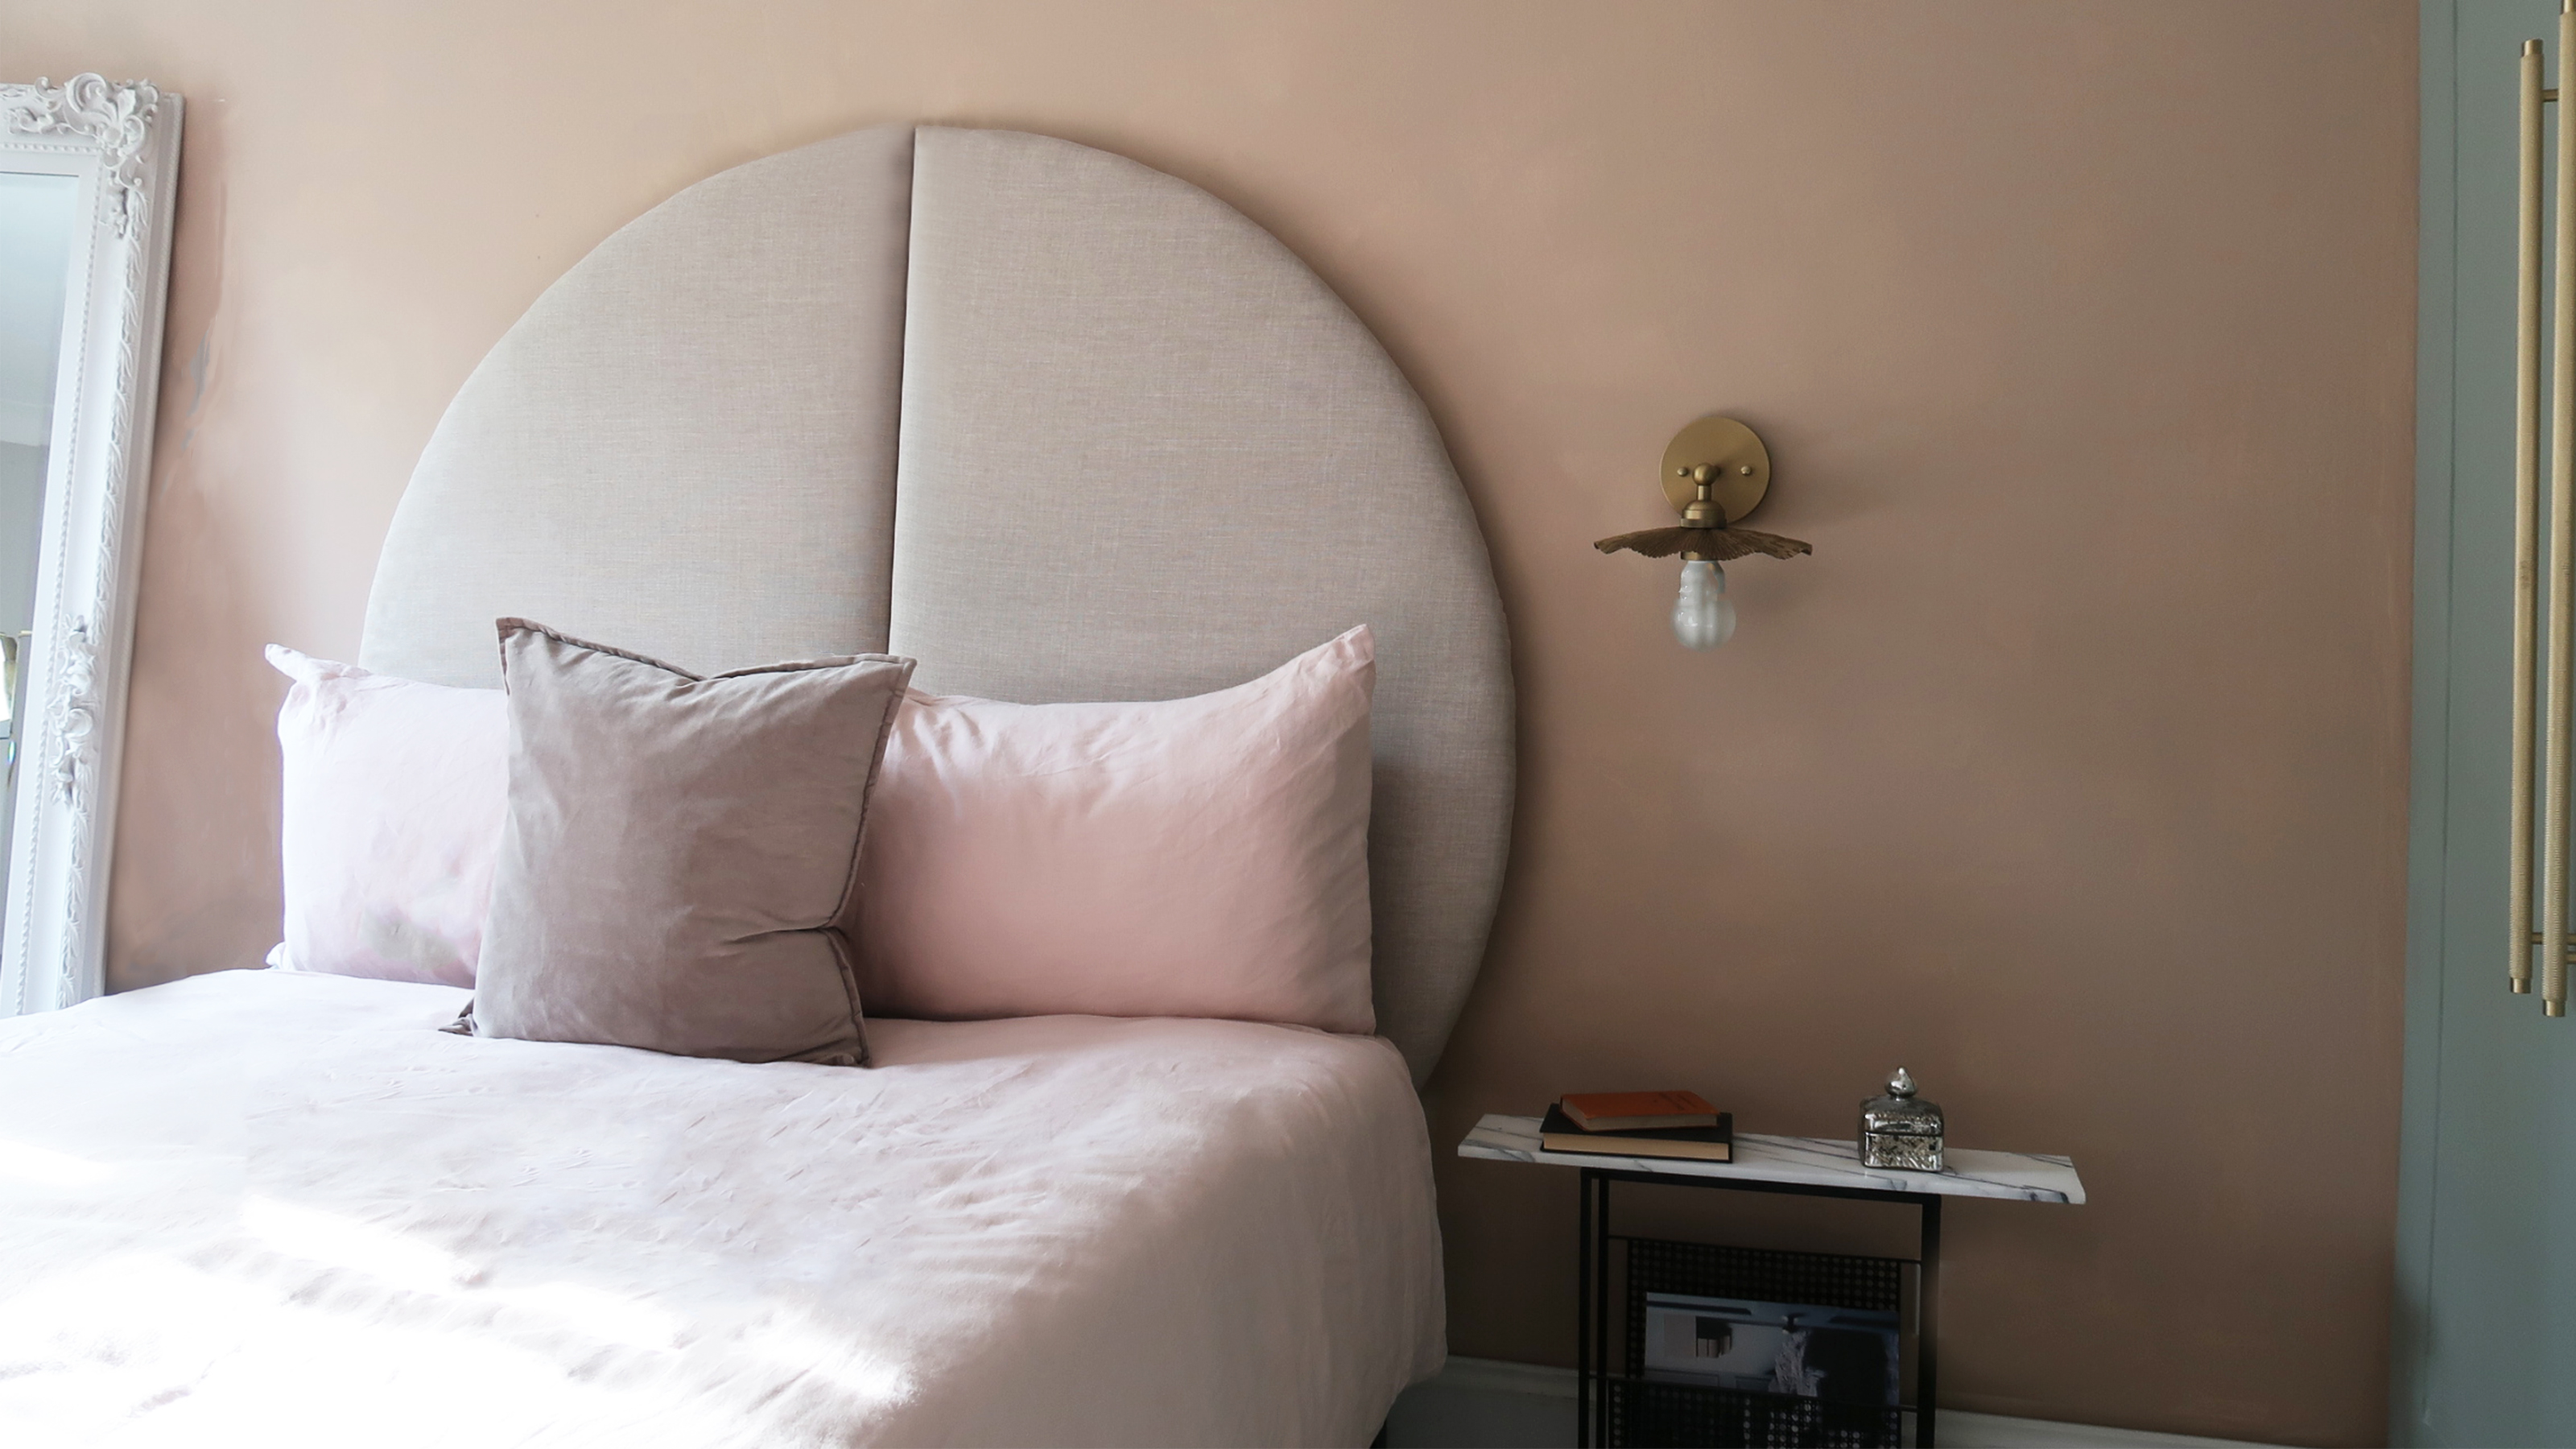 This oversized headboard looks designer, and takes 5 steps to DIY
Super simple to DIY, this oversized headboard will give your bedroom space all the designer vibes you could dream of.
By Claire Douglas Published
-
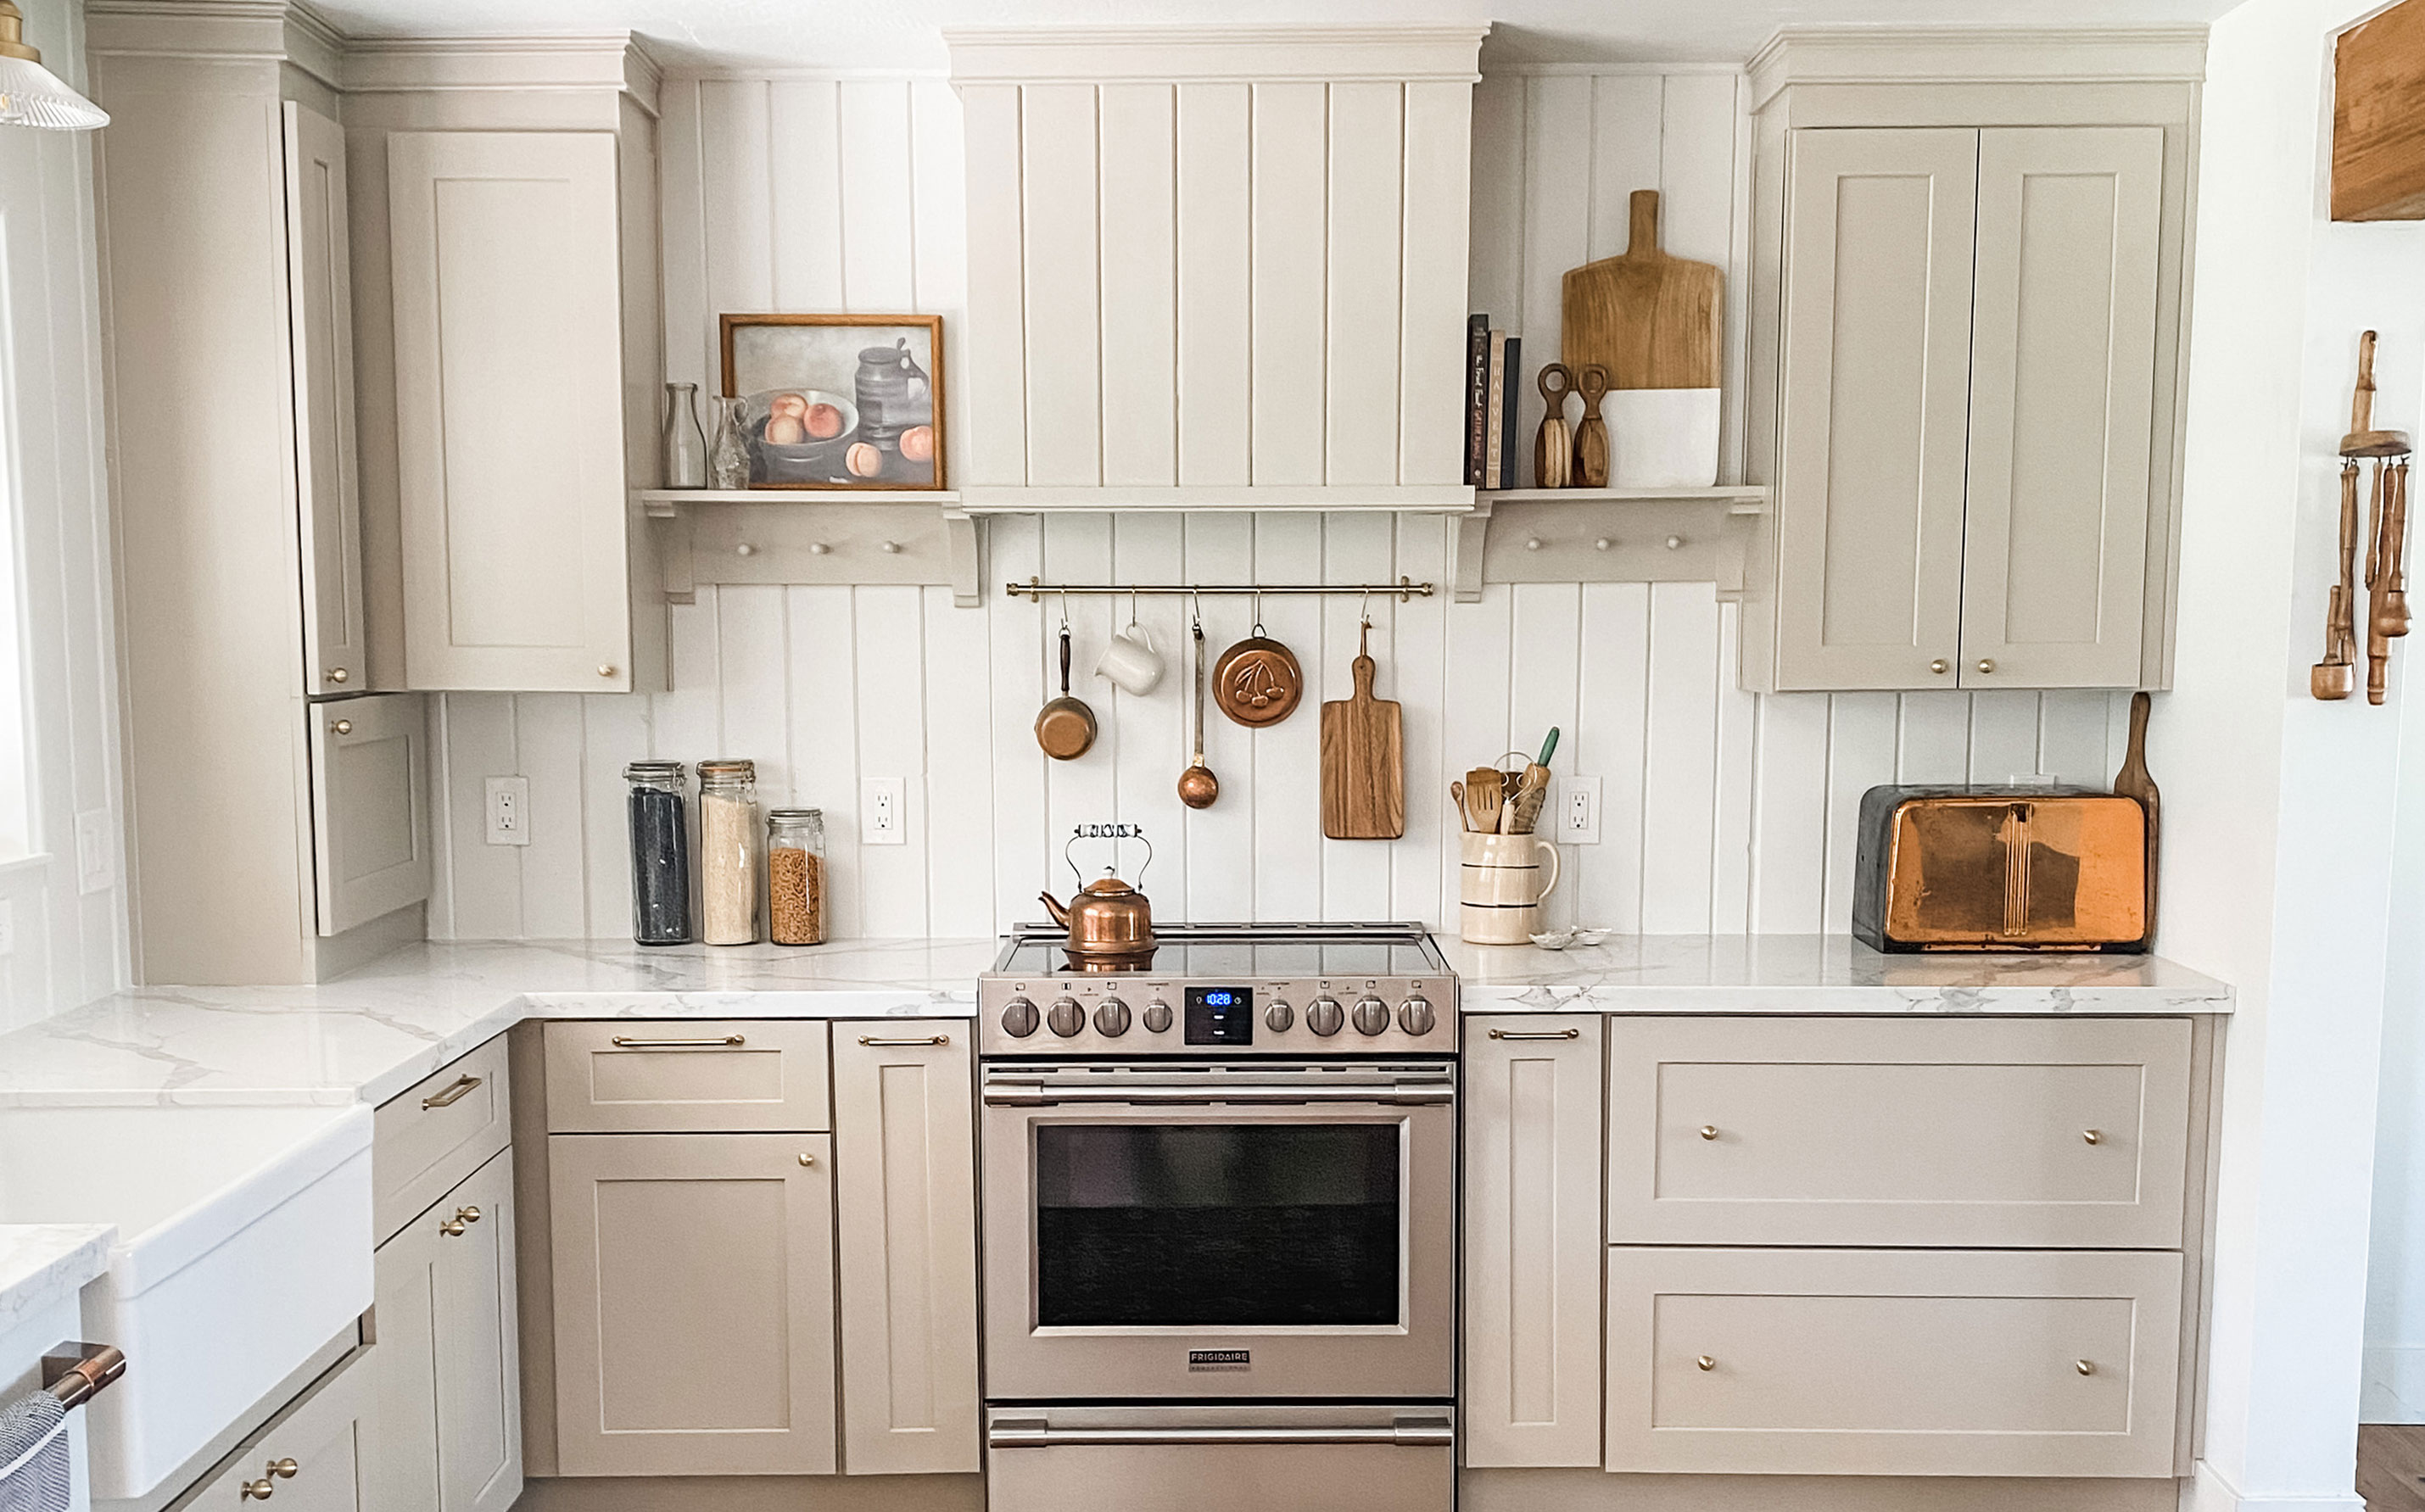 My DIY range hood and backsplash build gave my kitchen the perfect farmhouse finish
I craved charm in my kitchen space and adding a custom range hood and shelving was the best move.
By Brooke Waite Published
-
 How to paint a radiator in 7 steps
Painting radiators properly is all about choosing the right paint and the best process. Get interior designer-worthy results with our how-to.
By Kate Sandhu Published