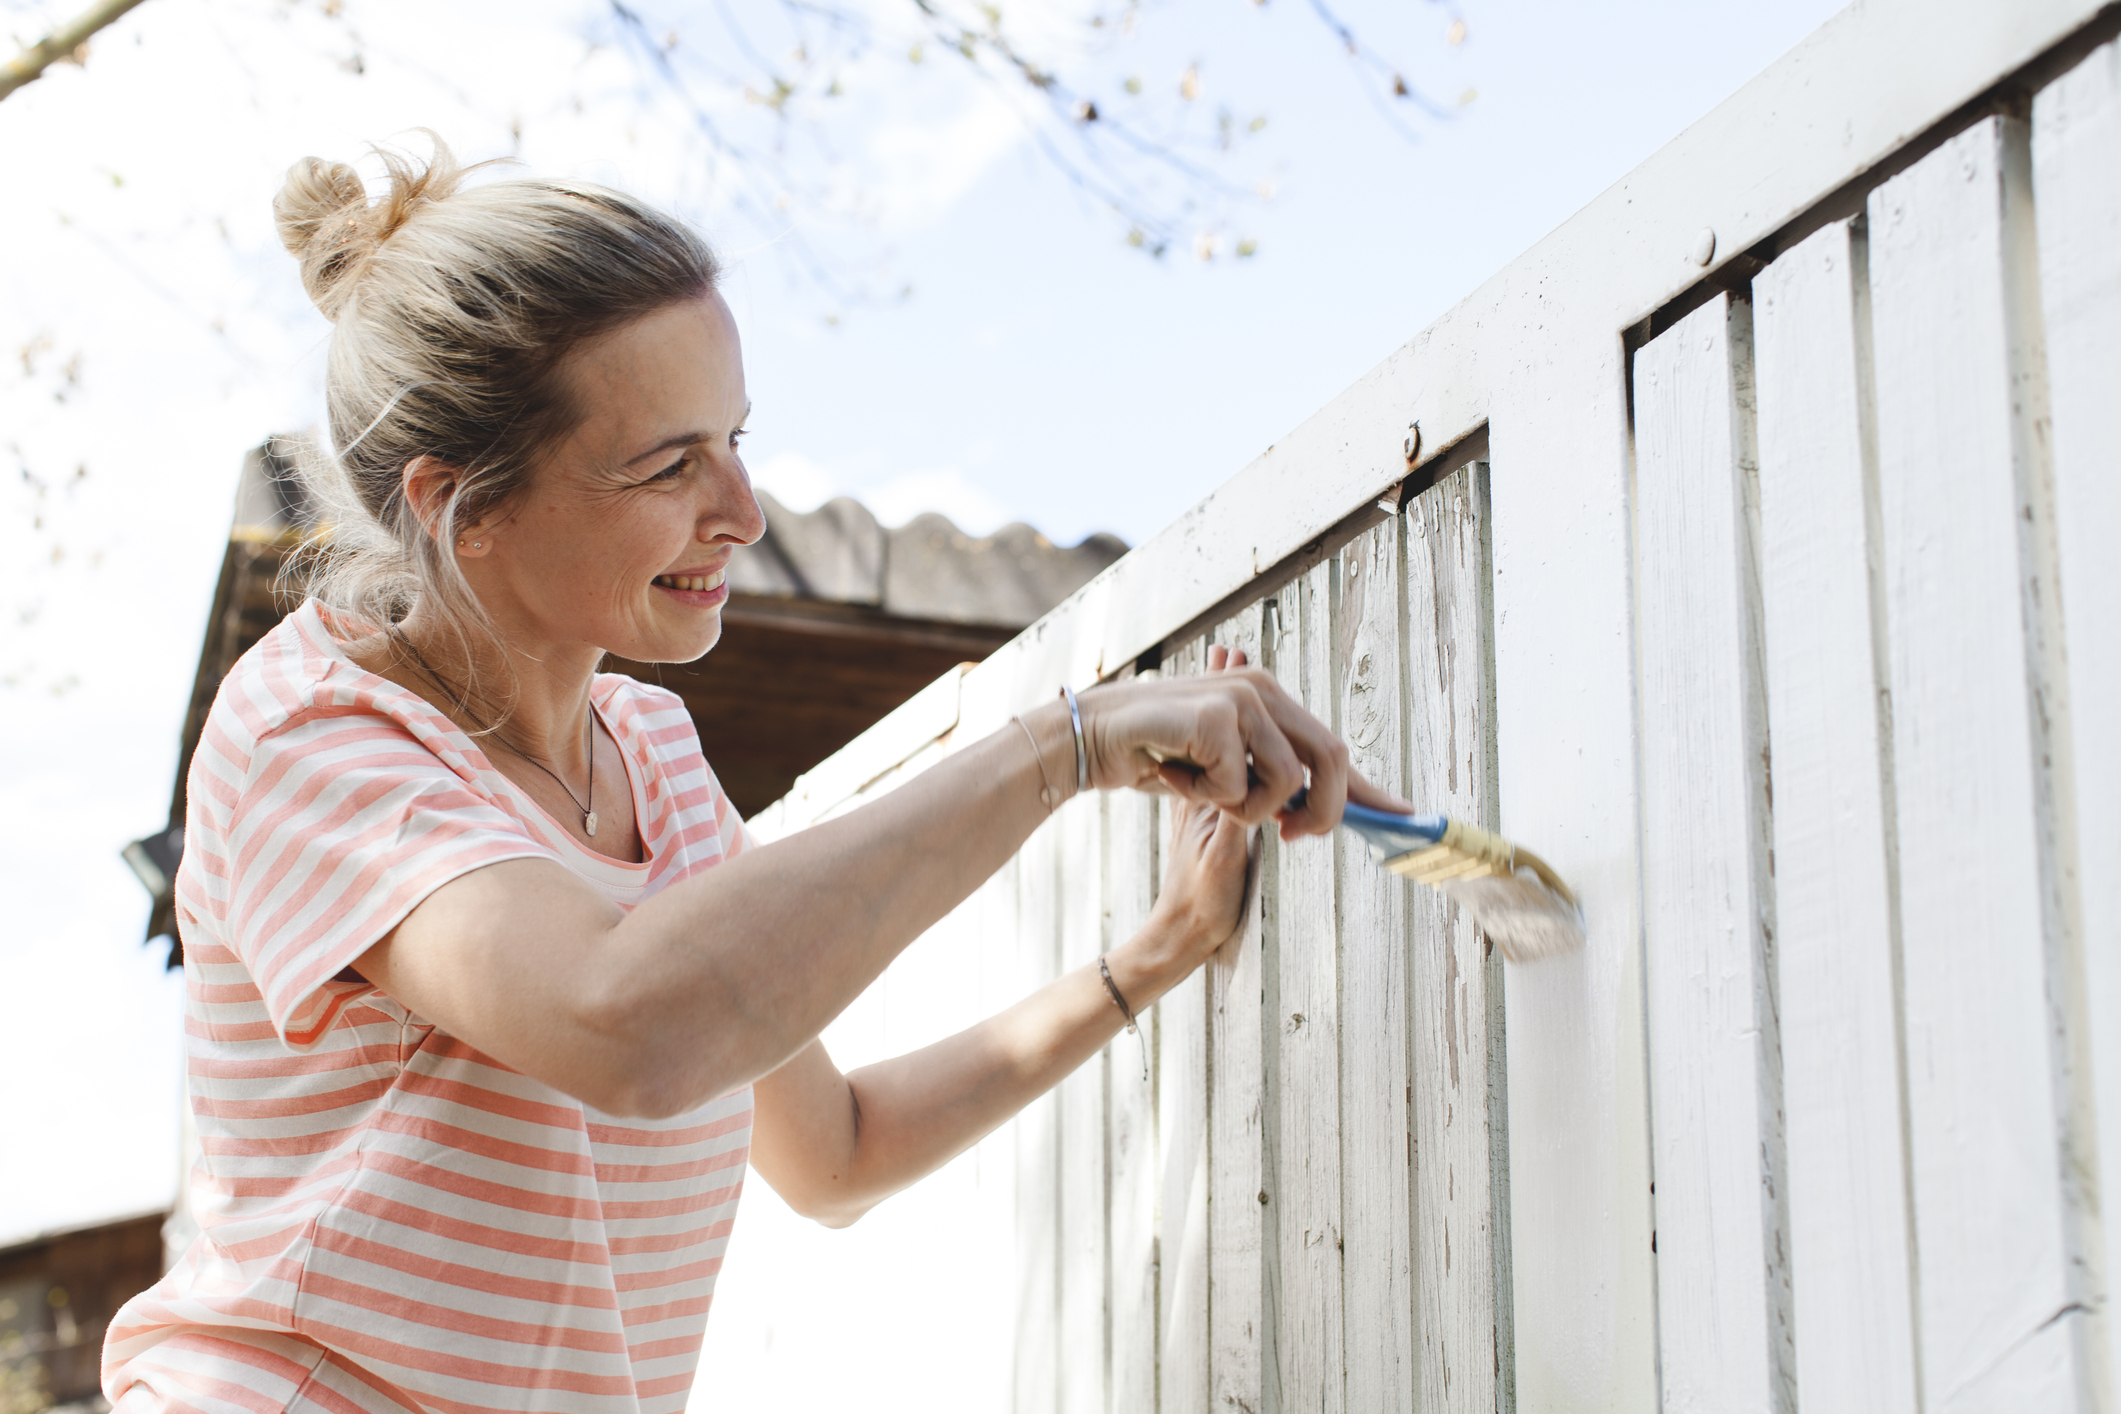

There are endless benefits to painting a fence in your outside space. Introducing a new color, or refinishing a tired-looking fence is a budget-friendly way to brighten up your surroundings.
A garden fence is both a stylish and functional part of your front or backyard, offering privacy and weather protection too. Whether you’re painting an old wooden fence with a roller, or giving yours a new lease of life using a paint sprayer for quick results, knowing how to paint a fence yourself is one of the easiest DIY projects around. The key to achieving professional-looking results is all in the preparation, take a look at our five-step how-to.
Chris Bonnett at GardeningExpress.co.uk says, "Whether your fence is brand new or years old, it’s always nice to treat it to some fresh paint. Whatever way you choose to paint your fences, doing so can completely revive your garden. It’s a very underrated way of improving your home."
What kind of paint do you use on a fence?
You’ll want to use the best exterior wood paint you can find when painting a fence as these are specially formulated to protect the wood from the elements. We like to use acrylic paint as it’s more durable and available in a variety of colors. You can find oil-based paints which give a really gorgeous finish but they are better left to the experts as they are harder to work with, requiring multiple layers, and they don’t offer the same level of protection as you would get with acrylic.
You will need:
- Exterior wood primer
- Exterior wood paint
- Plastic sheets or bed sheets
- Sanding paper
- Warm water, detergent/bleach
- Sponge and dry brush
- Plant garden ties/ canes (if needed)
- Fence paint brush (2-5”)
- One of the best paint rollers/paint spray gun if using
- White spirit (optional for cleaning)
Safety equipment:
- Safety goggles
- Mask
- Step ladder (depending on fence size)
1. Prepare your surroundings
First thing’s first, you want to remove and protect anything on or surrounding your fence. This could be garden plants, your patio floor or furniture. Cut back any shrubs or trees in contact with the fence as the paint toxins will do them no good. Alternatively, you can pin them back carefully and they should snap back quickly when you’re done. Then move what you are able to out of the way and cover anything else with plastic sheeting or old bed sheets. You can either mask off the areas or try and secure the sheet under the fence to stop paint dripping.
2. Clean and repair your fence
This is all part of the prep and ensuring your fence is free from any old nails, décor or screws and rough areas is key for a tidy paint finish. Then you can manually clean off cobwebs and dirt or, use a power washer with water and detergent/bleach if you have a bigger job on your hands – think removing mildew and the likes.
3. Sand your fence
If you are painting over an already painted fence that’s flaking, you’ll want to gently sand it down to achieve an even surface finish.
Bonnet says "If you have a brand new fence they often come pretreated, so all you will need to do before you paint is make sure your panels are clean and dry. Older fences, however, may require some sanding down to help remove the previous paint layer for a more even finish."
4. Apply your first layer of primer
Using a primer when painting a fence is a must. Some may want to skip this step for an ever quicker DIY job but the fact of the matter is, a primer will prohibit any mould growth and ensure a professional finish. ‘Adding a priming coat before you paint is a great way to stop the fence from getting mouldy. It also acts as an adhesive to the paint you’re using which will provide a vibrant and long-lasting finish.’
Go in with your paint brush or roller and apply a layer of primer. Try not to lay this on too thickly to avoid it dripping or running onto the other side of the fence. A couple of thin layers is more effective than one gloopy and messy layer. Let this dry thoroughly according to your paint tin’s instructions – this will usually be a couple of hours.
Top tip: Even if you’re using a roller or a spray gun, keep the best paint brush you can handy to pick up any drips quickly.
5. Apply the first coat of paint
Now it’s time to paint some color on. If you’re painting a fence with vertical panels, use your brush, roller or paint sprayer vertically. Likewise with horizontal panels, as going in the direction of the grain will give a smoother result with fuller coverage. You can apply the paint more liberally, making sure you really work it in so that it penetrates the wood. Paint from top to bottom and go carefully, especially with lap panels as drips can quite easily fall through to the other side. Spot check hidden areas near posts to see you haven’t missed any spots.
Bonnett agrees, "The best way to paint your fences is to work your way from the top to the bottom and follow the direction of the panel with your painting strokes. Don’t be afraid to use a lot of paint when doing this, just make sure all areas of your fence are equally coated."
6. Determine if you need a second coat
Good quality fence paint should only need one coat but if the surface appears a little patchy, give it another go over. Let this dry thoroughly, which could take up to 12 hours – check the tin!
7. Remove plastic sheeting
When you’re done and when the paint is completely dry, you can remove any protection and replace greenery plus any other displaced items back to where they were.
8. Clean your tools
Start cleaning brushes and rollers to ensure the paint comes off easily and wipe down any plastic sheeting, to store it away ready for your next DIY. If you have paint left in the tin, add a label to say when you used it and ensure the lid is clean(ish) and on tight to stop it oxidizing. Store it out of direct sunlight and off the floor.
- How to paint metal gates
When is the best time to paint a fence?
You can probably guess that the spring and summer months are the best time of year to paint fences. You’ll want to pick a clear, dry day that is warmer than 5°C/40F as anything lower will stop the paint drying. Saying that, you also want to ensure that you paint in the shade as direct sunlight can cause the wood or metal to be too hot which will mean the paint dries too quickly, stopping it absorbing into the wood grain which is what helps it protect the fence in the first place.
Try to wait until the fence is in the shade before you start work – if the wood is too hot, the paint will dry too quickly and won’t get a chance to soak into the wood properly. The paint can only fully protect the timber if it’s allowed to soak in.
What is the fastest way to paint a fence?
To speed up the process you could invest in a spray paint gun that can cover an entire fence surface in just a few minutes, giving you even coverage very quickly.
"If you can afford to splash out on an electric paint gun then this will definitely be the most efficient way of getting the job done and it will also give you a perfectly even coat of paint. That’s not to say that using a paint brush and doing it the old-fashioned way won’t work as well, it will just take a little bit more time. There is something quite therapeutic about painting this way! Alternatively, you can use a paint roller for all of the flat parts of a panel. This is a less accurate method, but it will help to get the job done quicker," adds Bonnett.
If your fence is in good condition then you also won’t need to spend so much time cleaning and prepping which will take time off painting a fence yourself. As mentioned, tempting as it may be to skip the primer, we would highly recommend you didn’t!
Join our newsletter
Get small space home decor ideas, celeb inspiration, DIY tips and more, straight to your inbox!

I'm Cam, the former deputy editor of Real Homes who worked on the site from 2020 to 2023. As a renter myself, sharing a home with two friends (and my cat) in London, I know all too well the challenges that this can pose when it comes to creating your perfect setup. As someone who has always loved everything interior design-related, I cannot rest until a home feels right and I am really passionate about helping others get there too, no matter what their living situation, style, or budget may be. It’s not always the easiest to figure out, but the journey is fun and the results are so worth it.
After interior design, travel, art, and photography are my next big passions. When I’m not writing or editing homes content, I’m usually tapping into other creative outlets, exploring galleries in London or further afield, taking photos, scribbling, or drawing!
-
 The 7 flowers to plant in August, according to gardening gurus
Knowing what flowers to plant in August isn't always so clear-cut. But that's why we called in help from pro planters — here's what they said to pot.
By Becks Shepherd
-
 The 7 plants to prune in August — and the 2 pieces of greenery you shouldn't touch
Wondering what plants to prune in August? We asked a gardening expert for their top tips plus info on what pieces of greenery to avoid pruning this month
By Becks Shepherd
-
 Do you need to deadhead azaleas? Top tips for pruning these flowering shrubs
Wondering whether you need to deadhead azaleas? We asked a gardening expert for their top tips for looking after these blooms
By Becks Shepherd
-
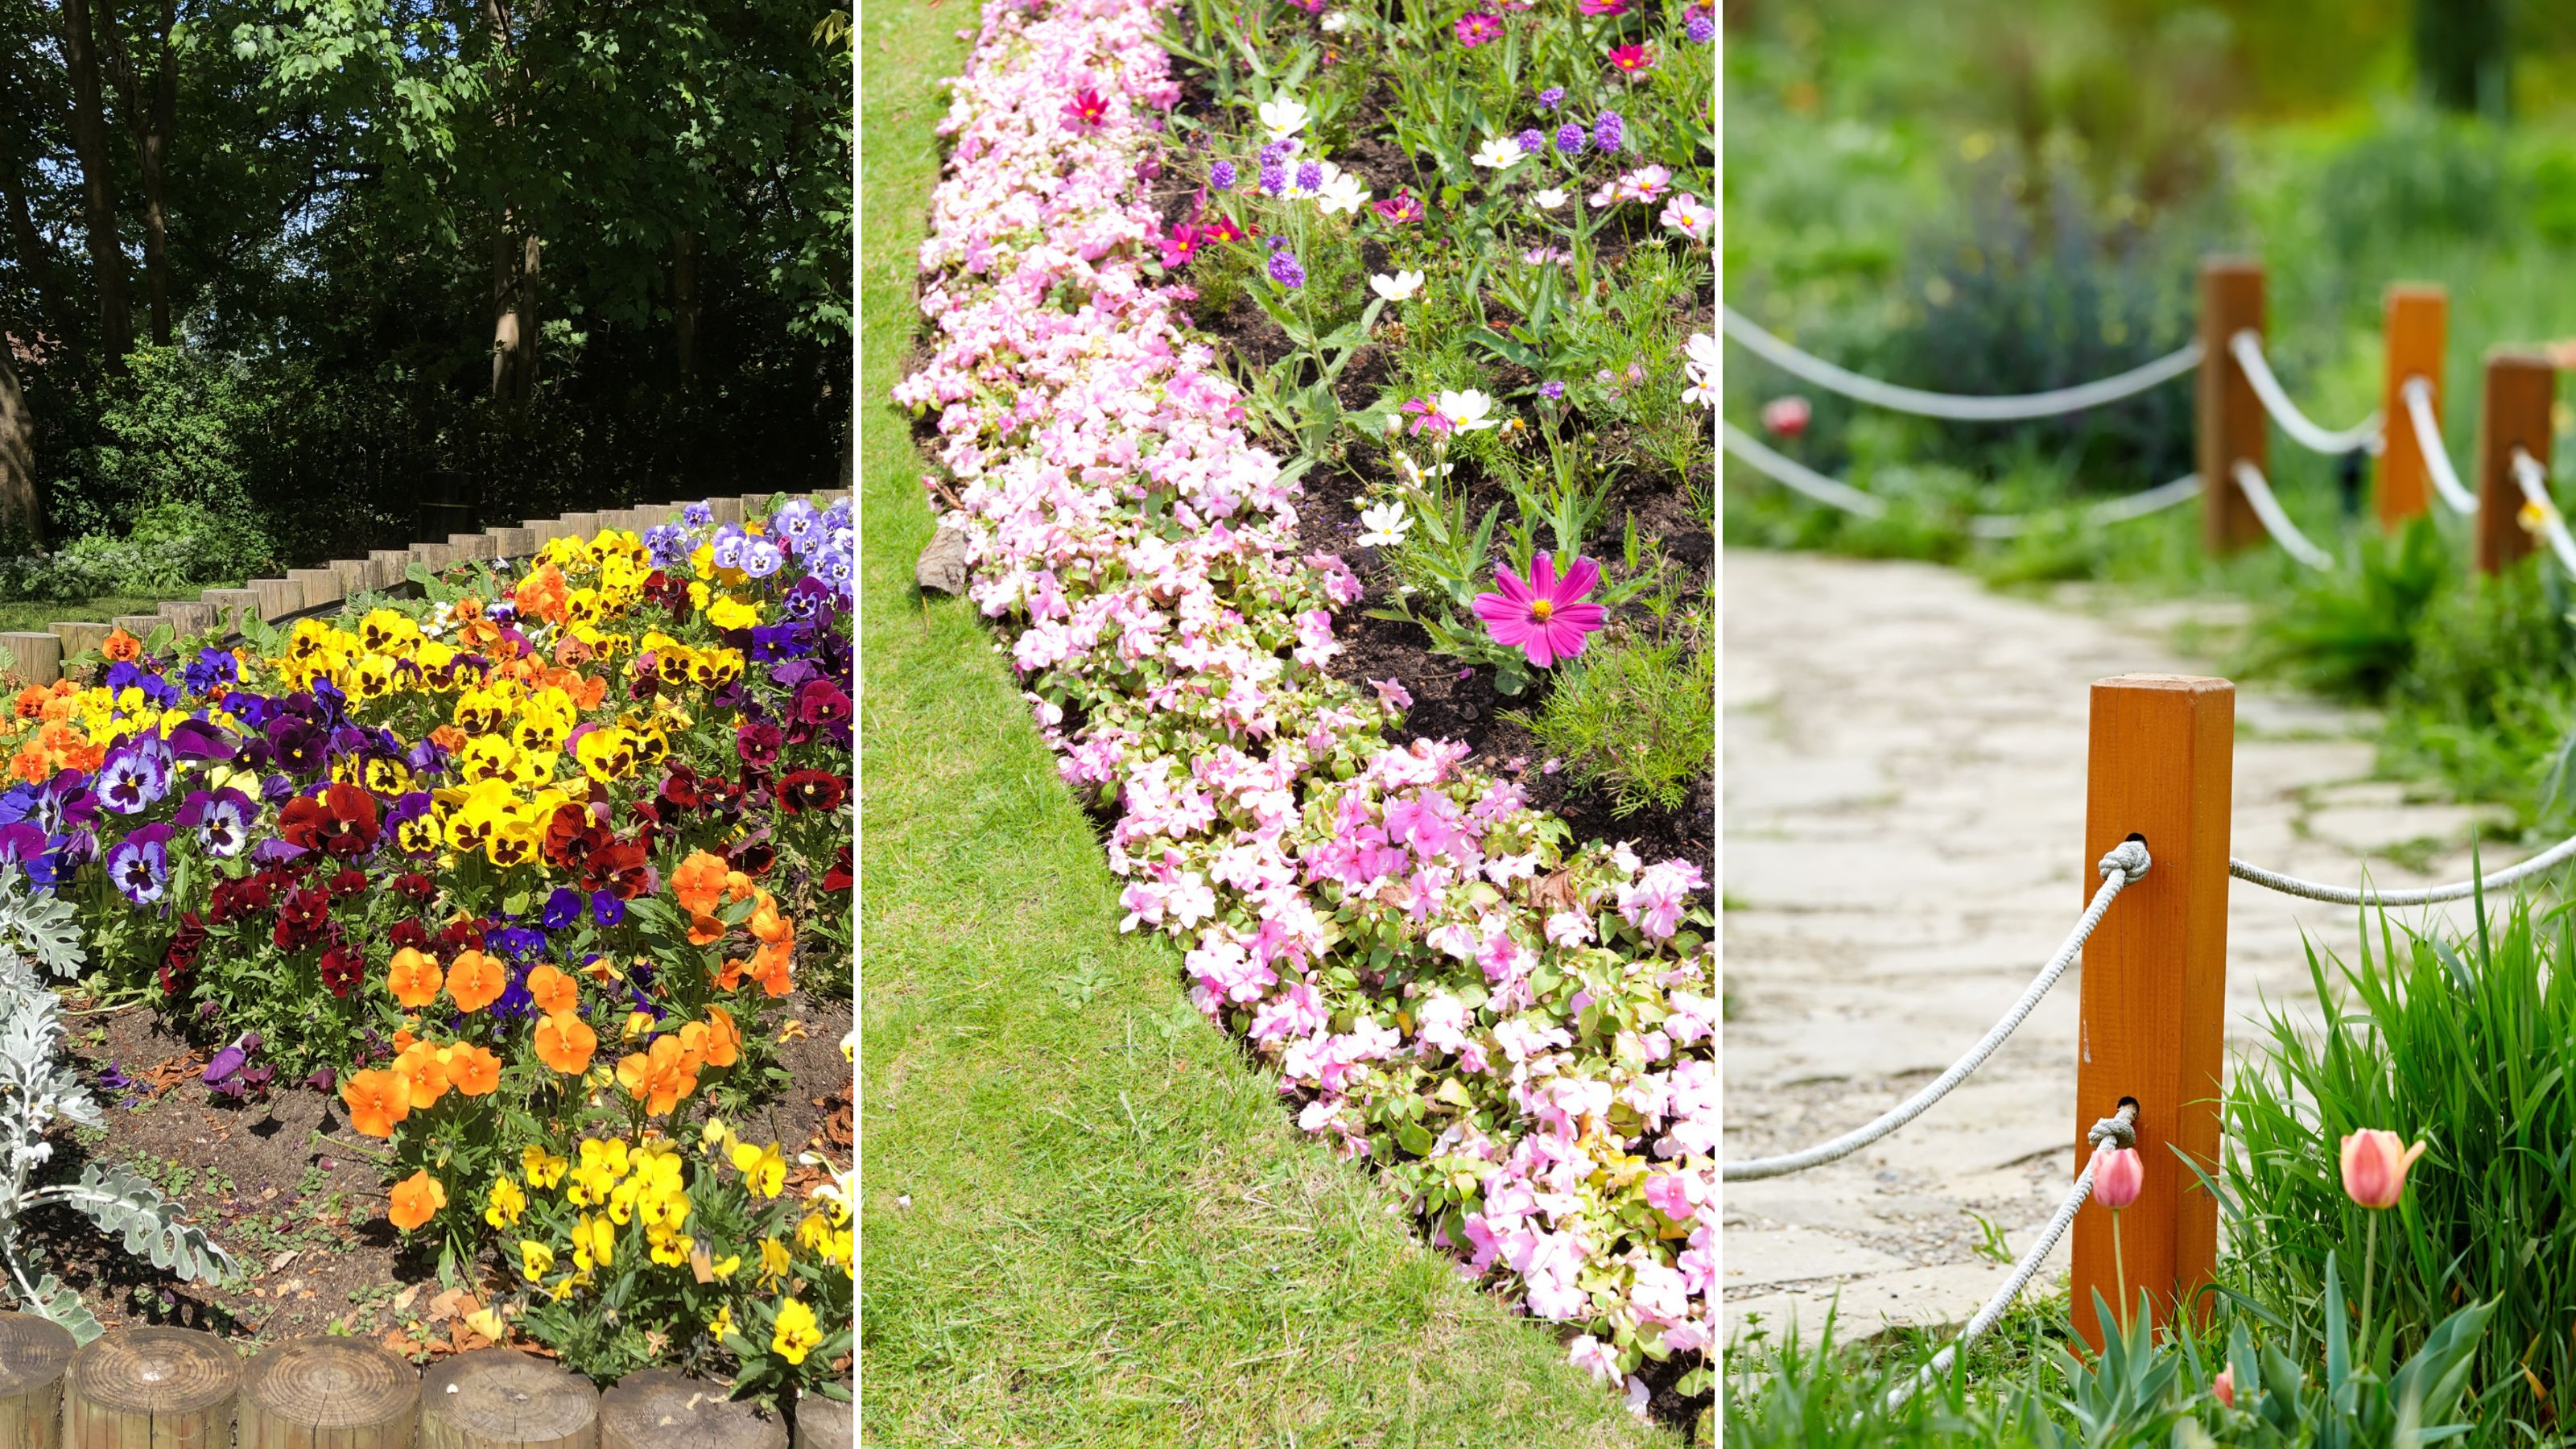 14 lawn edging ideas that will add definition and style to your backyard
Want to neaten up your lawn with lawn edging ideas? From fresh flowers to laidback bricks, we've scouted out materials and styles that look brilliant
By Eve Smallman
-
 Which houseplants are toxic to dogs? Vet experts pinpoint problem plants and solutions
Wondering Which houseplants are toxic to dogs? We spoke to vets about the problematic leafy greens, what they trigger in dogs, and how to find a solution
By Danielle Valente
-
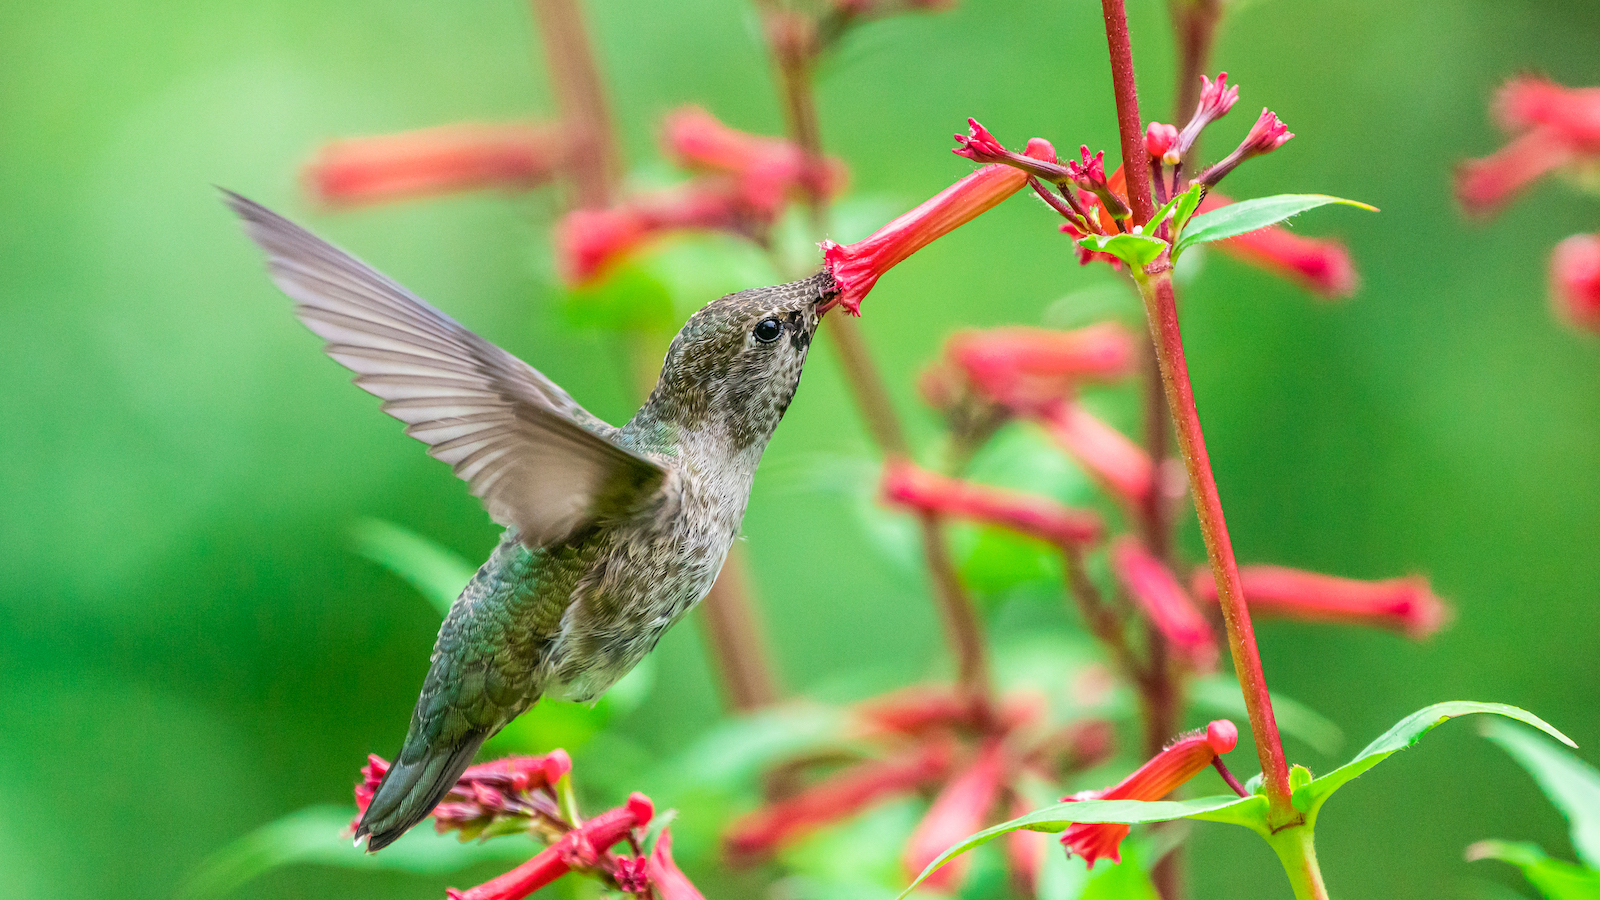 How to attract hummingbirds to your backyard, according to ornithologists
Trying to figure out How to attract hummingbirds to your backyard? These ornithologist-backed tips will guarantee you visitors in no time
By Danielle Valente
-
 Does hydrangea bloom every year? Pros spill the dirt on the "garden favorite" and when to expect it
Wondering, "Does hydrangea bloom every year"? We asked the pros all about the garden favorite and how often to expect them — here's the dirt.
By Danielle Valente
-
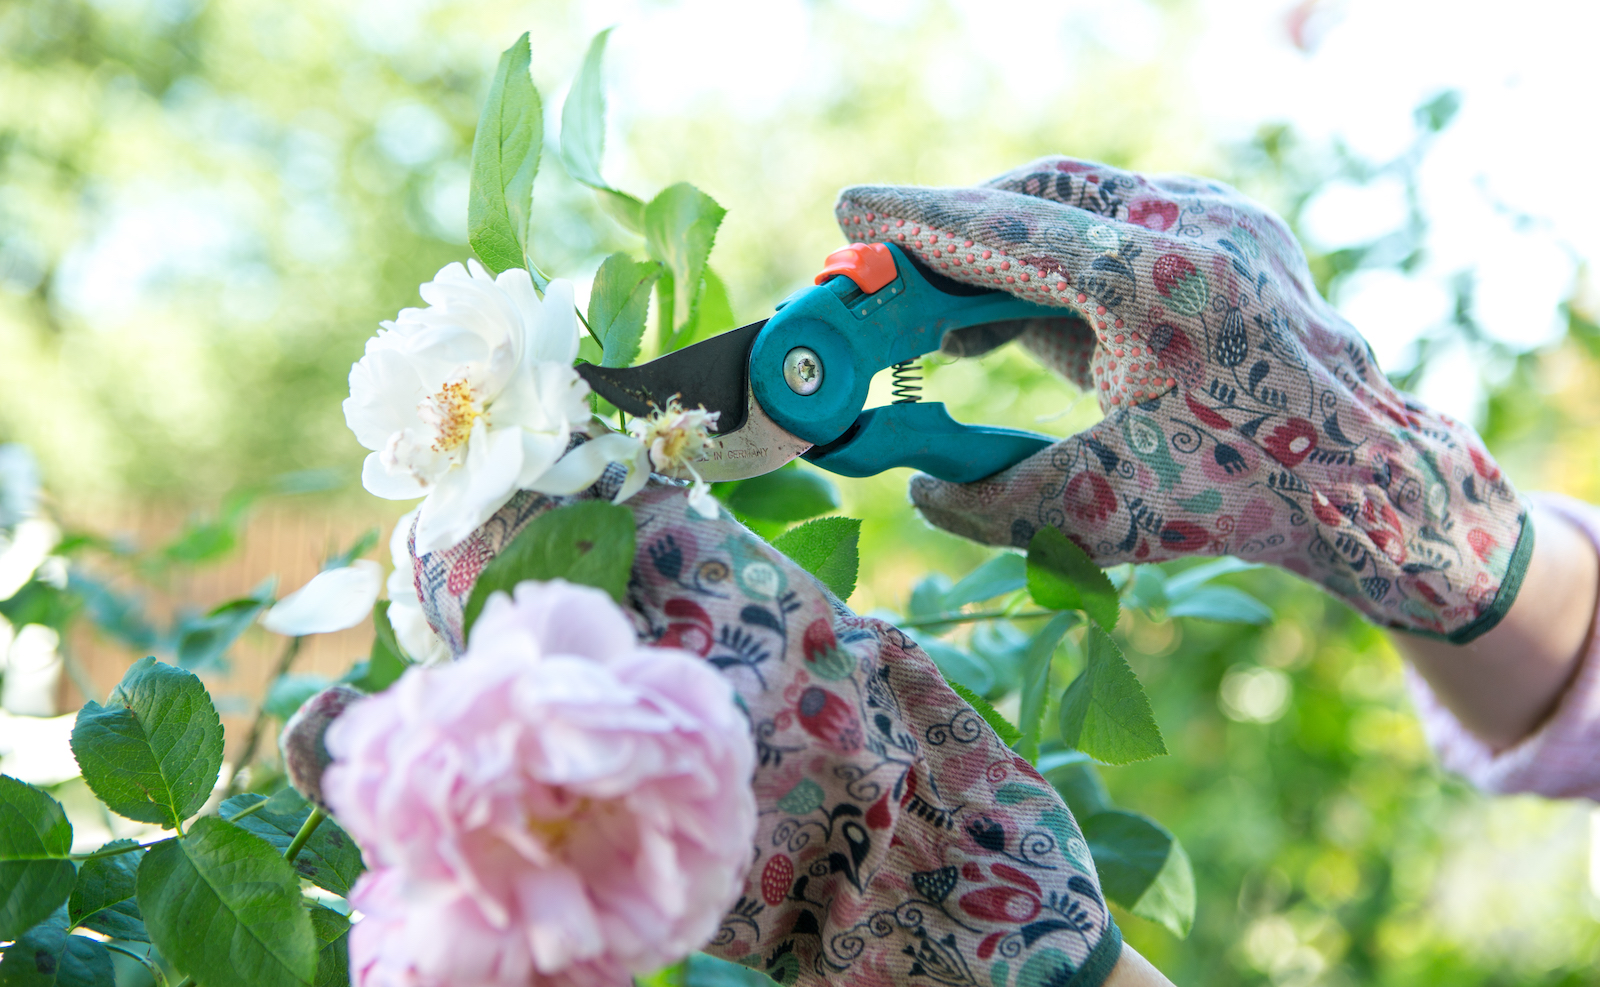 What to prune in spring — experts reveal how to get a lush, full garden
Curious what to prune in spring? We asked gardening experts for their top tips for a luscious, thriving garden
By Danielle Valente