
Claire Douglas
Knowing how to paint kitchen cabinets yourself will not only save you money but, it will let you get more creative with the look and finish of your kitchen space too.
So if you are happy with your kitchen's layout and design, but looking for a quick, easy and cost-effective upgrade, it's simply a case of grabbing some essential tools, the best kitchen cabinet paint, or best kitchen paint, for the job and following this basic DIY.
The cost of painting kitchen cabinets yourself will save you over half the price of having a professional paint them for you and will be way more budget-friendly than choosing an entire kitchen remodel also. You might need about 9L (two gallons) of paint for two coats in an average kitchen, which will set you back a couple of hundred dollars depending on the paint you choose and the other materials. That's still a massive saving.
How to paint kitchen cabinets step-by-step
You'll only need a long weekend or so to recreate the best kitchen cabinet ideas, whether yours are wooden, laminate, already painted or not.
Although painting kitchen cabinets is a relatively easy and cheap DIY, as expected, you can't just whack paint on and hope for the best... Our video and step-by-step method will help you achieve professional-looking results.
1. Check your kitchen cabinet material
Before you start, you have to check your kitchen cabinets can be painted. If you have solid wood kitchen cabinet doors you are good to go. Paint away, ensuring they are properly primed as we'll explain in our method below.
If you're painting laminate kitchen cupboards or veneer, you have a trickier job on your hands. You can still paint them, but their shiny, smooth surface means you have to be more thorough with your prepping and sanding – using a good primer to encourage the paint to stick.
Melamine is another man-made material, often used for modern kitchen cabinet doors, where paint might not adhere to as easily as wood. Again, we recommend gently sanding your doors first to give the paint a better chance of lasting.
2. Prep and gather materials
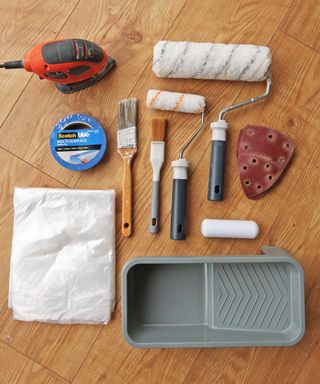
Now that you know what you're working with, you can continue with the prep. The kitchen cabinet paint you choose largely depends on the finish you want in your kitchen, but also on what material you are working with and on how much of an experienced DIYer you are. You need paint and a primer. We've used Dulux Primer & Undercoat for wood and then an eggshell paint.
You will need:
1. A screwdriver to remove the doors (investing in a screwdriver set is a good move)
2. Sandpaper
3. Primer (we've used Dulux Primer & Undercoat for wood)
4. Your kitchen cabinet paint of choice (we used eggshell)
5. A paint roller
6. A paintbrush
7. A sugar soap spray for cleaning – like Everbuild on Amazon
8. A small sanding block for finishing
Eggshell paint is actually more forgiving for DIY beginners as it's easier to achieve a professional-looking finish. Gloss paint is harder to work with as there's a risk that the brushstrokes will show.
Of course, you can go for different looks and perhaps you want to give your cupboards a few coats of chalk paint for modern appeal, just always consider what you are working with for the best results.
3. Remove doors and drawer fronts
Before you start painting kitchen cabinets, remove the doors and drawer fronts that you intend to paint. If you can, remove all the handles and hardware too, and if you can't do this, tape up anything you don't want to be painted.
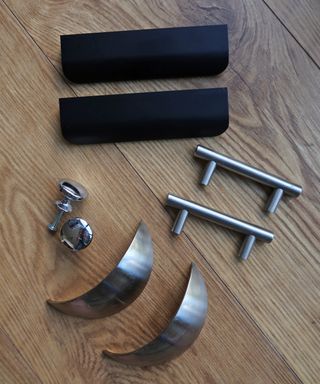
Top tip: This is a good time to consider changing the handles on your kitchen cabinets too. If this is the case, remove the handles, fill in the gap and sand it down so that you can create new holes for your new handles to get a clean, crisp finish.
4. Clean your cupboards
As Laura does in the video, you want to wipe down and clean kitchen cabinets with water. Follow up with a sugar spray to lift off any grime, oil and food. Zoe Warren, interior expert at PriceYourJob.co.uk agrees that this is where to start. 'The first thing you need to before painting your kitchen cupboards is to remove all the contents and thoroughly clean the cupboard using sugar soap or a strong detergent.'
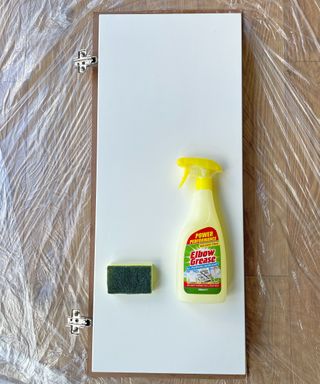
5. Sand down kitchen cabinet surfaces
If you are painting kitchen cabinets with wooden doors that have already been painted, you might be able to skip this step, but the whole point of sanding is to create a rougher surface for the paint to adhere to, so if your wooden doors are super smooth, still give them a quick go over with some sandpaper.
Start with crevices, likely with wooden doors, and then move on to the cupboard face. If you are painting laminate or veneer kitchen cabinets, this step is essential as the paint won't adhere to the smooth surface.
Make sure that once you have finished sanding you get rid of any dust. Give the doors a wipe down with a damp cloth. Get the vacuum out as you don't want any of those tiny particles around when you start painting.
6. Prime kitchen cabinets properly
Once the doors are dry and clean you can add the first coat of primer. Choose a primer that is best for the material you are painting: for wooden doors use a wood primer or undercoat and for laminate, a good multi-purpose primer or a specialist surface primer.
Add an even coat to the whole surface using either a roller or a paintbrush and leave to dry for the maximum amount of time required on the tin – this is usually a couple of hours. If you are painting laminate or veneer doors, give your doors another sand to create even more texture for the paint to adhere to. Be sure to get into any crevices also.
'The key to perfectly painted kitchen cupboards is letting the first coat dry completely before sanding it with fine paper. Once this is complete, you should clean the area and repeat the same process with the second coat.' Says Warren.
Top tip: Two thin coats of primer is far more effective than one gloopy coat of primer if you want a smooth professional finish on your painted kitchen cupboards.
7. Apply the first coat of paint to your kitchen cabinets
When your primer is set, you can go in with your first layer of paint. Remember to stir the paint, especially if it's highly pigmented as it will separate. Using your paintbrush, work in both directions to really get into the grain, for an even finish. Remember again that lots of thin layers is best when painting kitchen cupboards. Let that layer dry completely.
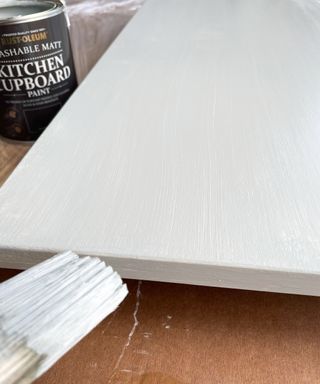
When completely dry, take a small sanding block to smooth out any spots which are a little clumpy. Then wipe it down with a soft cloth to remove any lingering dust.
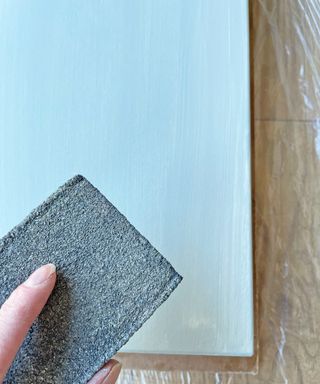
8. Move onto the second layer
For the second layer of paint, use your brush again to get into all the crevices. Then you can finish it off with a sponge roller. Now it's about creating a really even finish and getting rid of any brush marks so you don't need a lot of paint.
Depending on what color you are painting over, two coats might be enough, but do a third coat if you need to.
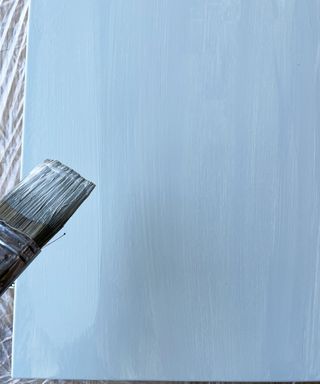
Top Tip: Make sure you remember to paint the sides of the doors and drawers, as these will be visible when opened.
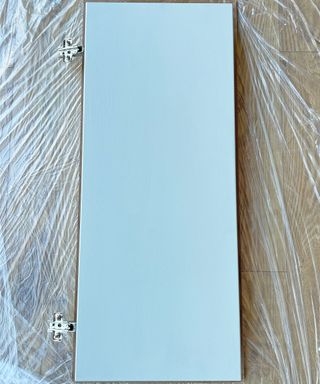
9. Let your kitchen cabinet doors dry thoroughly
The paint we used takes about twelve hours to dry so remember to factor this in as you would with any DIY project.
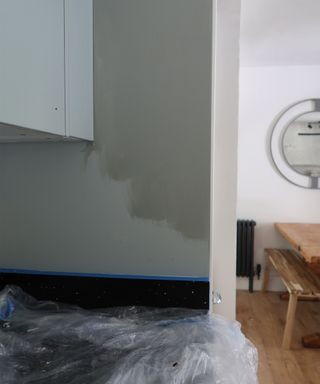
If you're painting all of your kitchen cabinets, you're looking at about 2-3 days drying time in total. Try doing them in batches to make this easier.
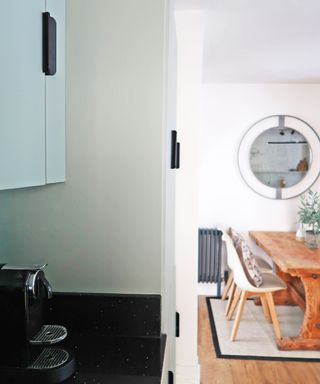
10. Reattach your kitchen cabinet doors
Once the doors are completely dry, screw back on the handles and reattach your kitchen doors. You could even treat yourself to some new kitchen handles since you have saved so much by painting your kitchen rather than buying new...
The results
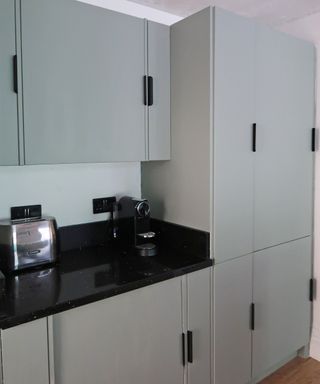
Is painting kitchen cabinets a good idea?
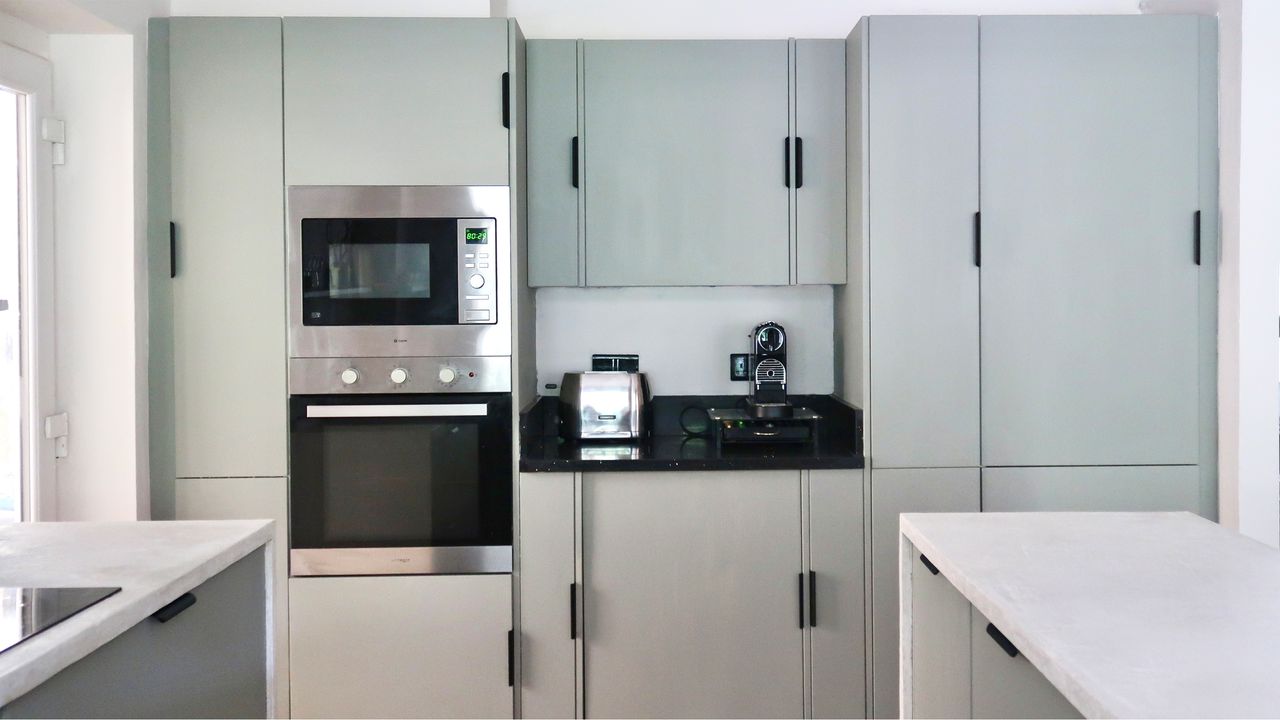
You'll save money and have more liberty on the style of your kitchen by painting the cupboards yourself. Color-wise, anything goes! Neutral shades, black, soft blues, greens and greys are ideal for all styles of kitchens, and lend a light, elegant feel. Light pink is also an on-trend shade that can look contemporary matched with grays.
Remember also that the entire kitchen need not be colorful – a bold shade, such as red or dark blue, can be used to accent a short run of units, a kitchen island or statement dresser, with the rest of the kitchen in a neutral or natural wood finish.
Alternatively, you can consider adding depth and interest to a kitchen by using different shades of the same color. For example, painting the wall units a lighter color than the base cabinets is a clever way to make the kitchen feel more spacious.
Join our newsletter
Get small space home decor ideas, celeb inspiration, DIY tips and more, straight to your inbox!
- Claire DouglasGuest blogger
-
 A $200 fluted panel transformed my drab kitchen in just one weekend
How to install a fluted kitchen panel: A speedy and achievable DIY tutorial even for DIY novices
By Claire Douglas Published
-
 How to replace a broken staircase spindle in 30 minutes flat
A missing or broken spindle on a staircase is not only unsightly, but it can be a real hazard. This is how to fix it in a few quick steps.
By Kate Sandhu Published
-
 An IKEA Billy bookcase hack inspired this cute media wall DIY
This cute DIY was inspired by an IKEA Billy bookcase hack and brought a ton of symmetry to an otherwise basic media wall space.
By Camille Dubuis-Welch Published
-
 Share your small space glow up to win $150 in the Real Homes competition
Show off your creativity and DIY skills to win $150 and for the chance to be featured exclusively in Real Homes magazine
By Camille Dubuis-Welch Last updated
-
 This oversized headboard looks designer, and takes 5 steps to DIY
Super simple to DIY, this oversized headboard will give your bedroom space all the designer vibes you could dream of.
By Claire Douglas Published
-
 How to paint a door and refresh your home instantly
Painting doors is easy with our expert advice. This is how to get professional results on front and internal doors.
By Claire Douglas Published
-
 My DIY range hood and backsplash build gave my kitchen the perfect farmhouse finish
I craved charm in my kitchen space and adding a custom range hood and shelving was the best move.
By Brooke Waite Published
-
 How to paint a radiator in 7 steps
Painting radiators properly is all about choosing the right paint and the best process. Get interior designer-worthy results with our how-to.
By Kate Sandhu Published
