
DIY kitchen islands make the perfect quick update if you're on a budget. Offering that extra bit of workspace that's invaluable for entertaining and special occasions, an island can tie in with the rest of the scheme or stand alone and have its own unique look.
Whether you want to jazz up your space by recreating the best kitchen island ideas, or need to go bespoke to cater to an awkward layout without a big spend, we've rounded up our favorite ways to make a statement with this kitchen staple. Fear not, advanced DIY skills not (always) required...
Cool kitchen islands to DIY if you're on a budget
Transform your kitchen space into one that's more practical and stylish with our DIY kitchen island ideas. It can be as simple as adding a new countertop, tiling the sides or revamping an old sideboard.
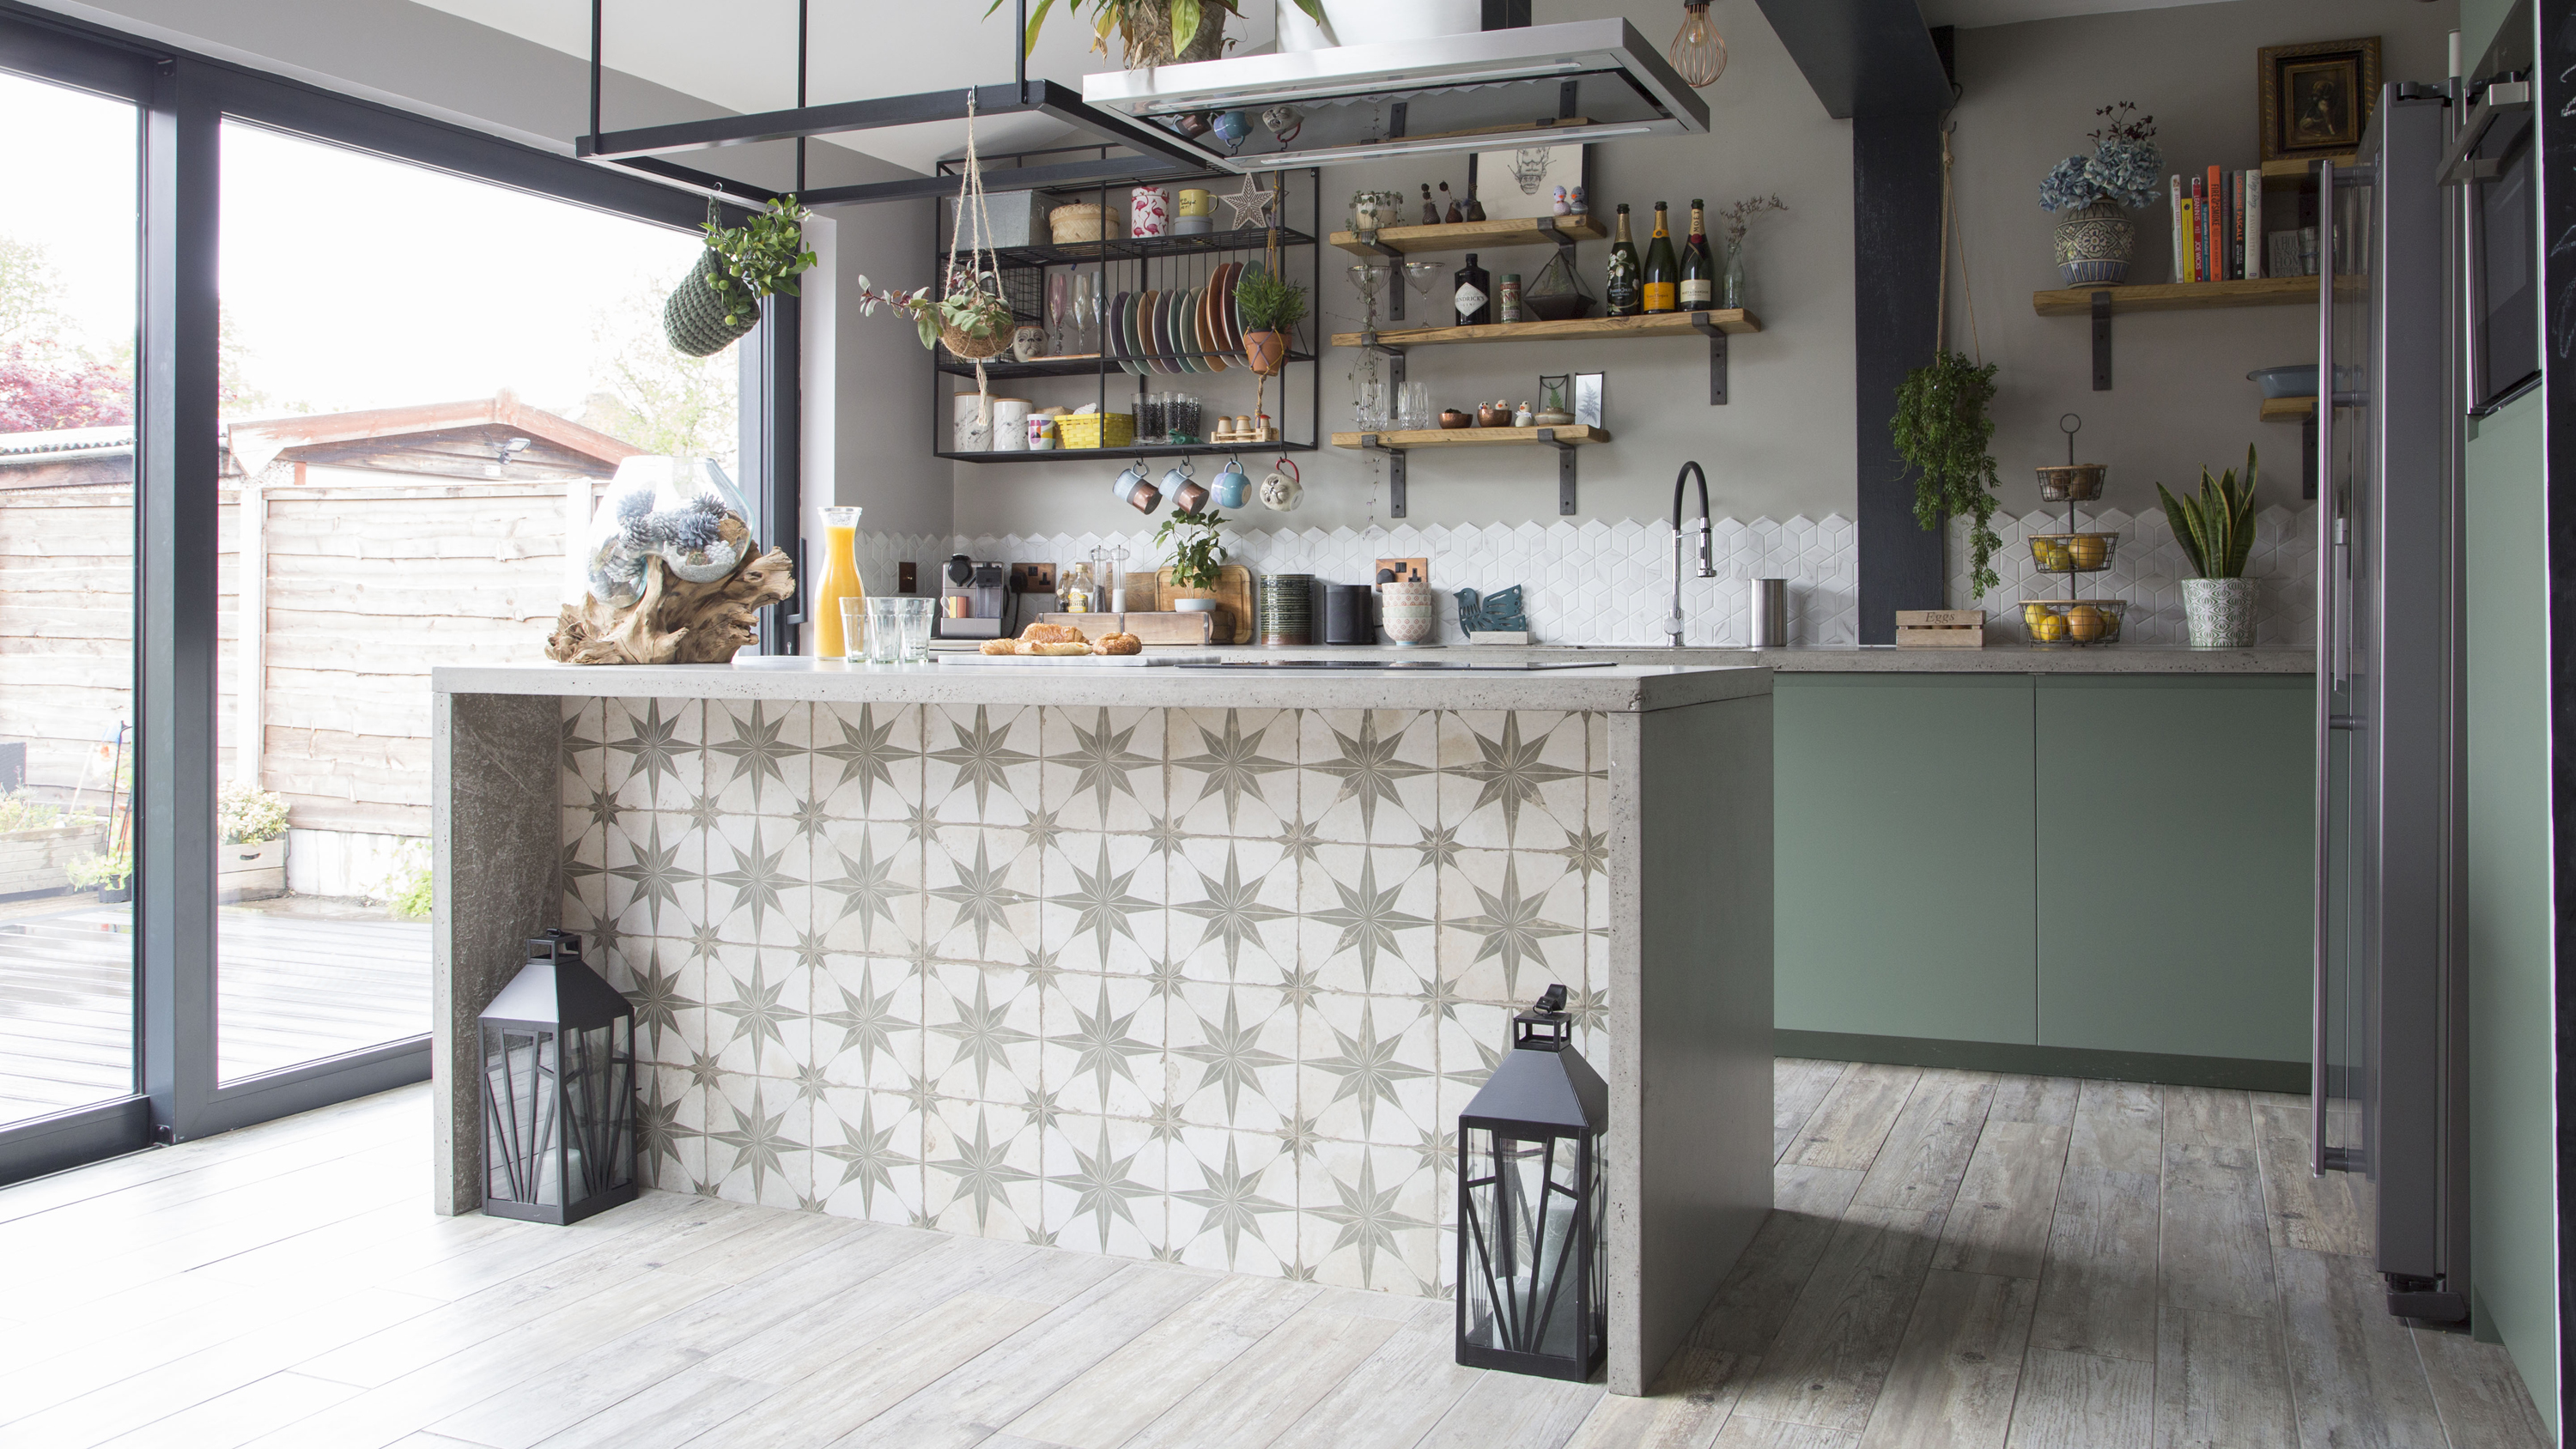
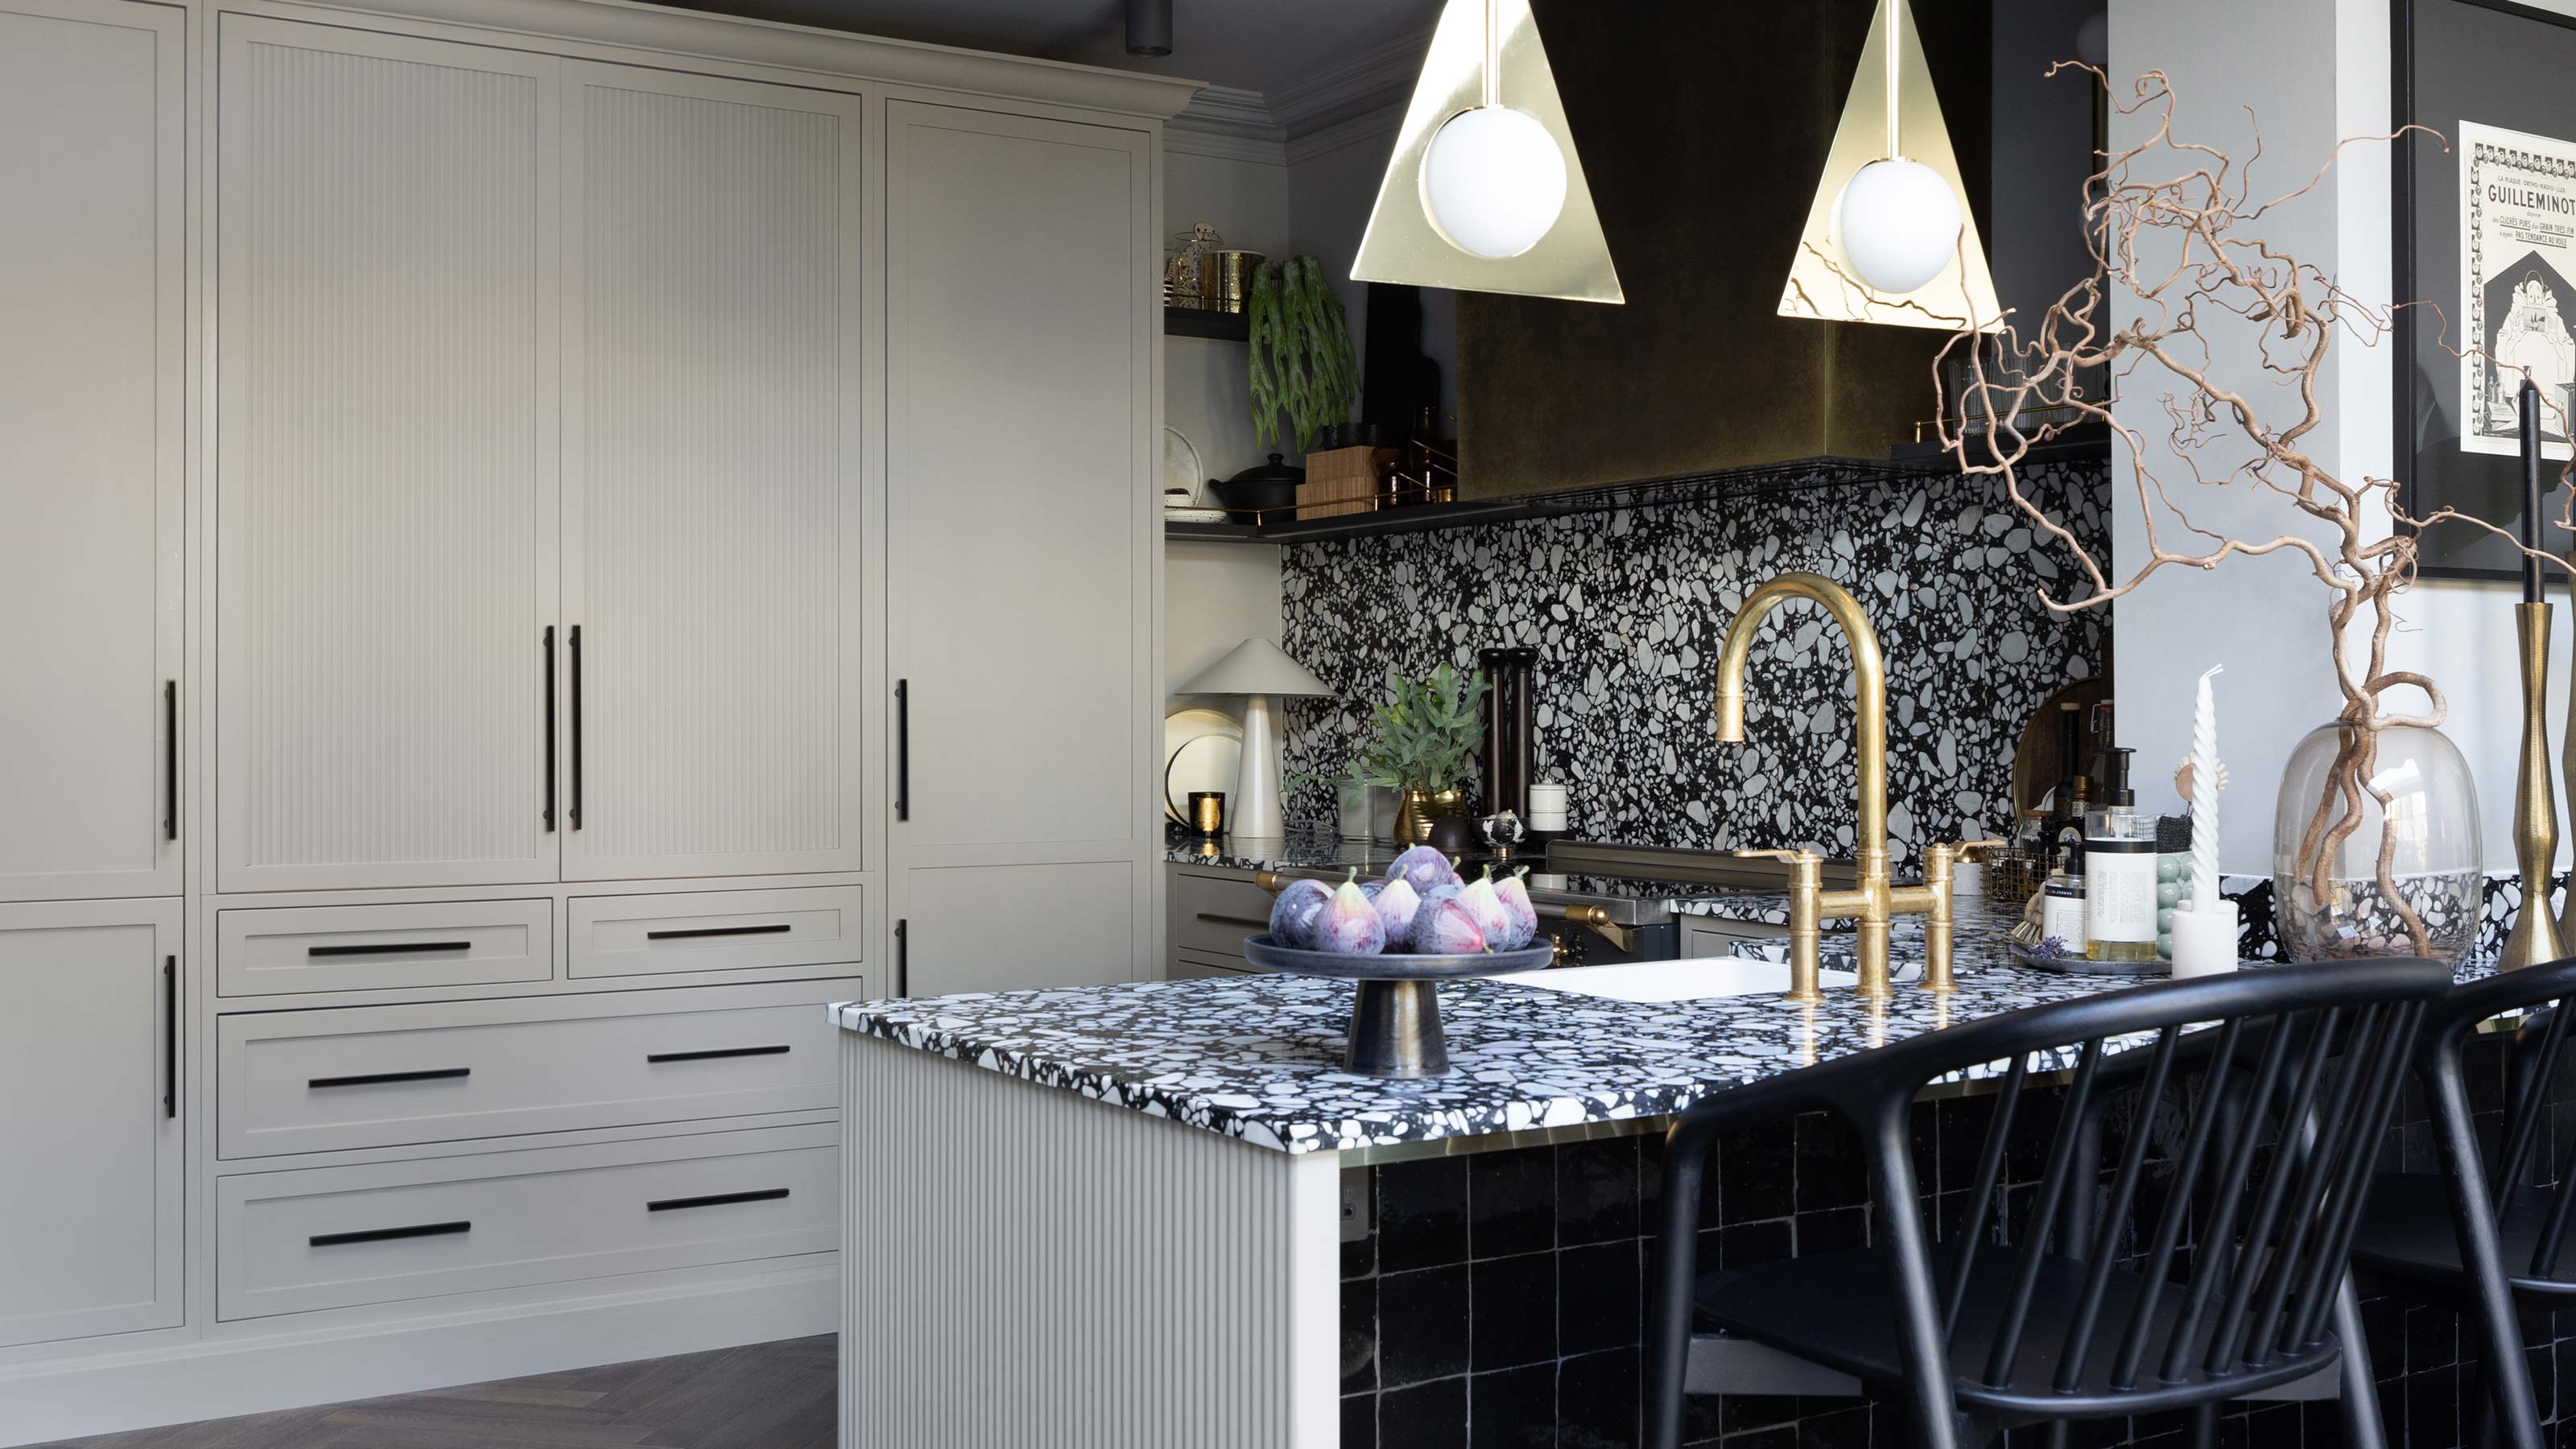
1. Tile the back of your island...
We're au fait with tiles on splashbacks and floors, but how about the back of your kitchen island? It's the very definition of a style statement and can be done on a budget if you're savvy about sourcing the materials. Pick muted tones for a subtle approach, or opt for all-out pattern and color to contrast with a wooden floor. Use plain tiles elsewhere to focus all the attention on your new attraction.
2. Try your hand at paneling
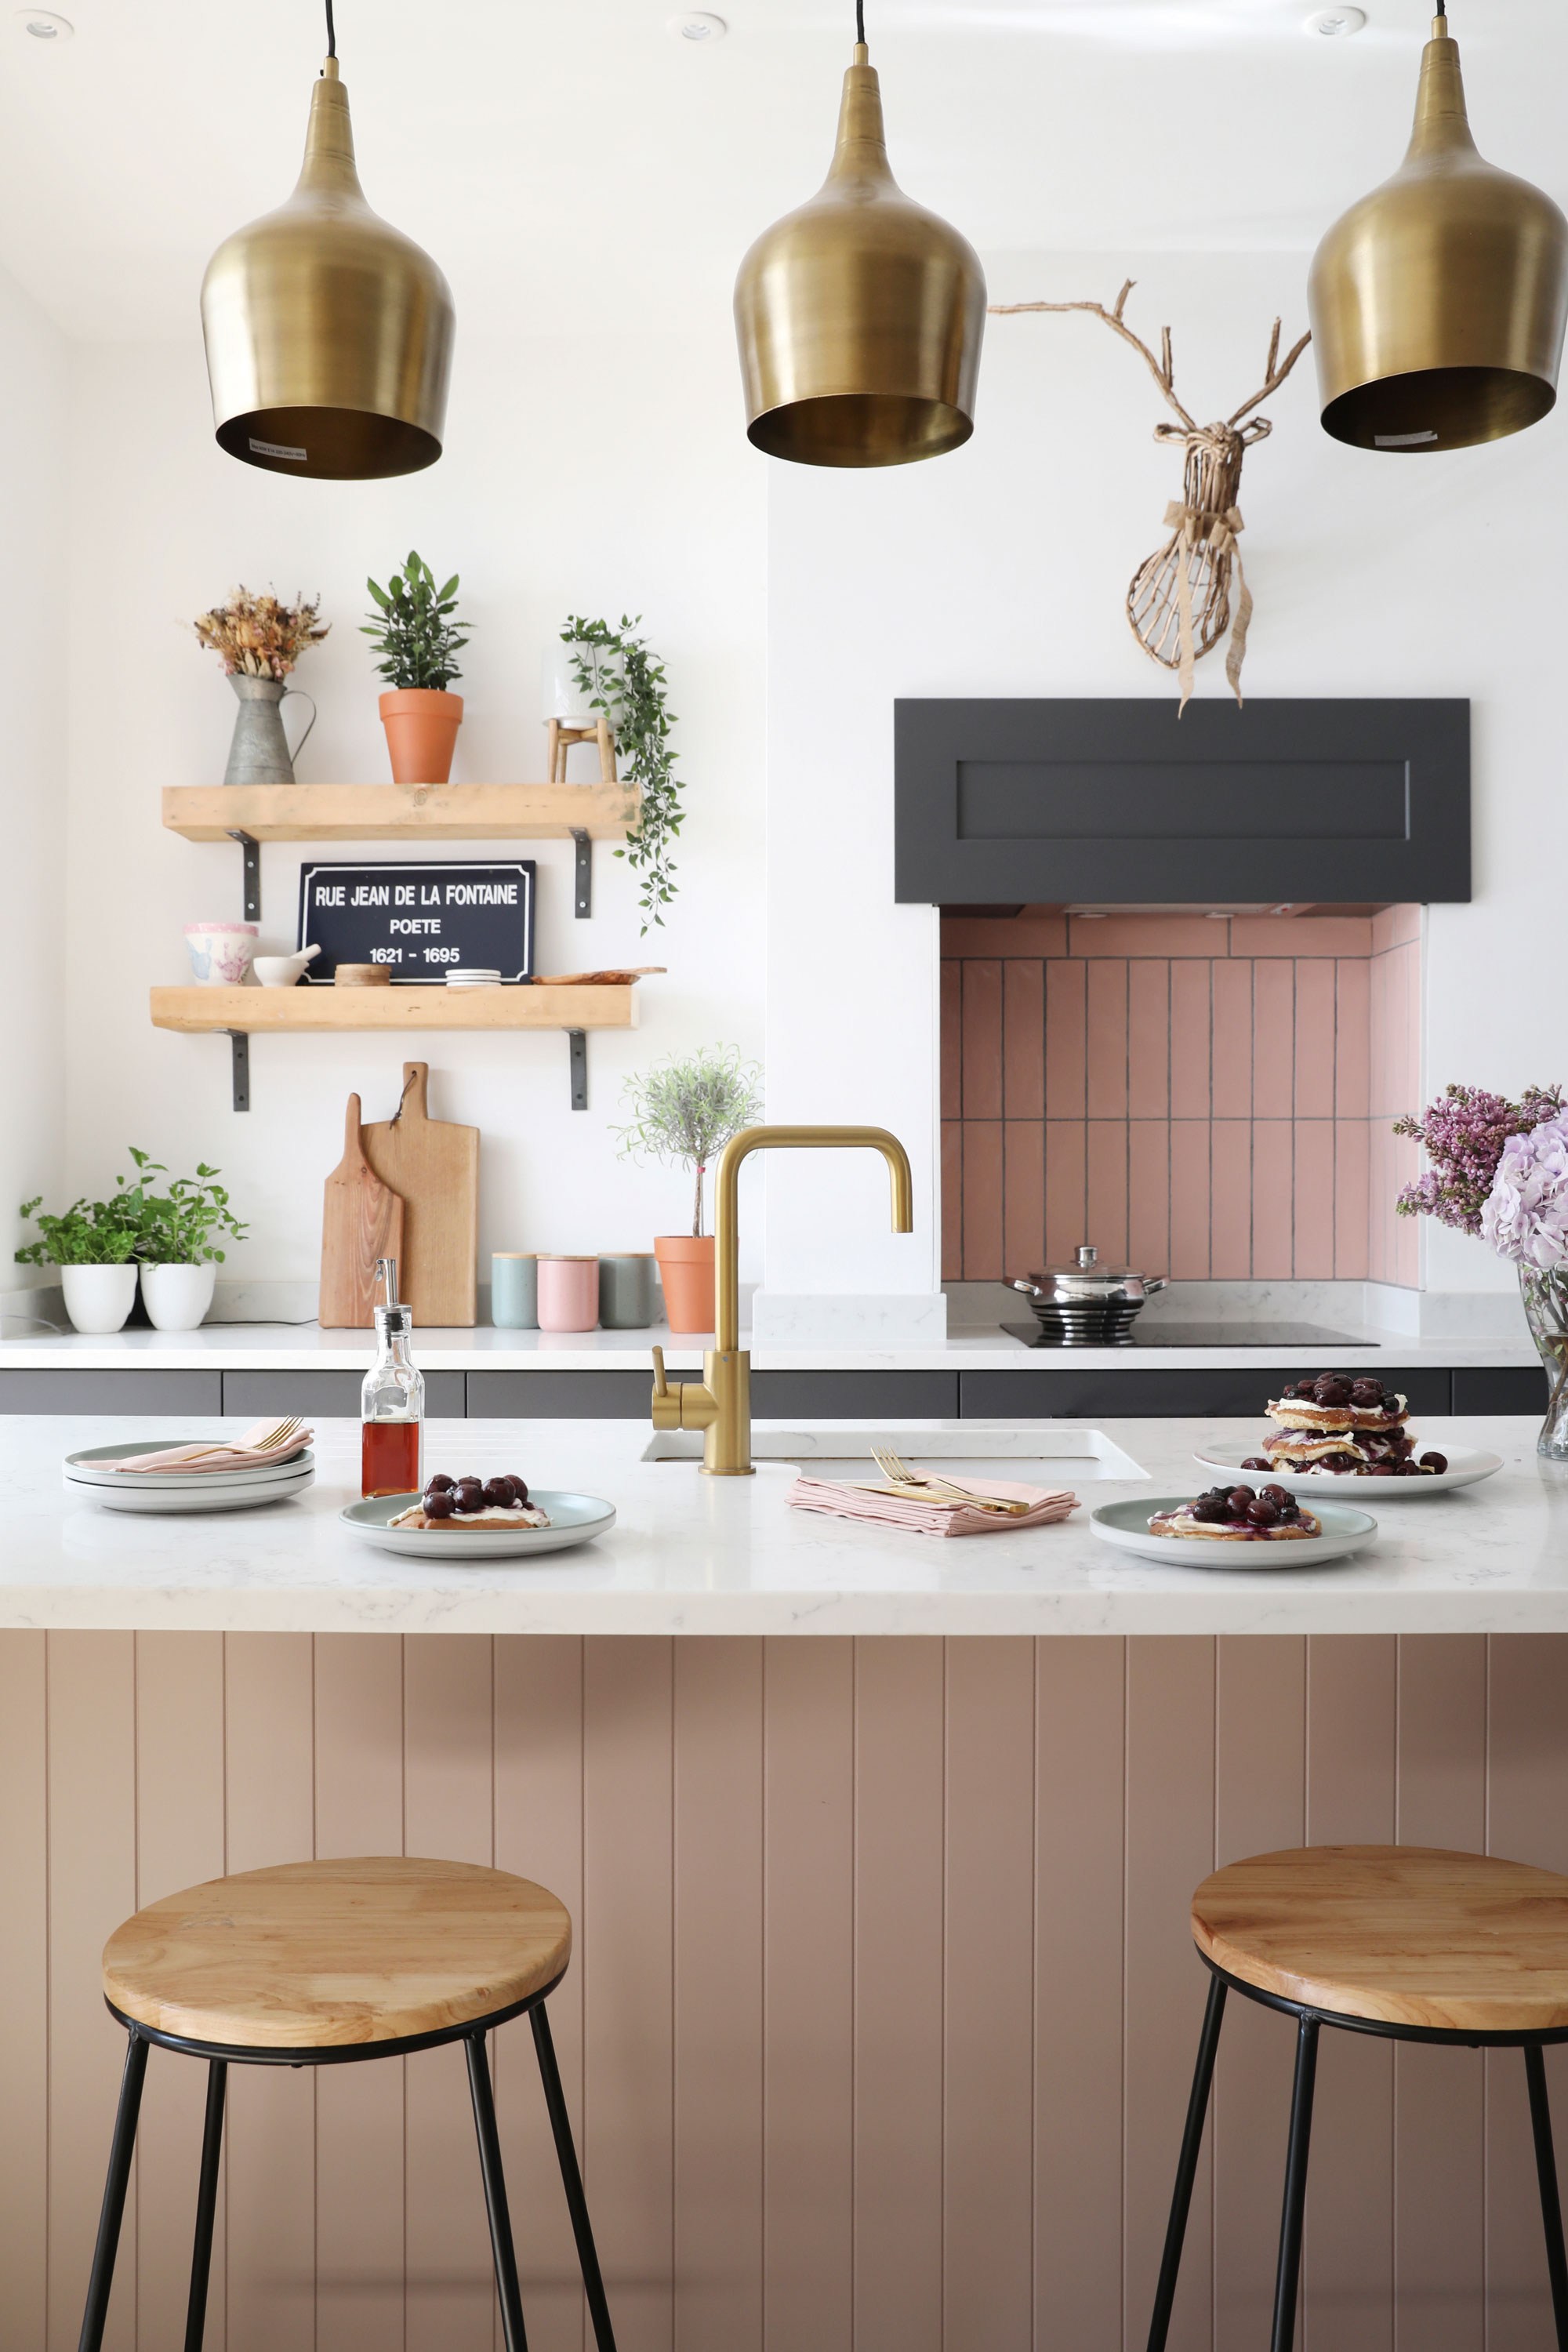
Prefer a more pared-back approach, or love the natural feel of wood? Paneling your island is a great way to add texture and interest to a space without making it the center of attention (although let's face it, our eyes are firmly on this gorgeous design). Classic tongue and groove is perfect for more traditional kitchens, or go super contemporary with thinner strips of wood.
3. Upcycle an old piece of furniture
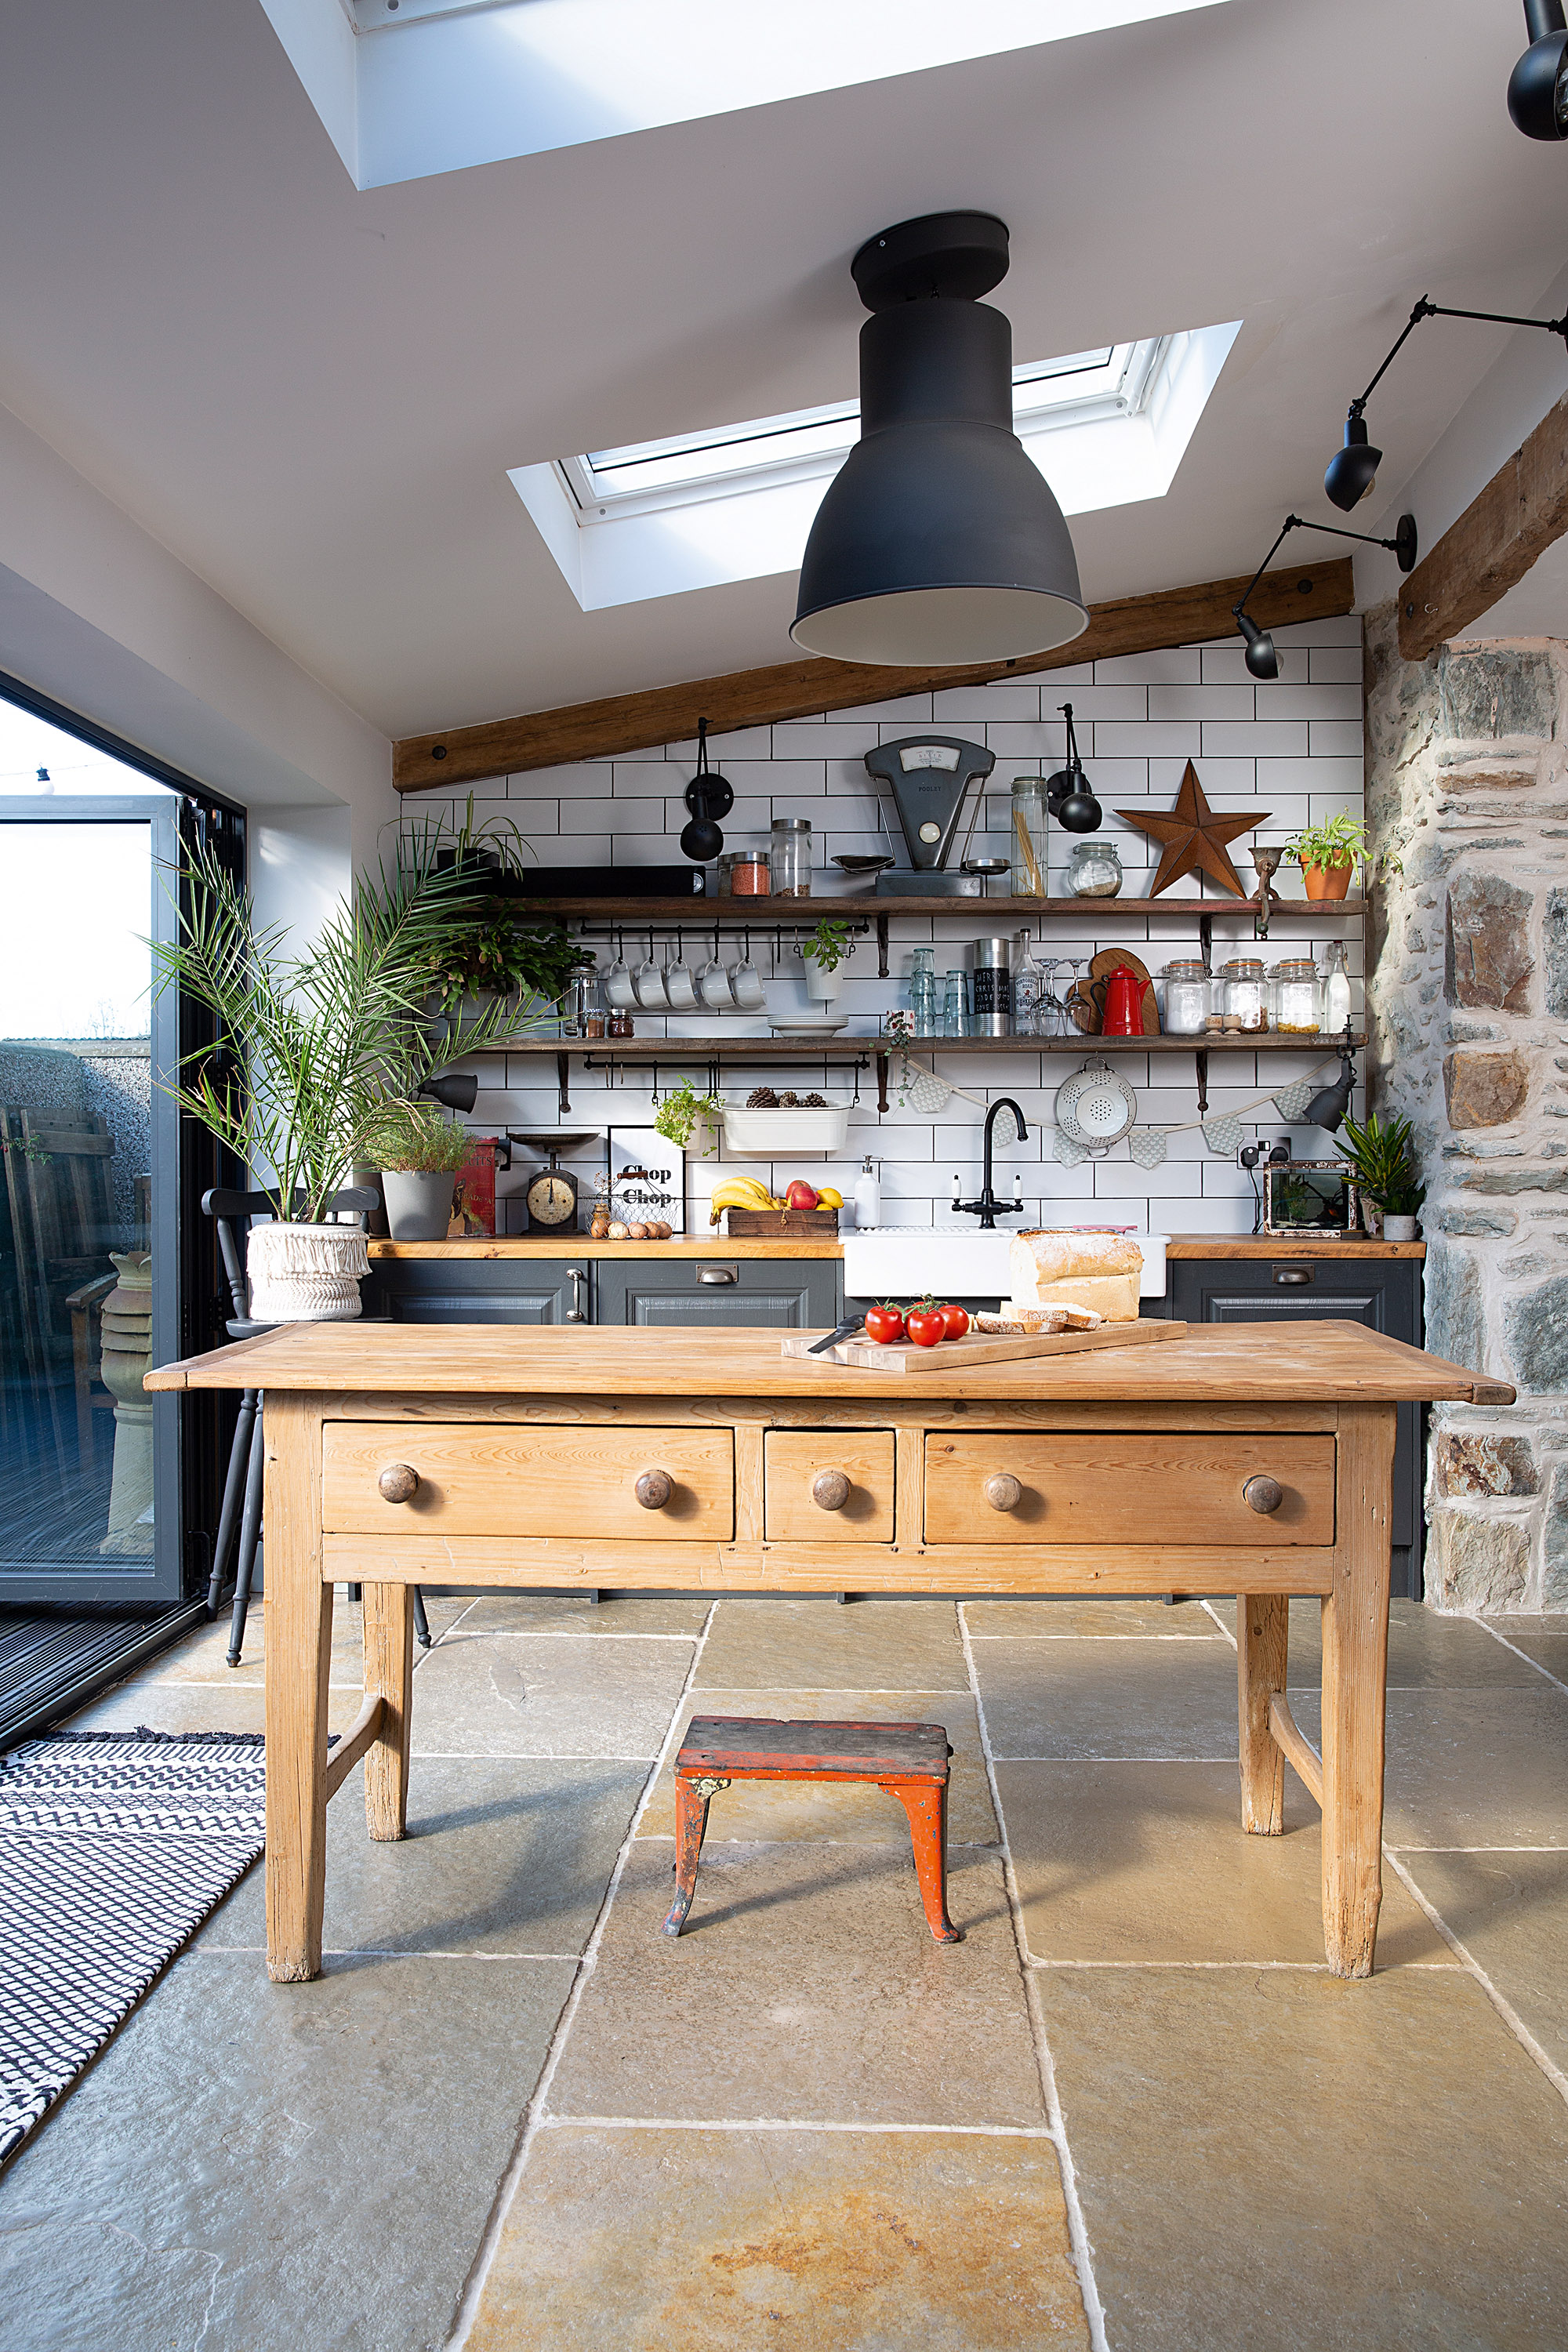
A kitchen island doesn't have to come as part of a new kitchen – in fact, it doesn't even have to match! If you'd love an island but don't want to spend loads of money, try repurposing an old item of furniture. We've seen plenty of brilliant ideas, from this original Georgian unit to old sideboards and even an Ikea Kallax unit.
4. And give it a quick refresh…
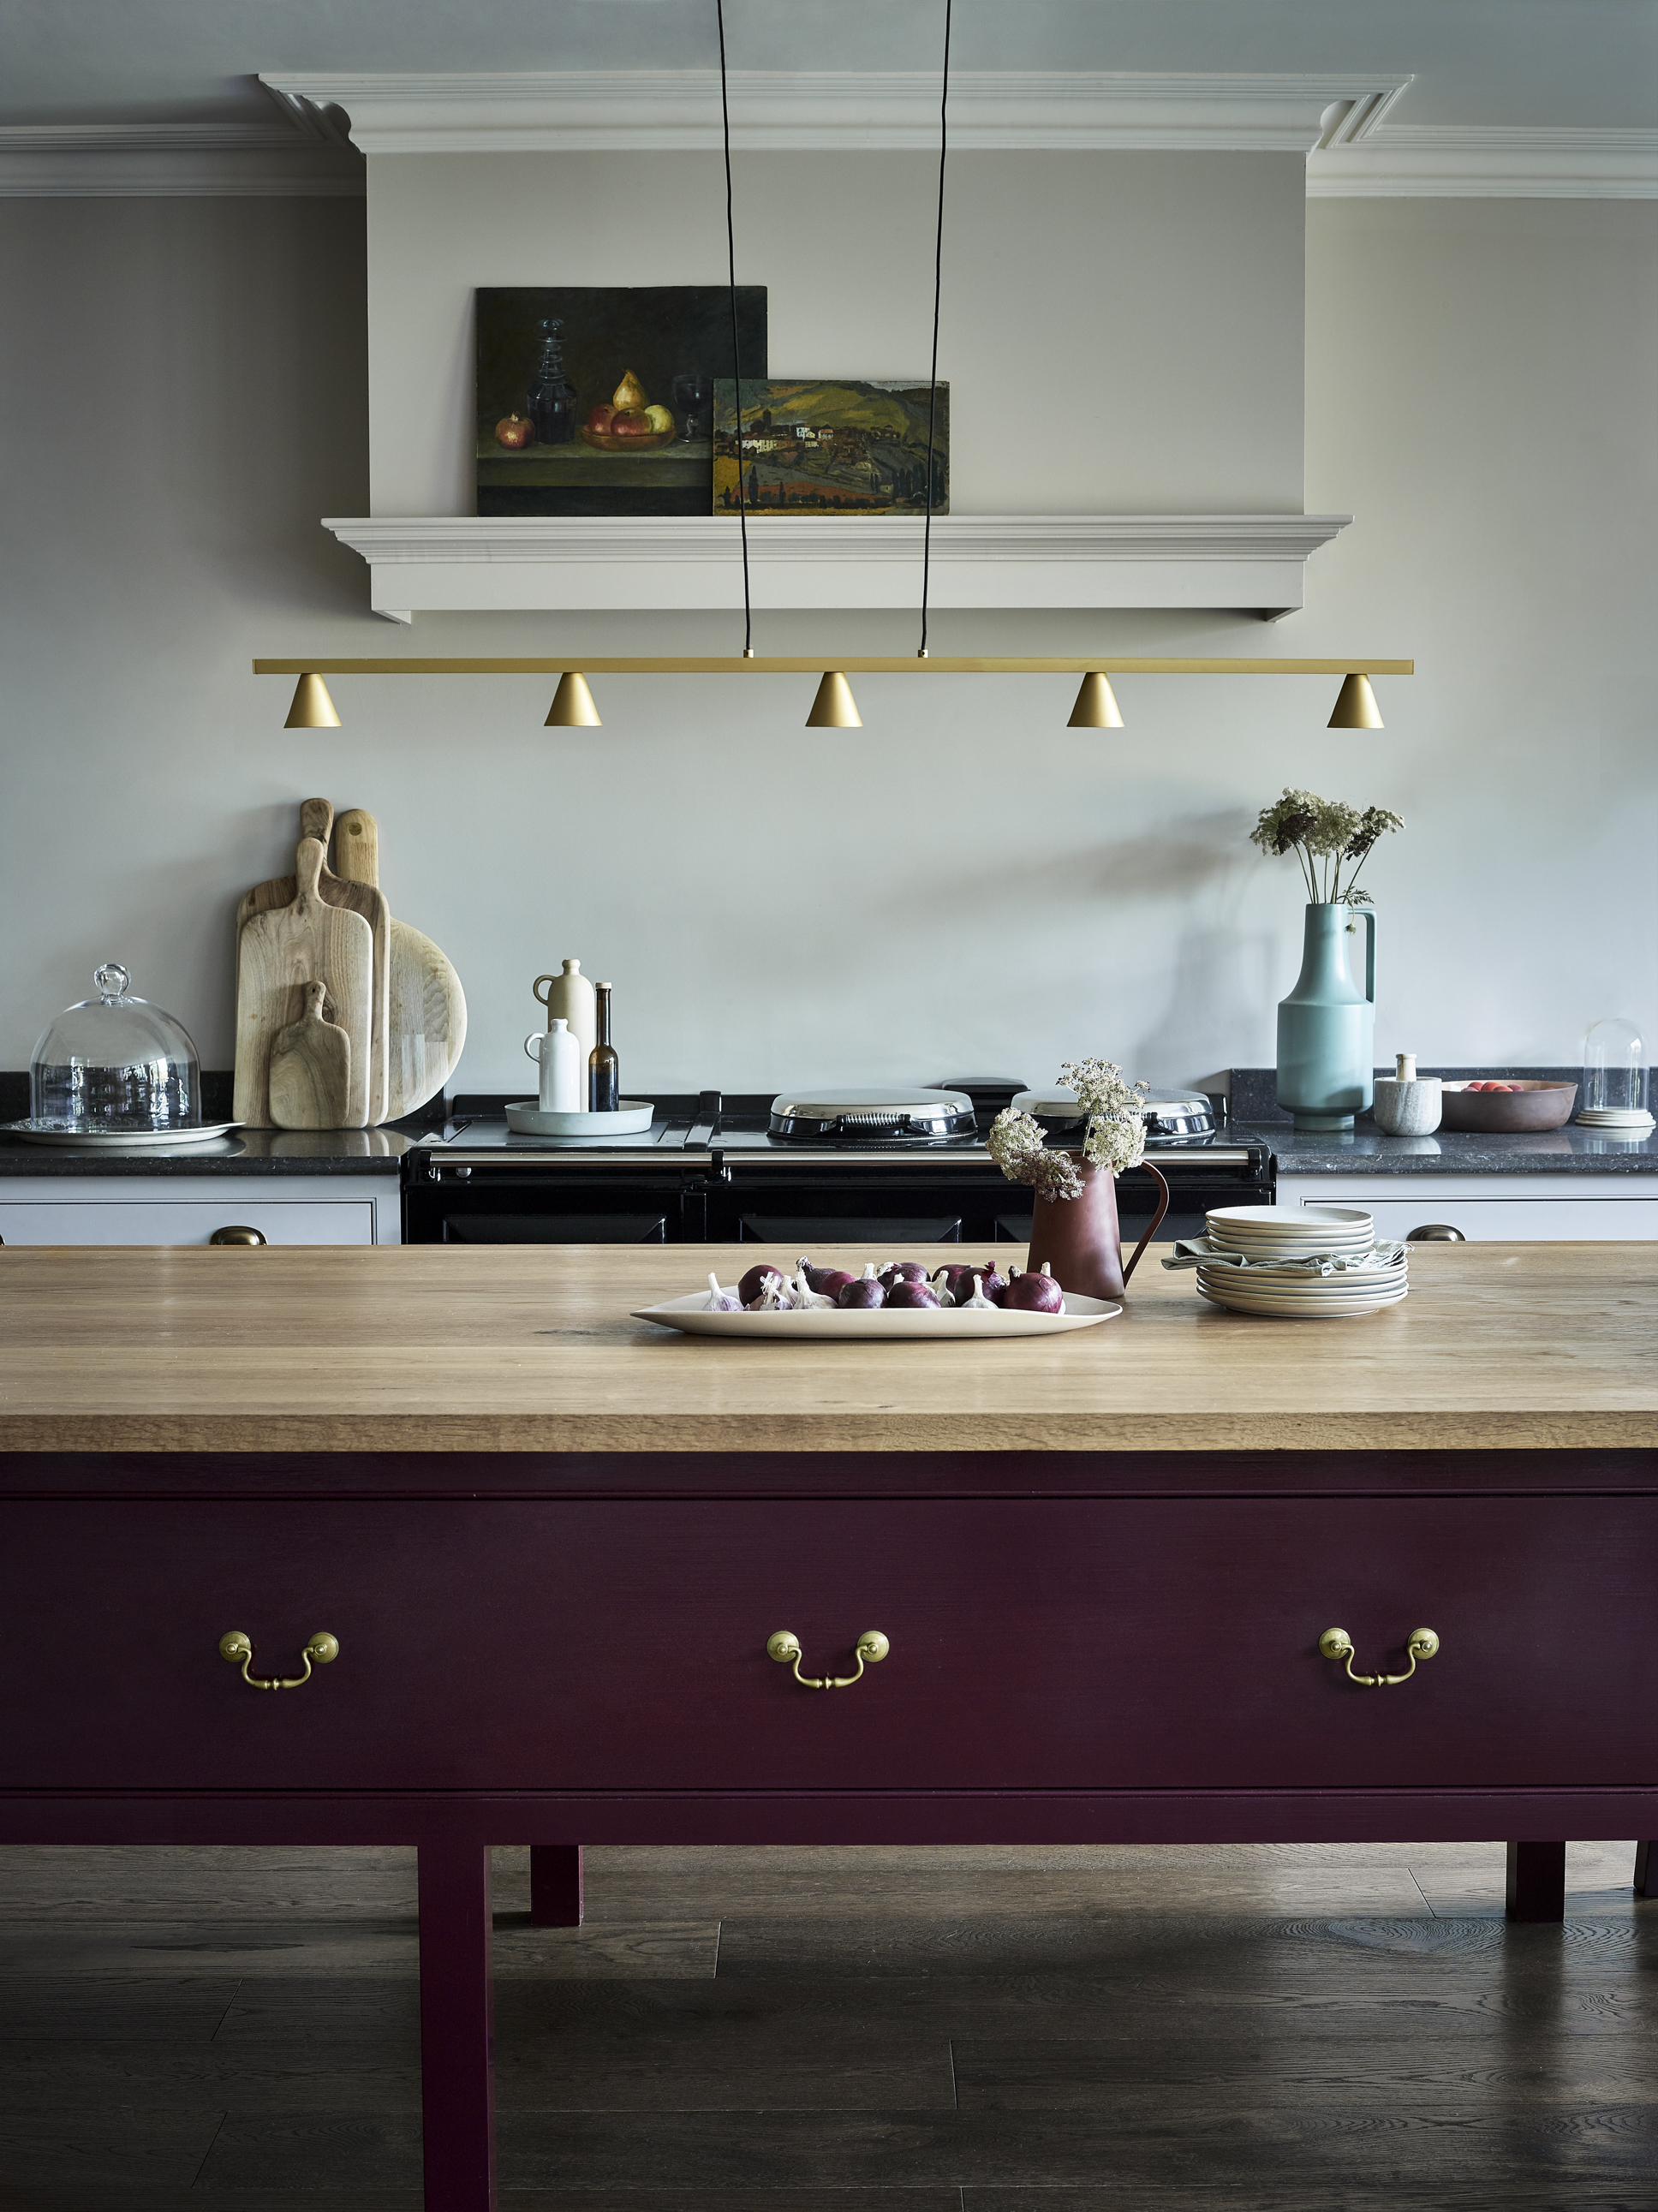
Whether it needs a good sanding down, a lick of paint or a new worktop added on top, you can personalize your piece anyway you like for a unique look. We love how the sides of this antique table have been painted in a bold accent color and the generously sized top gives you plenty of room for baking, a place for the family to gather and WFH if needs be.
Join our newsletter
Get small space home decor ideas, celeb inspiration, DIY tips and more, straight to your inbox!
For all the tips on how to paint furniture head to our guide.
5. Replace the handles for an easy update
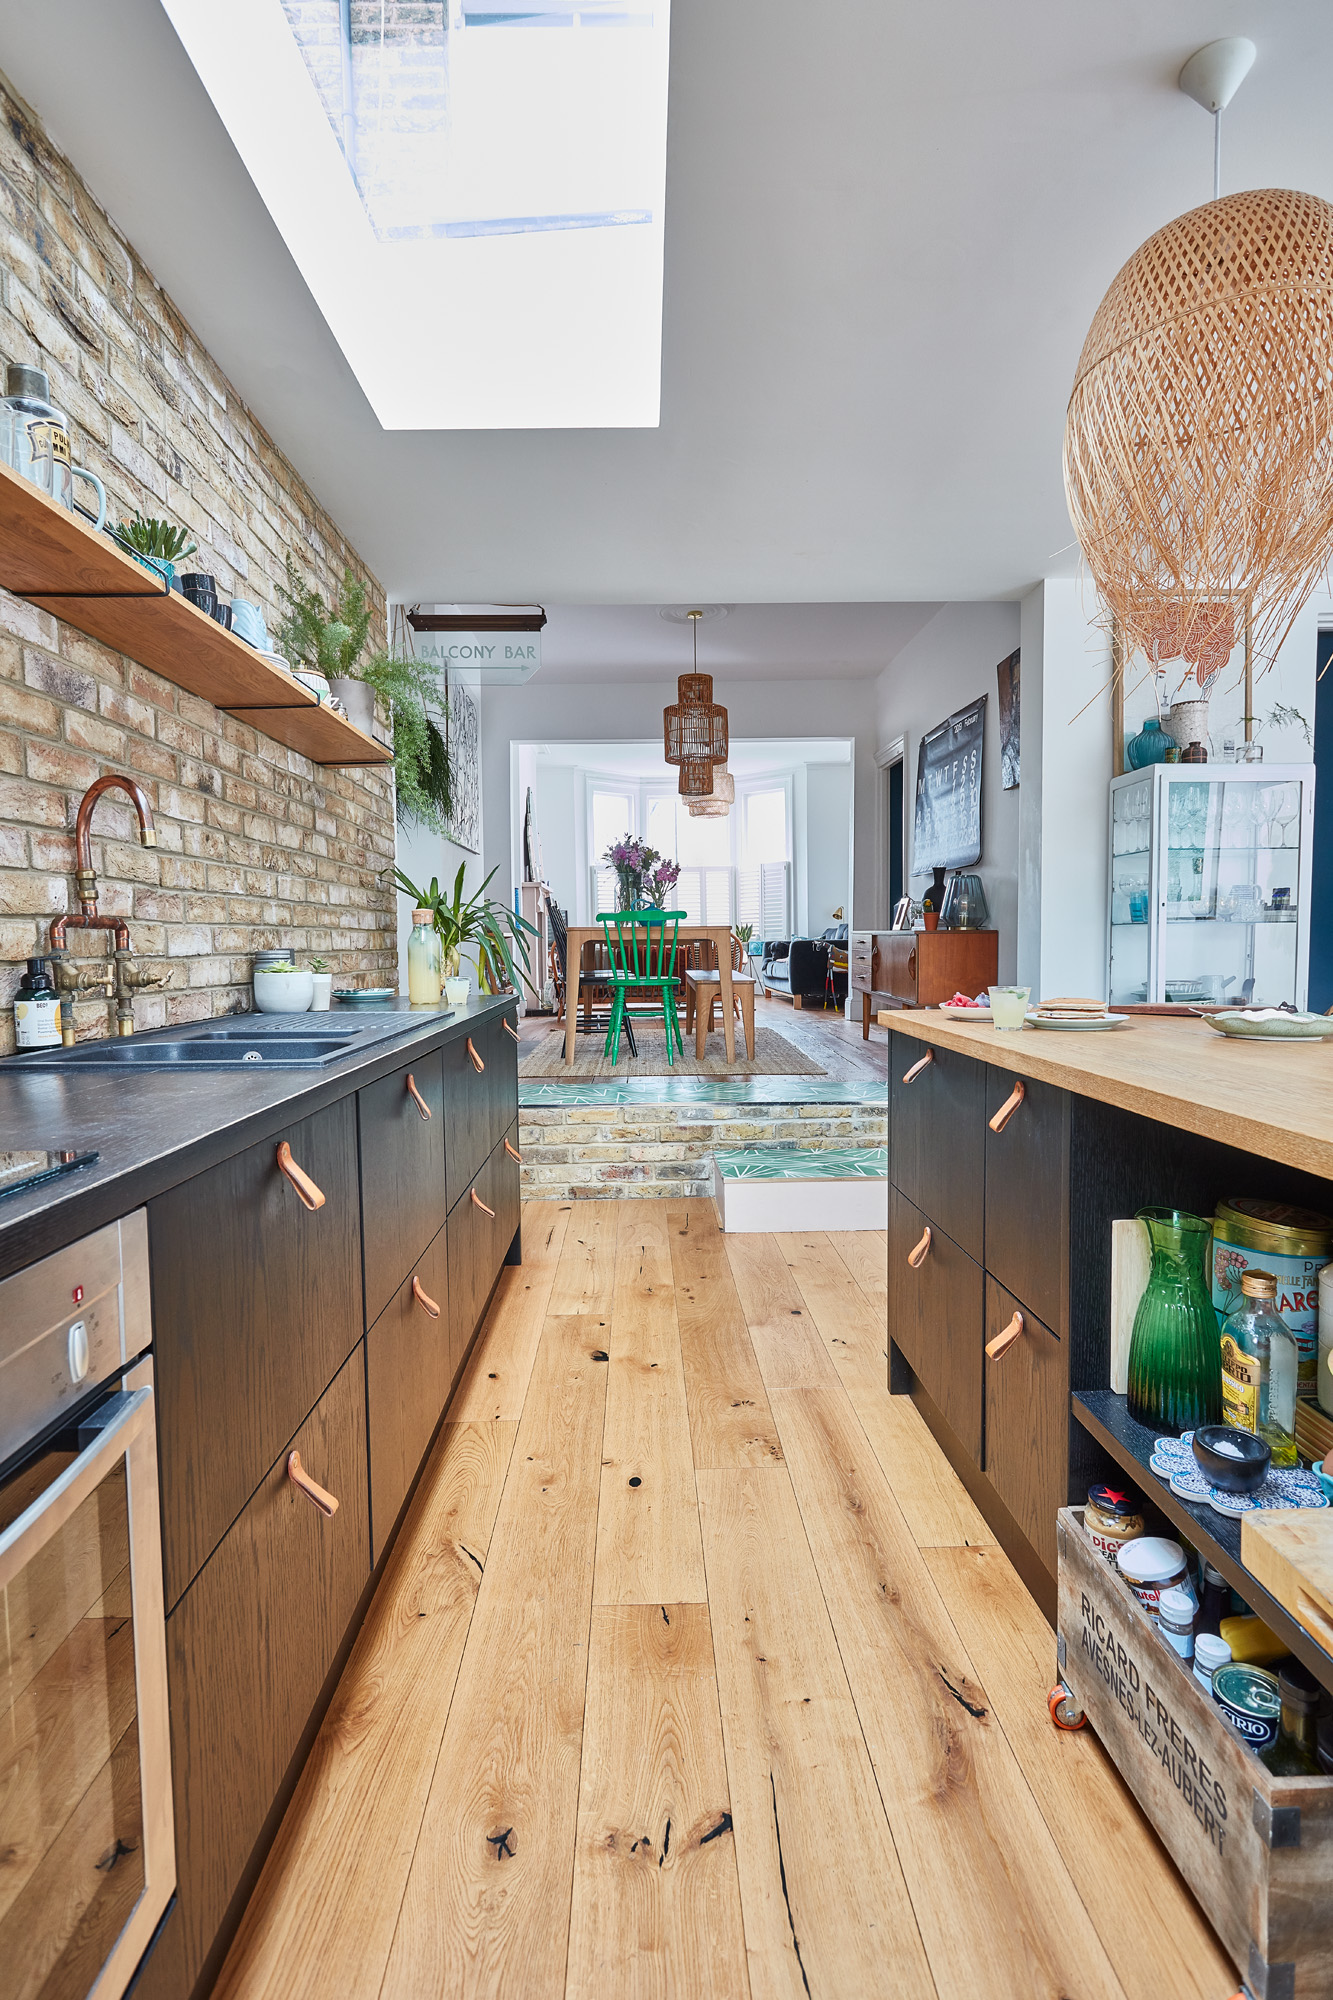
It's a tip as old as time when it comes to easy kitchen updates, but if your island has drawers for storing cooking bits and bobs, consider switching up the handles. You can buy all sorts of sizes and styles from the likes of Dowsing & Reynolds, but we love this leather pull design for a softer approach to hardware.
6. Paint a butcher's block for a (small) statement piece
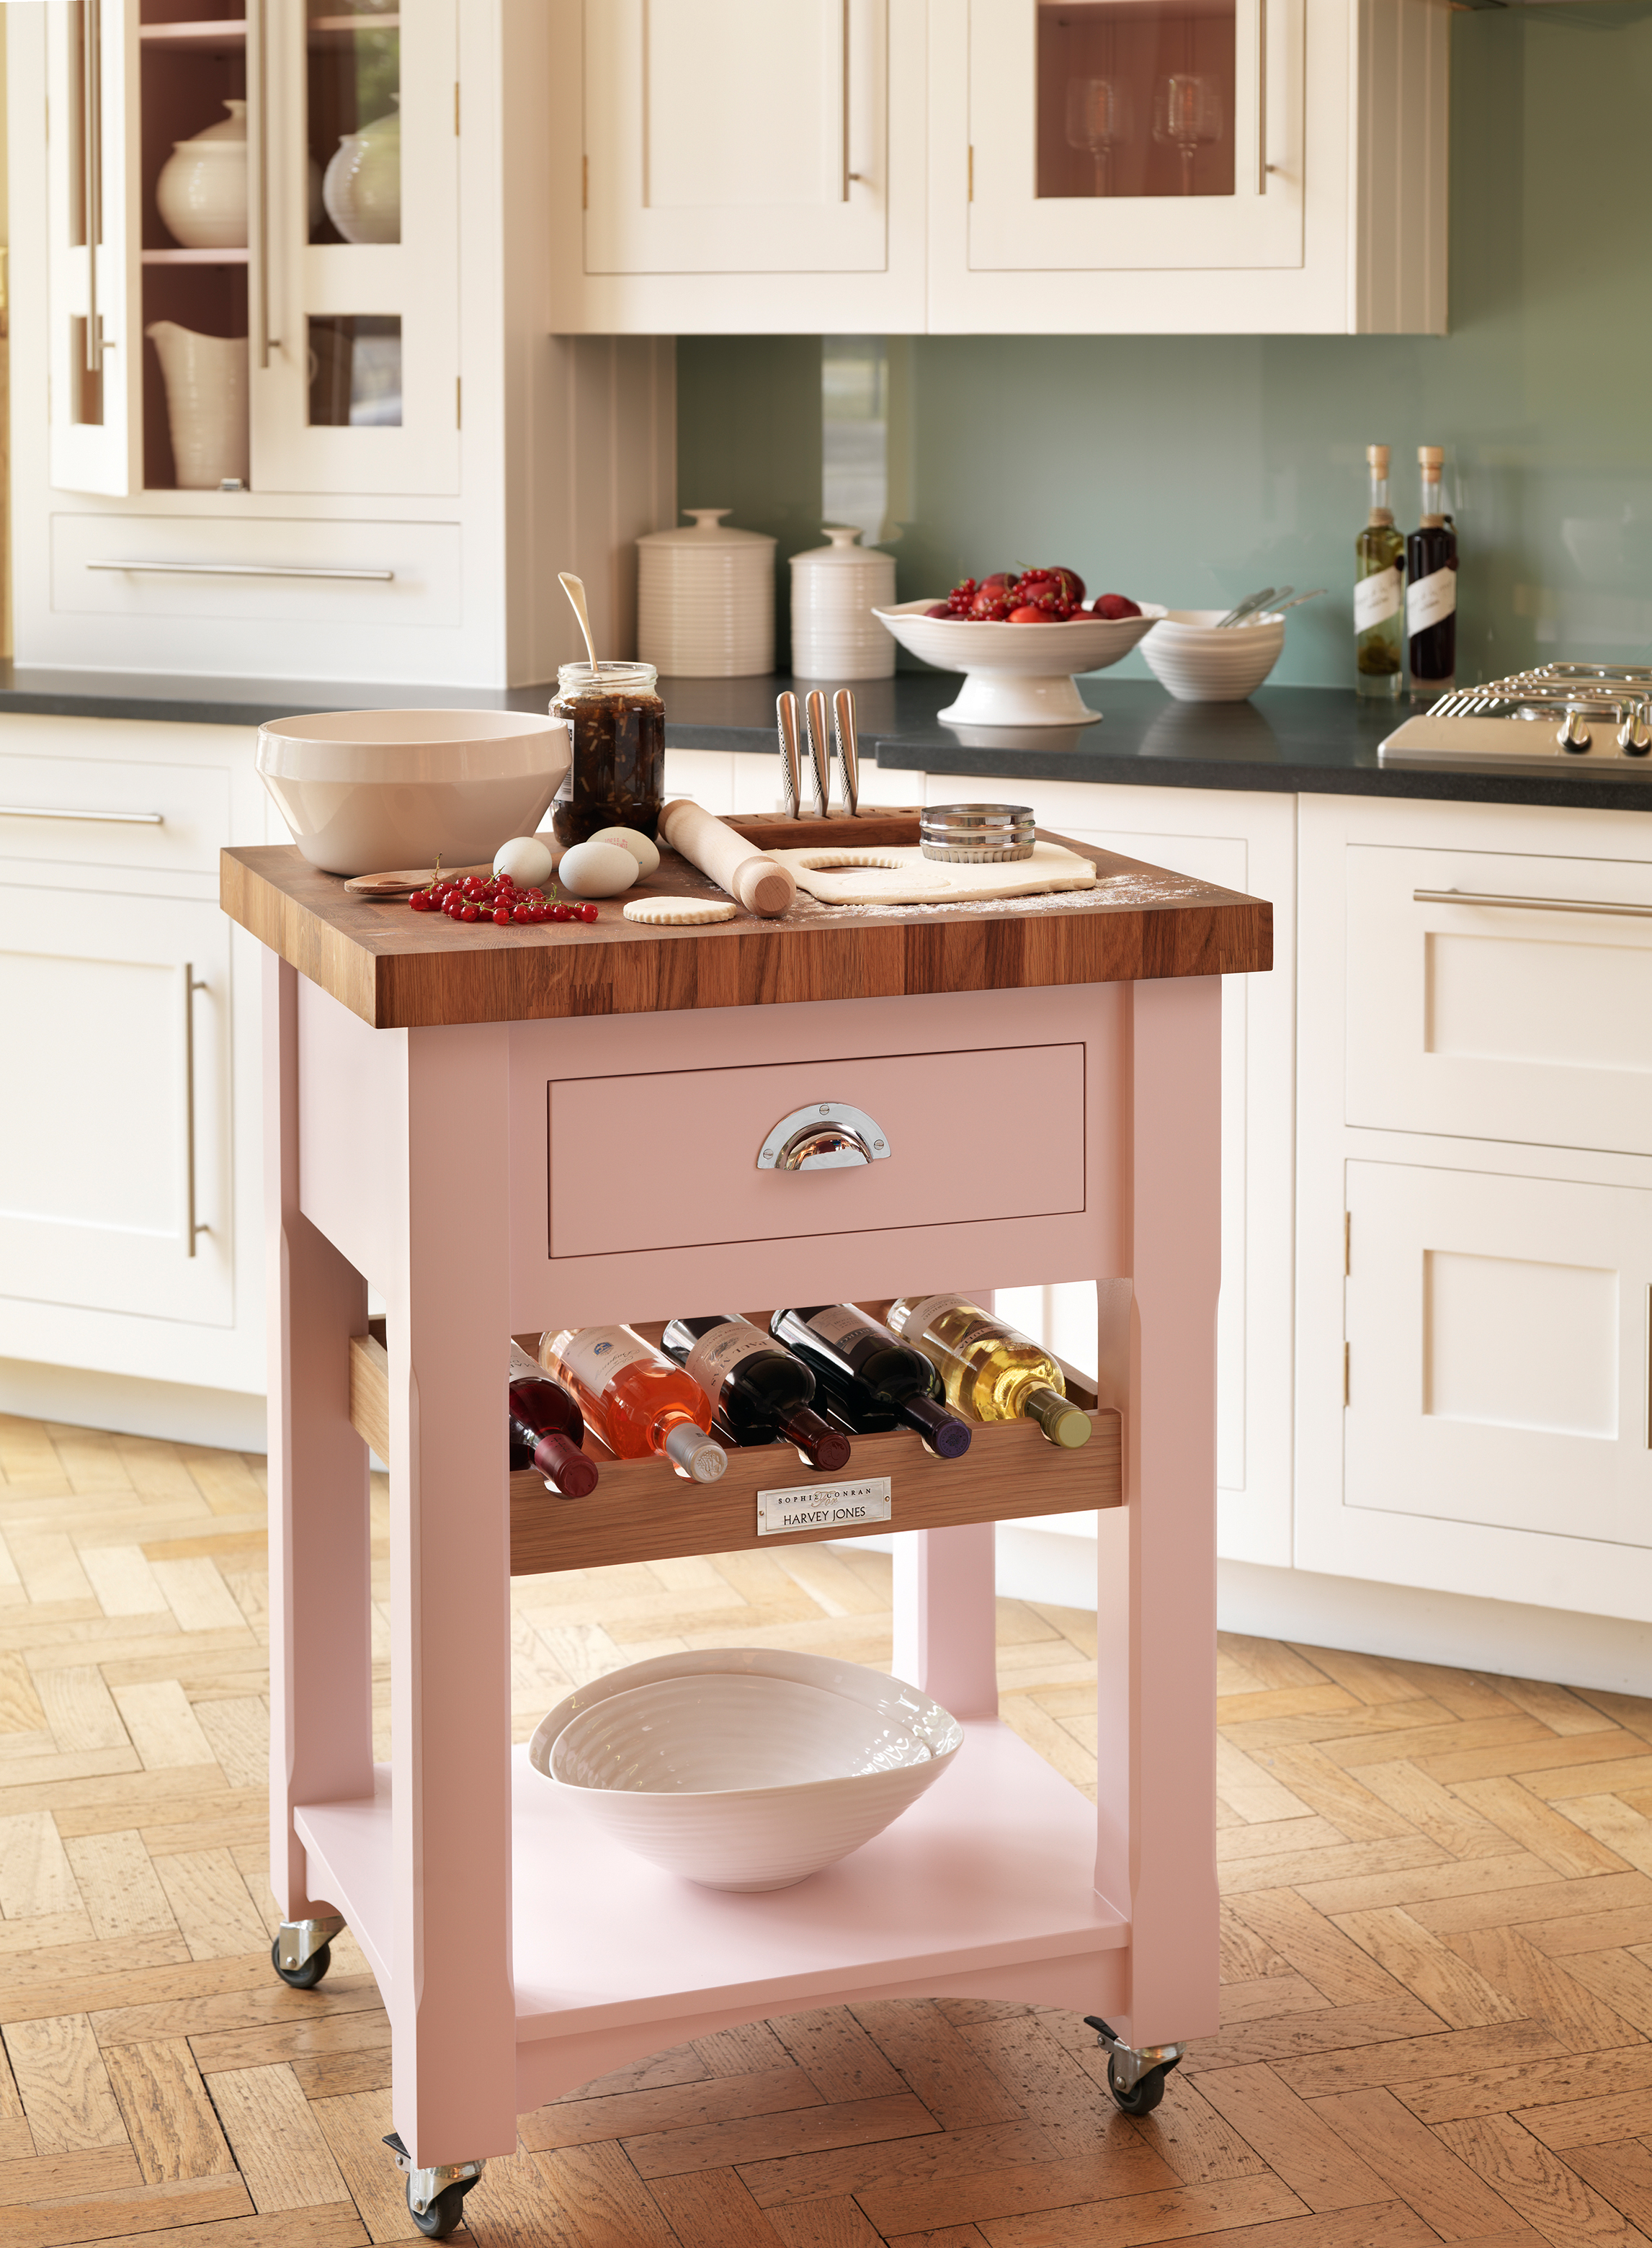
No space? No problem! A butcher's block is a brilliant solution to a small room, thanks to its size and flexibility, and it's a super easy DIY project to get on with one weekend. Source a second-hand option from the likes of Ebay, then get to work sanding and painting it for a stand-out piece – check out our suggestions for the best paint for kitchen cabinets.
6. Or put two together to make a double trolley
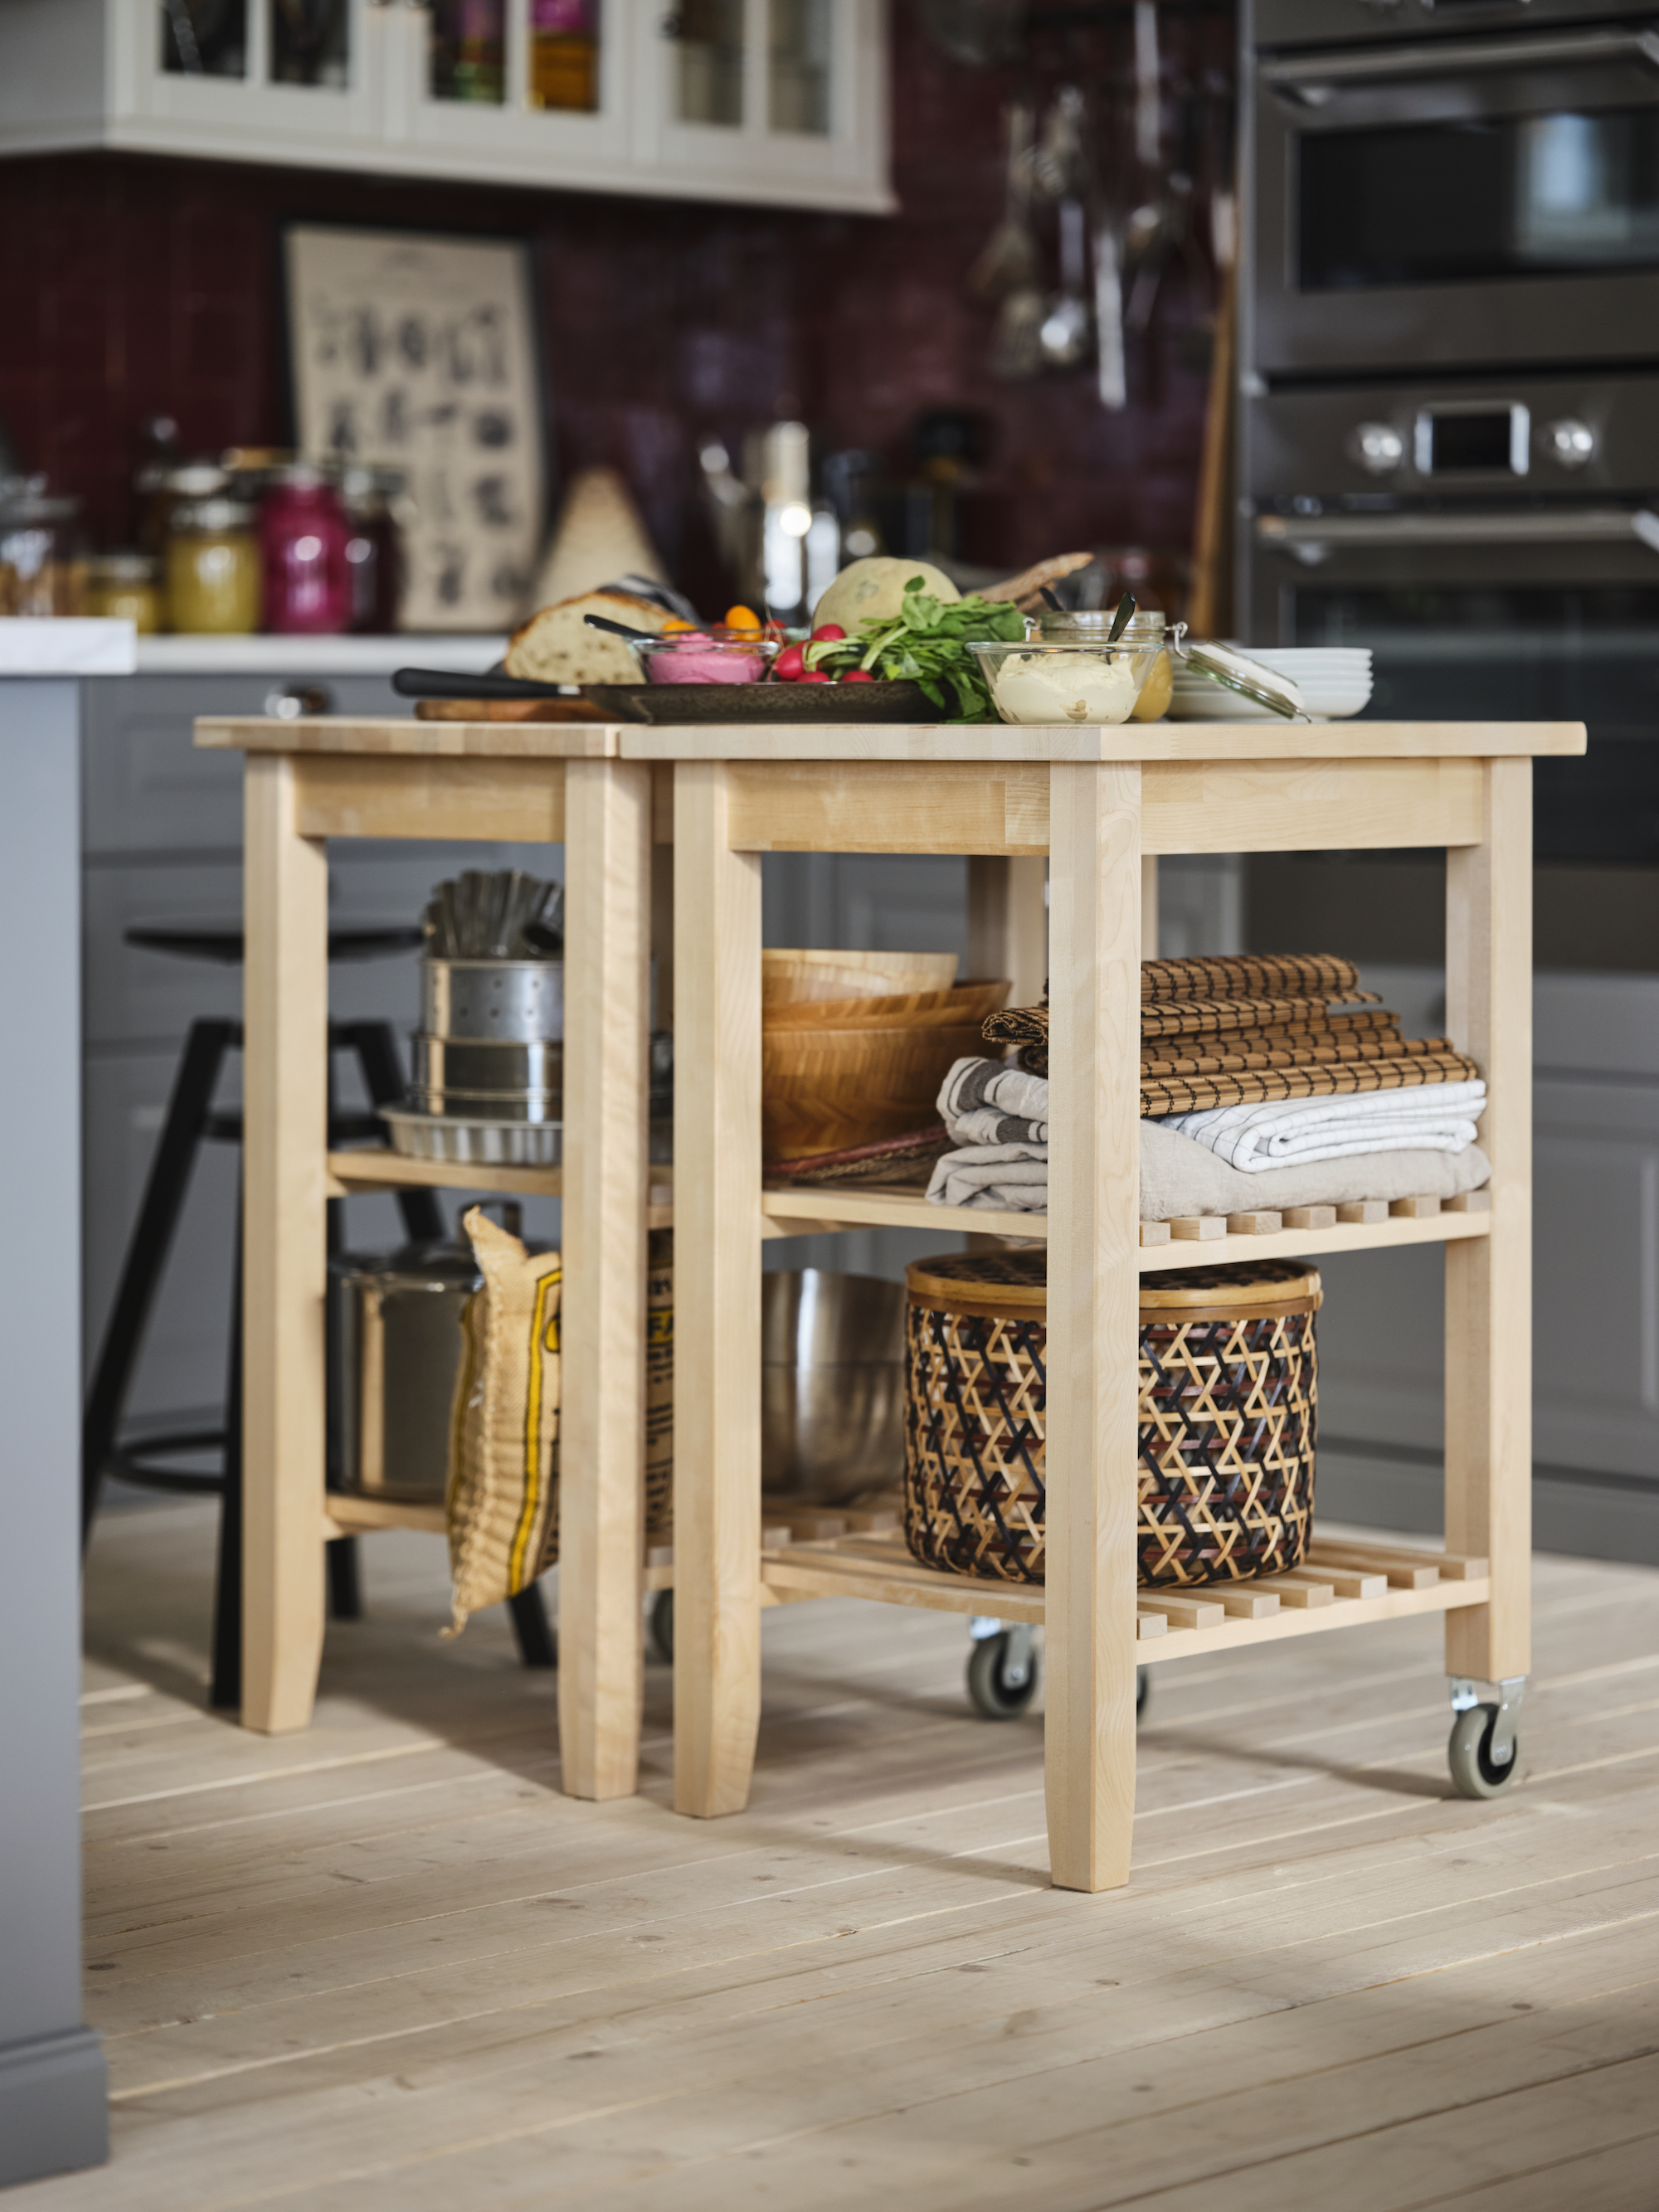
Where would we be without Ikea? Their storage solutions have saved us all time and time again, and this nifty idea is another we love. You can put their Bekväm kitchen trolleys next to each other to create a larger working and storage space. And they have wheels too which means you can move them about easily as and when you need them.
8. Or invest in a sideboard that can double as an island
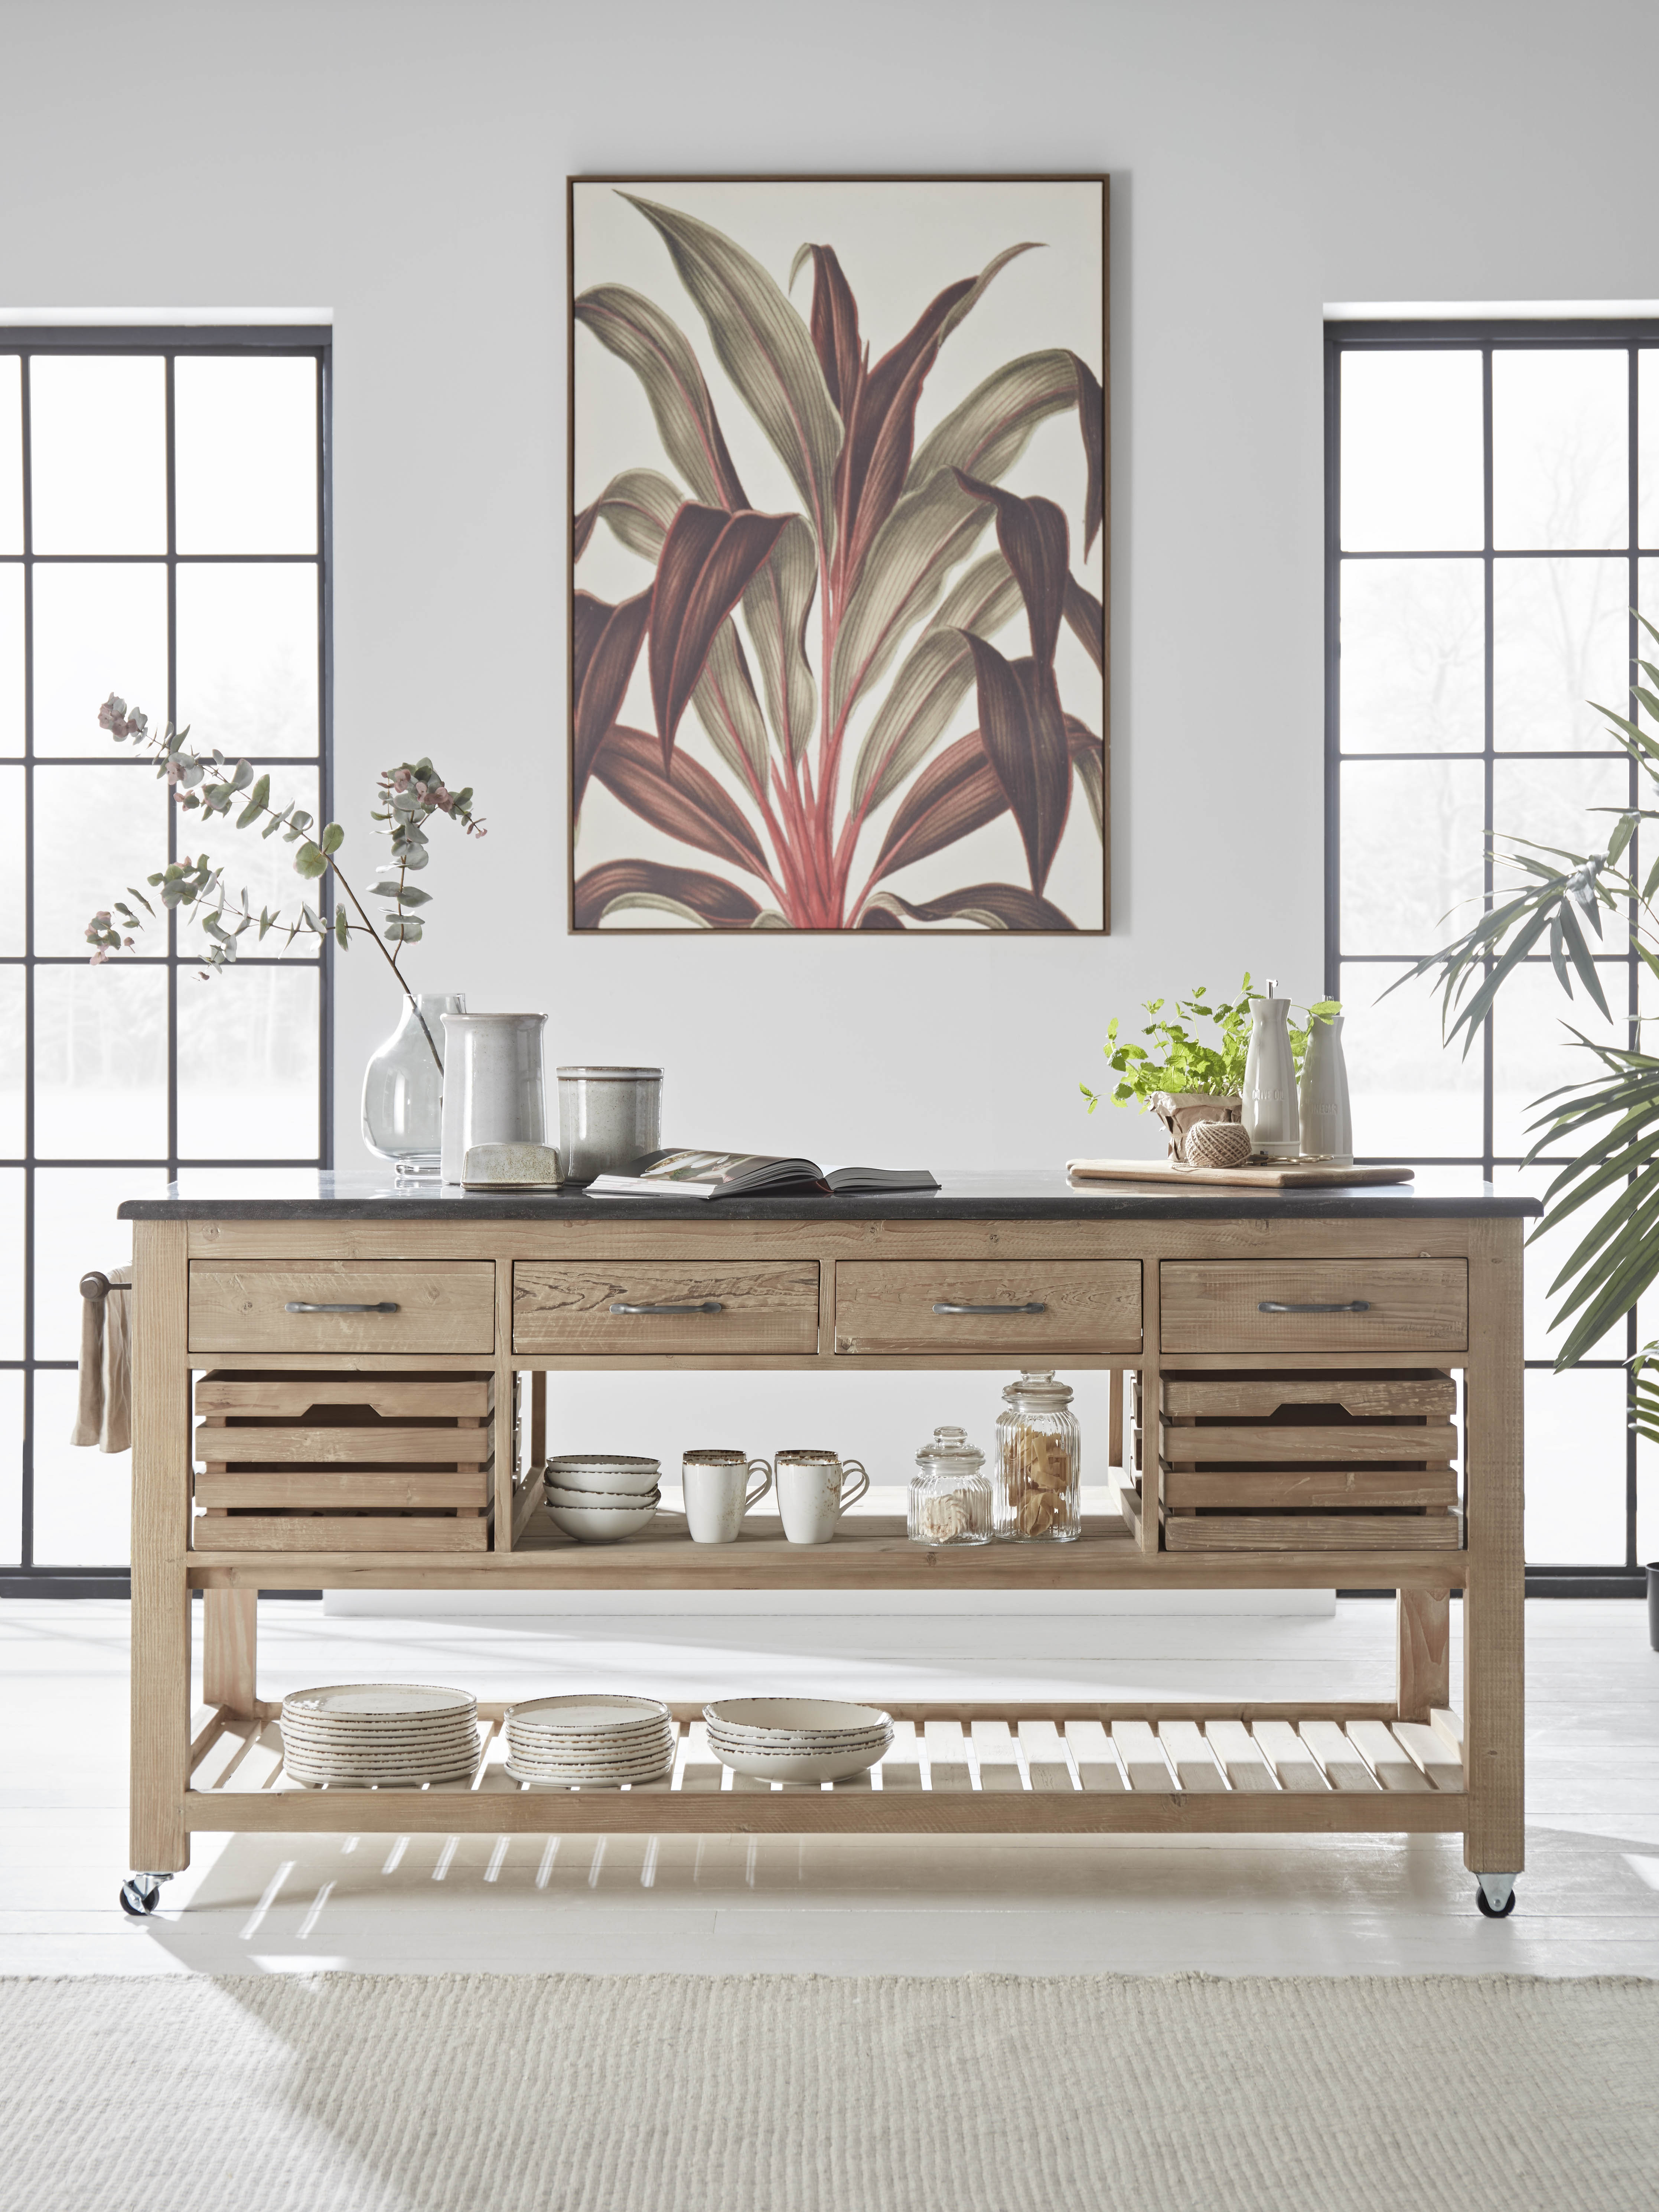
We tend to believe that kitchen islands have to be a certain size and shape, but actually they can be anything that works within your space.
This rectangular island unit has similar dimensions to a sideboard except it has wheels – which can be added to anything and of course is a super useful option to have. Different storage options will give you more choice so look for a design that has both drawers and shelving.
9. Make a mini version if your kitchen is small
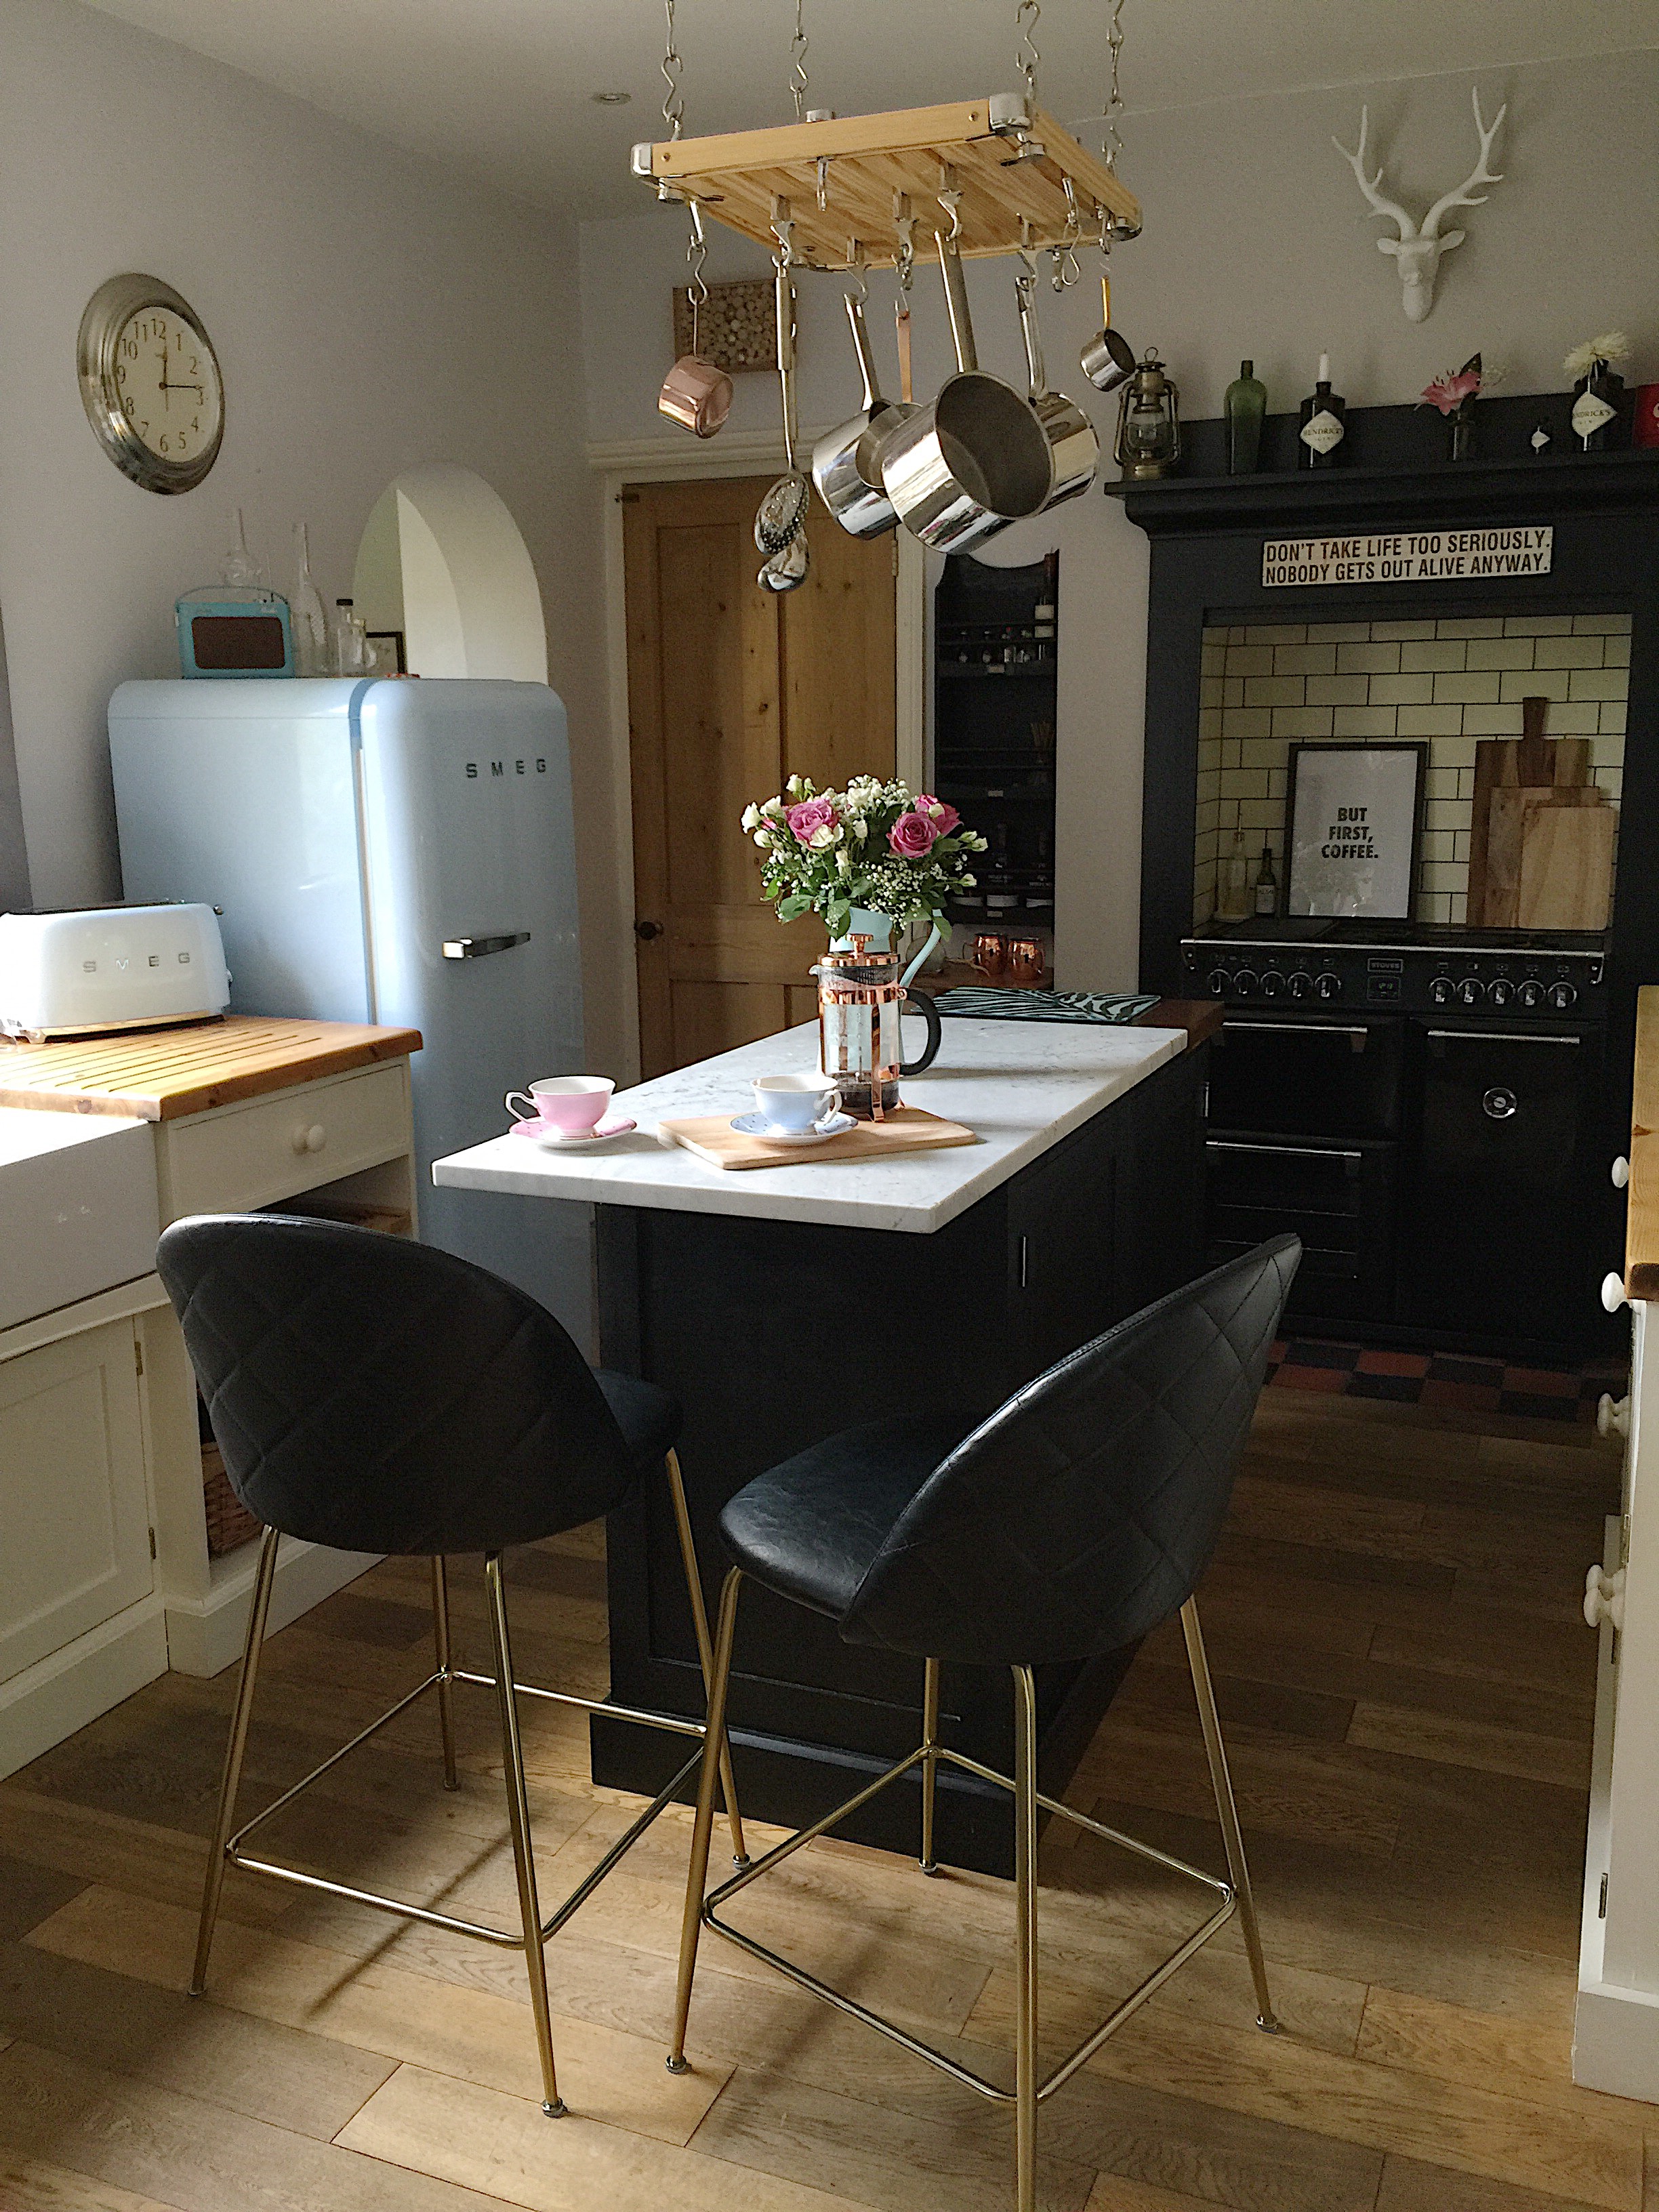
To recreate this super mini island all you need is a base cabinet and a small countertop offcut. It doesn’t need to match your existing scheme if you love an eclectic feel, white quartz or laminate is always a good option as it’s neutral. If you don’t have a space for a dining table either, your new DIY kitchen island can double as one.
10. In a narrow kitchen add an L-shaped to create an island
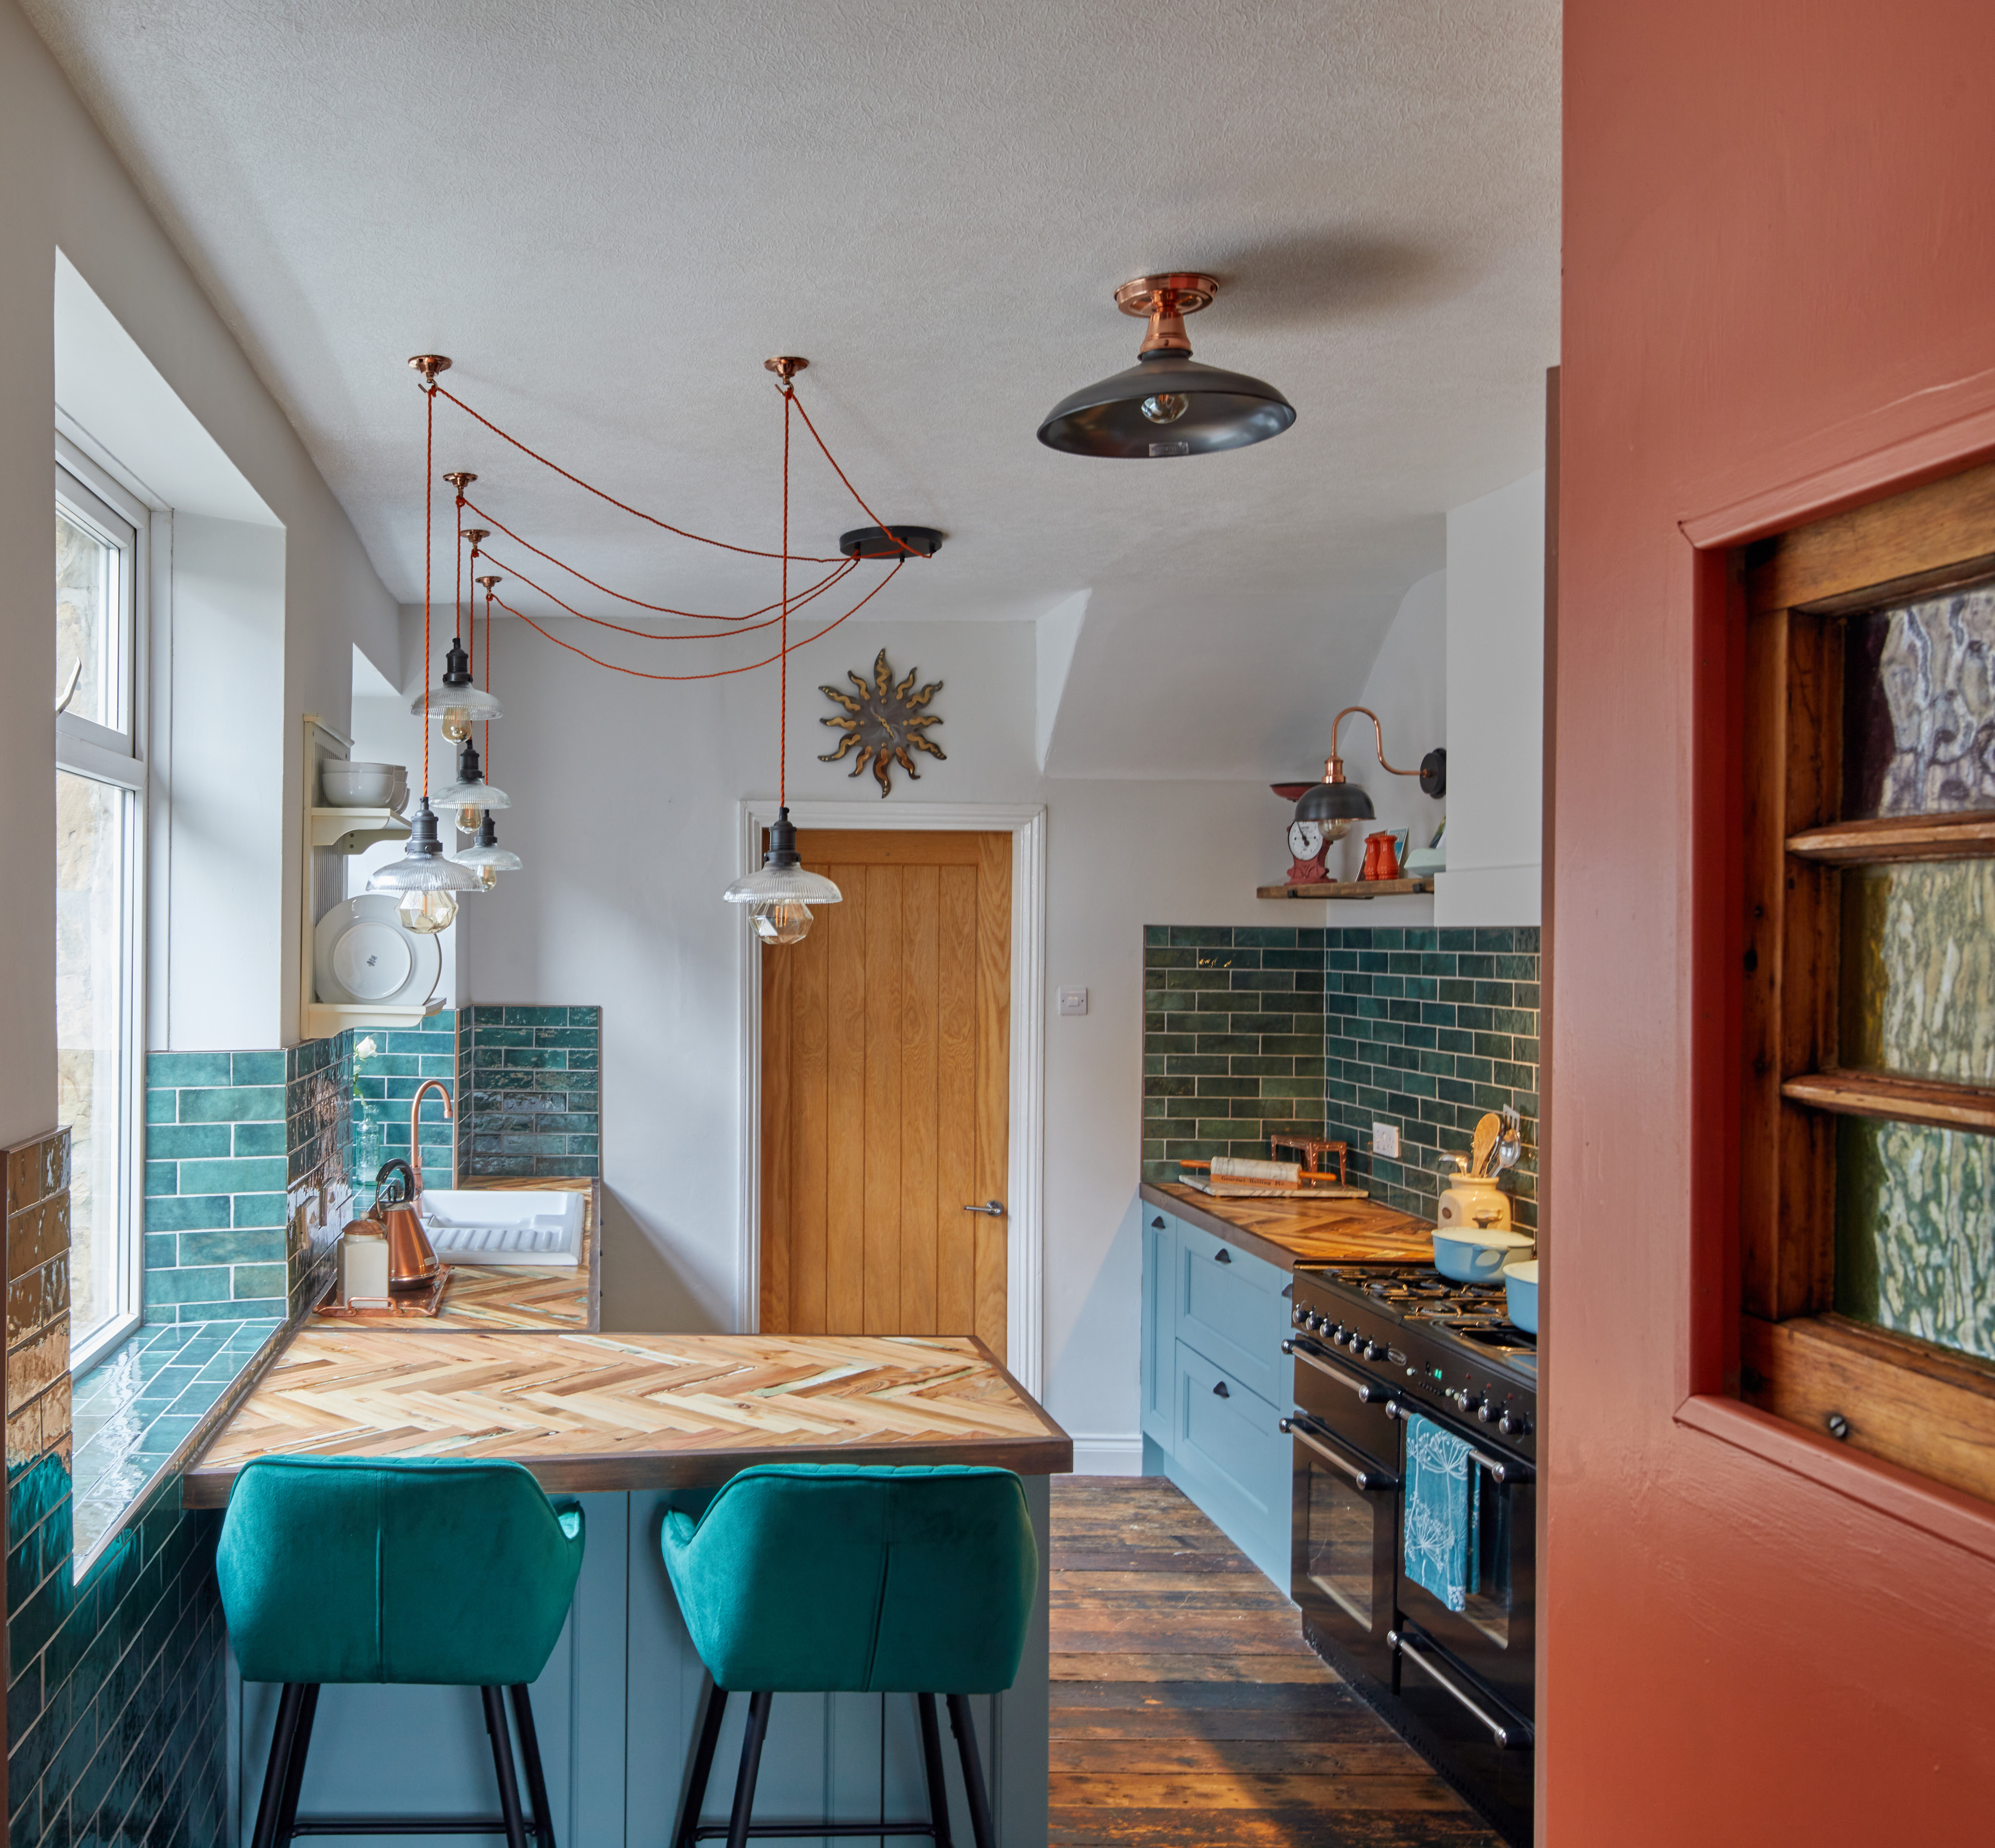
Upgrade a galley kitchen by changing it into an L-shape and creating a mini island. You can use the same countertop as the rest of your kitchen for a seamless look and paint the base the same color as the rest of your cabinetry. If there’s an overhang you can have a breakfast bar too.
11. Update with a new countertop
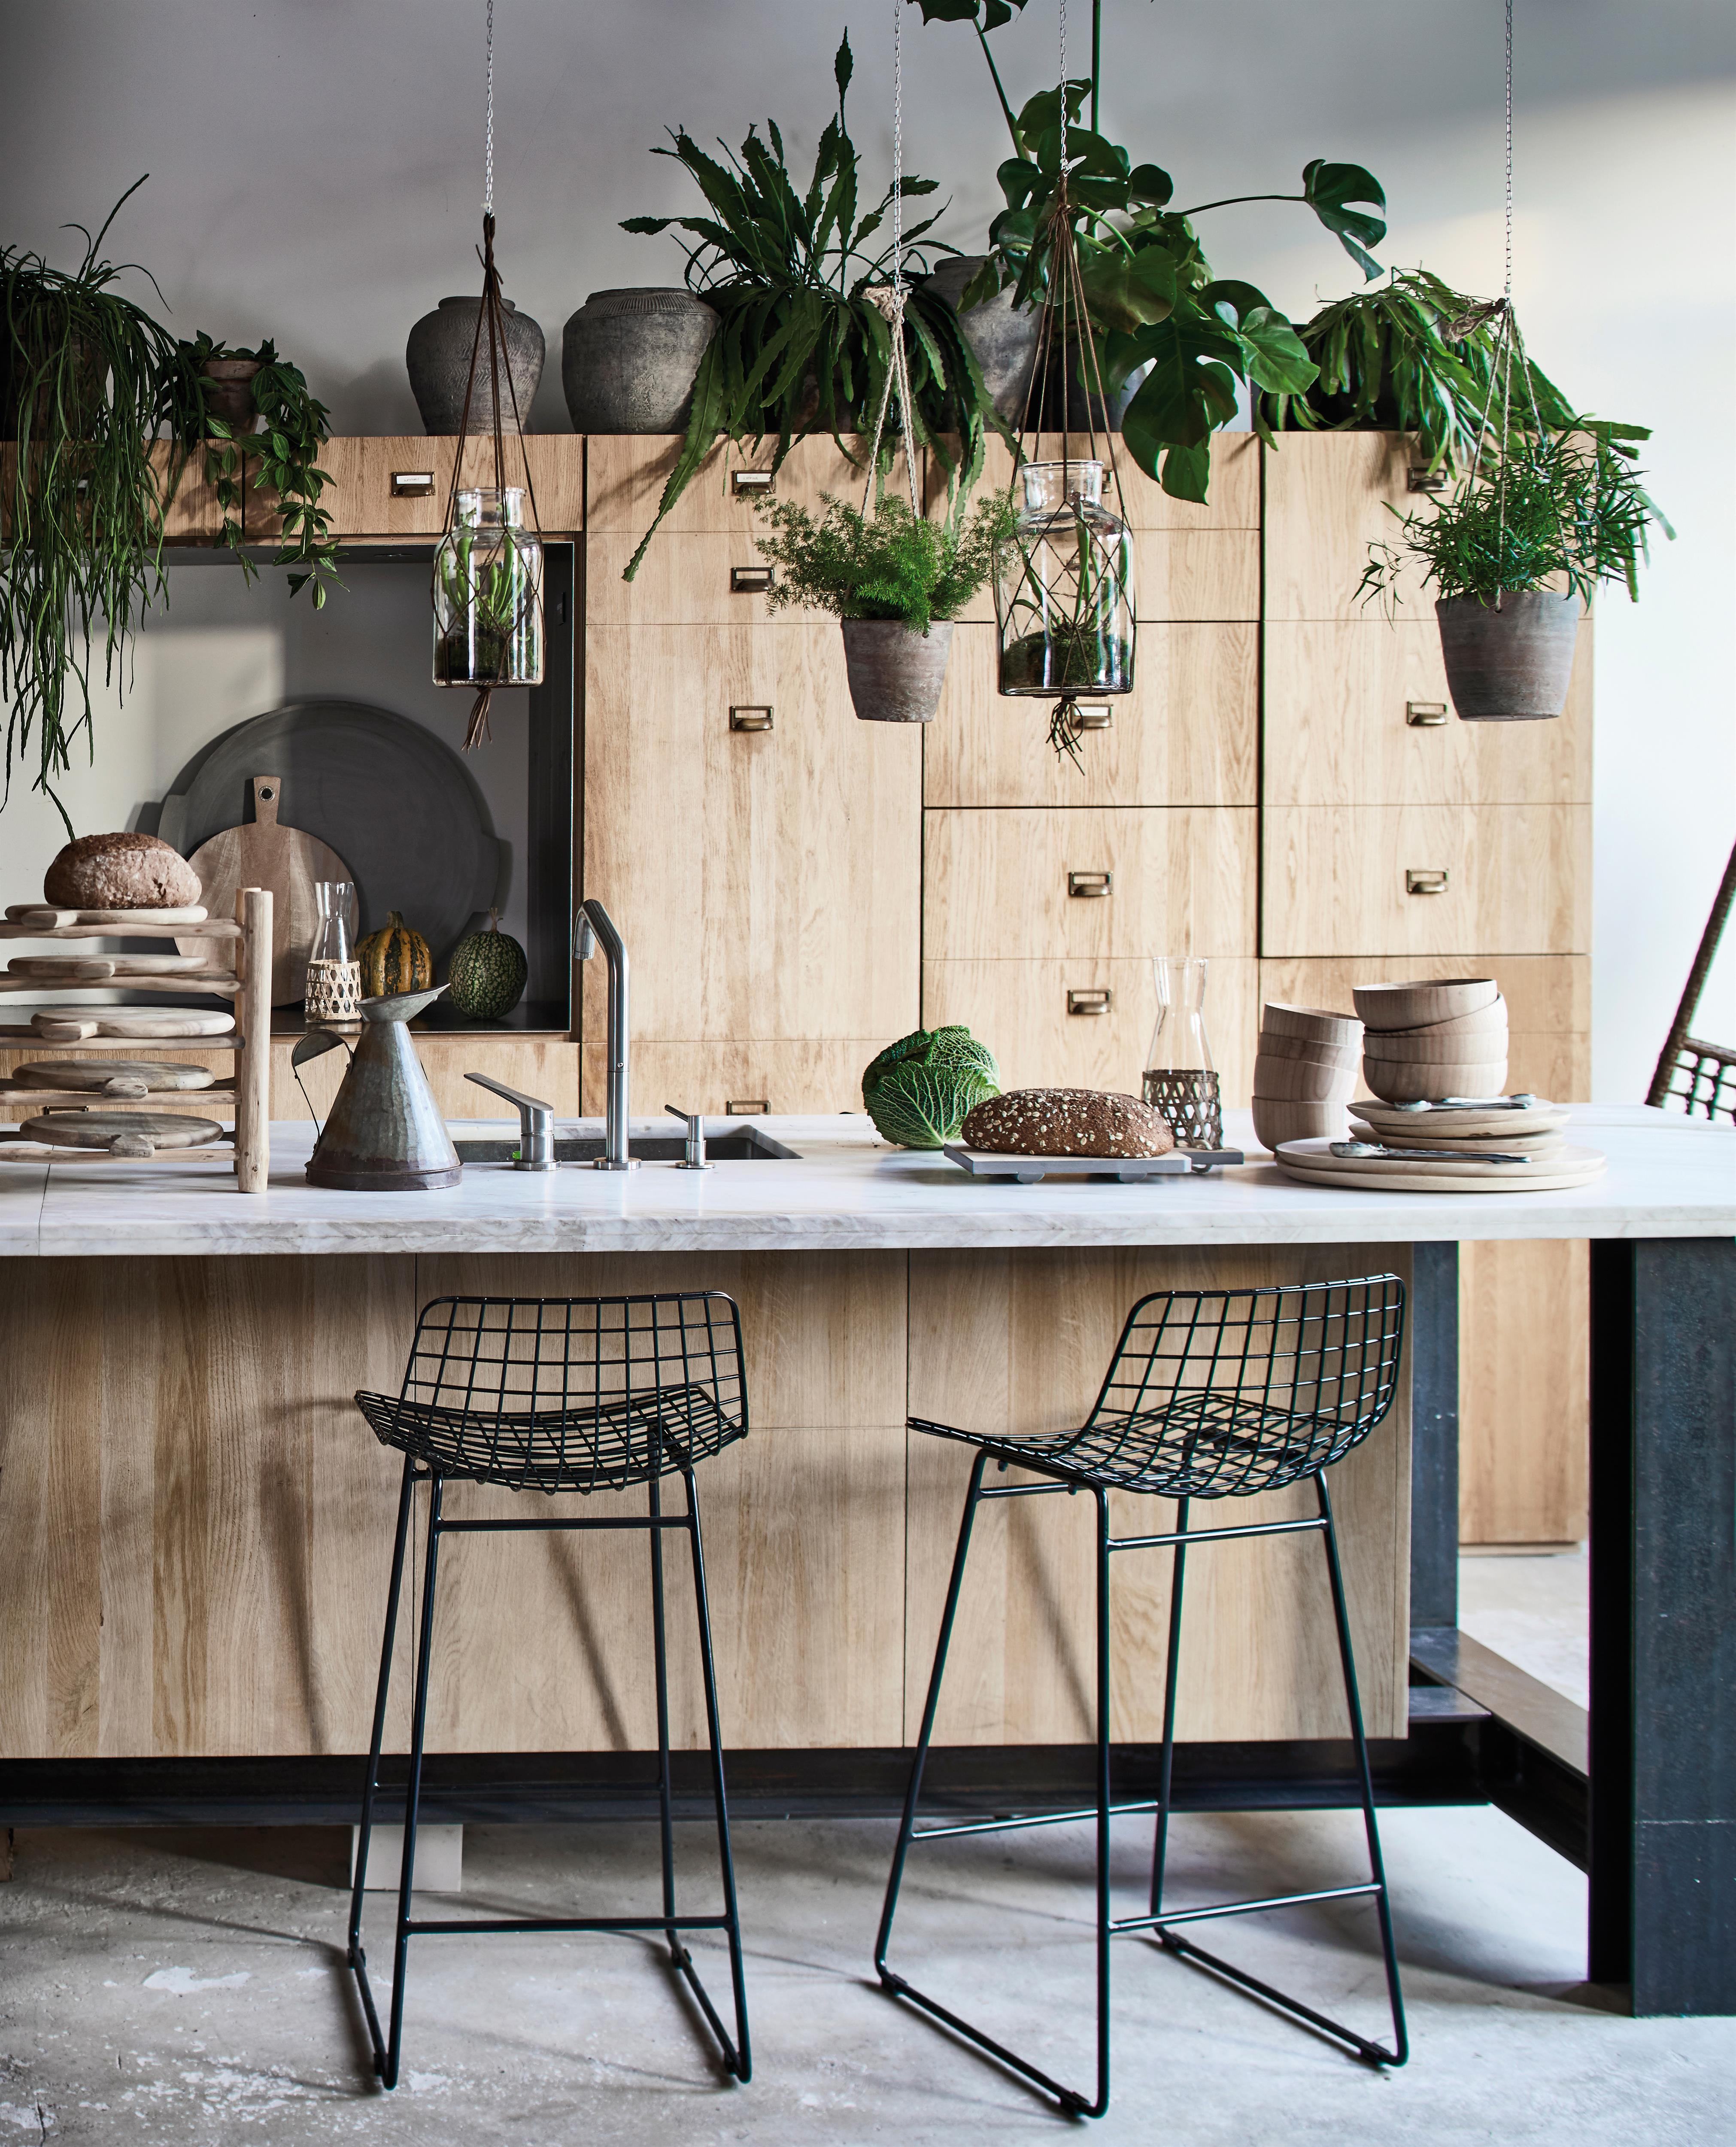
Often, if you still love parts of our kitchens but some areas are showing wear and tear then consider upgrading your kitchen island countertop. It’s not as daunting as it sounds – and even more simple if you don’t have a basin in place. Make sure you measure accurately and order a piece from your local supplier, if you don’t feel confident enough to fit it yourself then paying a little extra for them to do it will give you peace of mind.
12. Opt for an open shelving feel with a drawless unit
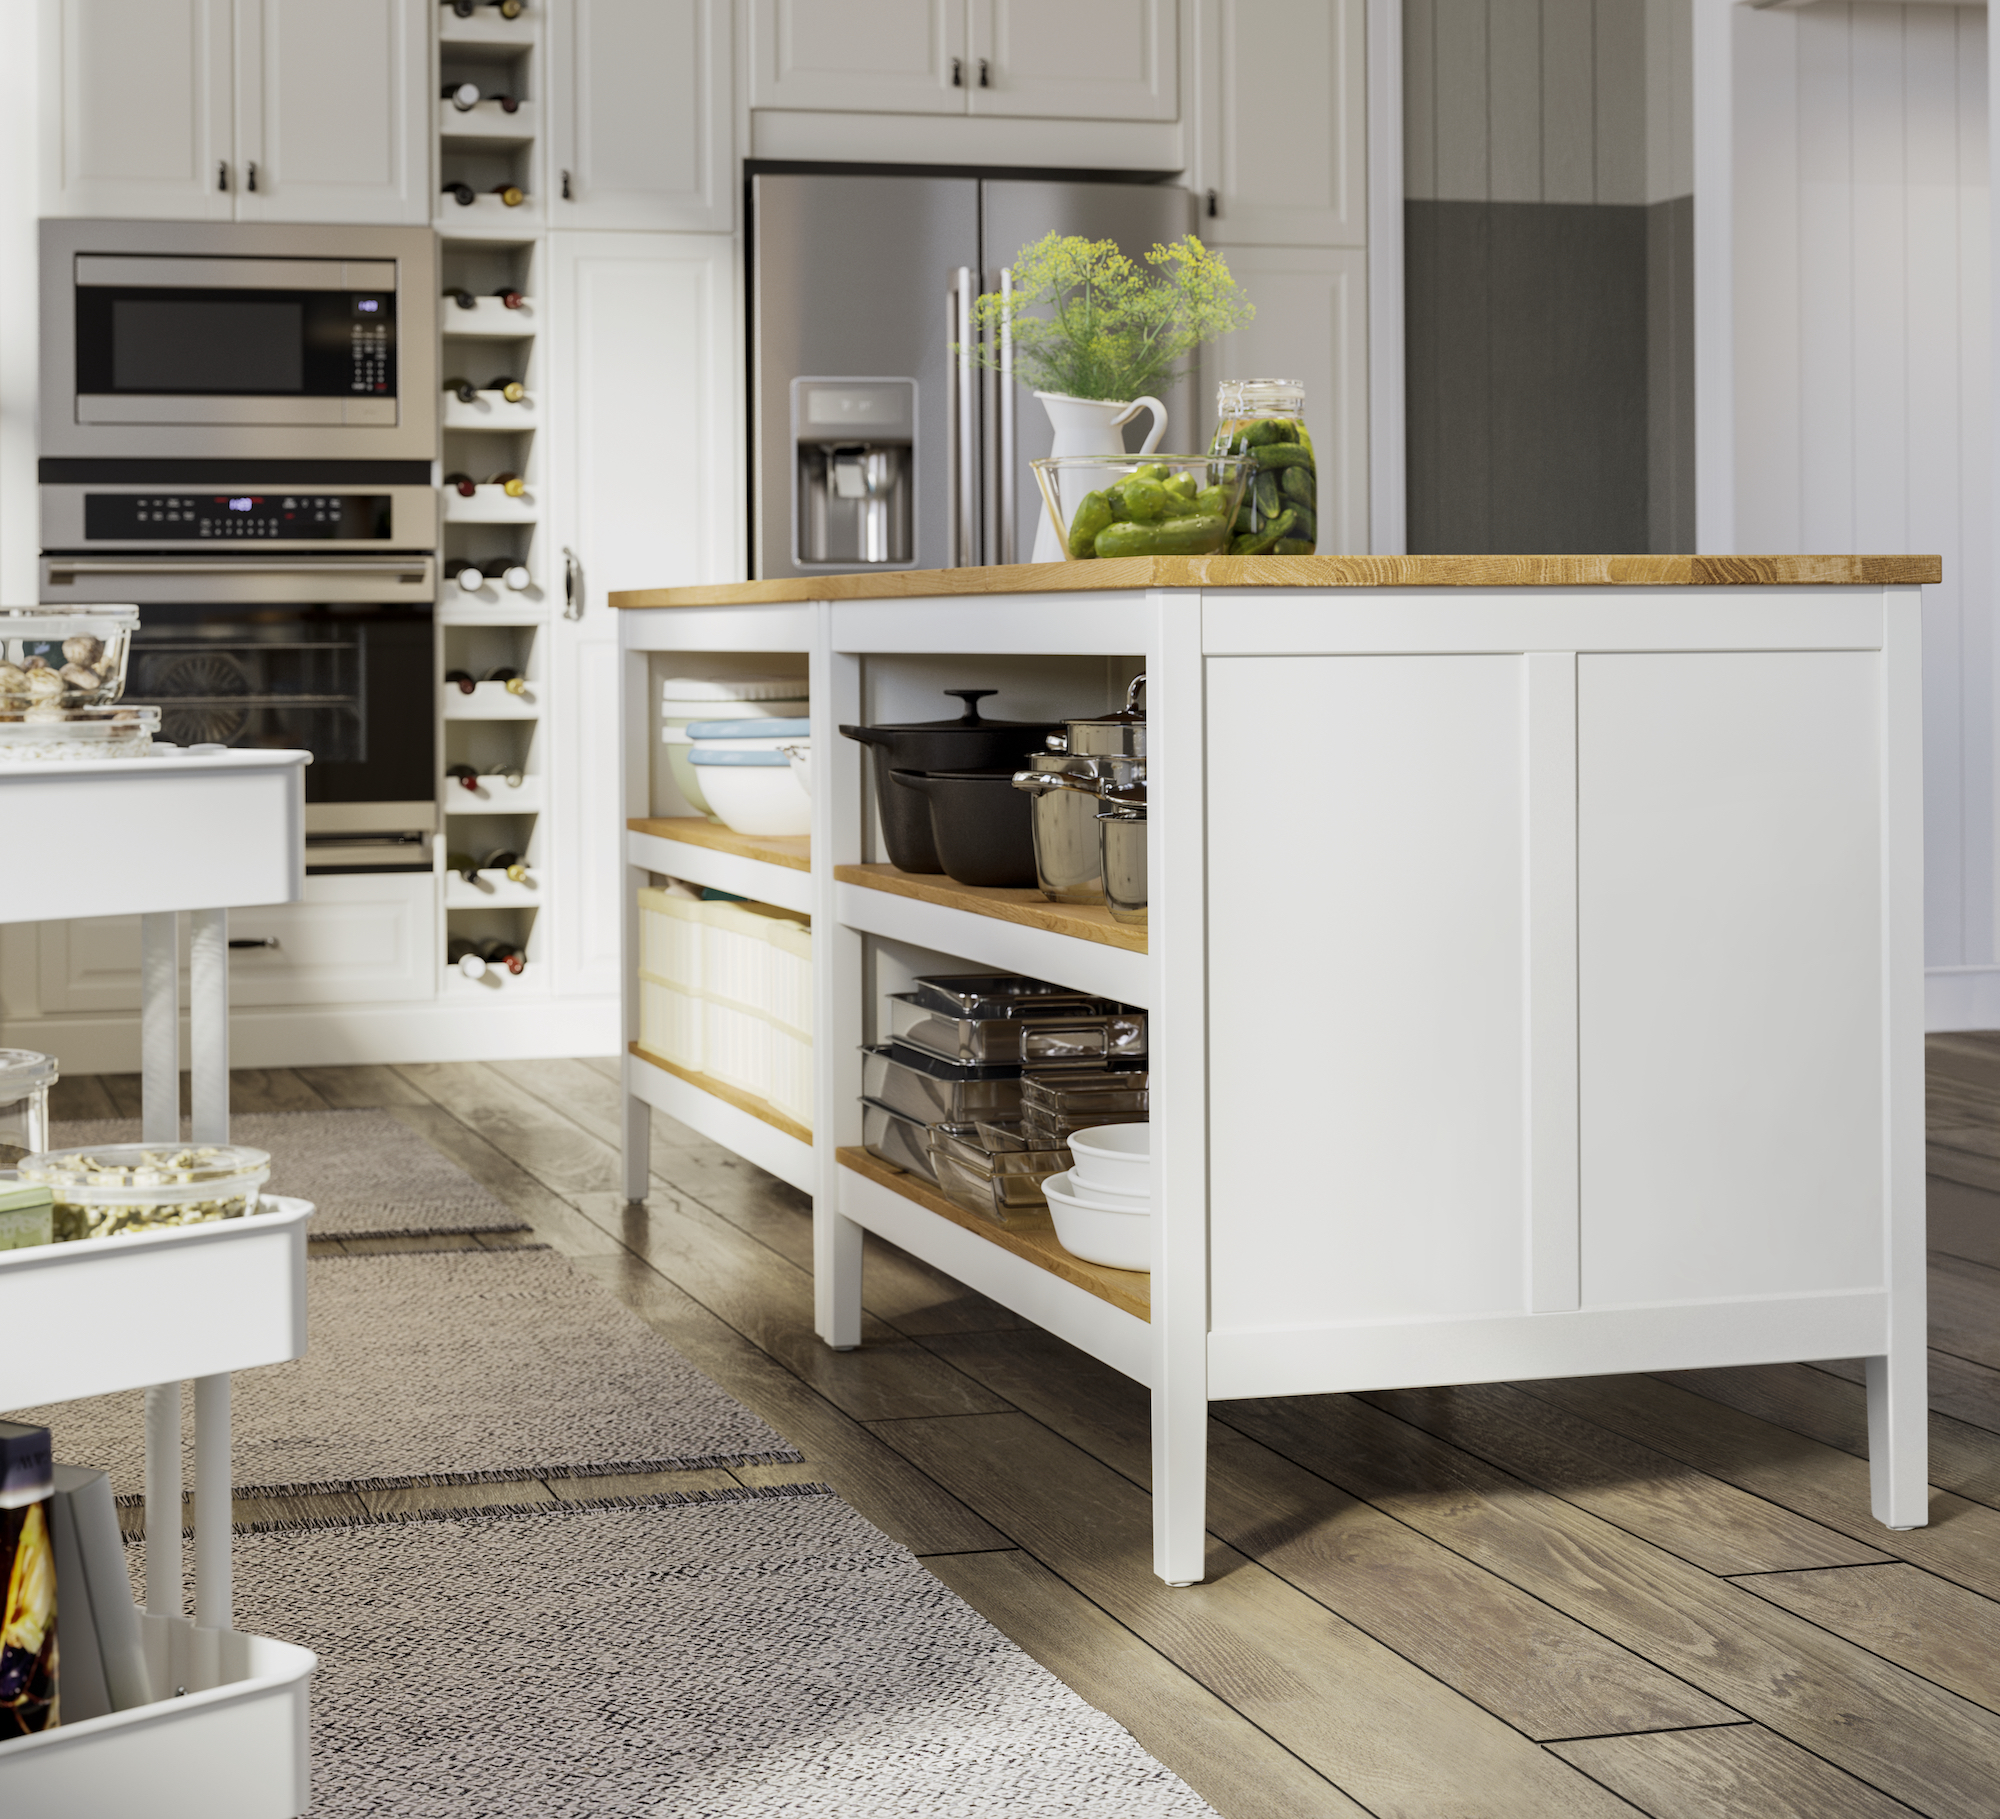
Ikea’s Tornviken series is extremely versatile – and their kitchen island could be used in other rooms as a bookcase or sideboard. In your kitchen it’s a great option if you love the open shelving feel and of course, if you have the space you can double or triple up, or even have four placed together.
13. Look out for pieces that will last
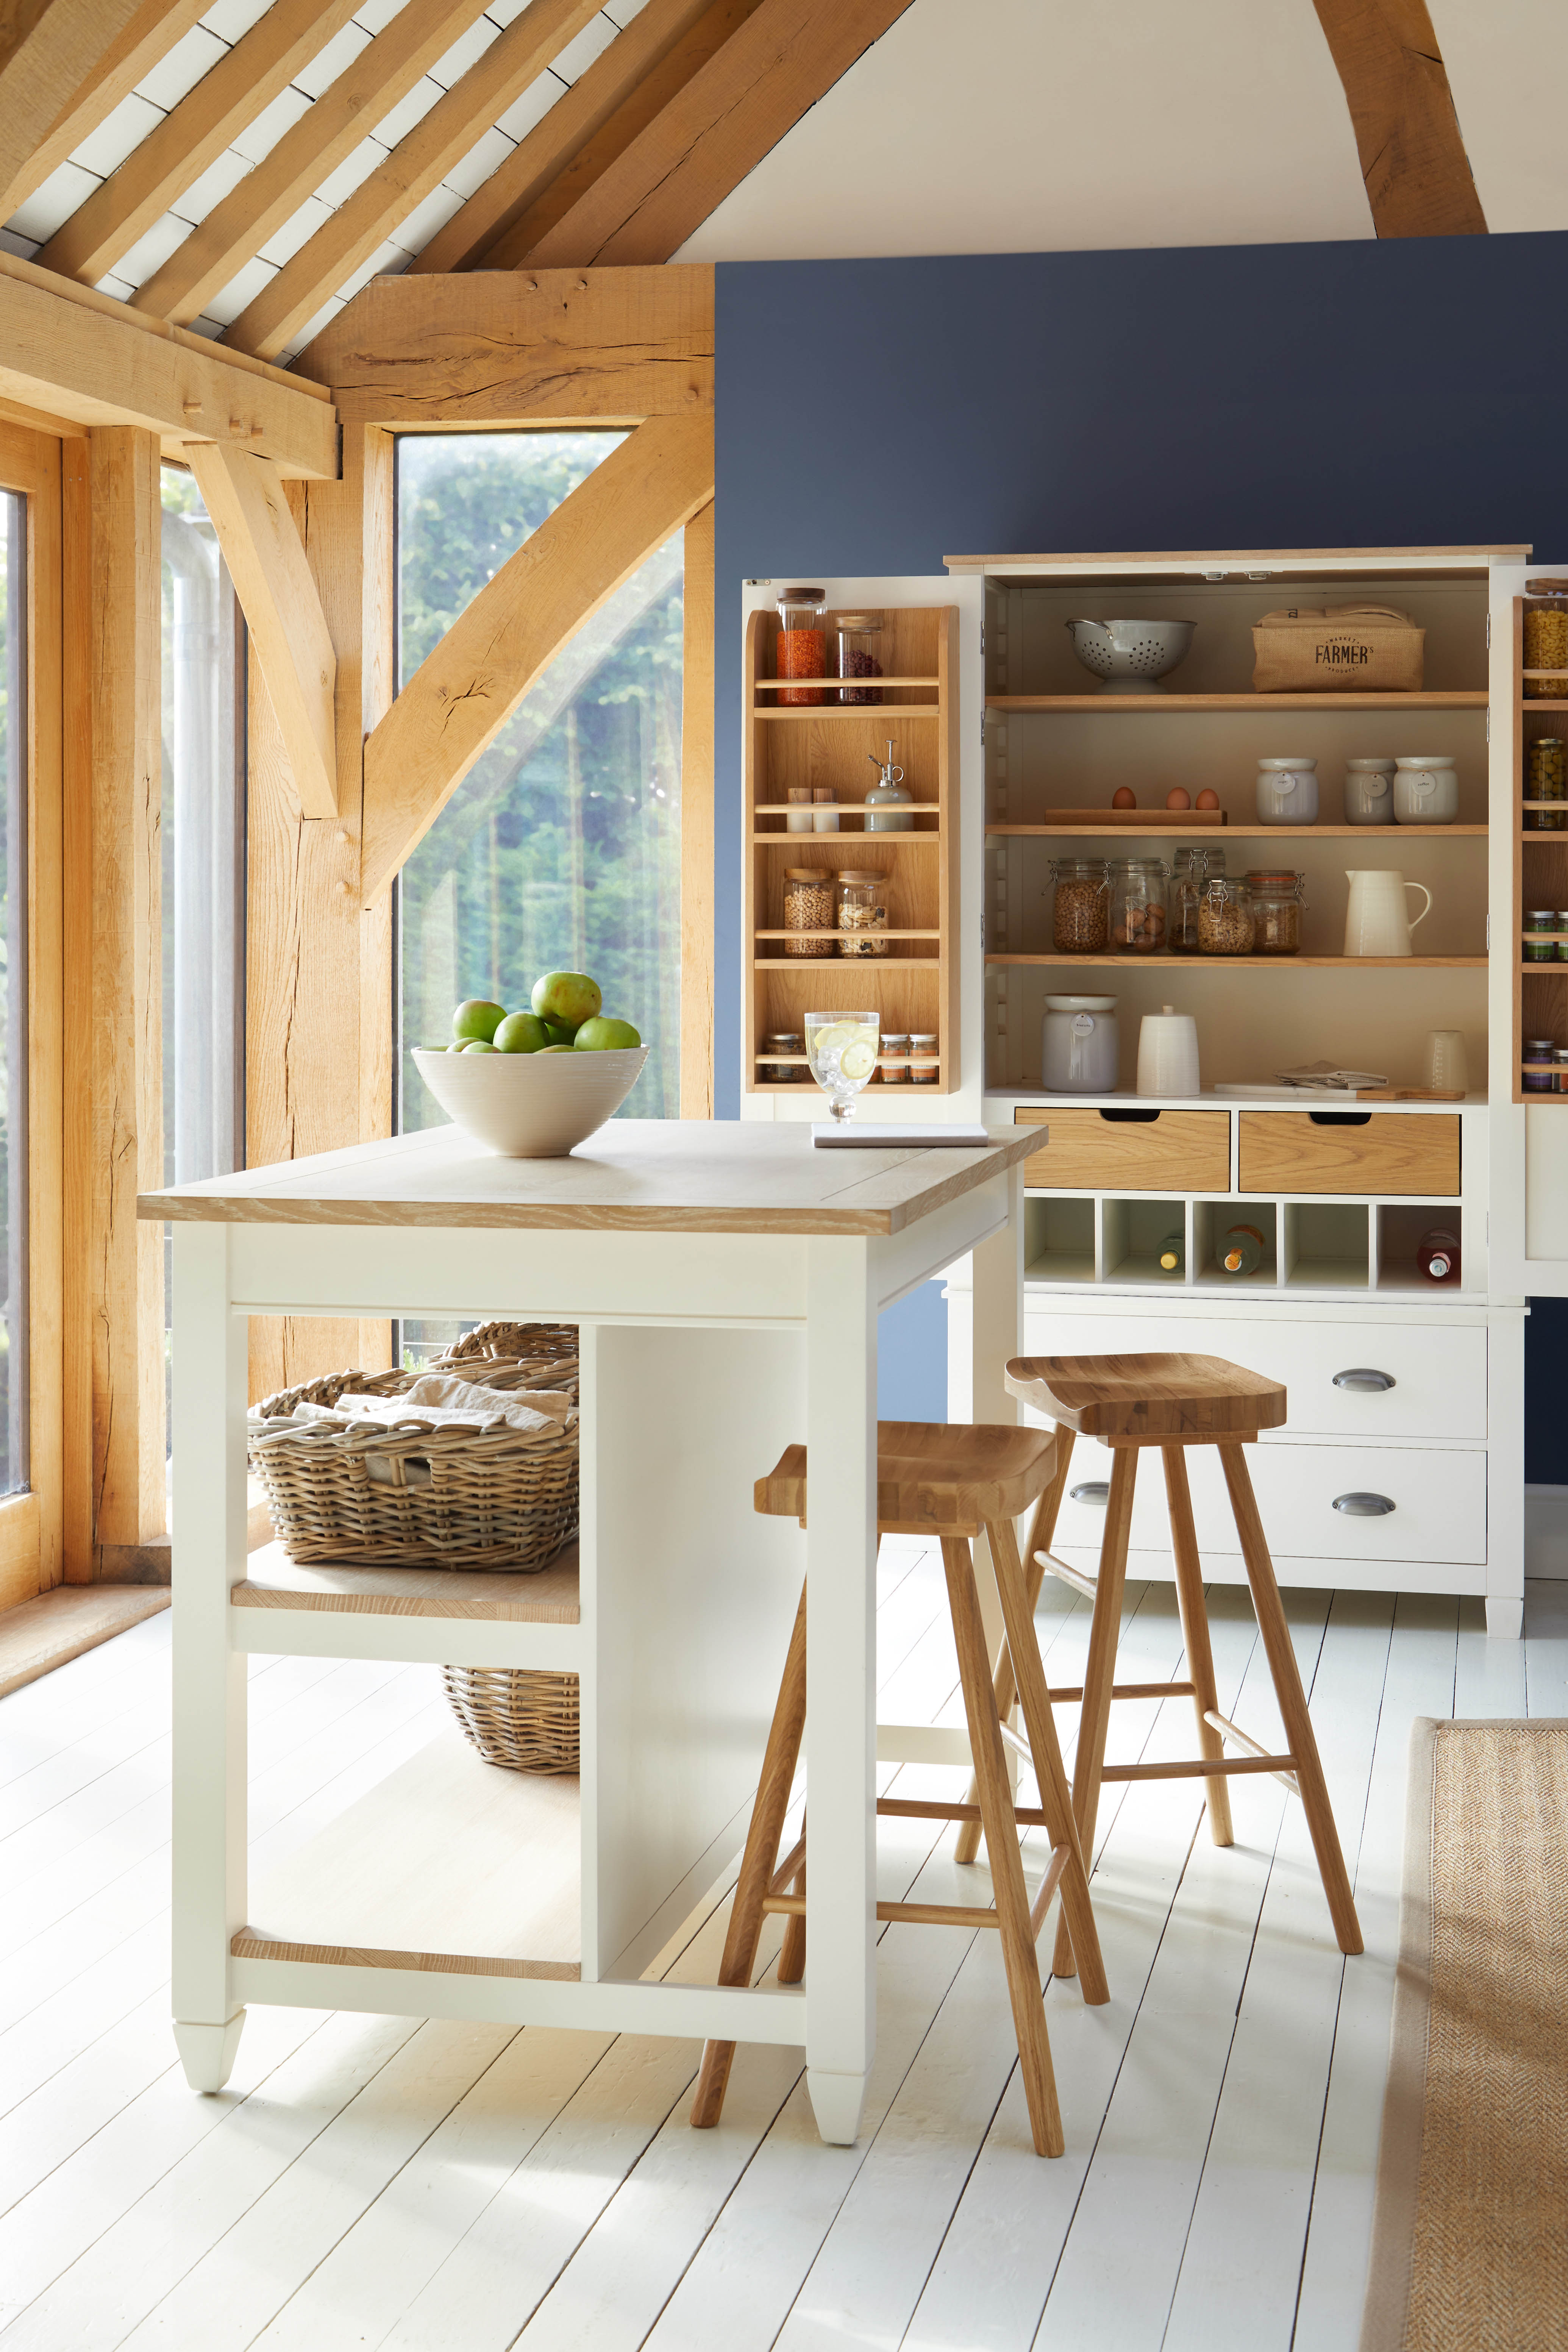
When it comes to DIY kitchen islands the key is to look for designs that have flexibility and give you extra storage and countertop space. A joiner could make you a bespoke island that has shelving on one side and a breakfast bar on the other. It’s about deciding what’s missing in your kitchen and applying it to your island.
14. Add a super slim countertop and breakfast bar
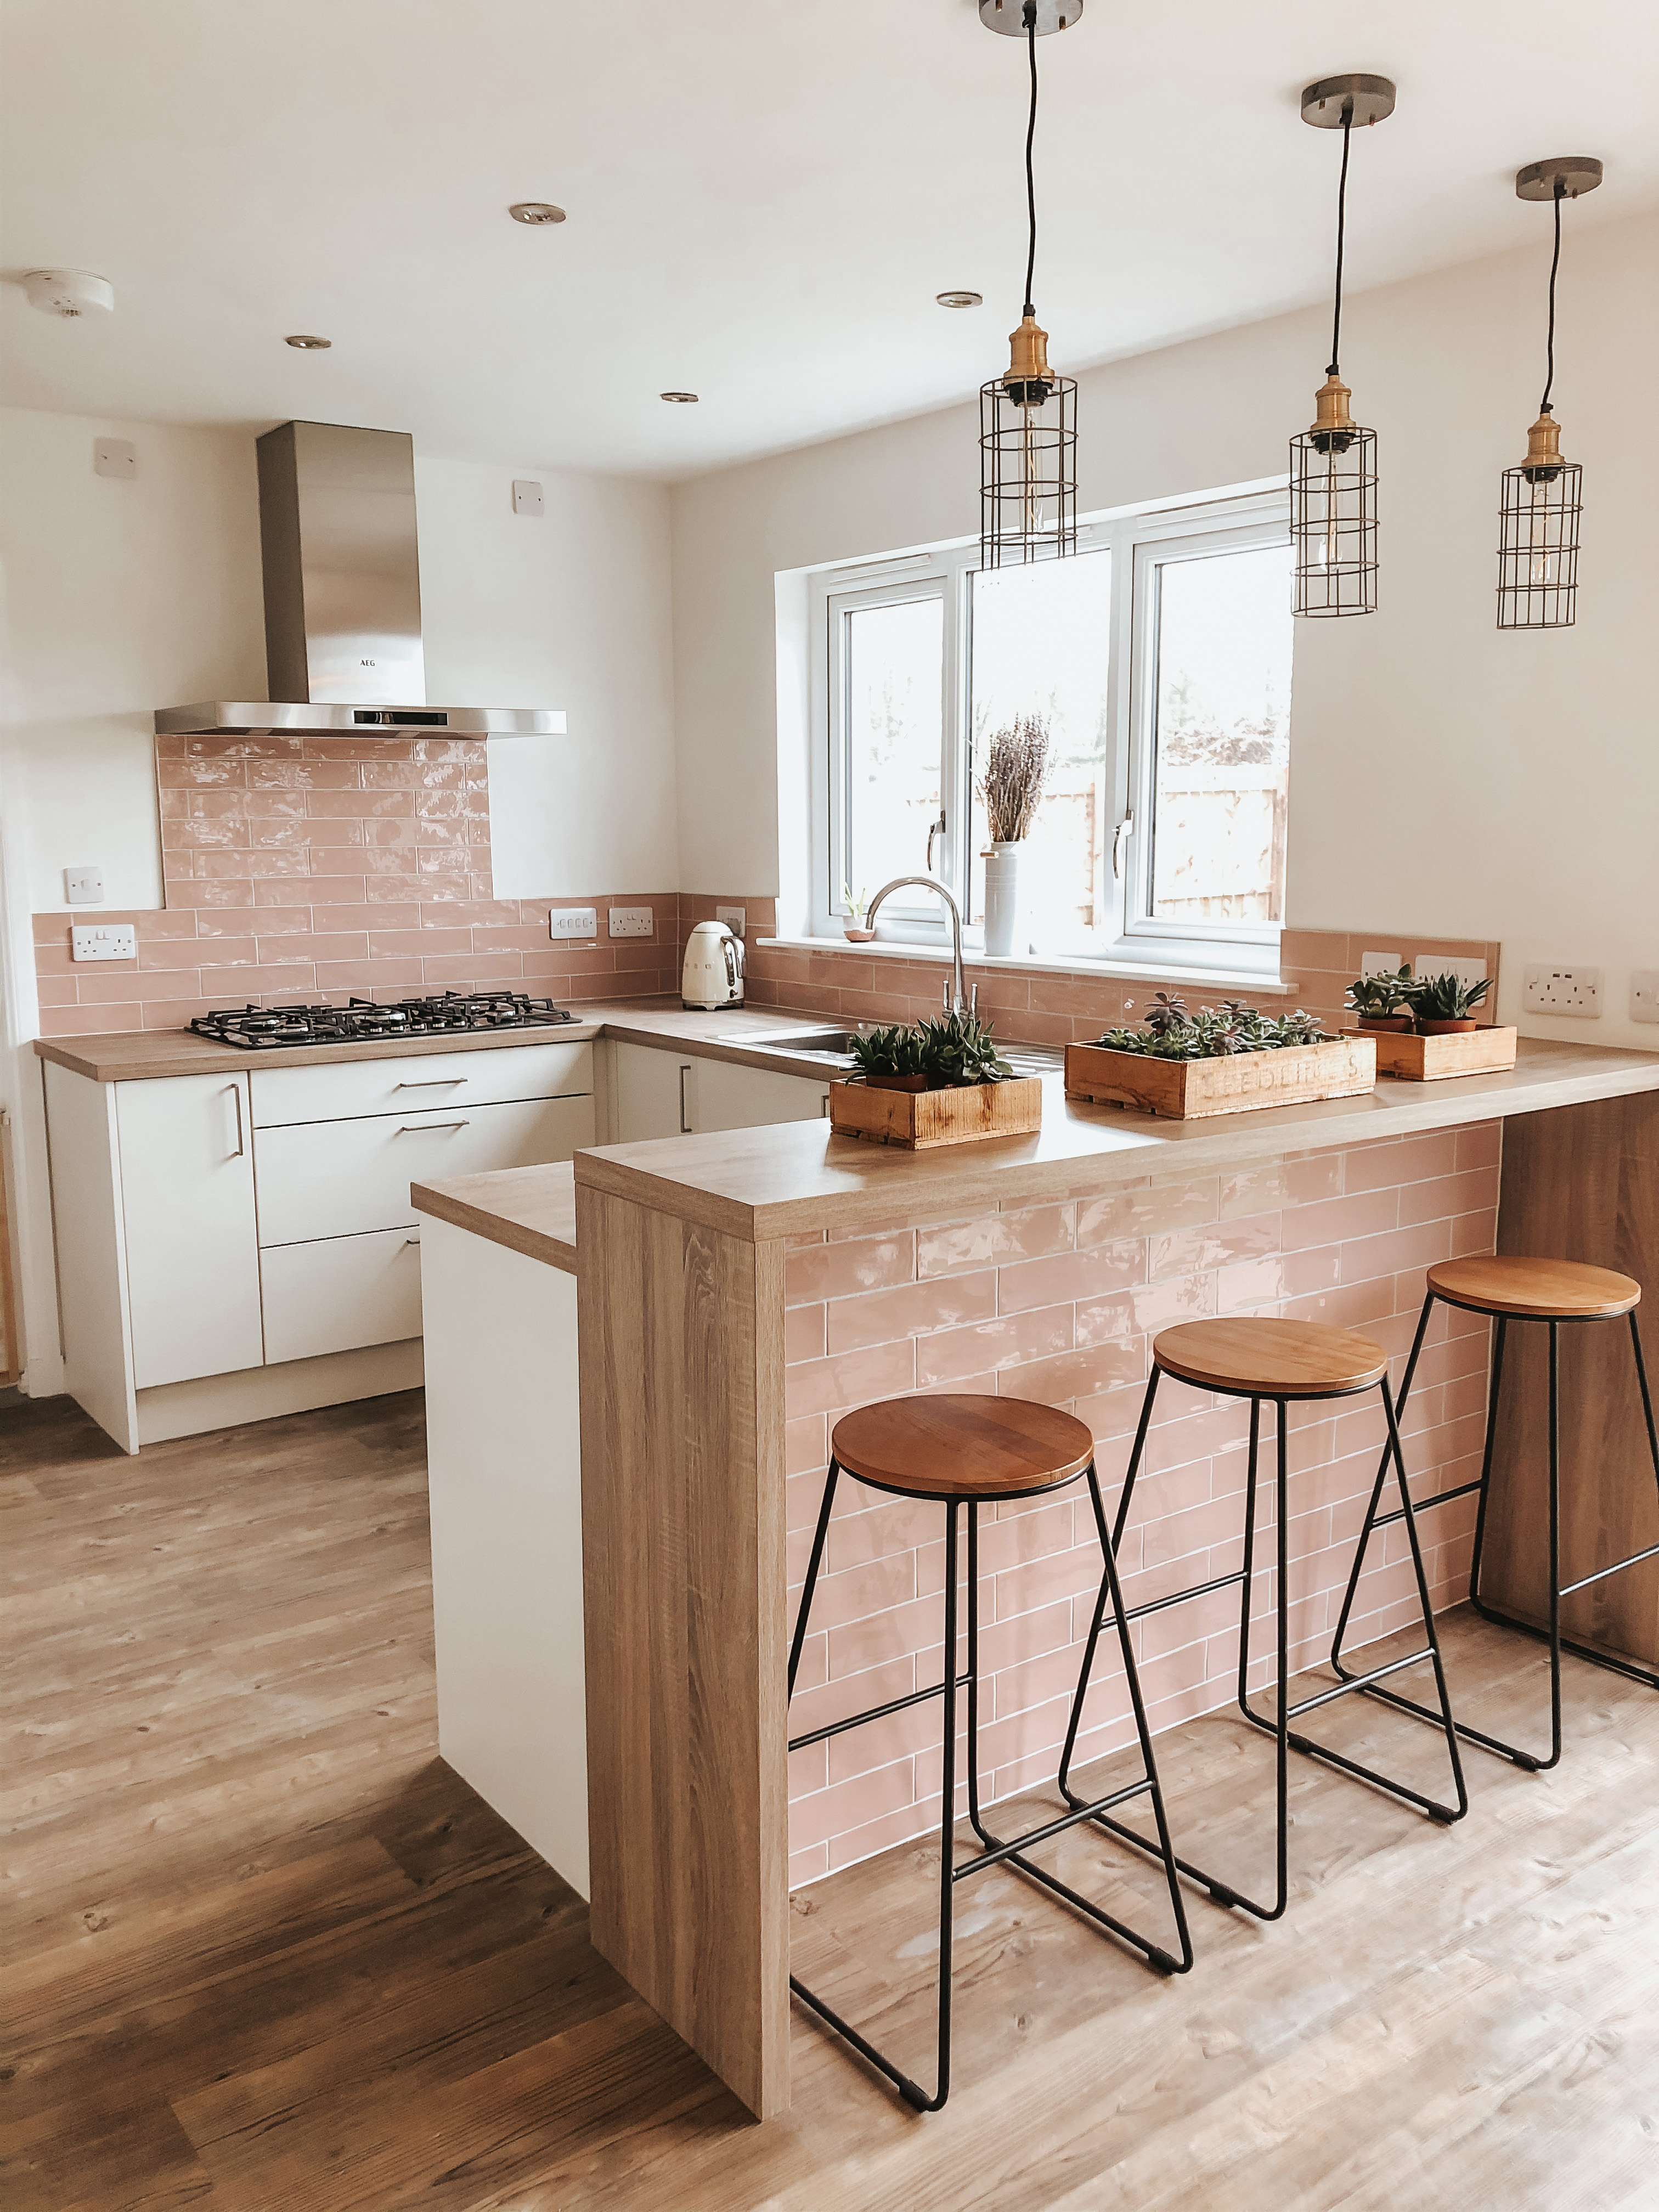
You can add an extra countertop by creating a design like this with two uprights and a piece over the top. It doubles as a breakfast bar and that a skinny countertop that can be used for serving food especially when entertaining.
What can I use for a kitchen island?
‘I have used different items for islands as an interior designer,’ says Maria Martin, interior designer and founder of Design Appy
'One of the most important things to note is that if your island is intended to incorporate appliances or plumbing it is best to have something custom made to incorporate electrical and plumbing safely. But if you’re just looking for extra storage and counter area some of the least expensive solutions are:
Metal restaurant tables – they are the correct height for an industrial feel
Butcher blocks – the original old butcher blocks used to feature an enormous piece of log with simple legs. They are still super interesting in a space that is looking for a rustic feel and can be found in antique stores.
A tall table with a shelf for storage below – these are easy to build and provide storage
None of these options can accommodate a sink, conceal a large appliance, or provide comfortable counter seating however, but are great alternatives.’
Is it cheaper to build your own kitchen island?
‘A popular method of building a DIY kitchen island is to make one out of kitchen cabinets. If you plan on going this route, you can buy any combination of kitchen cabinets as long as they don't have a countertop already attached. This gives you flexibility to combine cabinets the way you want by adding a countertop. Arrange the cabinets any way you like but when screwing from the inside of one cabinet and into the other, do this where the wood is thickest (such as at the frame).
Once this has been completed, make or purchase a countertop to cover all pieces. There are a variety of materials that you can use. Granite, wood, stainless steel, and marble all make for great countertops. Make sure to size correctly and leave an extra two inches in both length and width to create the lip of the counter. After that, personalize it by painting, adding storage, or anything else you can think of,’ advises Kevin Busch, vice president of operations at Mr. Handyman and Neighborly.

Formerly deputy editor of Real Homes magazine, Ellen has been lucky enough to spend most of her working life speaking to real people and writing about real homes, from extended Victorian terraces to modest apartments. She's recently bought her own home and has a special interest in sustainable living and clever storage.
-
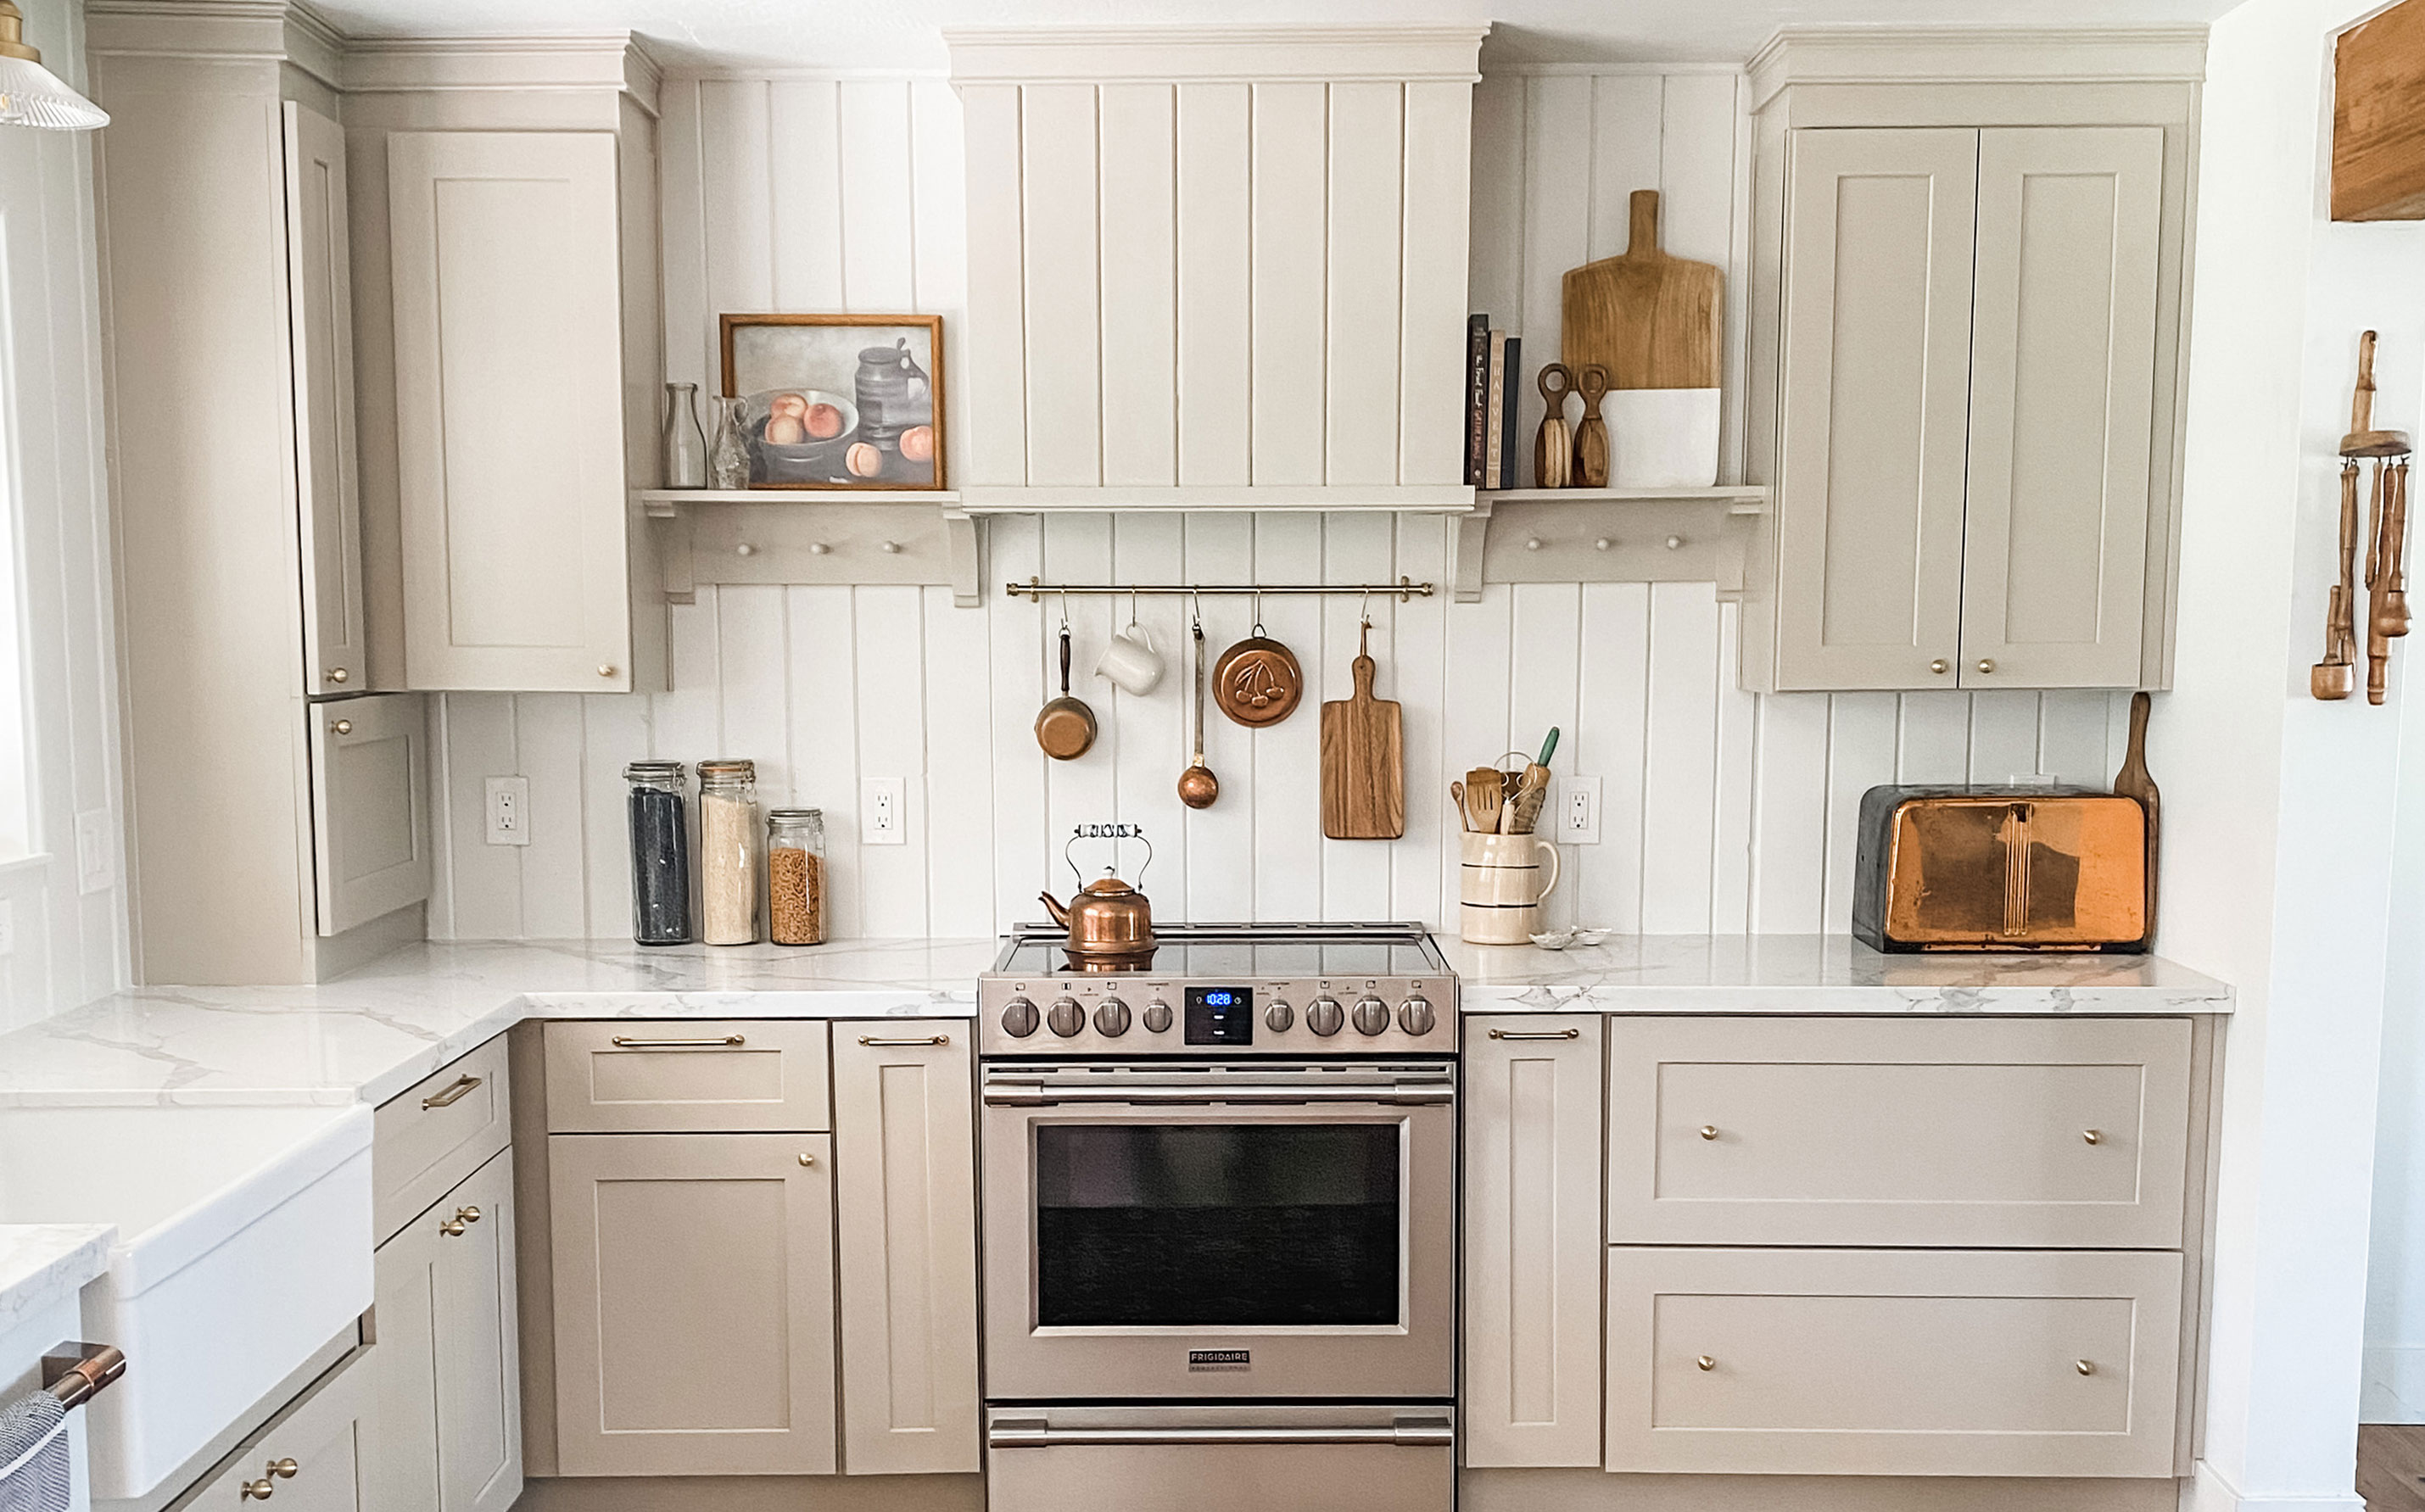 My DIY range hood and backsplash build gave my kitchen the perfect farmhouse finish
I craved charm in my kitchen space and adding a custom range hood and shelving was the best move.
By Brooke Waite Published
-
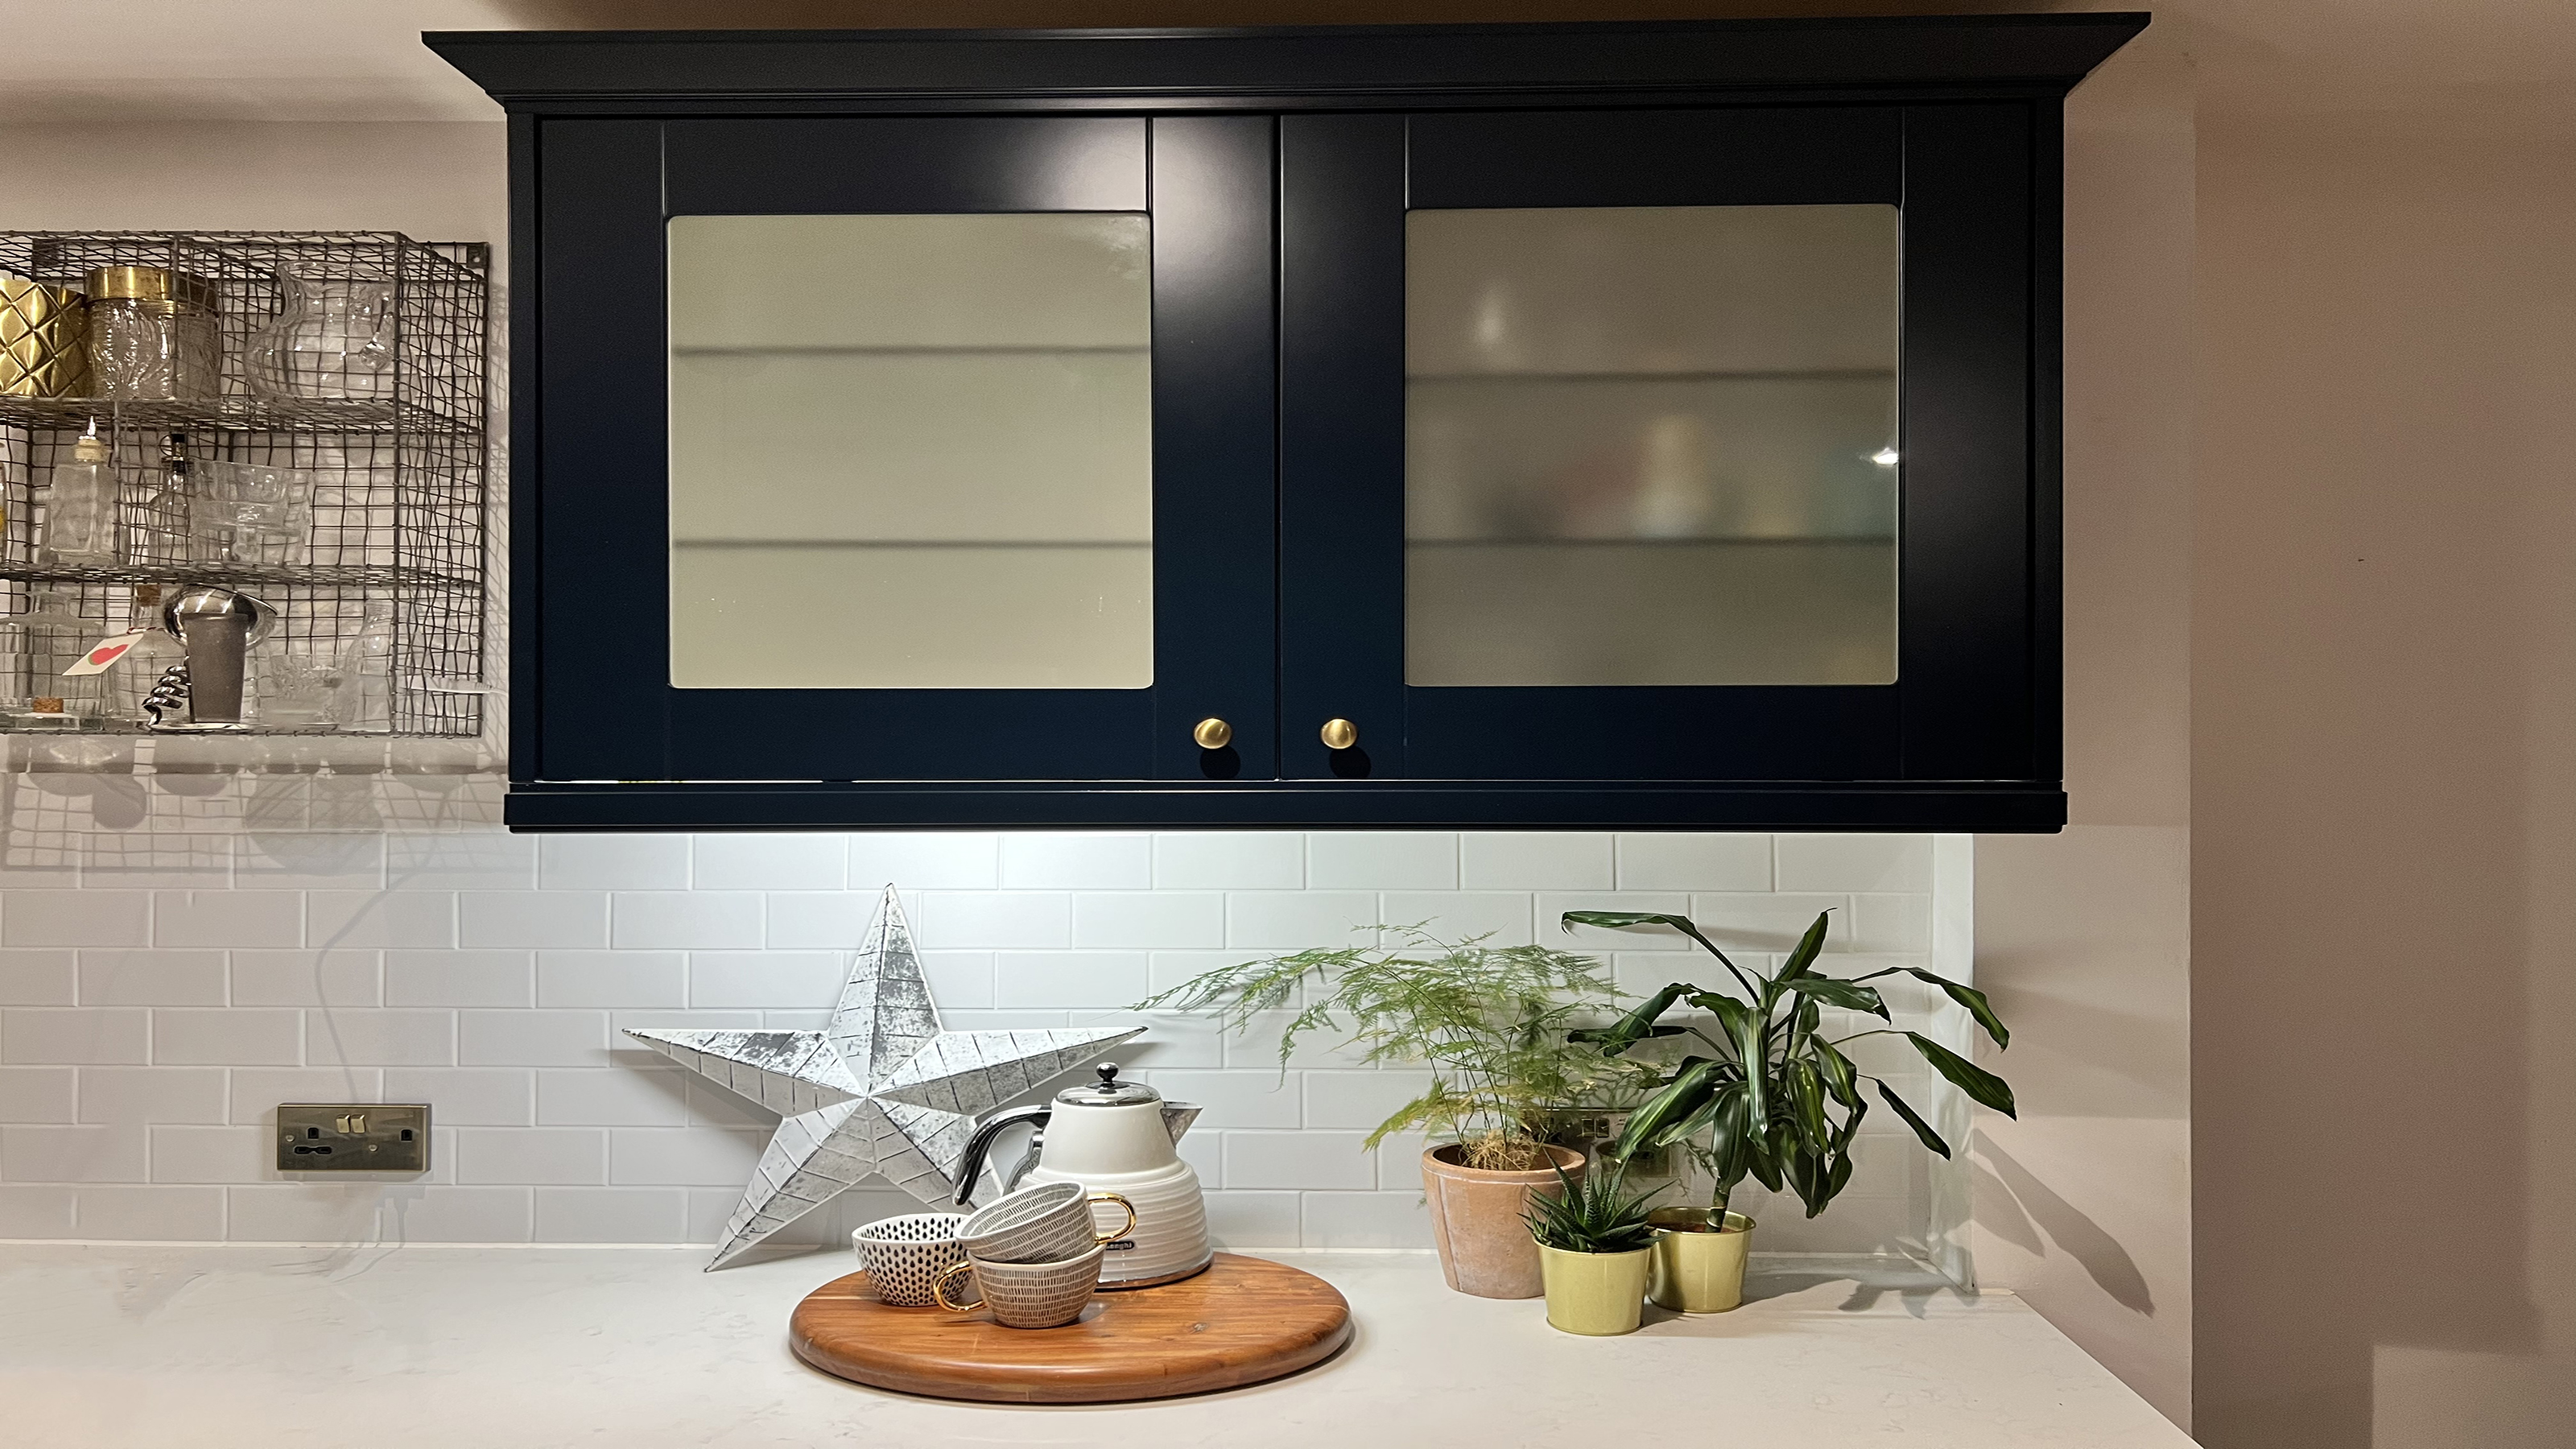 How to install under kitchen cabinet lighting
If your kitchen feels a little dark and gloomy, installing LED lighting under cabinets is a great way to illuminate your counter space in no time at all.
By Kate Sandhu Published
-
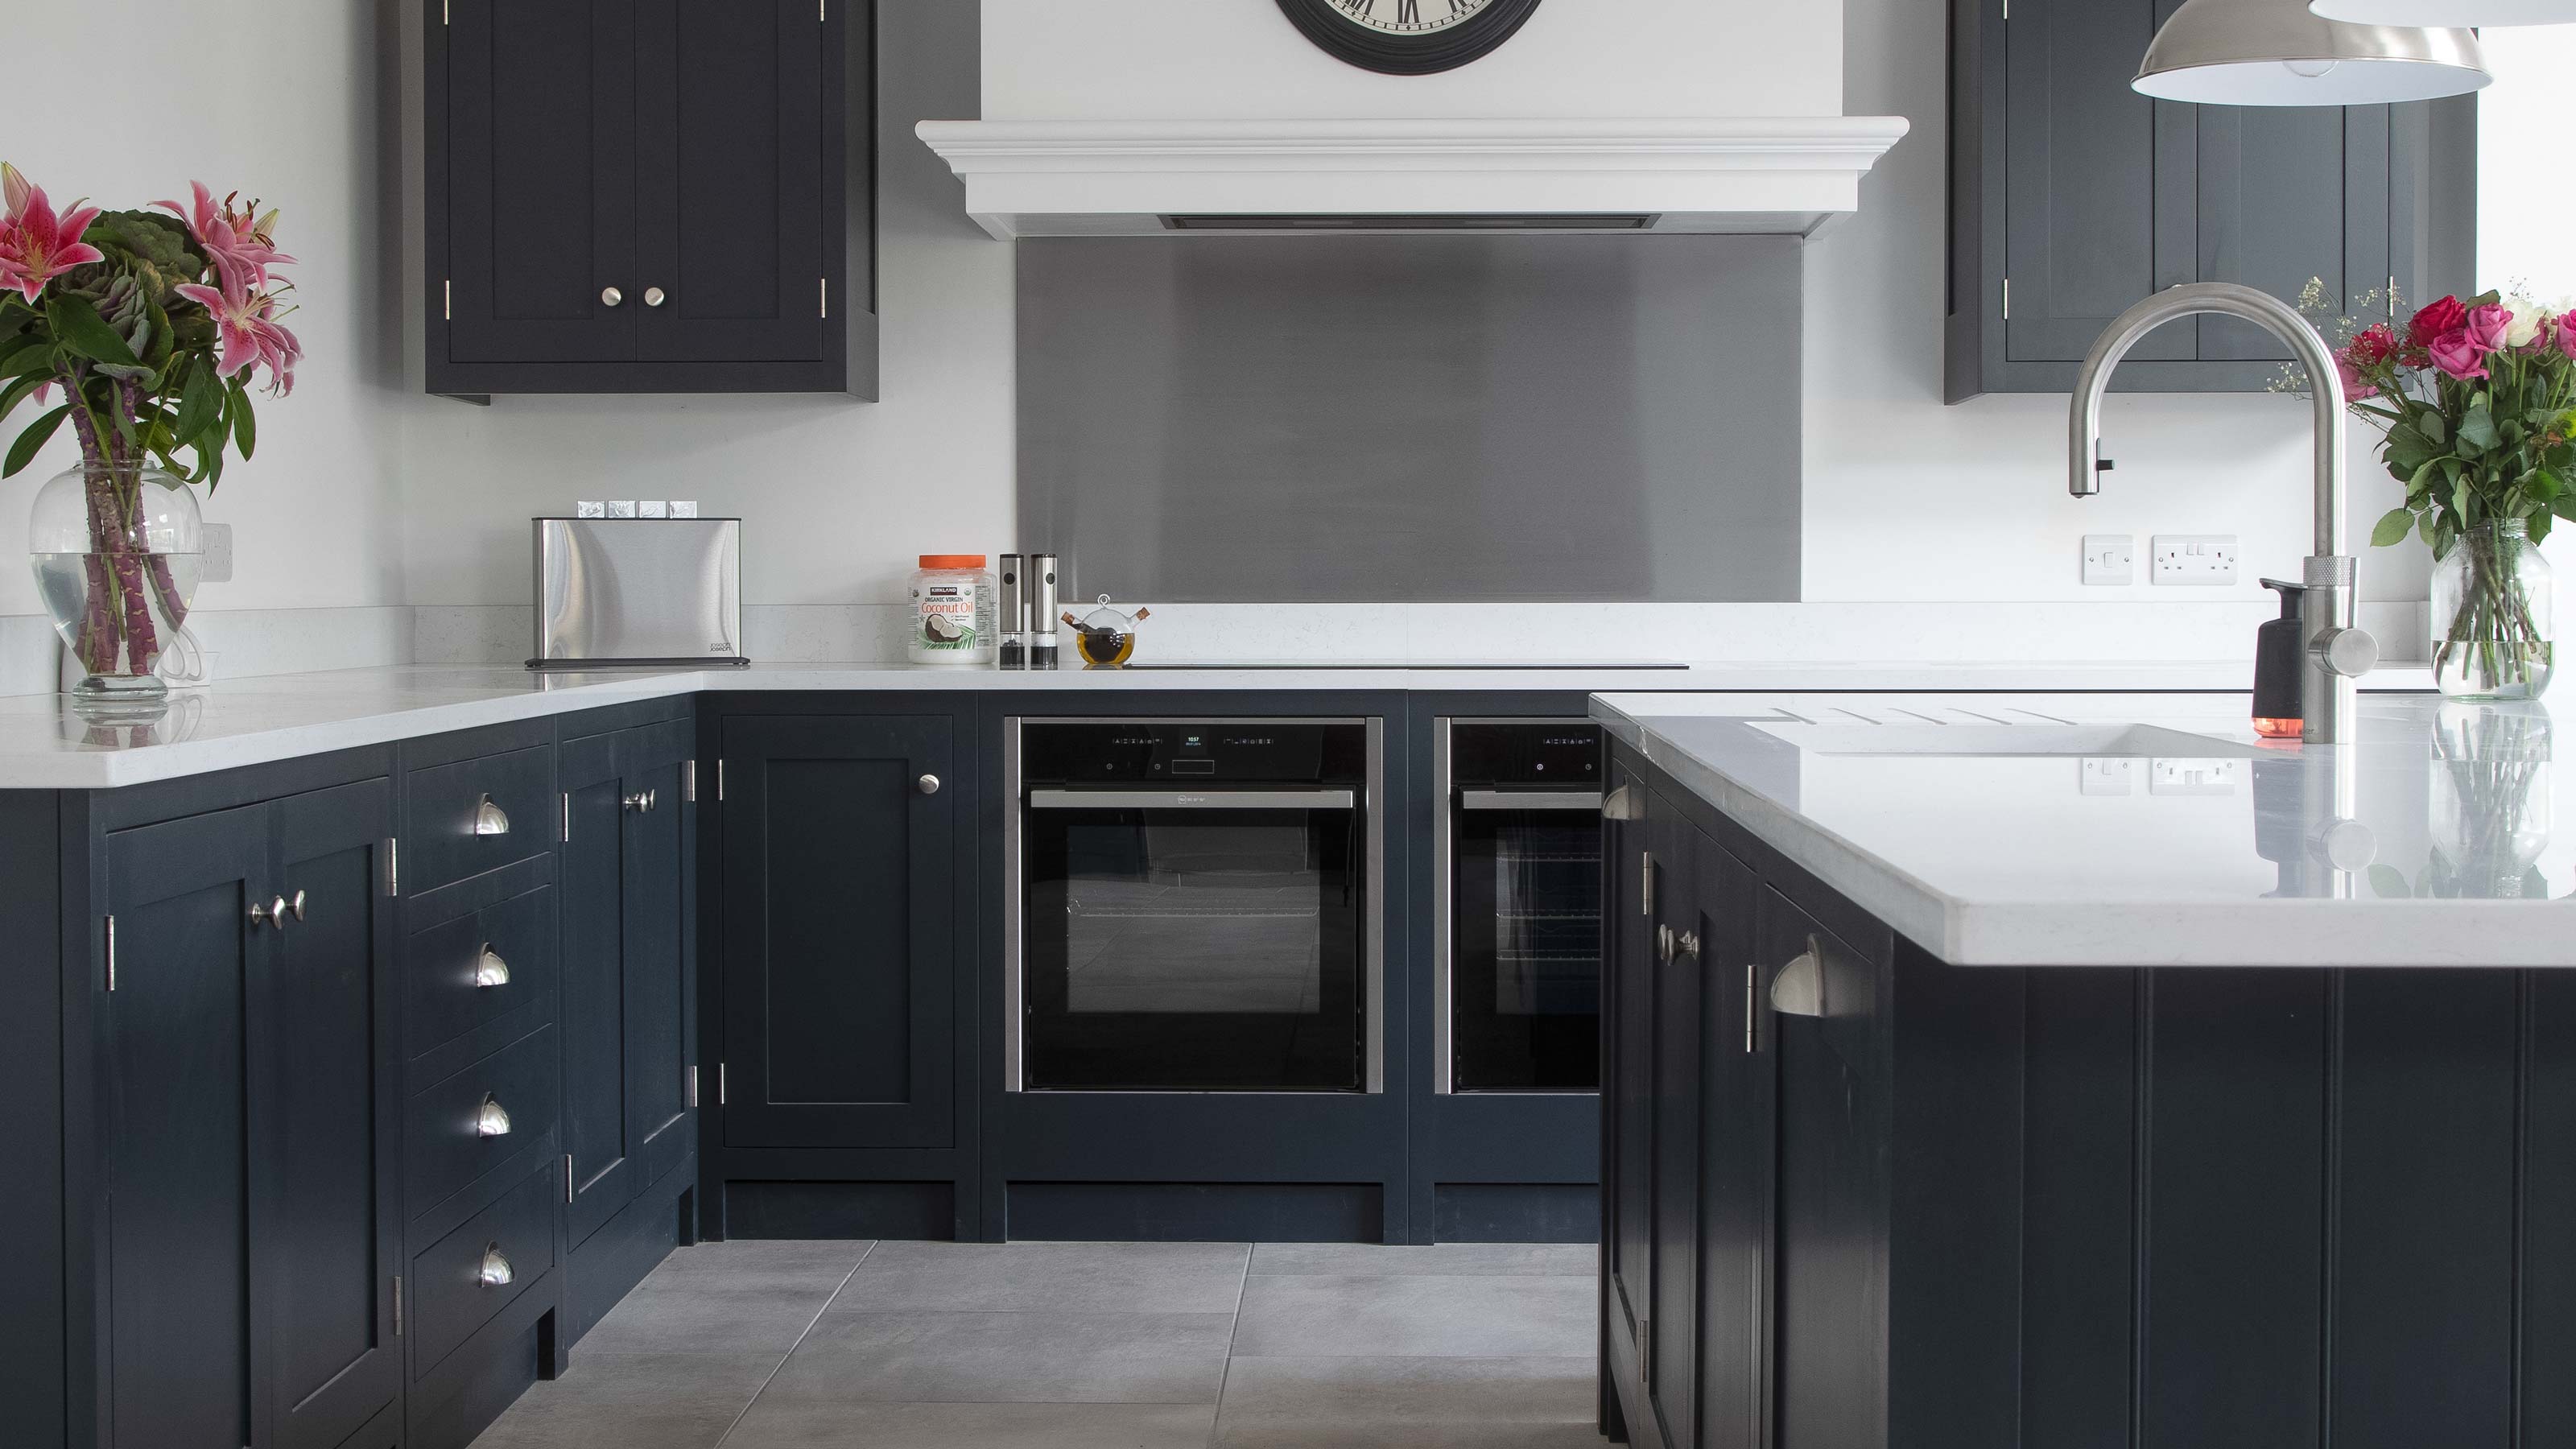 How to remove an oven door
Puzzled about how to remove an oven door for cleaning or maintenance? Here's all the info you need.
By Claire Douglas Published
-
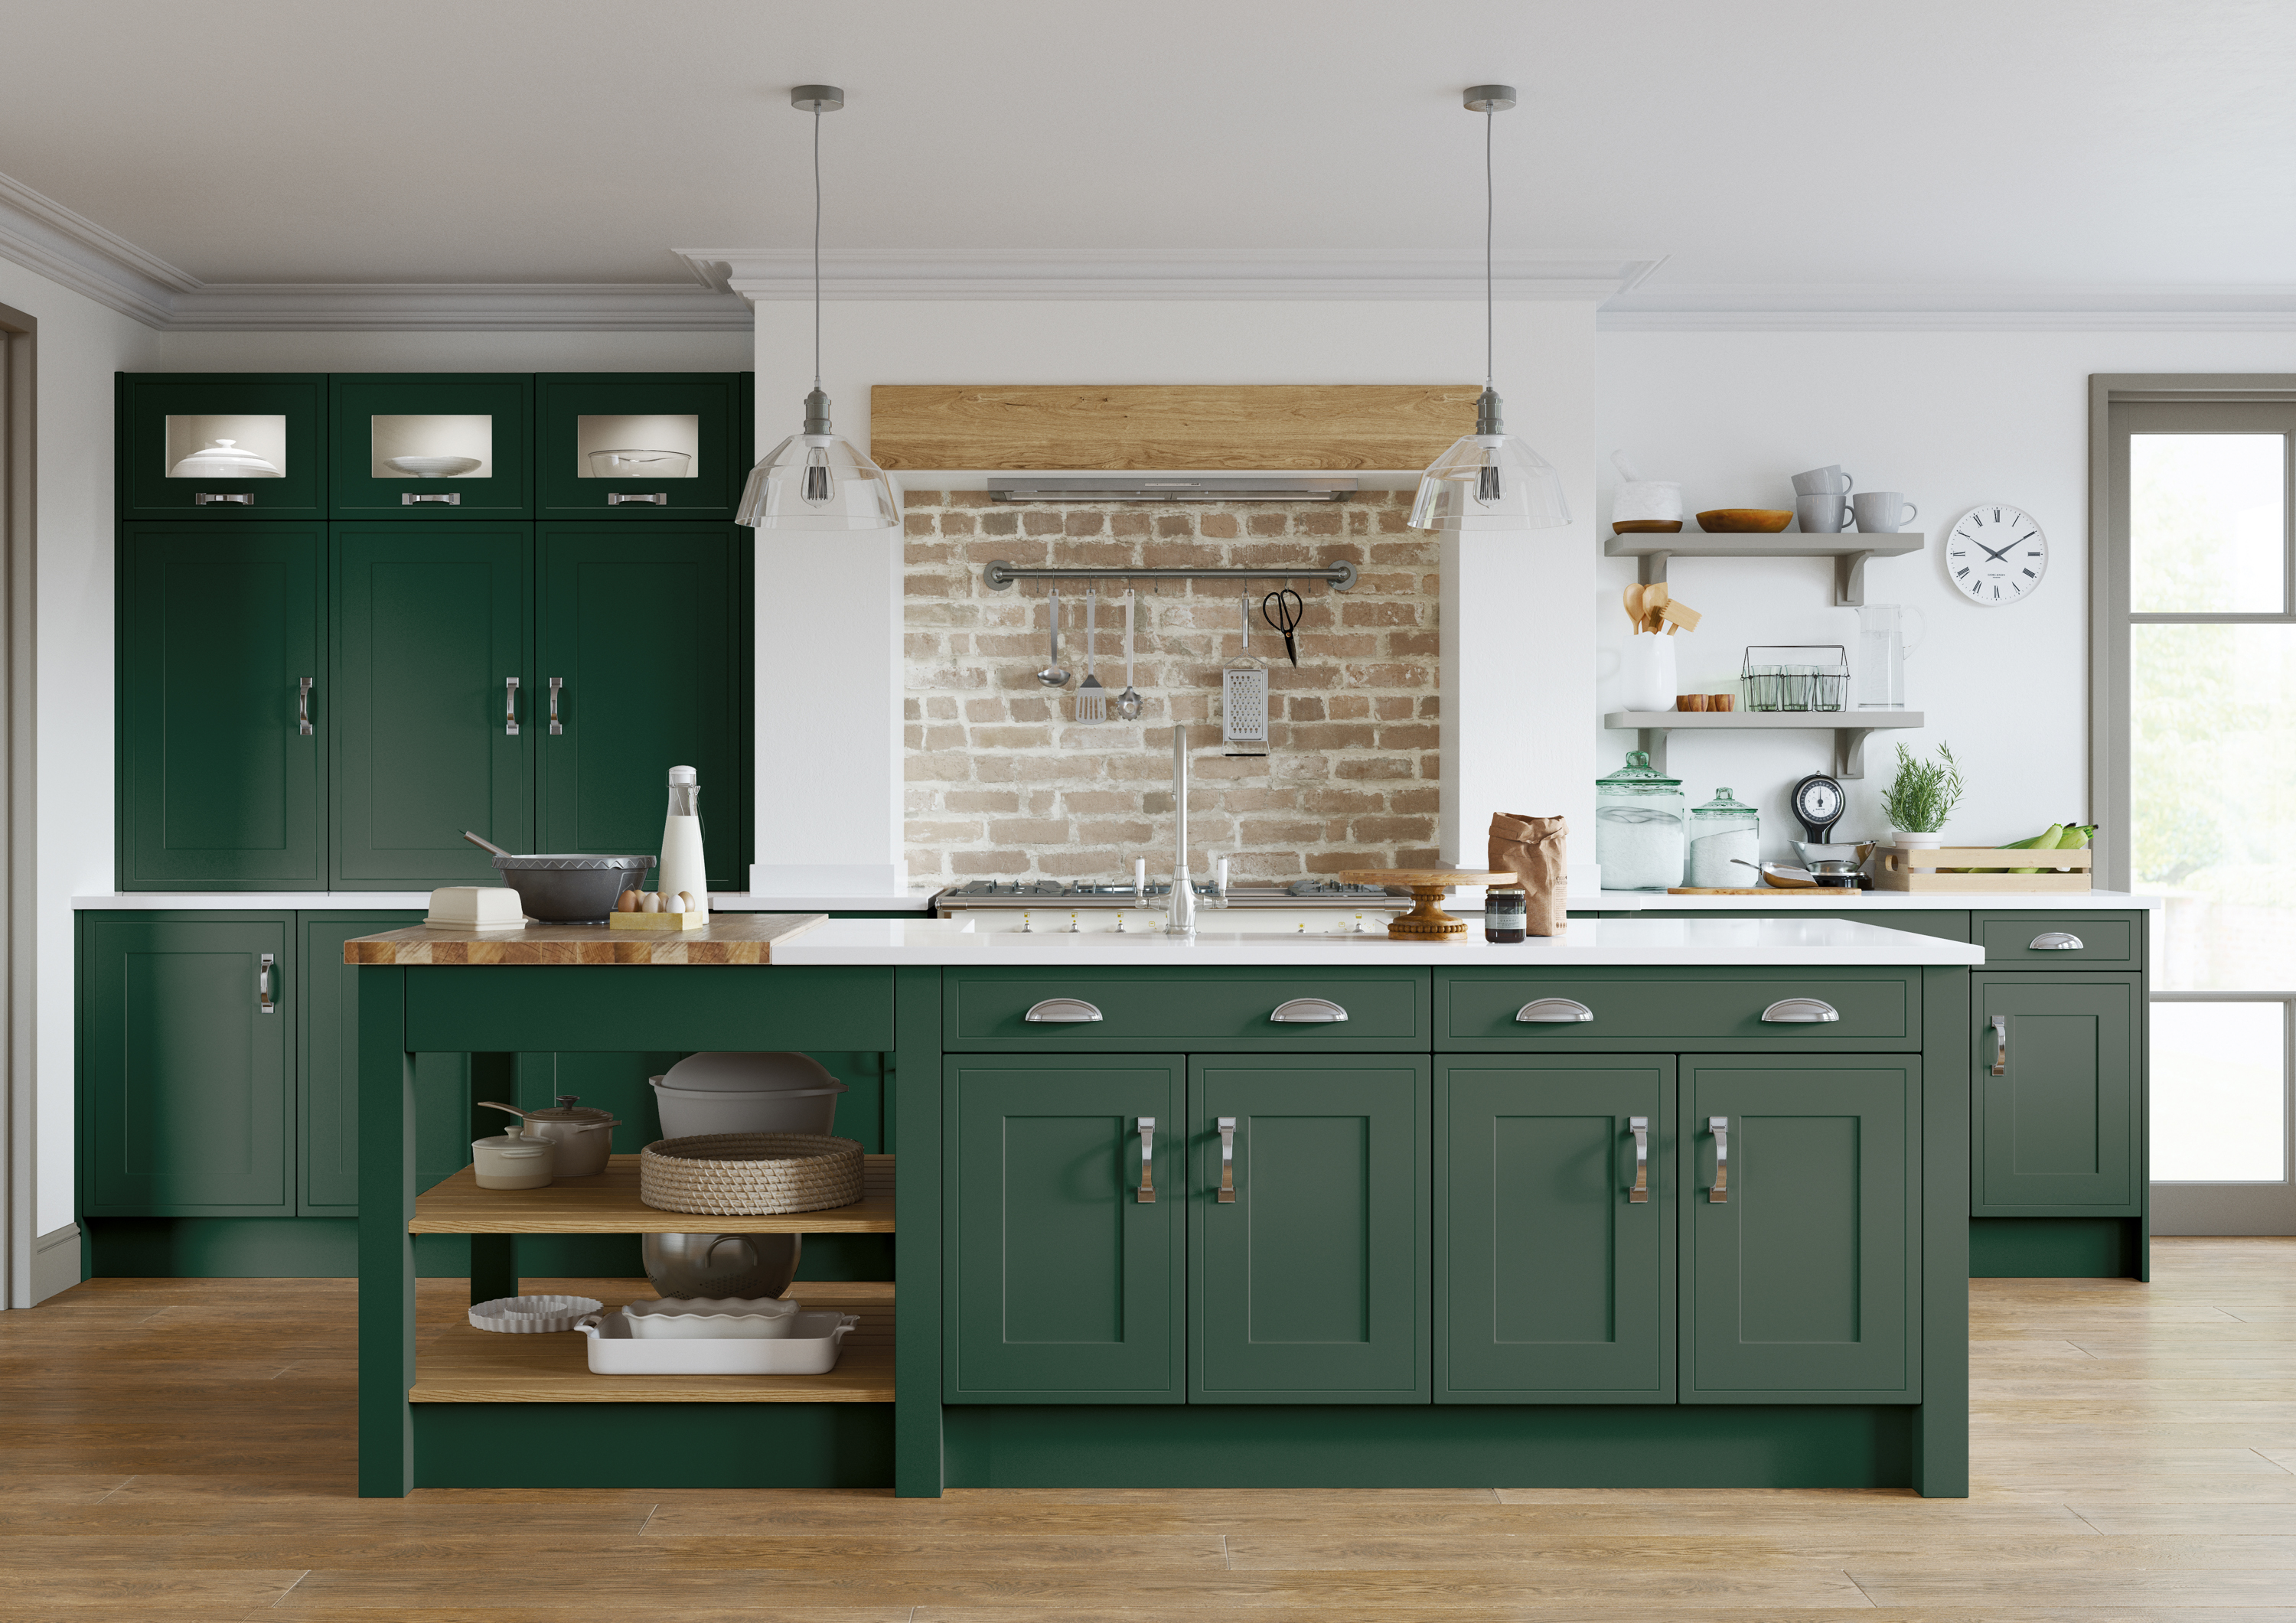 How to install kitchen cabinet handles
Simply knowing how to install kitchen cabinet handles yourself could see you give your cooking space an instant facelift.
By Kate Sandhu Published
-
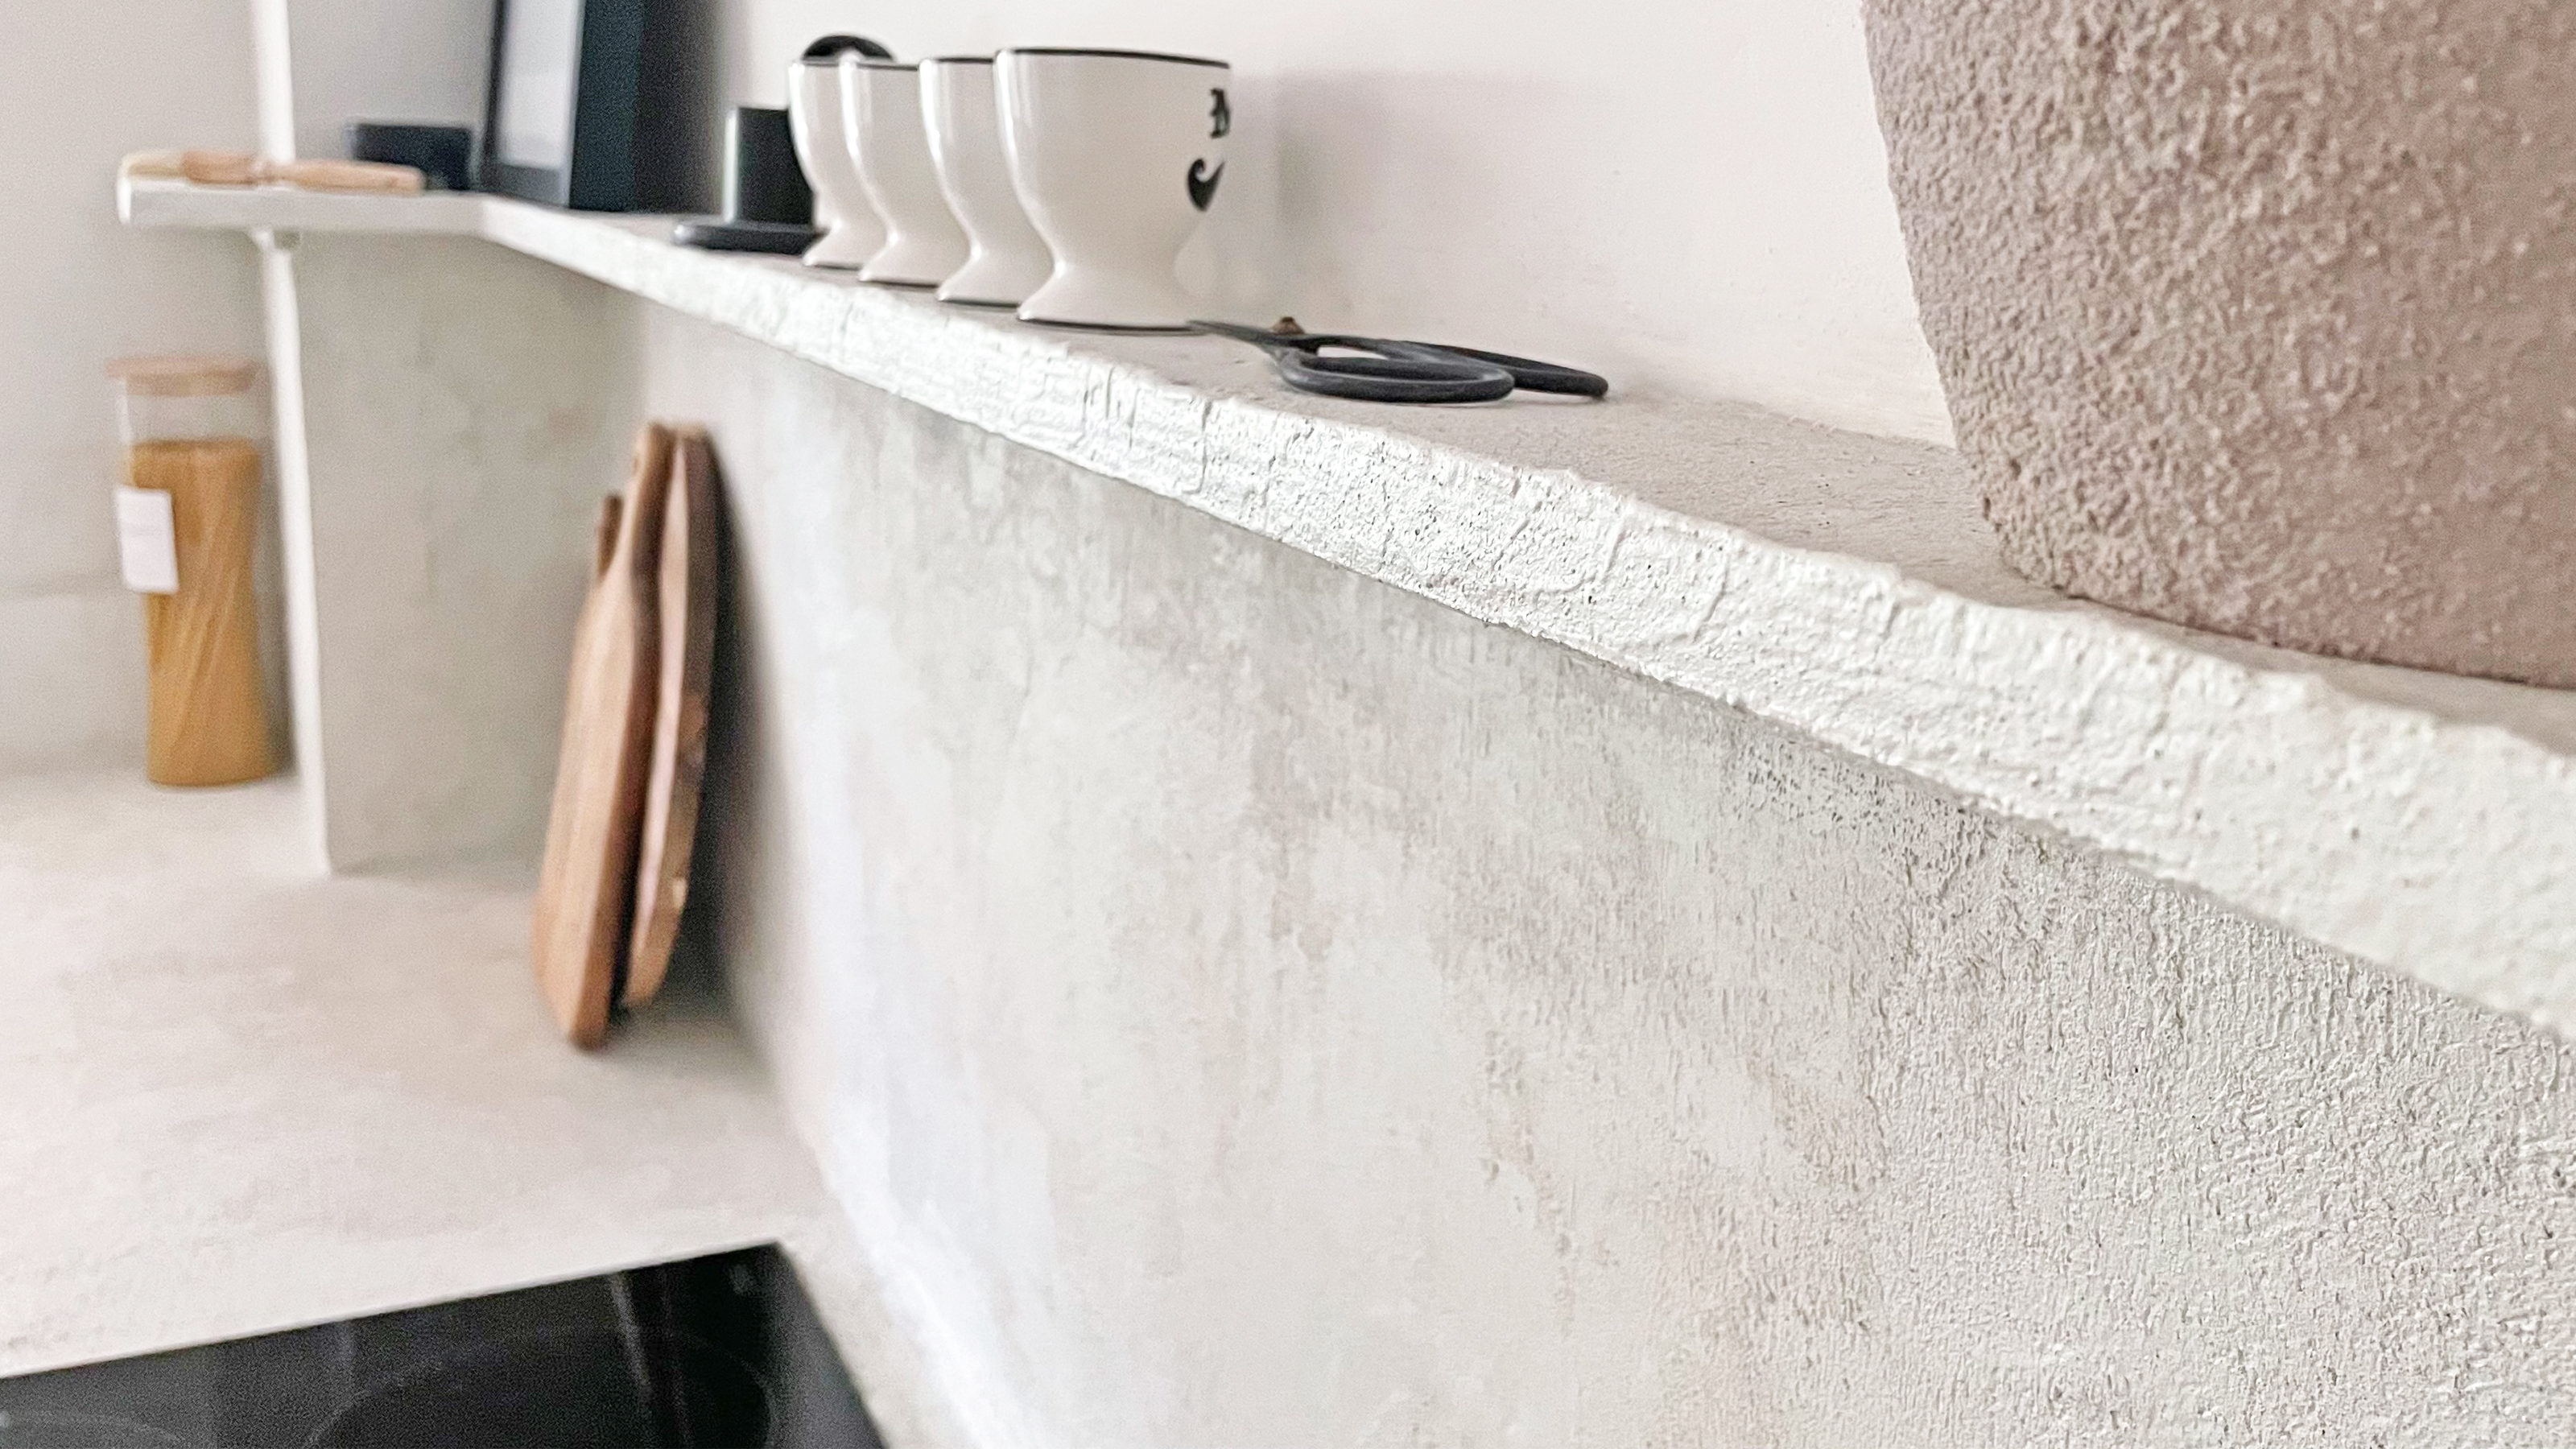 How to DIY a microcement backsplash for a cool, budget kitchen upgrade
Learn how to DIY a backsplash out of microcement for a cool polished concrete look in your kitchen, that won't cost the earth.
By Claire Douglas Published
-
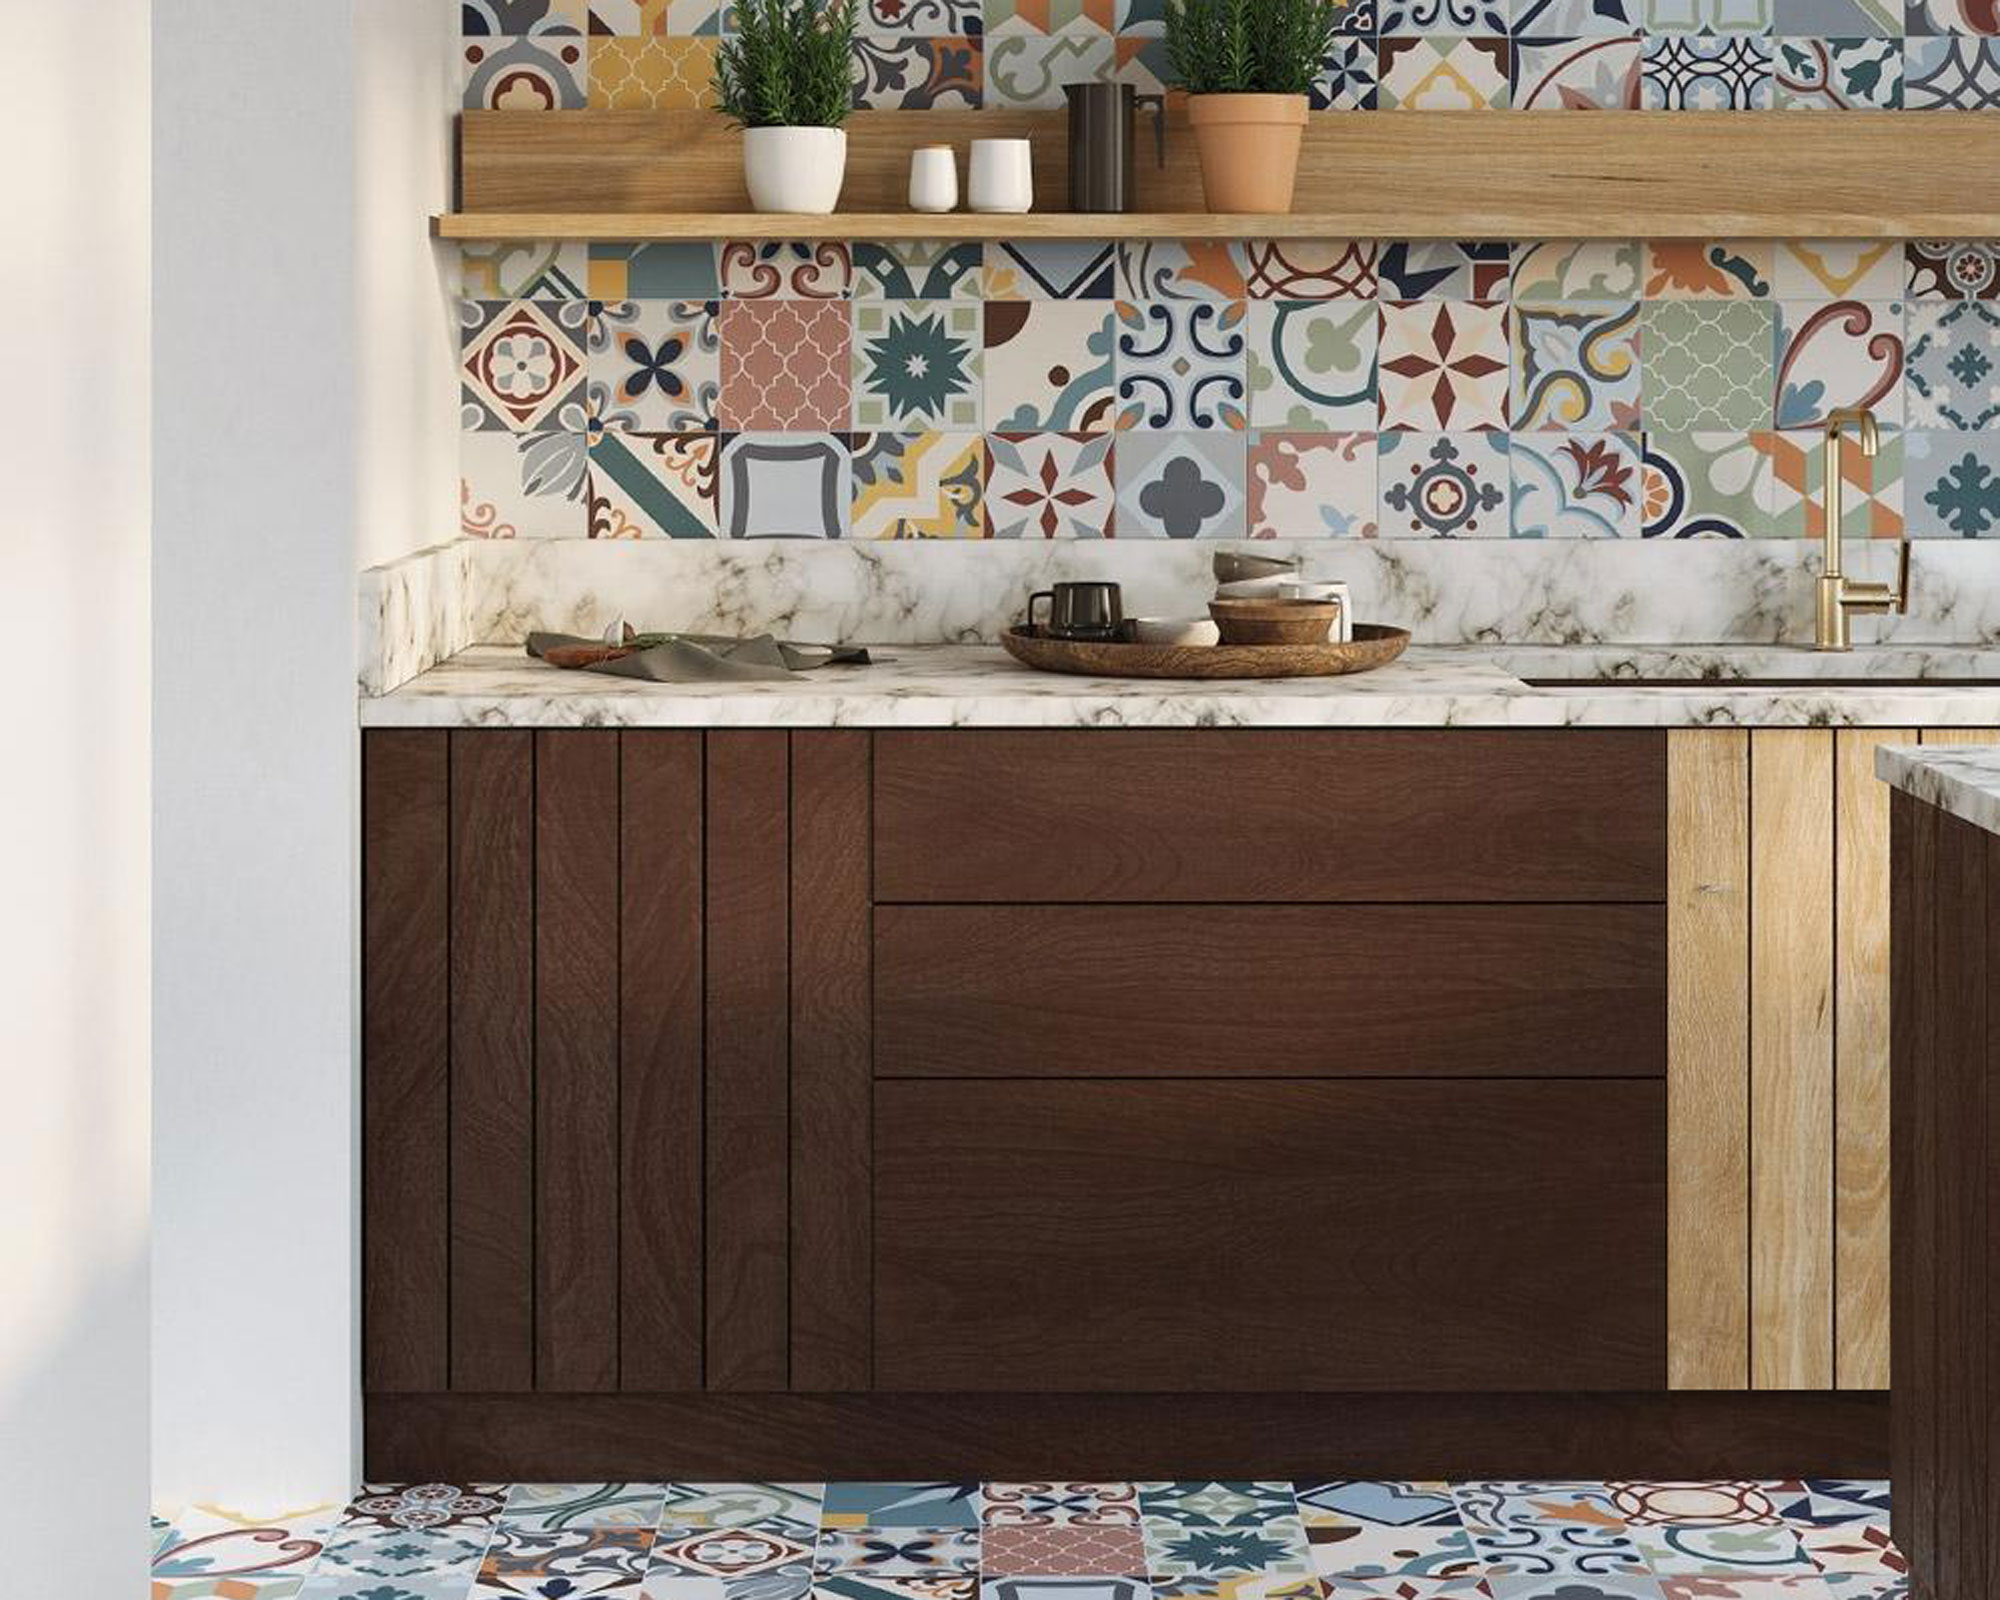 How to install laminate countertops in the kitchen
Learn how to install laminate countertops yourself and know which materials will need professional input
By Sarah Warwick Published
-
 Exclusive: Bobby Berk shares easy way to elevate your rented kitchen for $20
Shake things up for the New Year with the interior designer's rented kitchen tip
By Millie Hurst Published
-
 Instagrammers share easy hack to make your kitchen look more expensive for under $100
It's all in the details
By Millie Hurst Published