“Where do I even begin?”
Without a doubt, the hardest part of DIY is just getting started. And like so many others out there, I began my DIY journey not knowing the answer to this very question. Now that I have my bearings a bit, though I still have so much to learn, I have a bit of insight into what a good starting point might be for someone looking to jump into the wonderful world of DIY.
For me, DIY has become a way to discover what I am capable of. “I can do hard things,” is a sentiment that I learned through project completion after project completion. Do I still question if I can do it? Of course. But “Yes, you can,” is an answer that I have found to be frequent. However, an attainable challenge is necessary in order to find continued success. I wouldn’t hear those words in my head if I attempted an expert DIY from the start, because I likely wouldn’t have the skills and knowledge to find success. And are mistakes still made? Absolutely. This is how we learn. So, again, “Where do I begin?”
Below, I've listed out two of my favorite DIY projects. They'll not only dramatically transform your home, but I promise they're beginner-friendly, too.
Board & batten wall
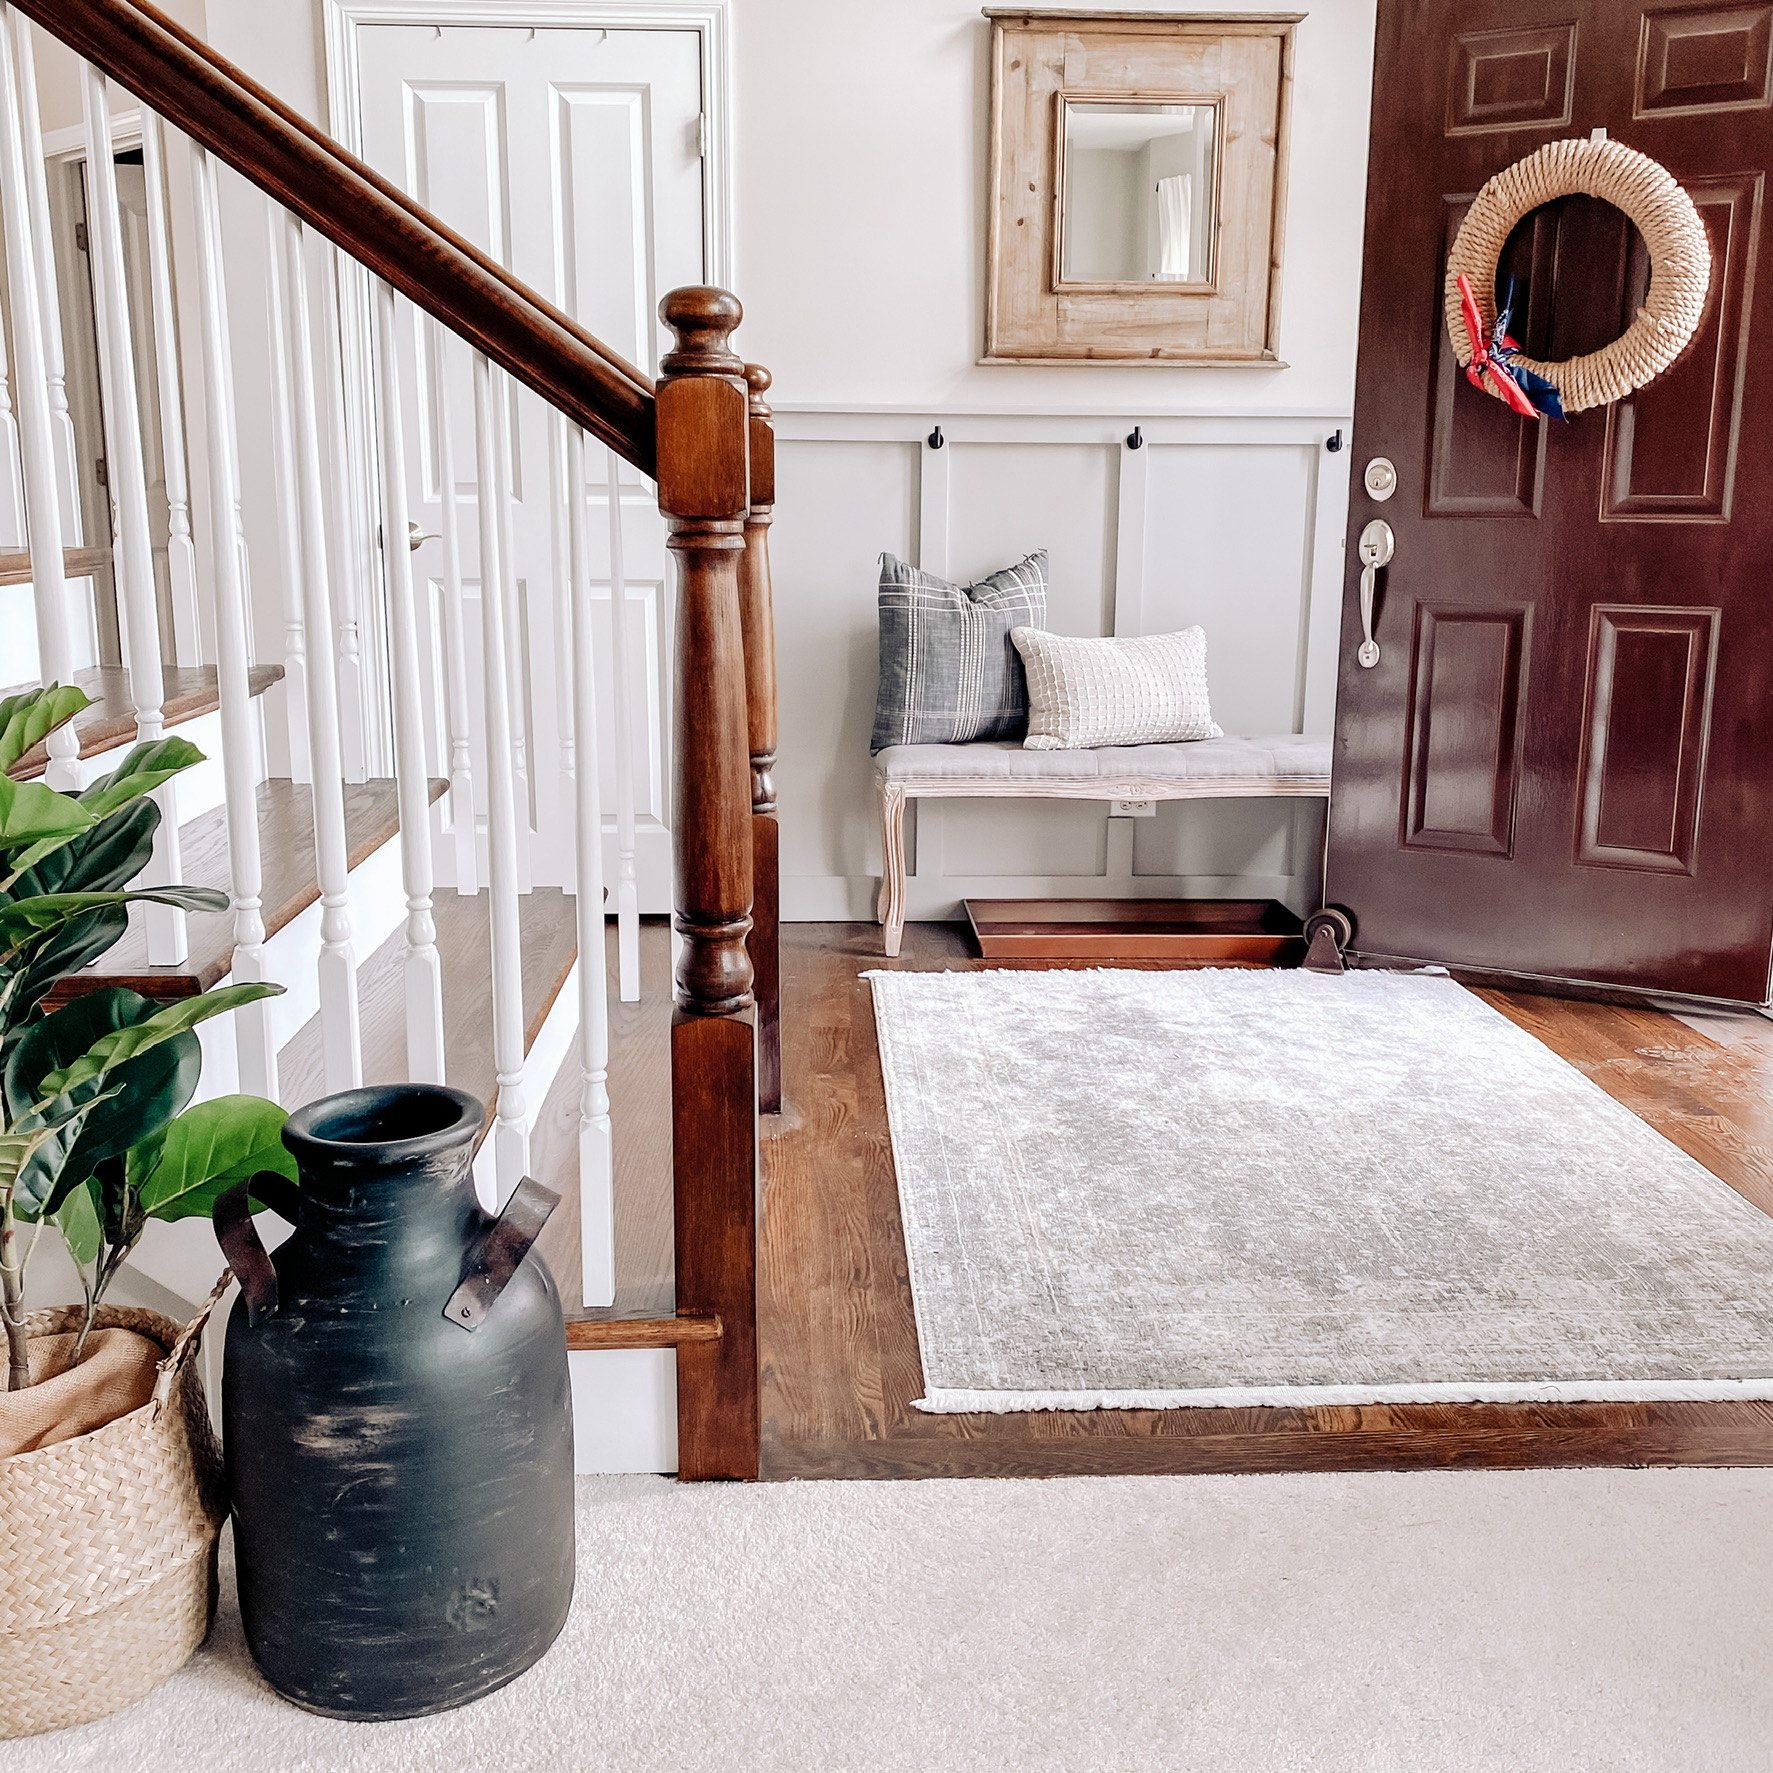
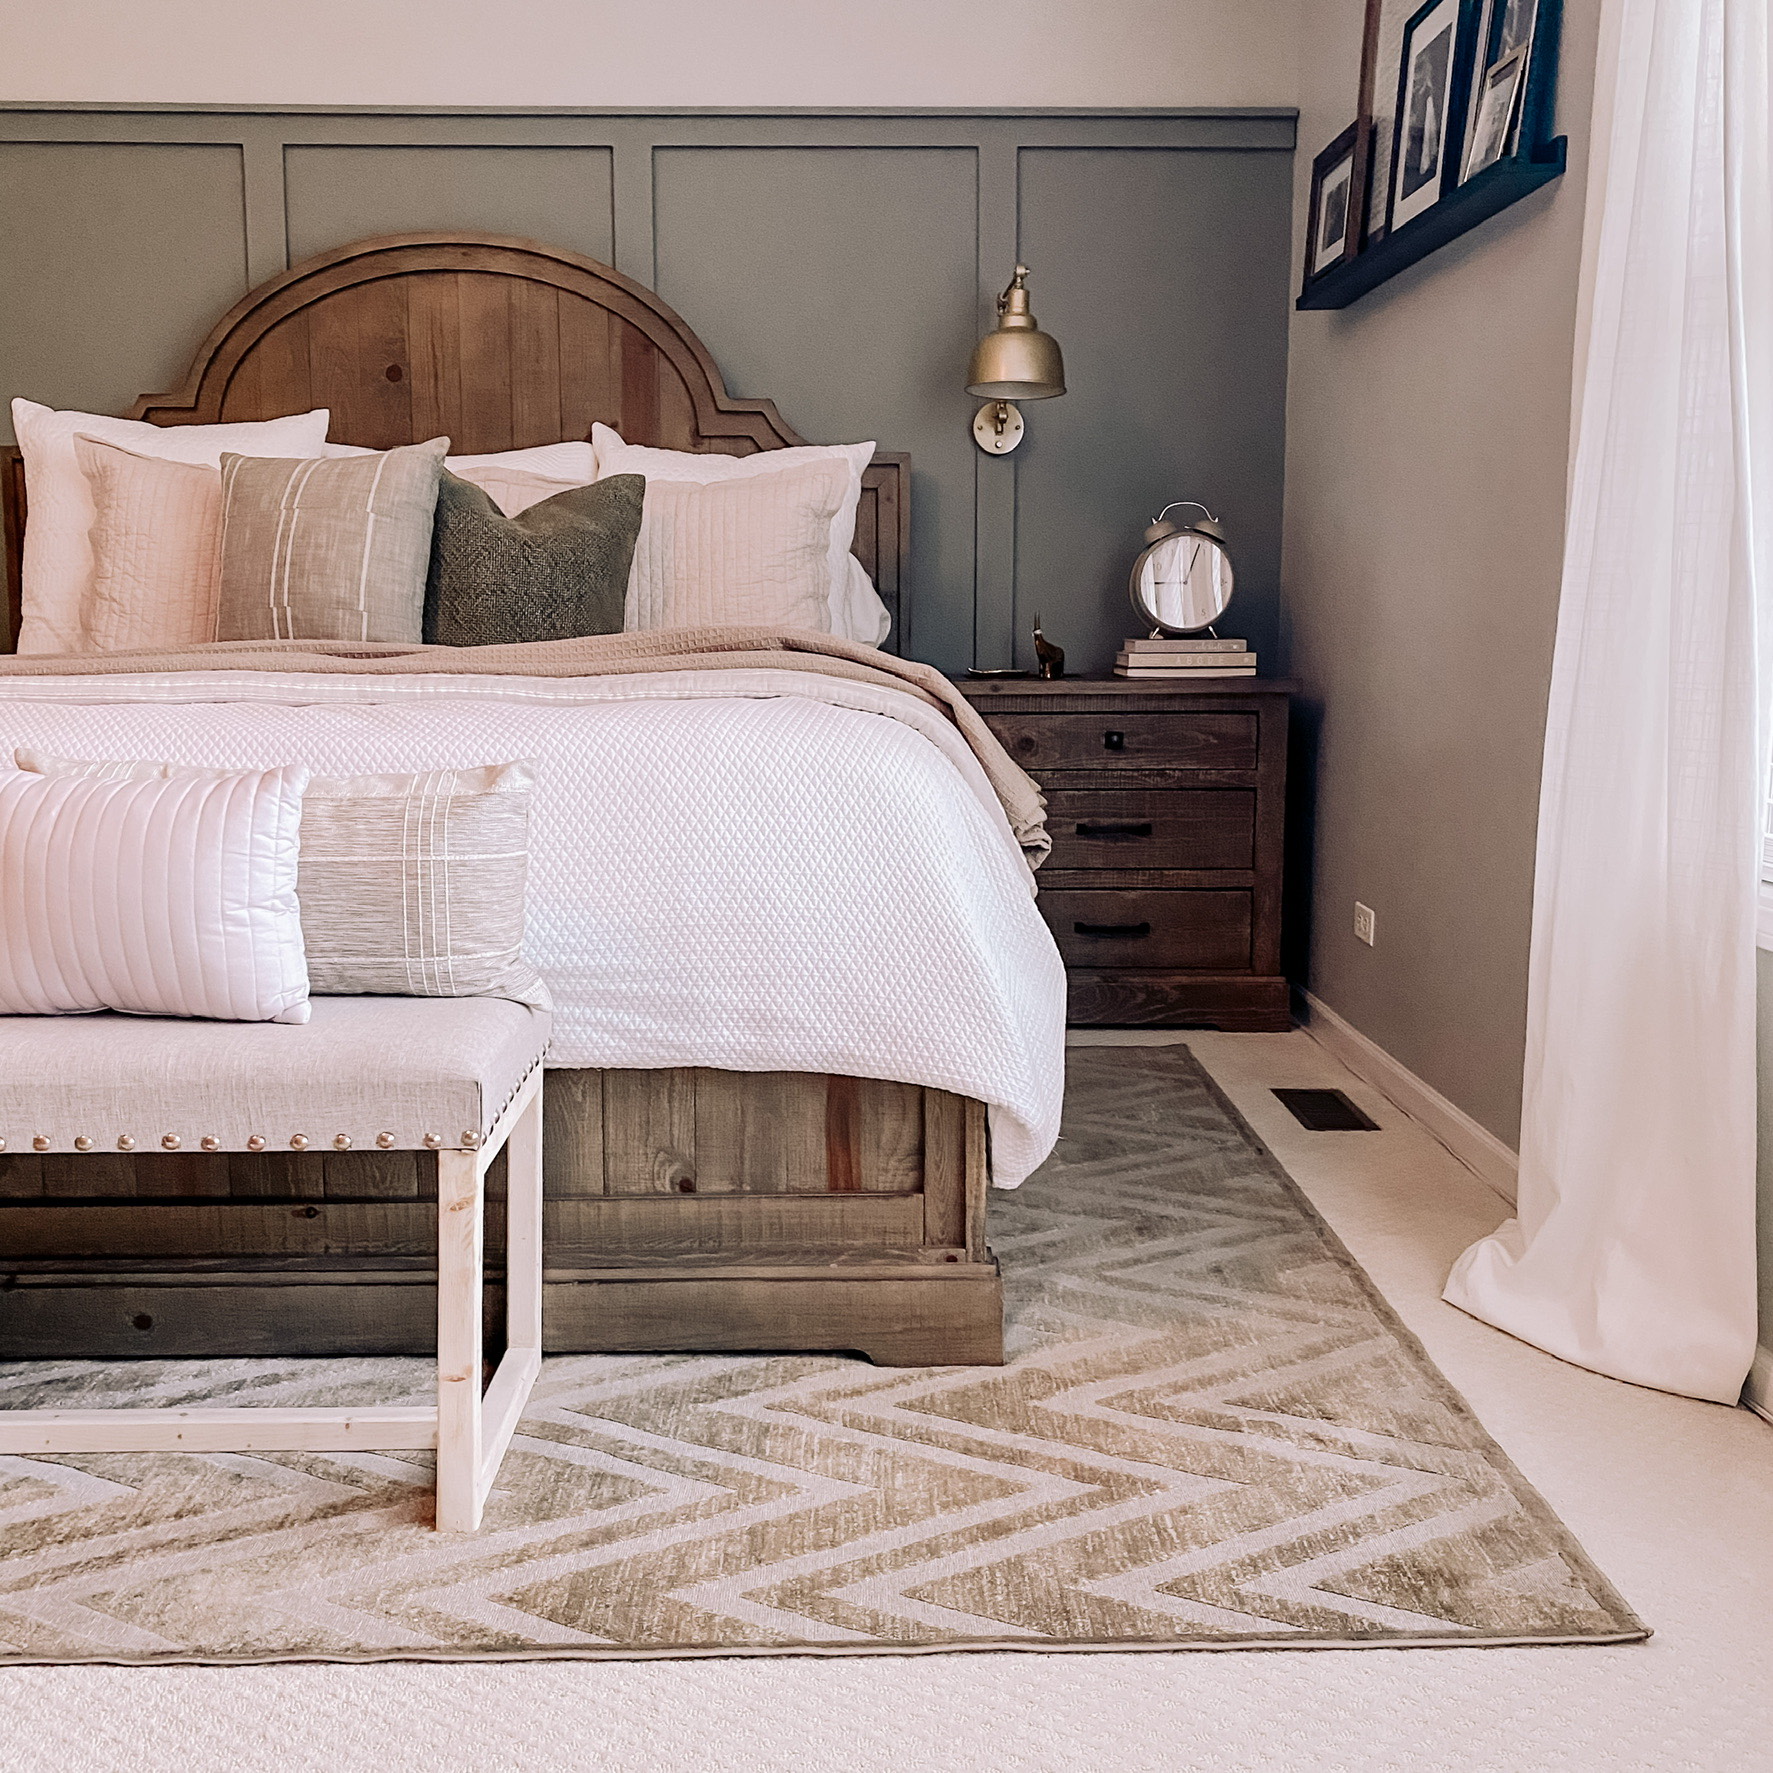
One of my first projects, and still one of my favorites is a batten wall. A batten wall is a feature wall that involves attaching wood pieces to your wall in order to add dimension and design to a space. Many may be familiar with “board and batten,” but just a “batten wall” makes this DIY a little bit easier. No boards, just batten. Board and batten walls come in a variety of sizes and styles, and their addition provides an easy way to elevate a space. A batten wall, in particular, is a project that can easily be completed in a day or so, especially in a small space.
To begin, a decision must be made about the specifications of the design. This involves desired width between the boards, desired width of the boards themselves, and color of the wall. I personally love a batten wall where the top part of the wall (or the part without the batten) is the same color as the feature itself. Once decisions are made, lumbar supply and cut lists can be made. A common example of boards to use would be to use 1x4 boards (I prefer select pine) along the top and bottom to run horizontally, and 1x3 boards to run vertically.
The actual process of the project will consist of:
Join our newsletter
Get small space home decor ideas, celeb inspiration, DIY tips and more, straight to your inbox!
- Removal of existing base boards
- Addition of cut boards (battens)
- Wood filling/sanding of nail holes
- Caulking of gaps between boards and wall
- Painting
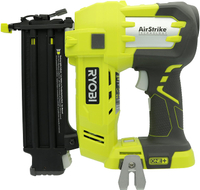
Tools for this project are minimal, which is another reason why it is a good project for beginners. A saw of some kind (but preferably a miter saw) will be needed to cut the boards, and a finish nail gun (though not entirely necessary) will make the process attainable for the most novice of DIYers. If a nail gun is not used, a hammer and finish nails can be used. Each nail would have to be hammered in and then a nail punch can be used to push each nail below the surface of the wood in order to provide a seamless look. In my humble opinion, the saving of all the effort is definitely worth the money that will be spent on renting our buying a nail gun.
This project is one that I have done many times, and one that has given me a lot more confidence to try more difficult projects. It is achievable for the beginner, and a great place to start.
Ryobi P320 Airstrike 18 Volt One+ Lithium Ion Cordless Brad Nailer | $119 at Amazon
This finish nailer is a perfect pick for a beginner DIYer, since it doesn't require an air compressor. It does require a battery that's sold separately, but the battery is compatible with most other Ryobi cordless tools, so you only have to buy one (or a couple if you want to have a spare).
Spray paint projects

Another one of my favorite projects that I always come back to is anything involving spray paint. The power of paint always amazes me, and the transformations to a piece through a change of color are always surprising.
Though it seems pretty easy, spray painting does take some practice, and having a few pointers up your sleeve will help. First and foremost- wear a mask or paint respirator. It might seem silly, but the chemicals in spray paint are not ones that should be inside our lungs, so I don a mask for these projects. I also usually wear disposable plastic gloves. Not a completely necessary addition, but it will make clean up a lot easier. The next step is crucial, and I apologize for yelling, but BACK UP! The number one problem that I see with spray painting is that the application is done too close to the object, which causes an uneven application and paint drips. For seamless coverage, I recommend holding the can about 10 inches from the object and moving your arm left and right as you spray. Staying in one spot for too long will also cause problems.
- See also: How to spray paint furniture
I have also learned (again, from making my own mistakes) that overspray is a very real thing. I always try to spray outside whenever possible in order to protect surrounding items. That being said, spraying on windy days isn’t a great idea, and spray painting should also always be done in temperatures between 50-90 degrees Fahrenheit with low humidity in order to ensure a proper drying process.
Finally, it is important to remember that nearly every paint project imaginable will likely require more than one coat, so getting a clean look with no drips is much more important than covering everything the first time around. From light fixtures to vases, and from shelf hardware to thrifted books, there are a LOT of spray-painted items in our home. The fact of the matter is that styles change. Maybe you loved that black mirror a couple of years ago, but you lean more towards gold accents now. There is truly no need to go spend money on a brand-new item. Spray paint can definitely give your pieces a brand-new look for a fraction of the cost.
The feeling of accomplishment is a beautiful thing, and that exact feeling is why I keep learning, why I keep making mistakes, and why I keep trying. So, I encourage you to start small, but I encourage you to try. You might be surprised with what you can create.
About the author
Liz Hartmann is a DIYer and lover of all things home décor. She can be found on social media @misslizdidit
-
 A $200 fluted panel transformed my drab kitchen in just one weekend
How to install a fluted kitchen panel: A speedy and achievable DIY tutorial even for DIY novices
By Claire Douglas Published
-
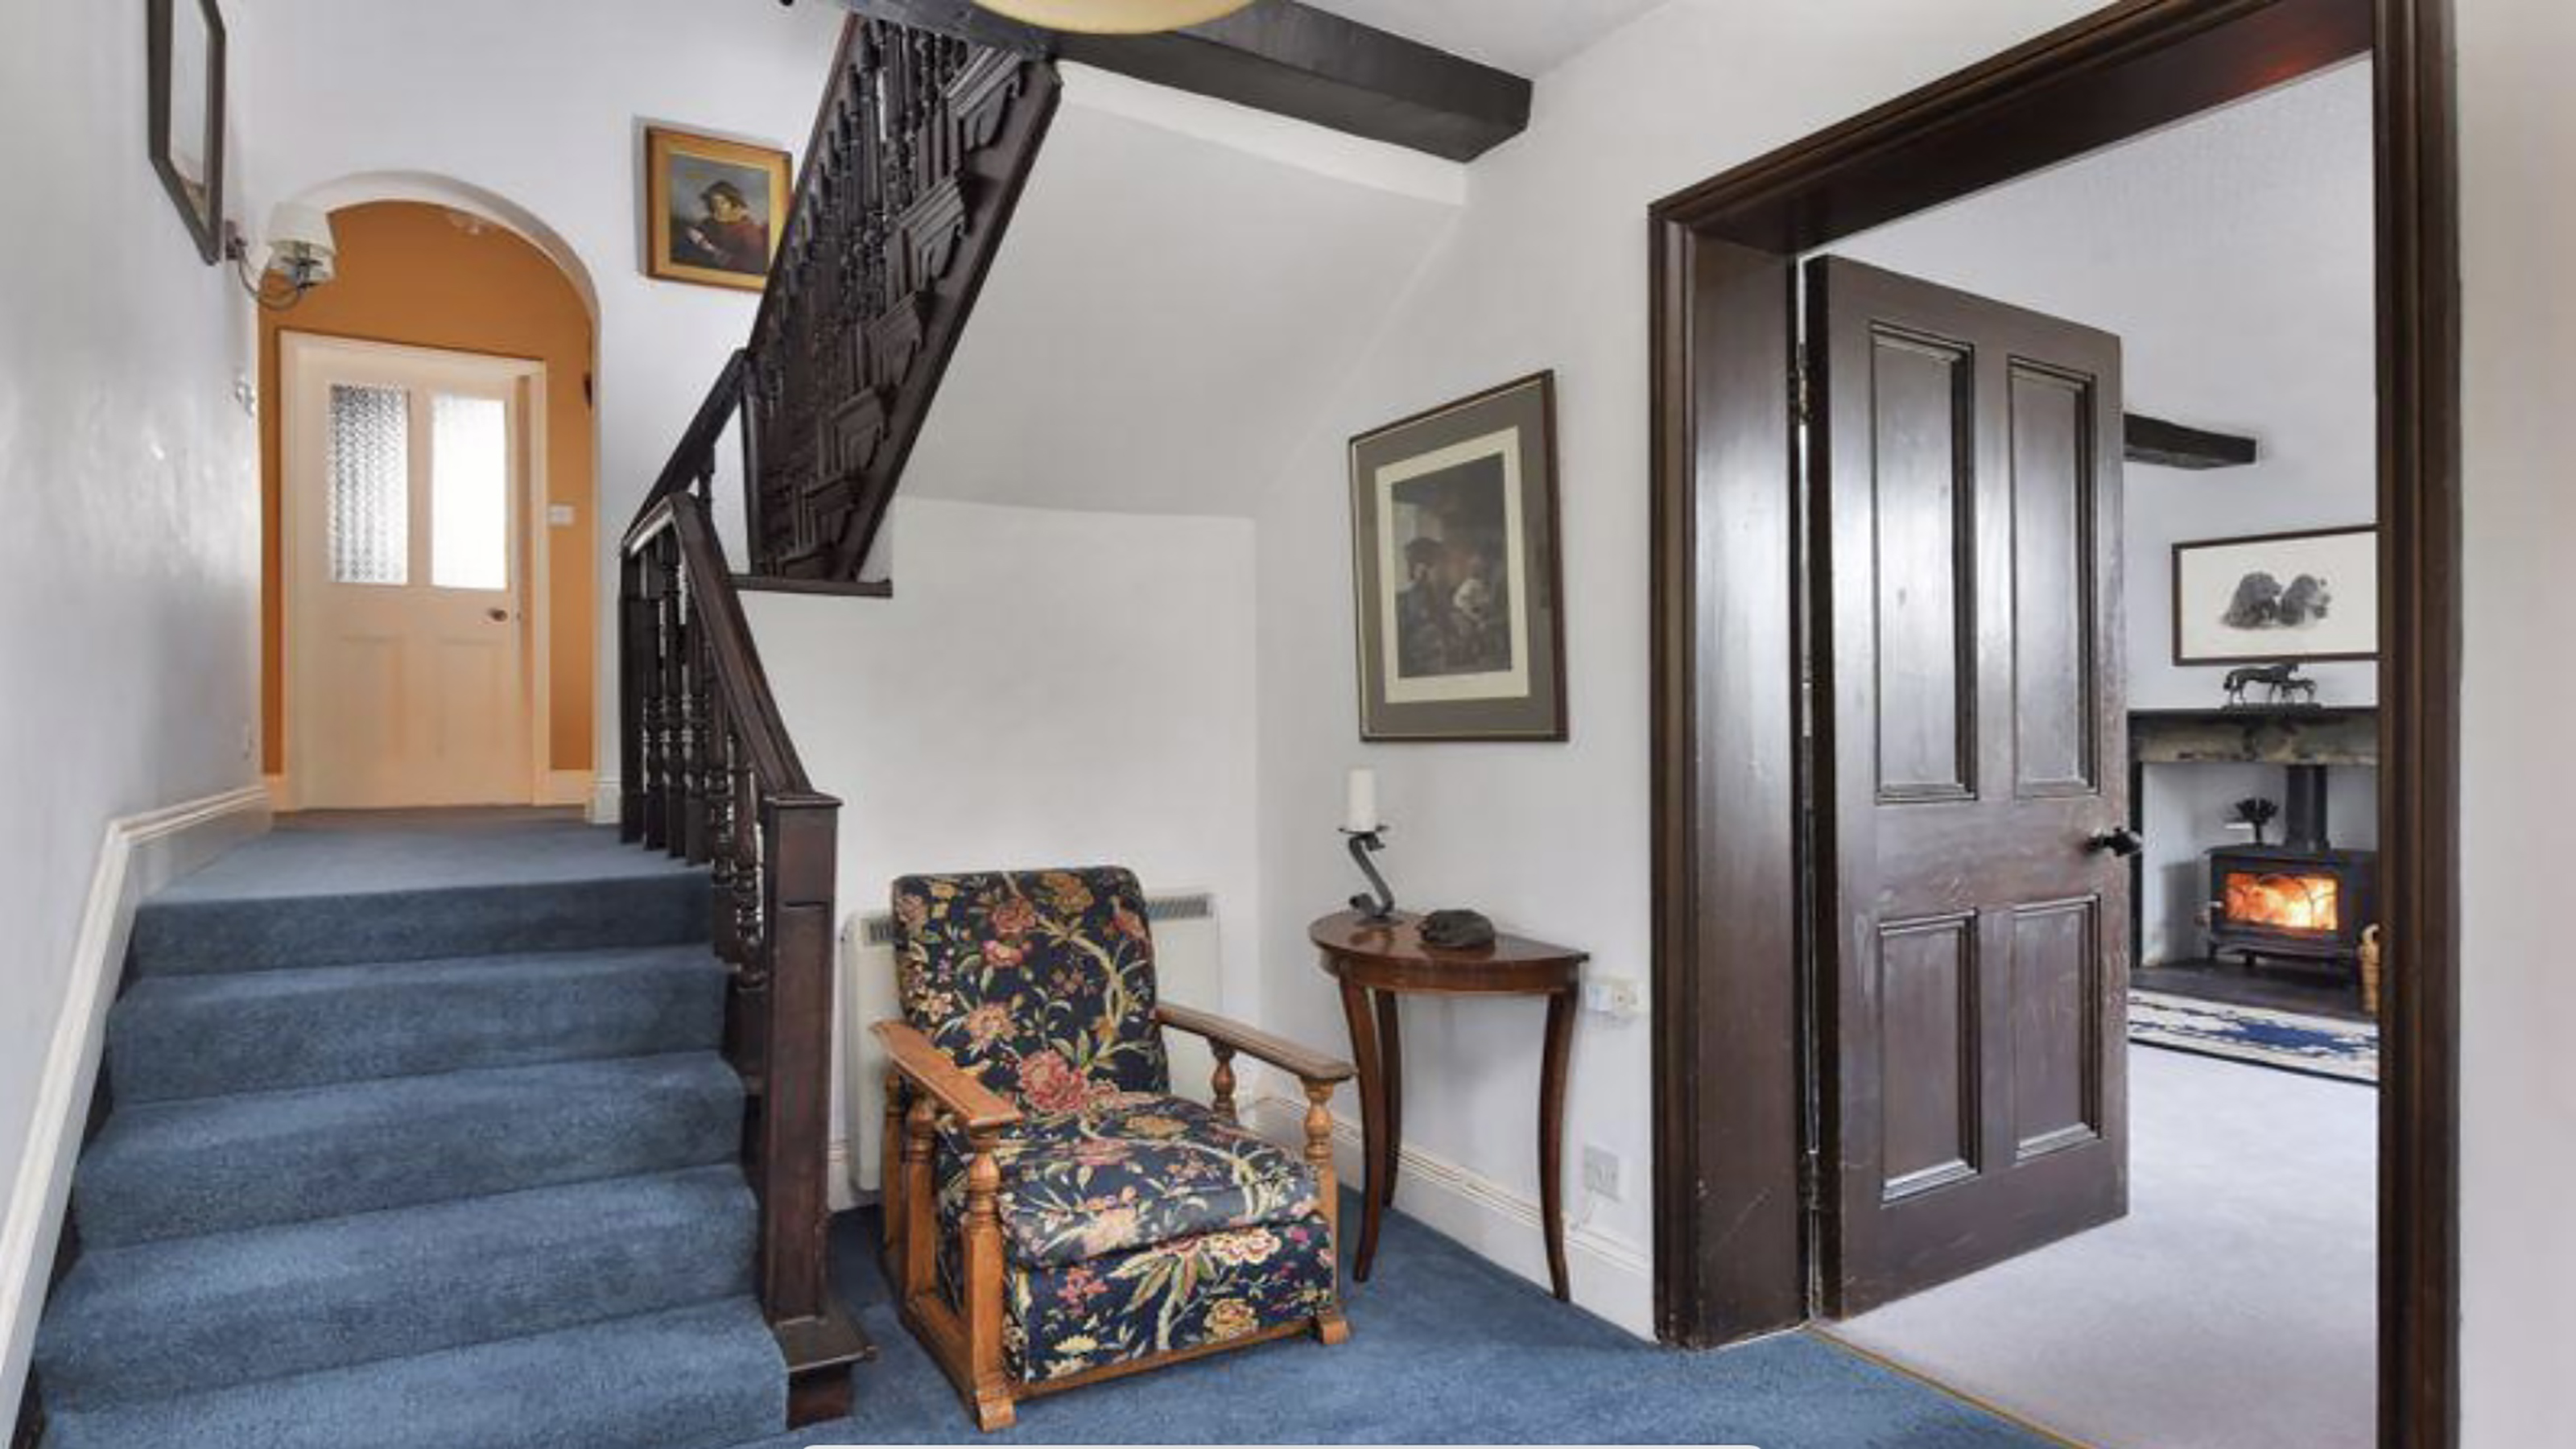 How to replace a broken staircase spindle in 30 minutes flat
A missing or broken spindle on a staircase is not only unsightly, but it can be a real hazard. This is how to fix it in a few quick steps.
By Kate Sandhu Published
-
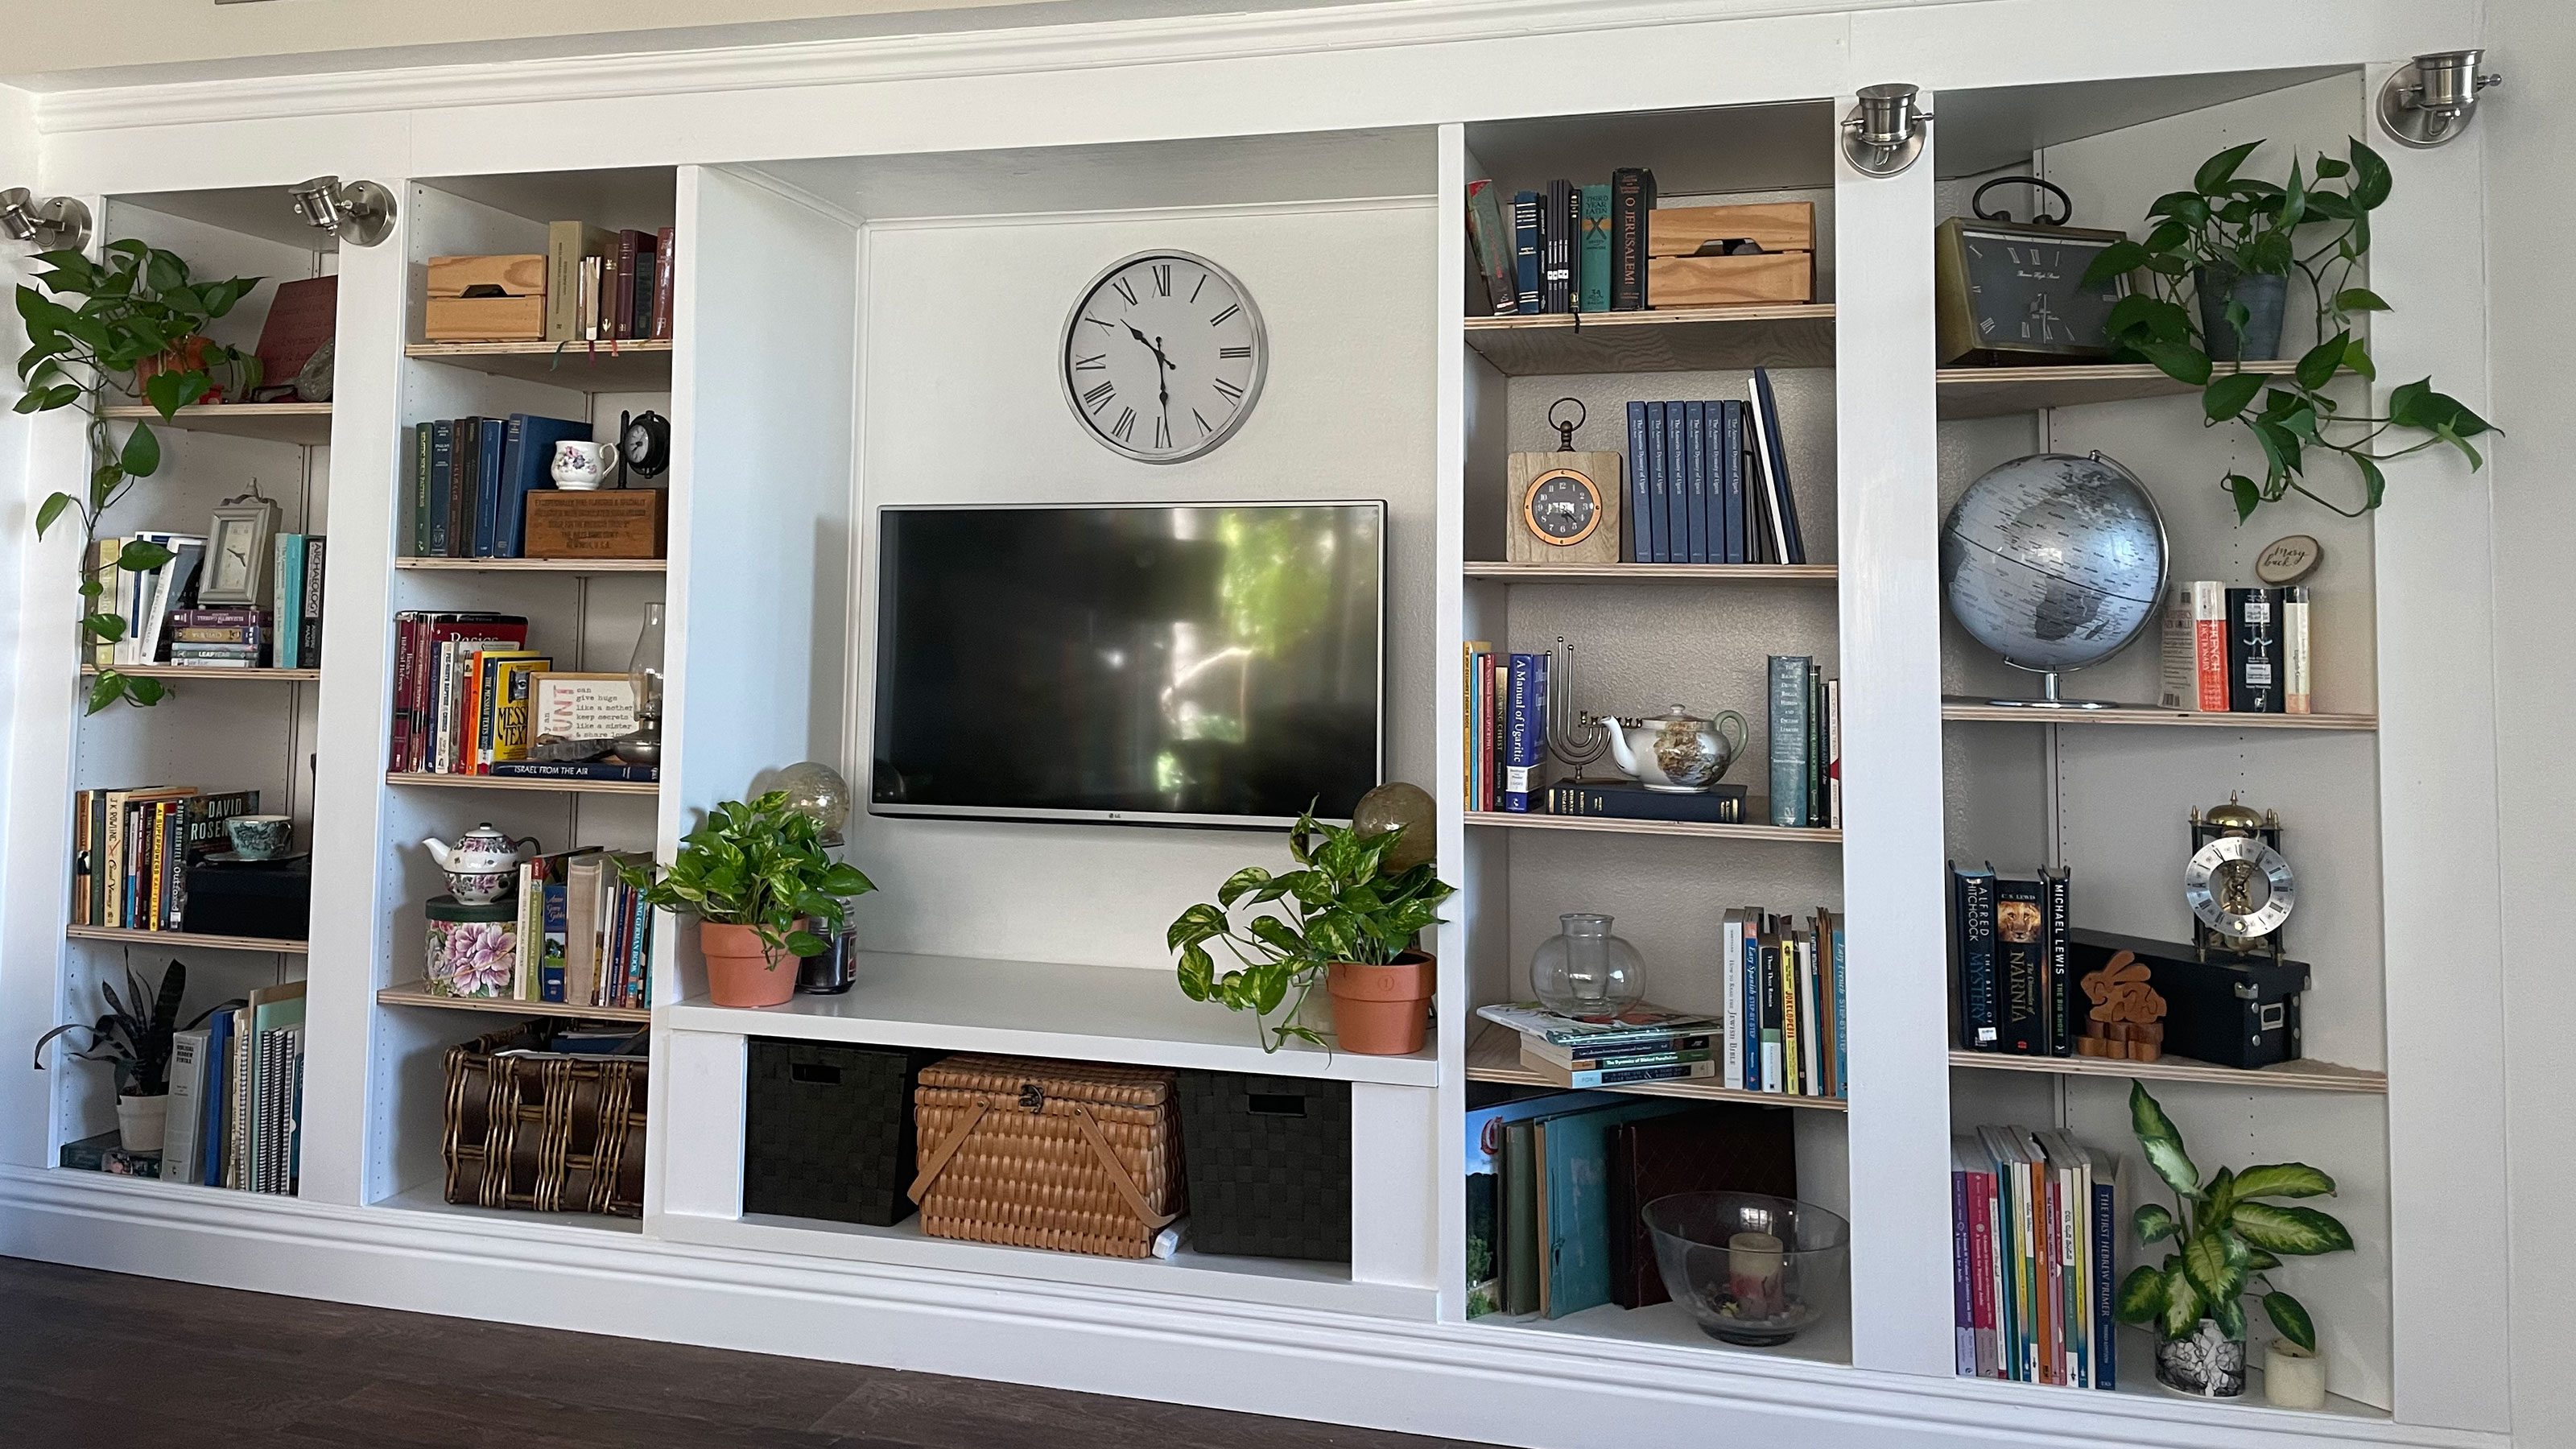 An IKEA Billy bookcase hack inspired this cute media wall DIY
This cute DIY was inspired by an IKEA Billy bookcase hack and brought a ton of symmetry to an otherwise basic media wall space.
By Camille Dubuis-Welch Published
-
 Share your small space glow up to win $150 in the Real Homes competition
Show off your creativity and DIY skills to win $150 and for the chance to be featured exclusively in Real Homes magazine
By Camille Dubuis-Welch Last updated
-
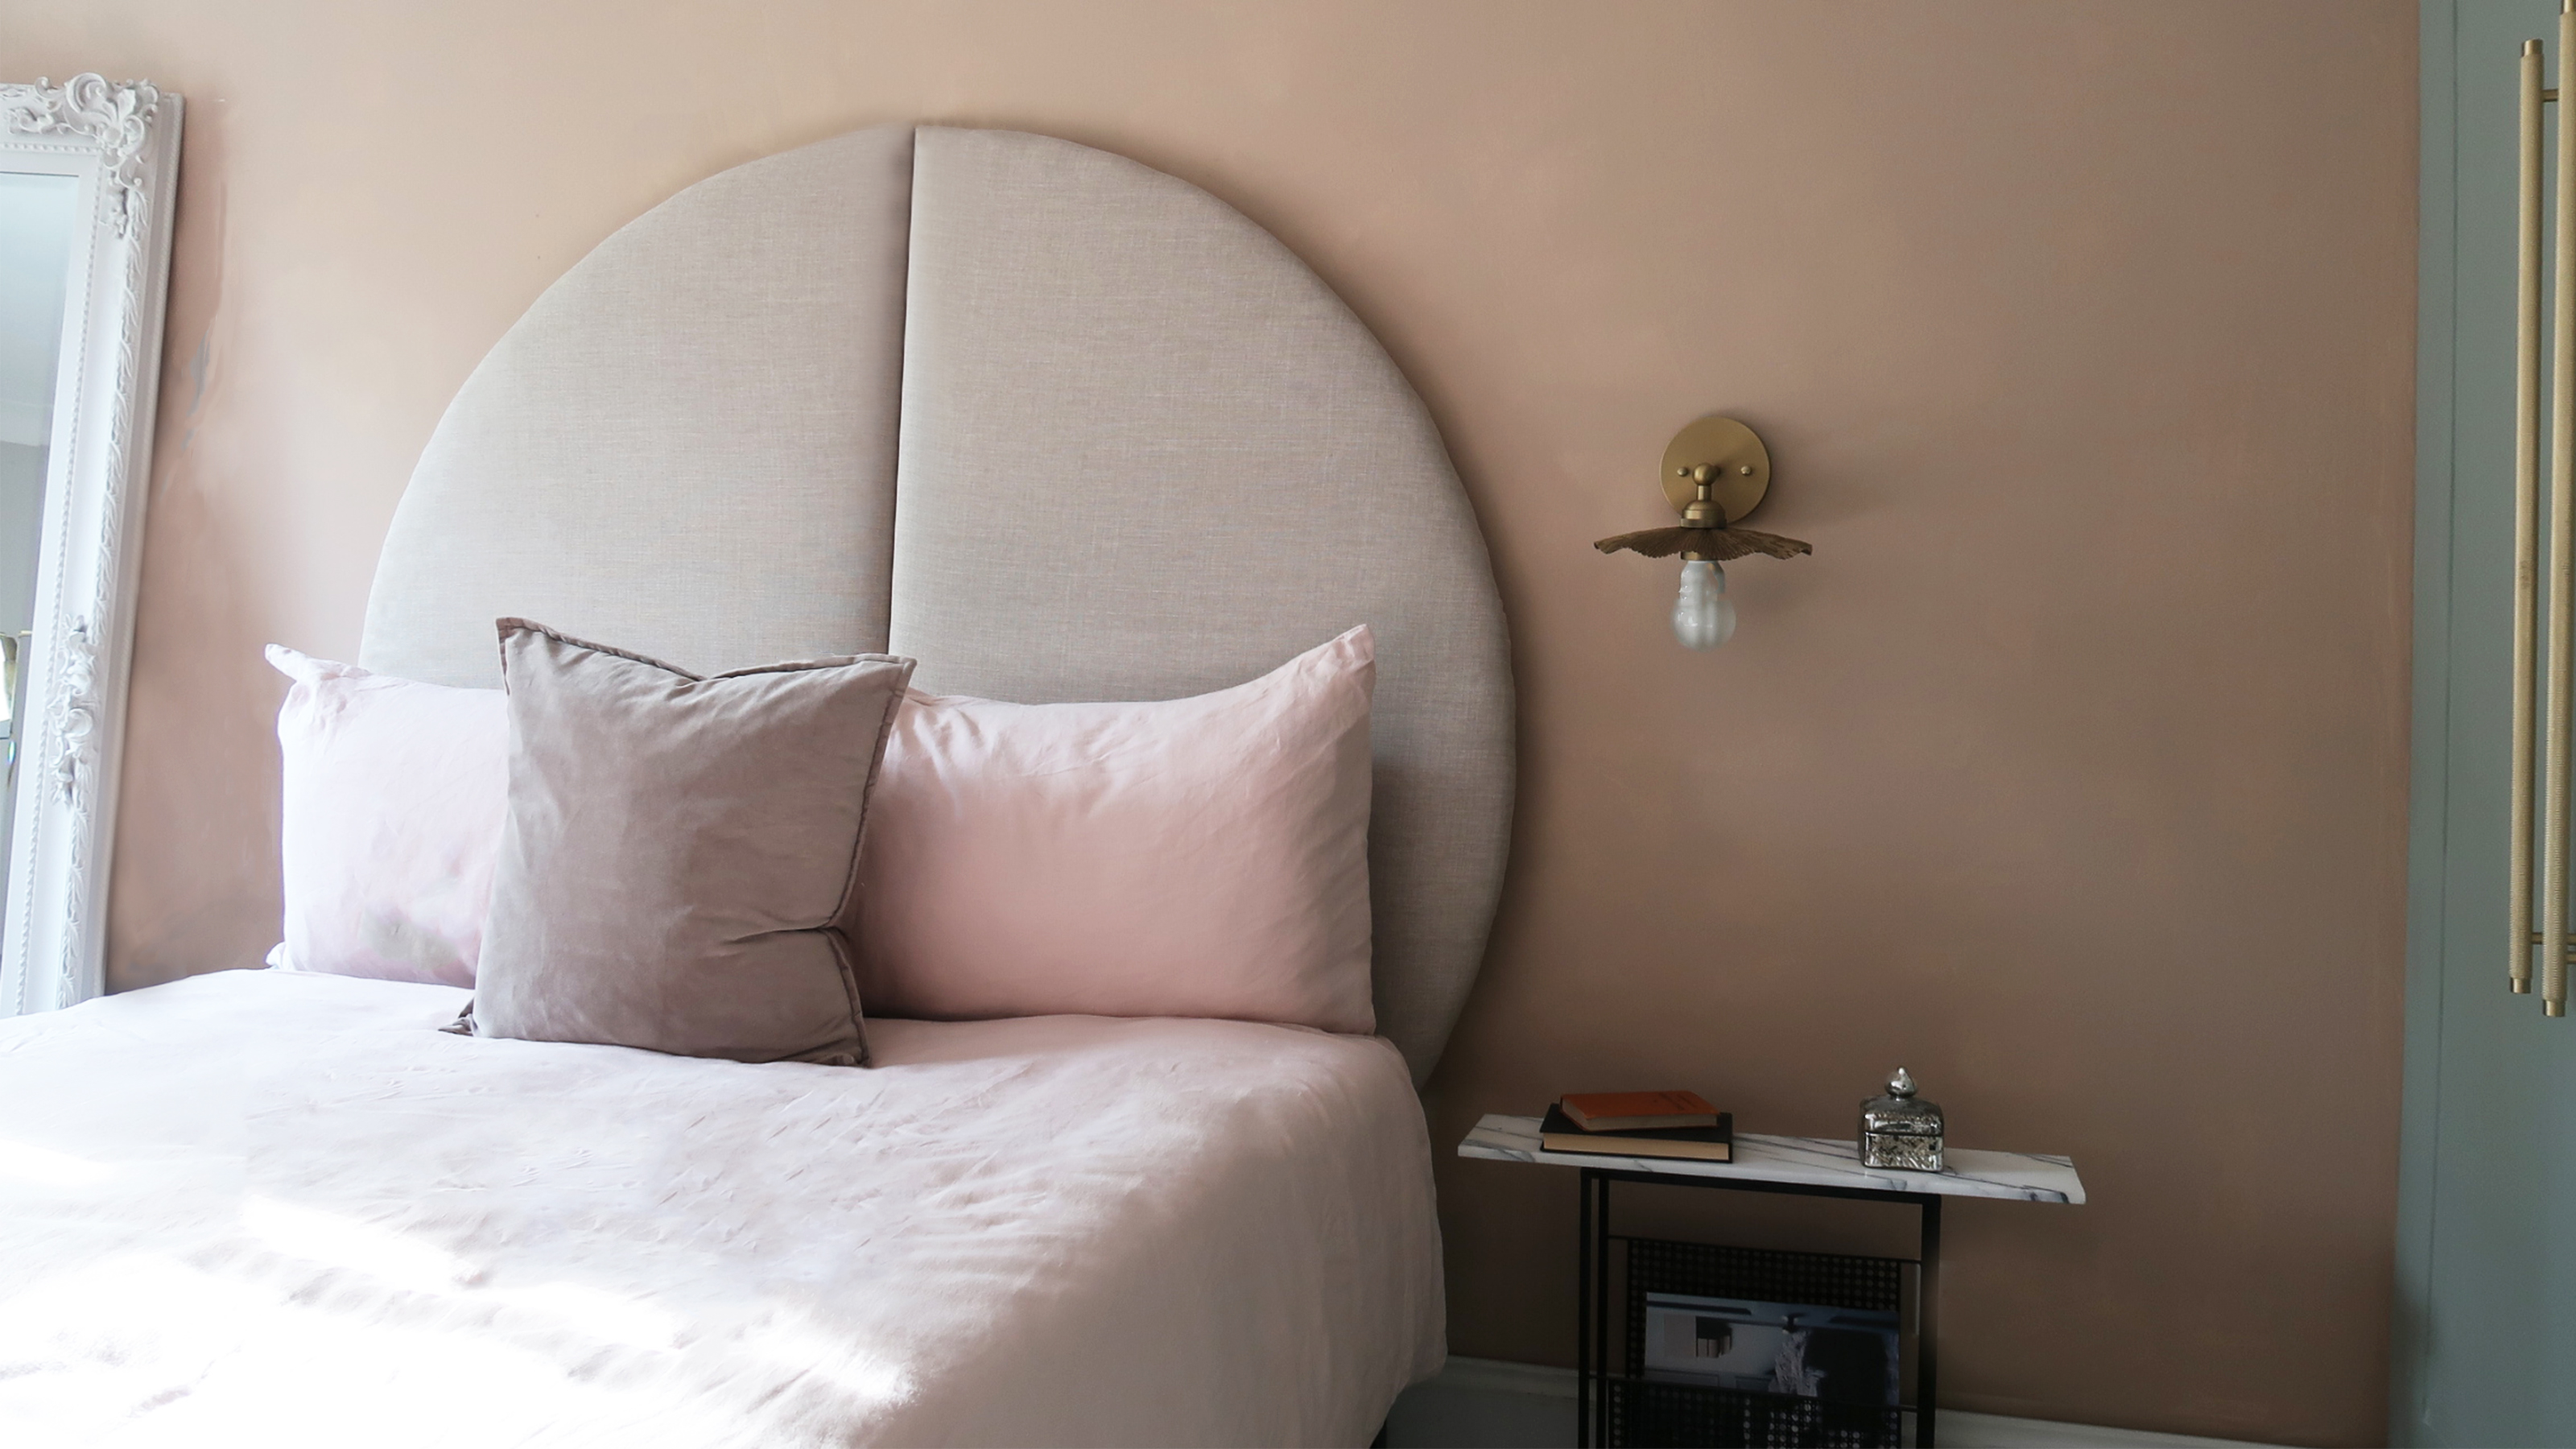 This oversized headboard looks designer, and takes 5 steps to DIY
Super simple to DIY, this oversized headboard will give your bedroom space all the designer vibes you could dream of.
By Claire Douglas Published
-
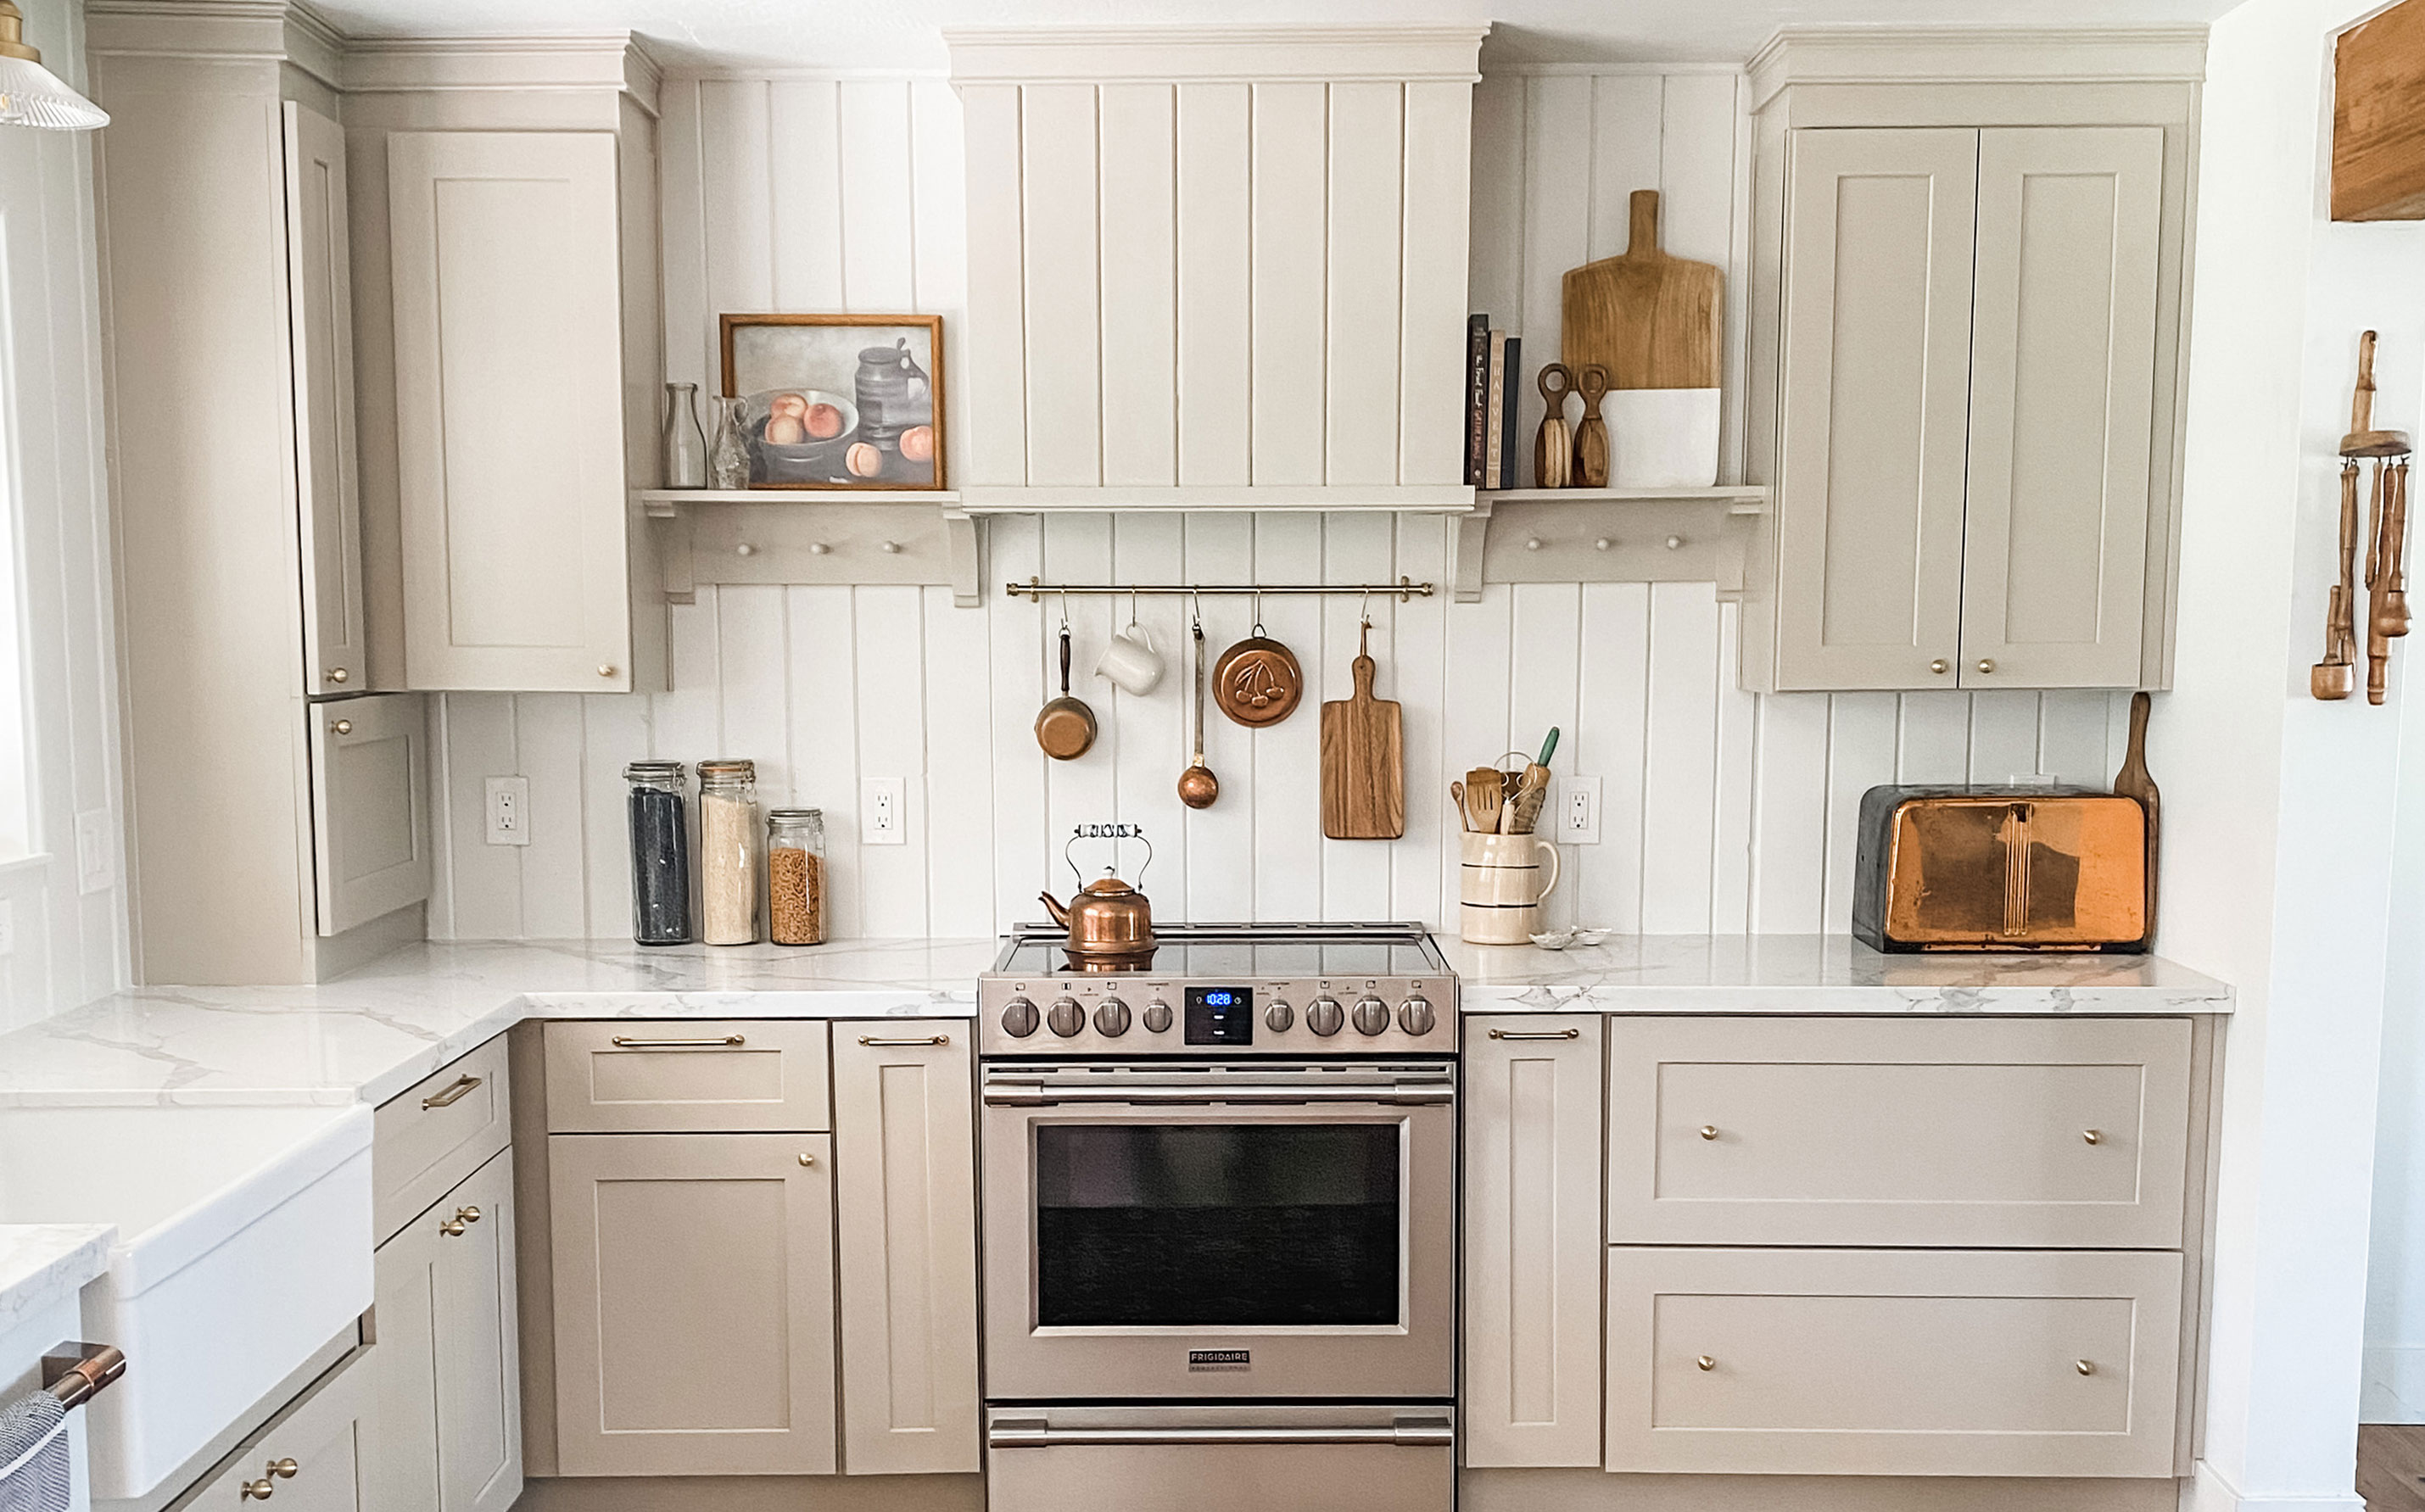 My DIY range hood and backsplash build gave my kitchen the perfect farmhouse finish
I craved charm in my kitchen space and adding a custom range hood and shelving was the best move.
By Brooke Waite Published
-
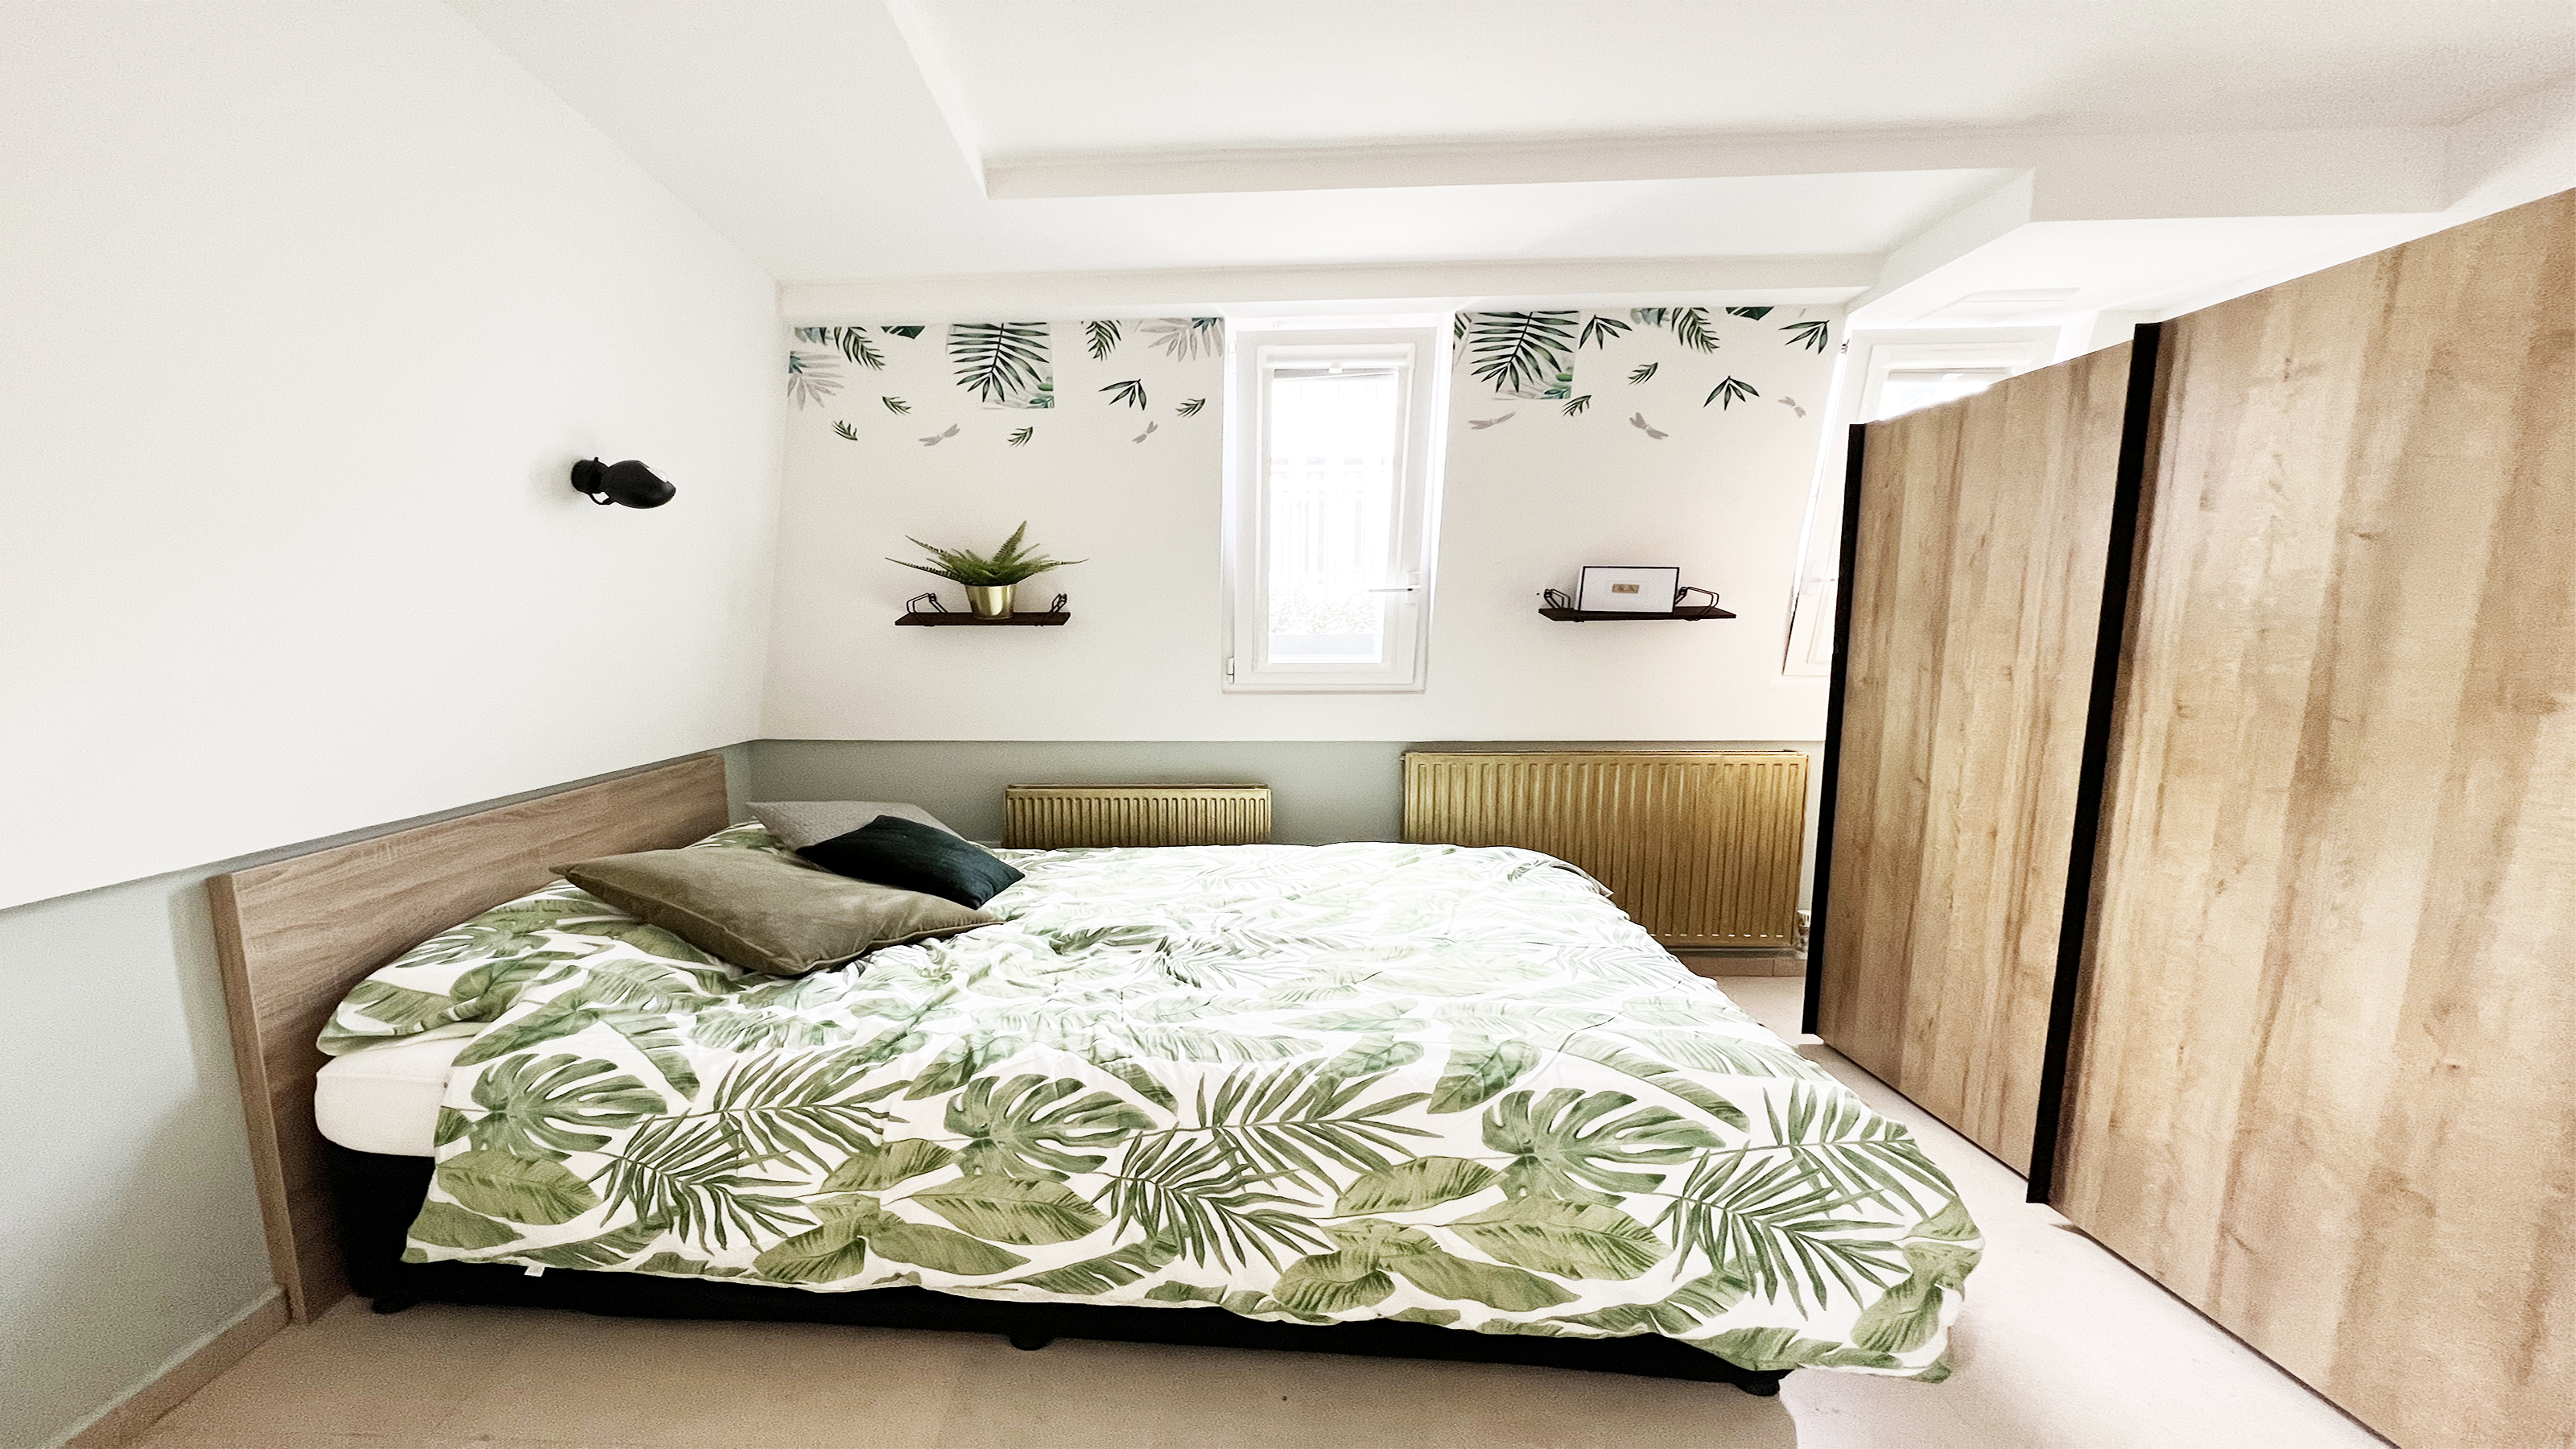 How to paint a radiator in 7 steps
Painting radiators properly is all about choosing the right paint and the best process. Get interior designer-worthy results with our how-to.
By Kate Sandhu Published
-
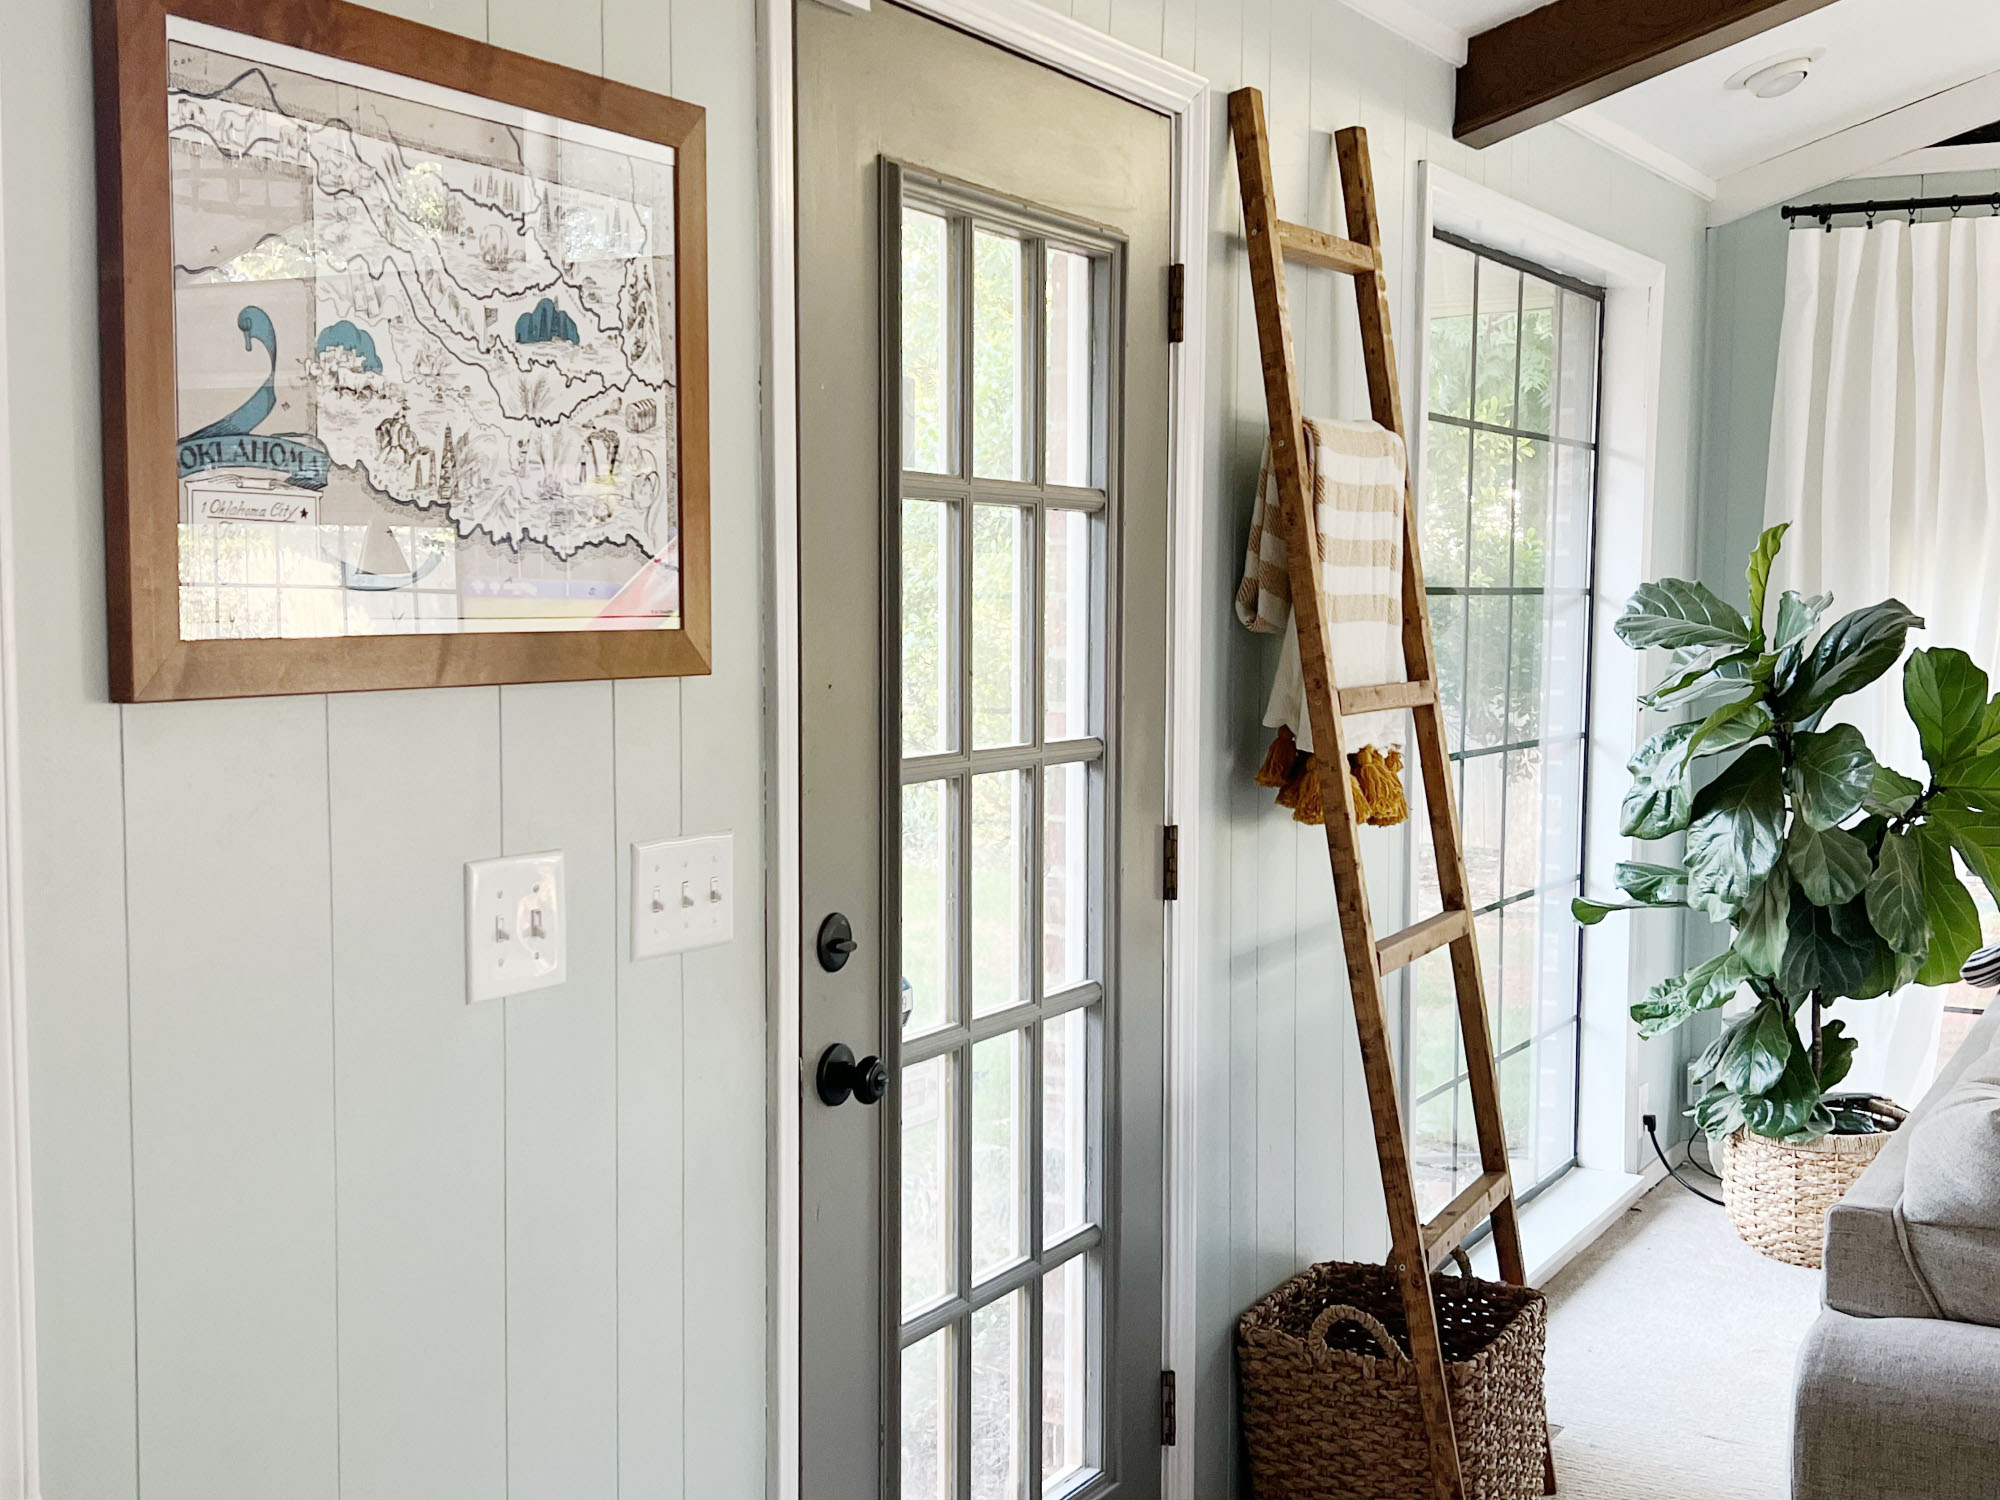 How to install a door knob
Updating your interior and exterior doors can be as easy as changing out the hardware! The best part is that installing a door knob is very DIY friendly. Follow these simple steps and enjoy a fresh look on your doors!
By Dori Turner Published
